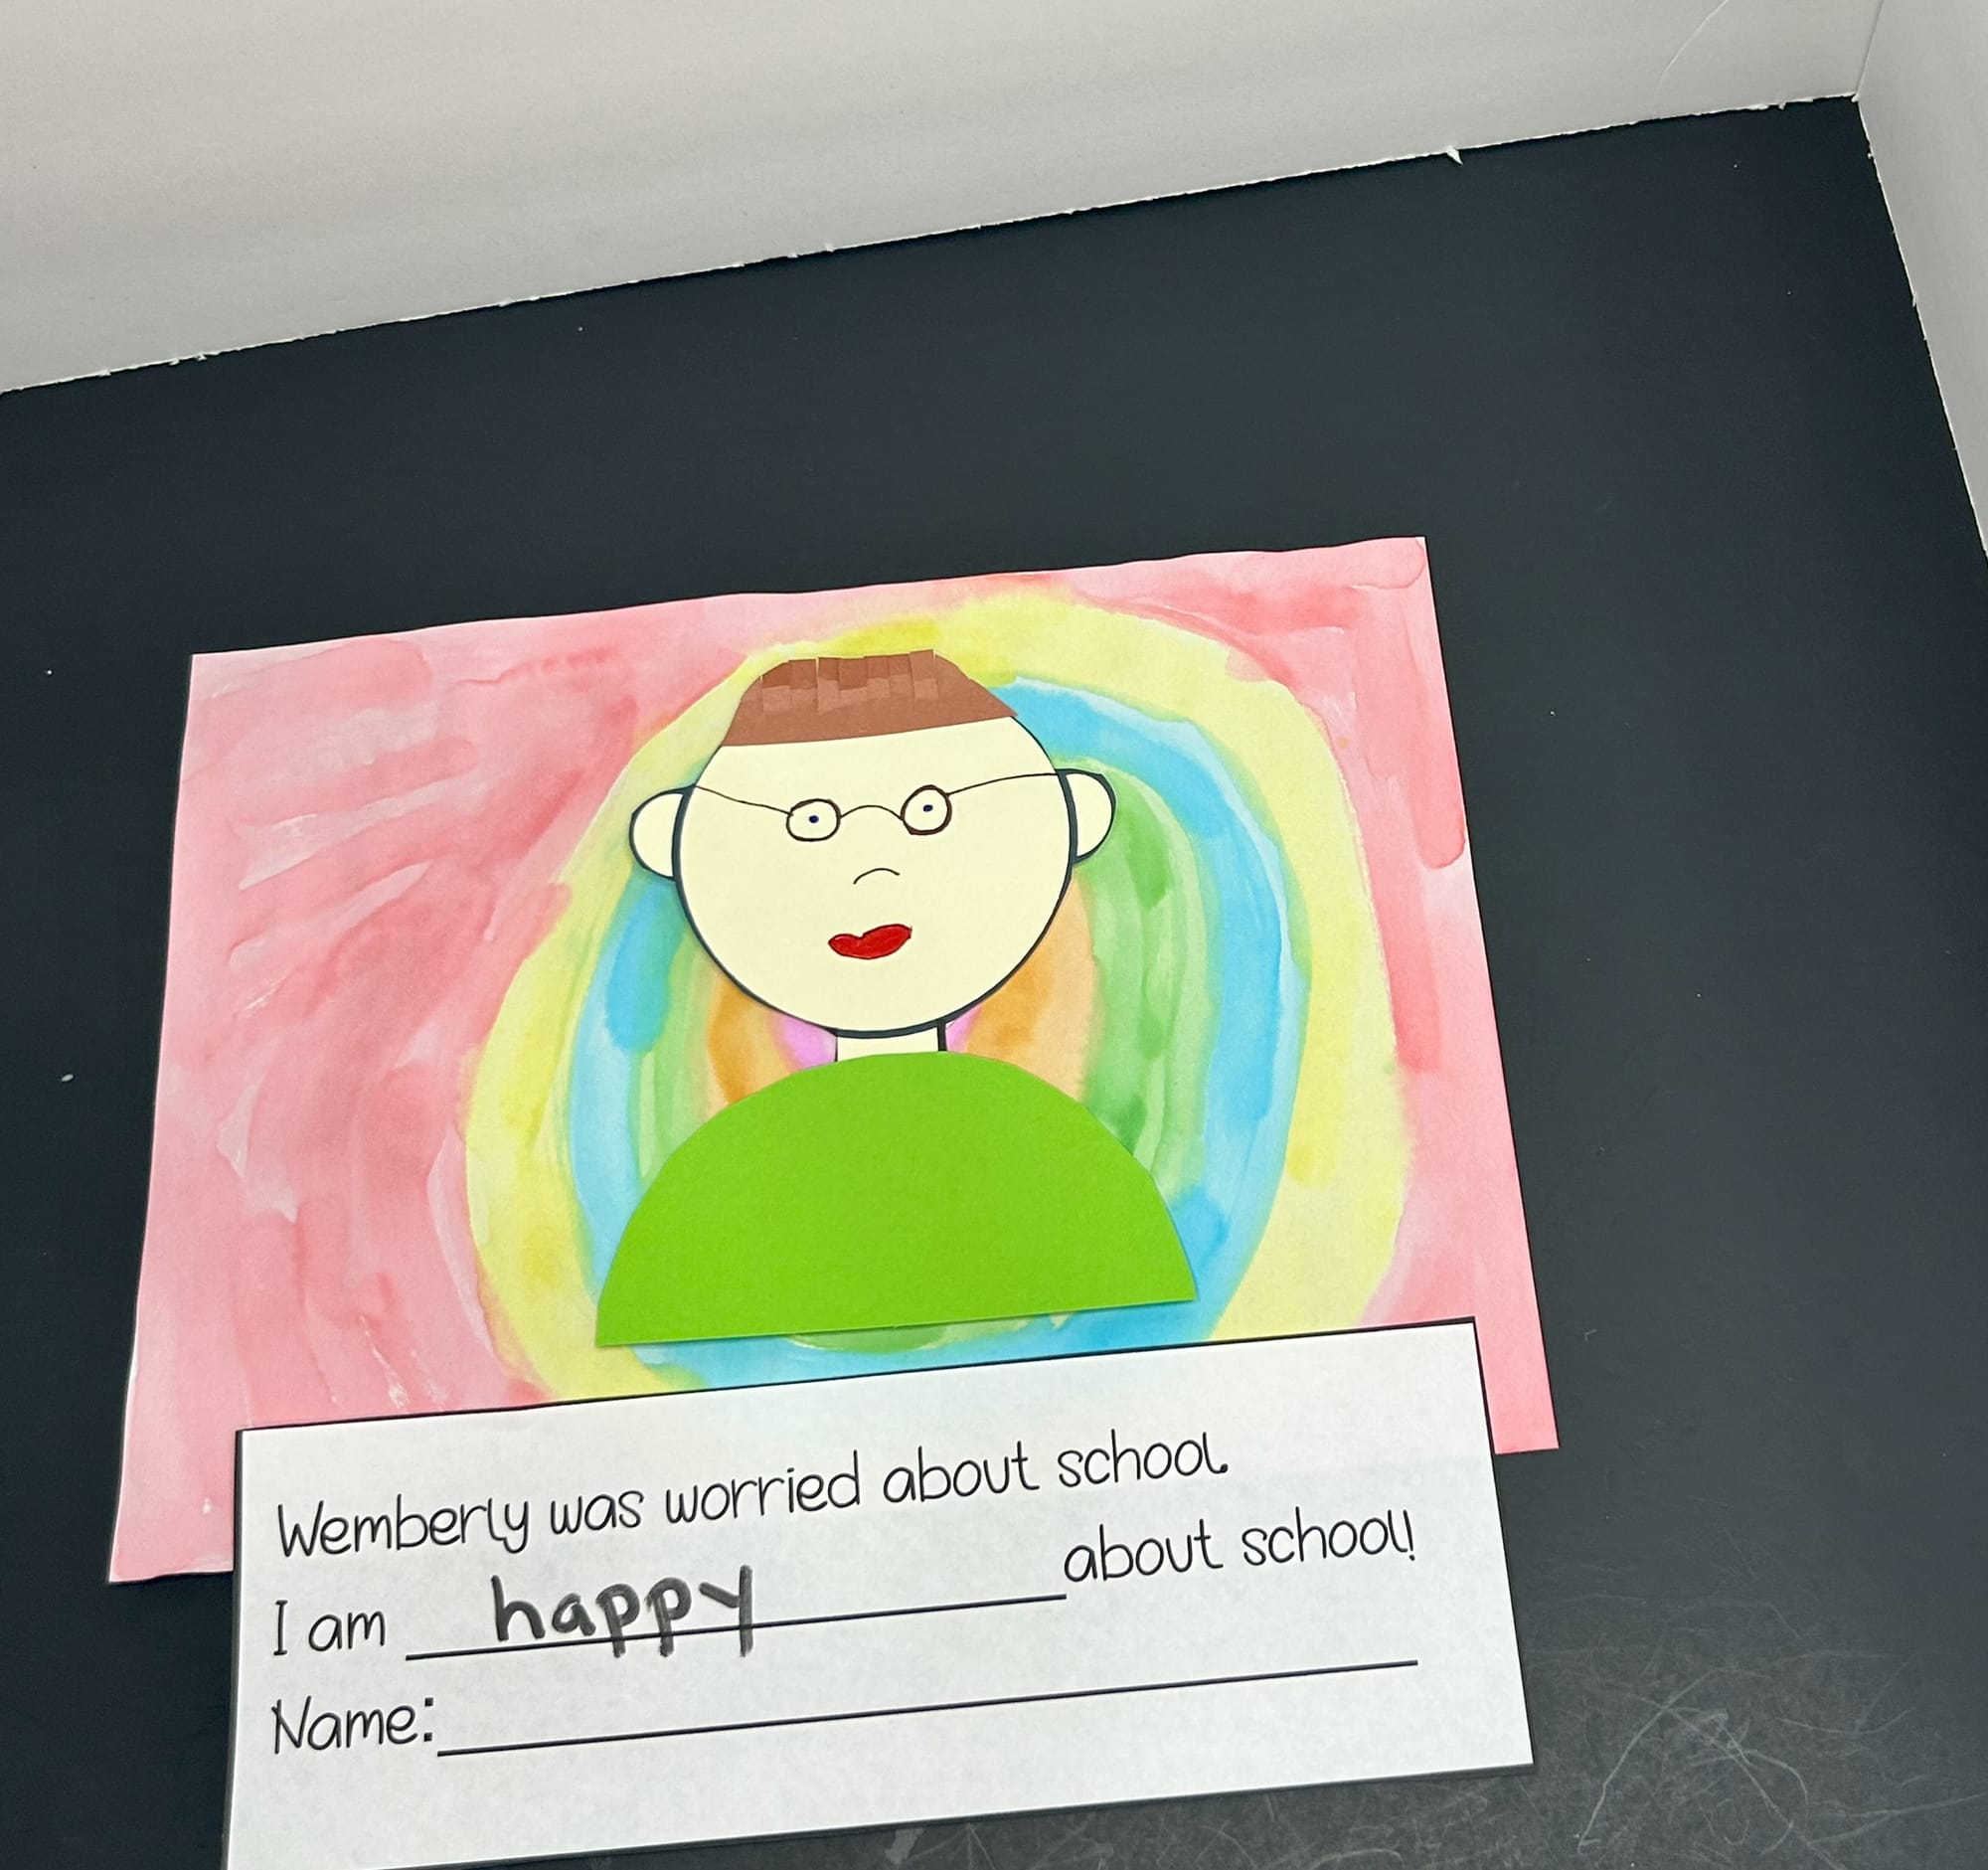
Wemberly was Worried, but I'm not!
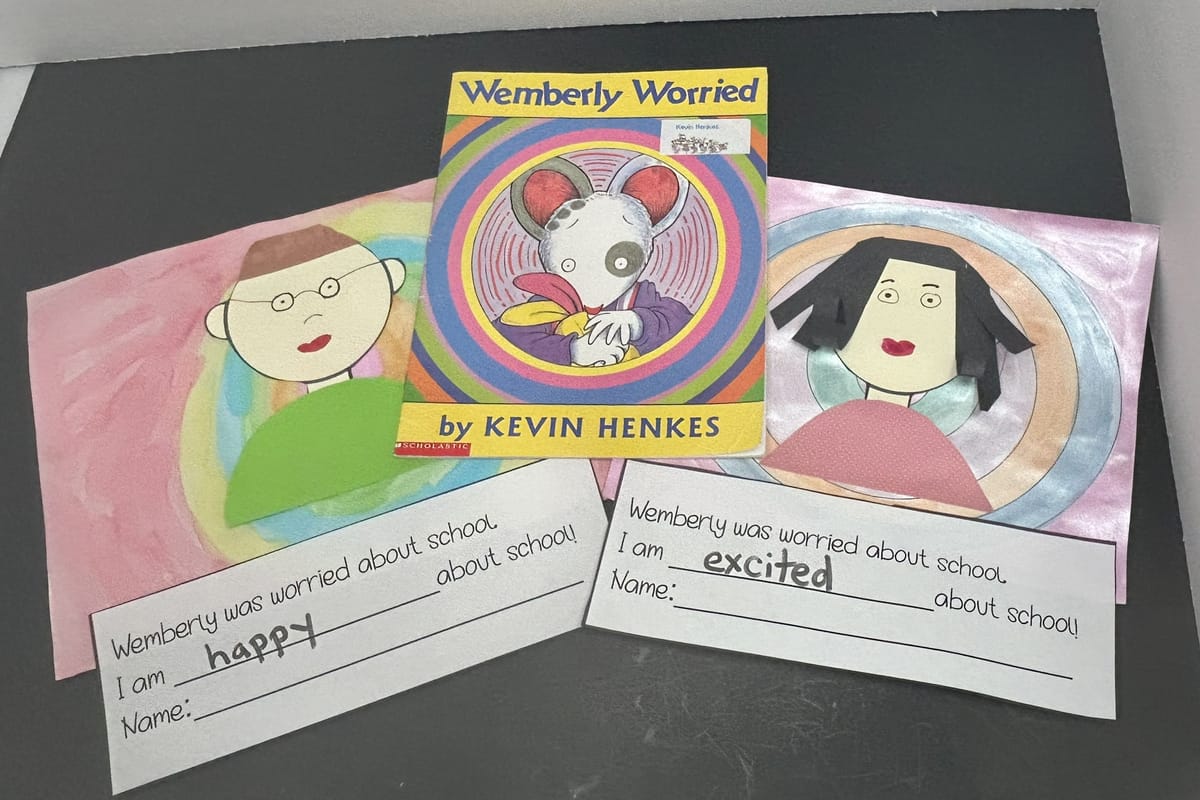
When I was a teacher I loved to read the book "Wemberly Worried" by Kevin Henkes at the beginning of the year. I related to Wemberly so much because I am a worrier like her. I always tried to do an activity where kids would write what their worry was coming into school. The problem is, year after year I found kids telling me nothing. They had no worries! So, I decided to change this activity to allow children to write what emotion they were feeling. This book and the writing will lead to a great conversation about emotions and feelings.

Start by reading this book aloud and discussing how the main character Wemberly was feeling about going to school. Kids should answer she was worried and then discuss what were some of her worries about school. After, discuss how they are feeling about school. Make a list of these emotions in a place they can see. This will aide them later when they do their writing.
Allow children to create art to go along with their writing they will do later. I always enjoyed this activity because it gave children the opportunity to paint with watercolors. I always found it a quiet and calming activity for the beginning of the school year.
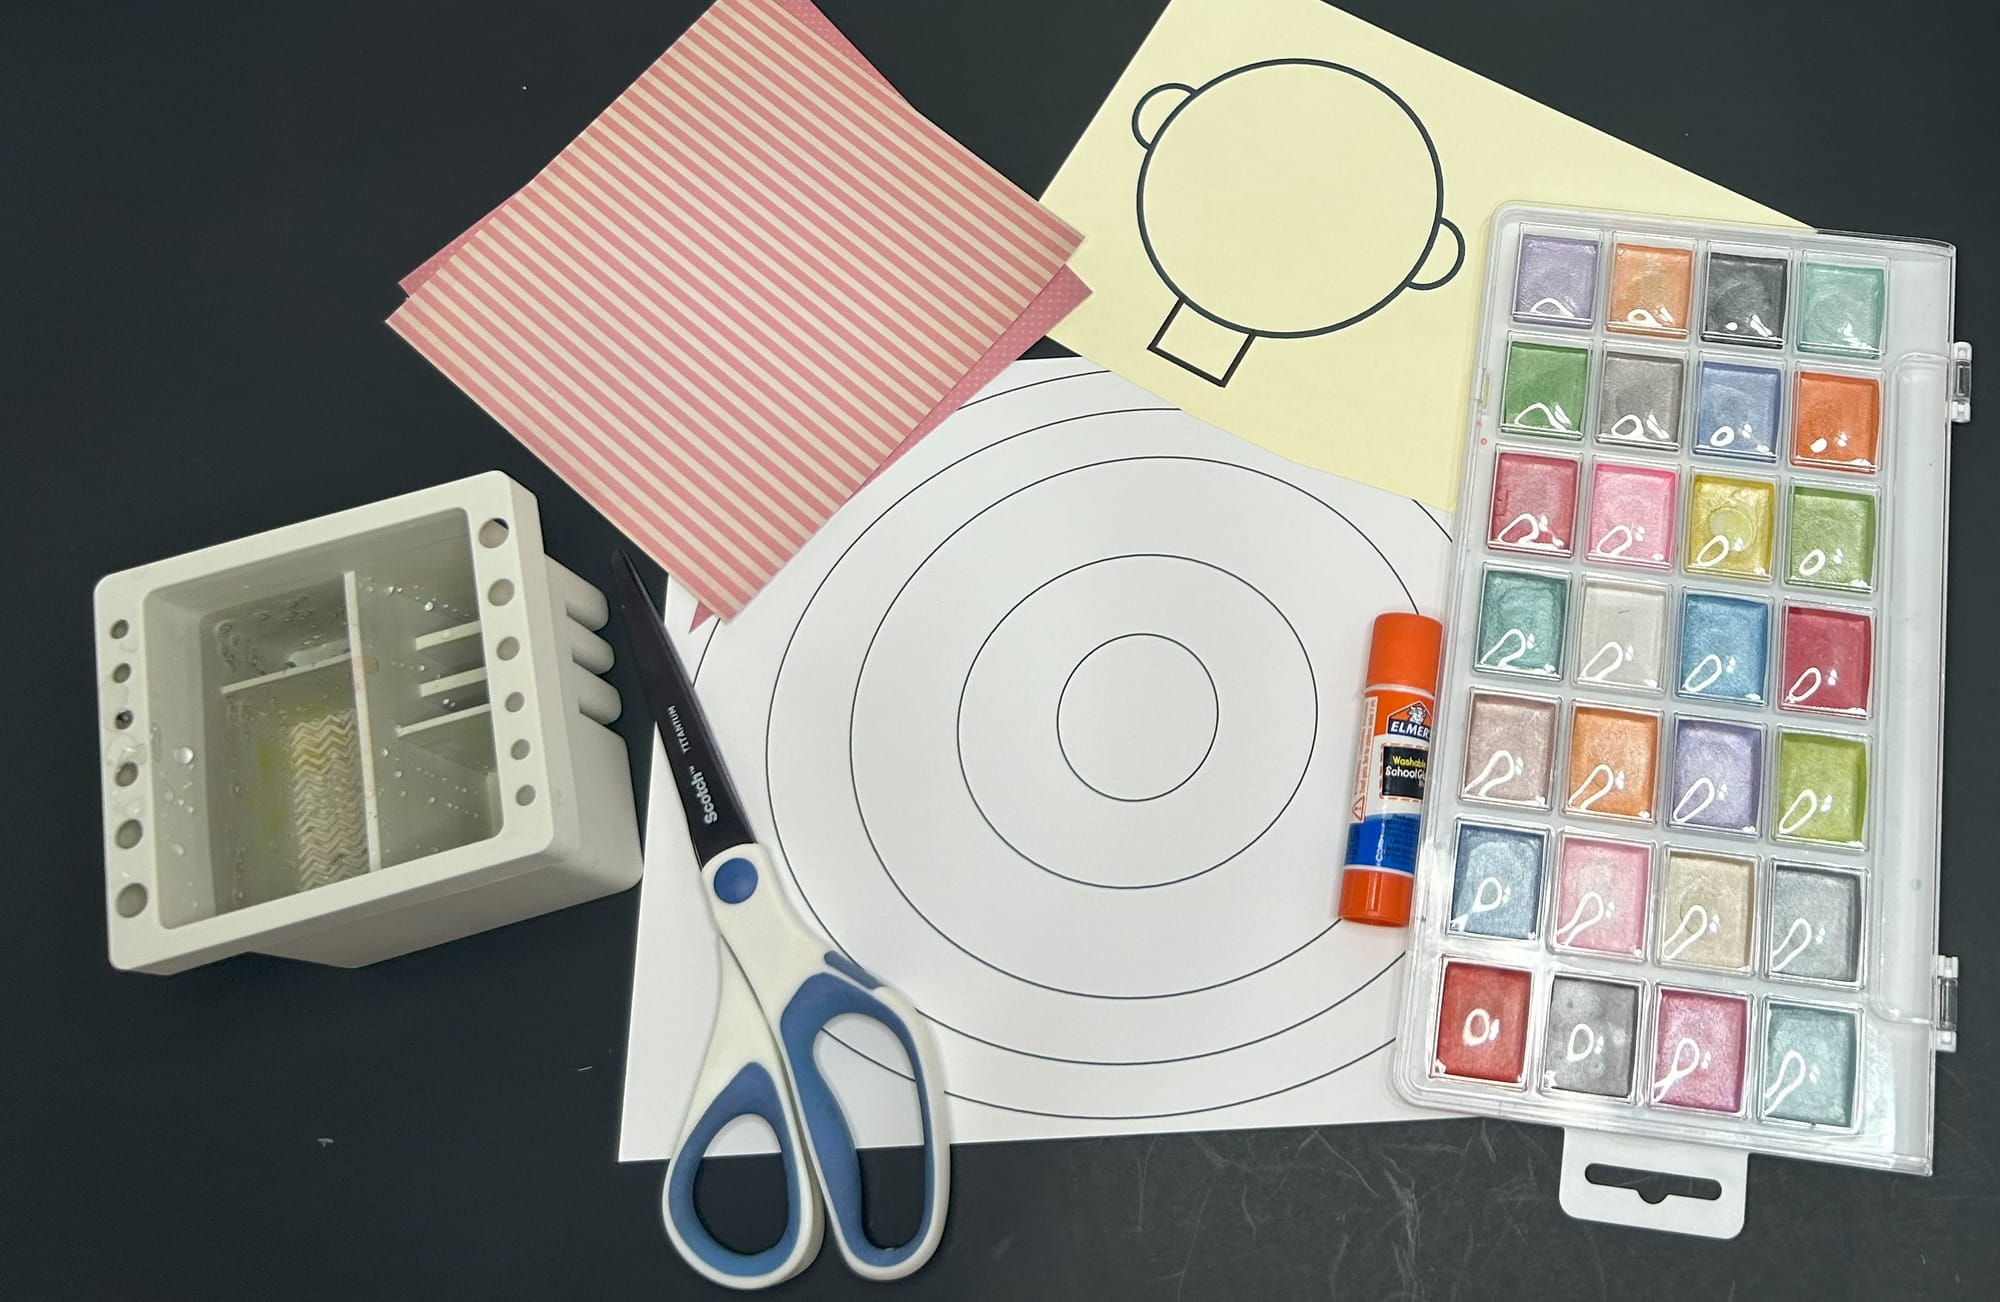
Supplies:
- White cardstock
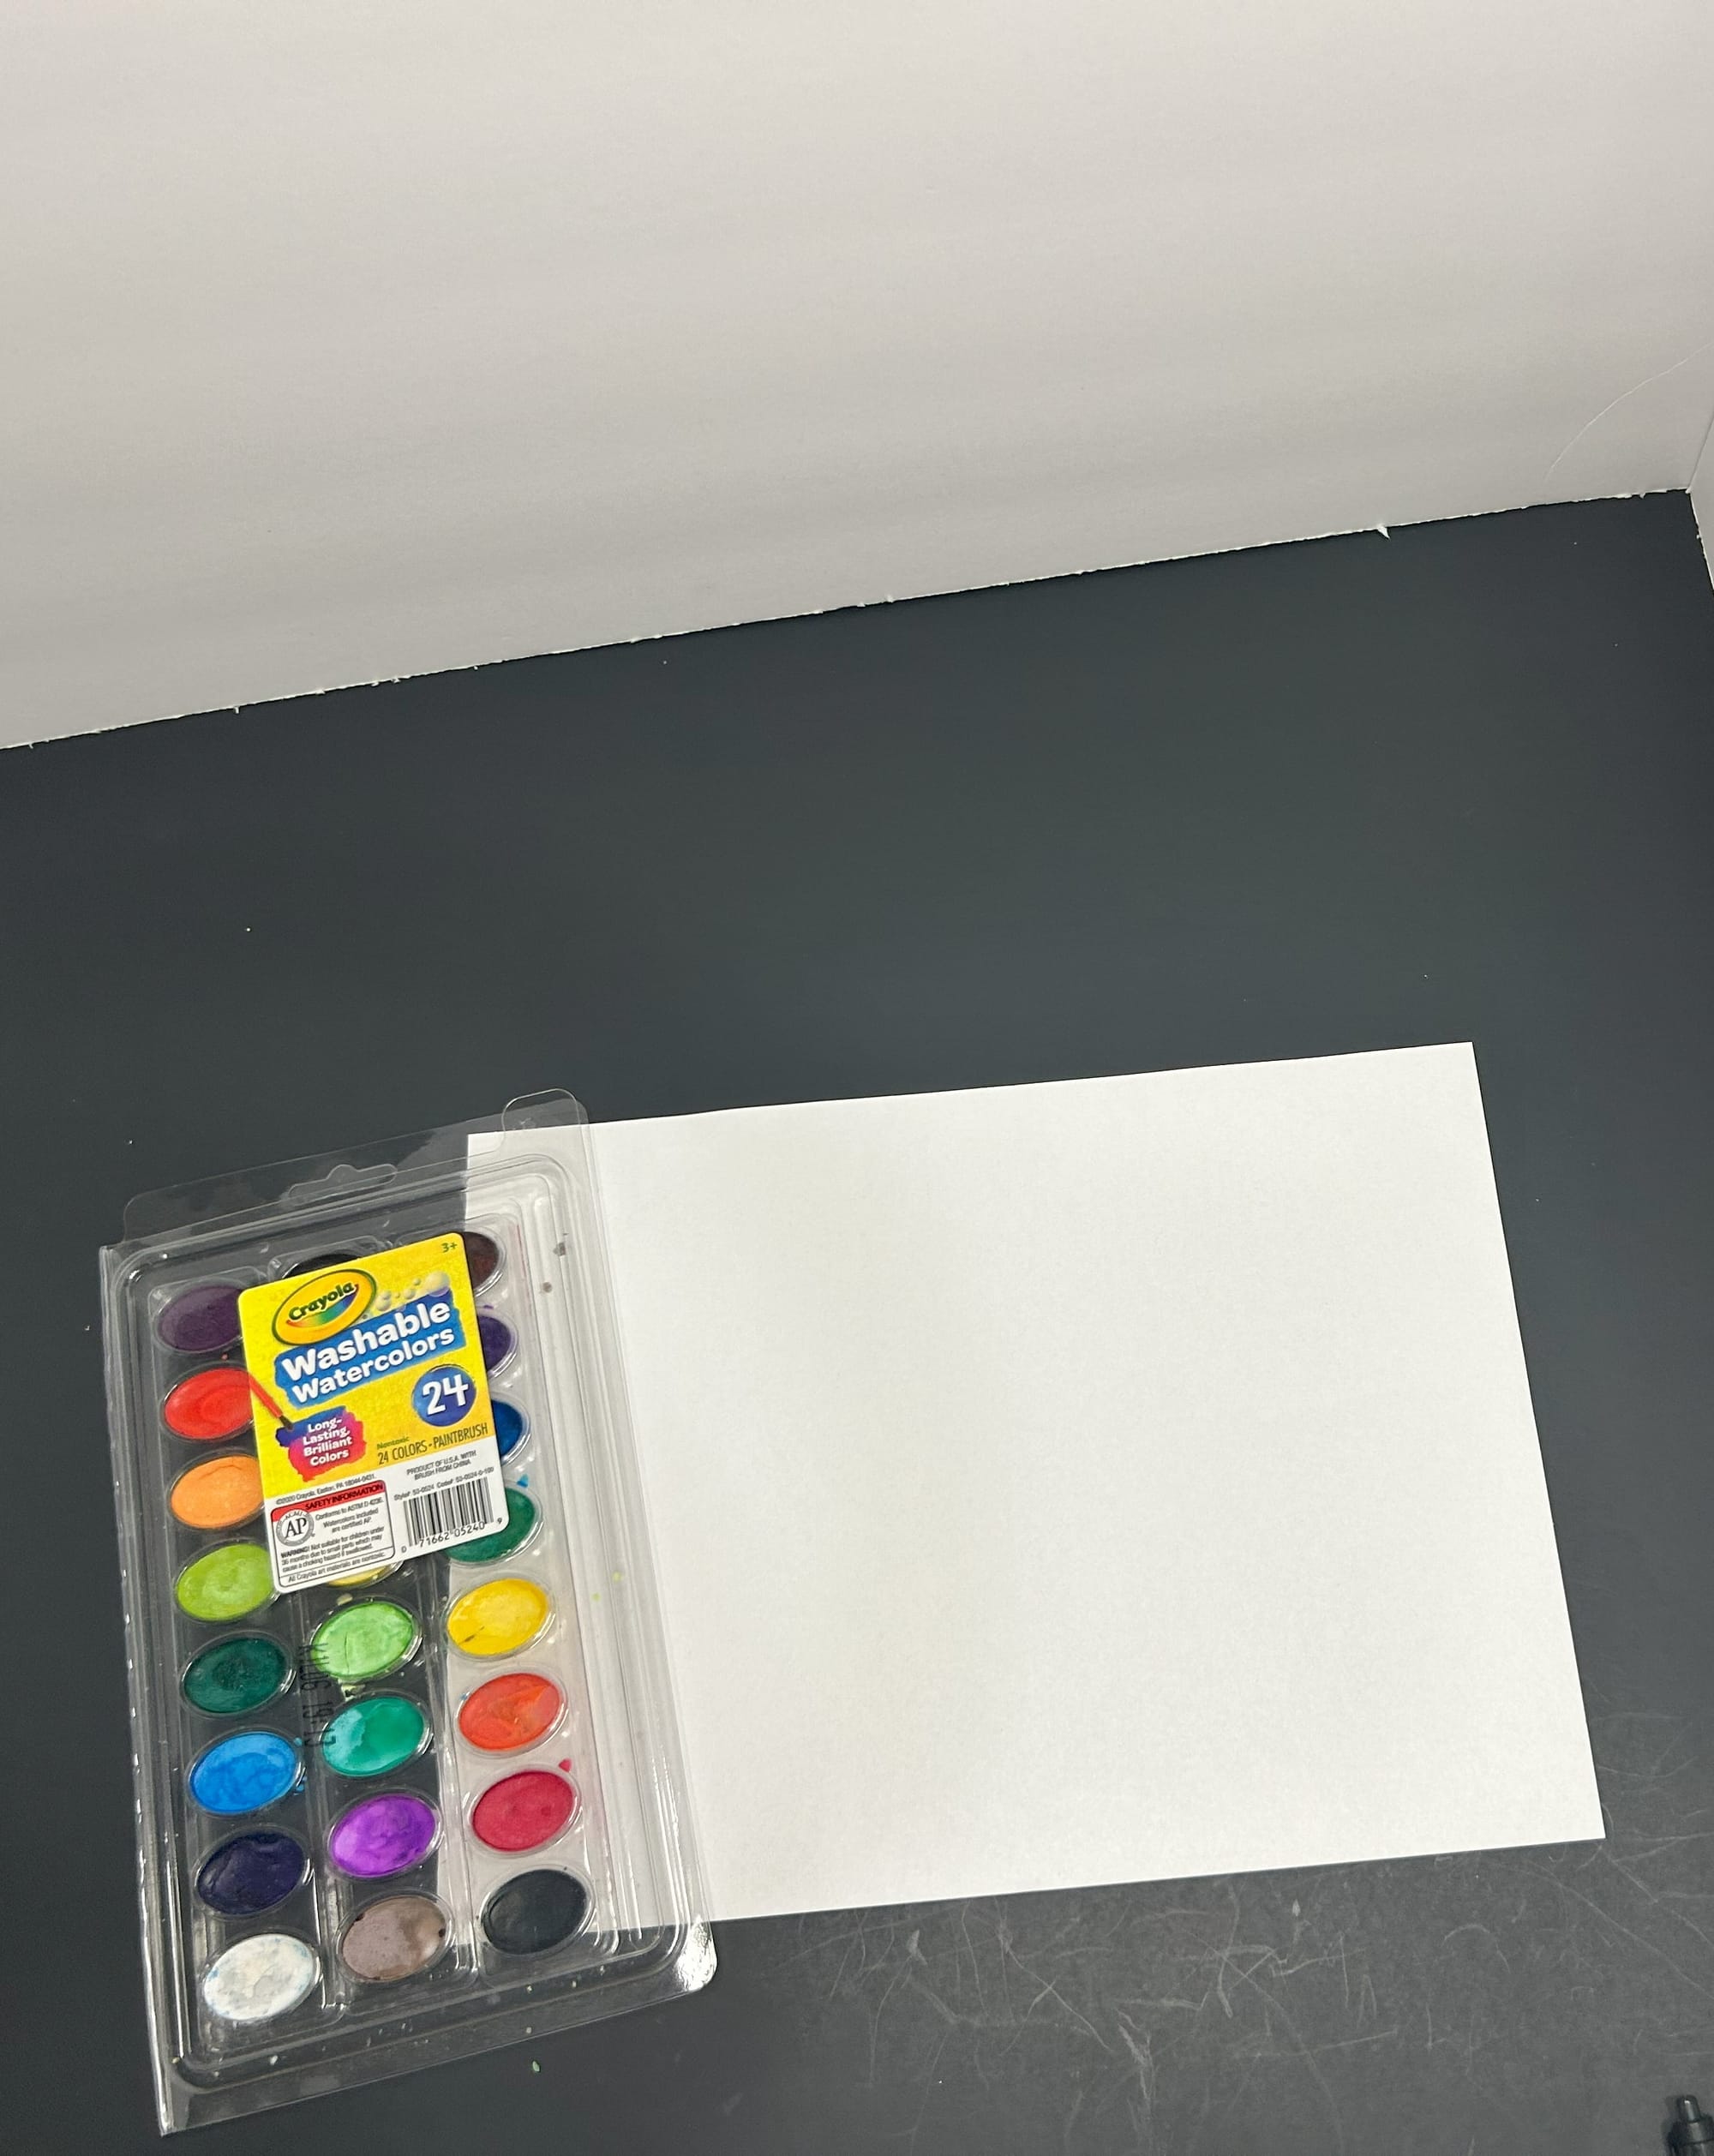
- Watercolor paints
- Paintbrush
- Variety of colors of construction paper and decorative cardstock
- Scissors
- Gluestick
- Markers
- Print out of face template and circle template
- Print out of writing template
Directions:
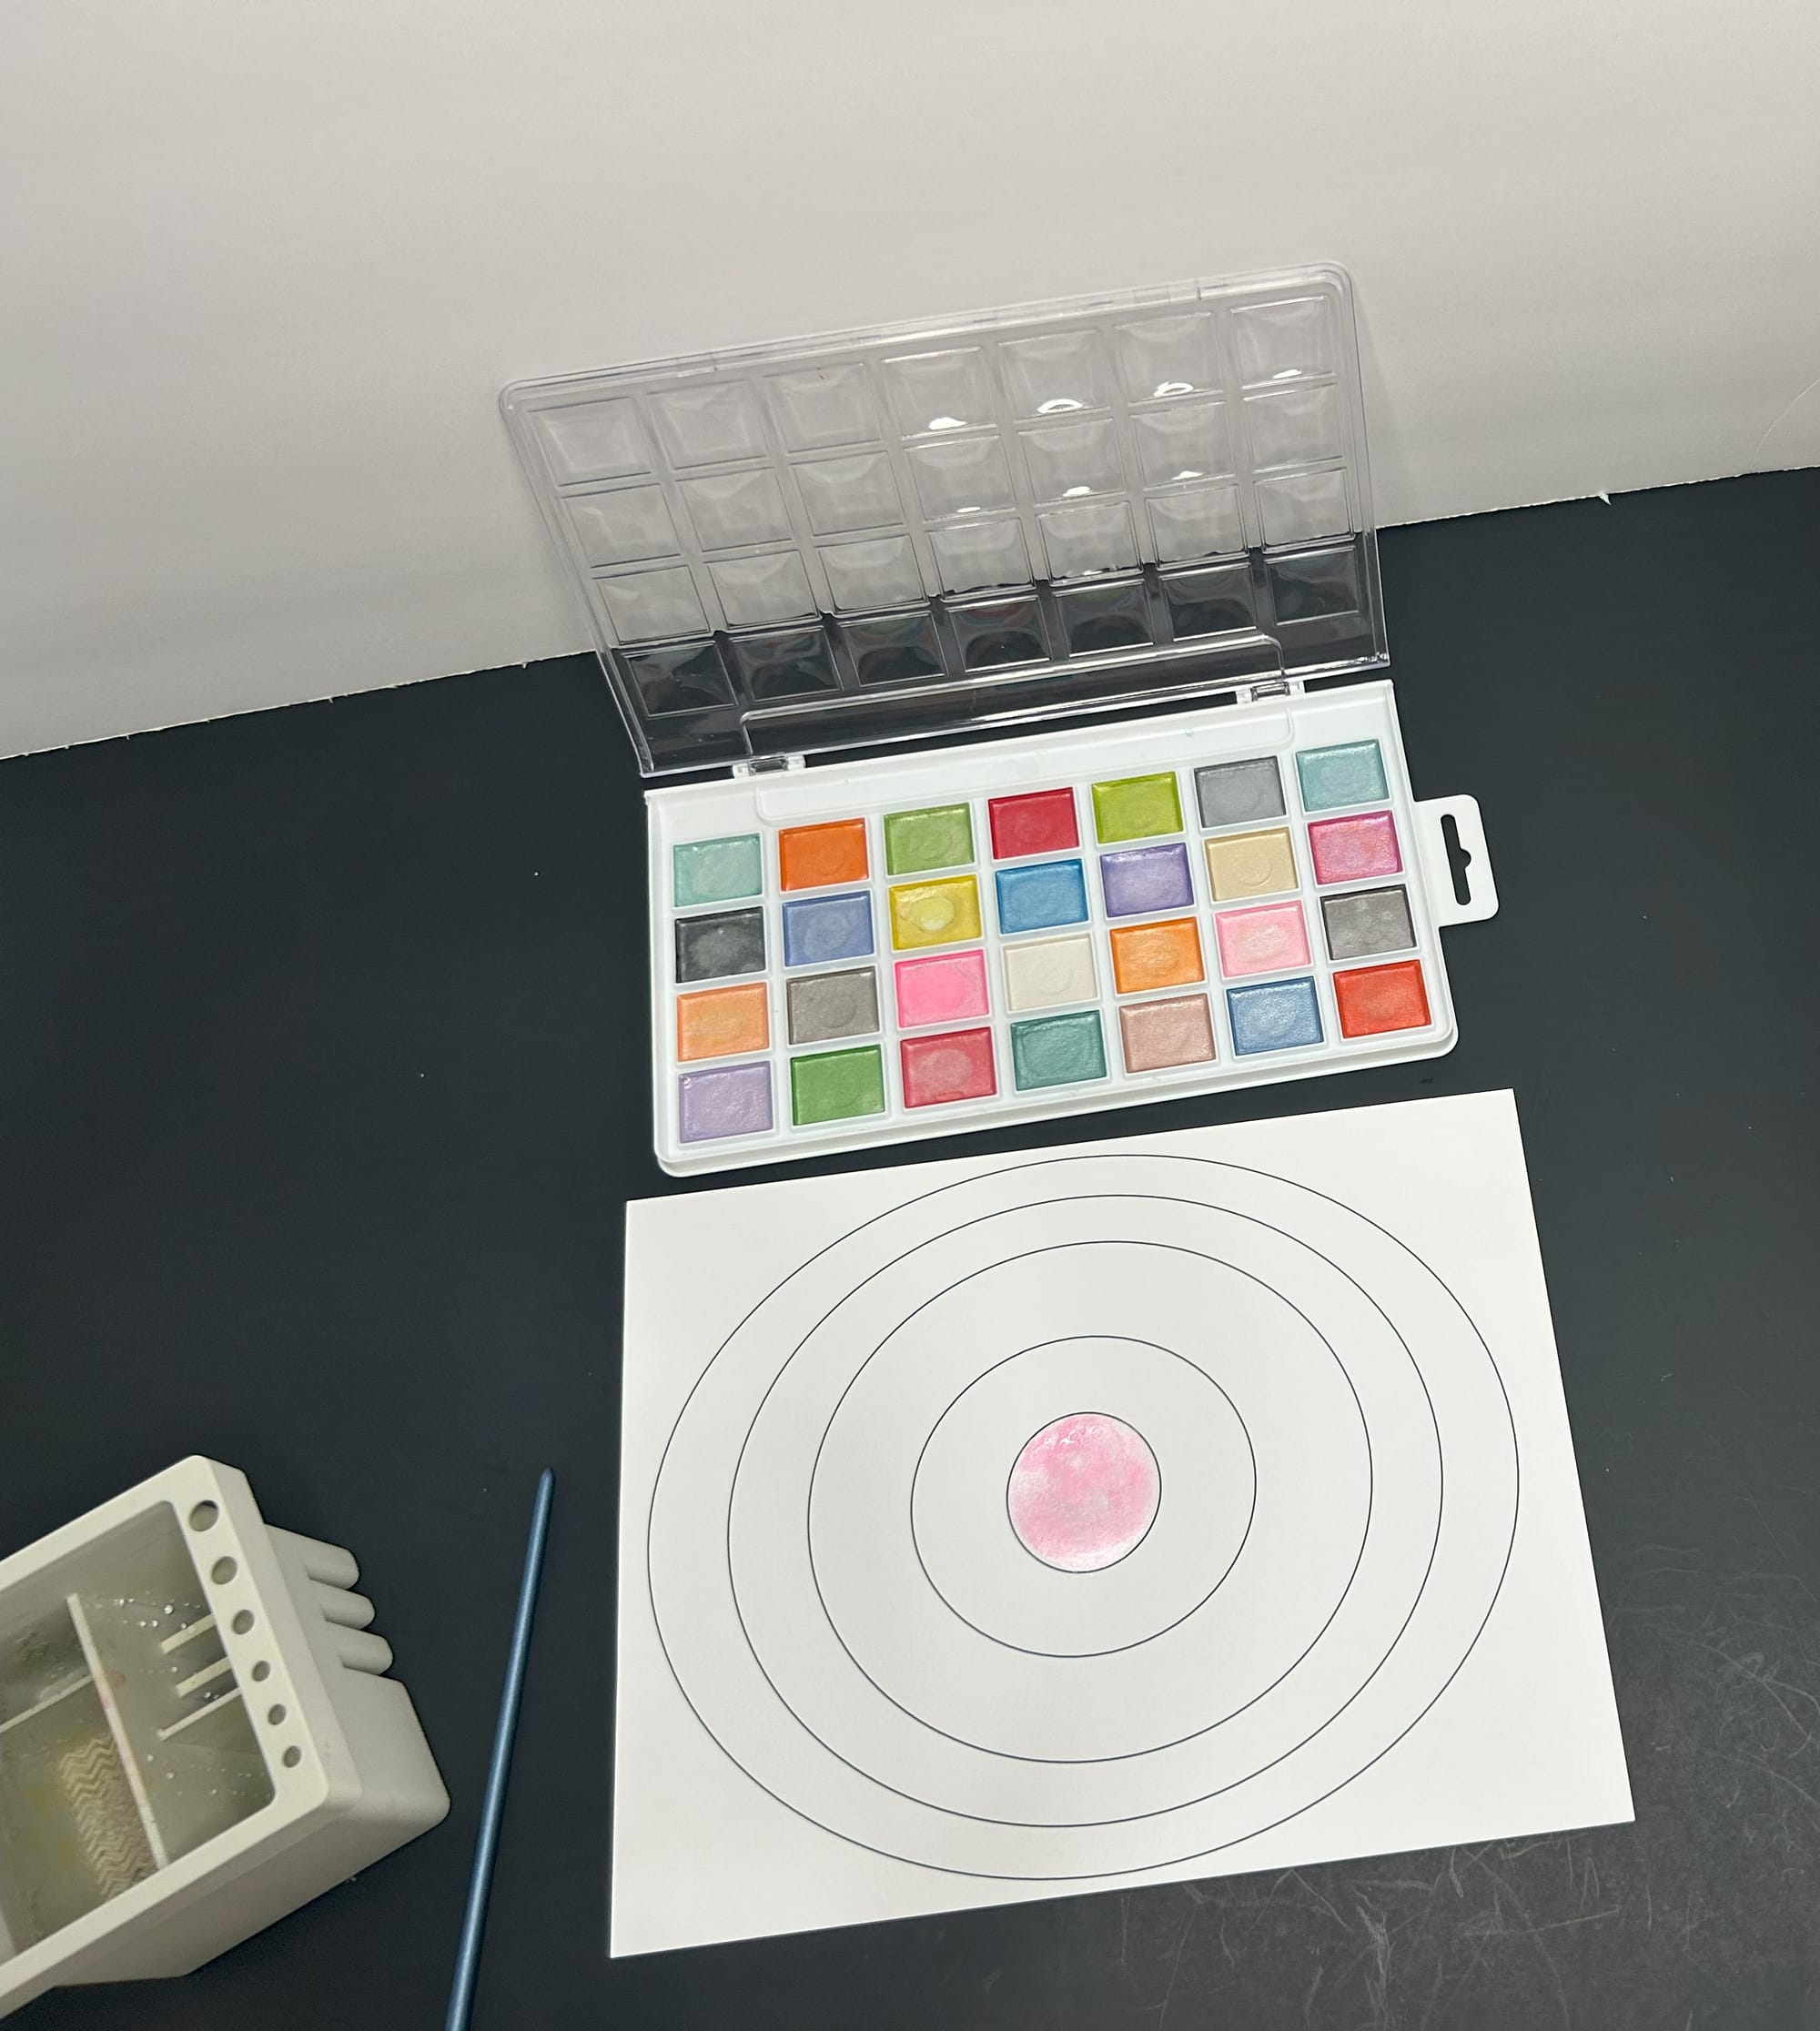
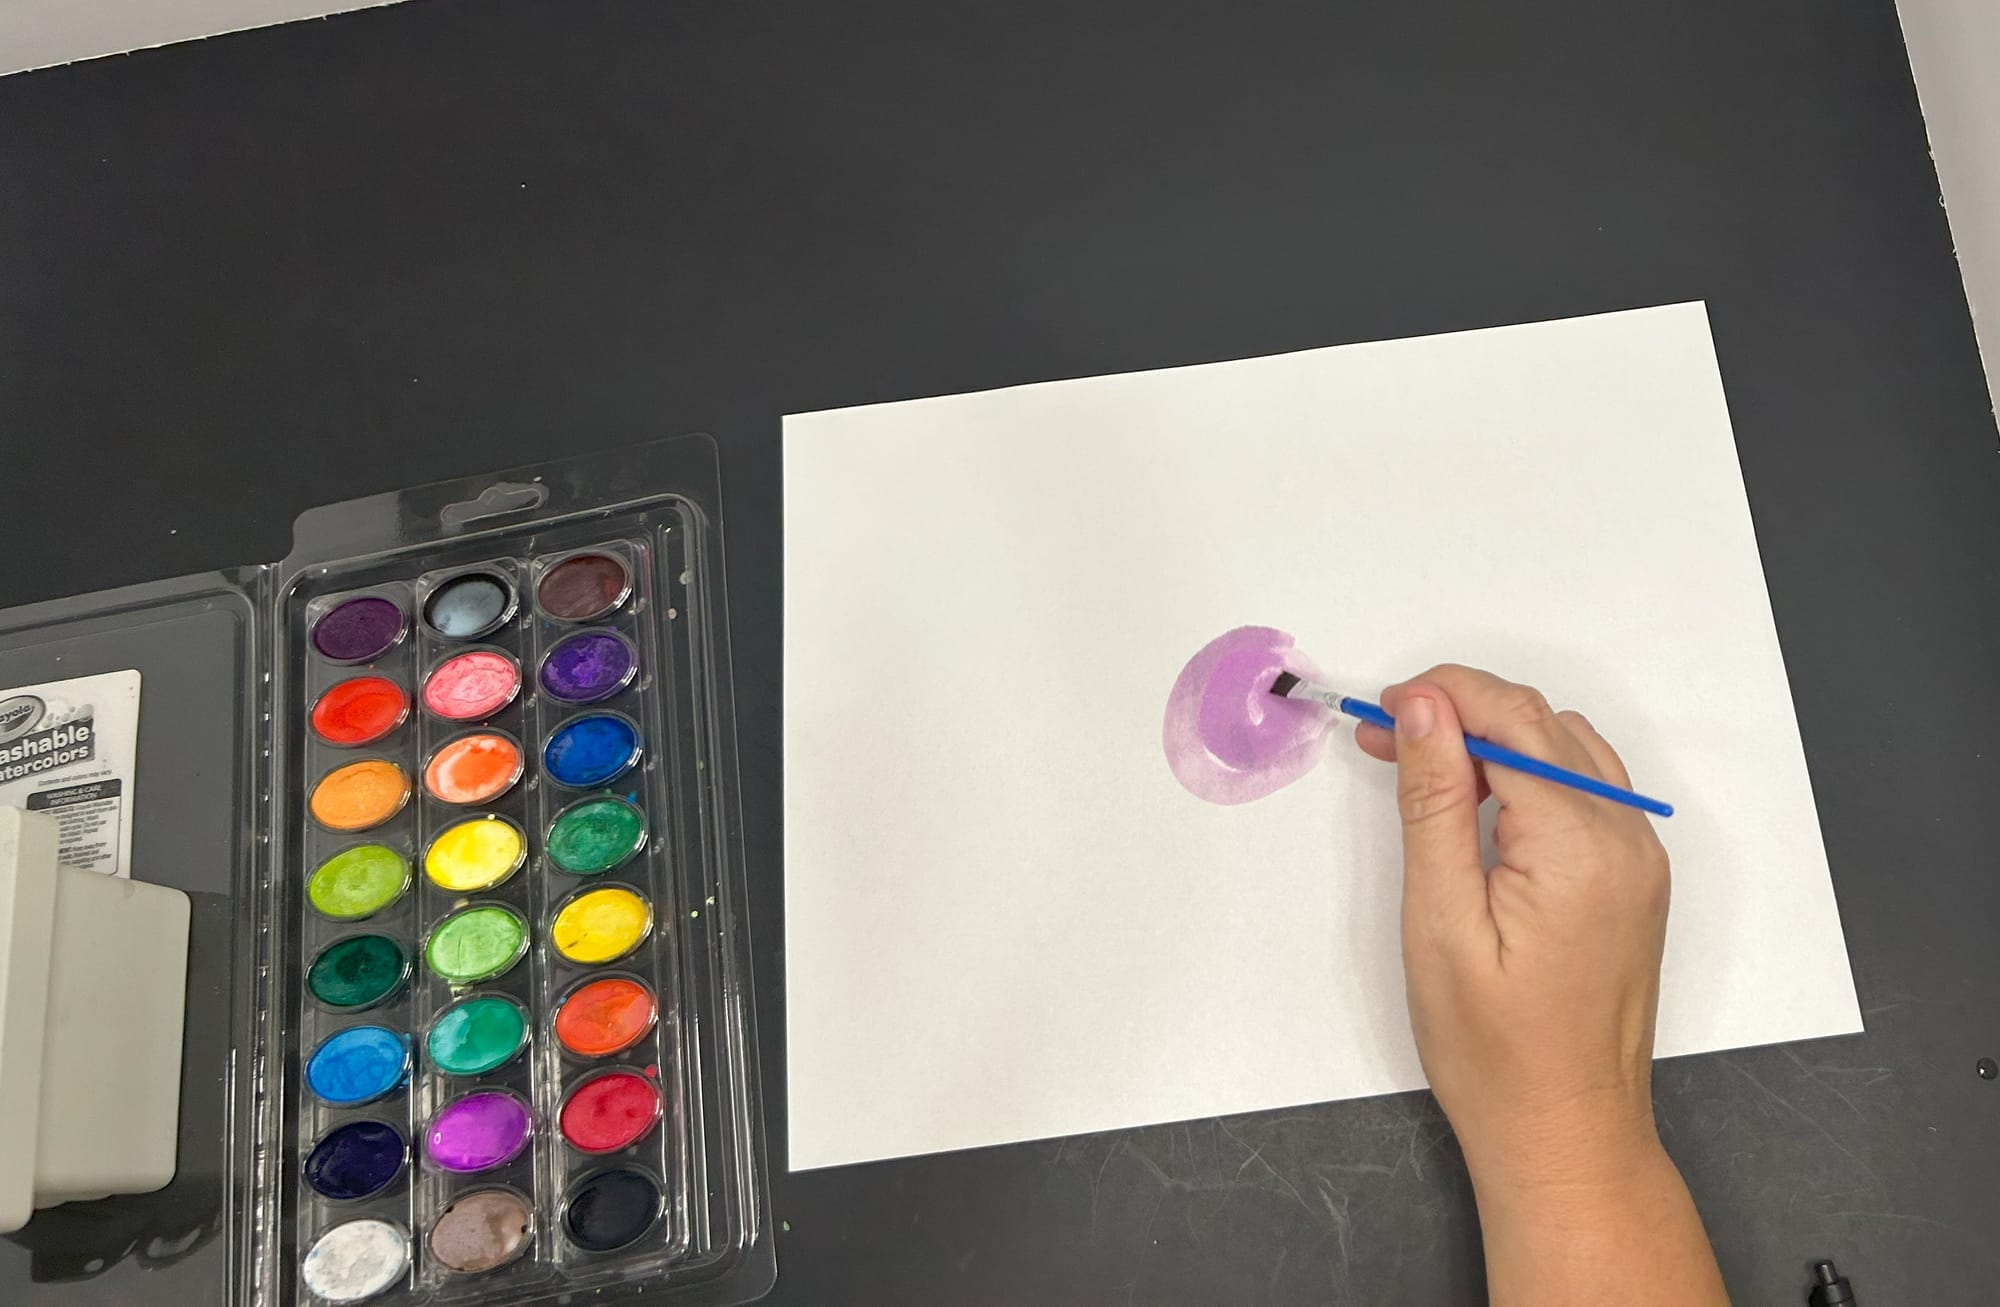
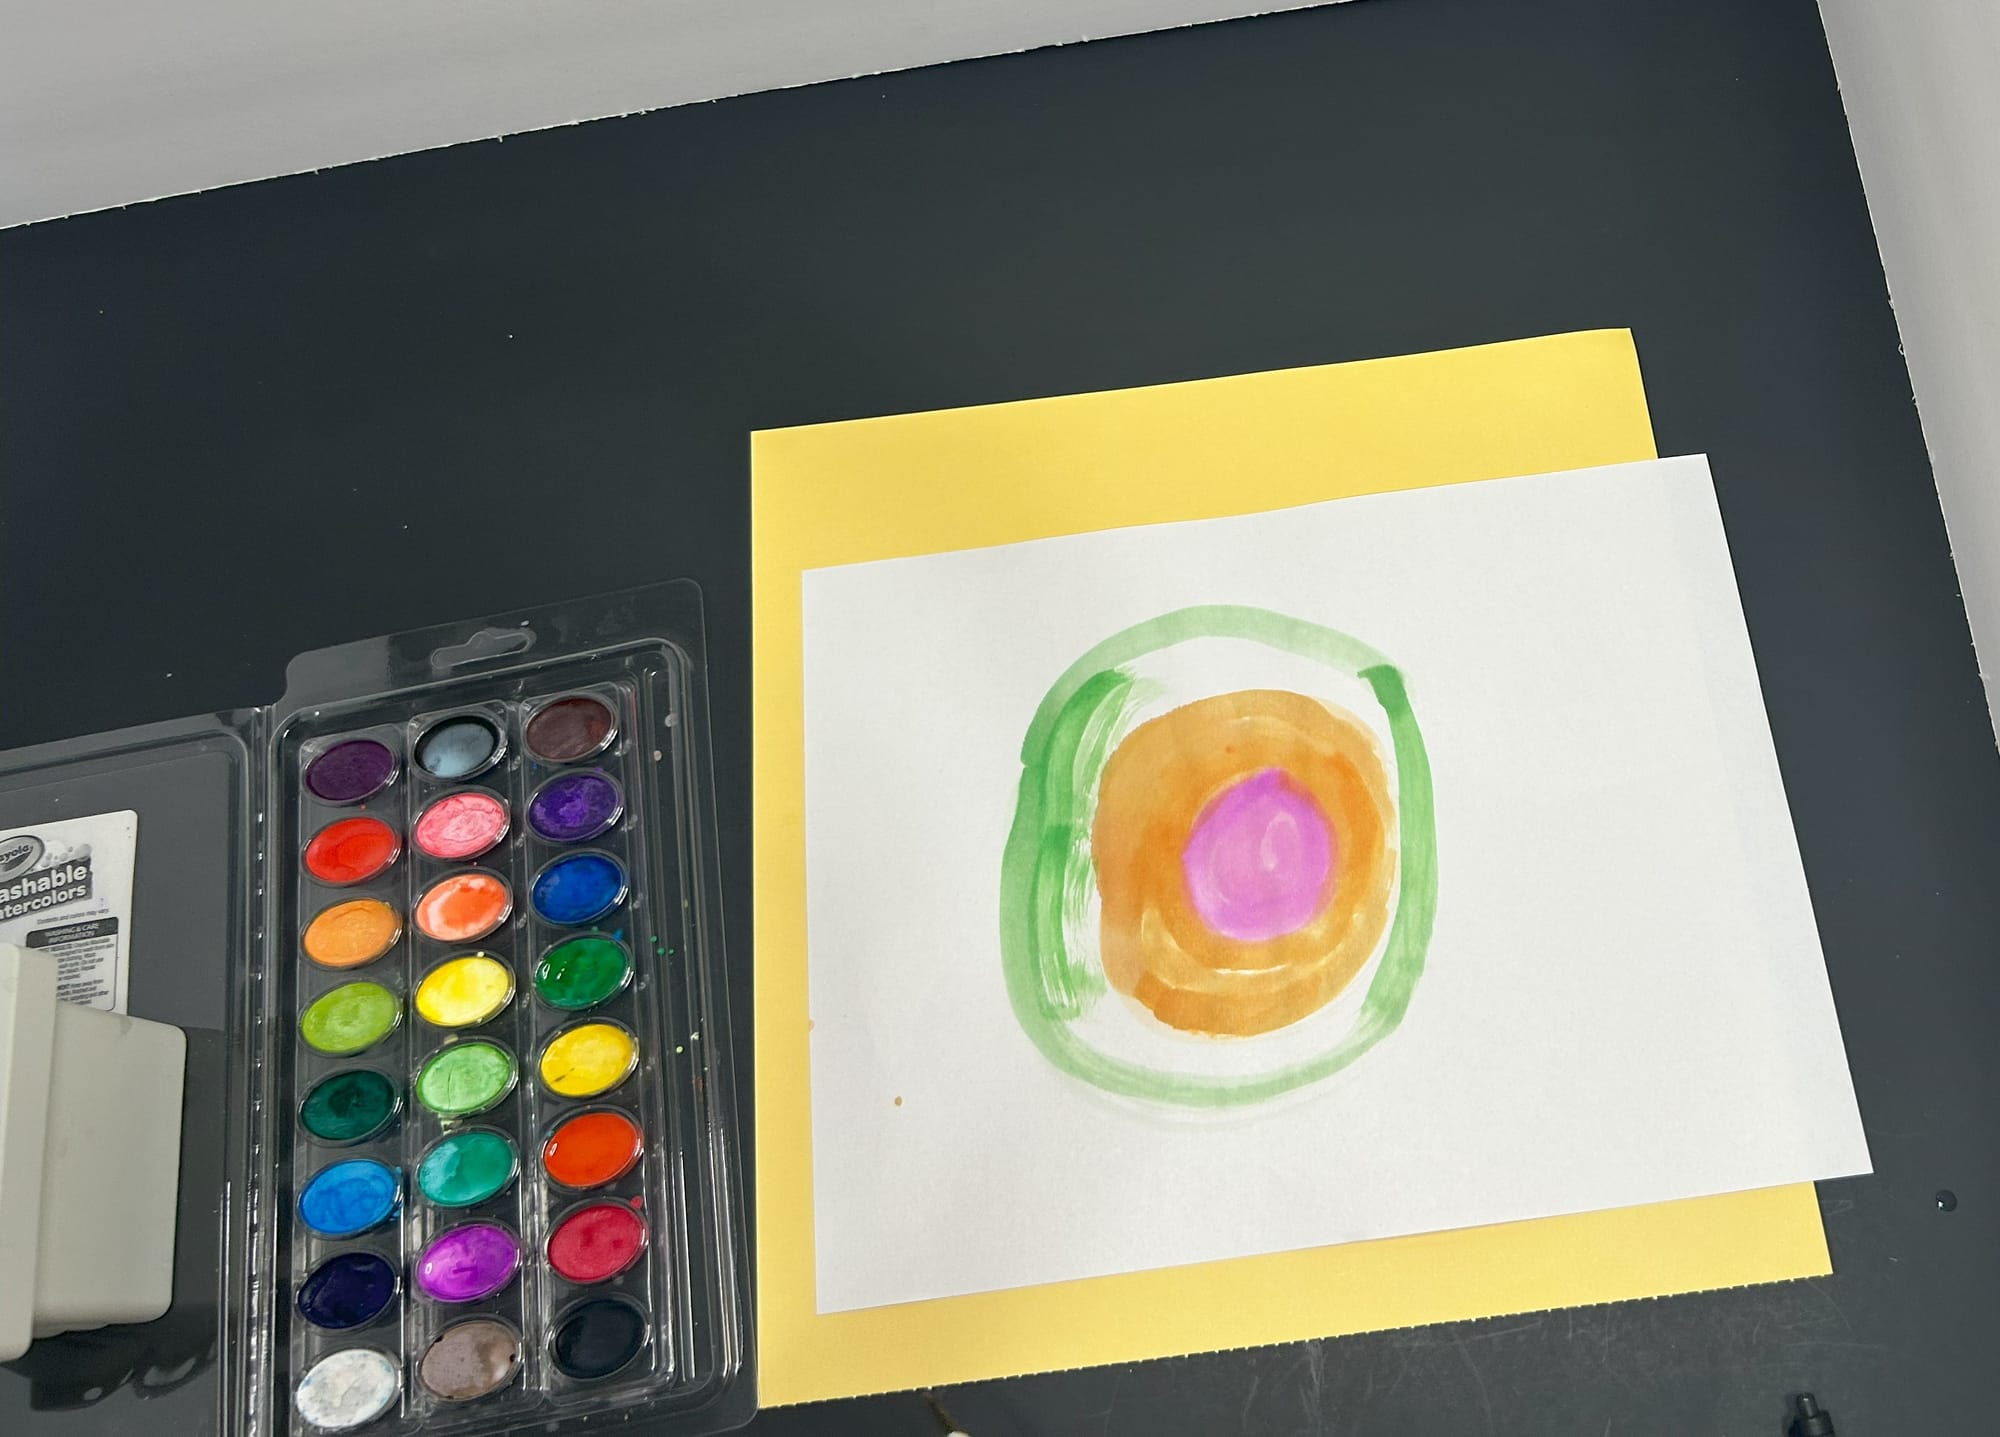
- Gather supplies to paint the background. I always model this for children so they understand what to do. You can choose to give children a piece of white construction paper or cardstock or you can print the circle template for easier painting.
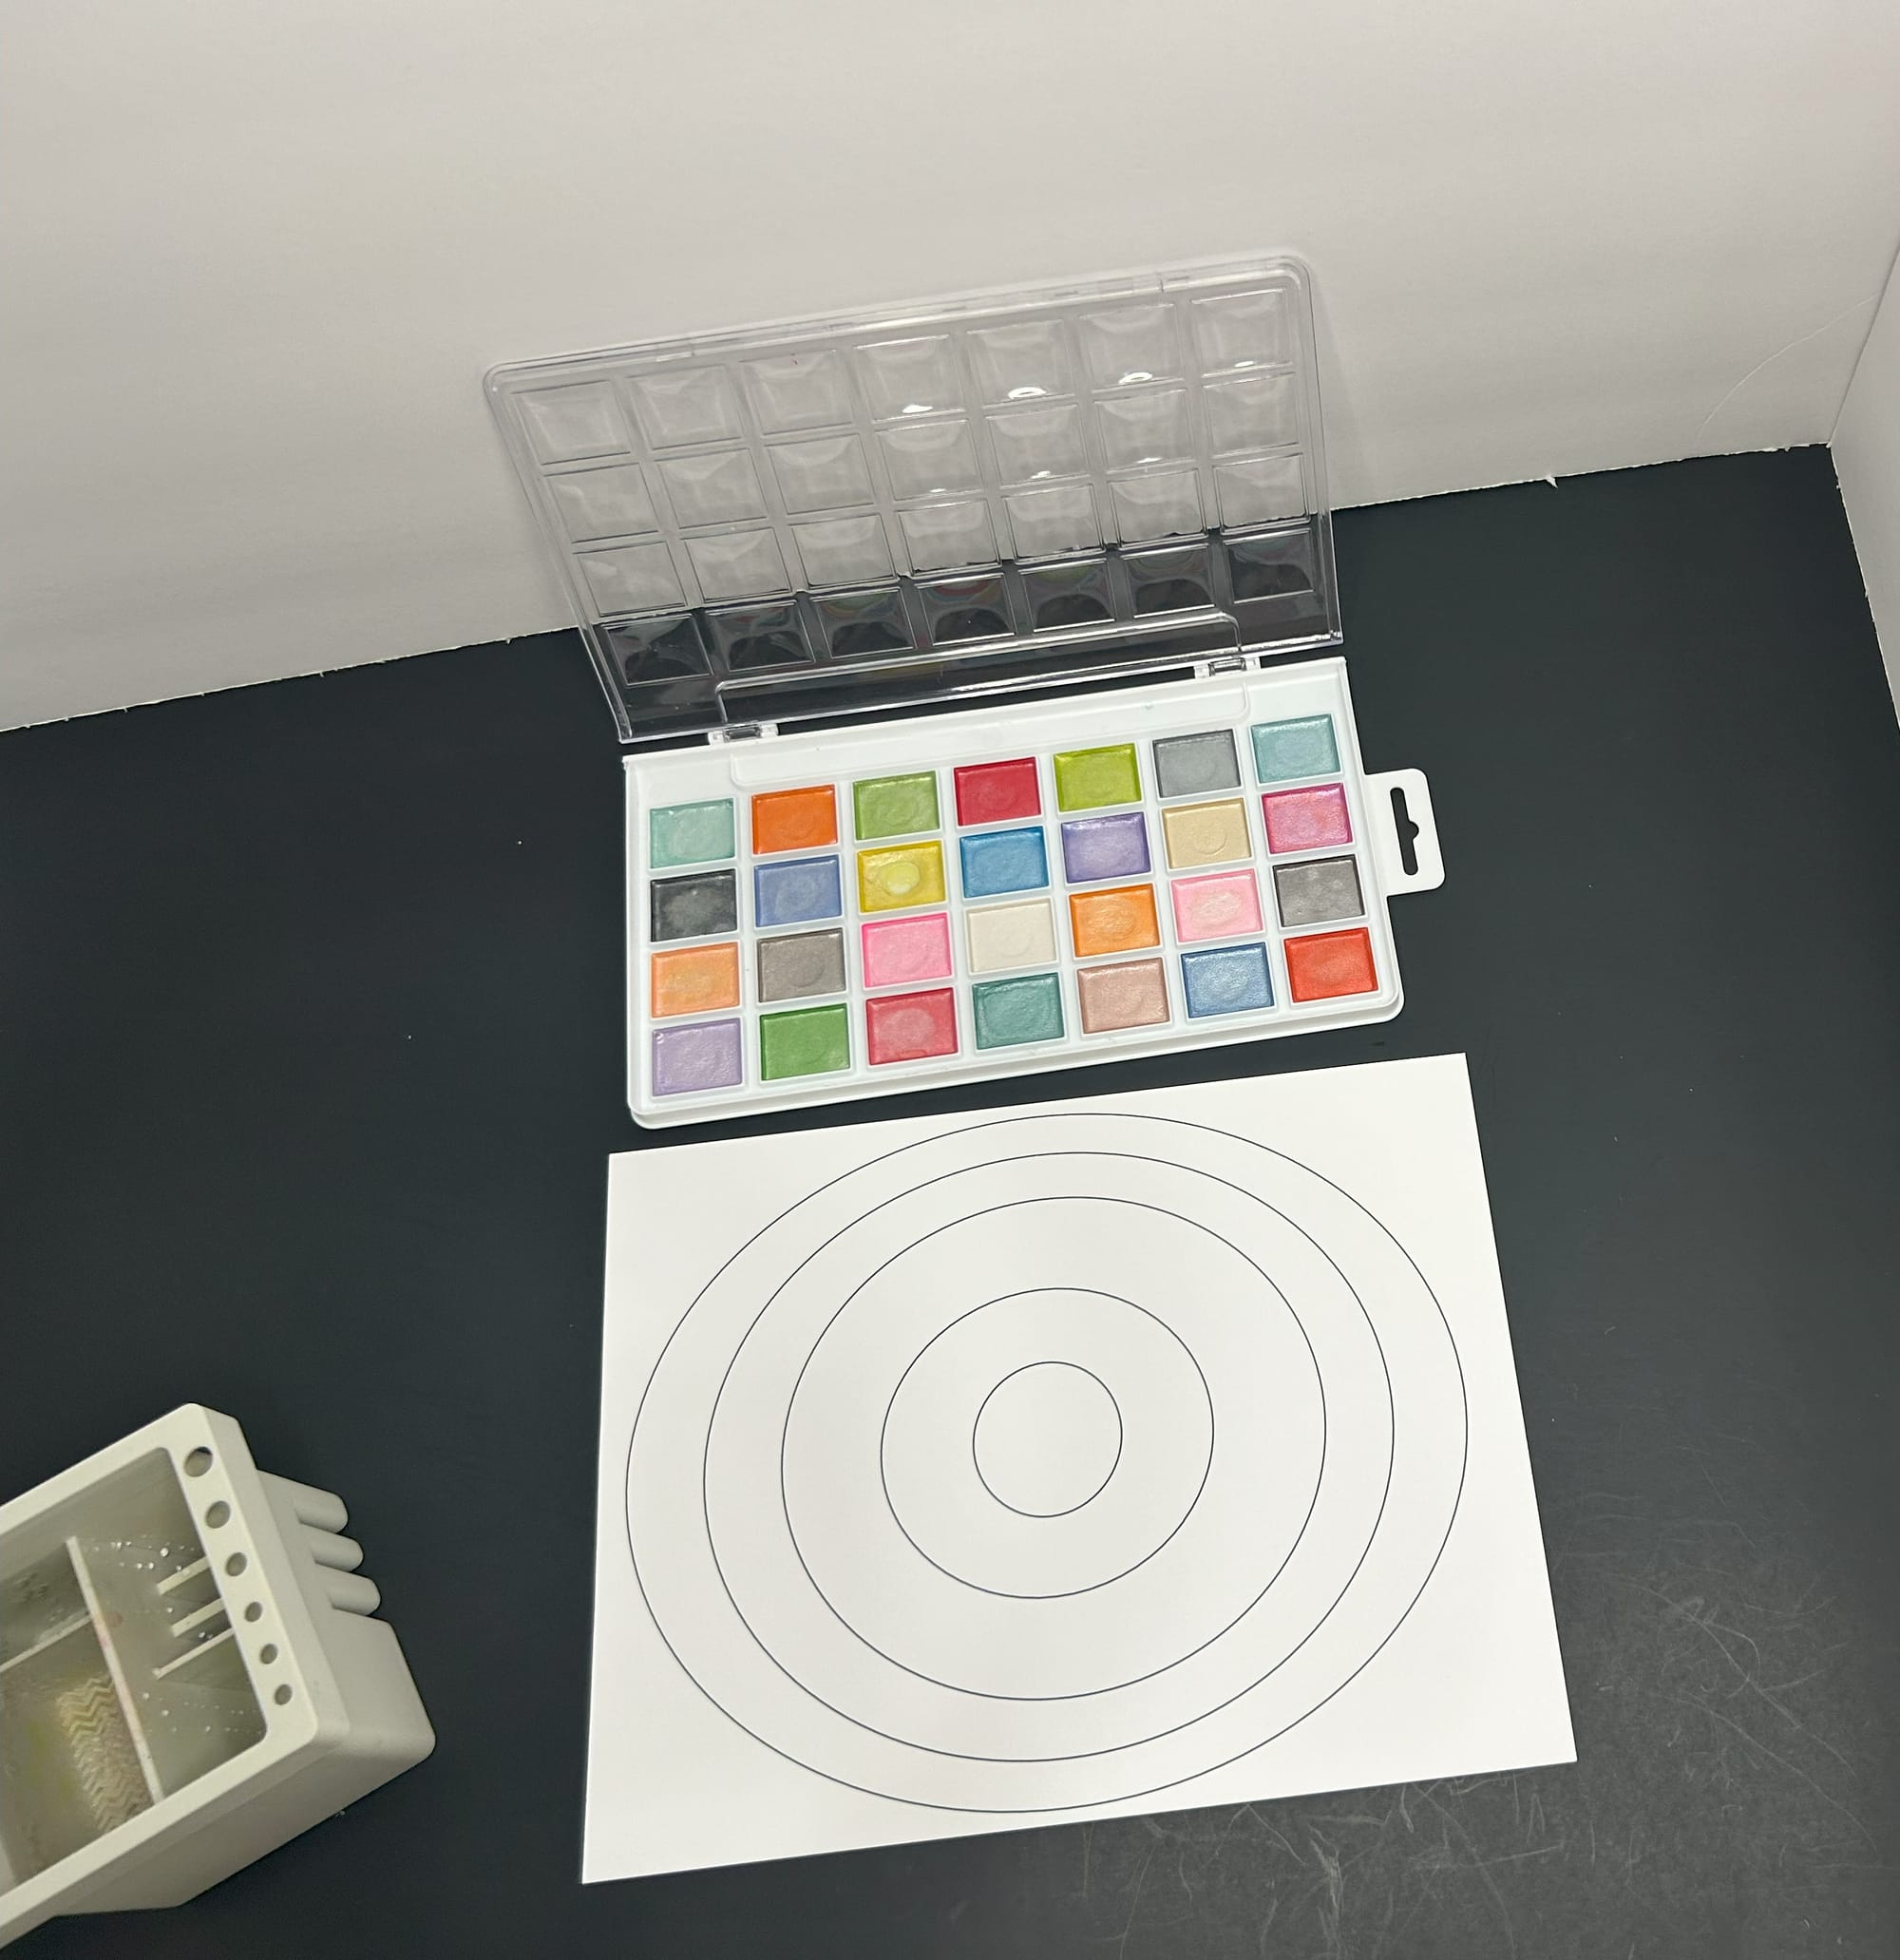
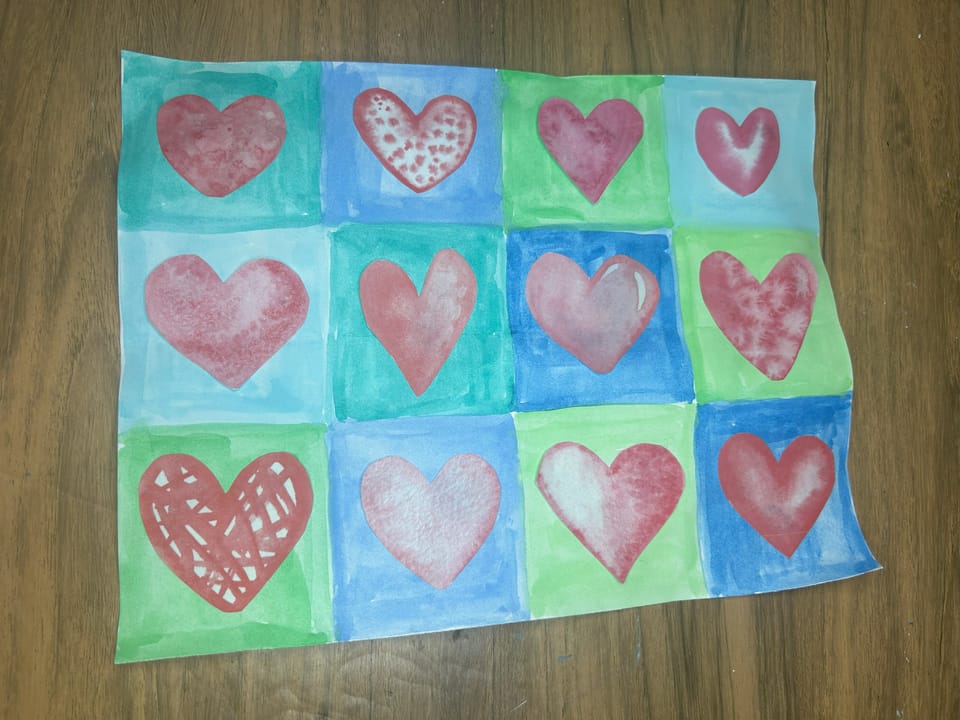
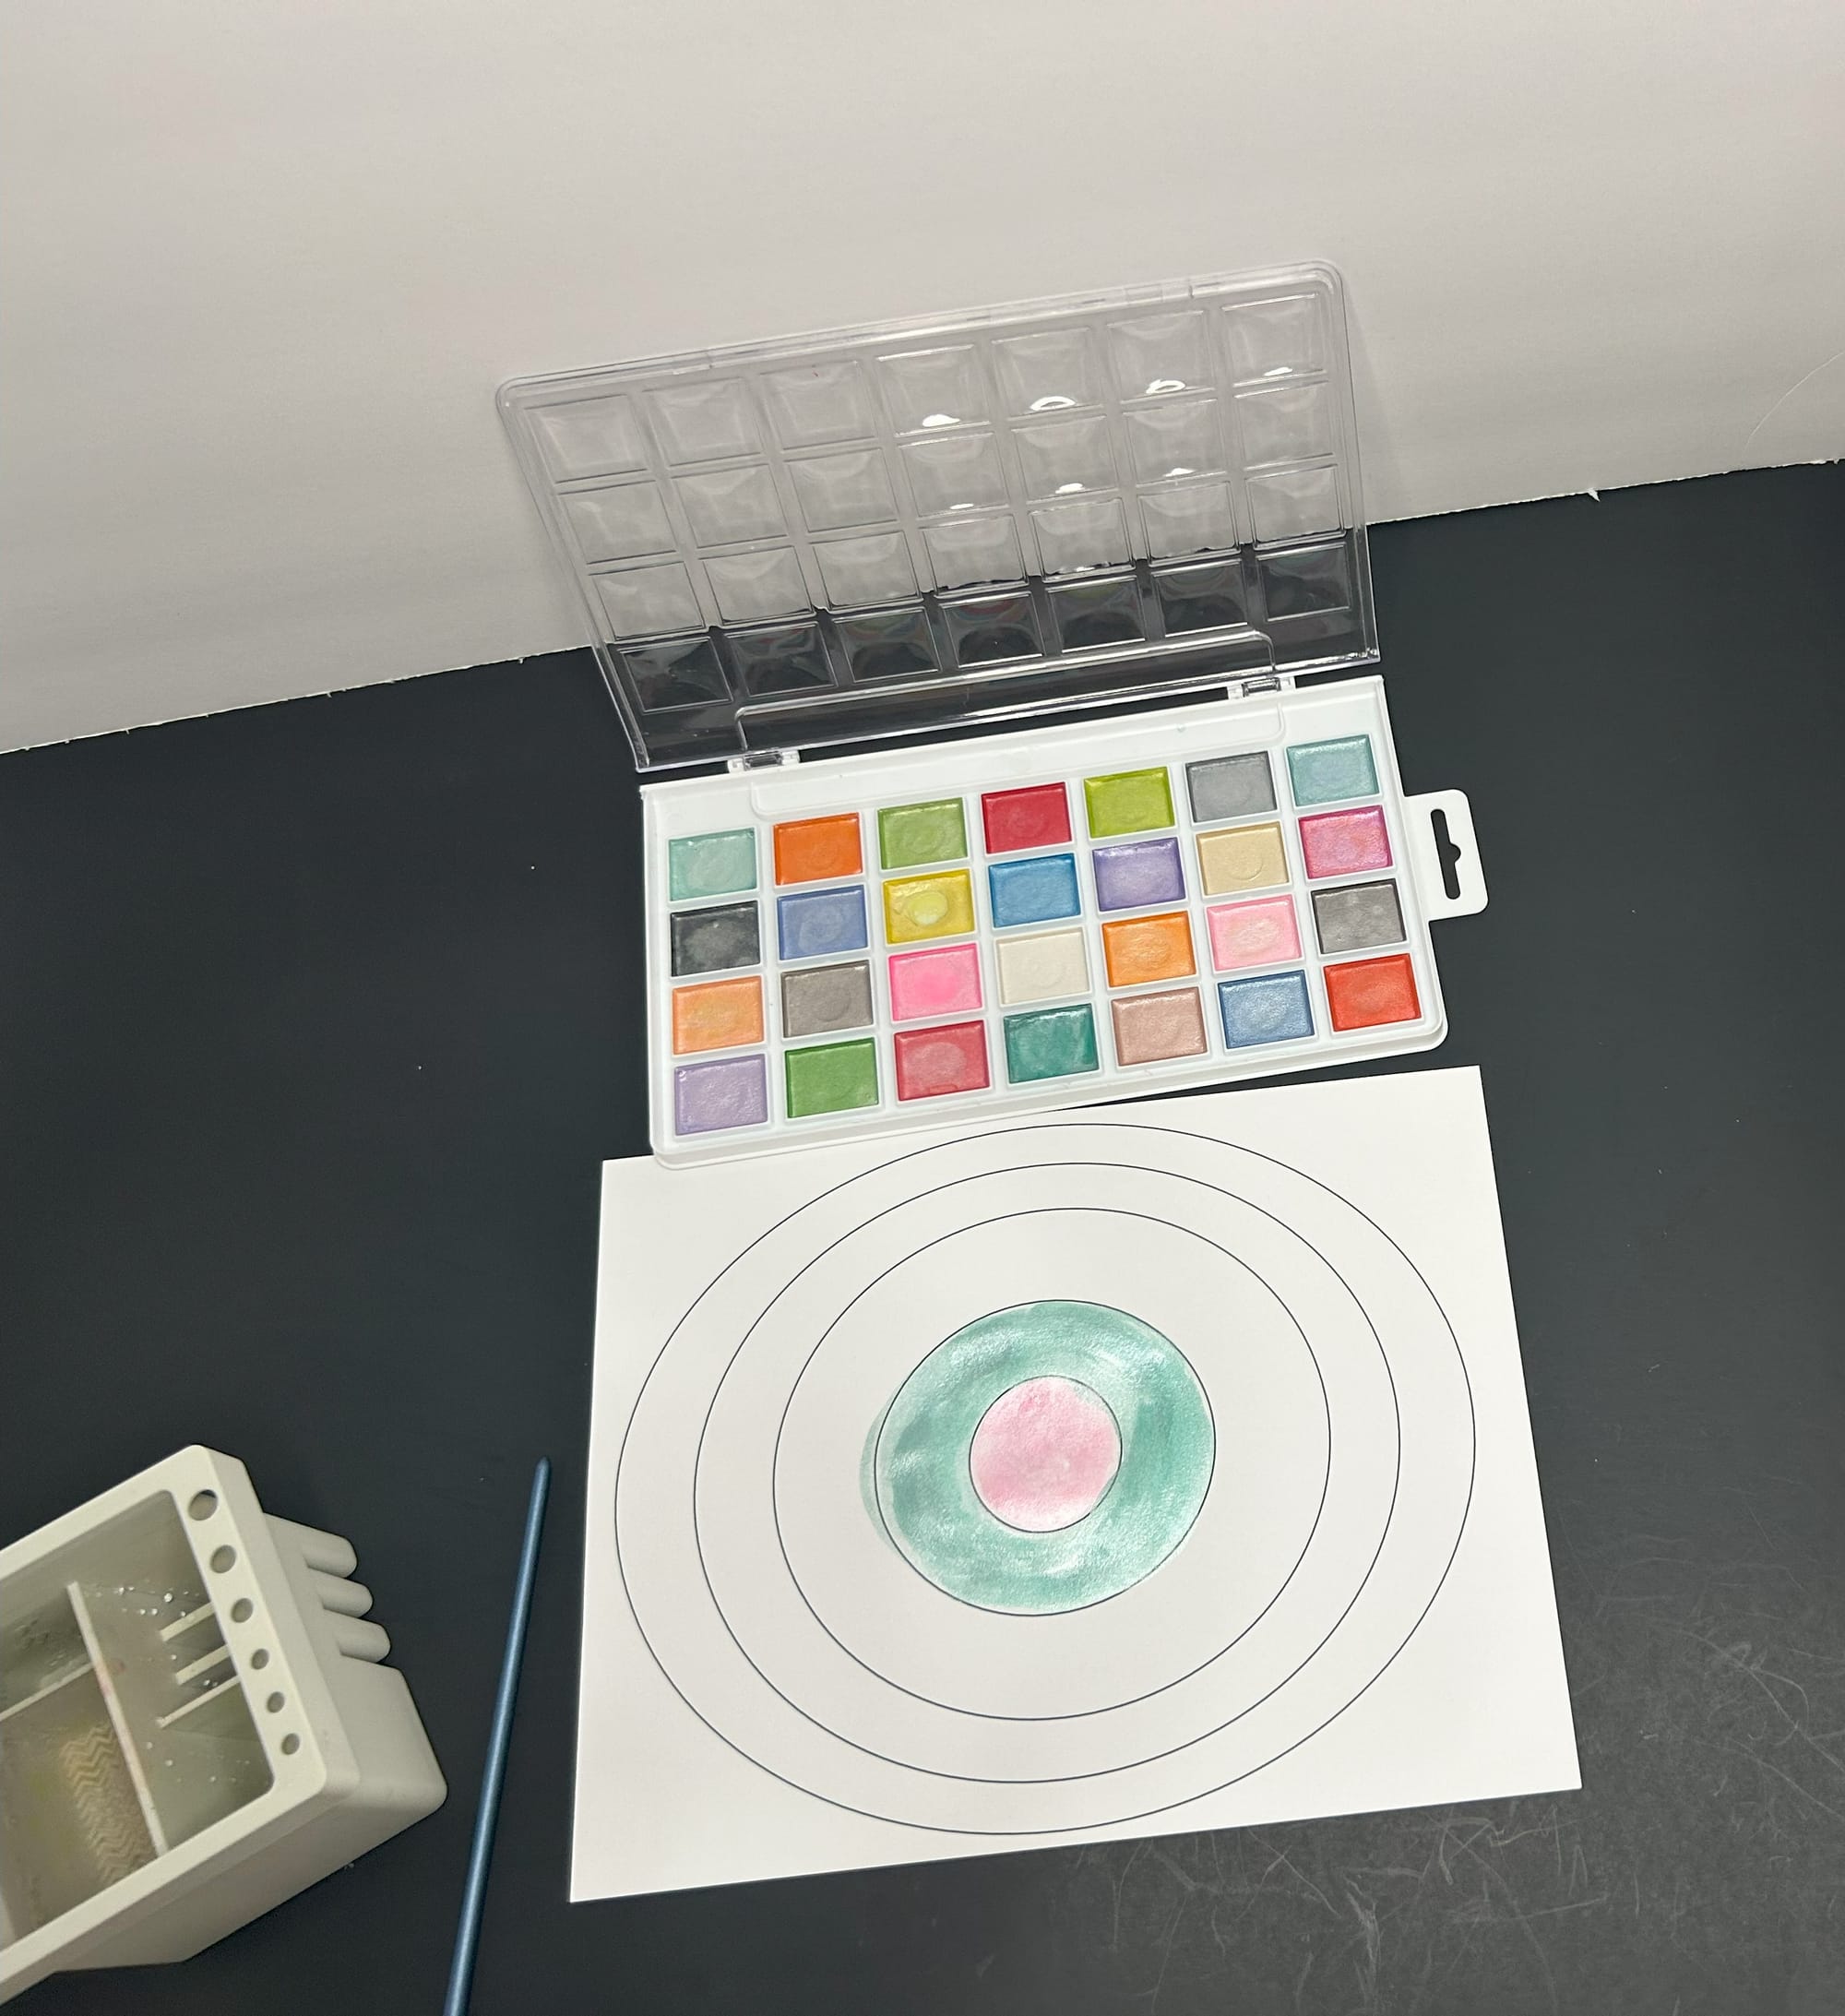
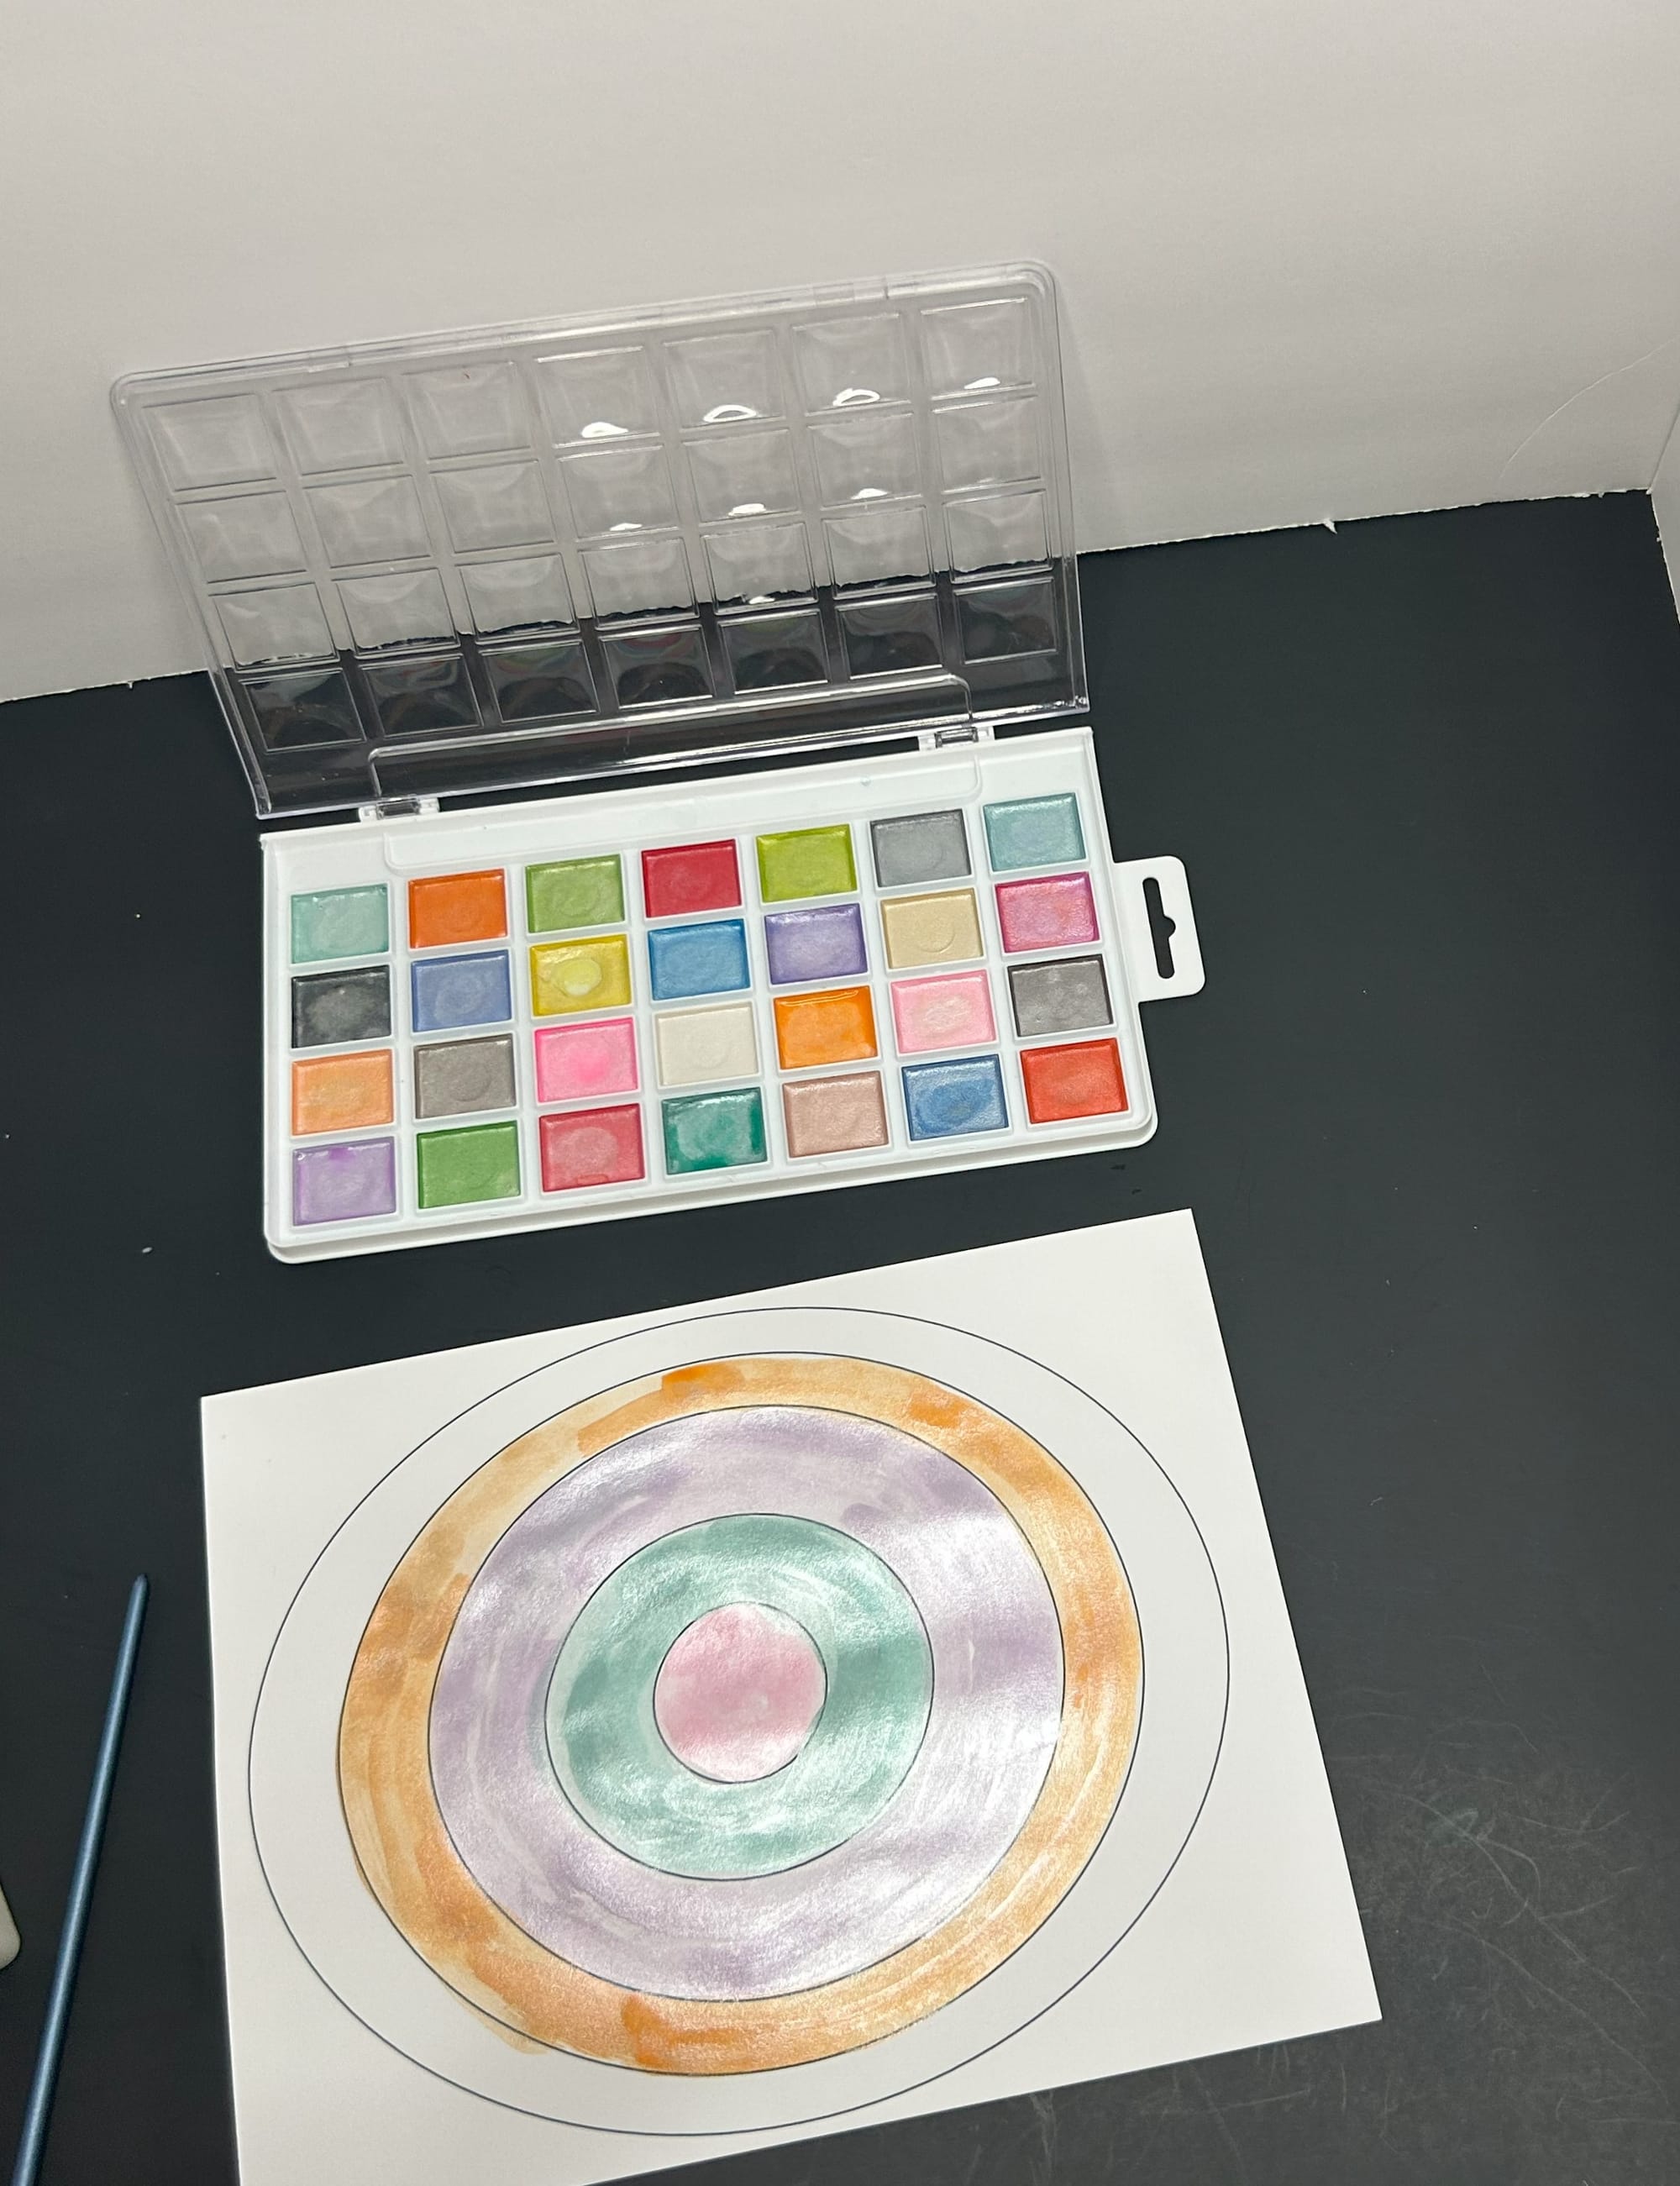
- Begin by painting a circle in the middle first and continue to paint around each circle with a new color. Continue this process until the entire paper is full. When students are completed, you will need to give their painting time to dry before moving on to the next part of the project.

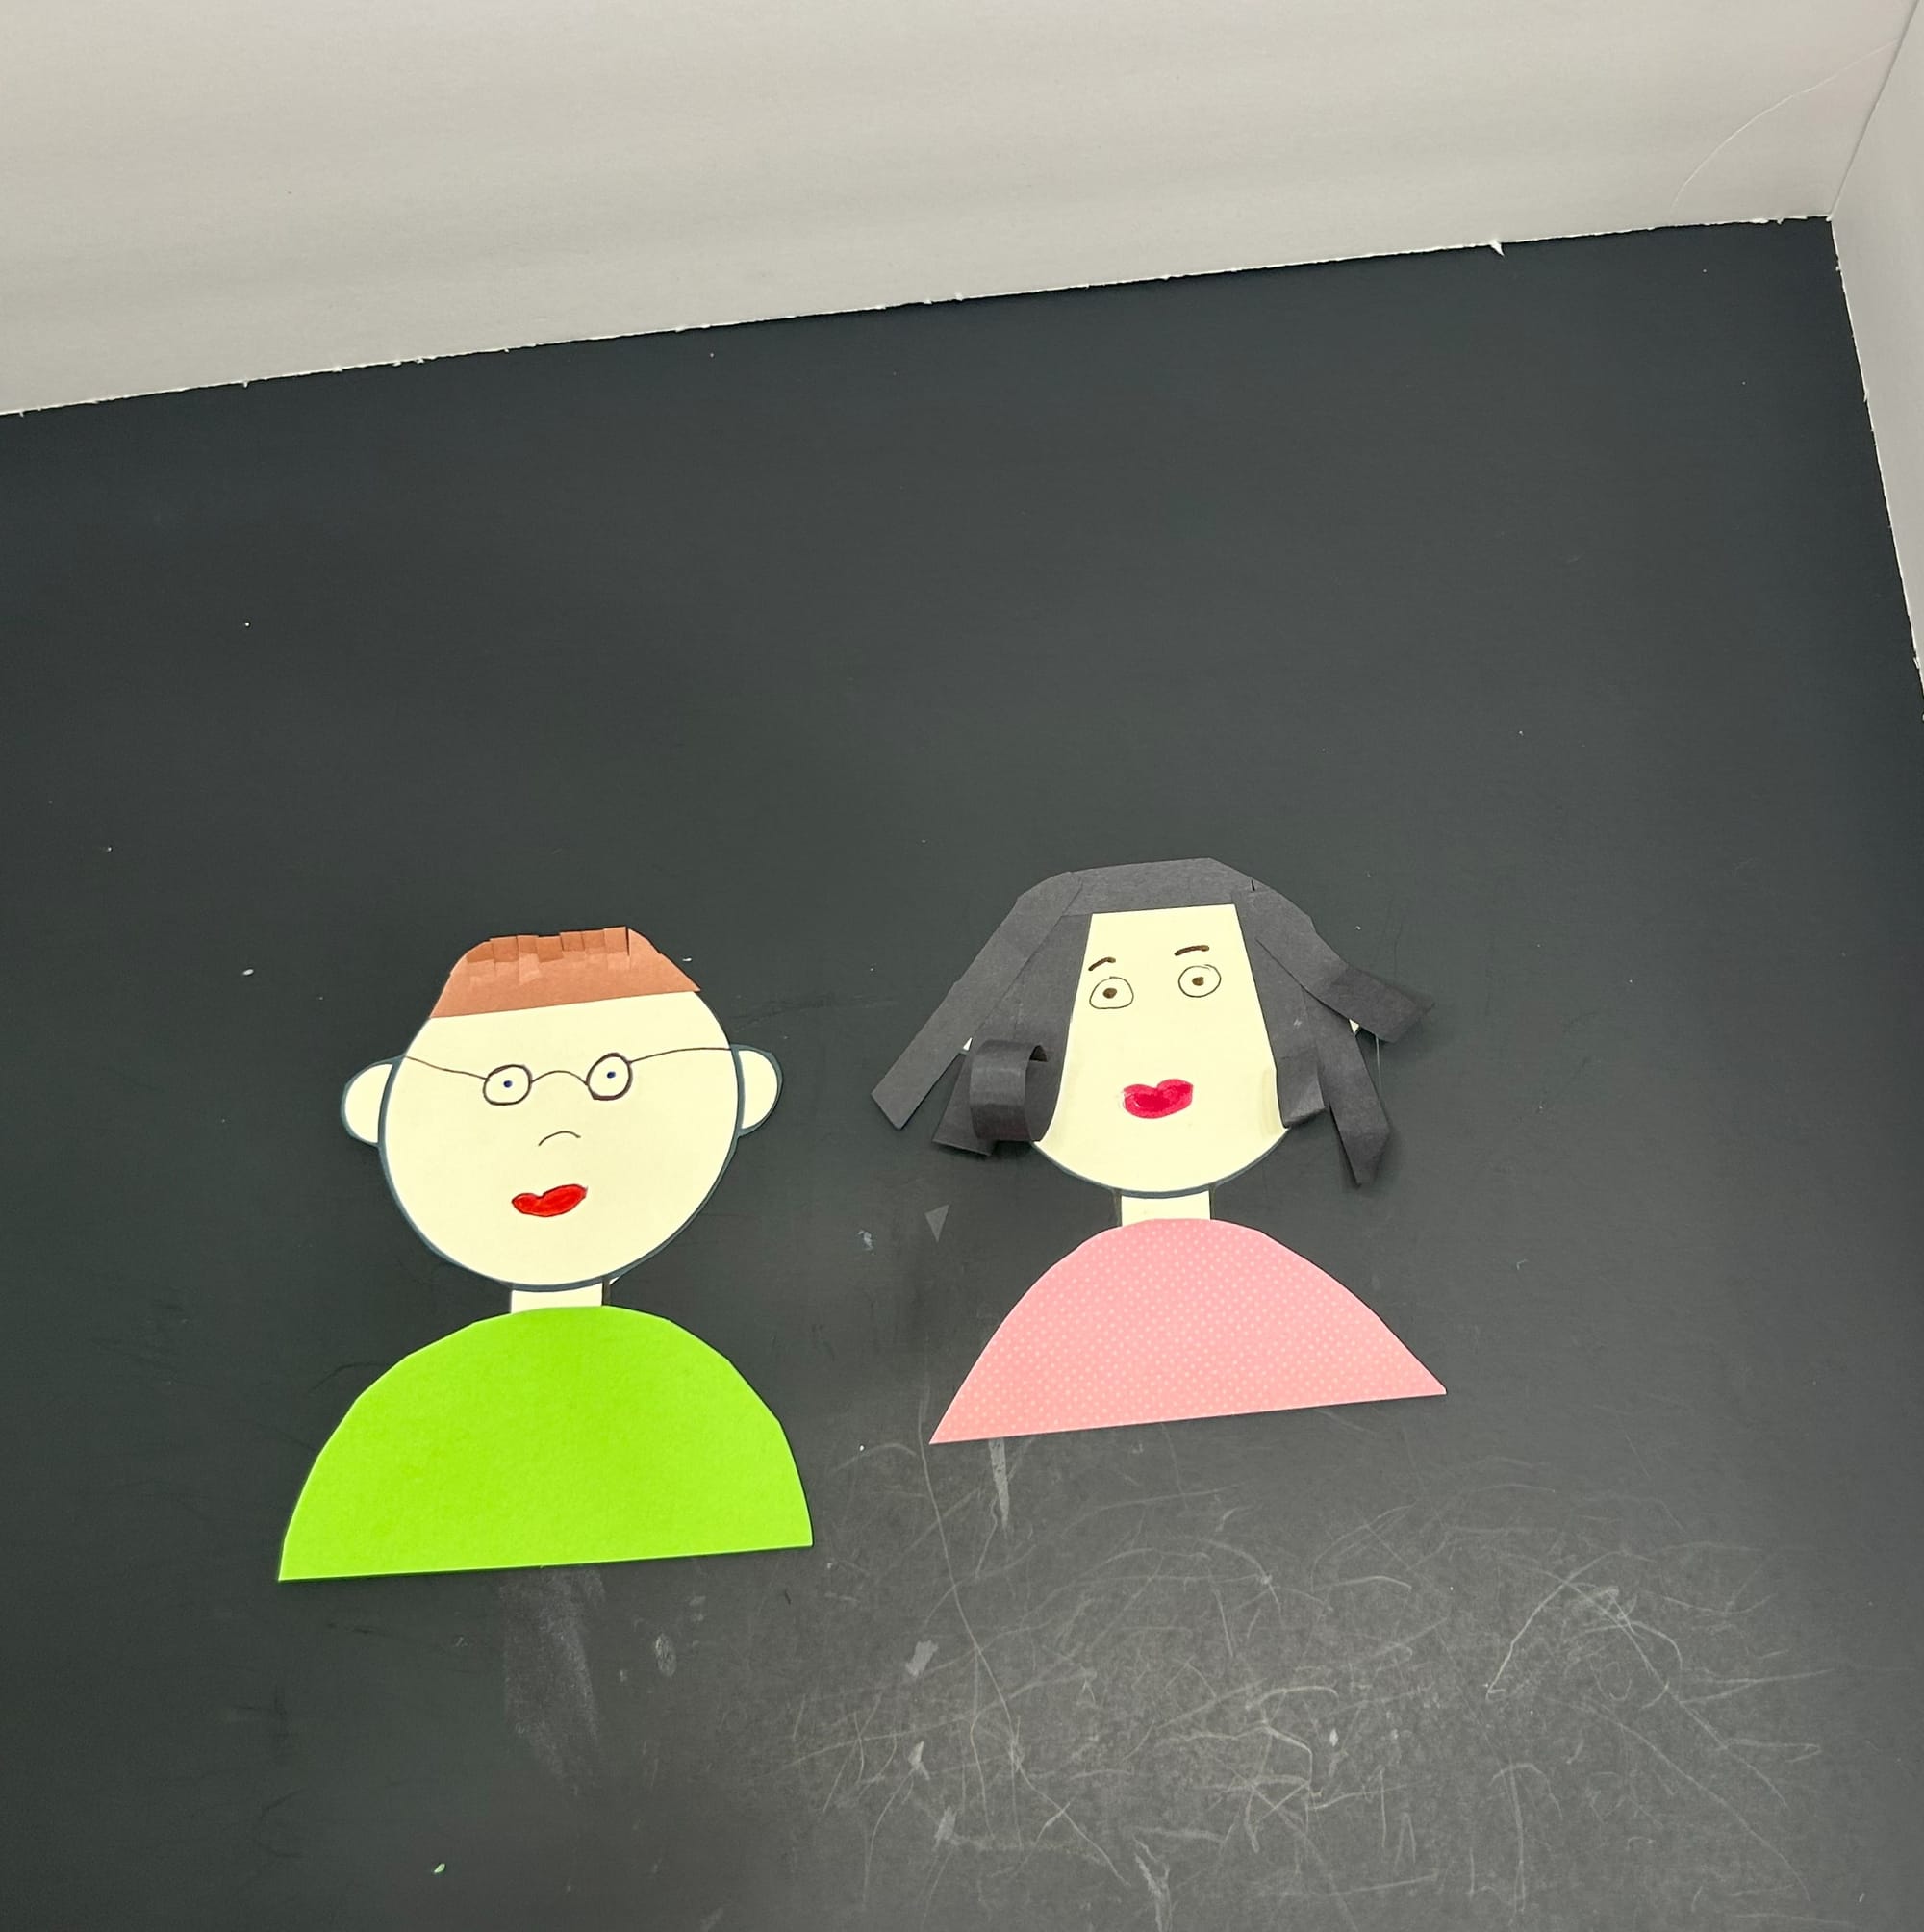
- For the second part of the art activity, give each child a face template. You can print these on a variety of skin toned papers or print on white and provide skin toned crayons for children to color their face. I love the colors of the world crayons by Crayola.
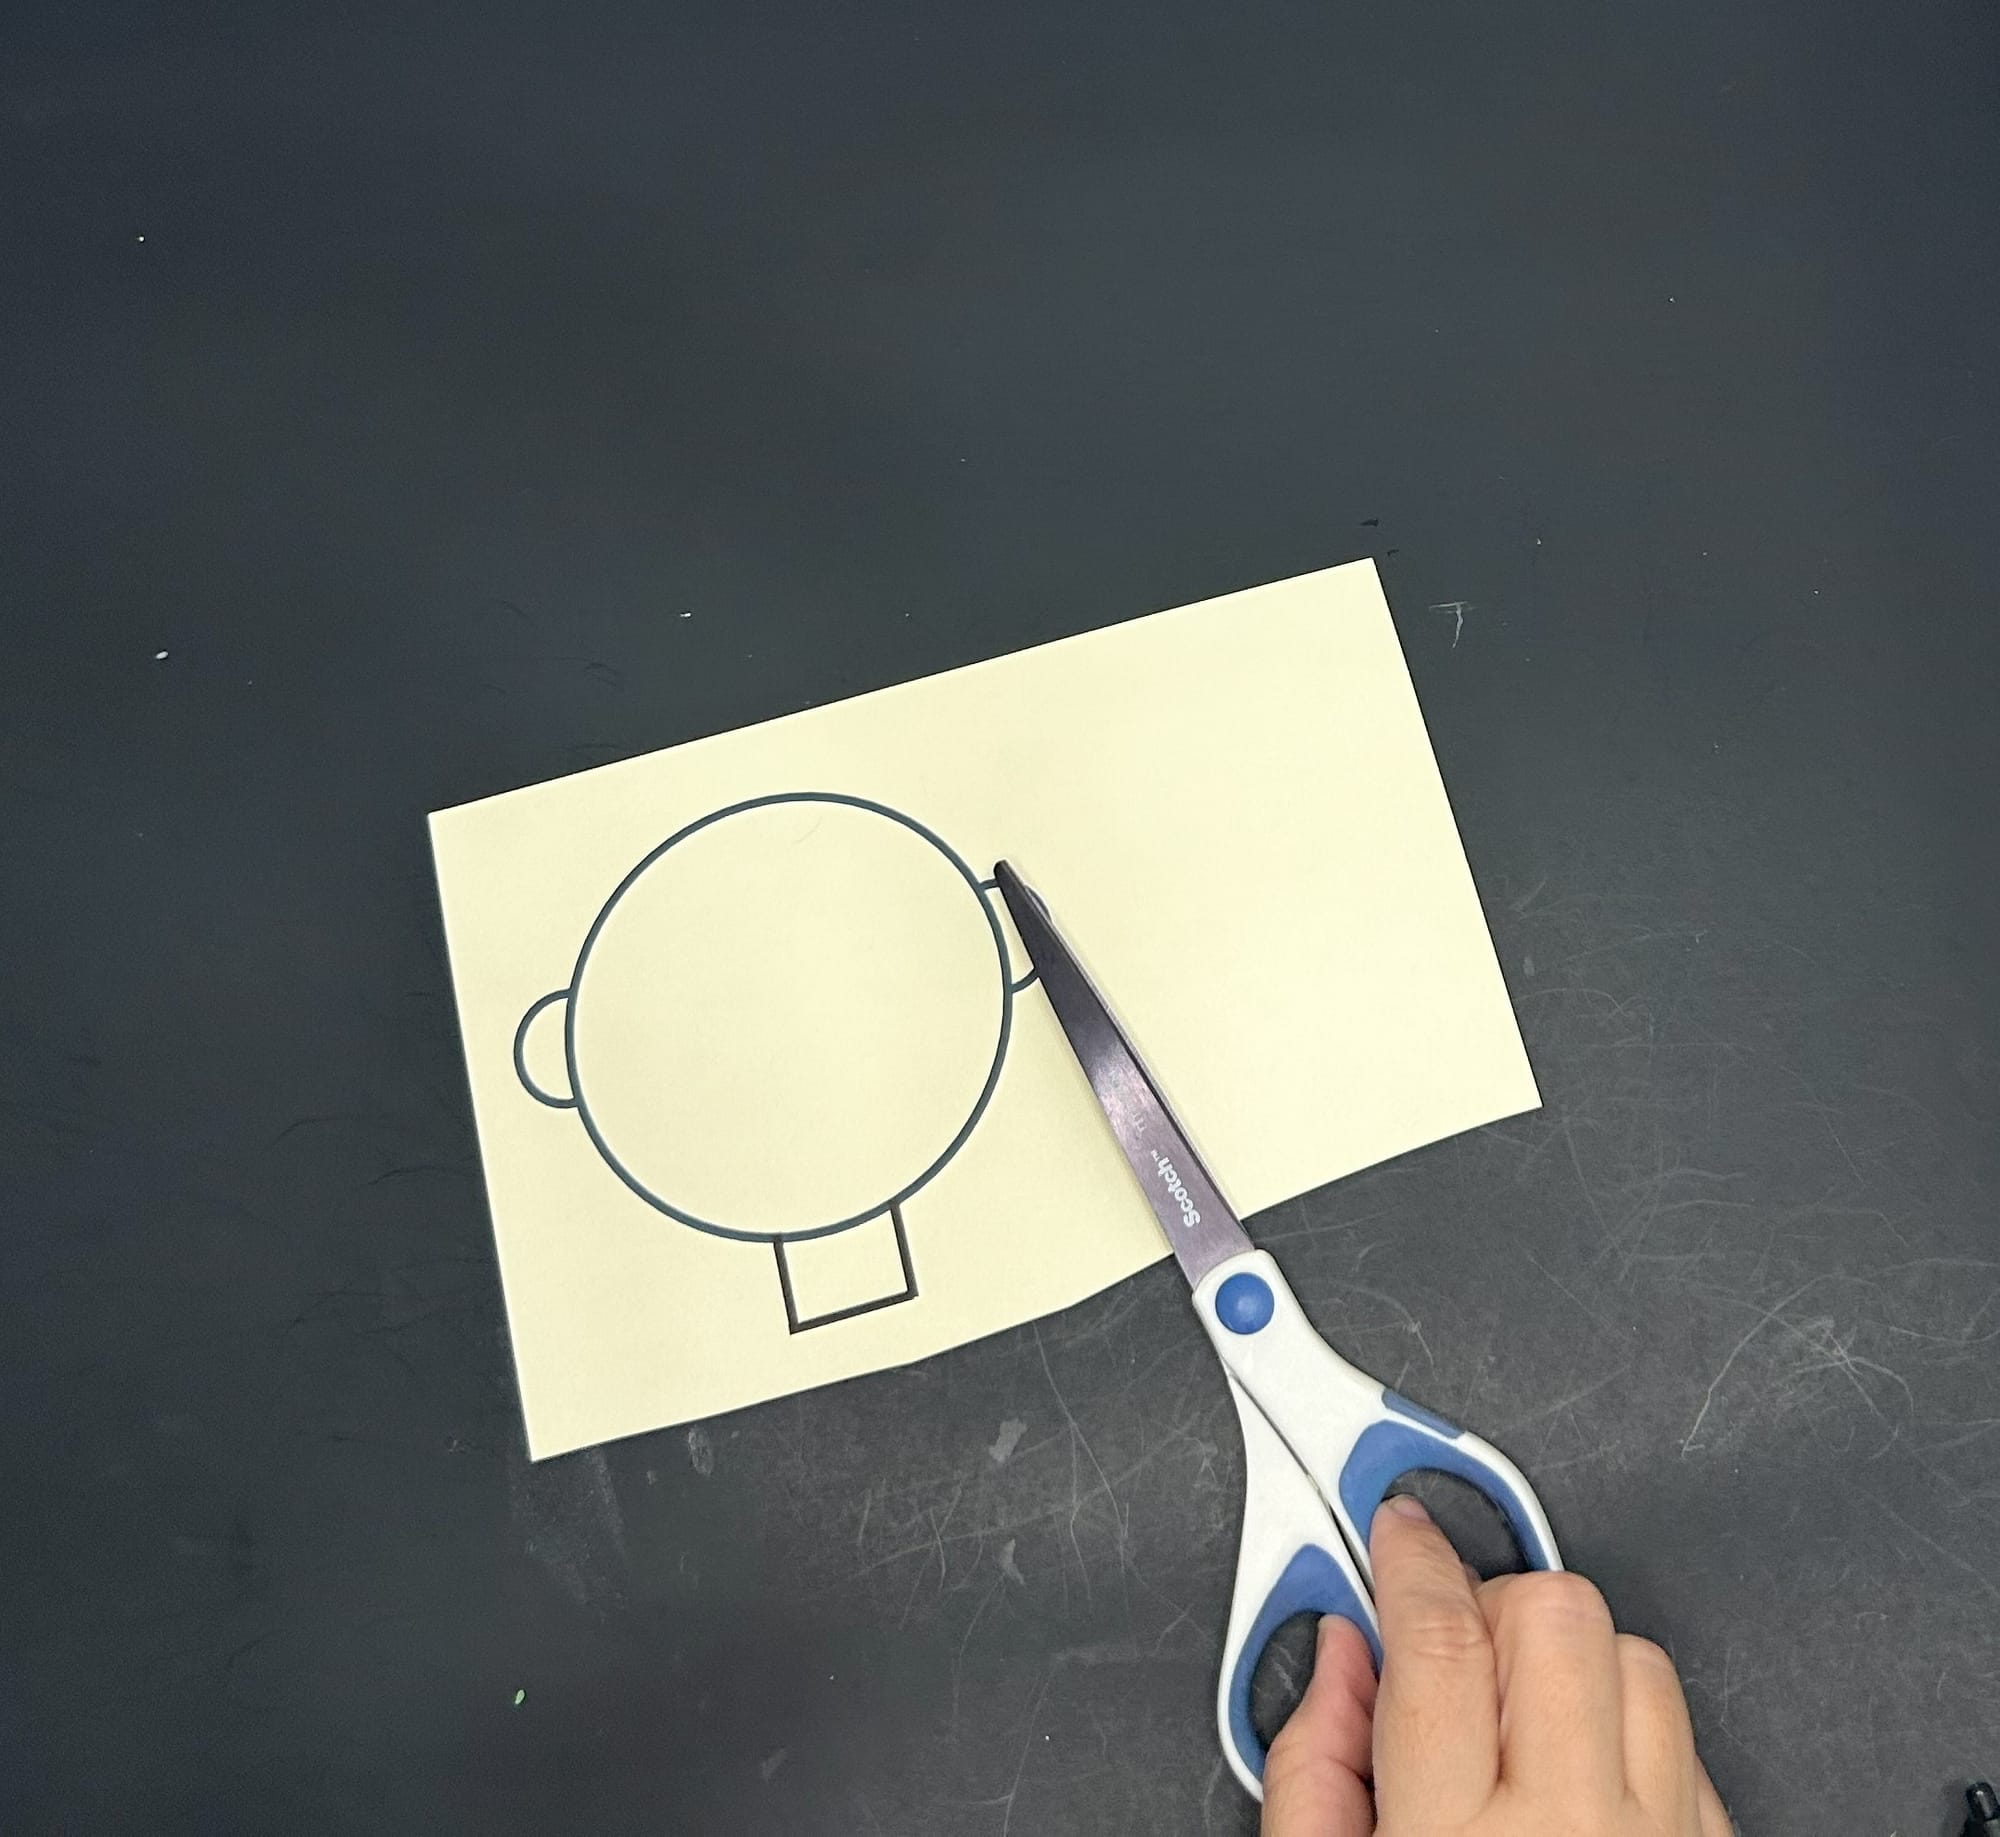
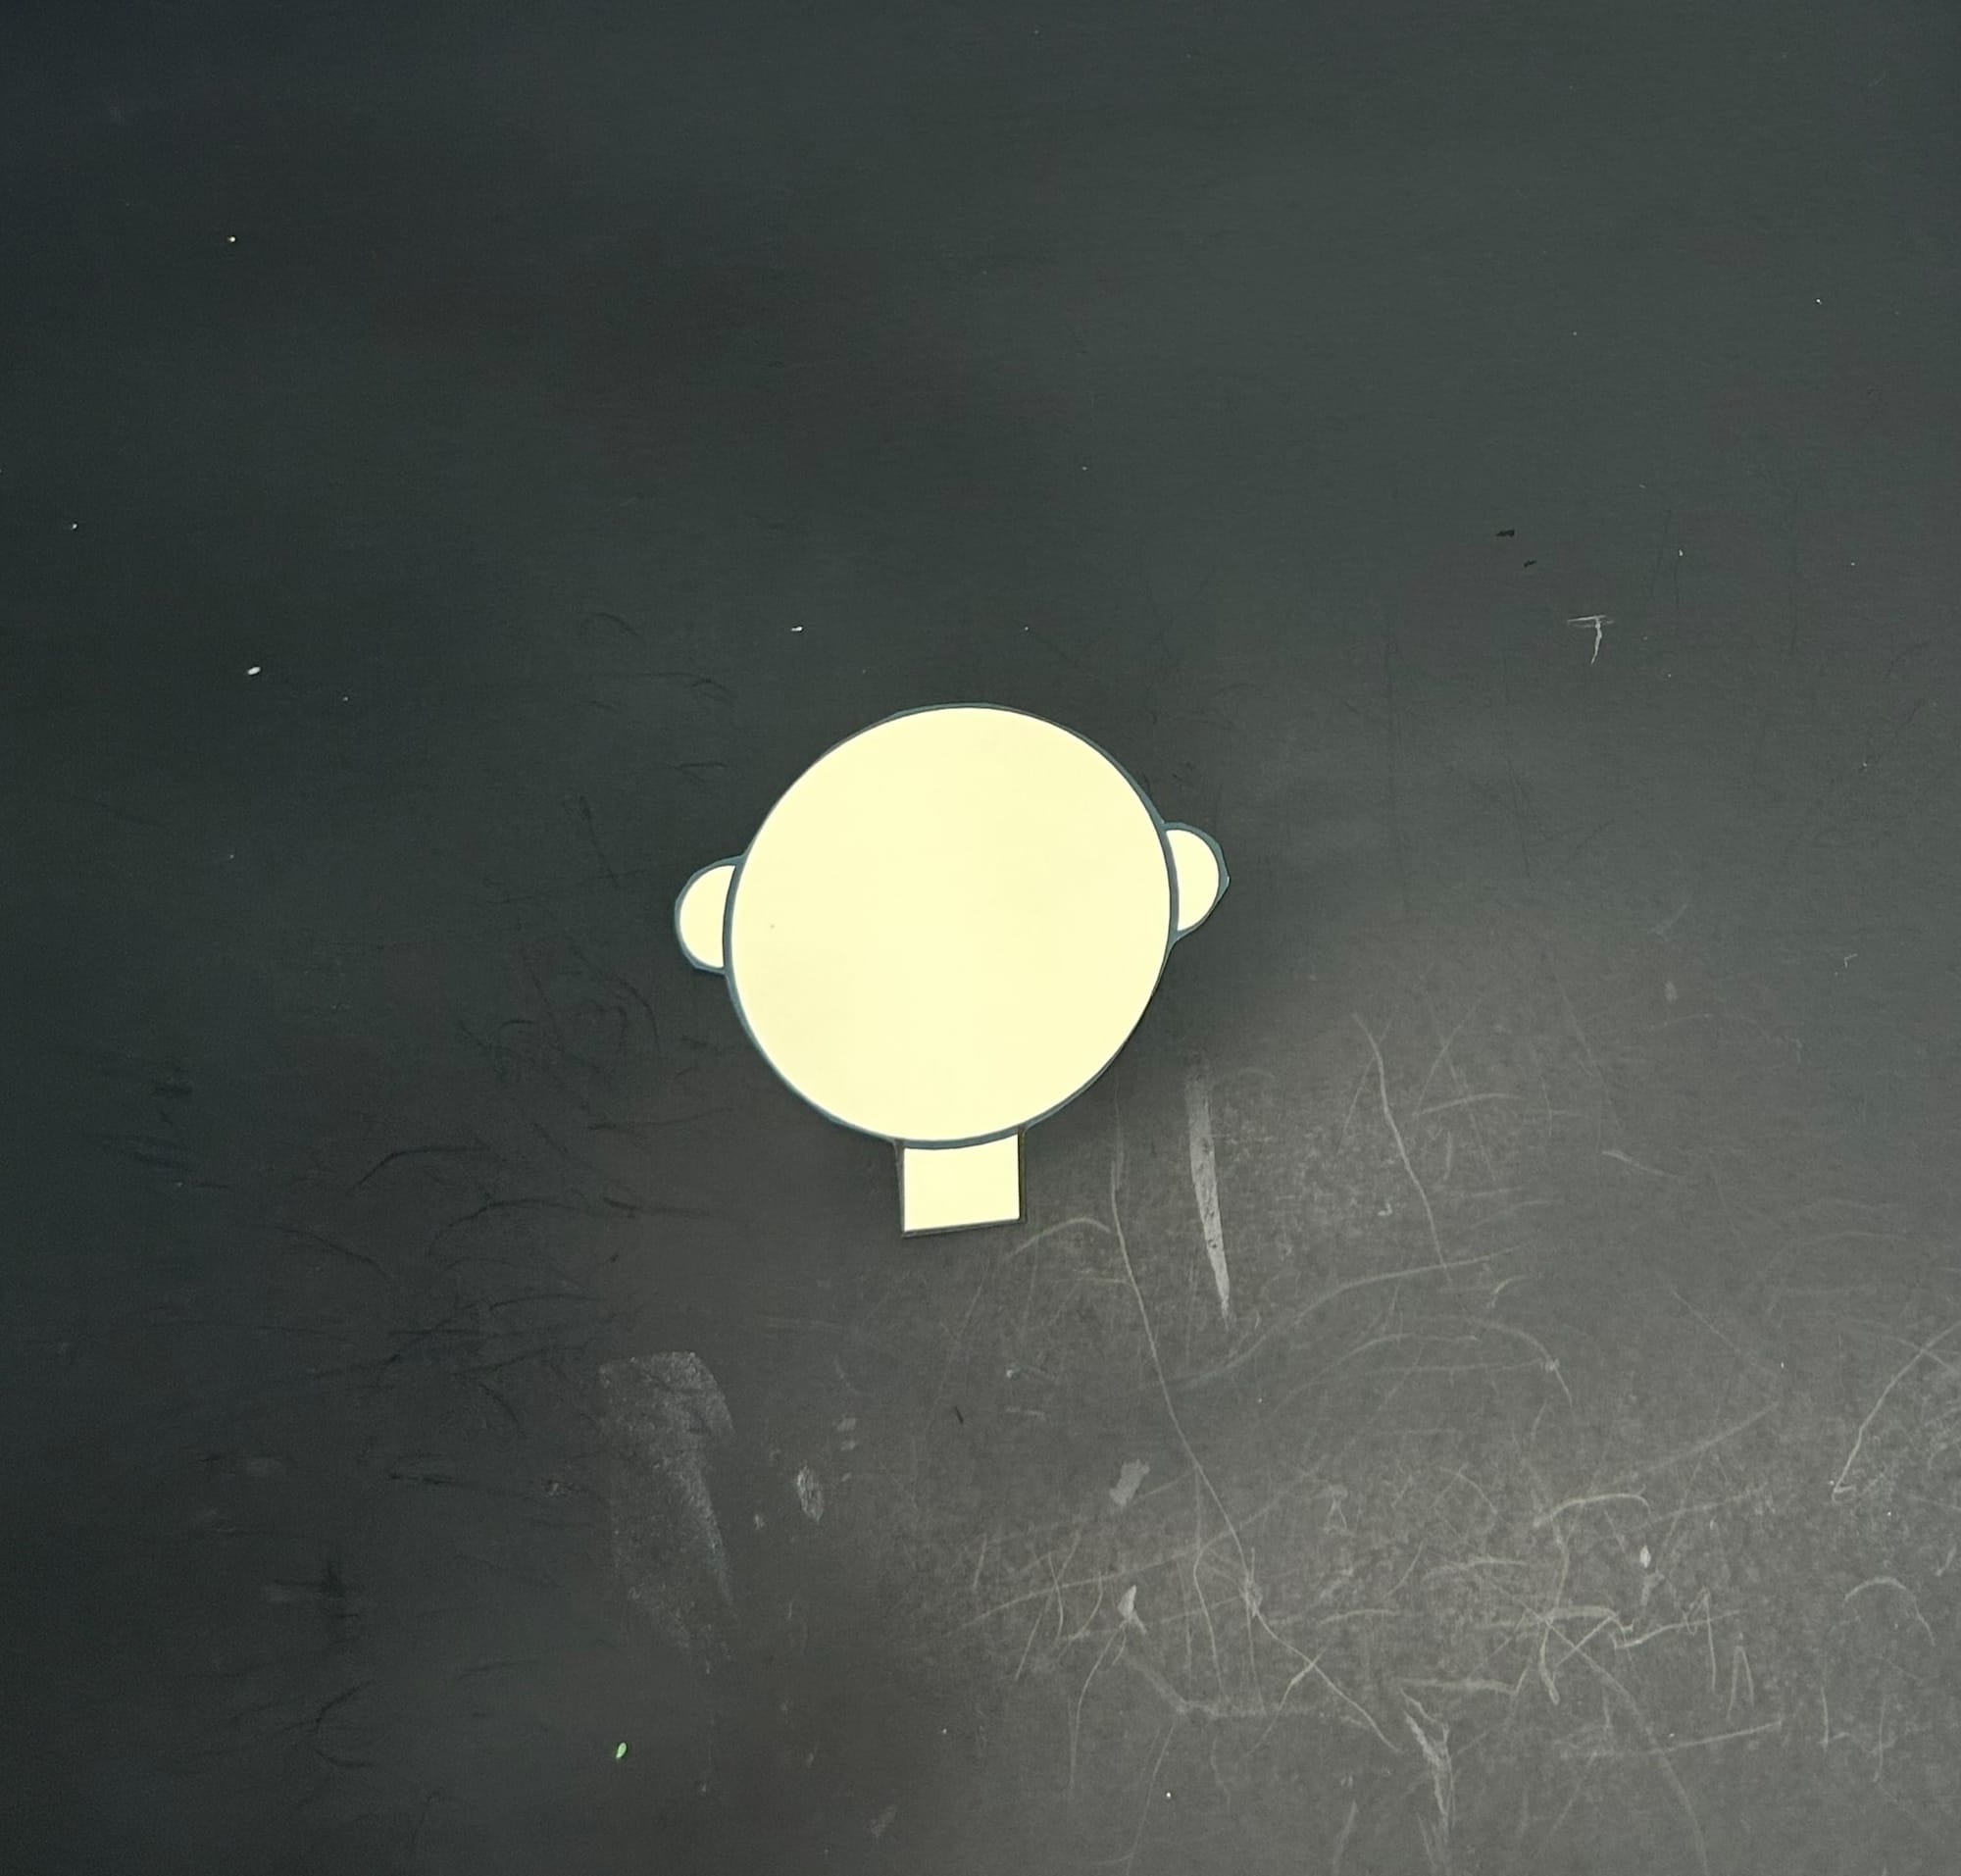
Cut out the face template
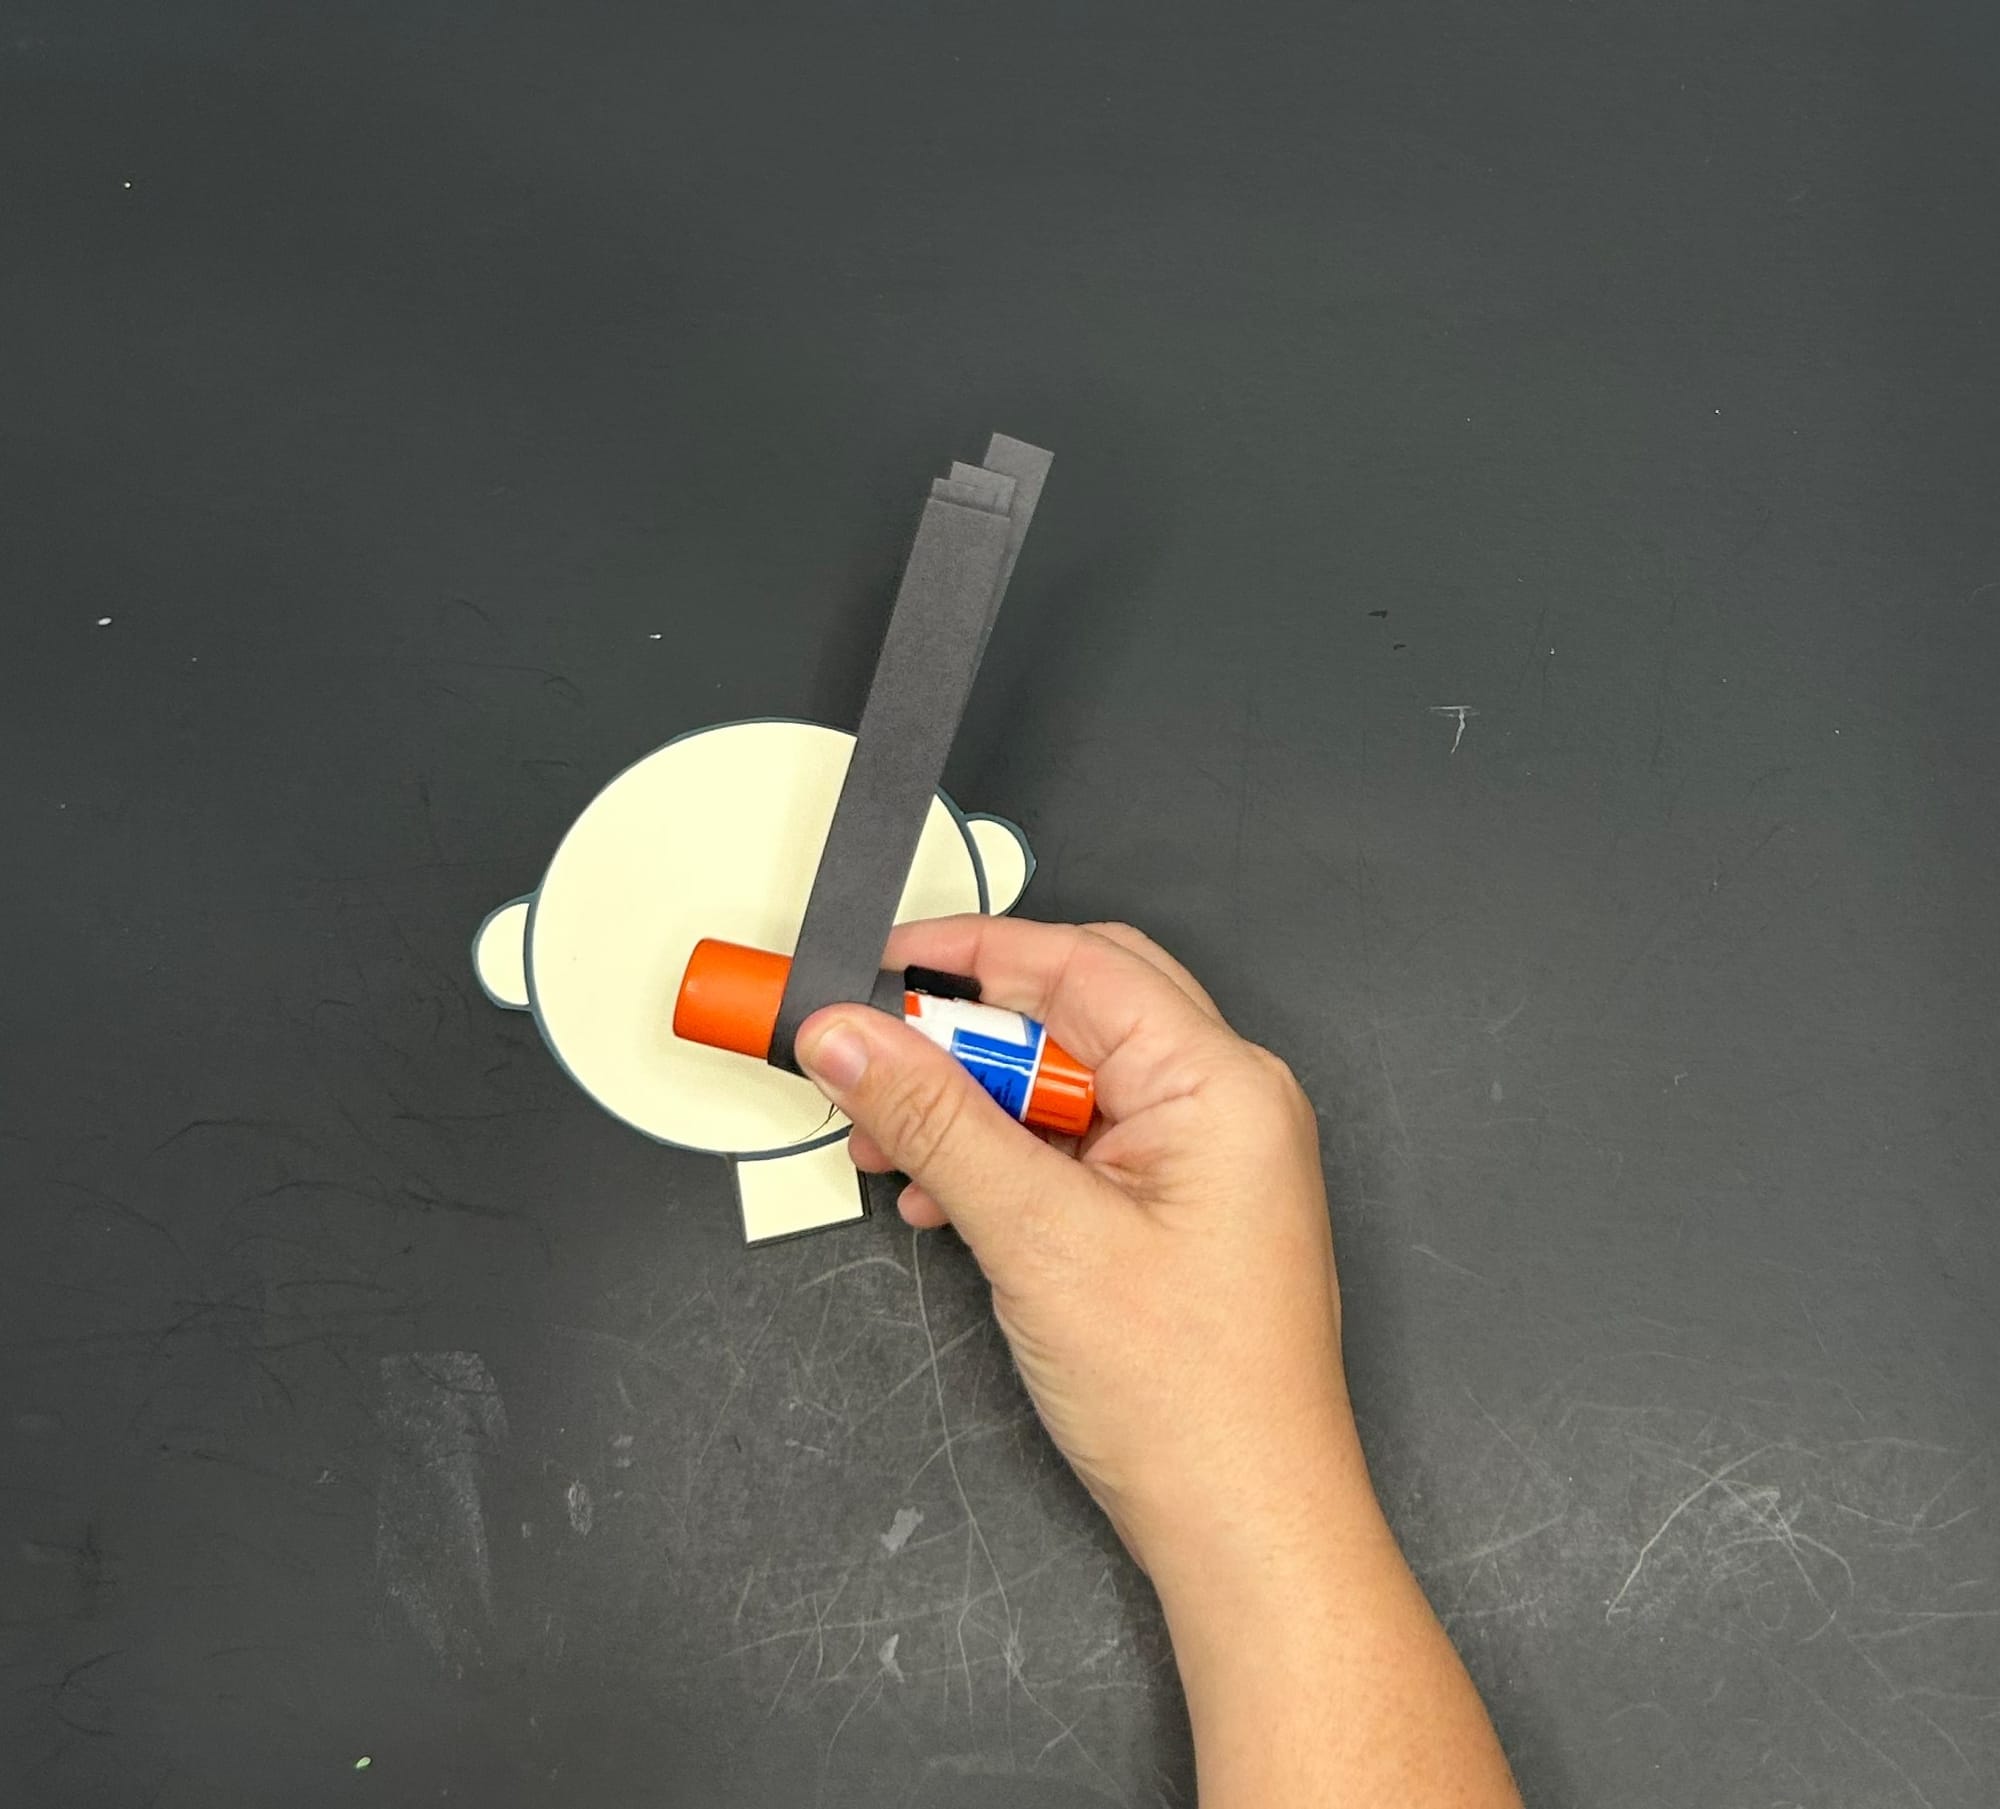
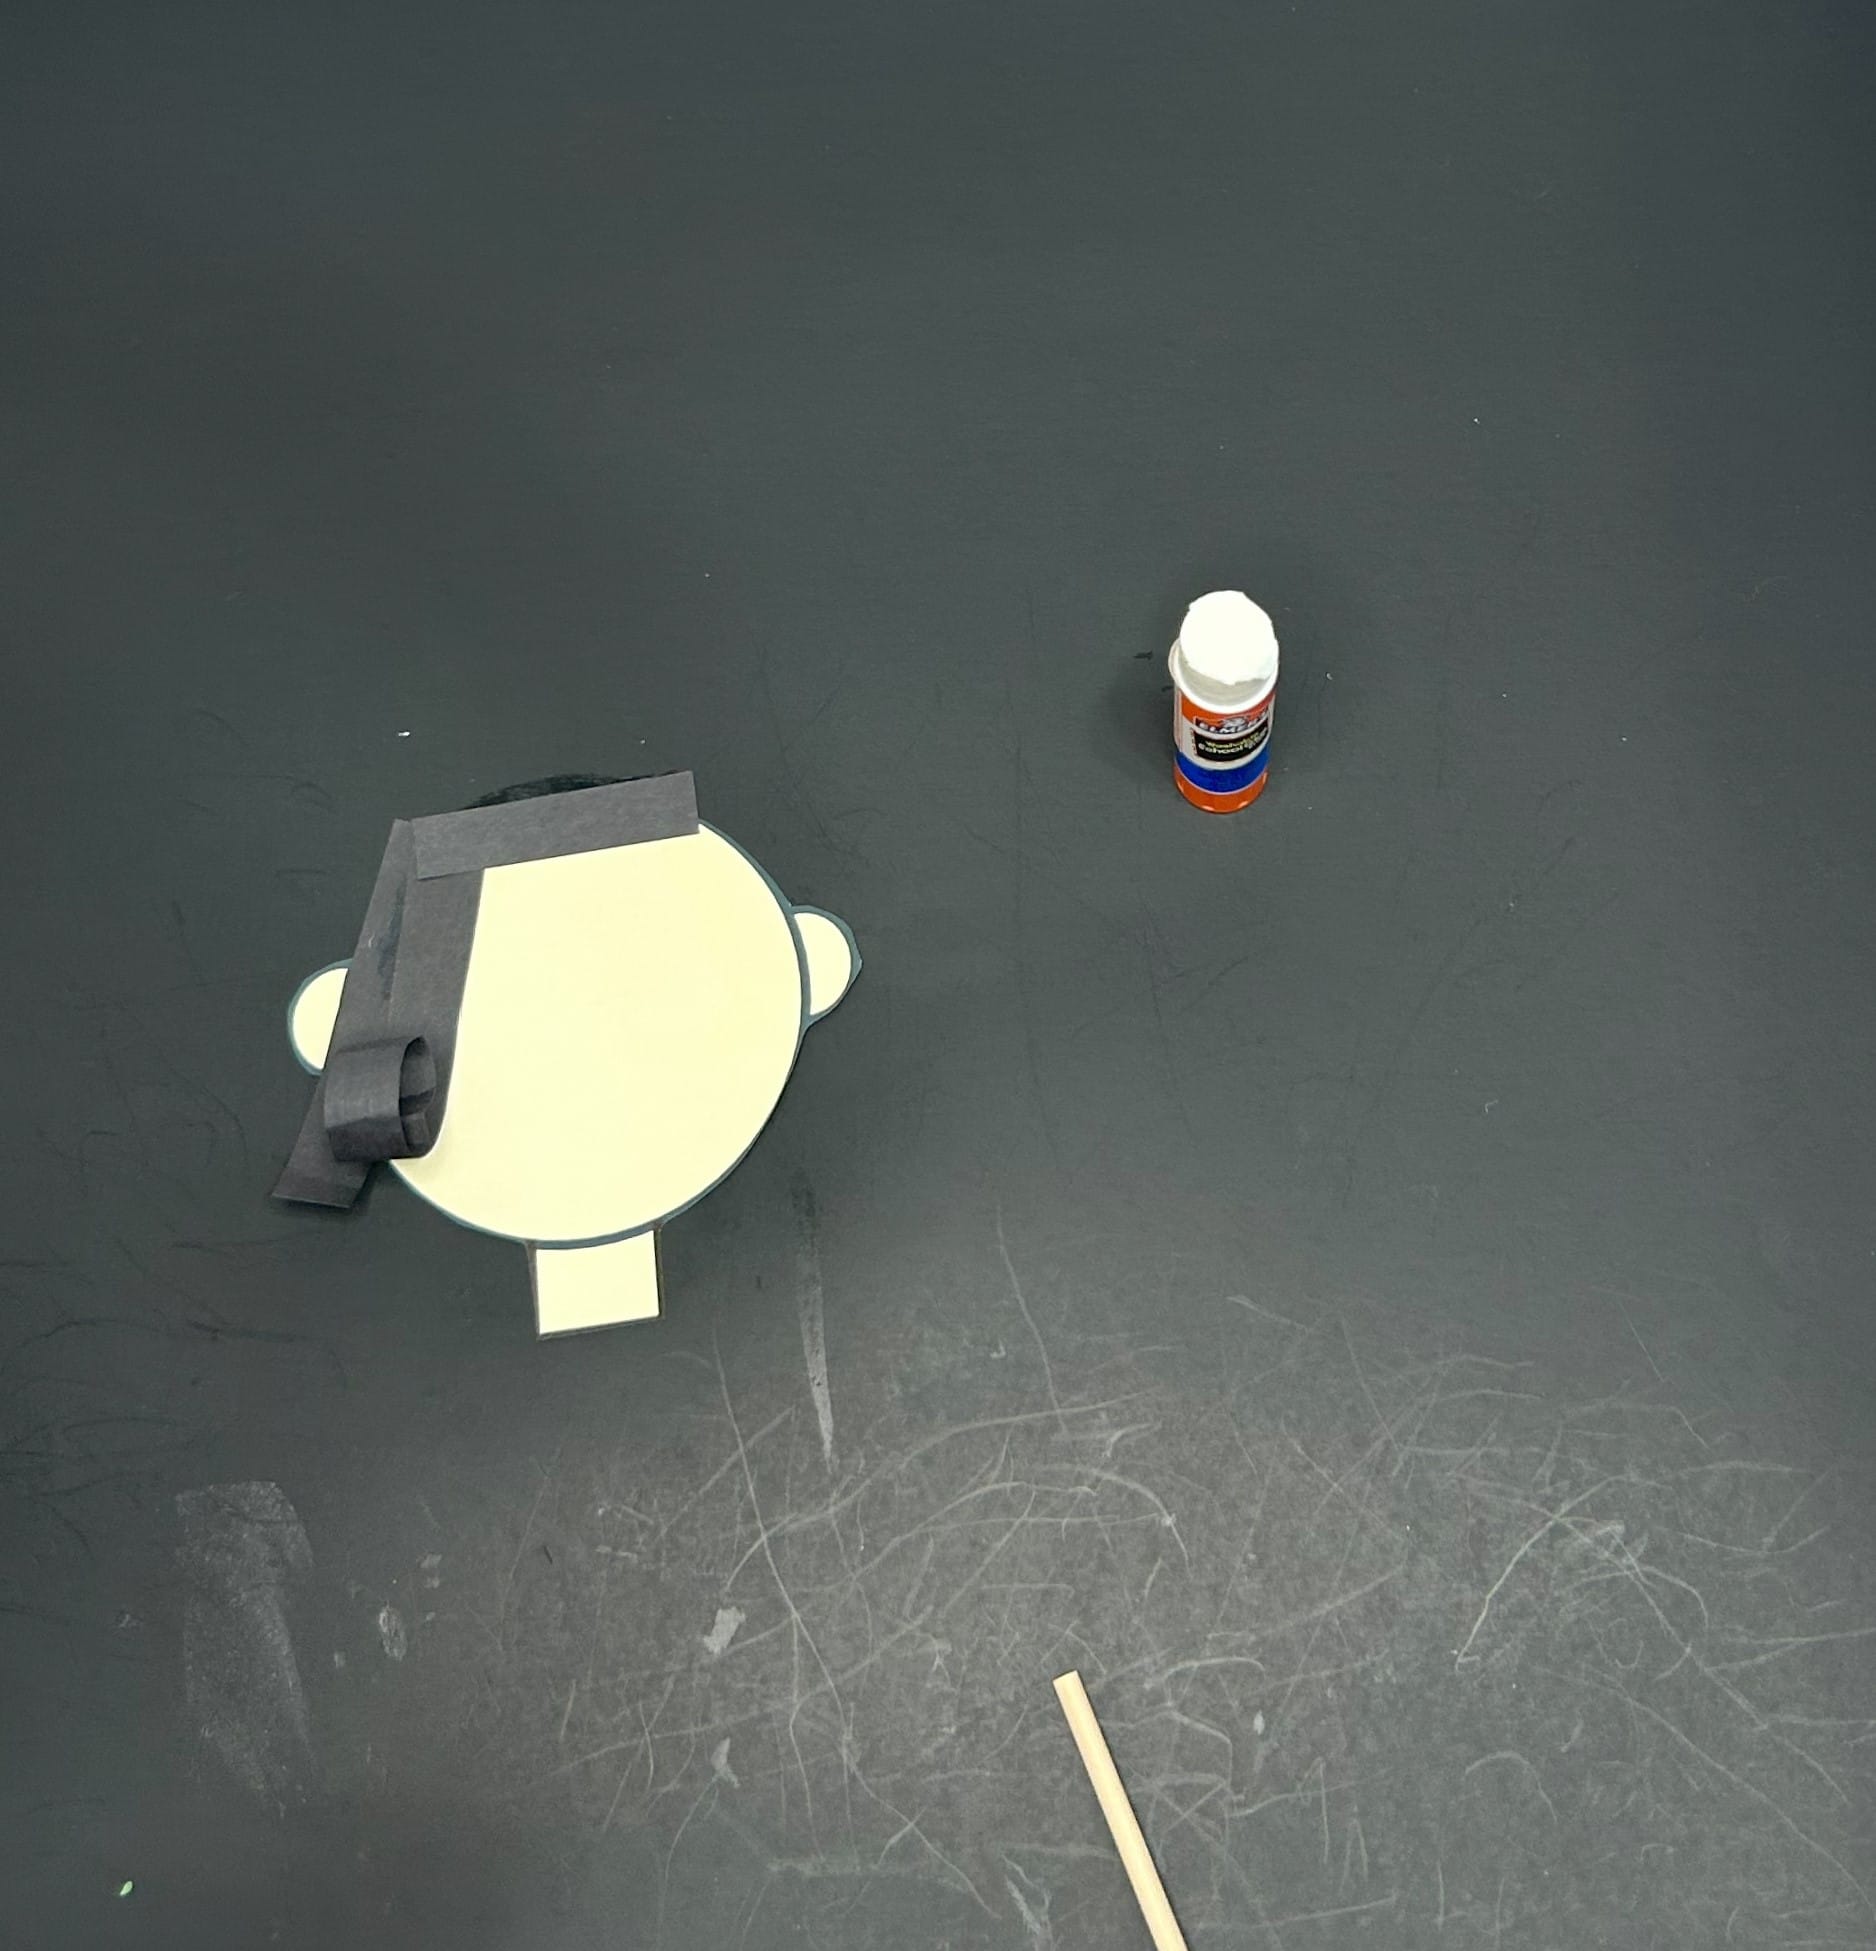
- Allow each child to select construction paper to create their hair on the head. I cut strips of paper to use for hair. I wrapped some around a gluestick to make curls.
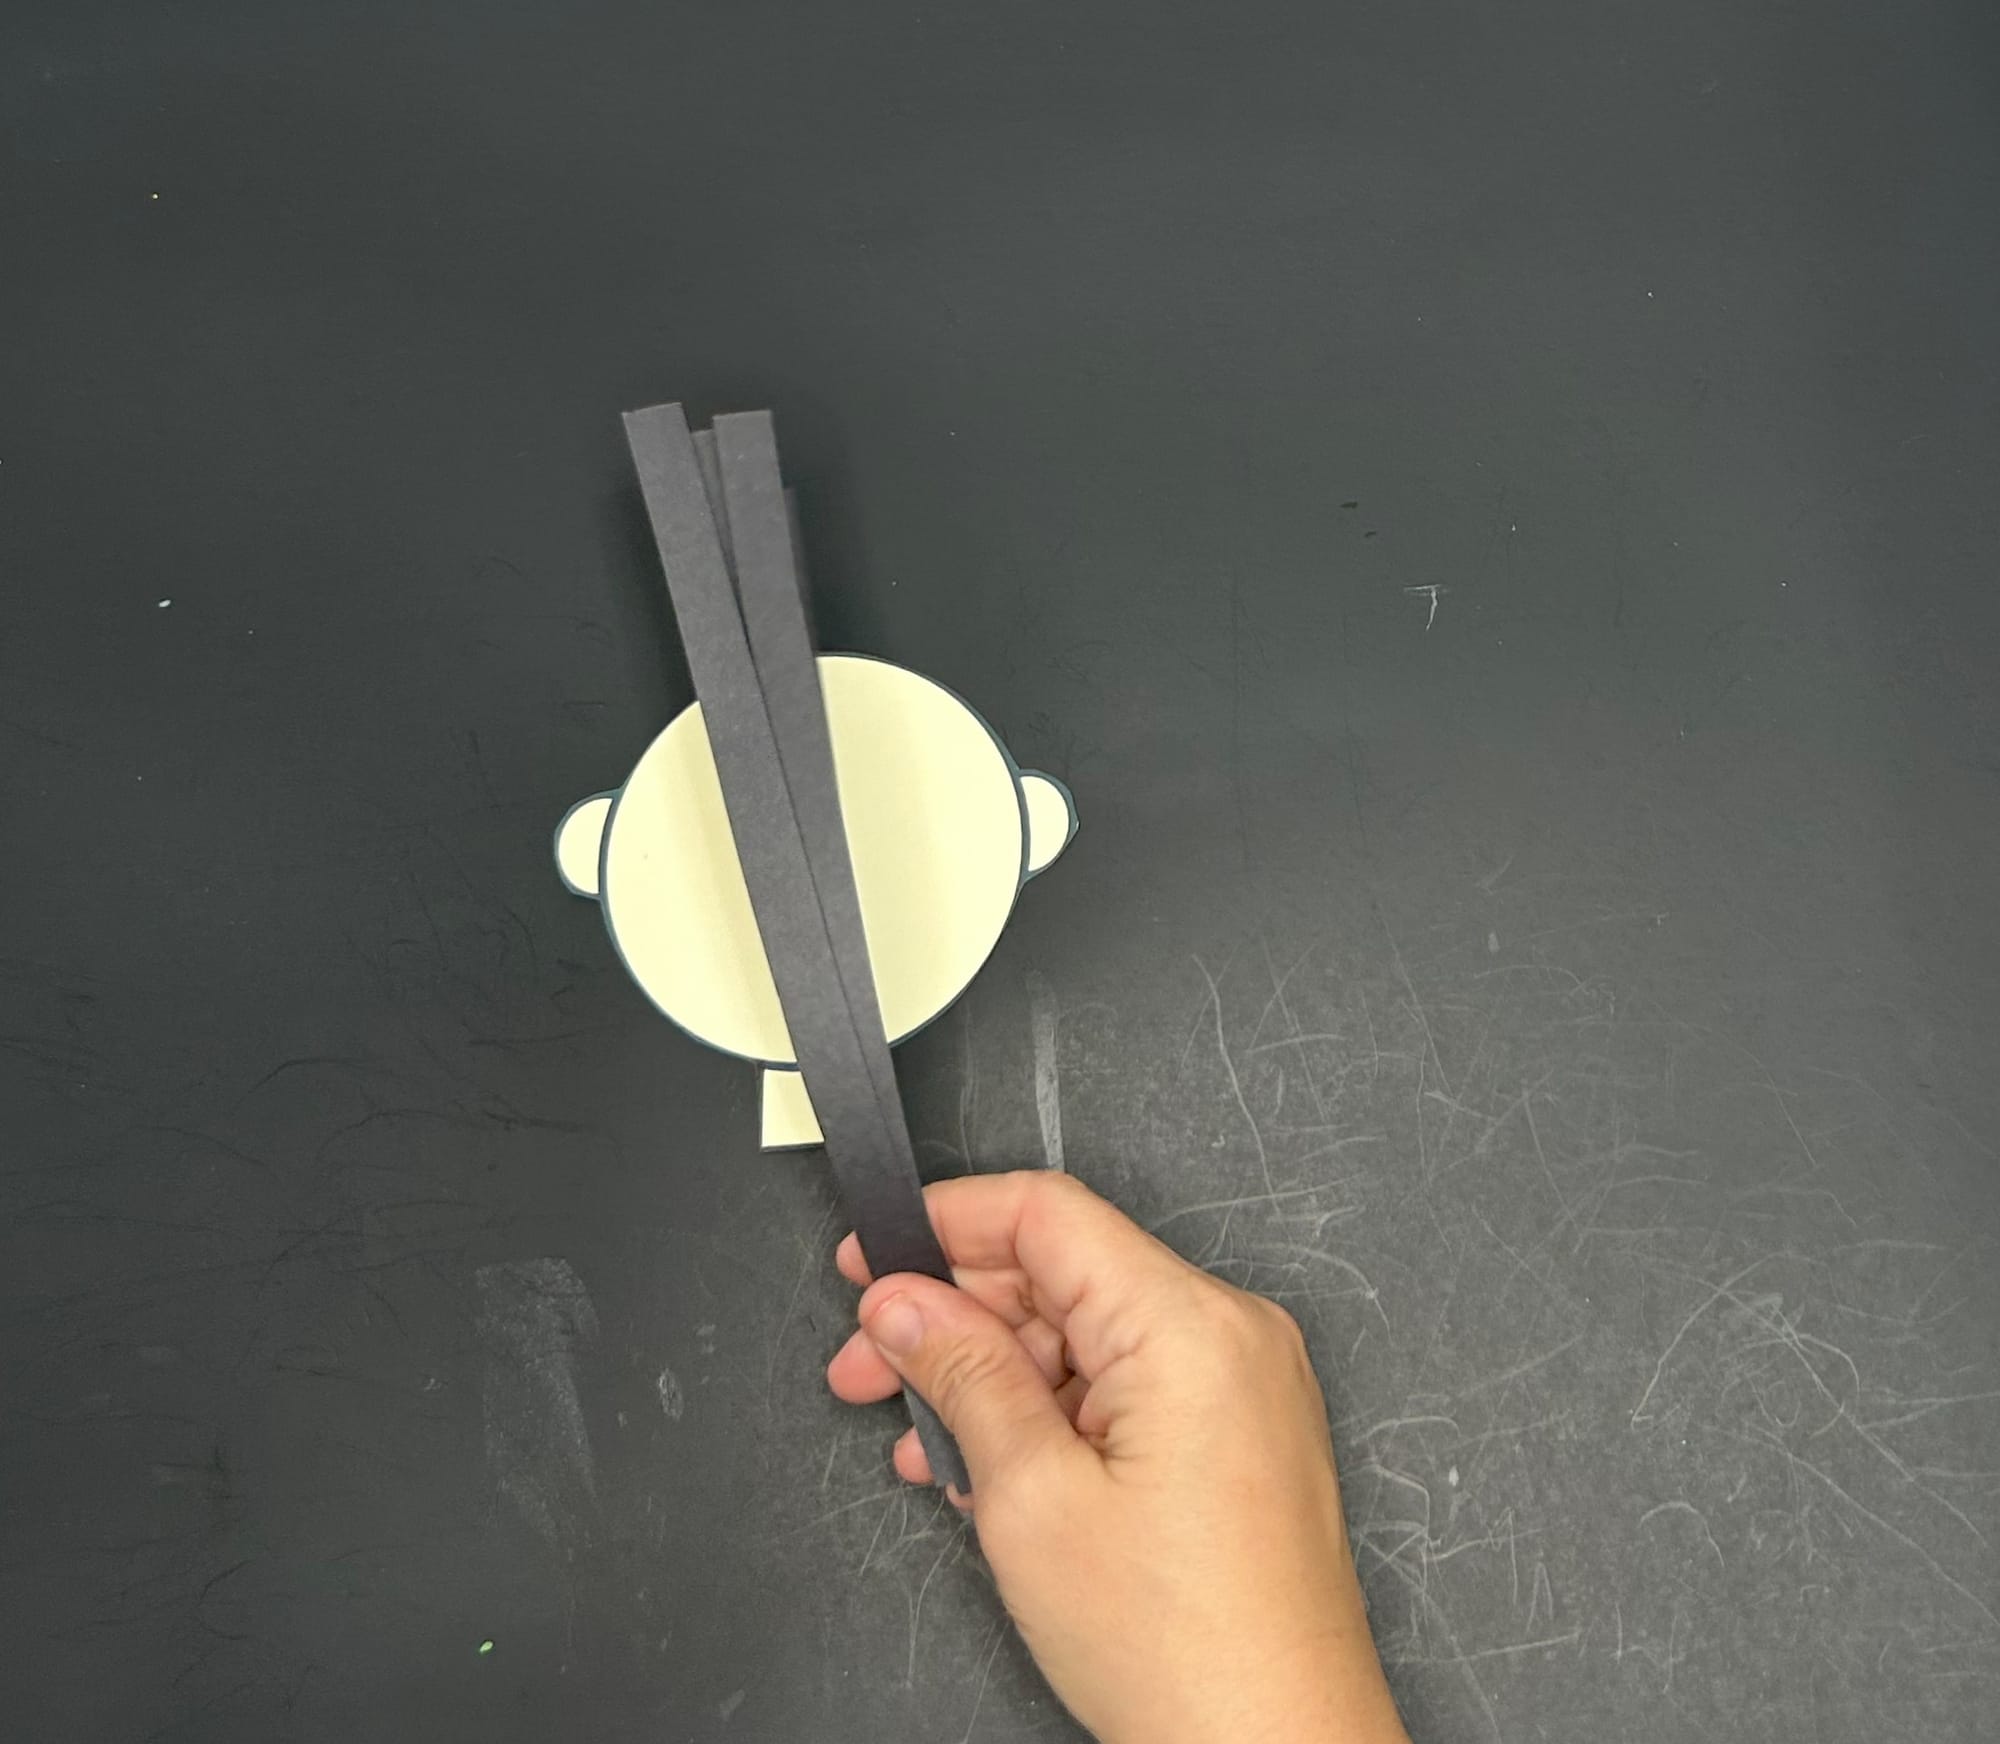
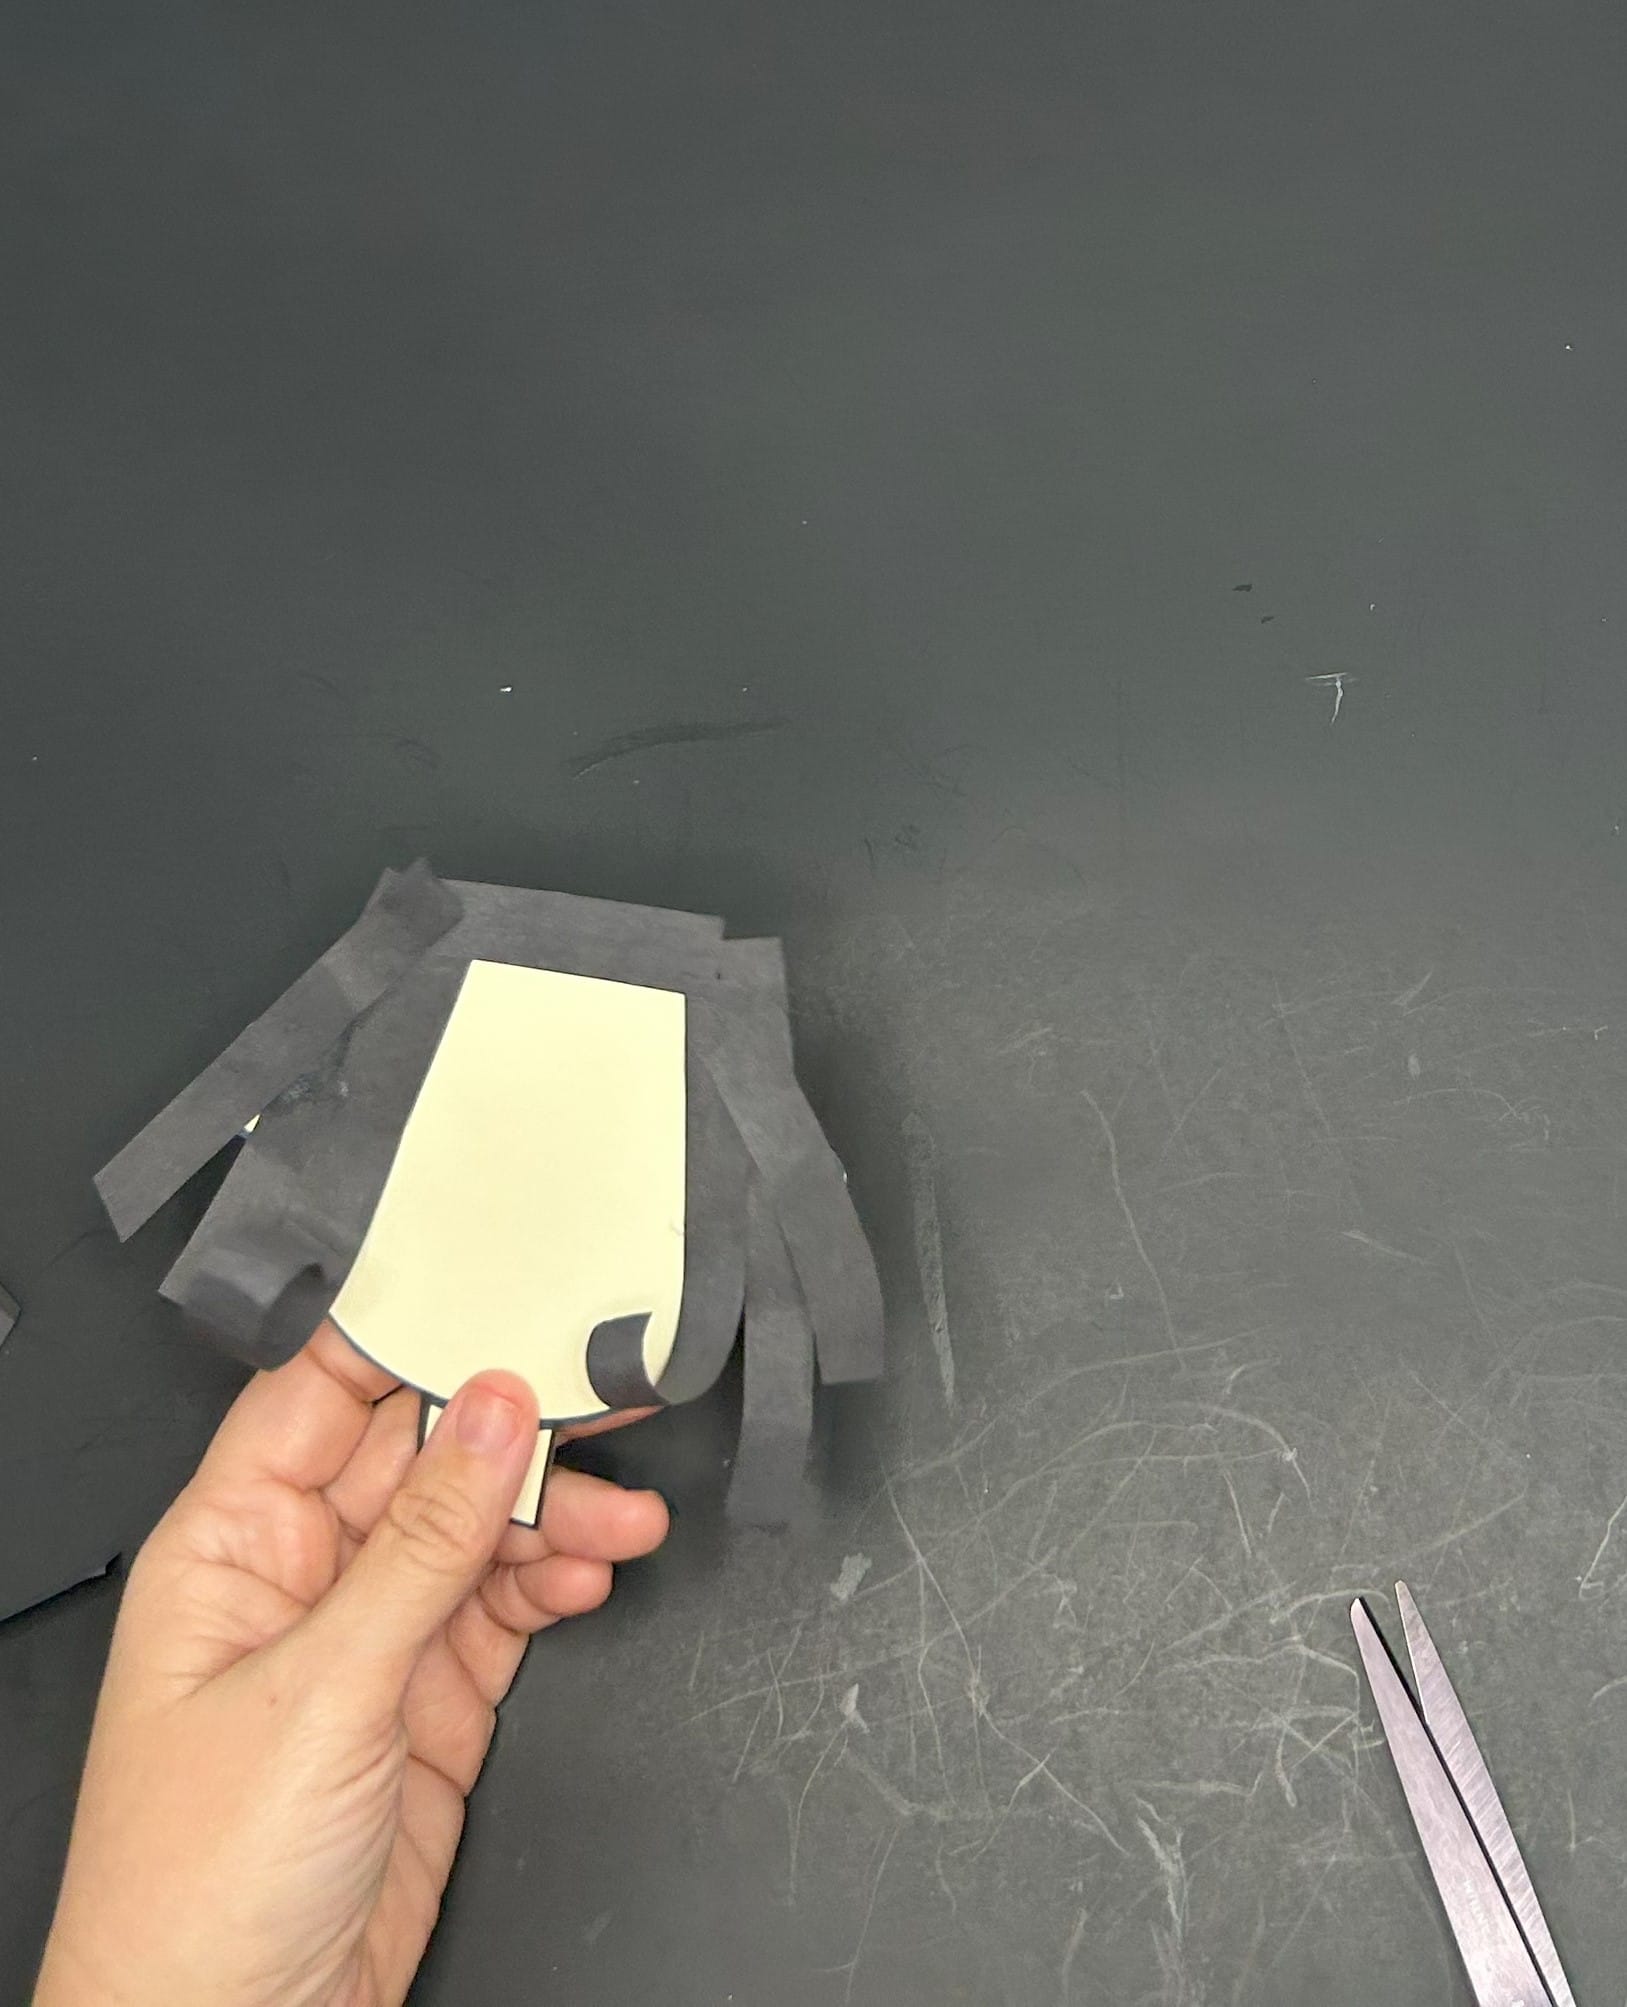
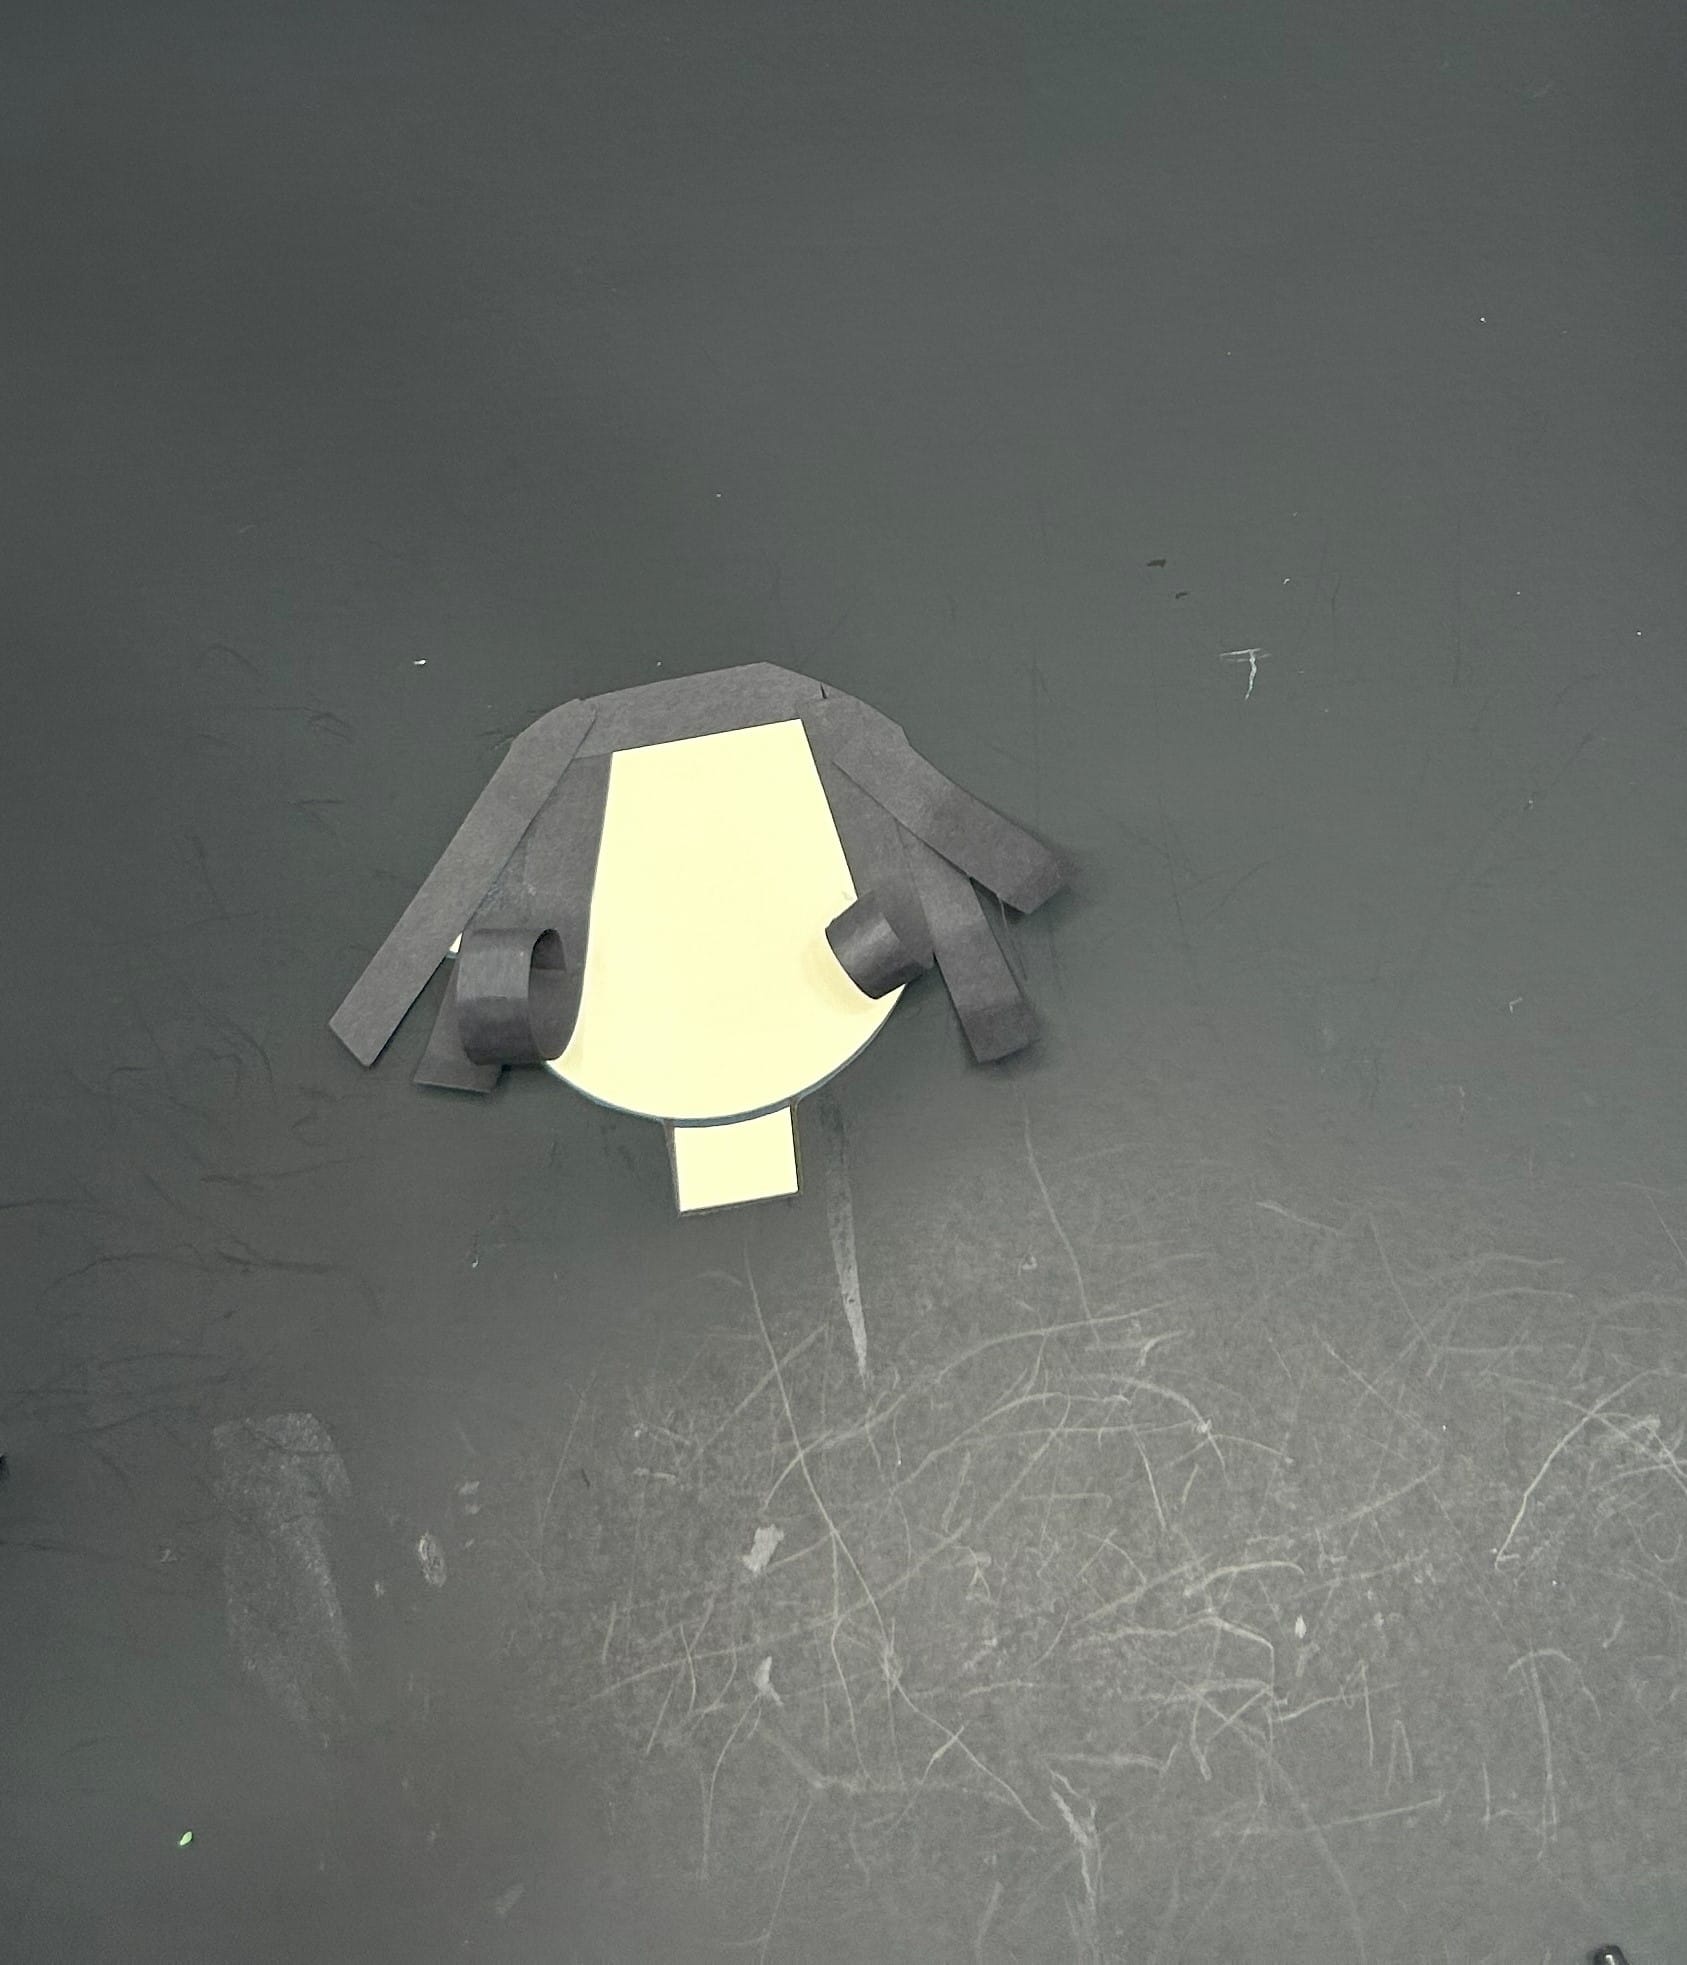
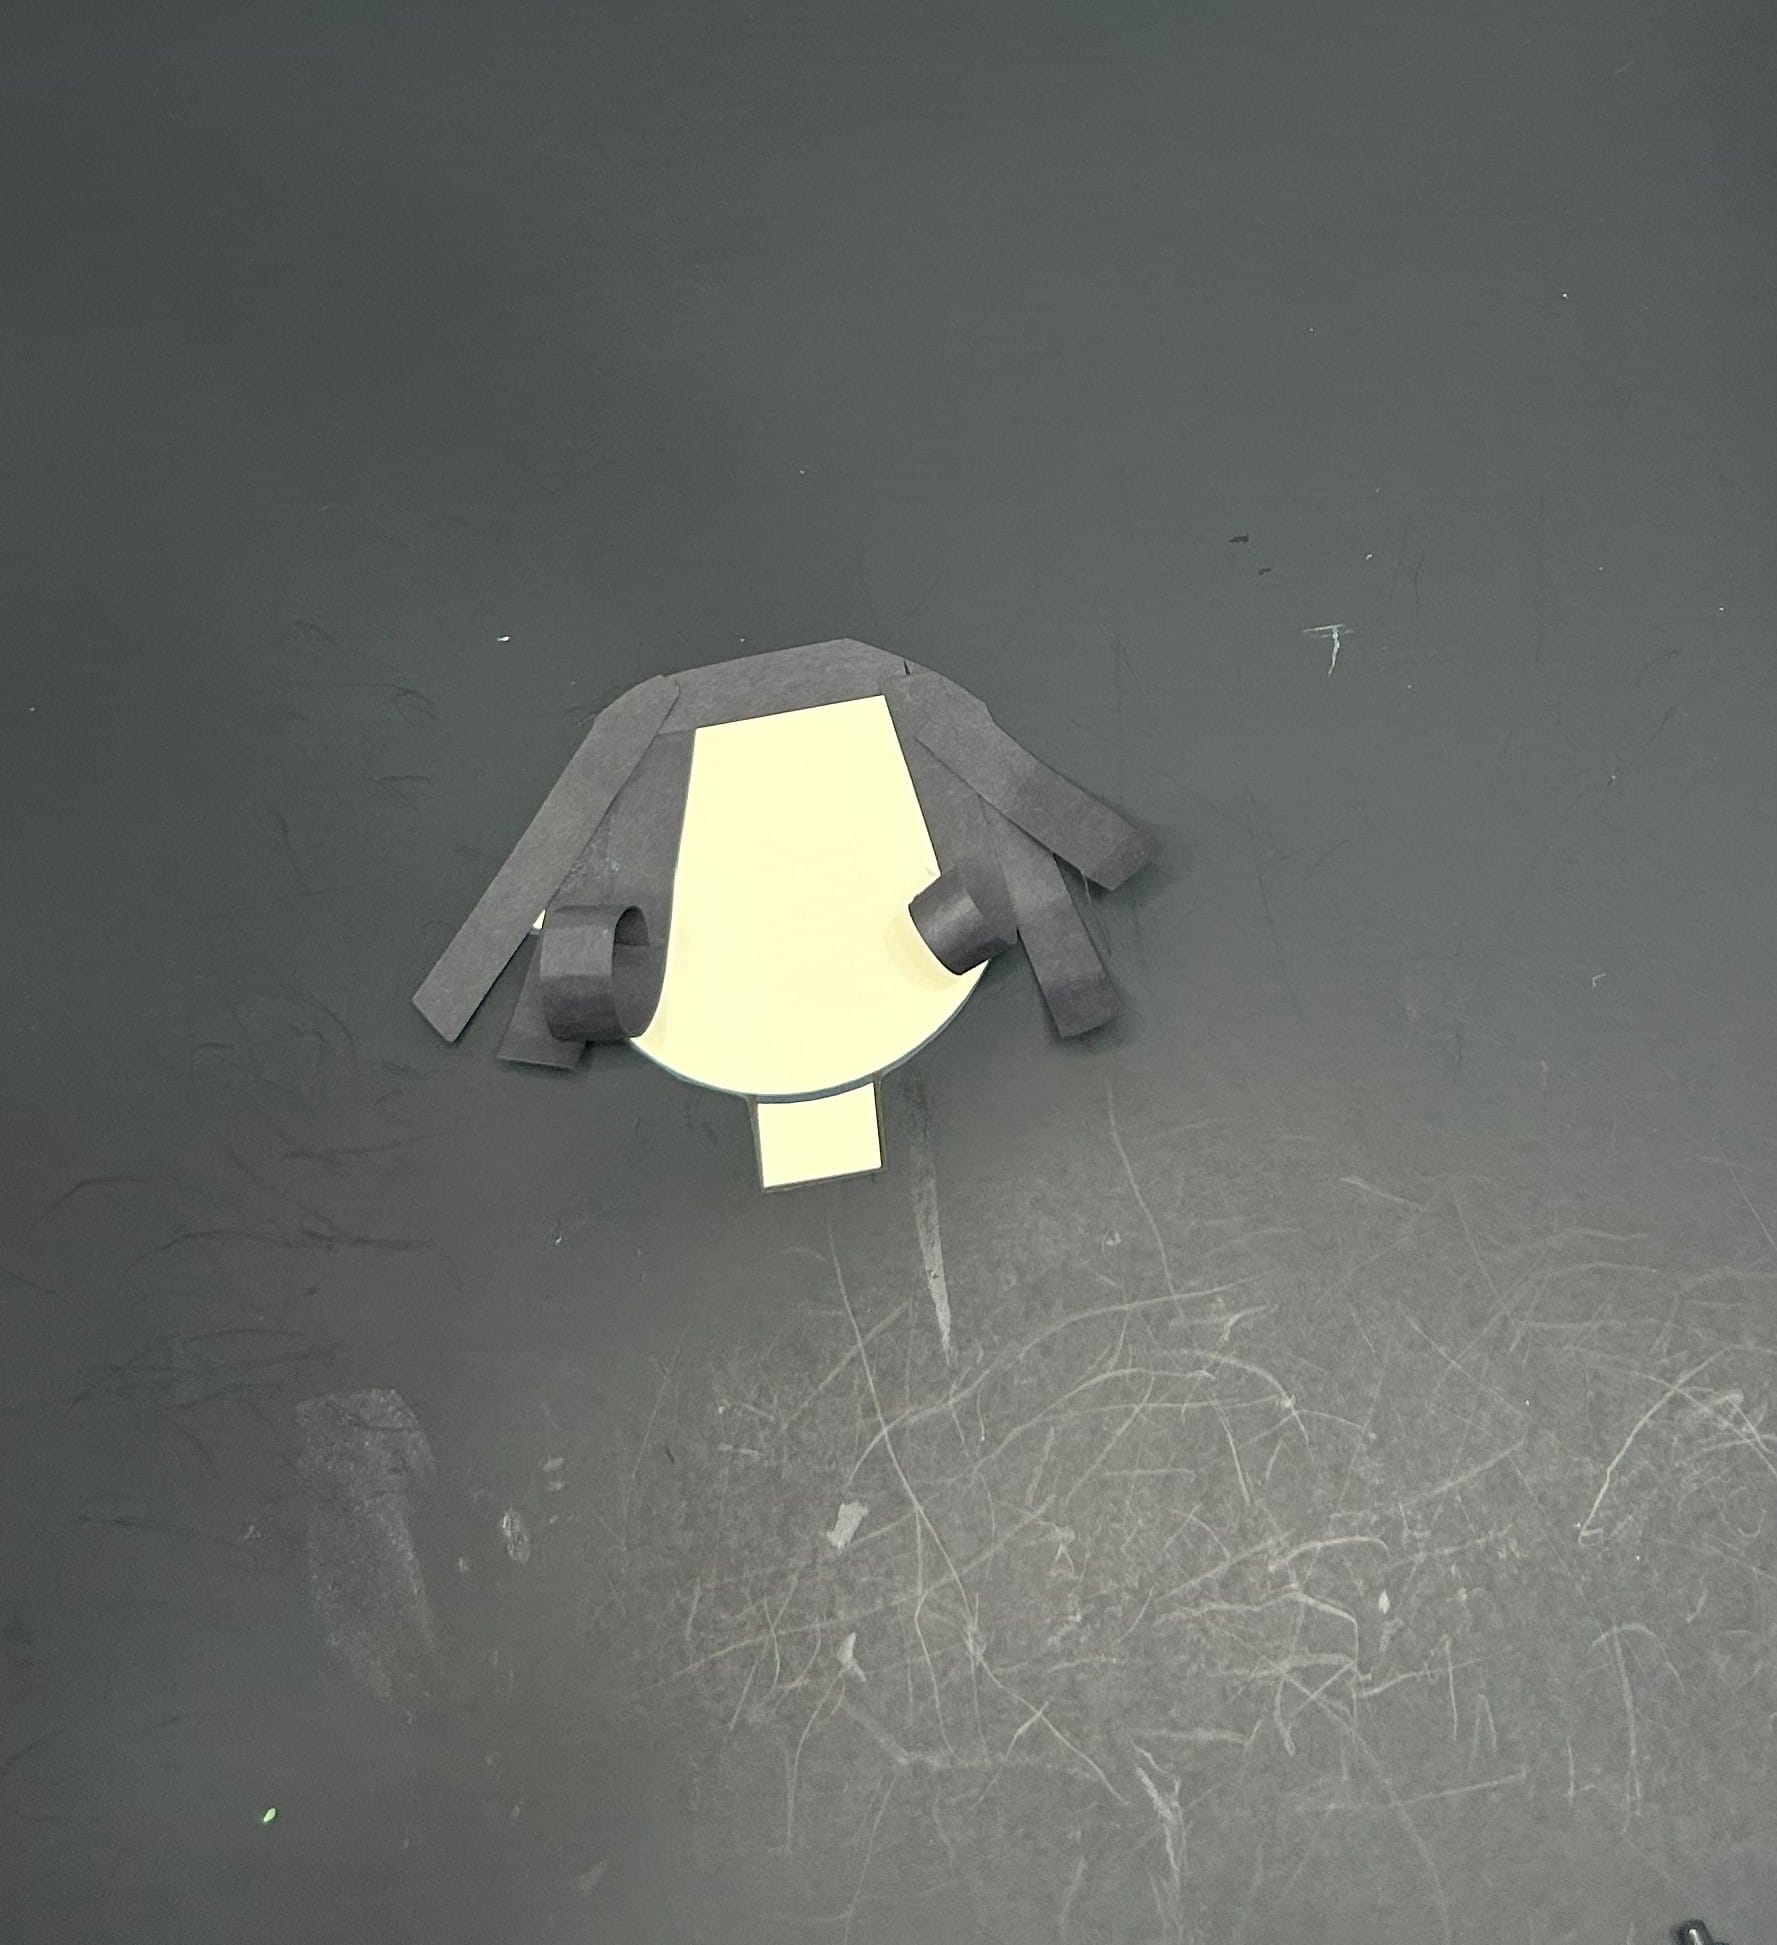
Trim to hair around the face.
- Use markers or crayons to draw a face.

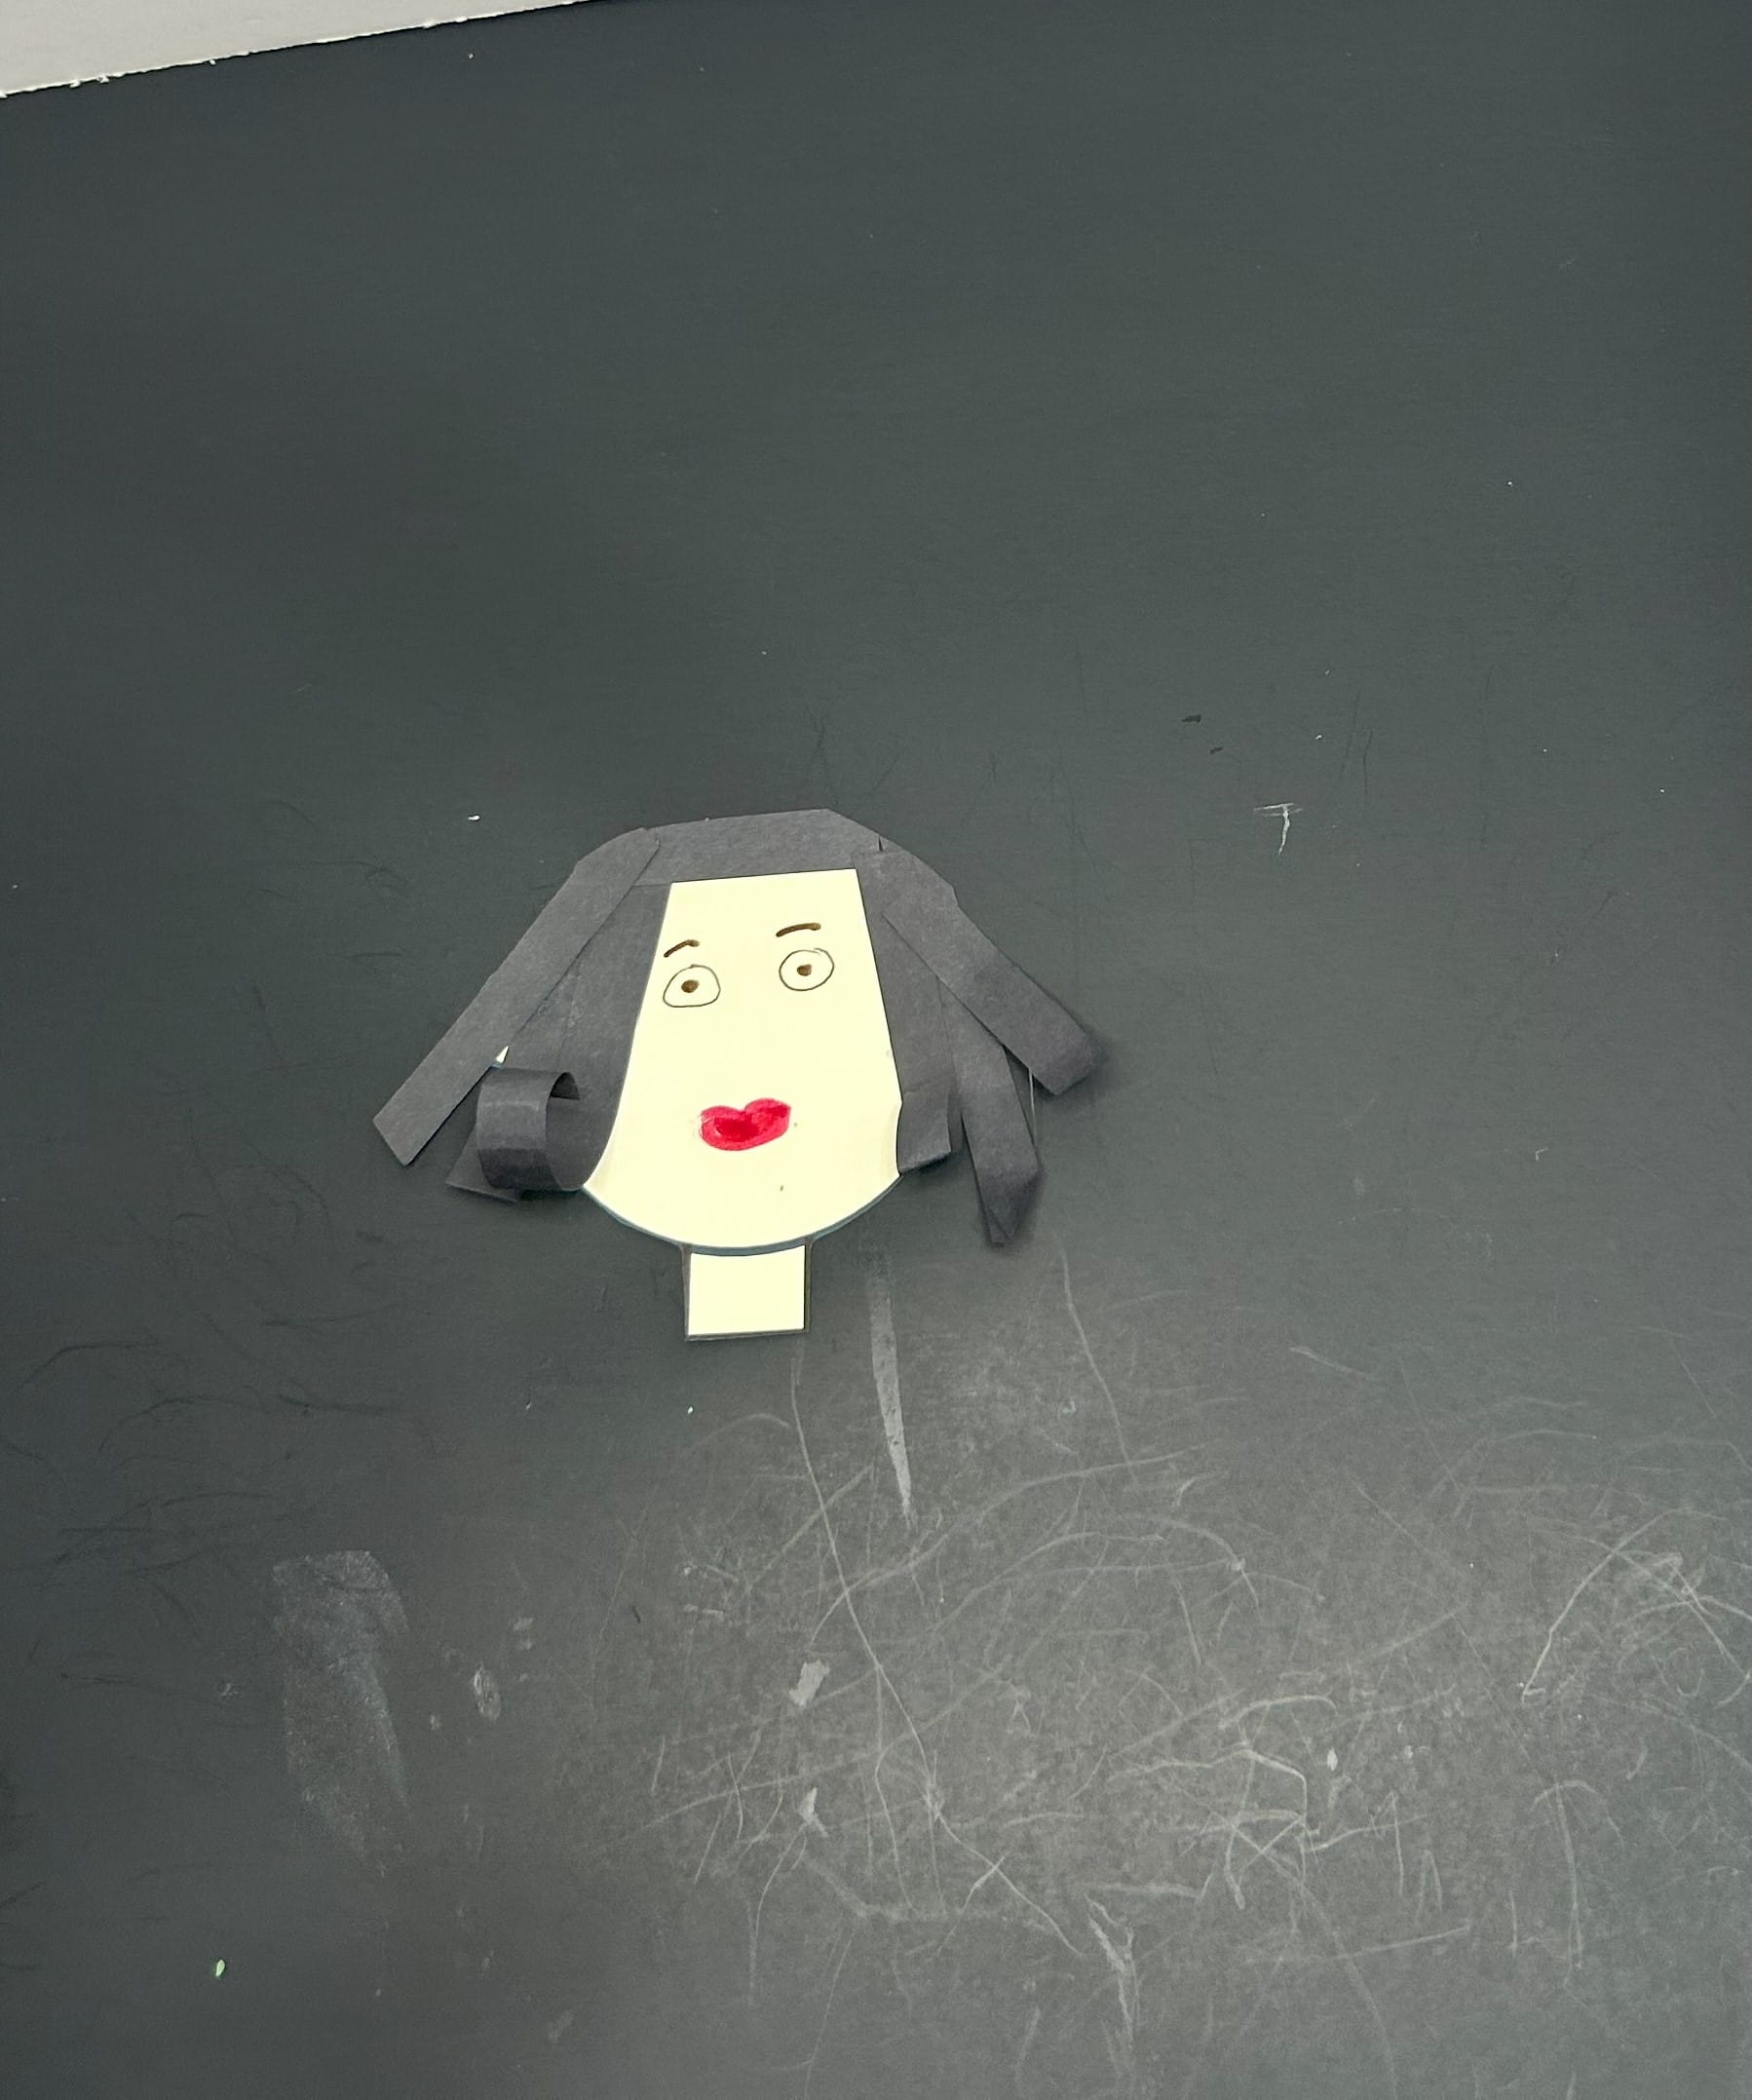
Provide an example, but allow kids to draw their face however they want.
- Use any kind of paper to create a shirt. I used decorative scrapbook paper. Draw a large capital D on the back of the paper. Then cut out to create a shirt. You can do this in advanced and have a variety of colors and patterns for kids to chose from.
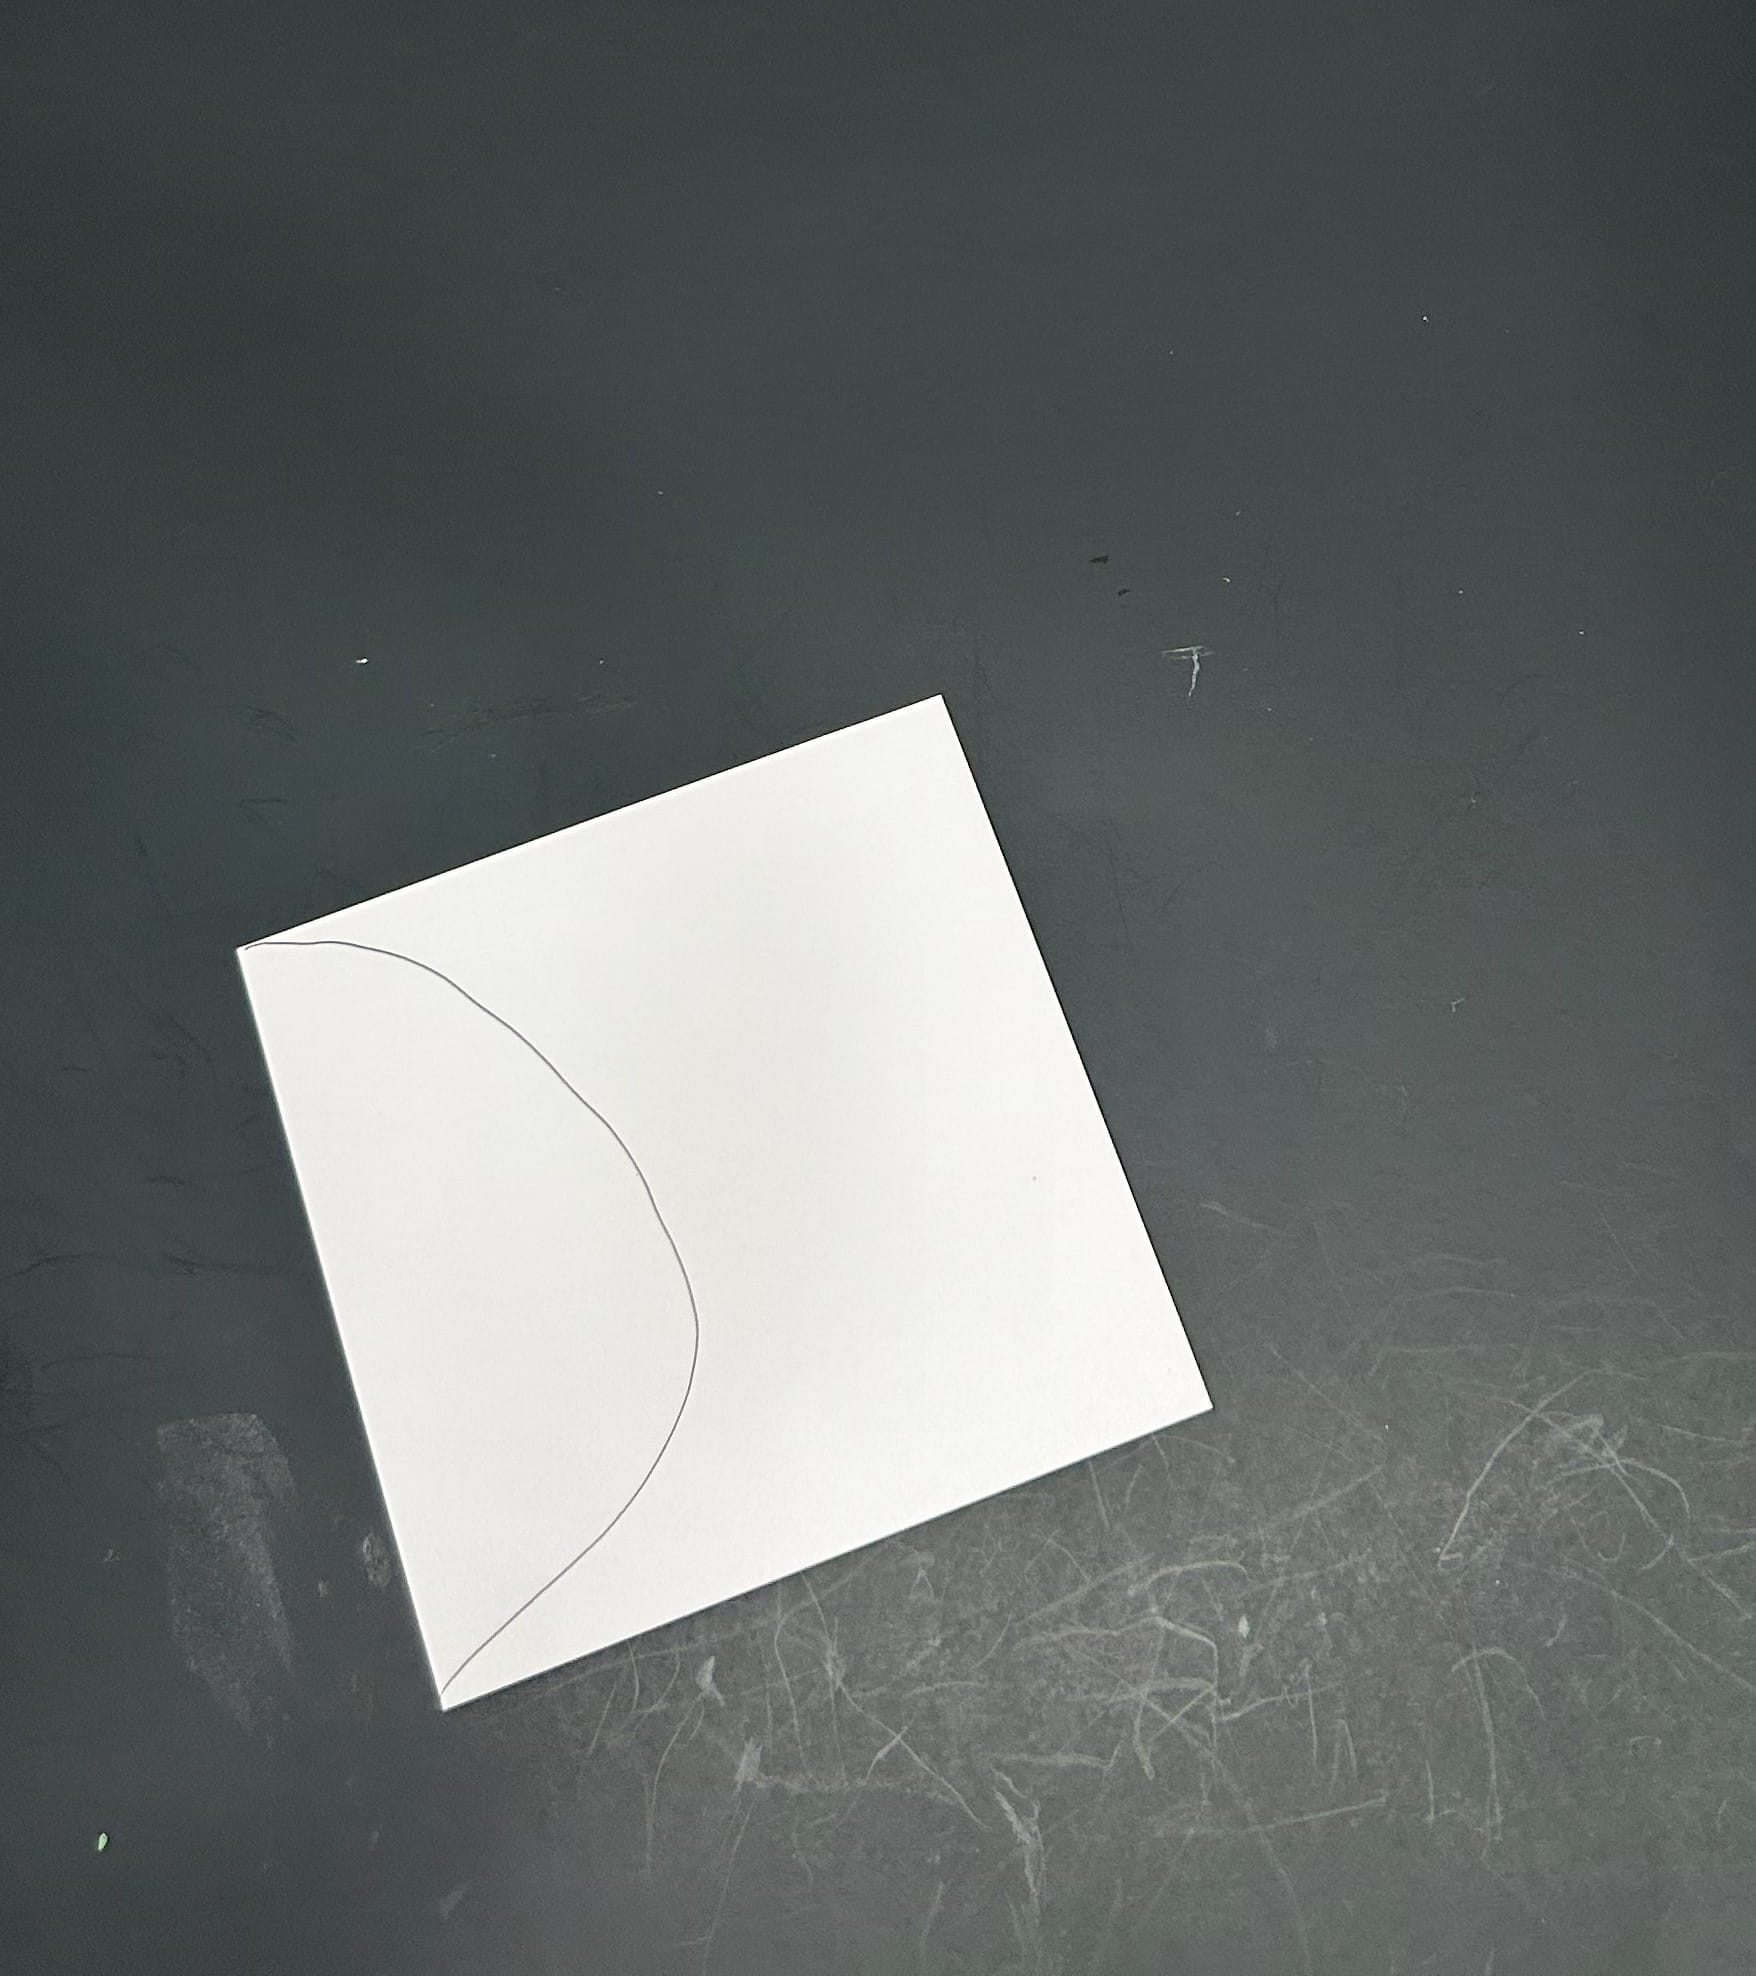
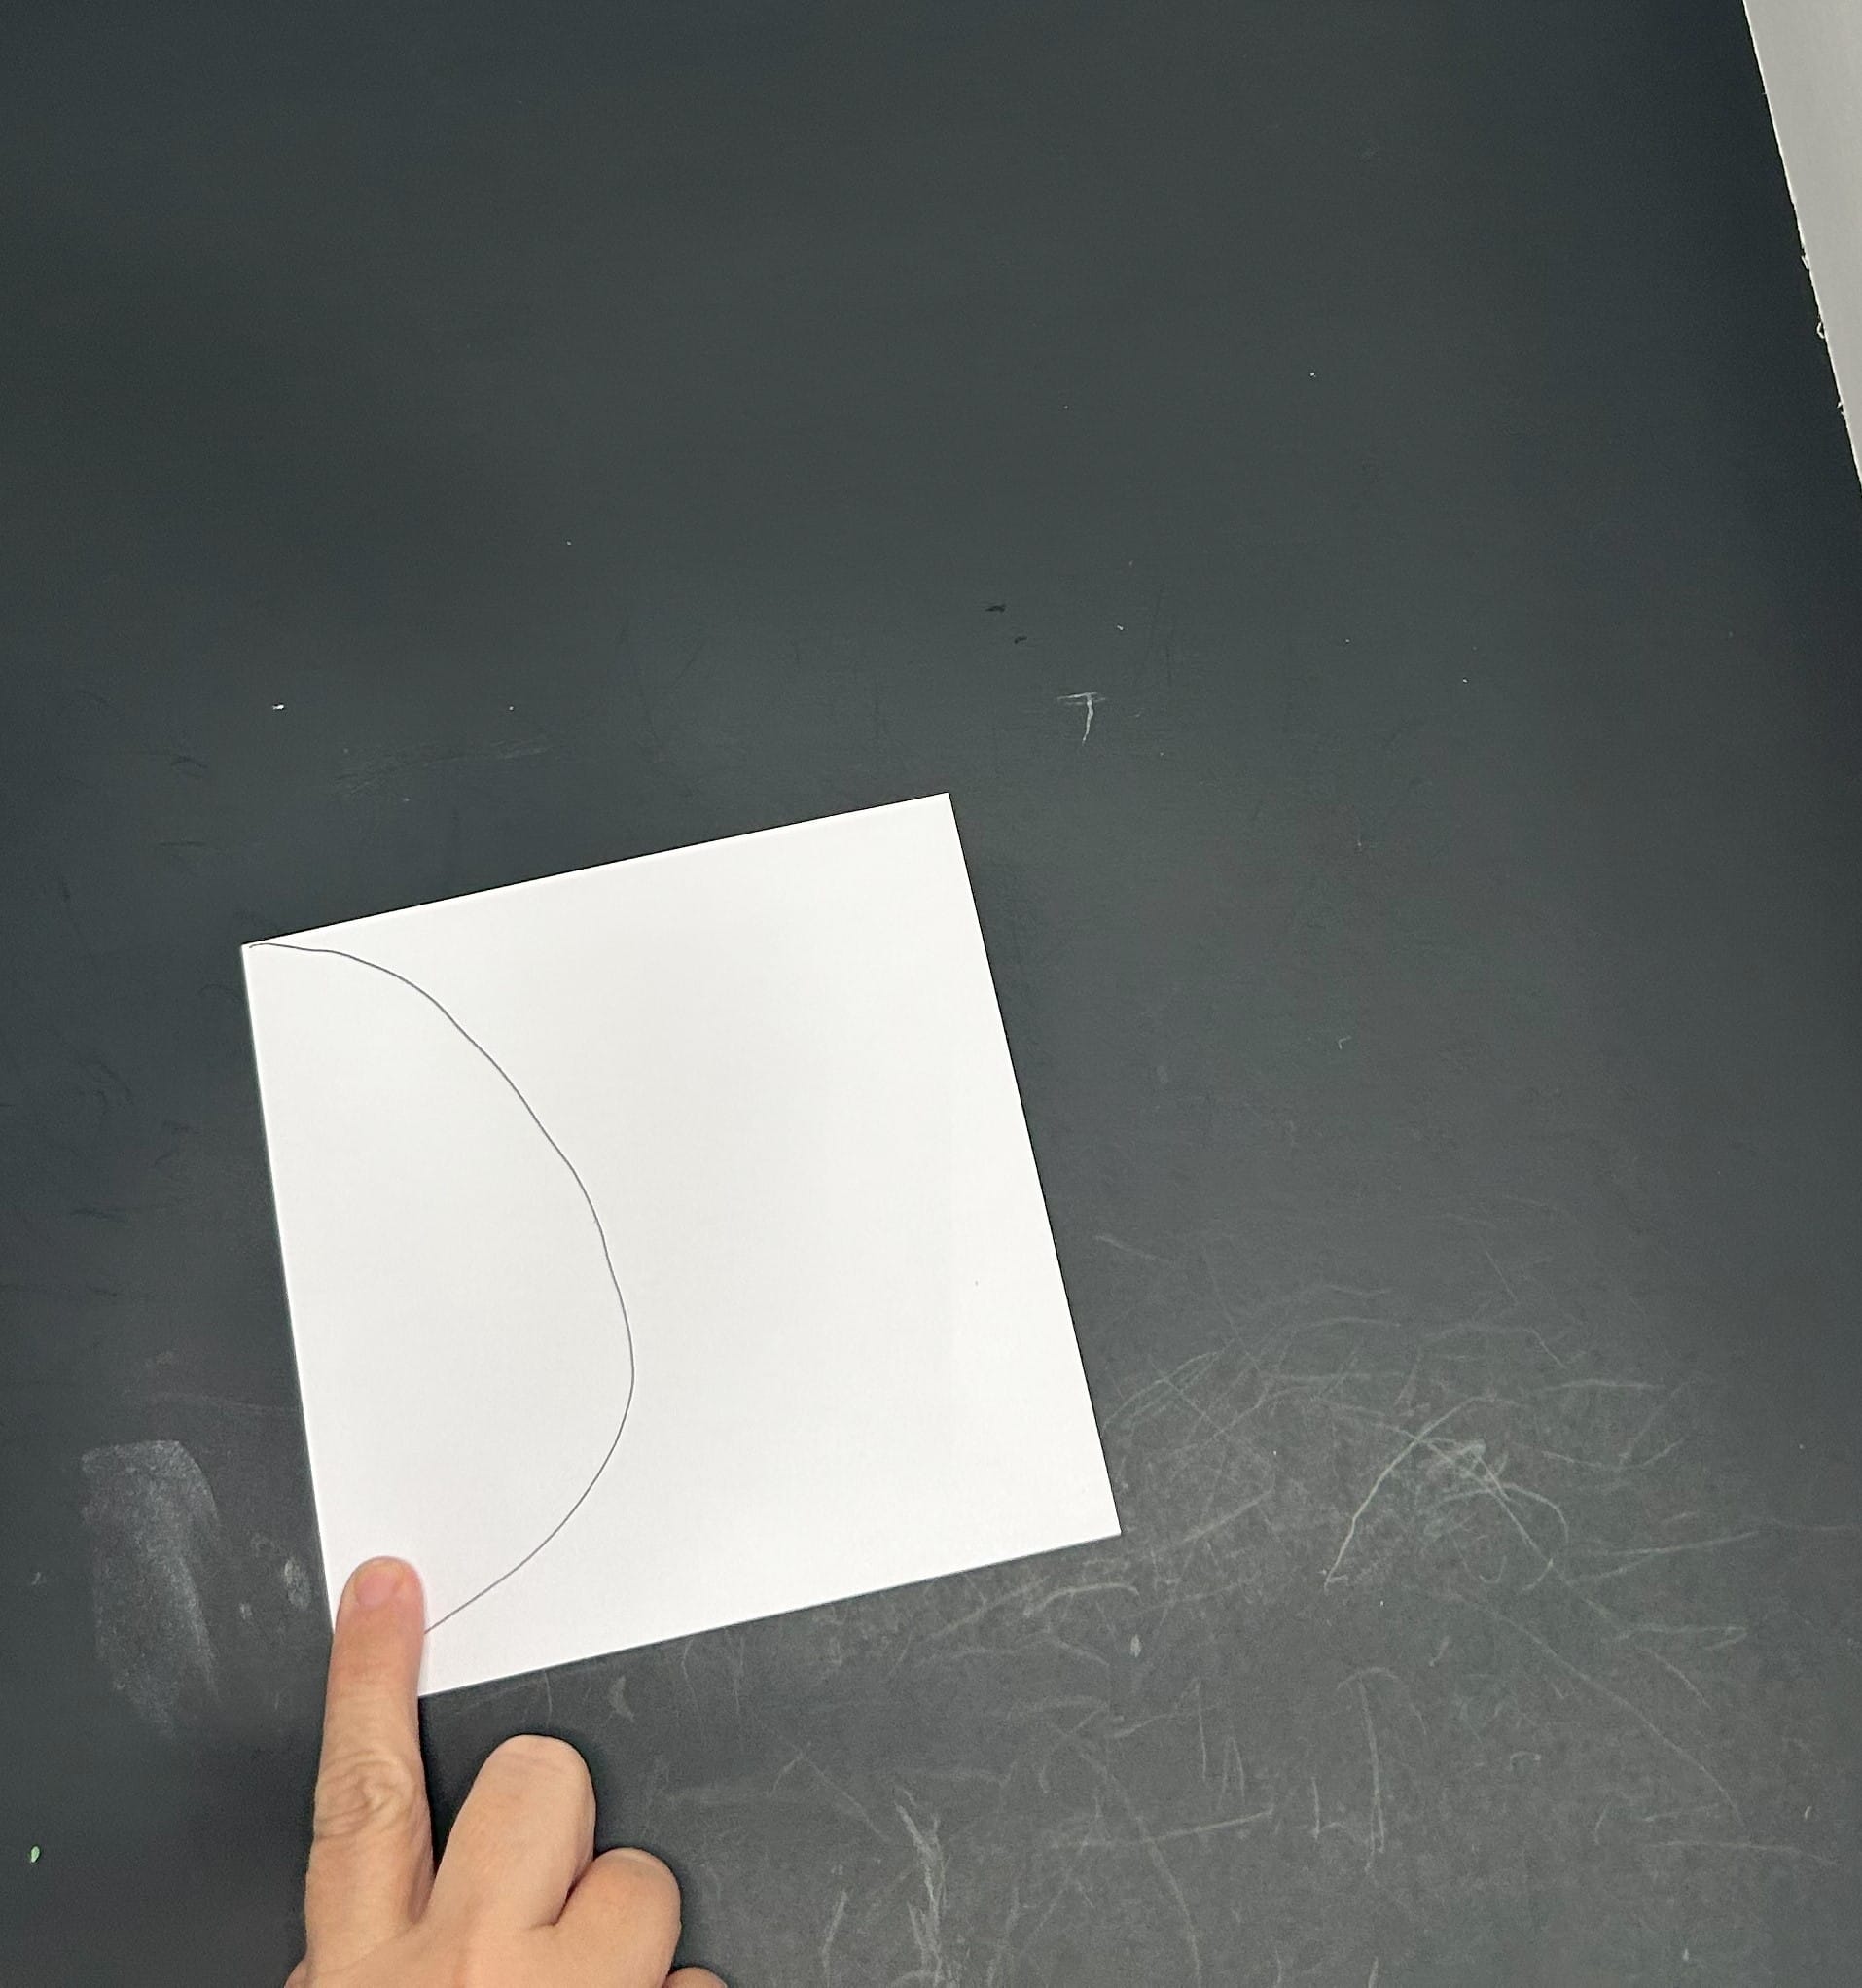


Create an easy shirt by Drawing a large capital D on colorful paper.
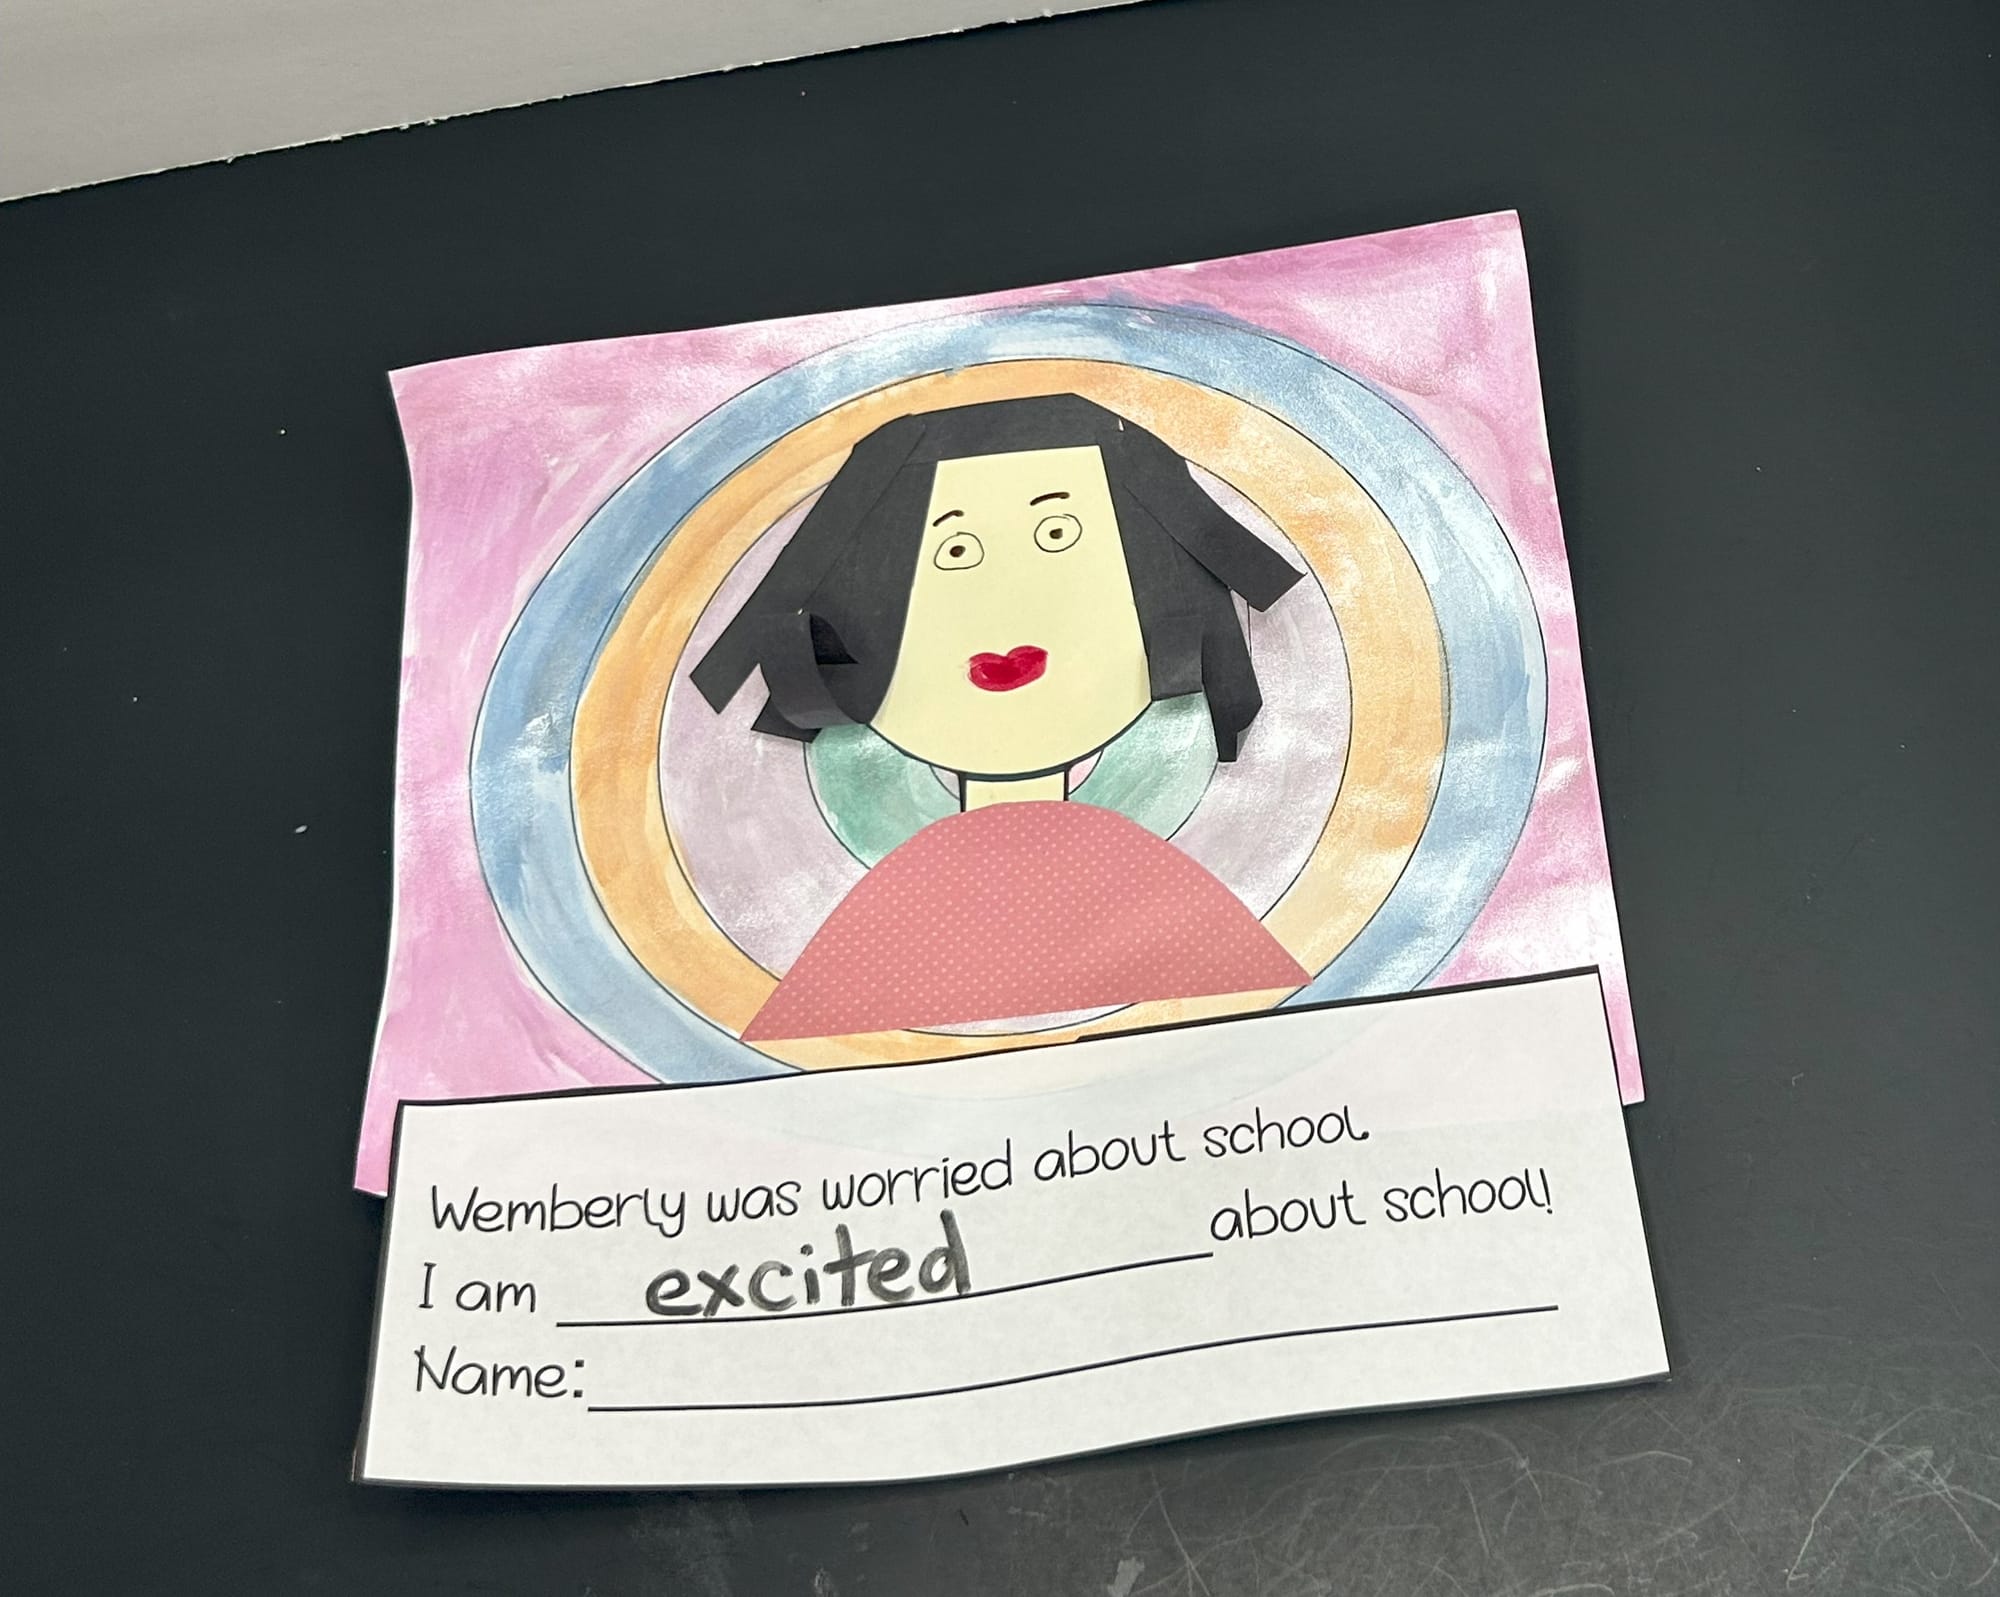
- Finally, have children glue their face onto their watercolor background they created earlier.
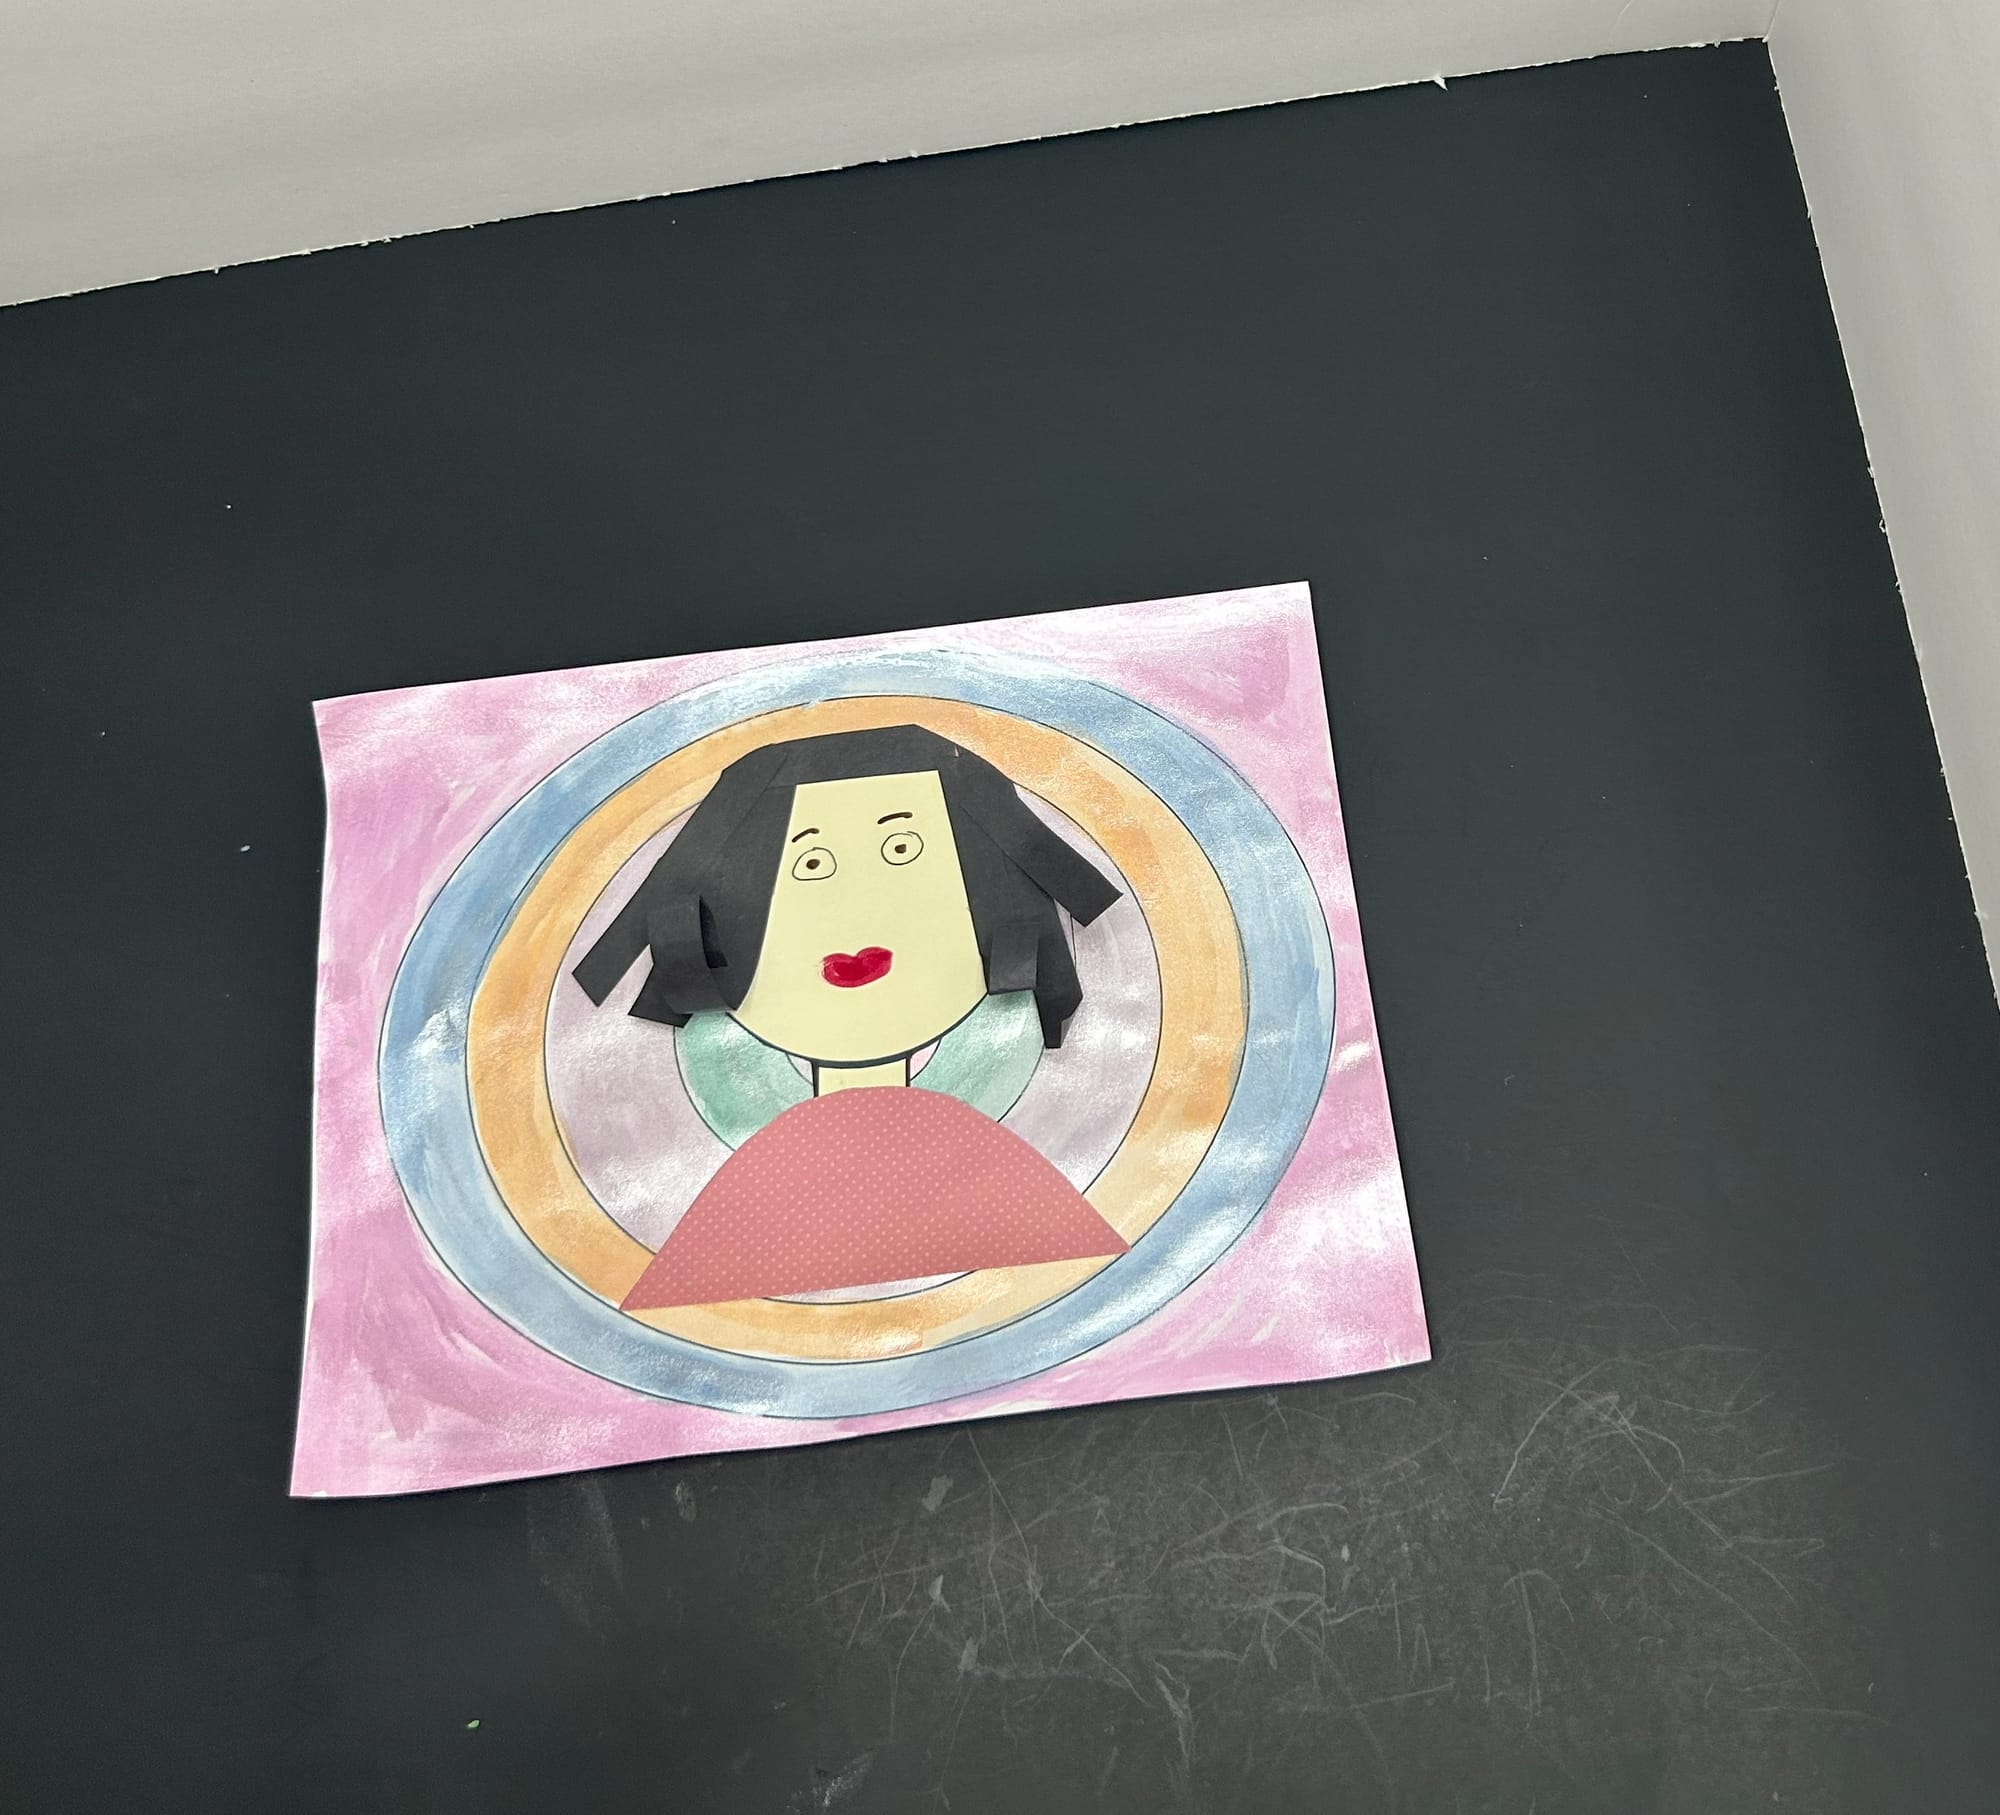
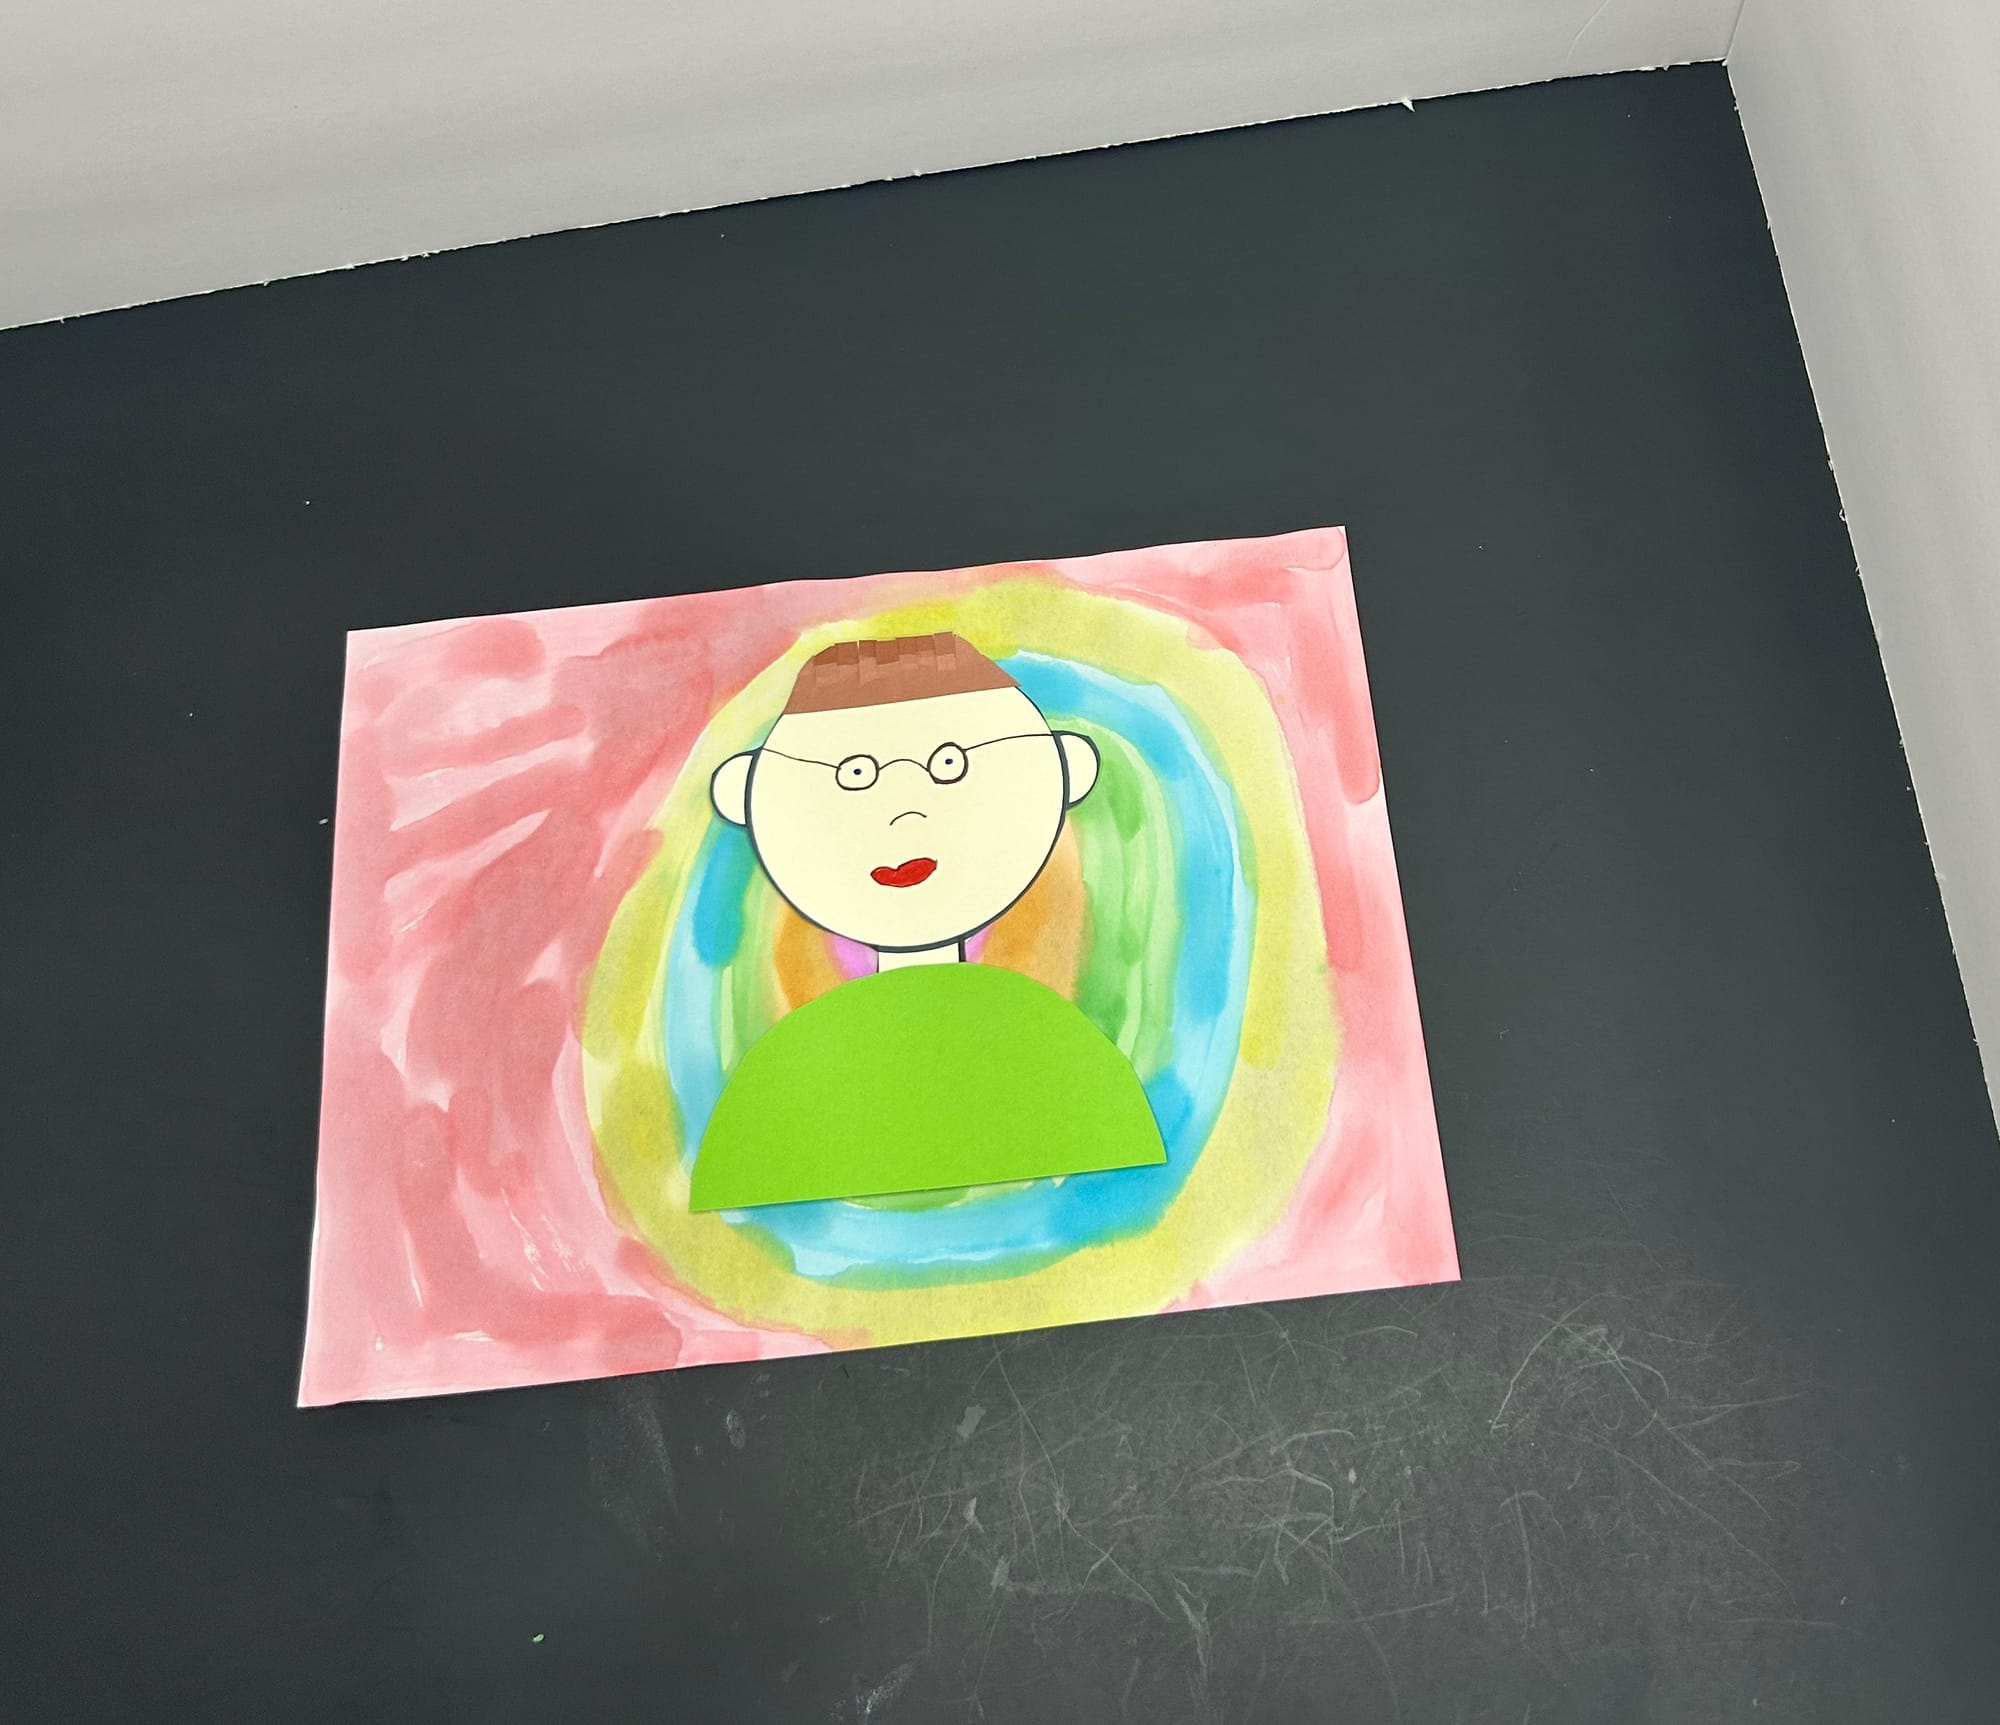
Each background looks unique depending on color chosen.
- Last you will give each child a writing paper. Provide the list of emotions you created earlier to help students. Have them glue their writing to the bottom of their art.

This post contains affiliate links to the products mentioned. Crafty Mama Bird is a participant in the Amazon Services LLC Associates Program, an affiliate advertising program designed to provide a means for sites to earn advertising fees by advertising and linking to amazon.com.