Valentine's Day Wax Paper Heart Decor
![Valentine's Day Wax Paper Heart Decor](/content/images/size/w1200/2025/02/30.jpg)
Decorate for Valentine's Day with these crayon and waxed paper hearts. After making this simple craft you can fill your windows to brighten up your home with beautiful colors.
This is an inexpensive and easy activity you can do any day. You only need waxed paper, and old crayon shavings.
![](https://www.craftymamabird.com/content/images/2025/02/1-4.jpg)
![](https://www.craftymamabird.com/content/images/2025/02/2-5.jpg)
![](https://www.craftymamabird.com/content/images/2025/02/3-5.jpg)
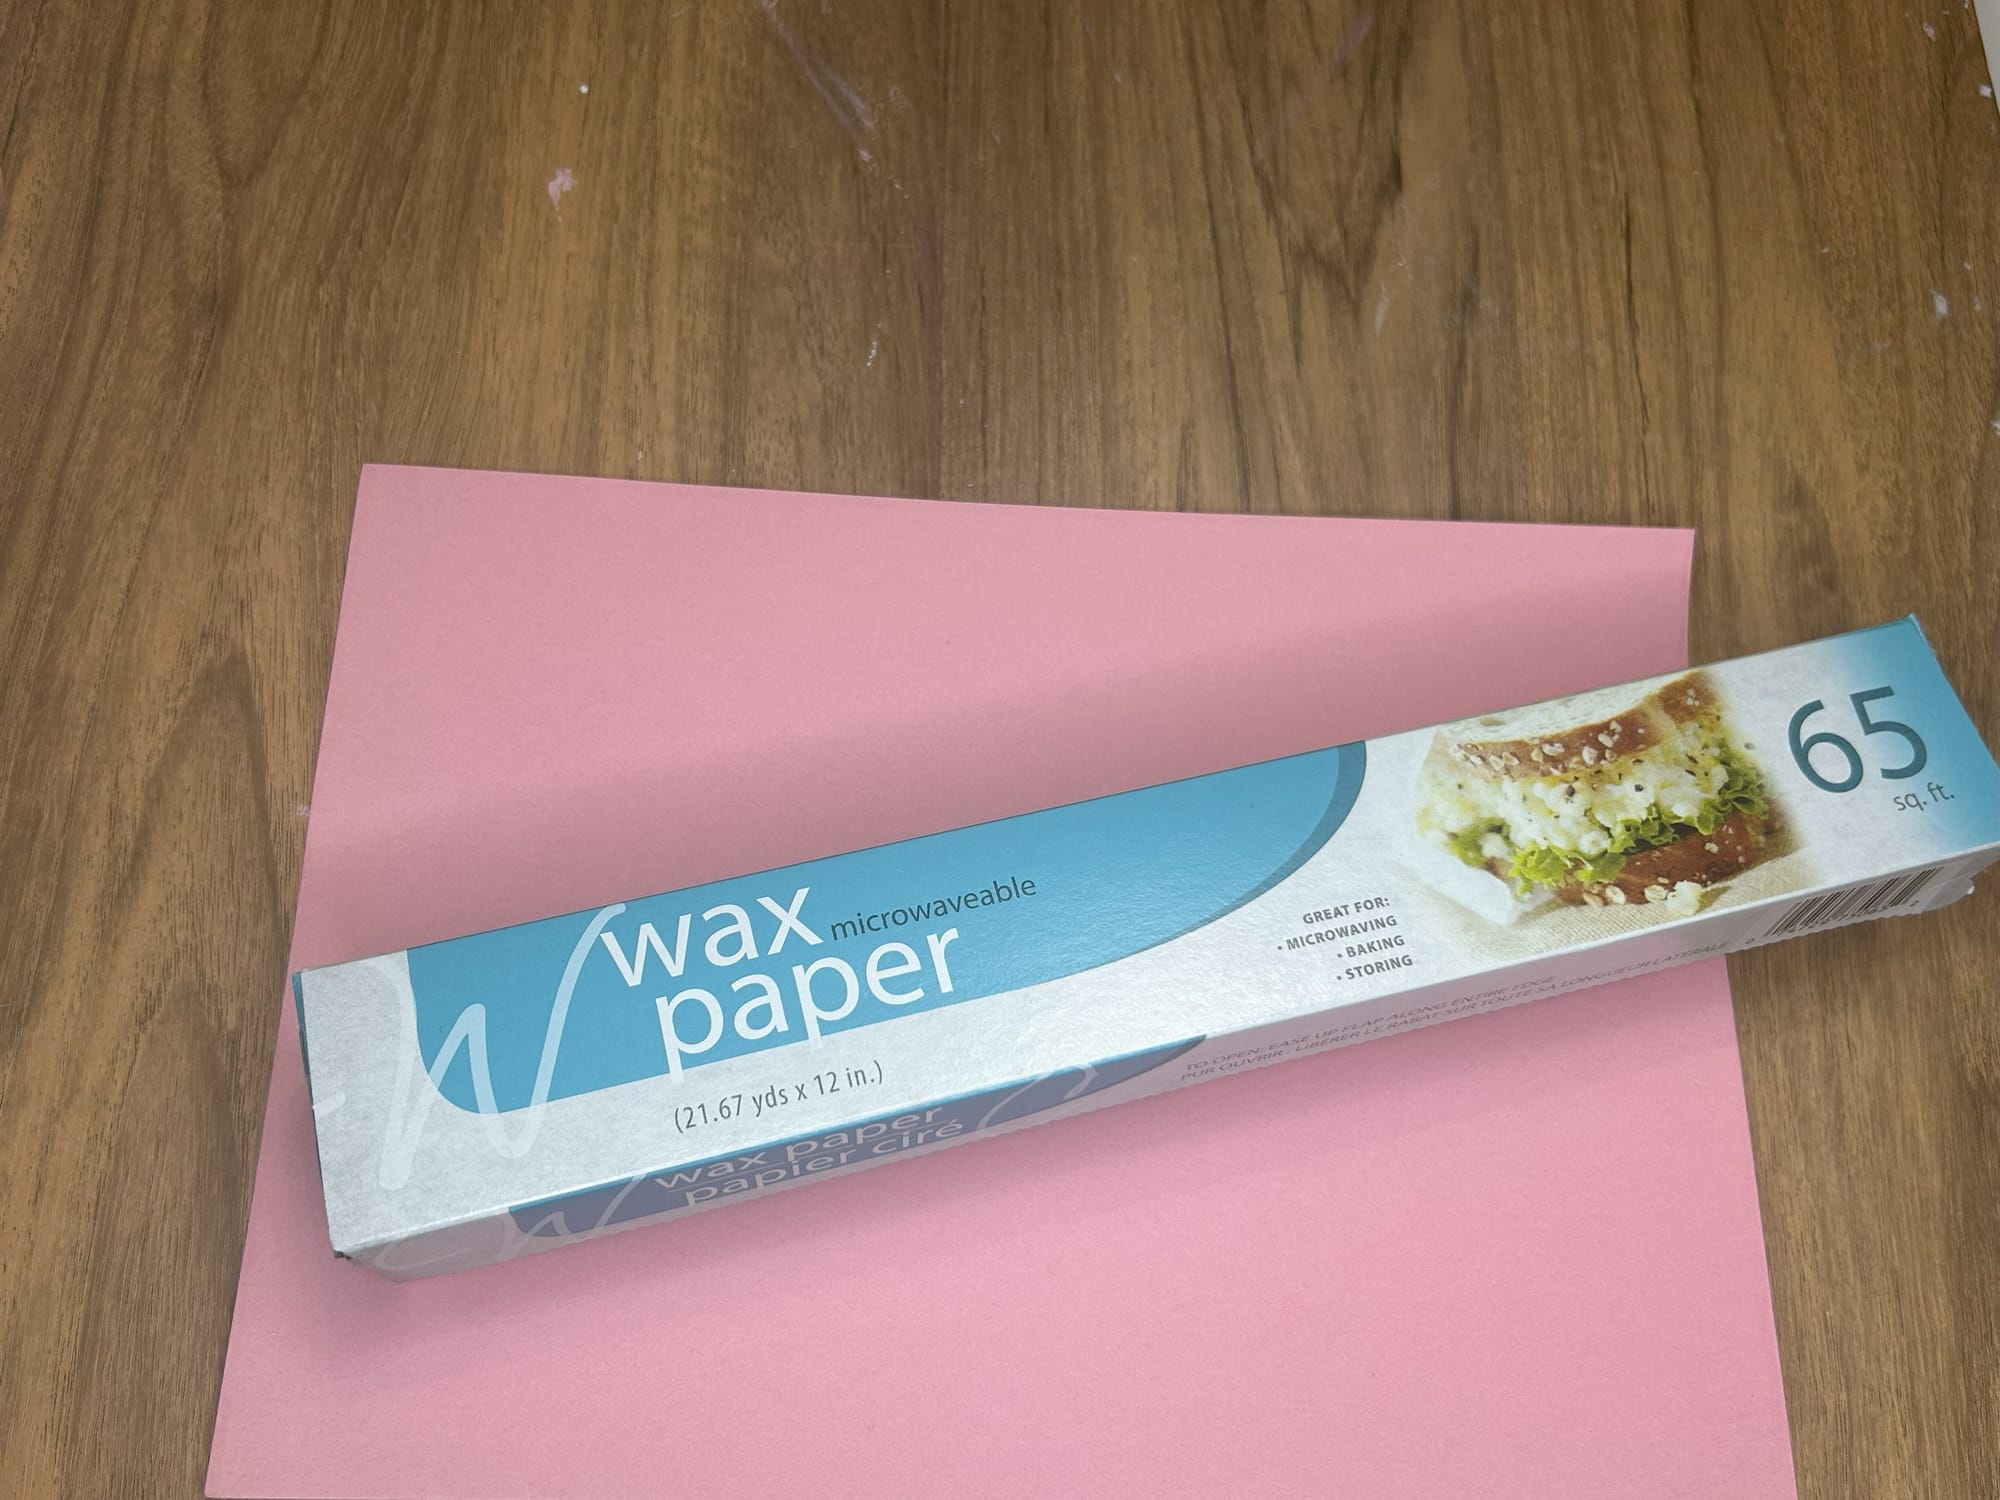
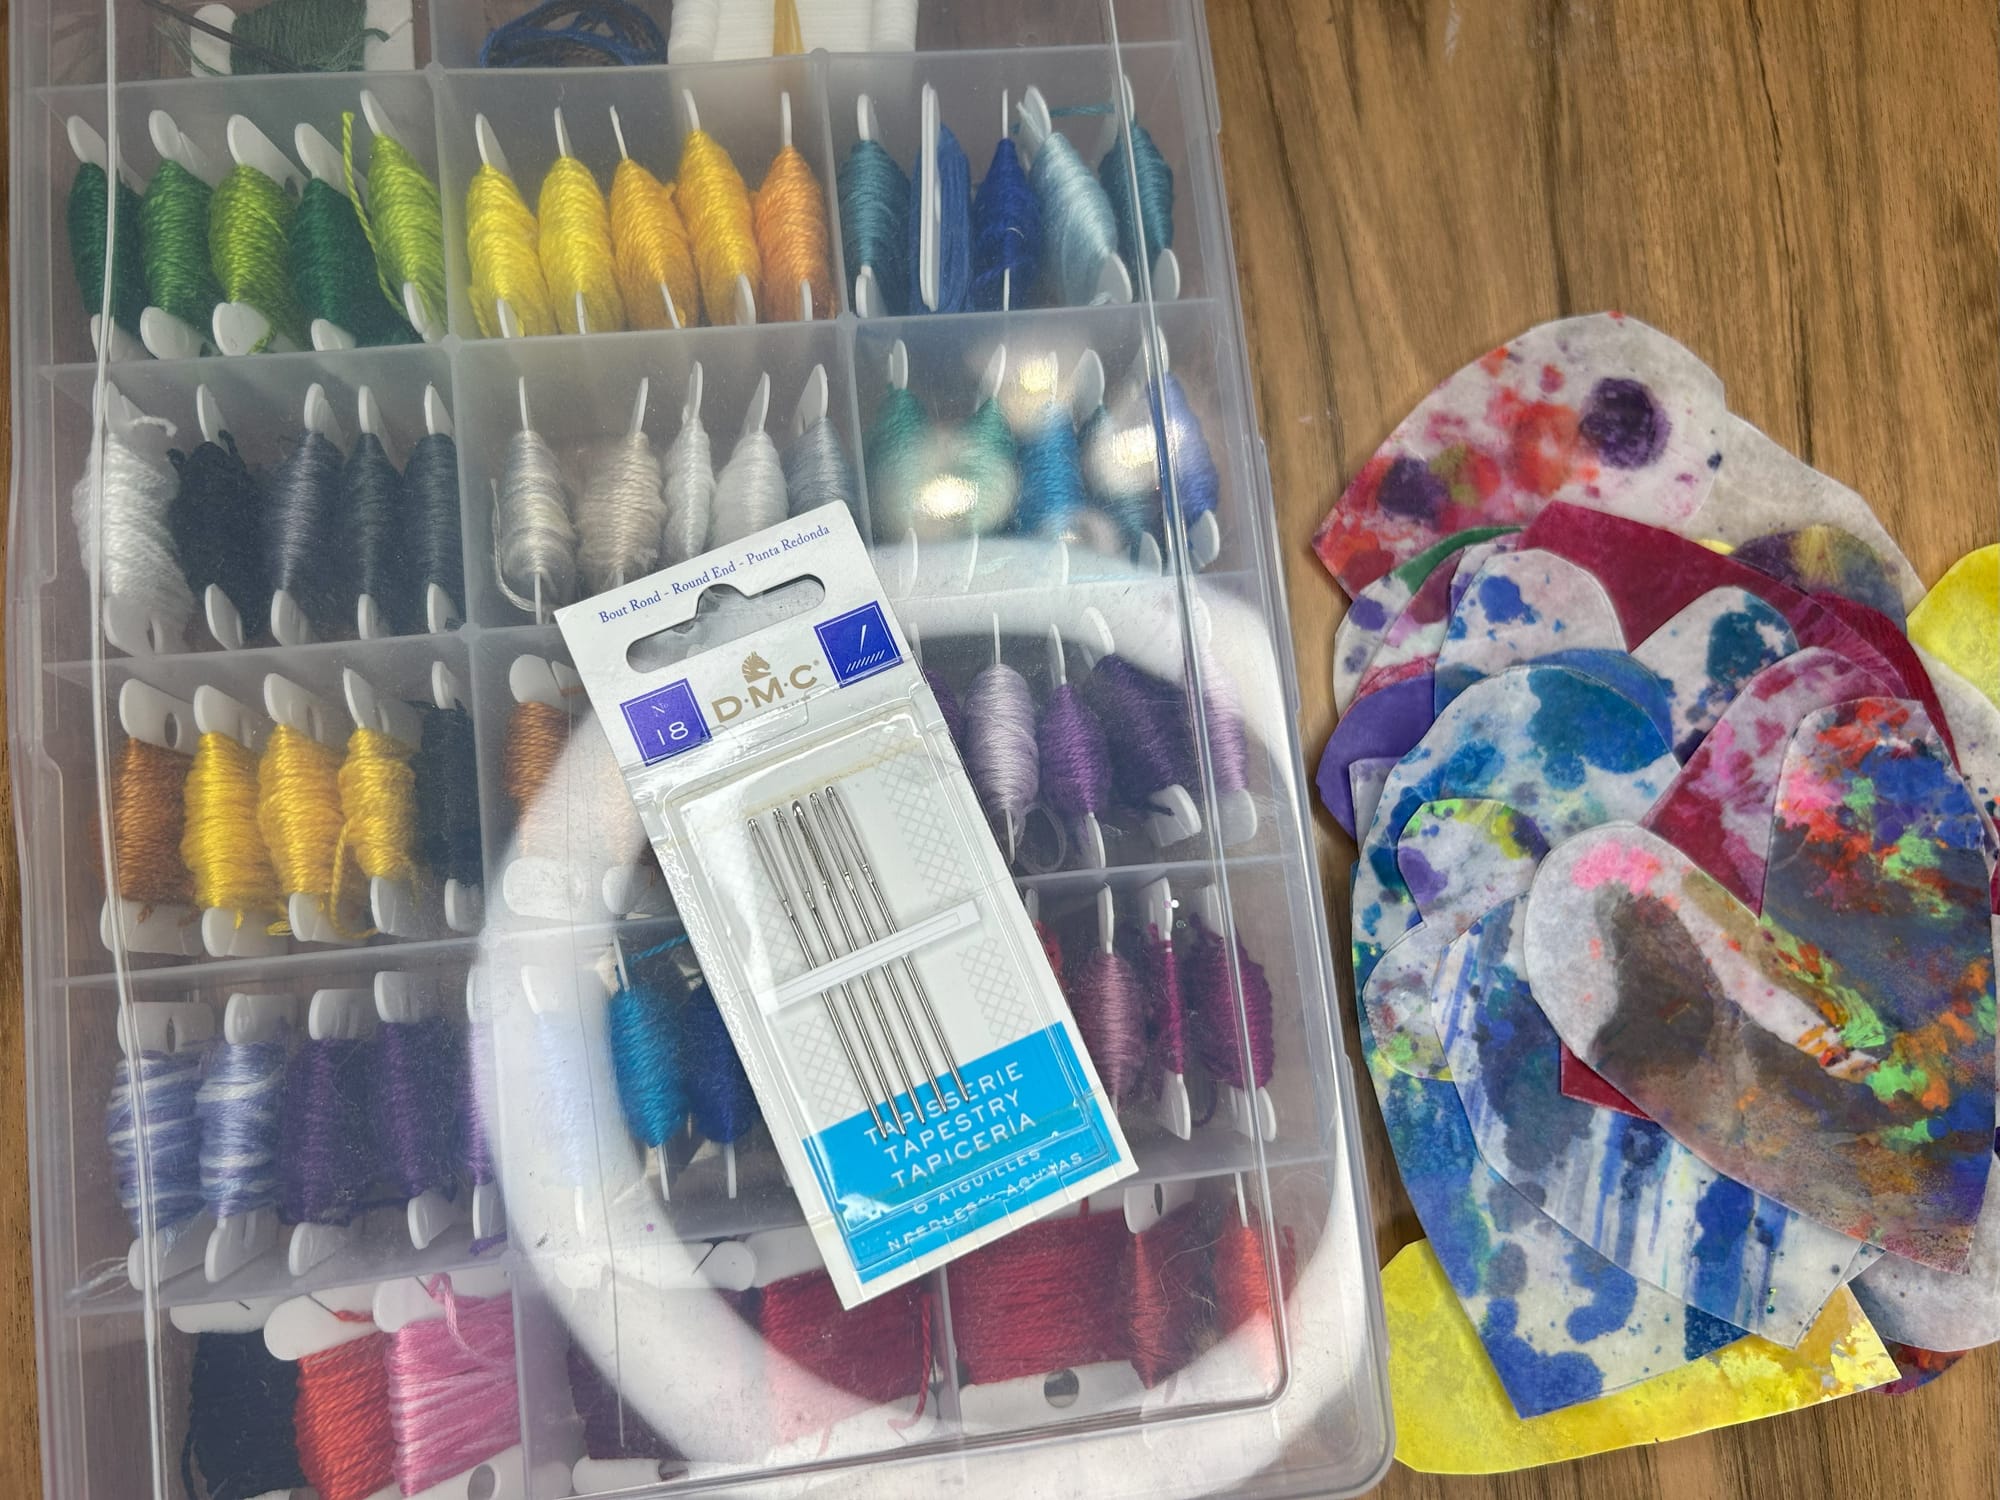
Gather your supplies to make these valentine wax paper hearts.
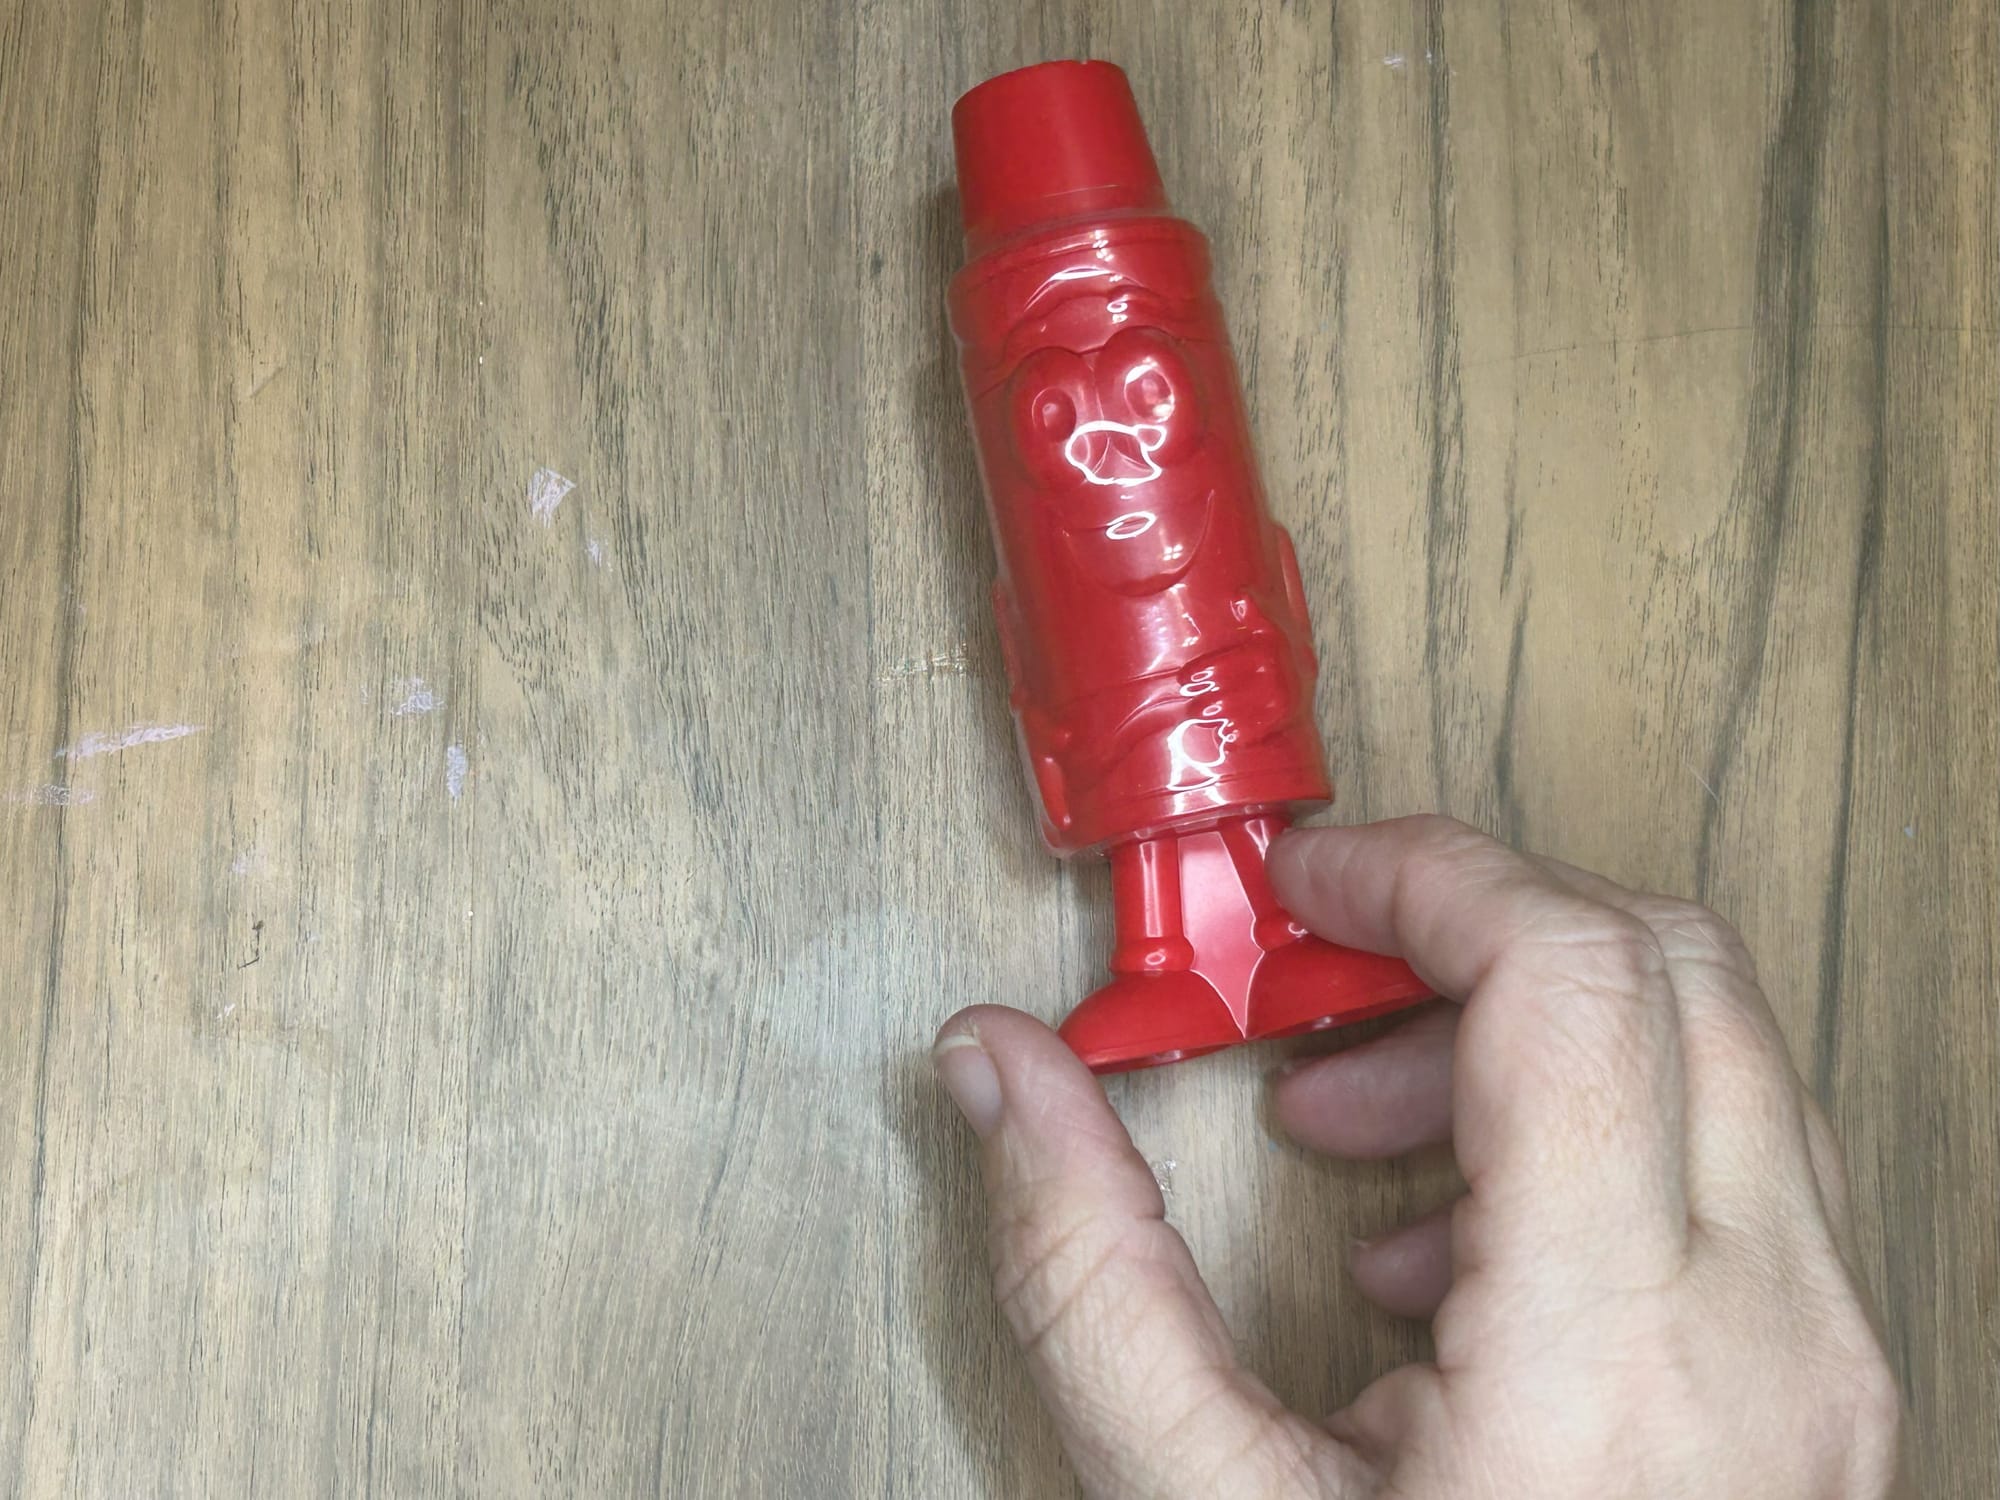
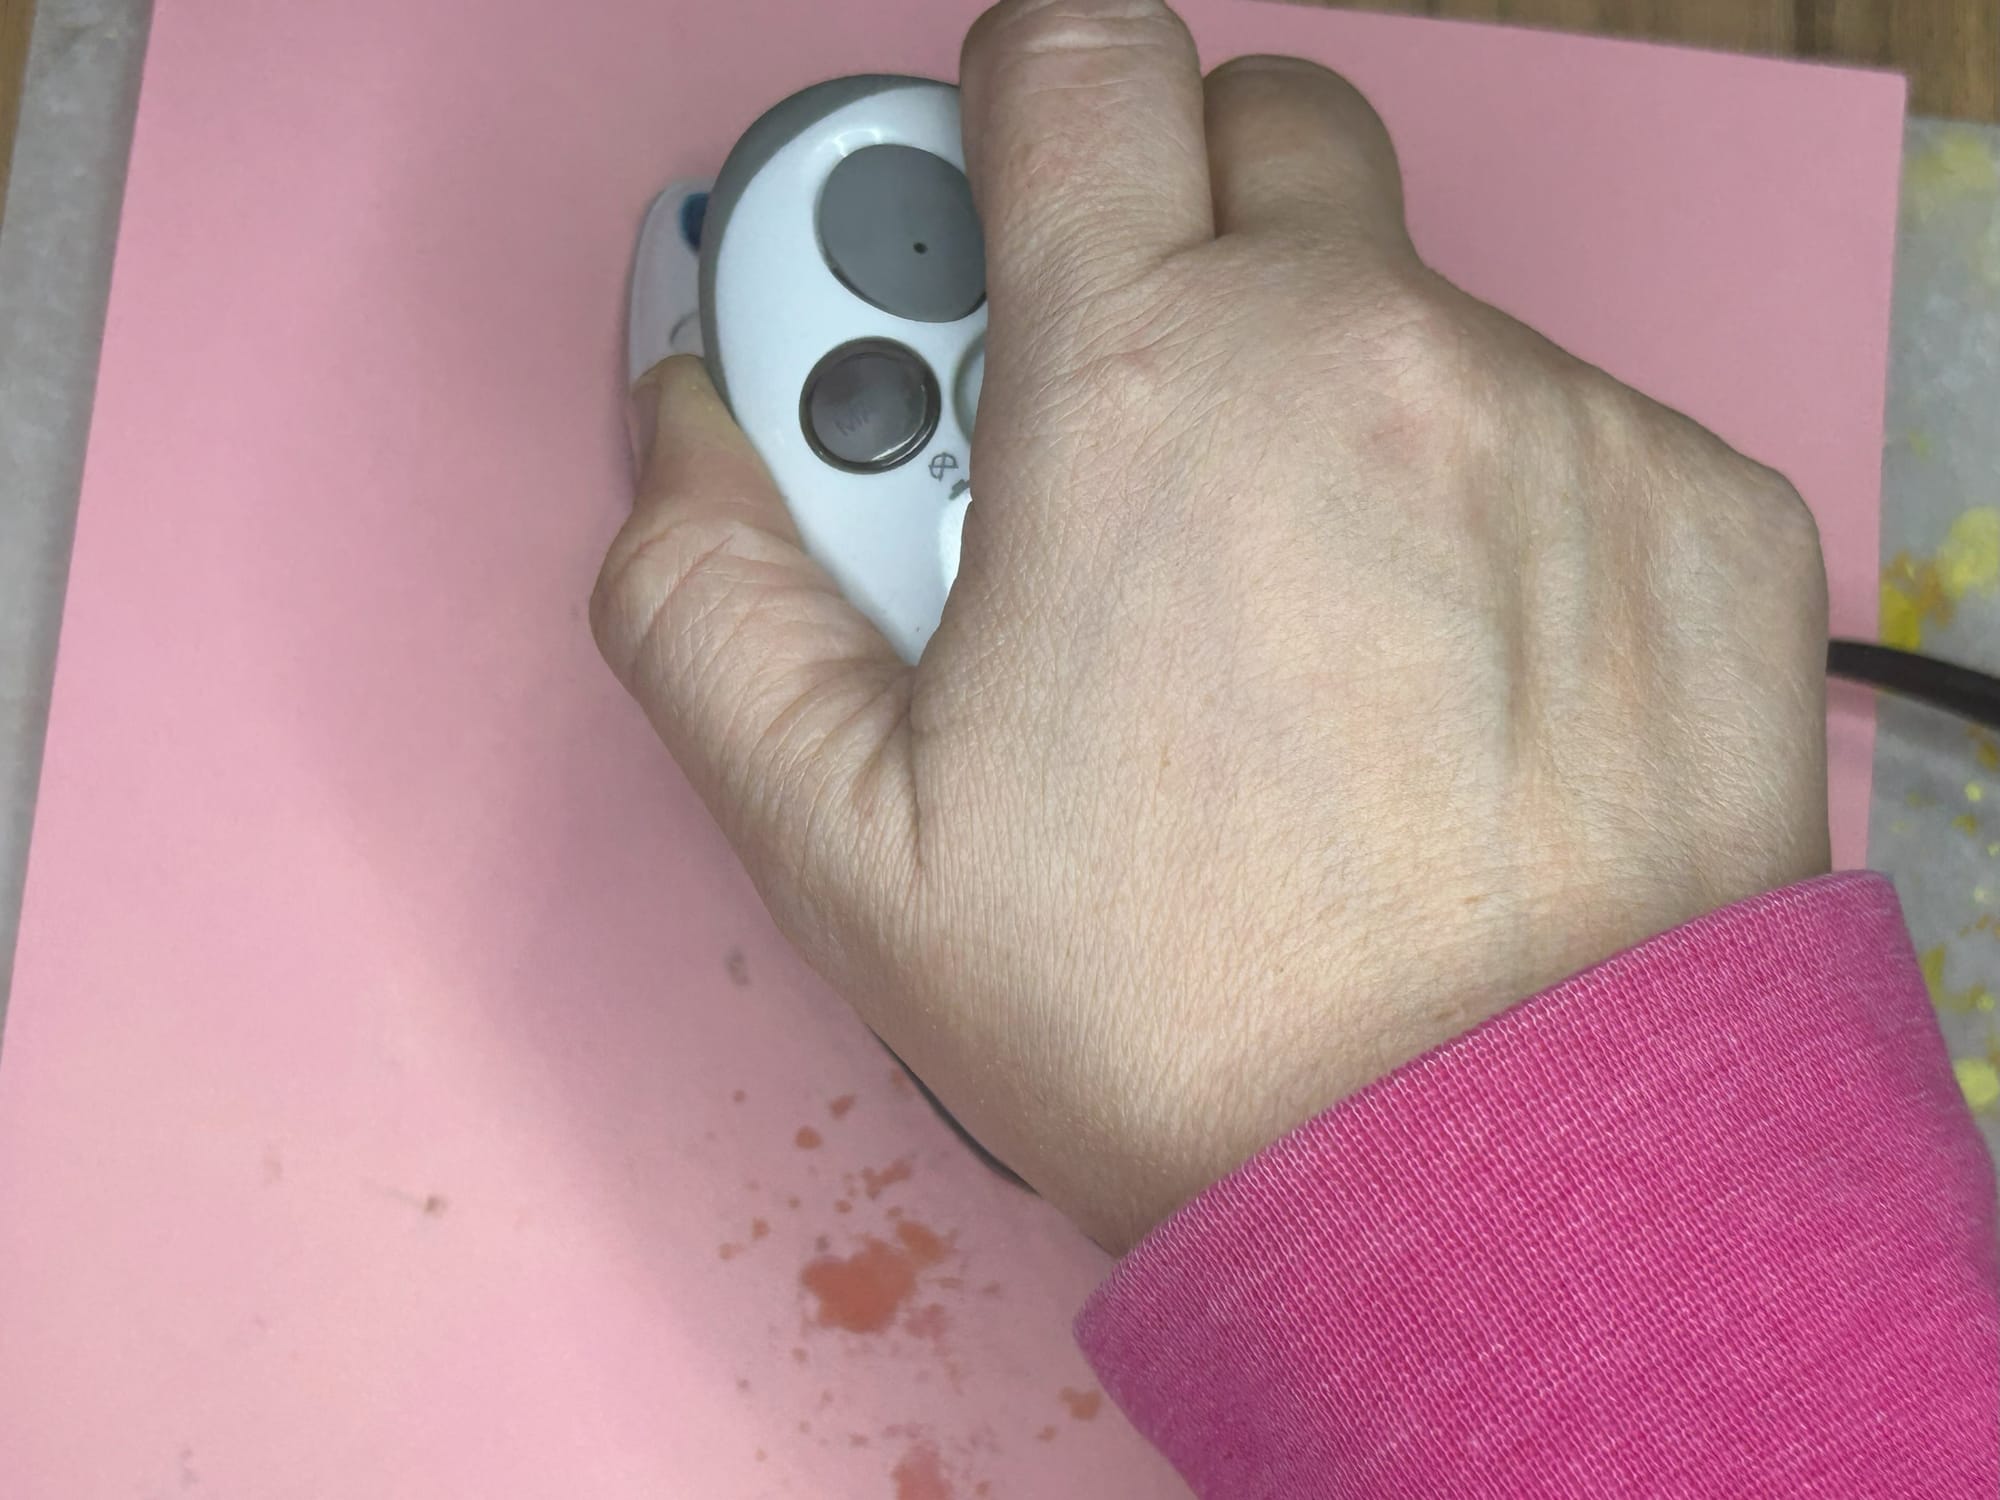
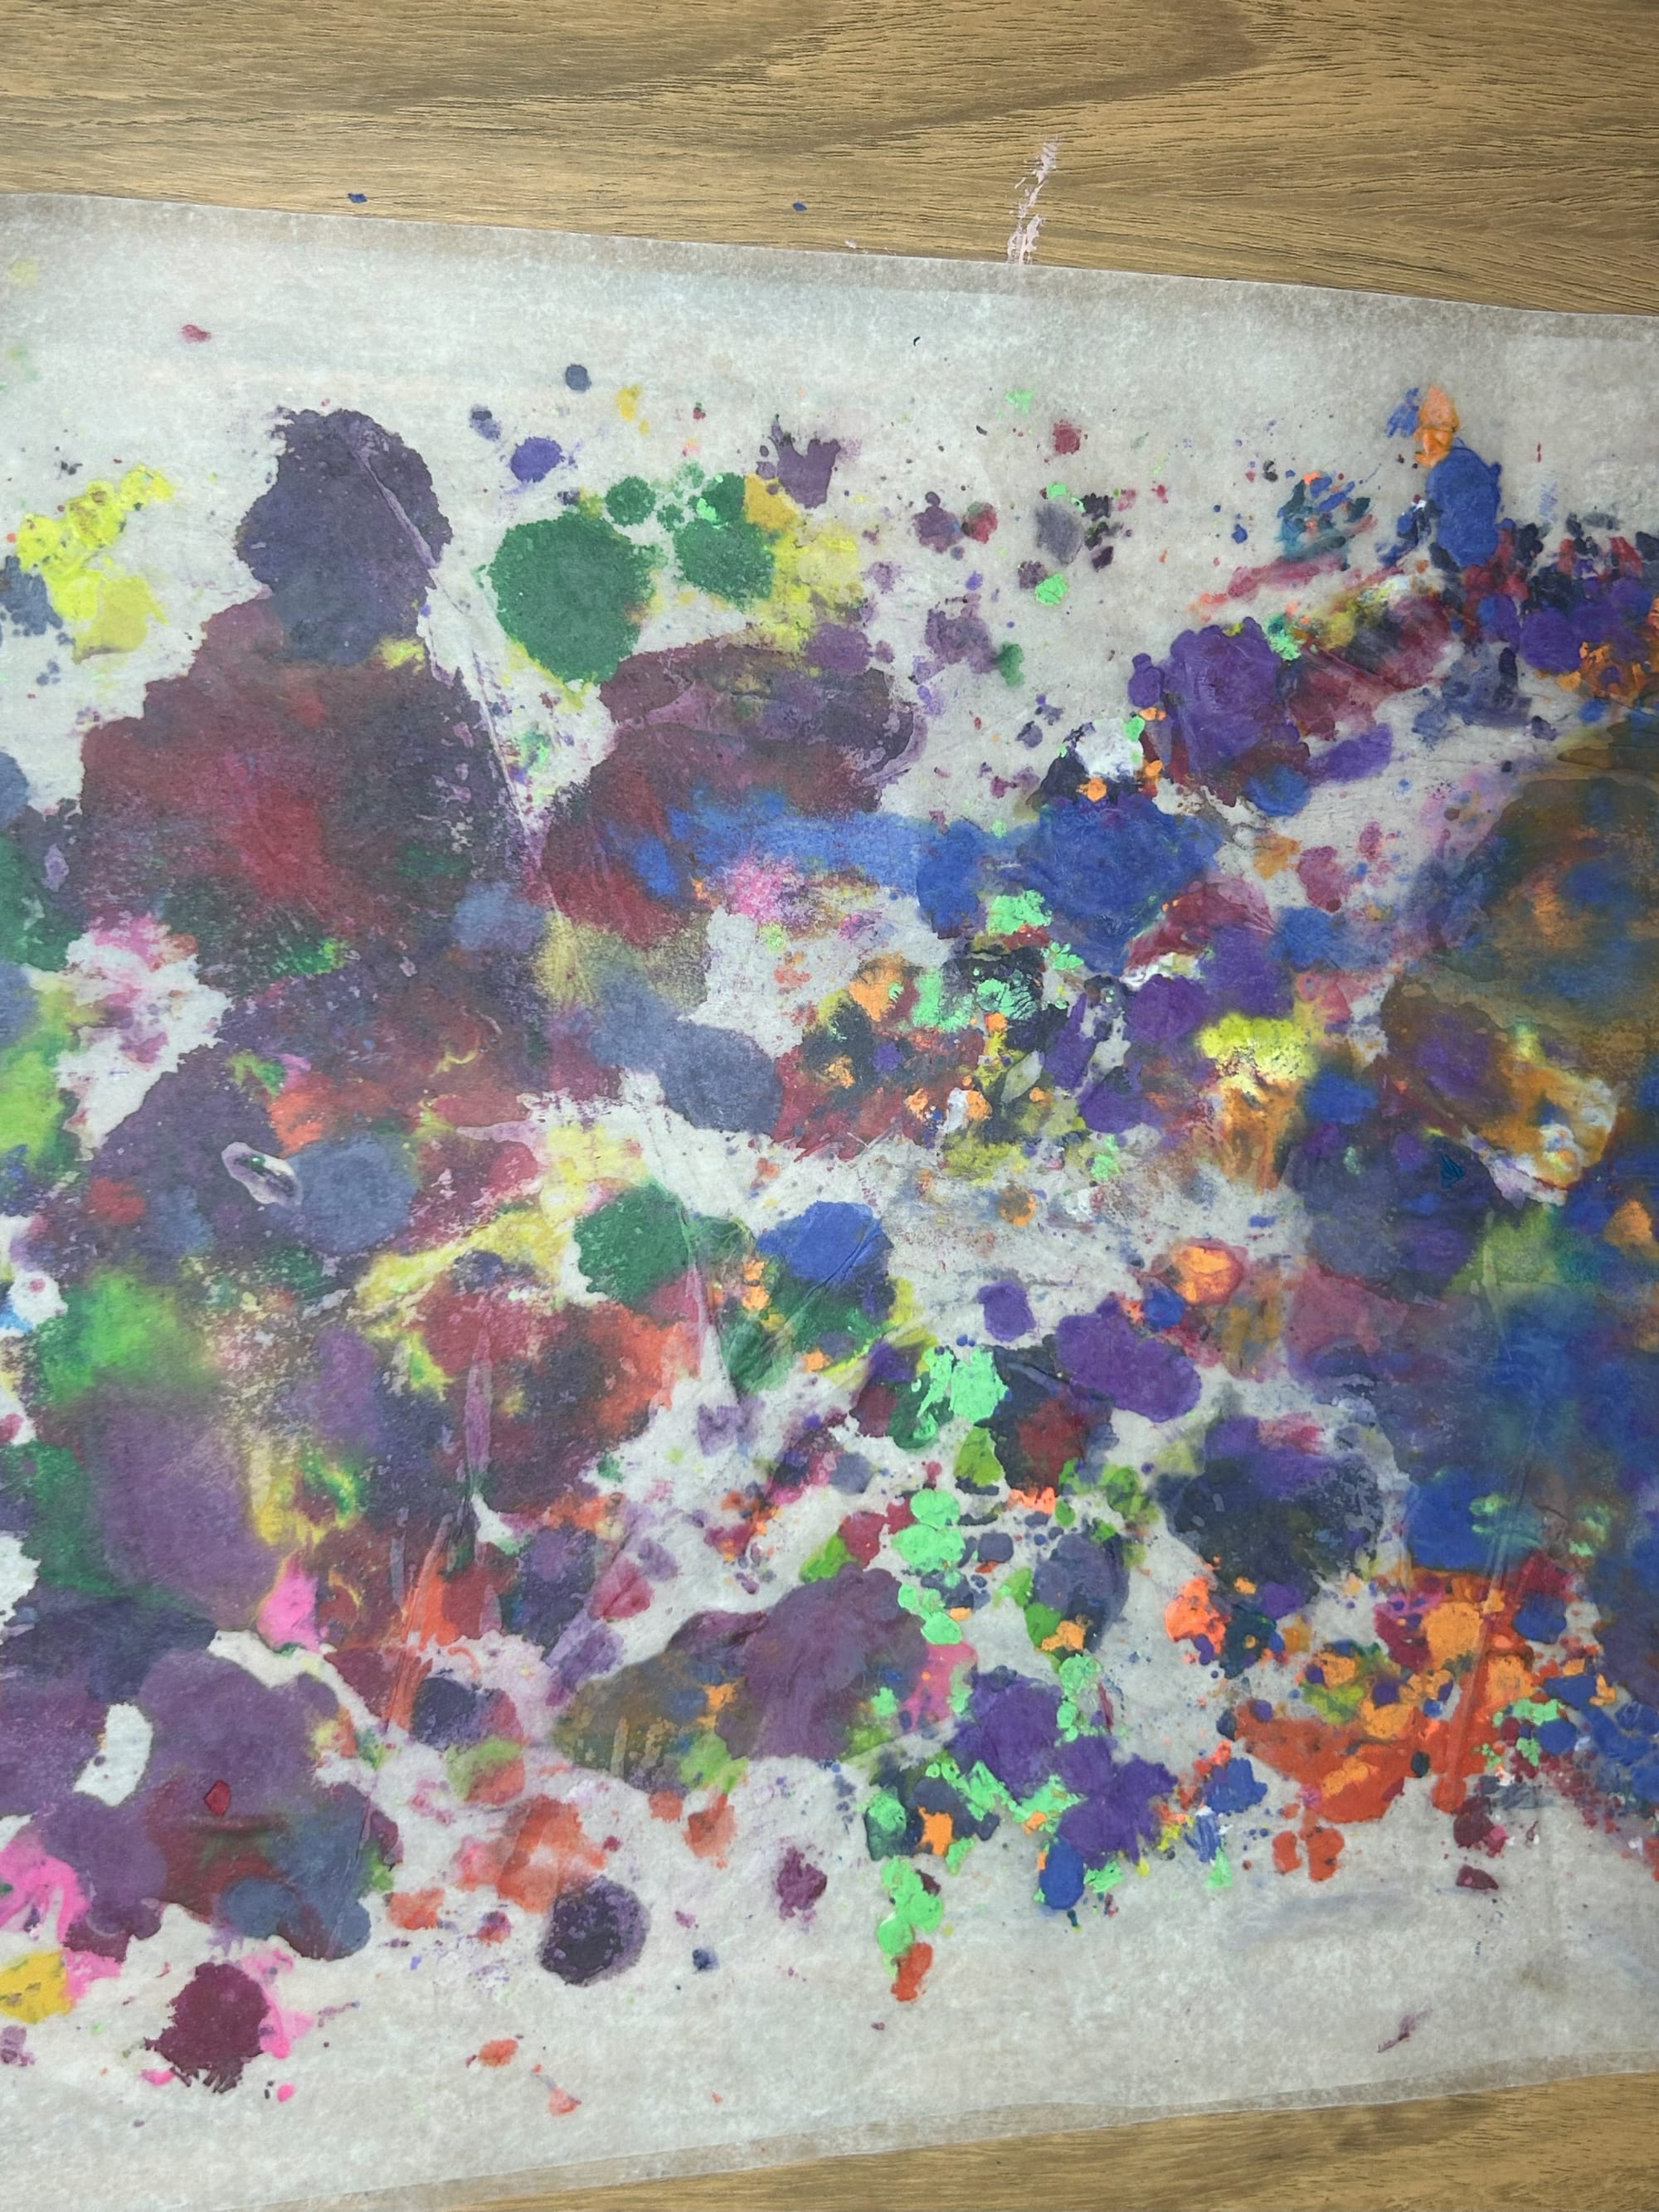
Lay out a piece of wax paper on top of a pieces of paper. This paper will protect your work surface once you begin melting the wax. Use a crayon sharpener to spread out a variety of different shades of a color or colors of crayons on half of the sheet of waxed paper.
![](https://www.craftymamabird.com/content/images/2025/02/4-4.jpg)
![](https://www.craftymamabird.com/content/images/2025/02/5-6.jpg)
![](https://www.craftymamabird.com/content/images/2025/02/6-5.jpg)
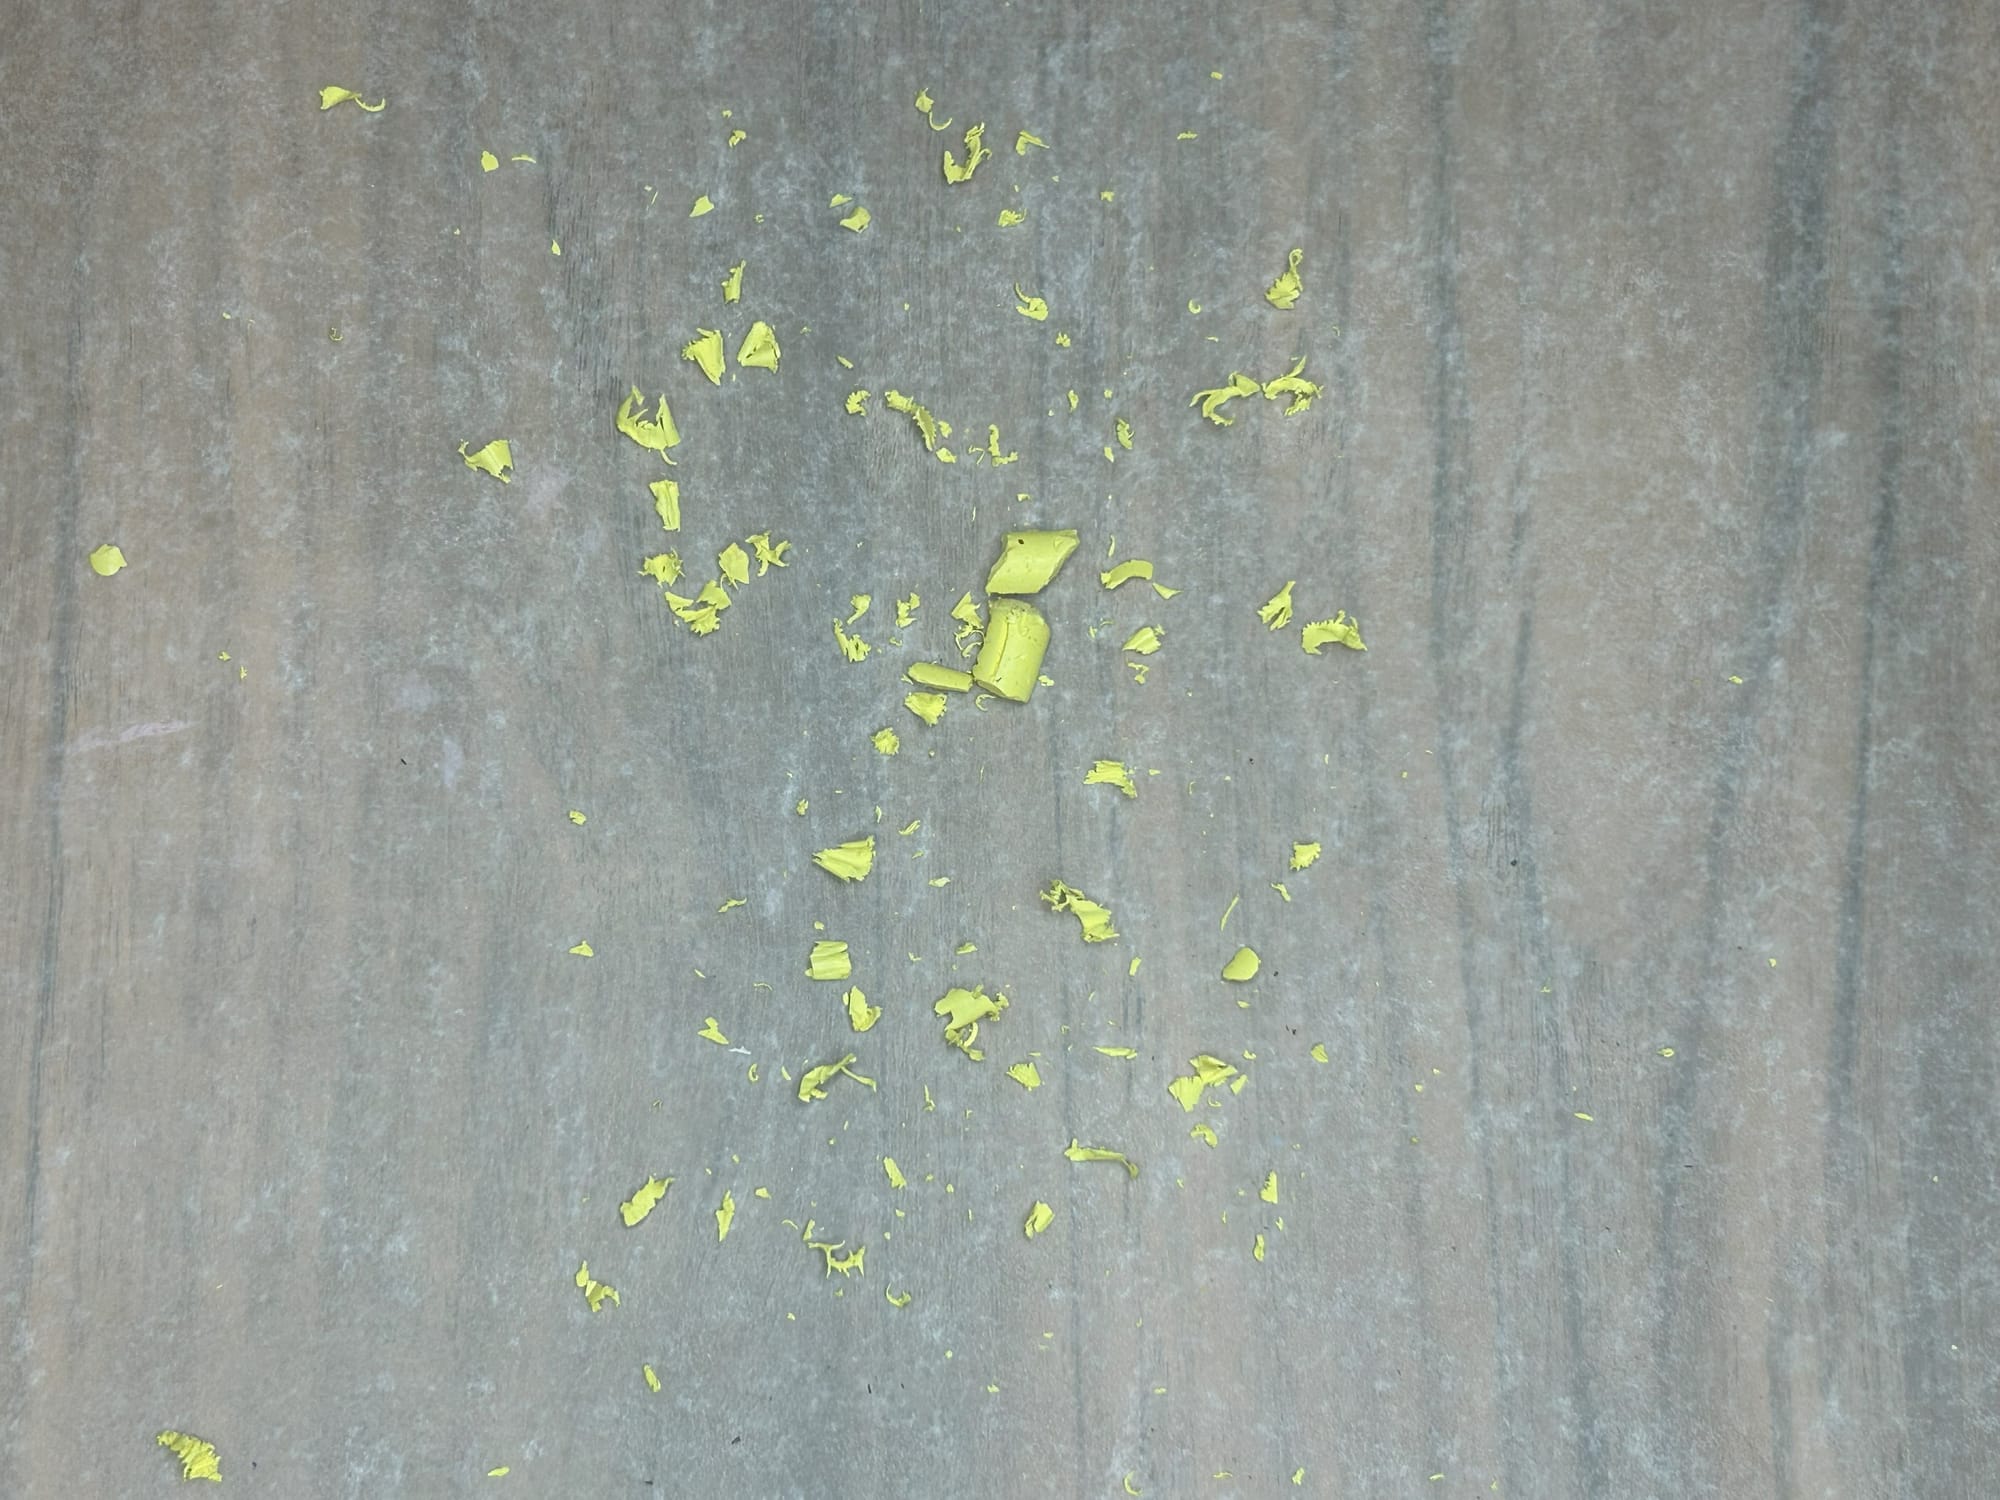
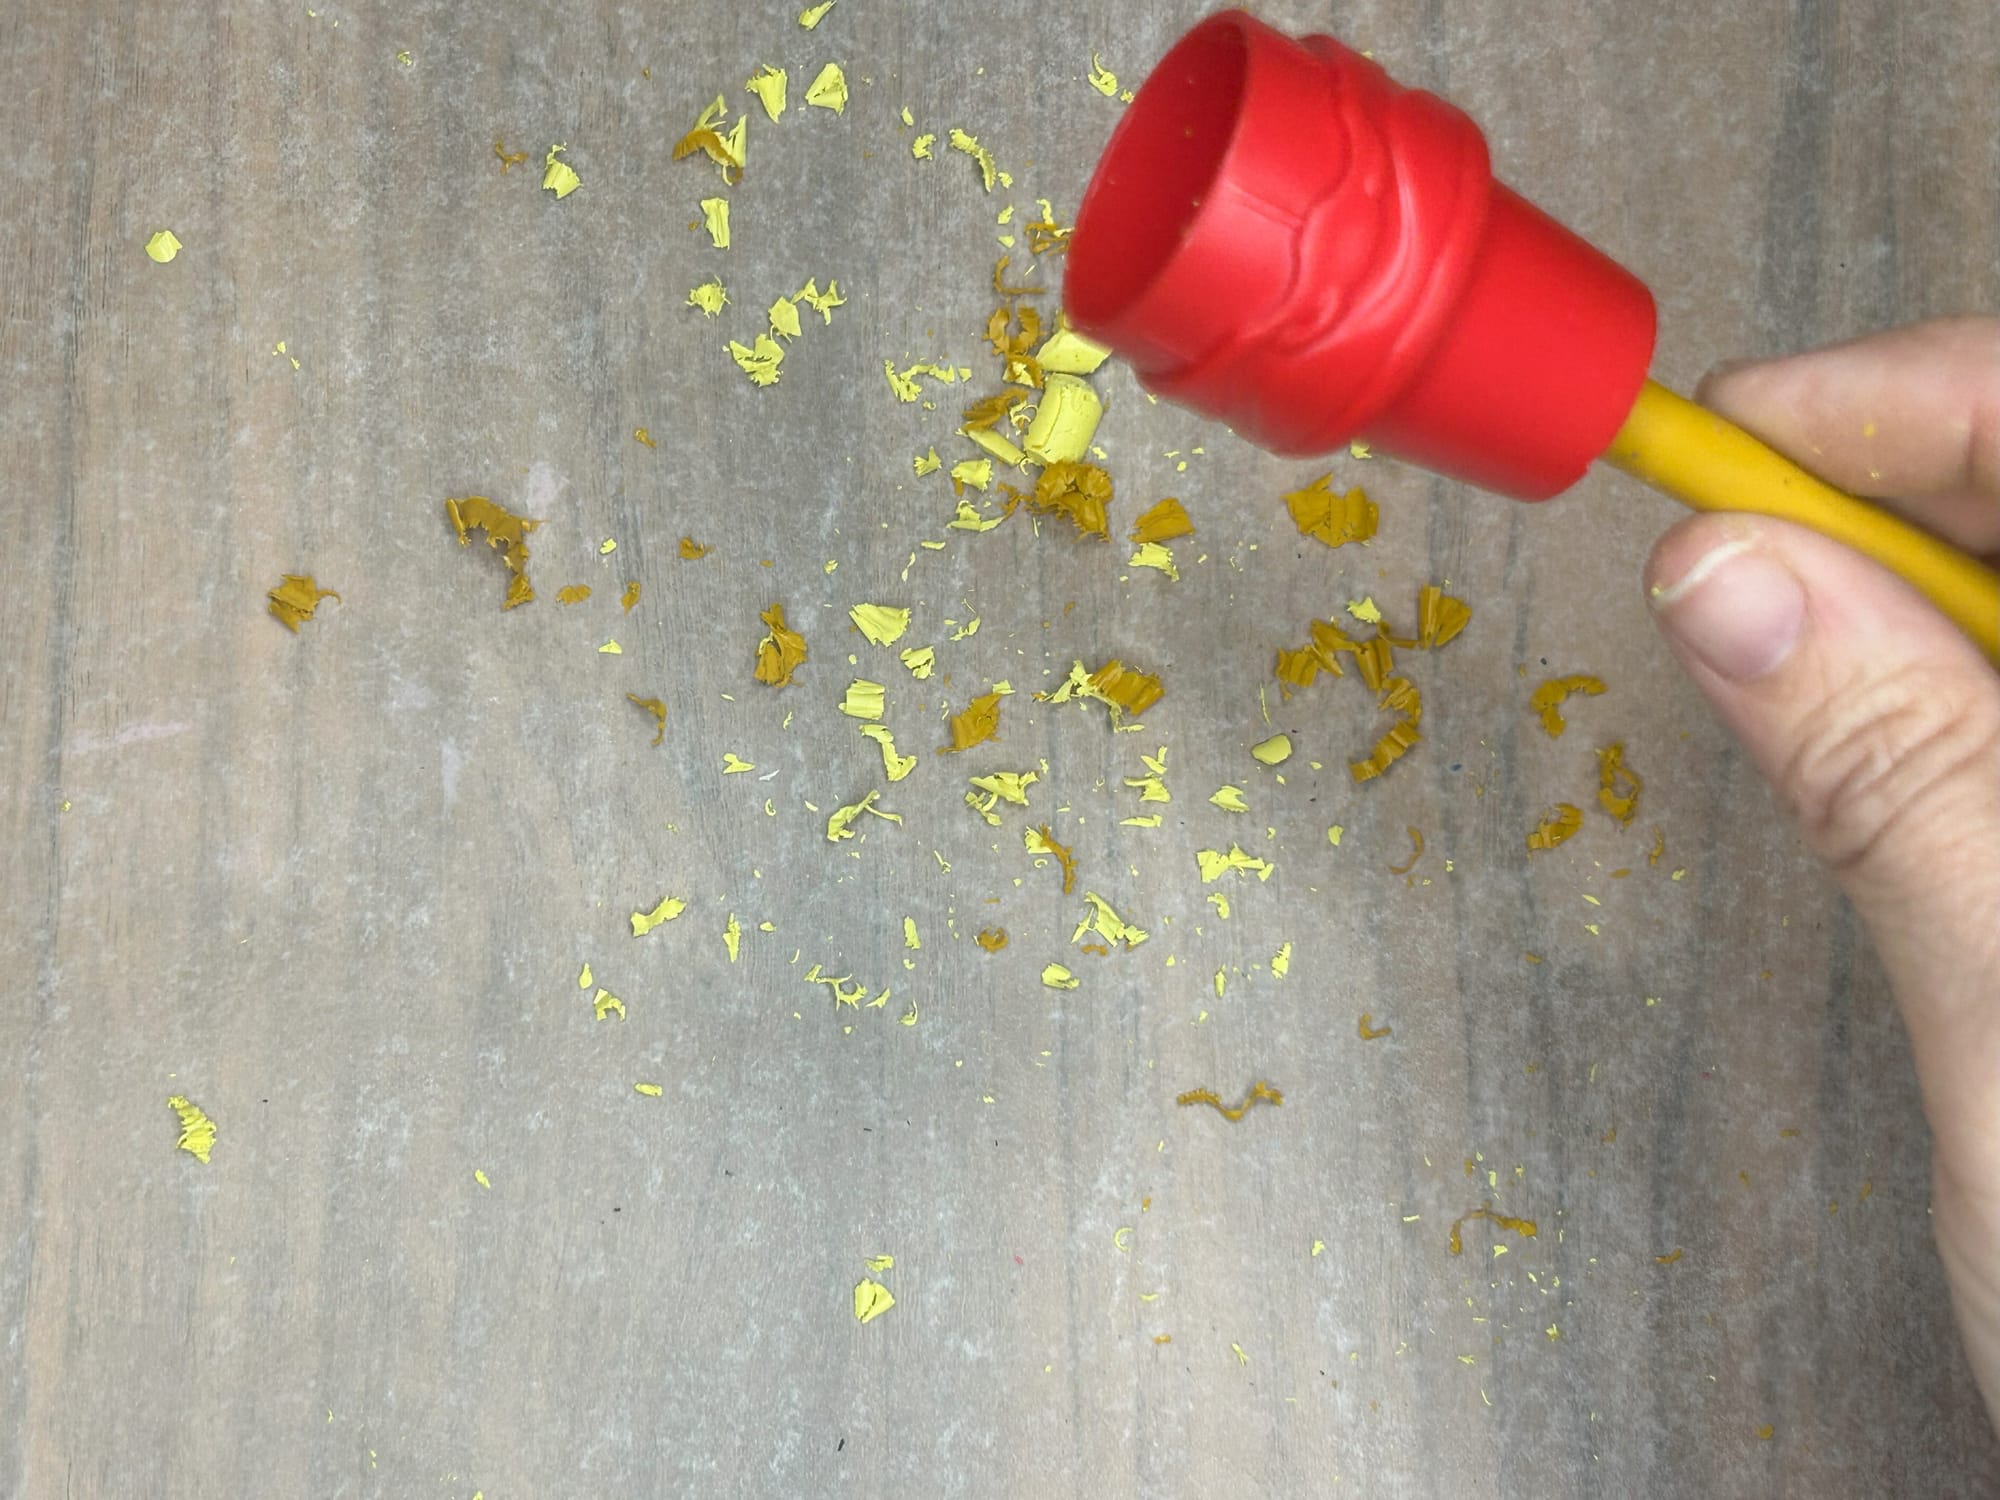
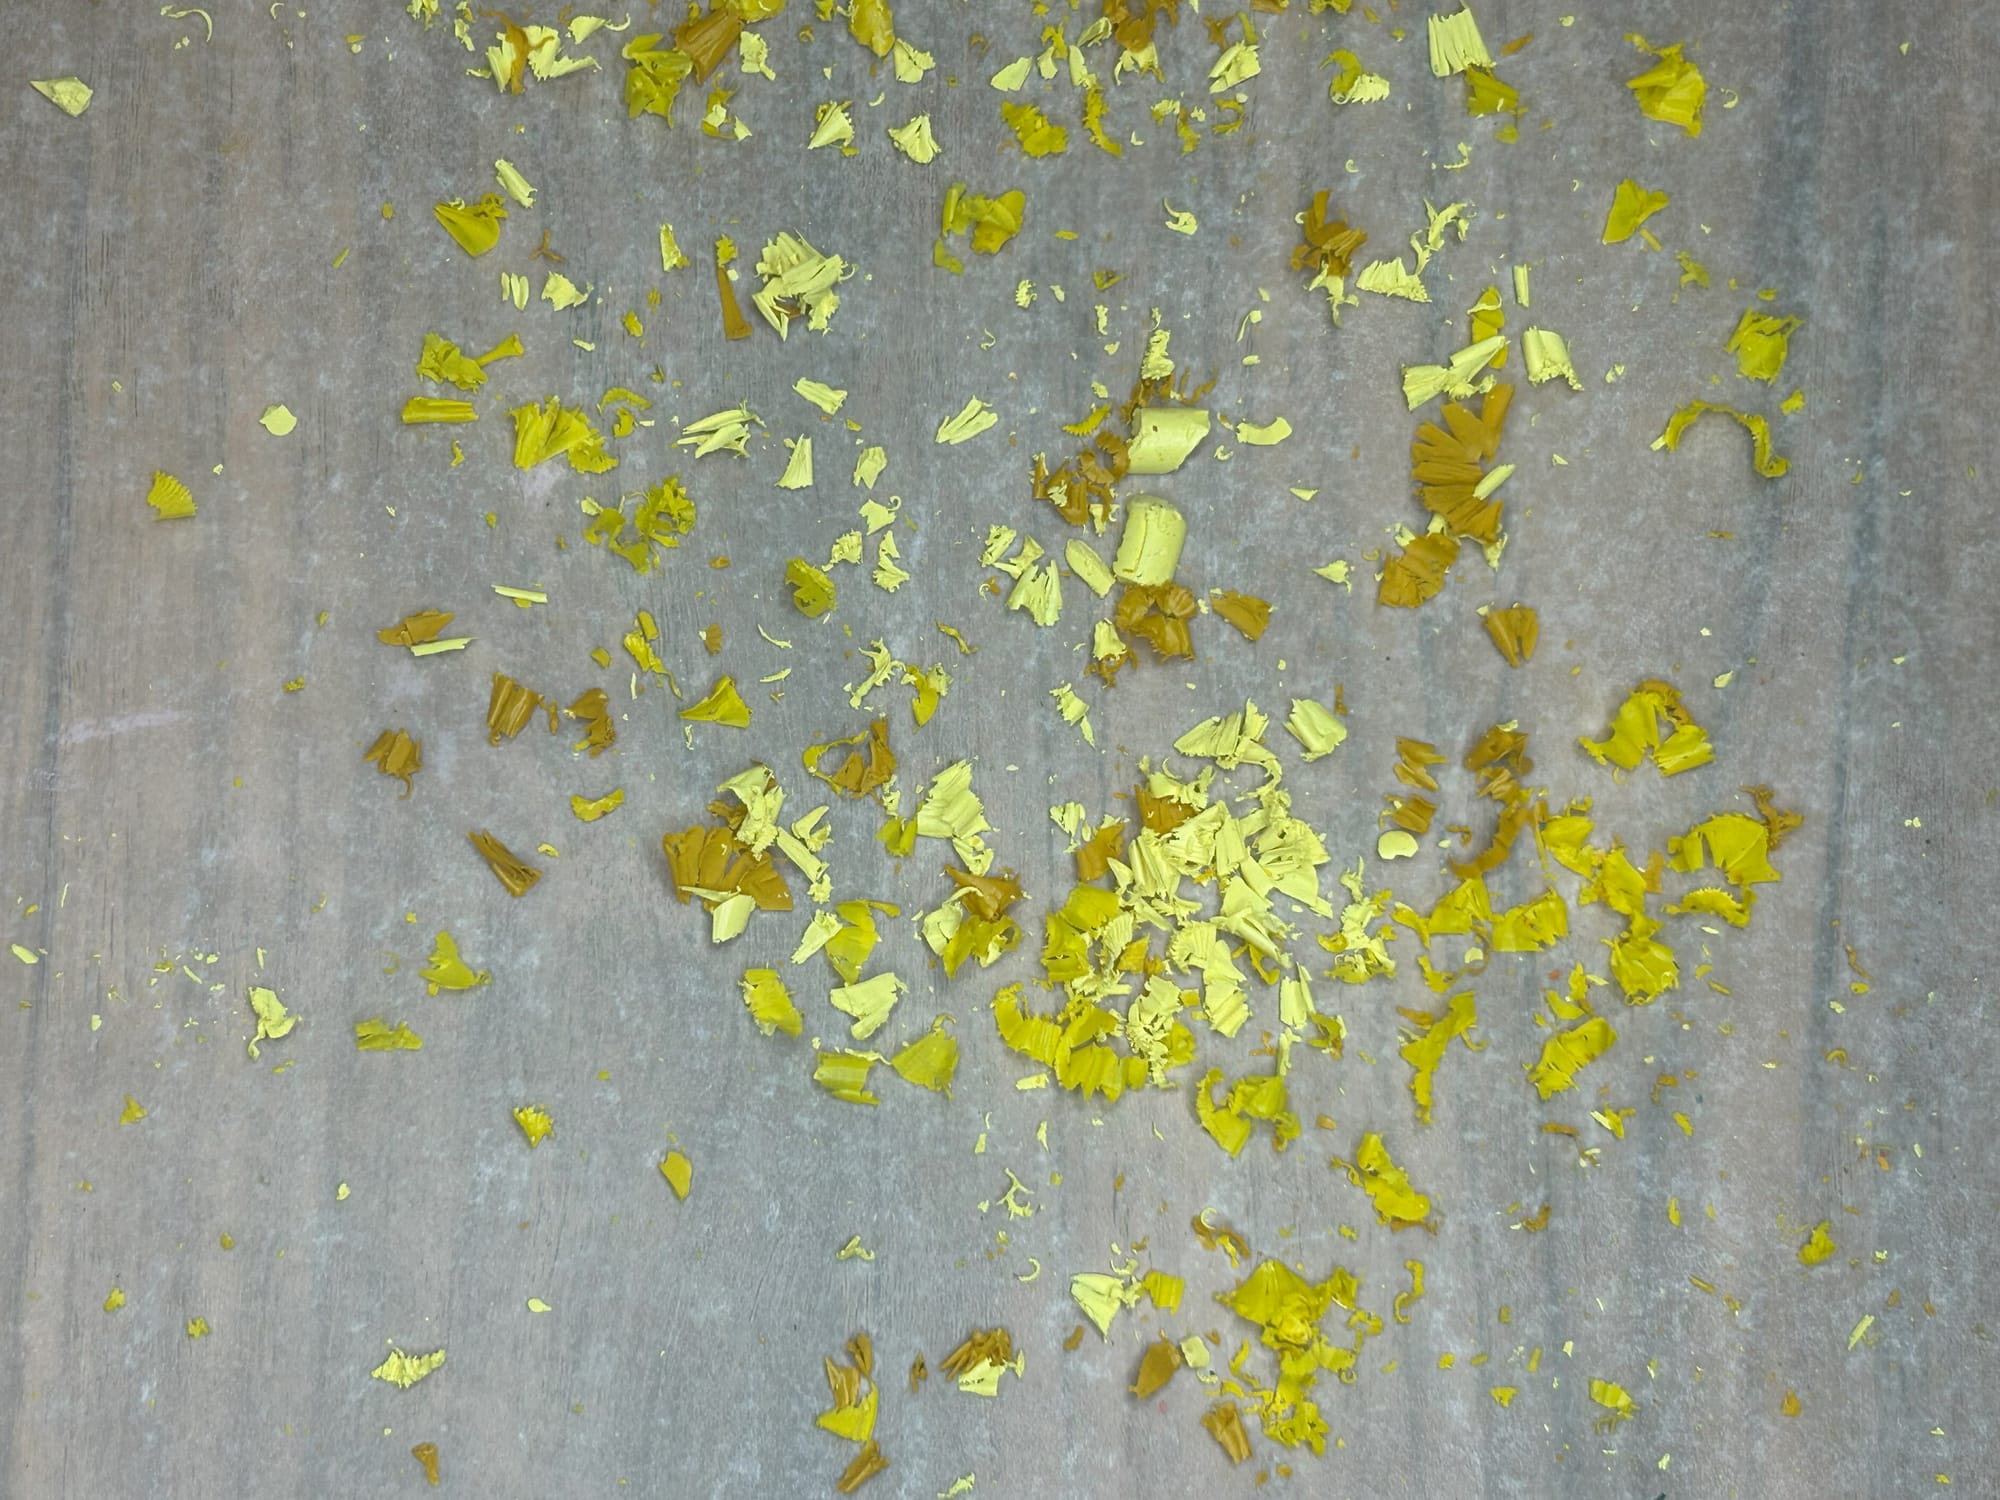
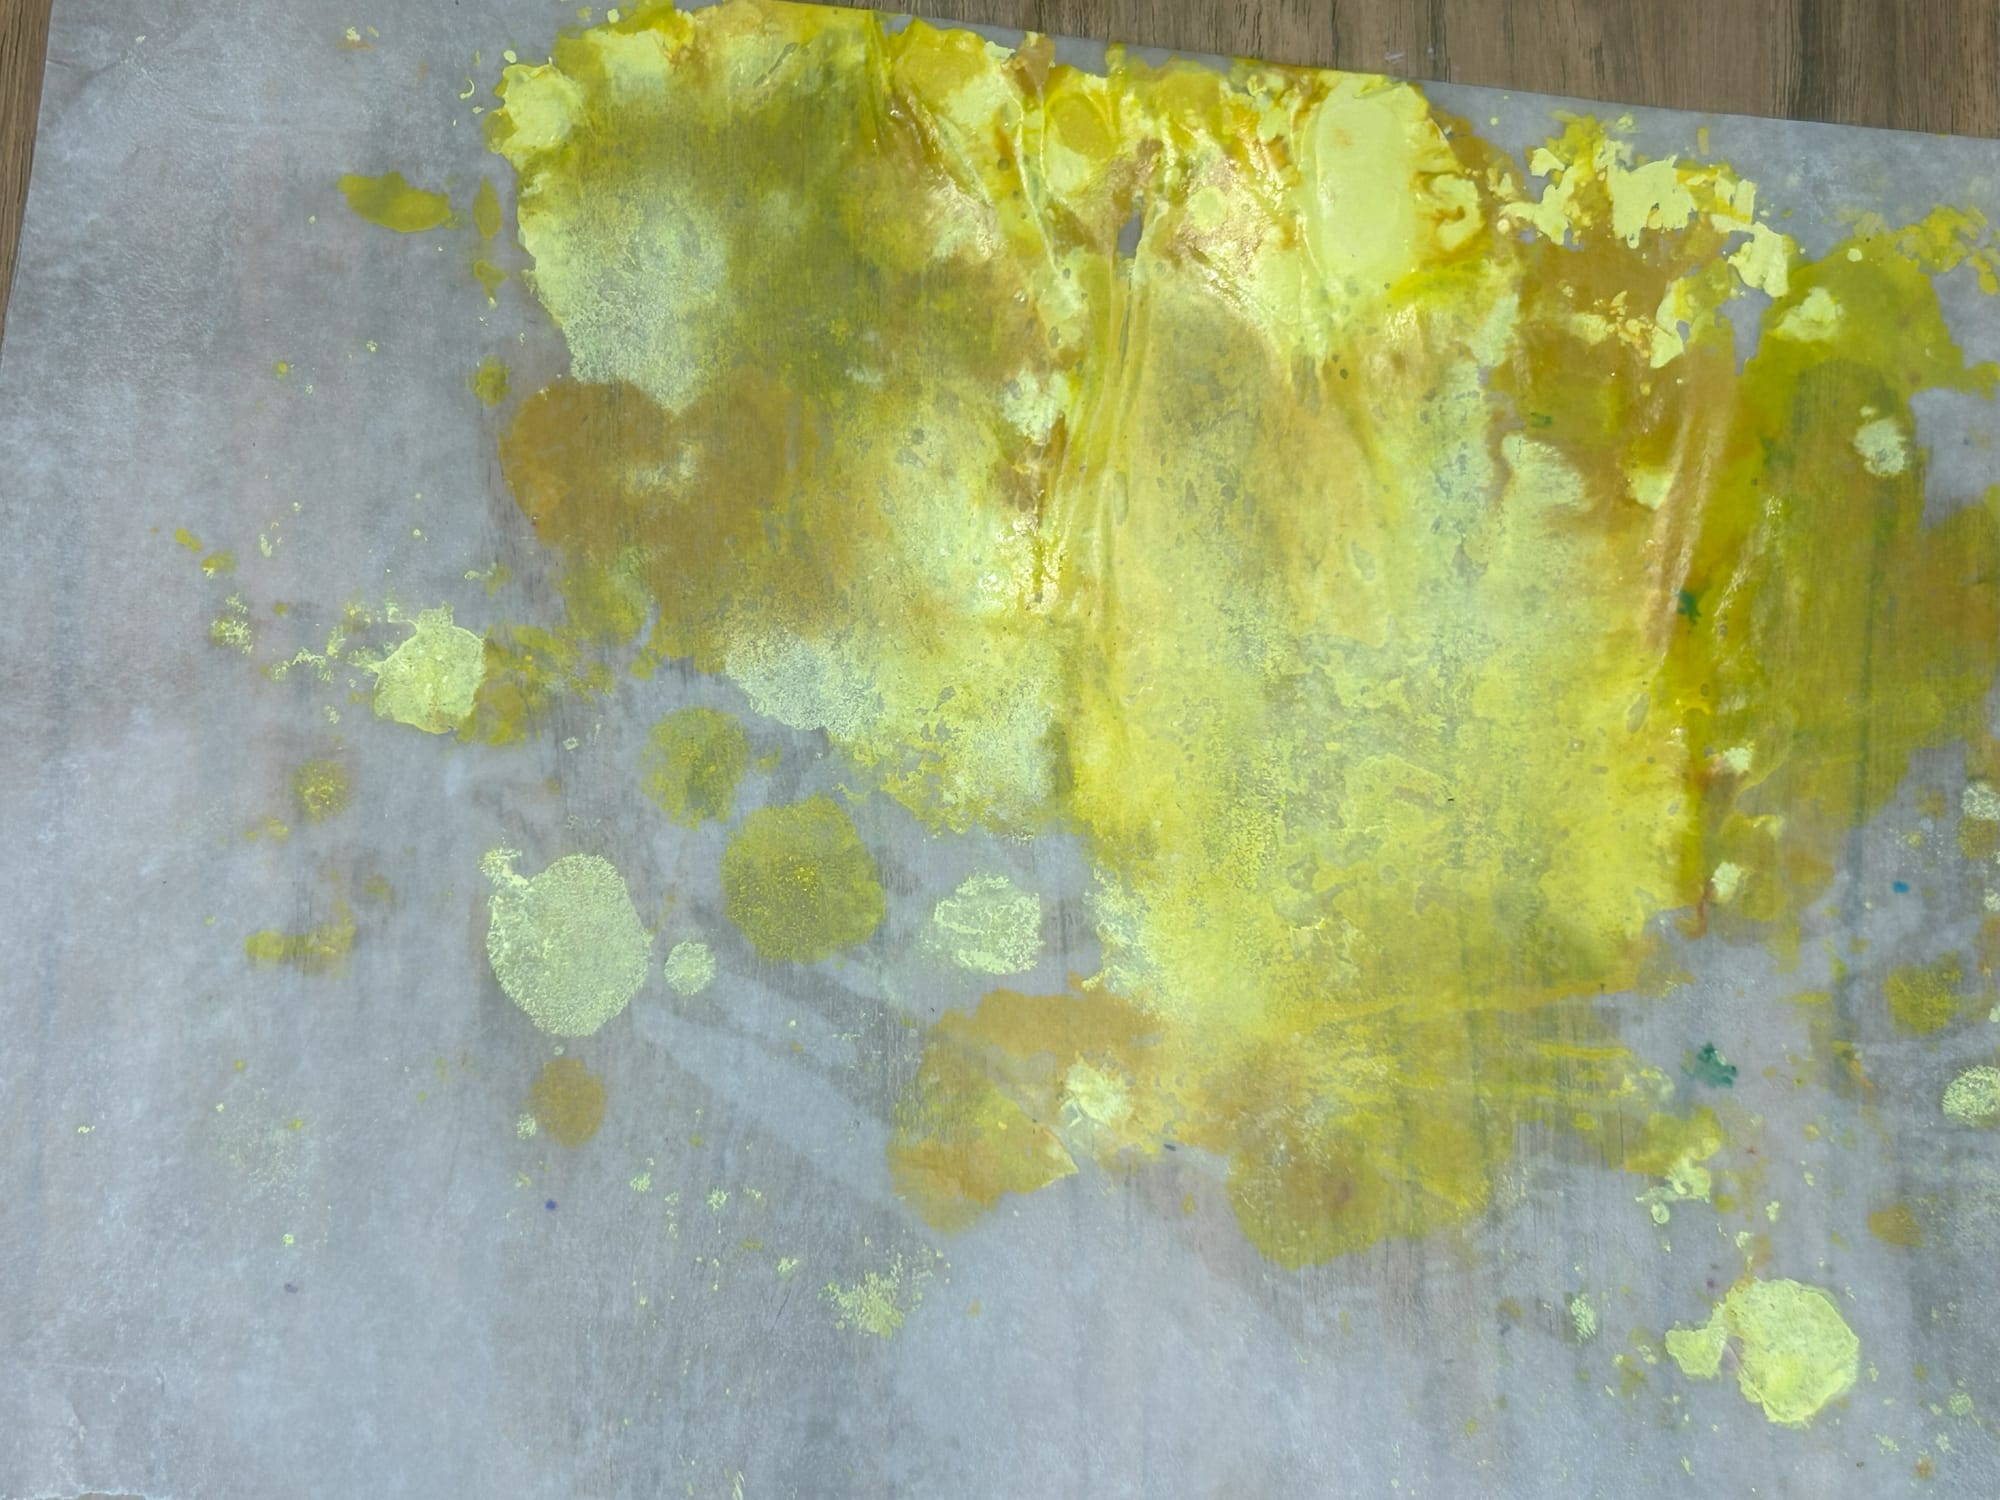
Spread crayon shavings over half of the waxed paper.
Then, you will fold the waxed paper in half to cover the crayon wax. Cover the waxed paper with another piece of paper to protect the surface of your iron.
![](https://www.craftymamabird.com/content/images/2025/02/7-5.jpg)
![](https://www.craftymamabird.com/content/images/2025/02/8-8.jpg)
![](https://www.craftymamabird.com/content/images/2025/02/9-5.jpg)
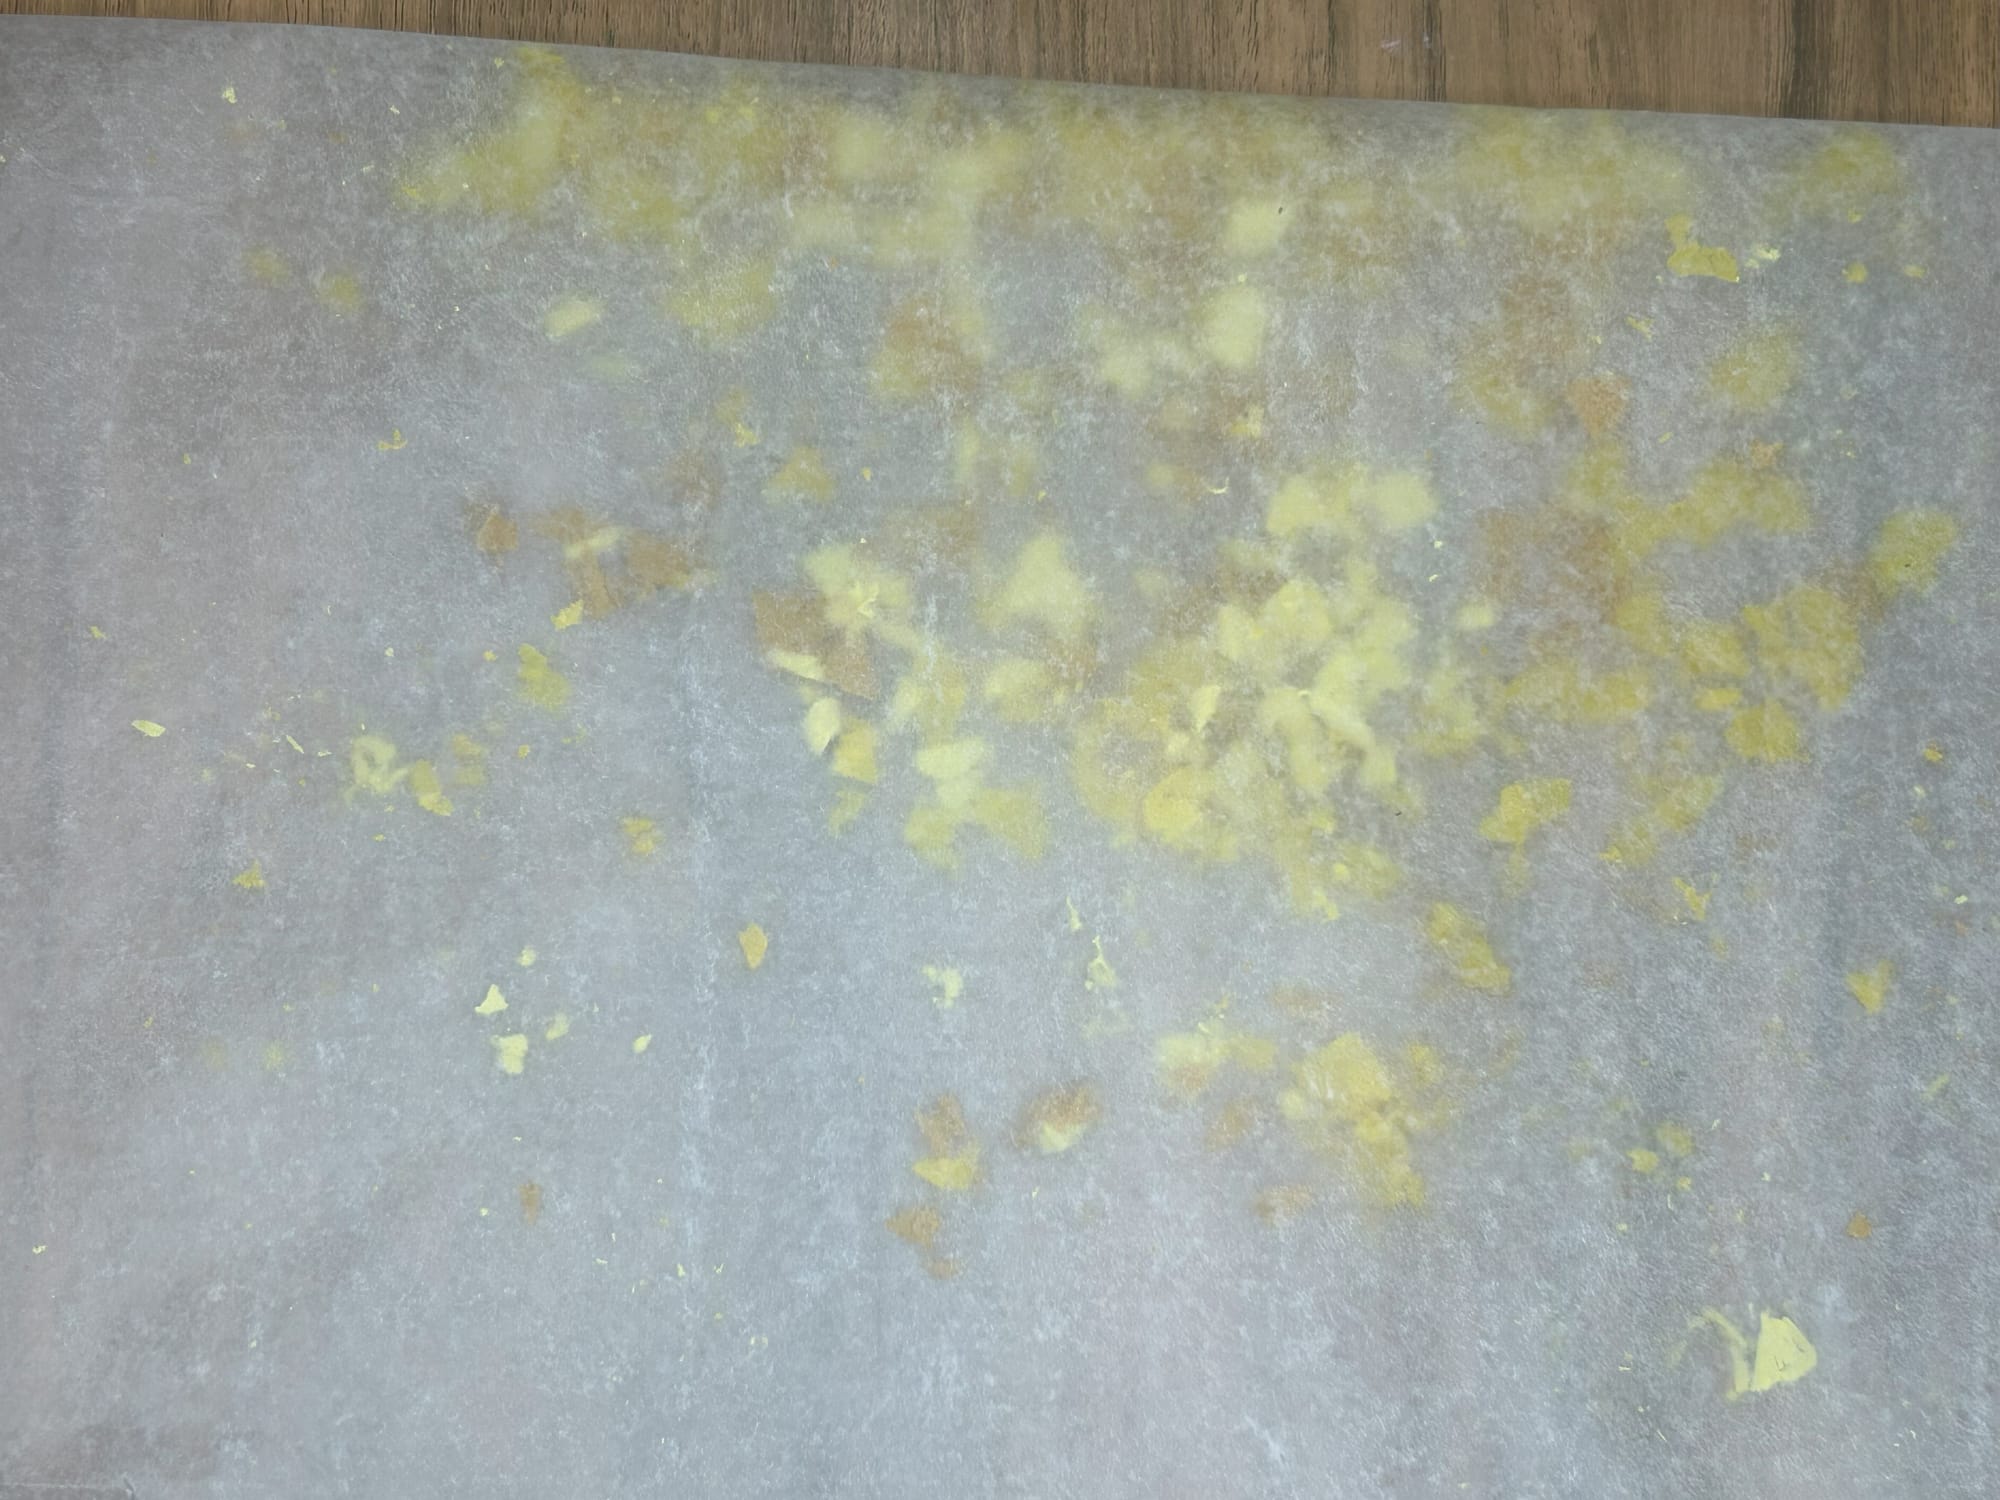
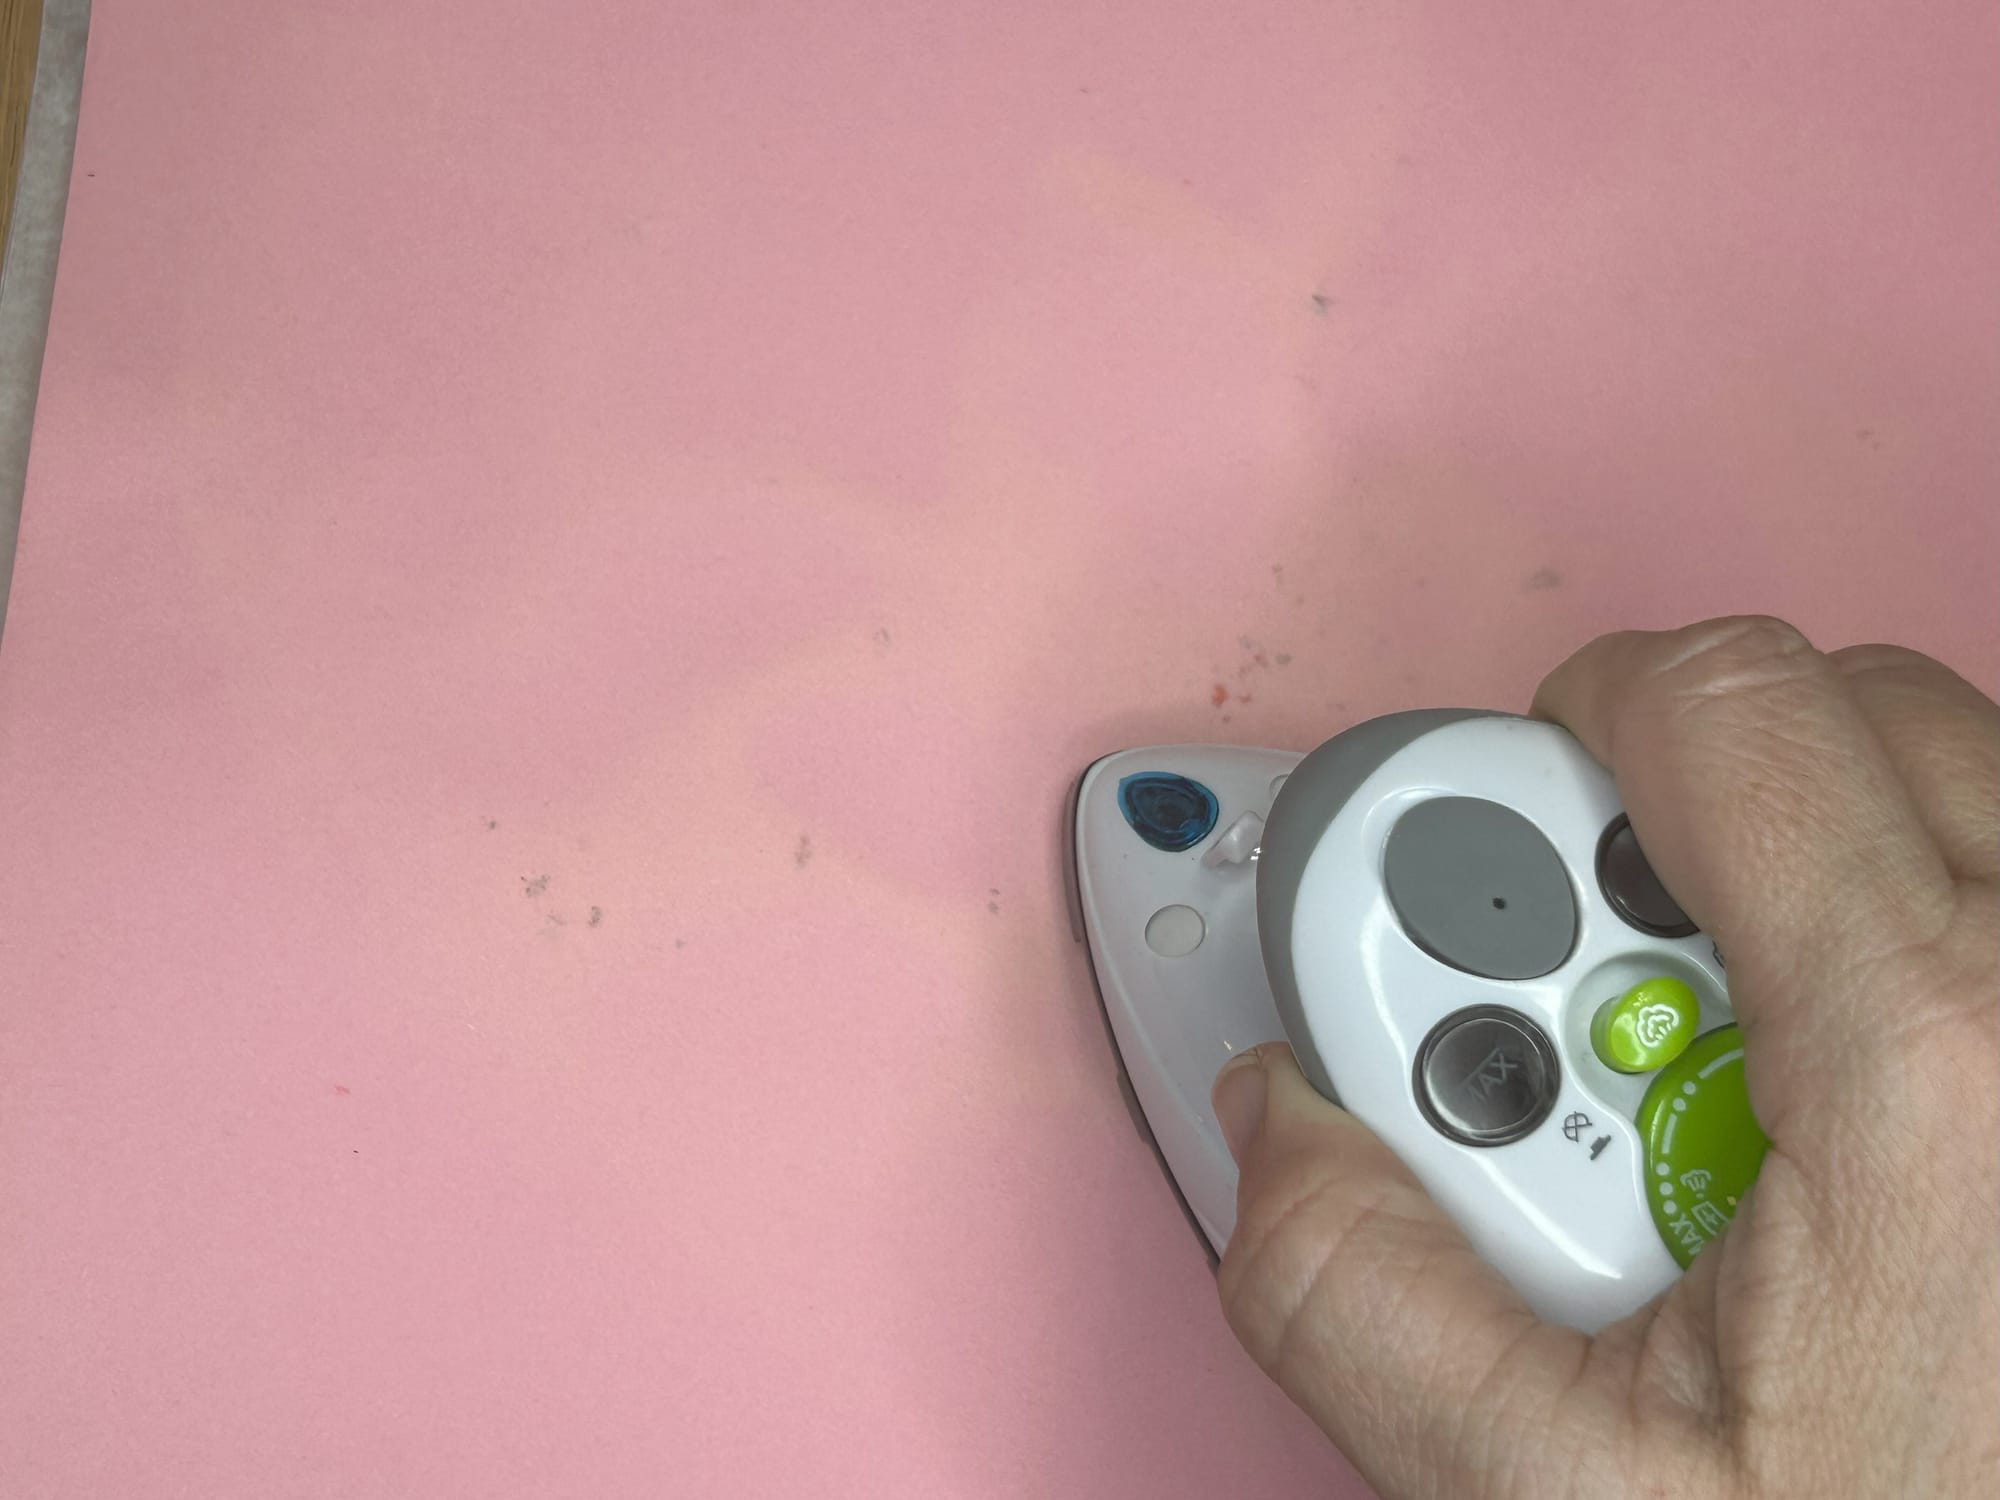
Iron all over the waxed paper, check to see it is melted completely.
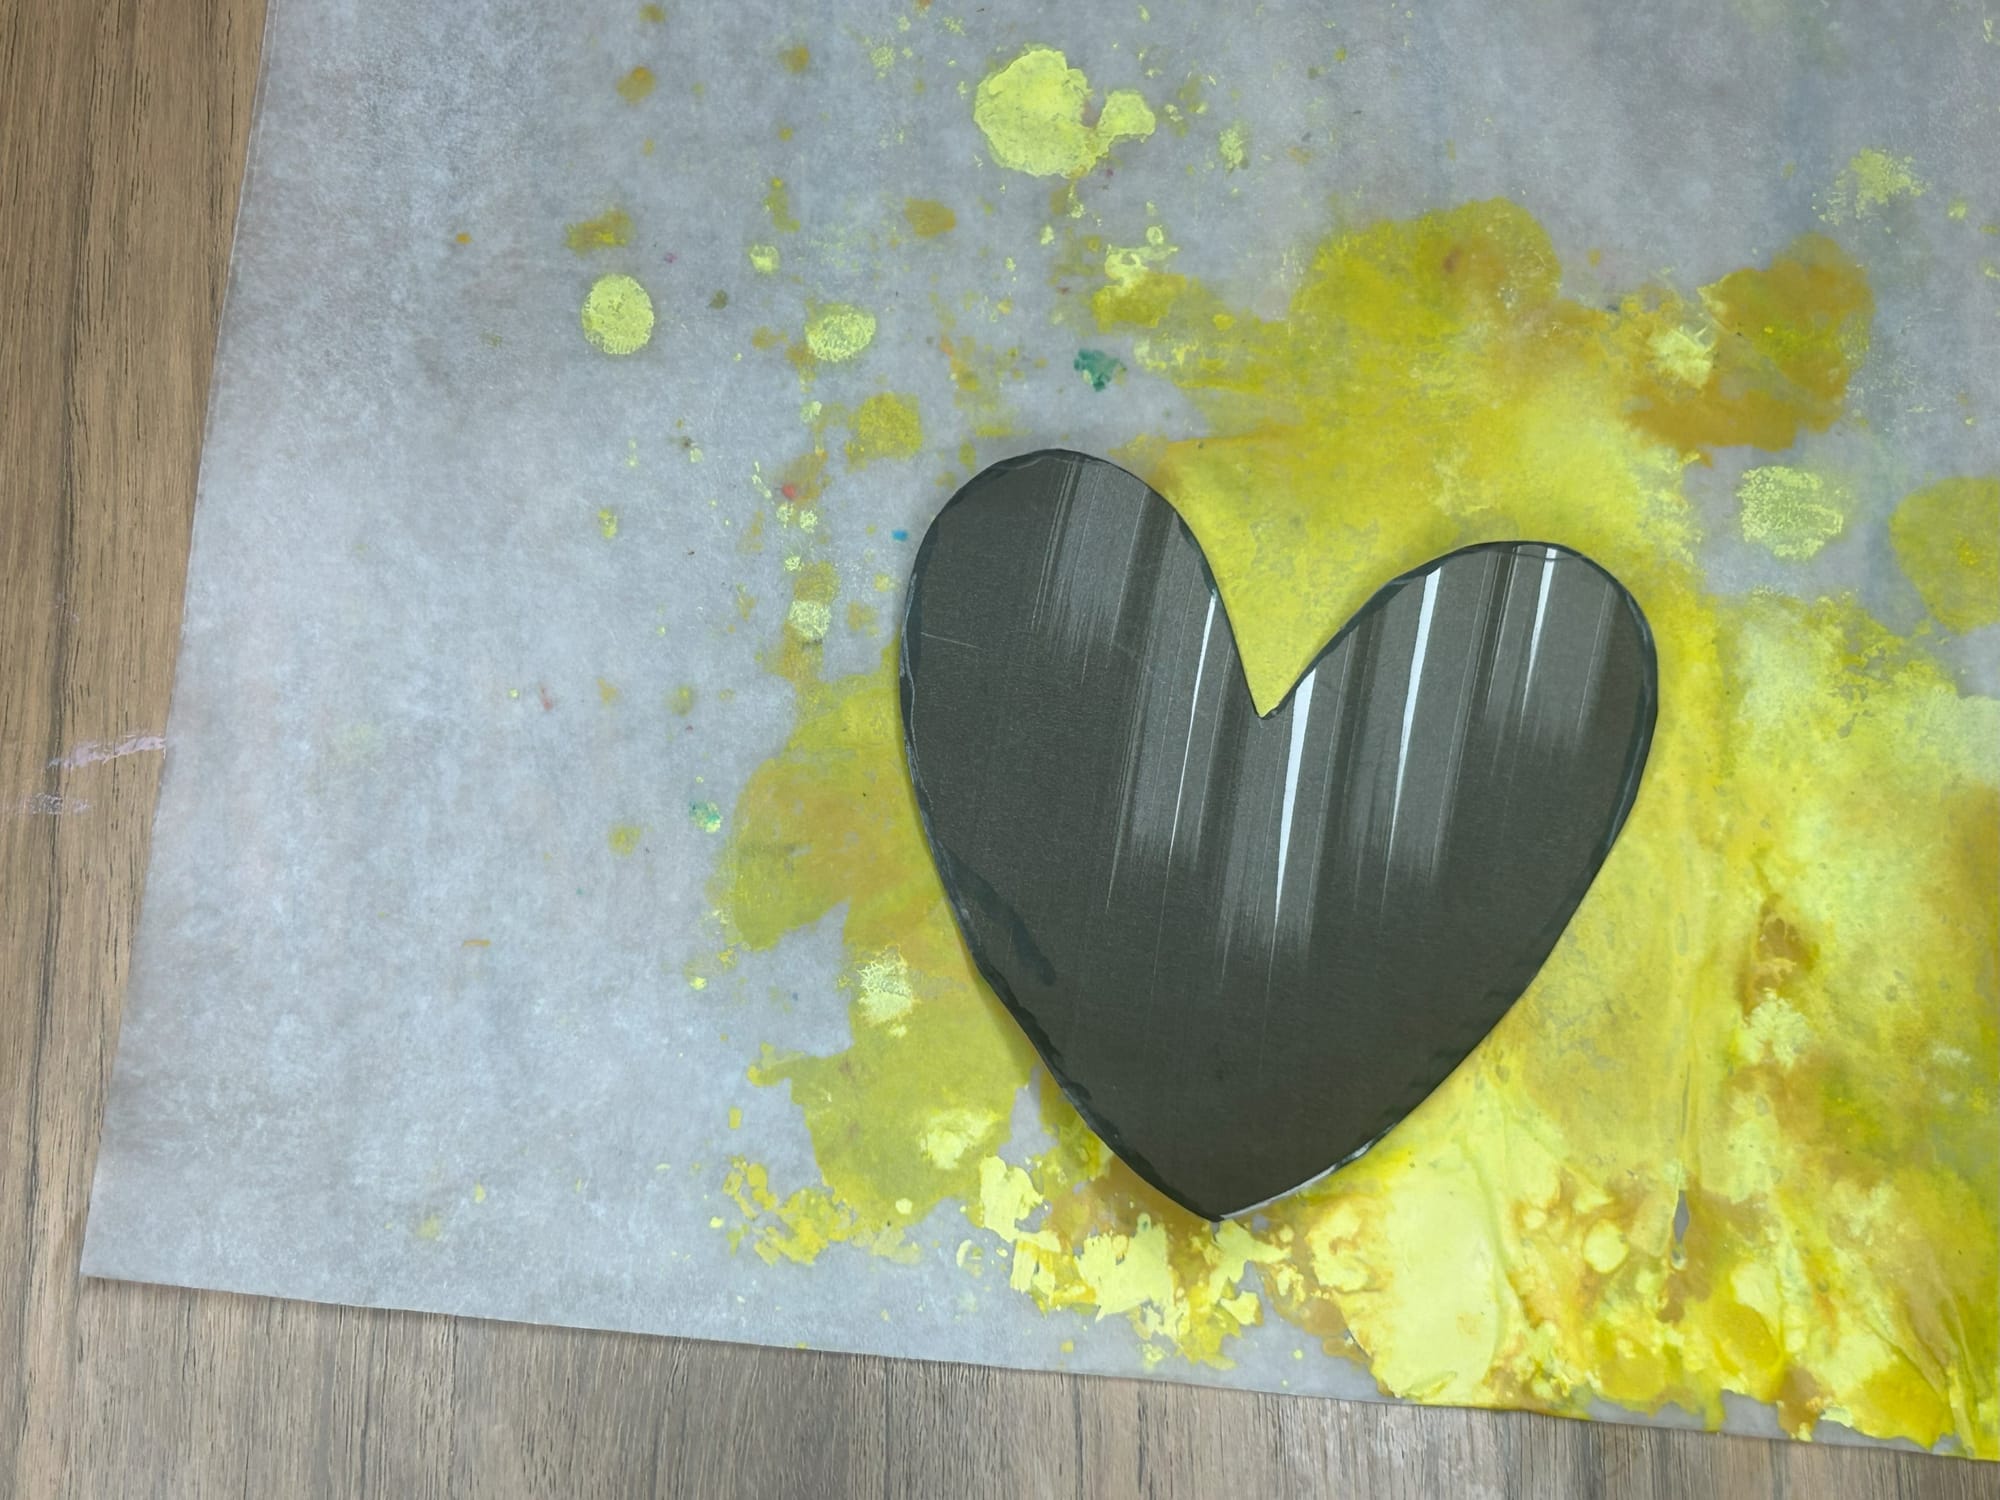
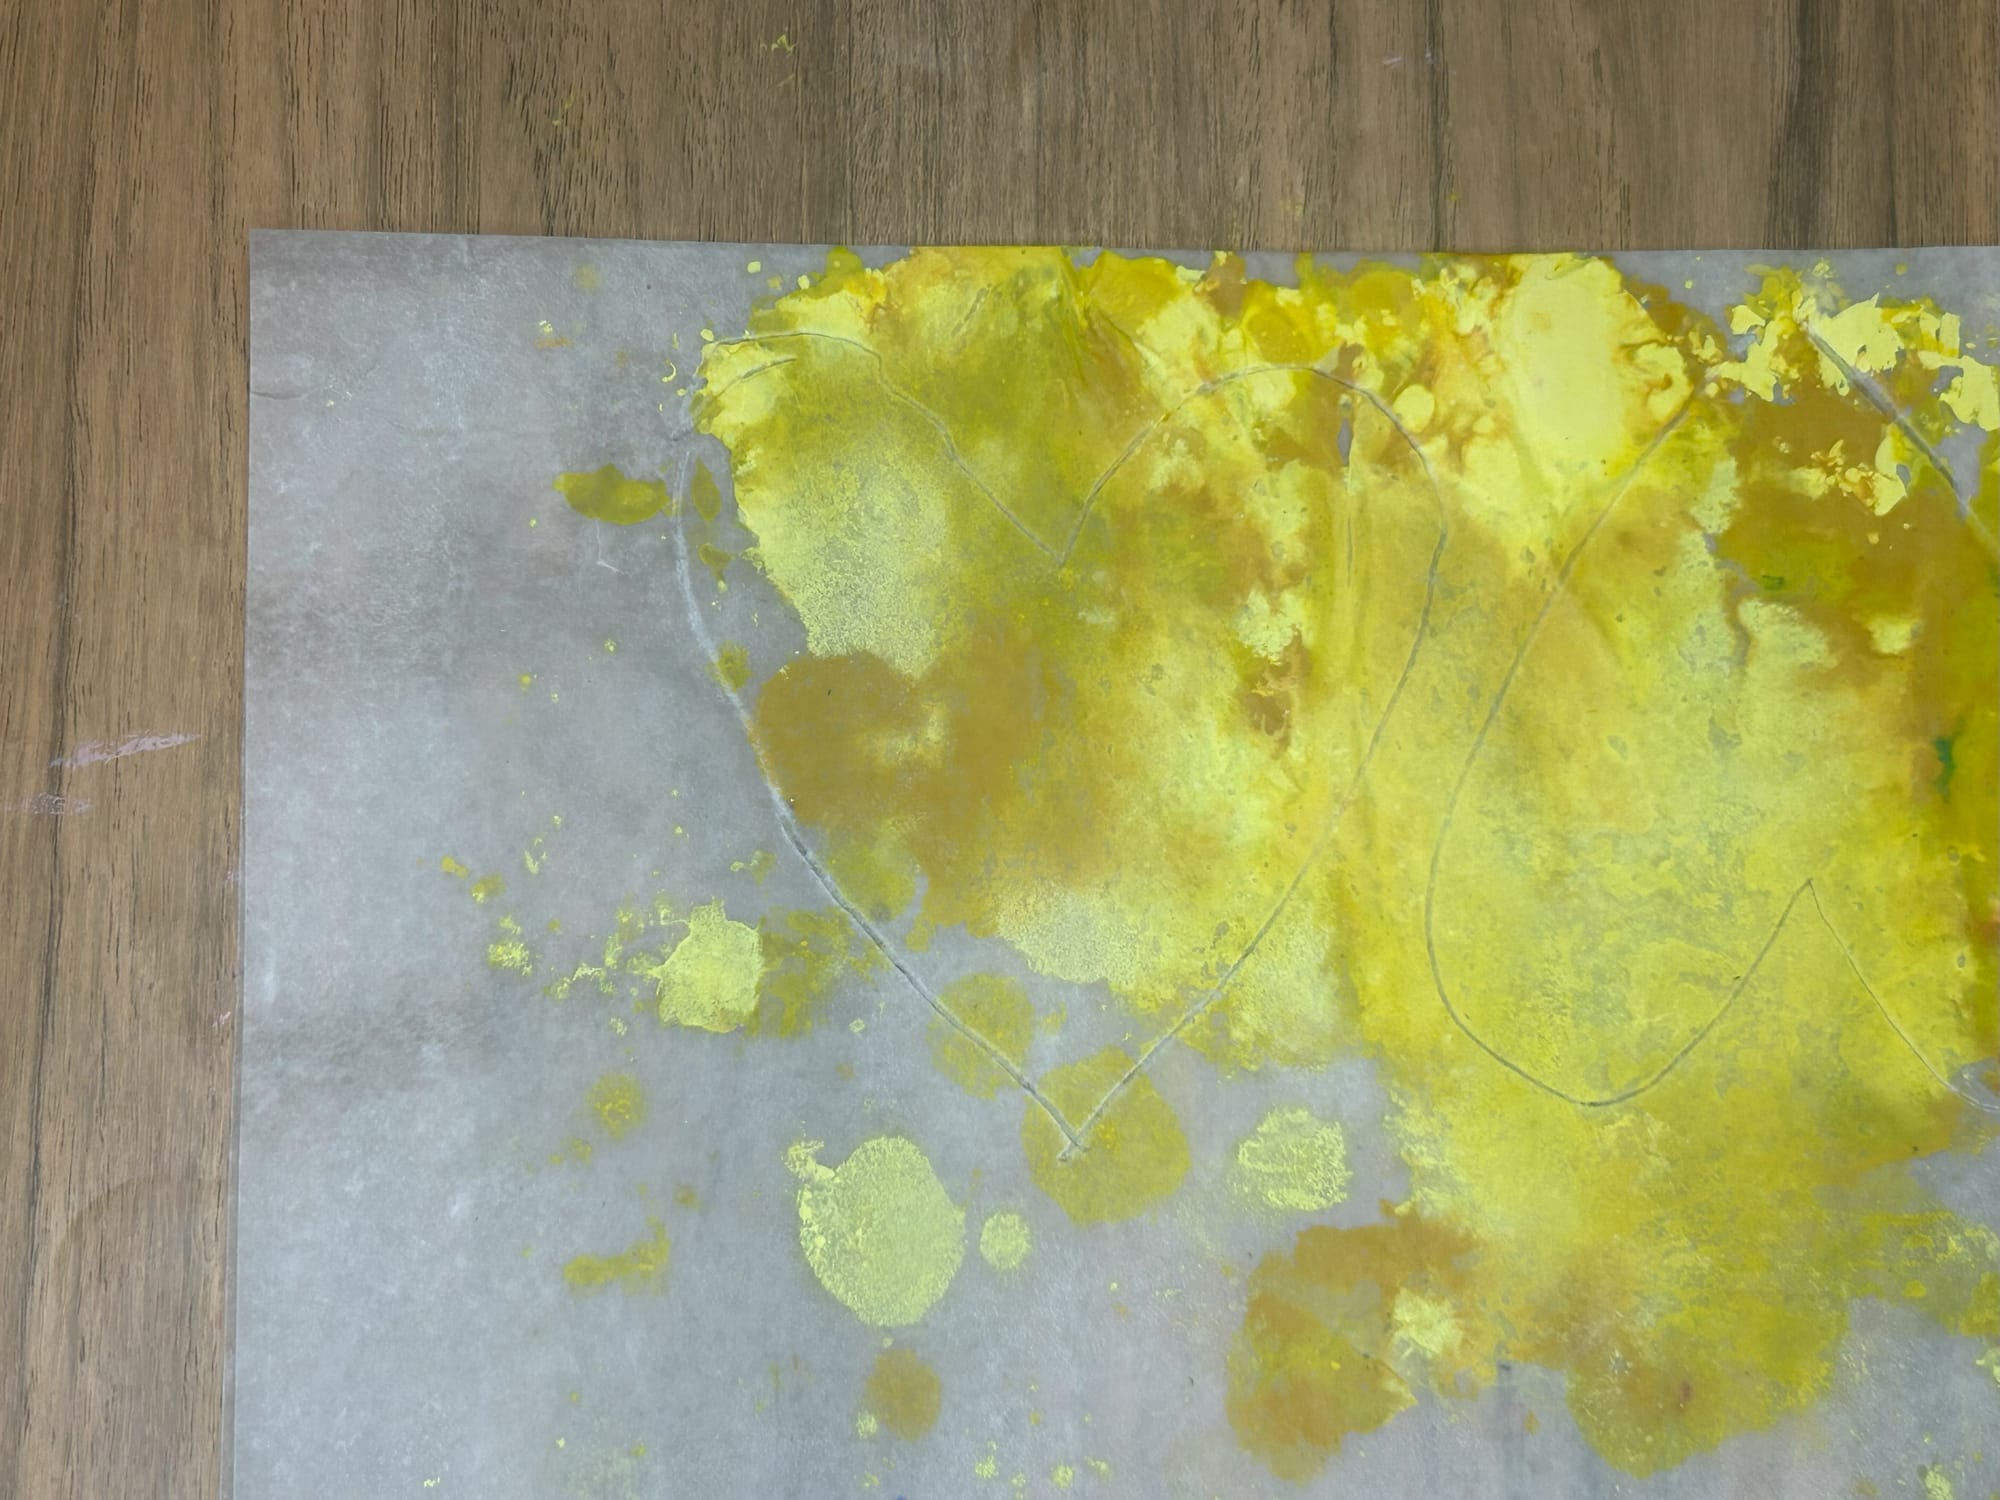
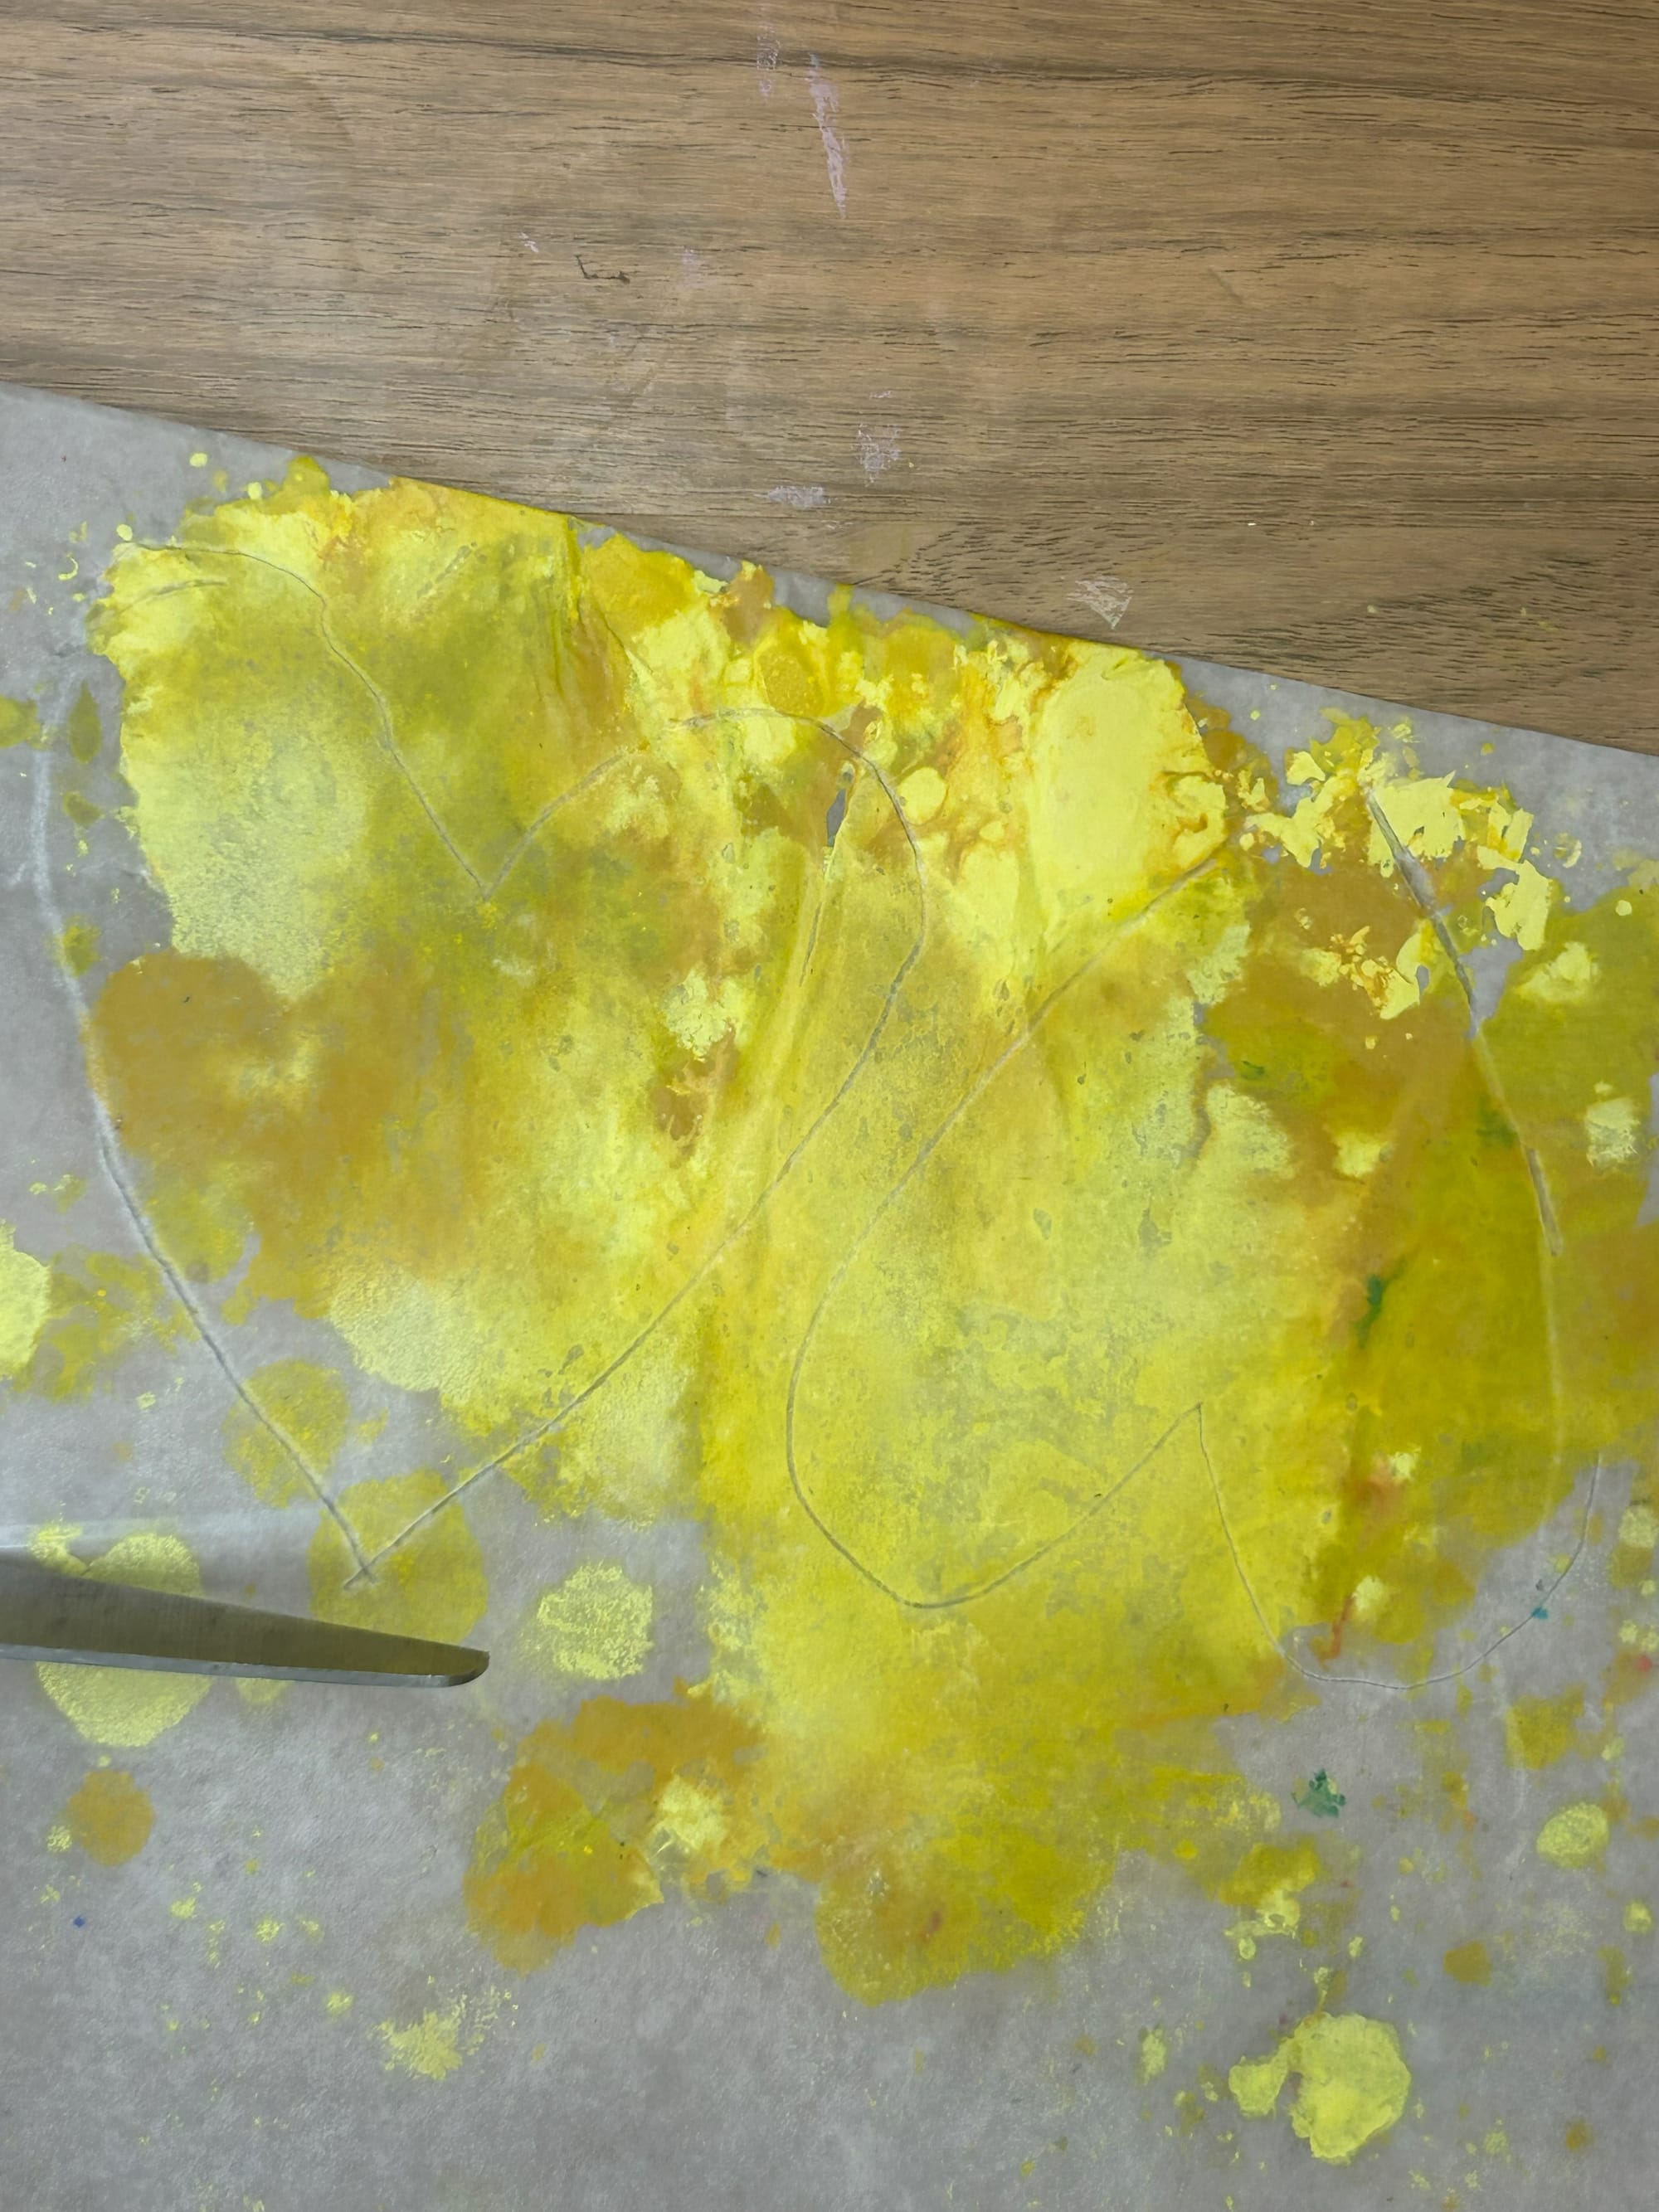
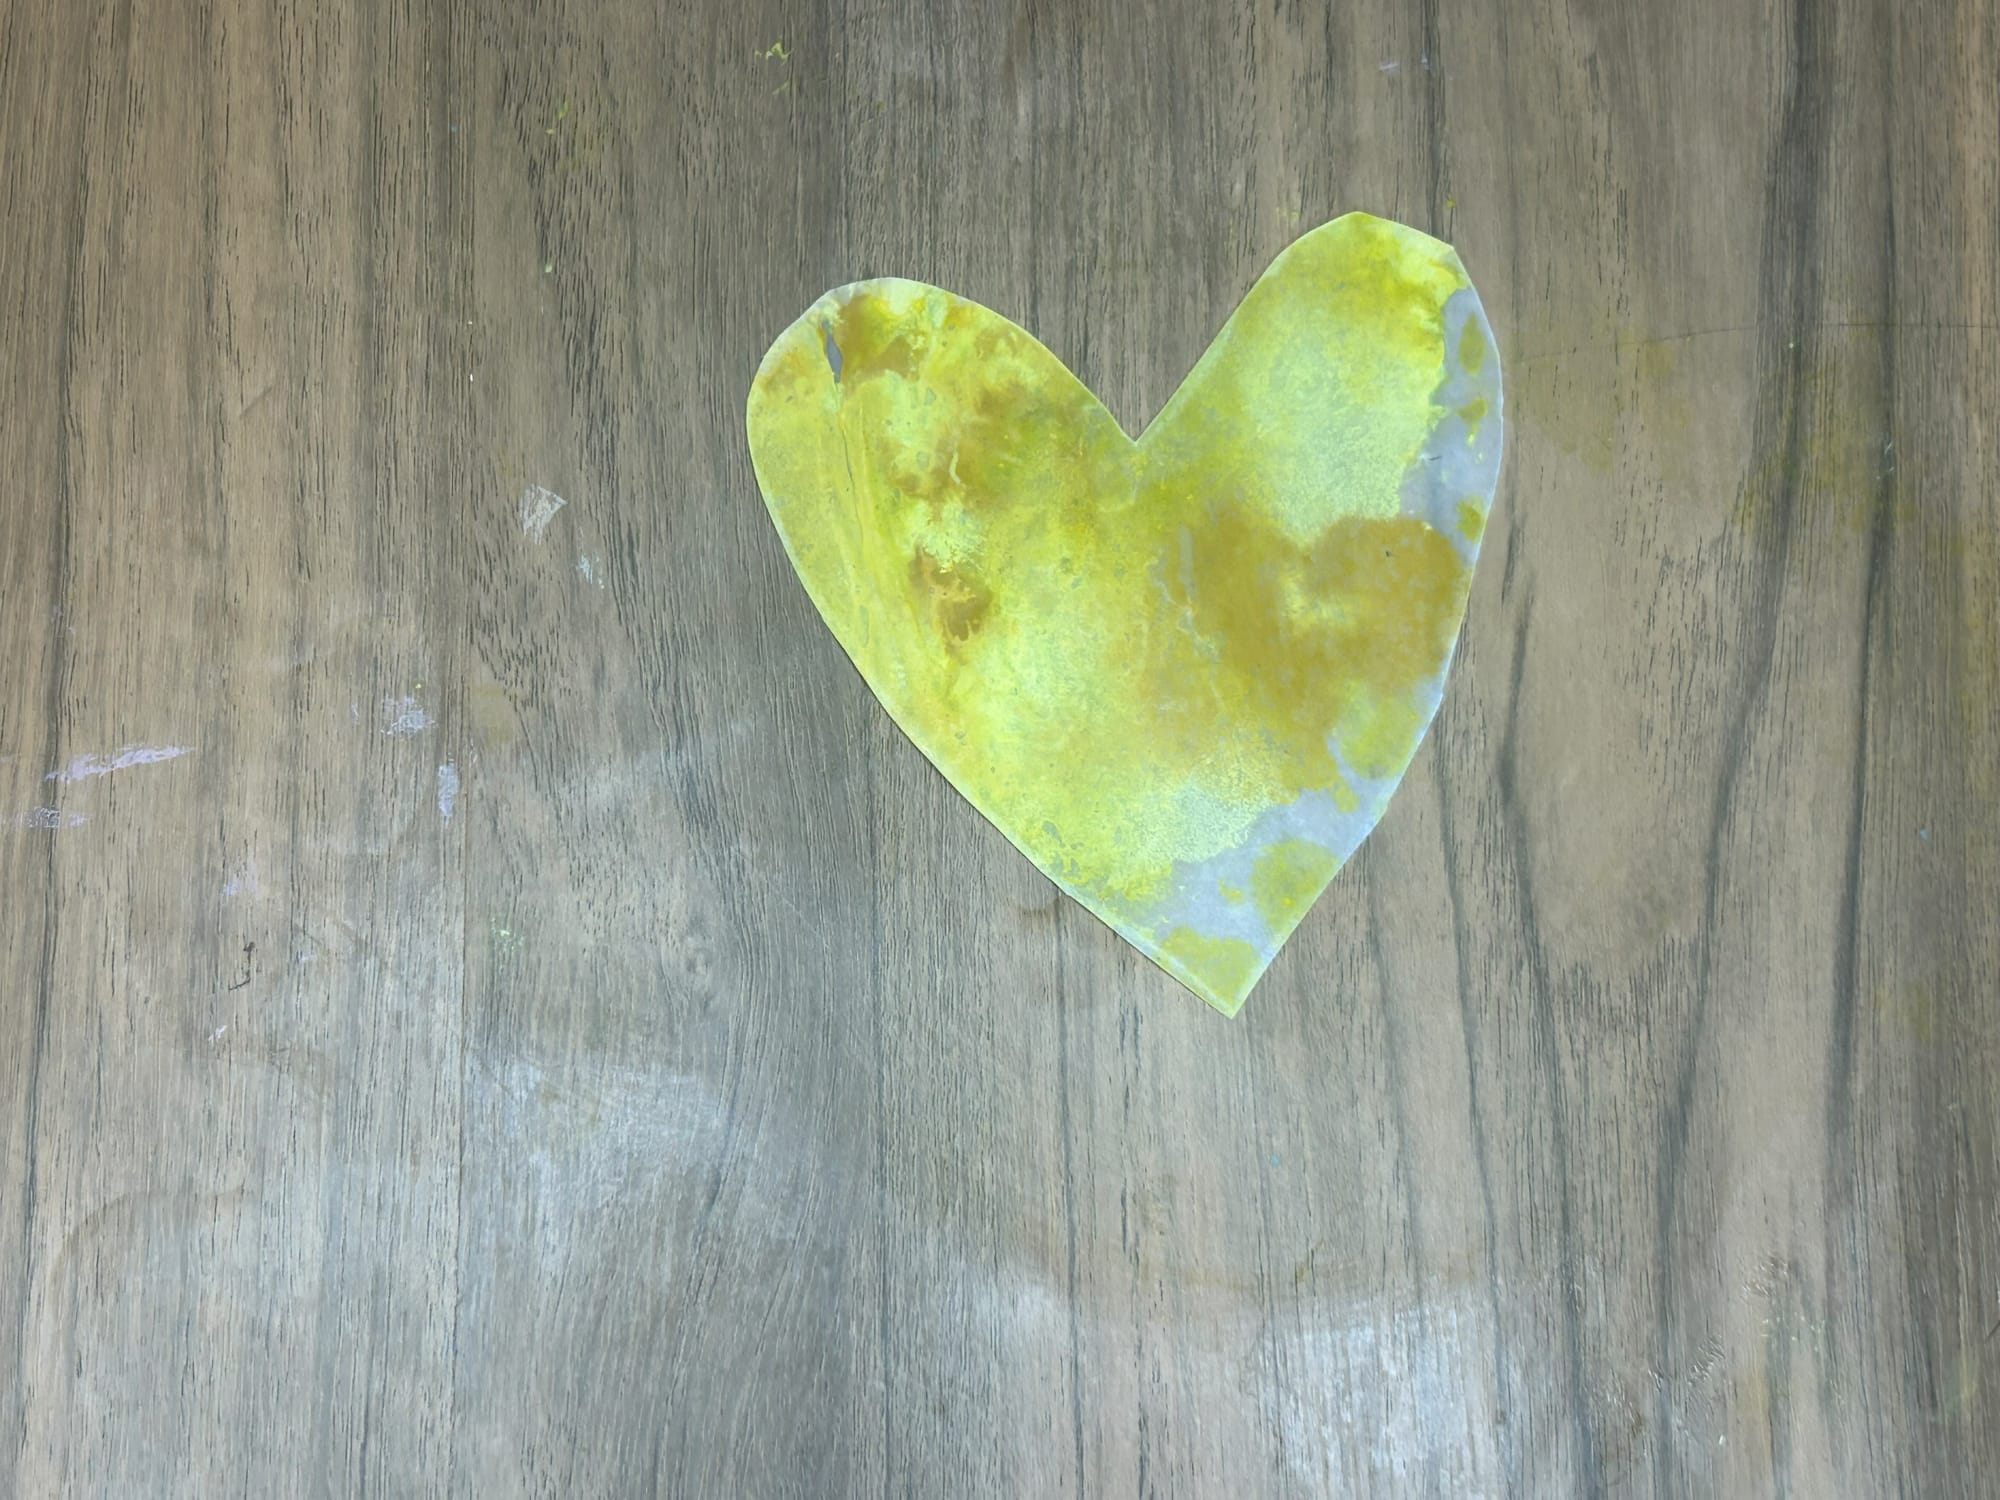
Next, draw or trace a heart shape on the waxed paper and cut out the hearts.
![](https://www.craftymamabird.com/content/images/2025/02/11-3.jpg)
![](https://www.craftymamabird.com/content/images/2025/02/12-6.jpg)
![](https://www.craftymamabird.com/content/images/2025/02/13-2.jpg)
![](https://www.craftymamabird.com/content/images/2025/02/14-1.jpg)
![](https://www.craftymamabird.com/content/images/2025/02/15-1.jpg)
![](https://www.craftymamabird.com/content/images/2025/02/16-2.jpg)
Repeat this process to create paper with various colors of your choice.
![](https://www.craftymamabird.com/content/images/2025/02/17-1.jpg)
![](https://www.craftymamabird.com/content/images/2025/02/18-2.jpg)
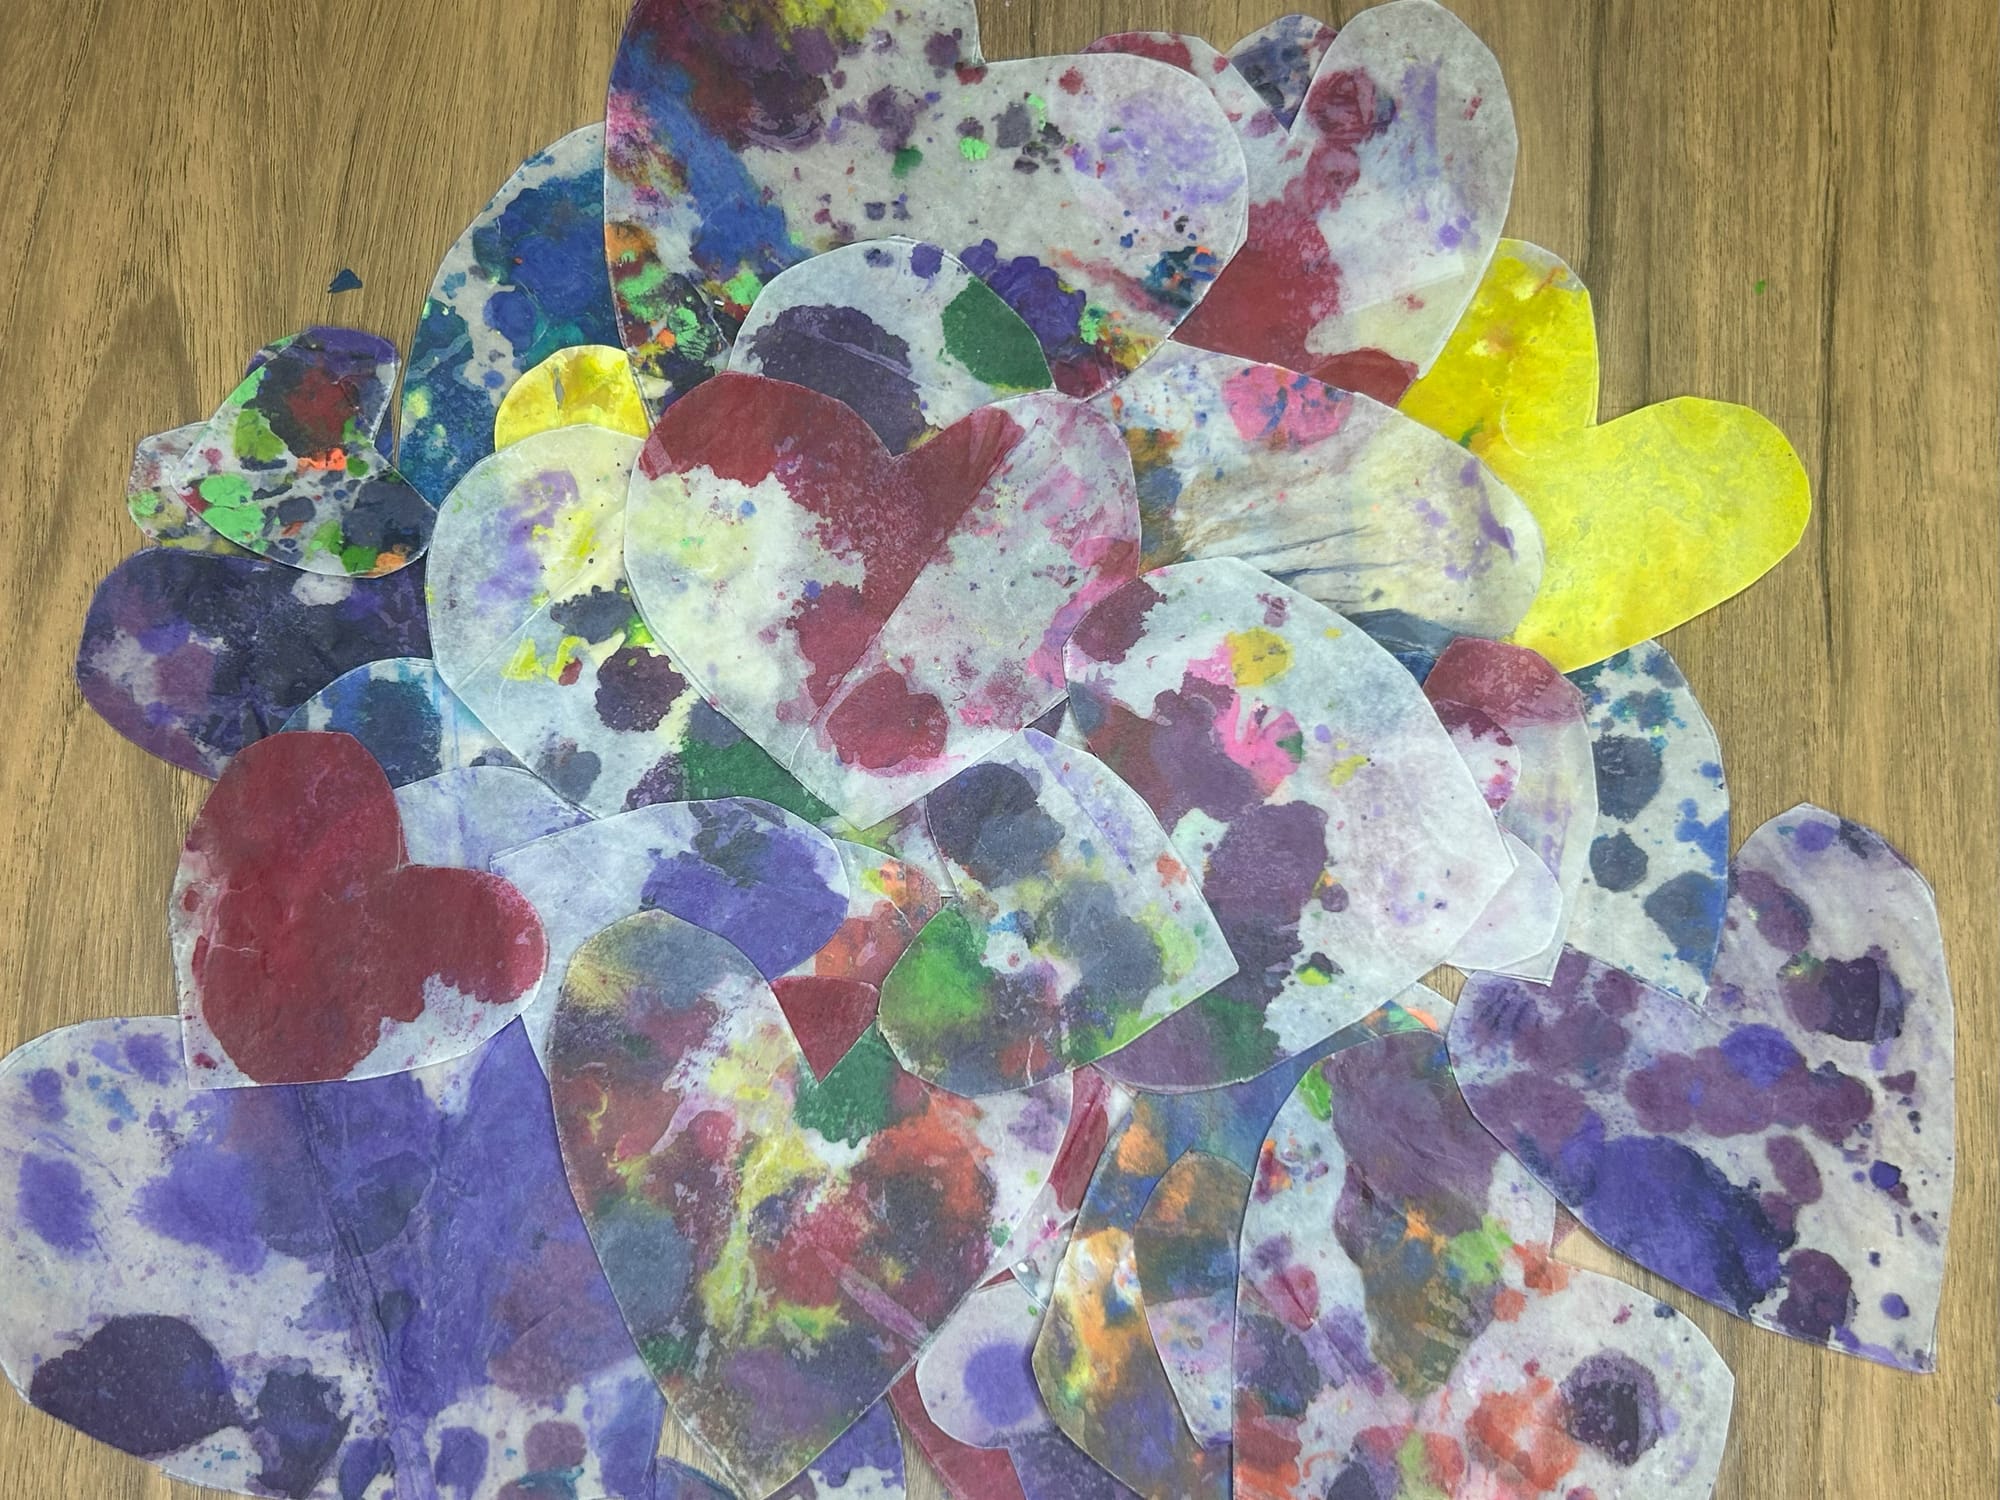
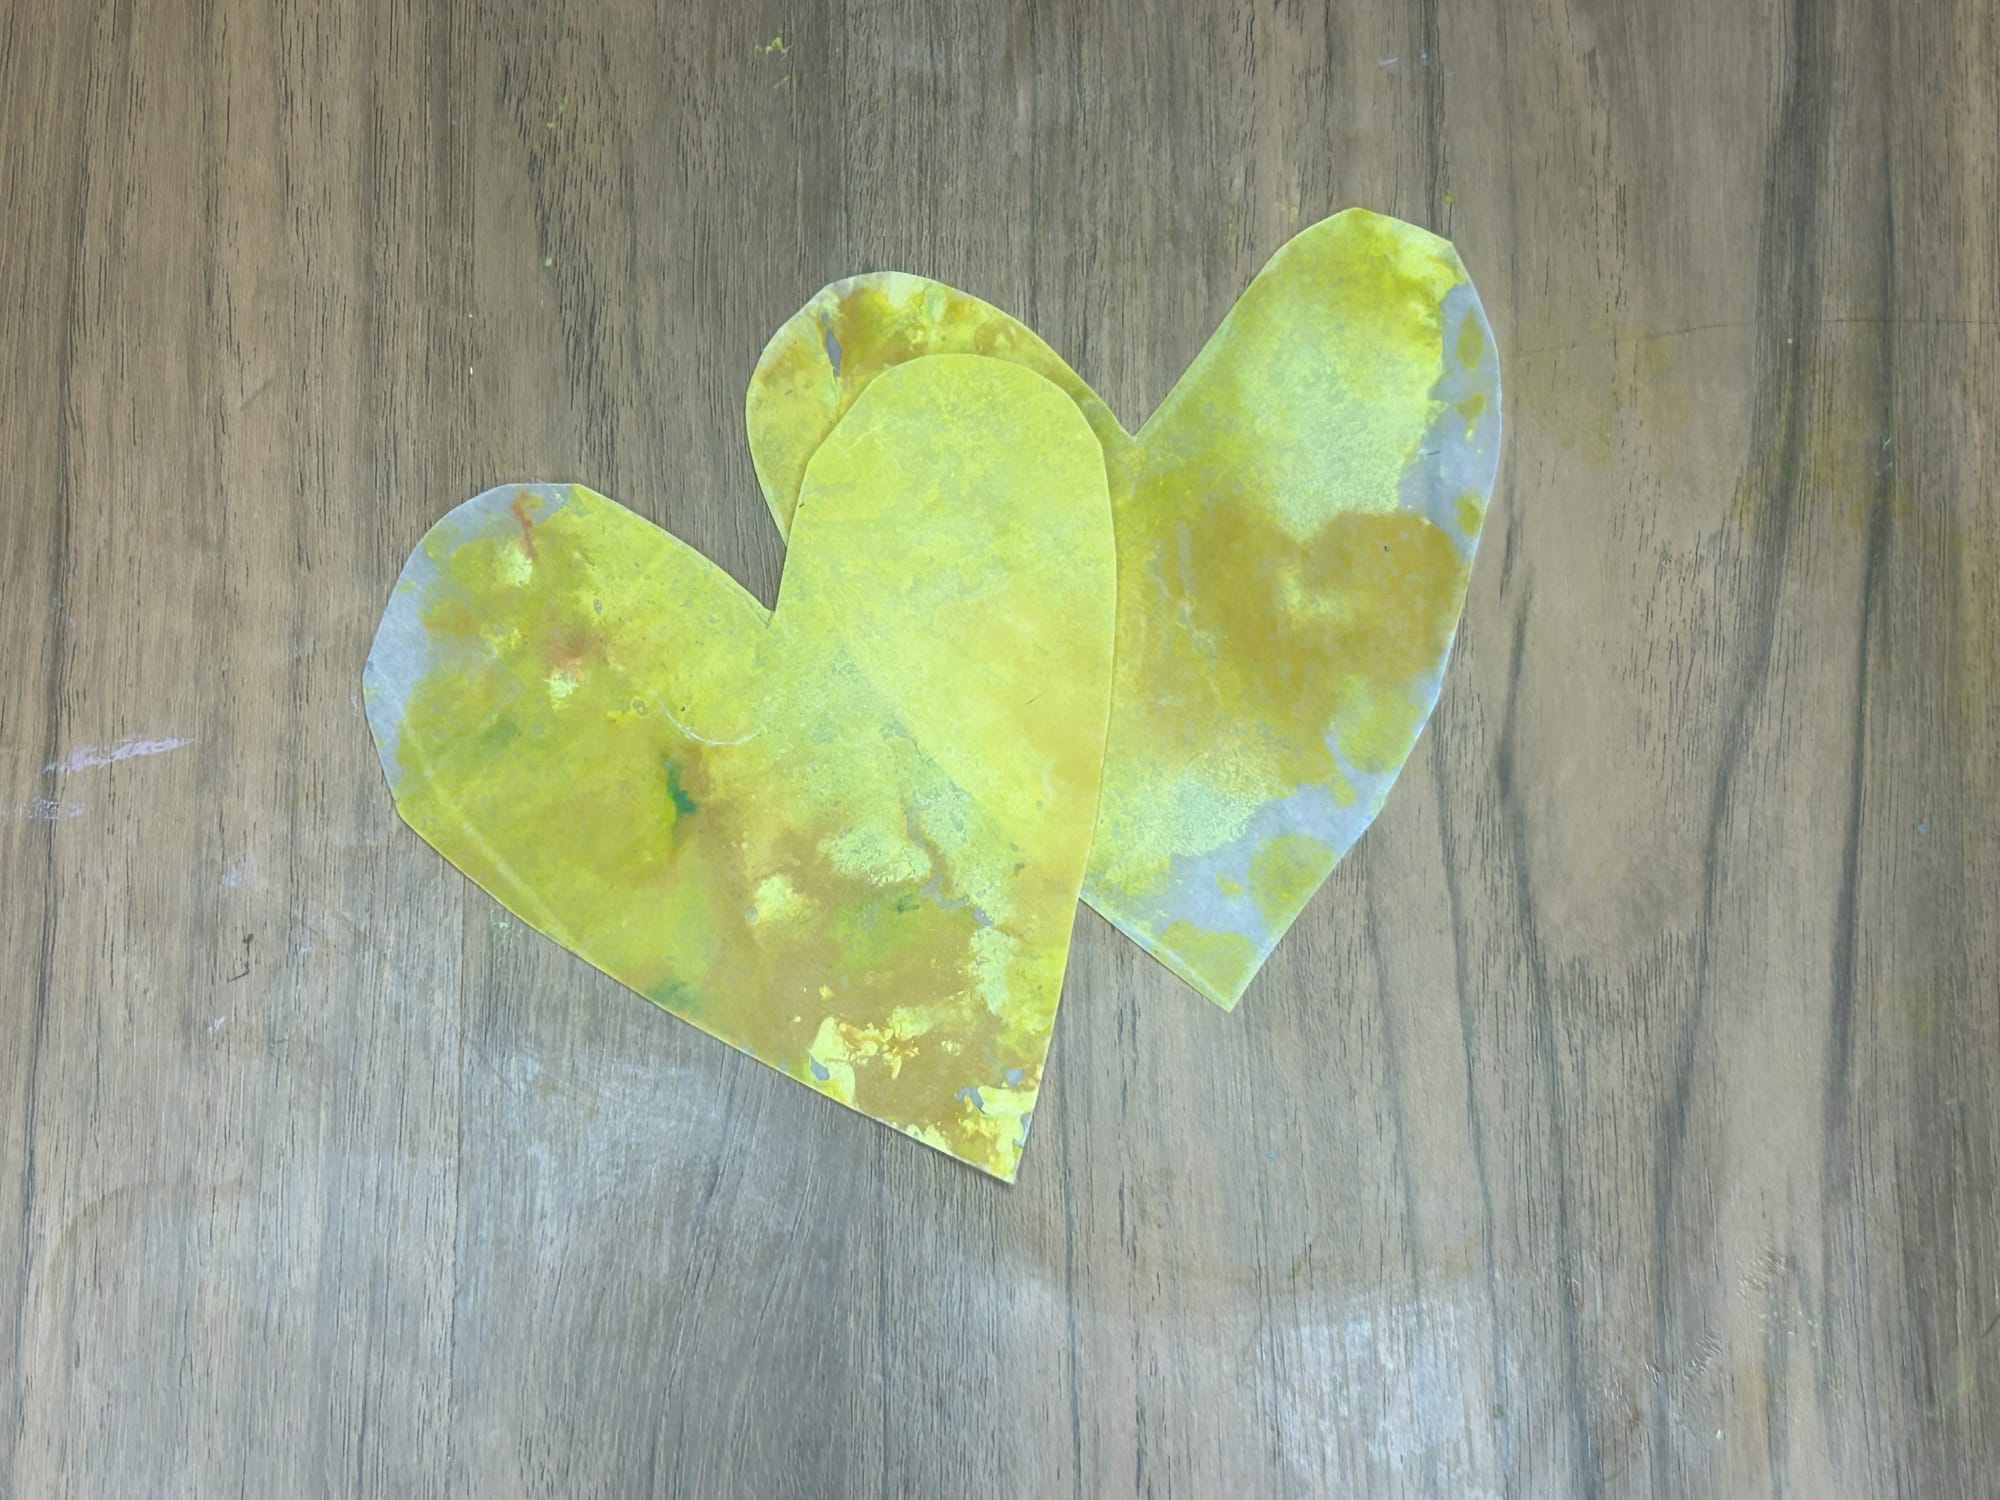
Create a wide variety of heart sizes and colors of your choice.
Prepare the hearts to hang up in your window. I used a glue stick to make sure all edges were sealed. Then, I used embroidery thread and a needle to attach a piece of thread to the heart. I used thread of various lengths on different hearts. Then, hang and layer in your windows.
![](https://www.craftymamabird.com/content/images/2025/02/19.jpg)
![](https://www.craftymamabird.com/content/images/2025/02/20.jpg)
![](https://www.craftymamabird.com/content/images/2025/02/21-1.jpg)
![](https://www.craftymamabird.com/content/images/2025/02/22-3.jpg)
![](https://www.craftymamabird.com/content/images/2025/02/23-1.jpg)
![](https://www.craftymamabird.com/content/images/2025/02/24-3.jpg)
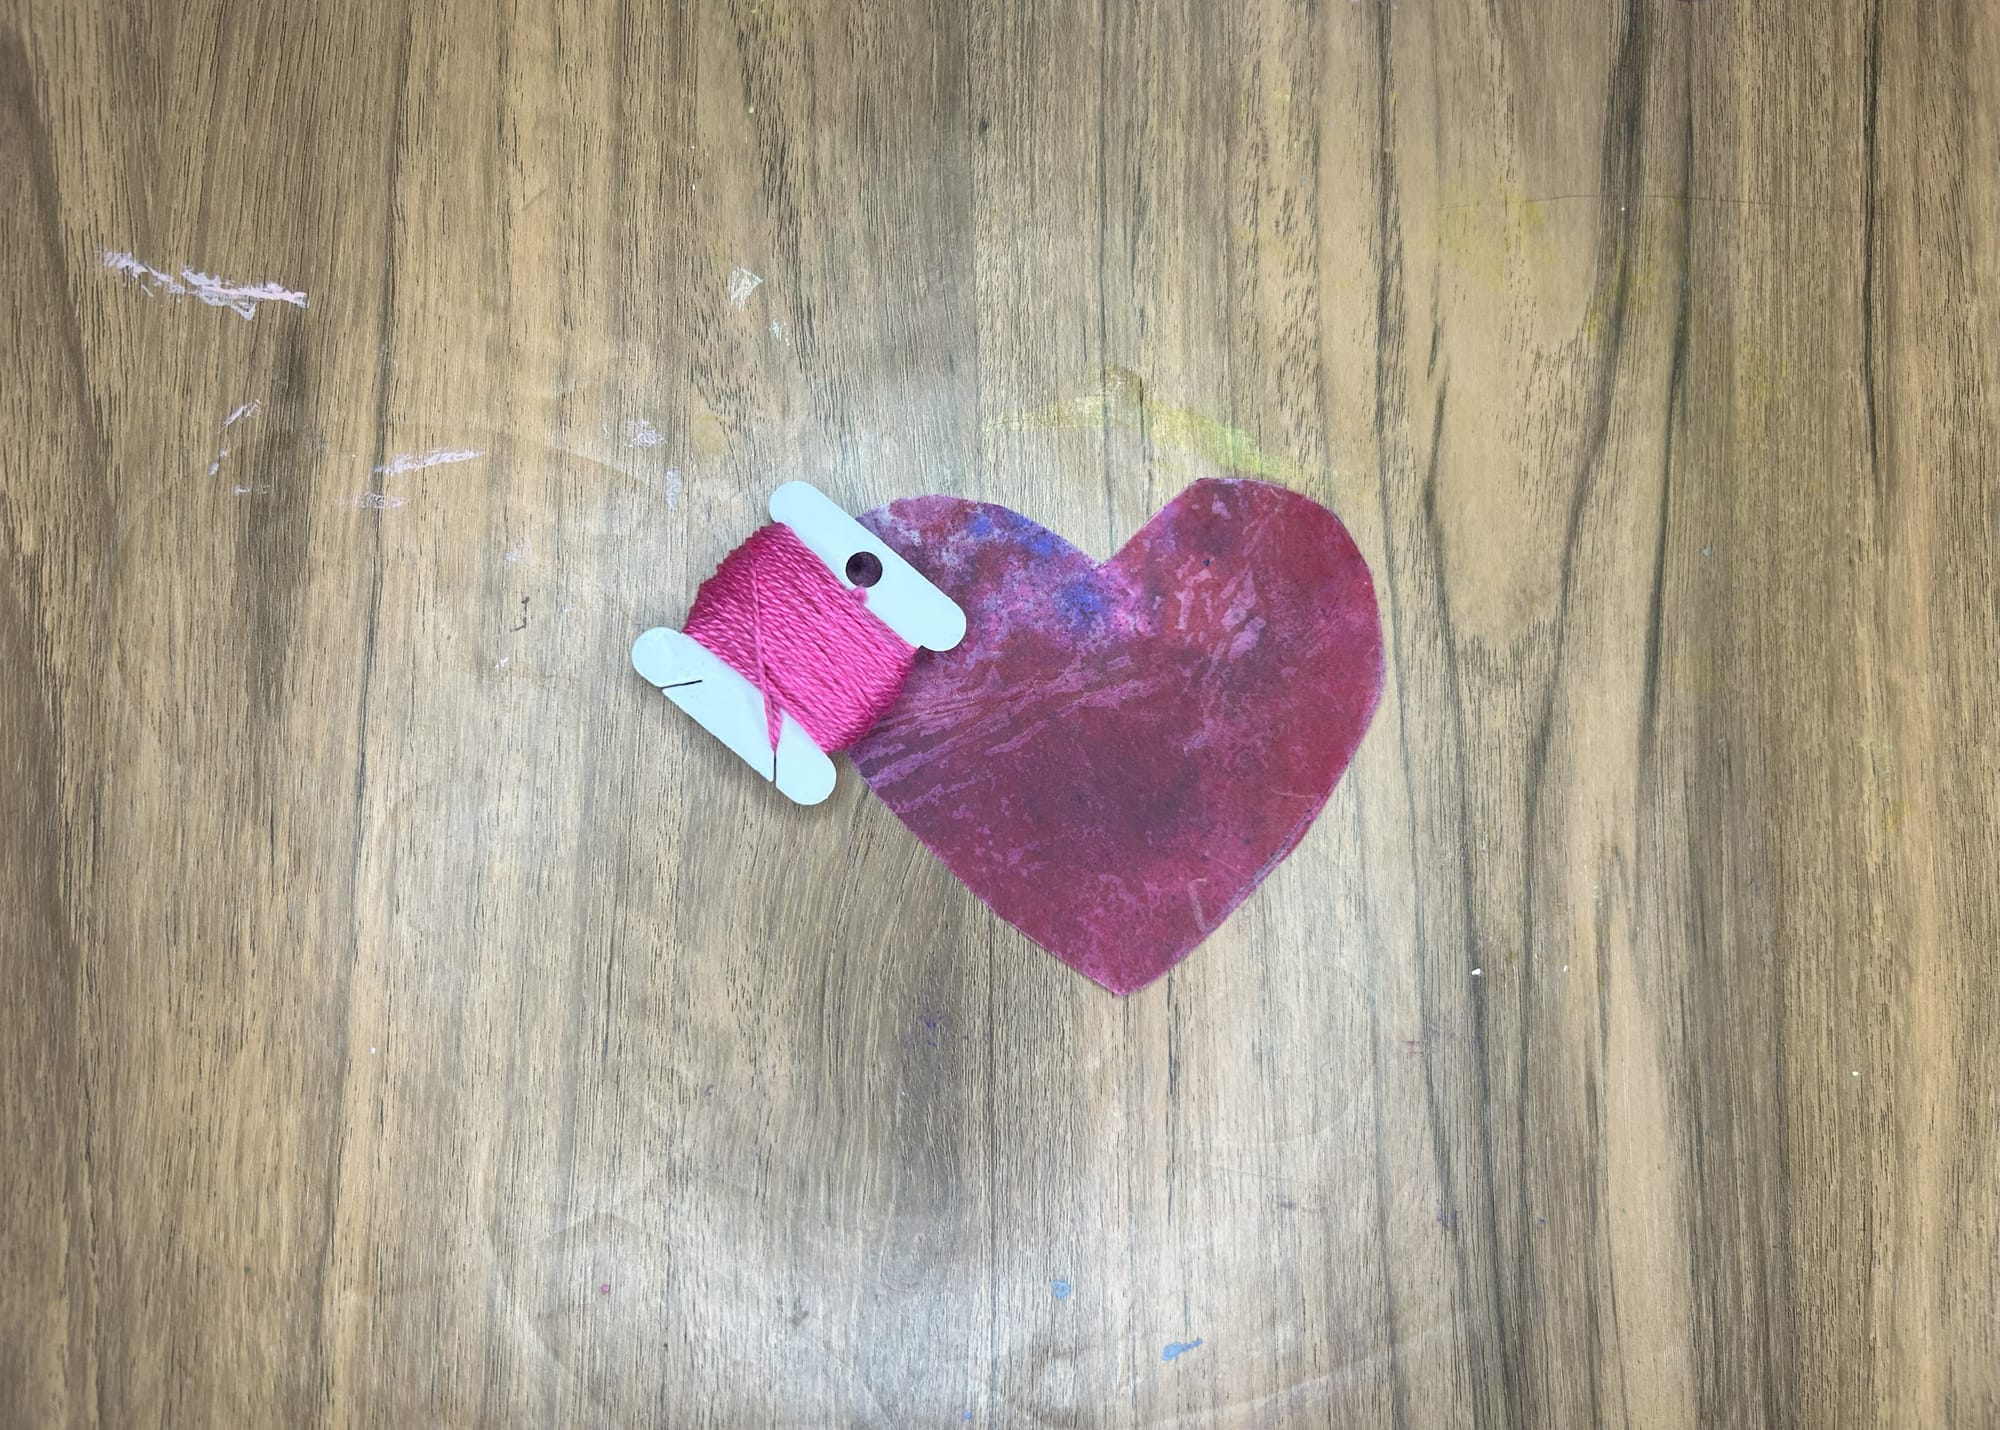
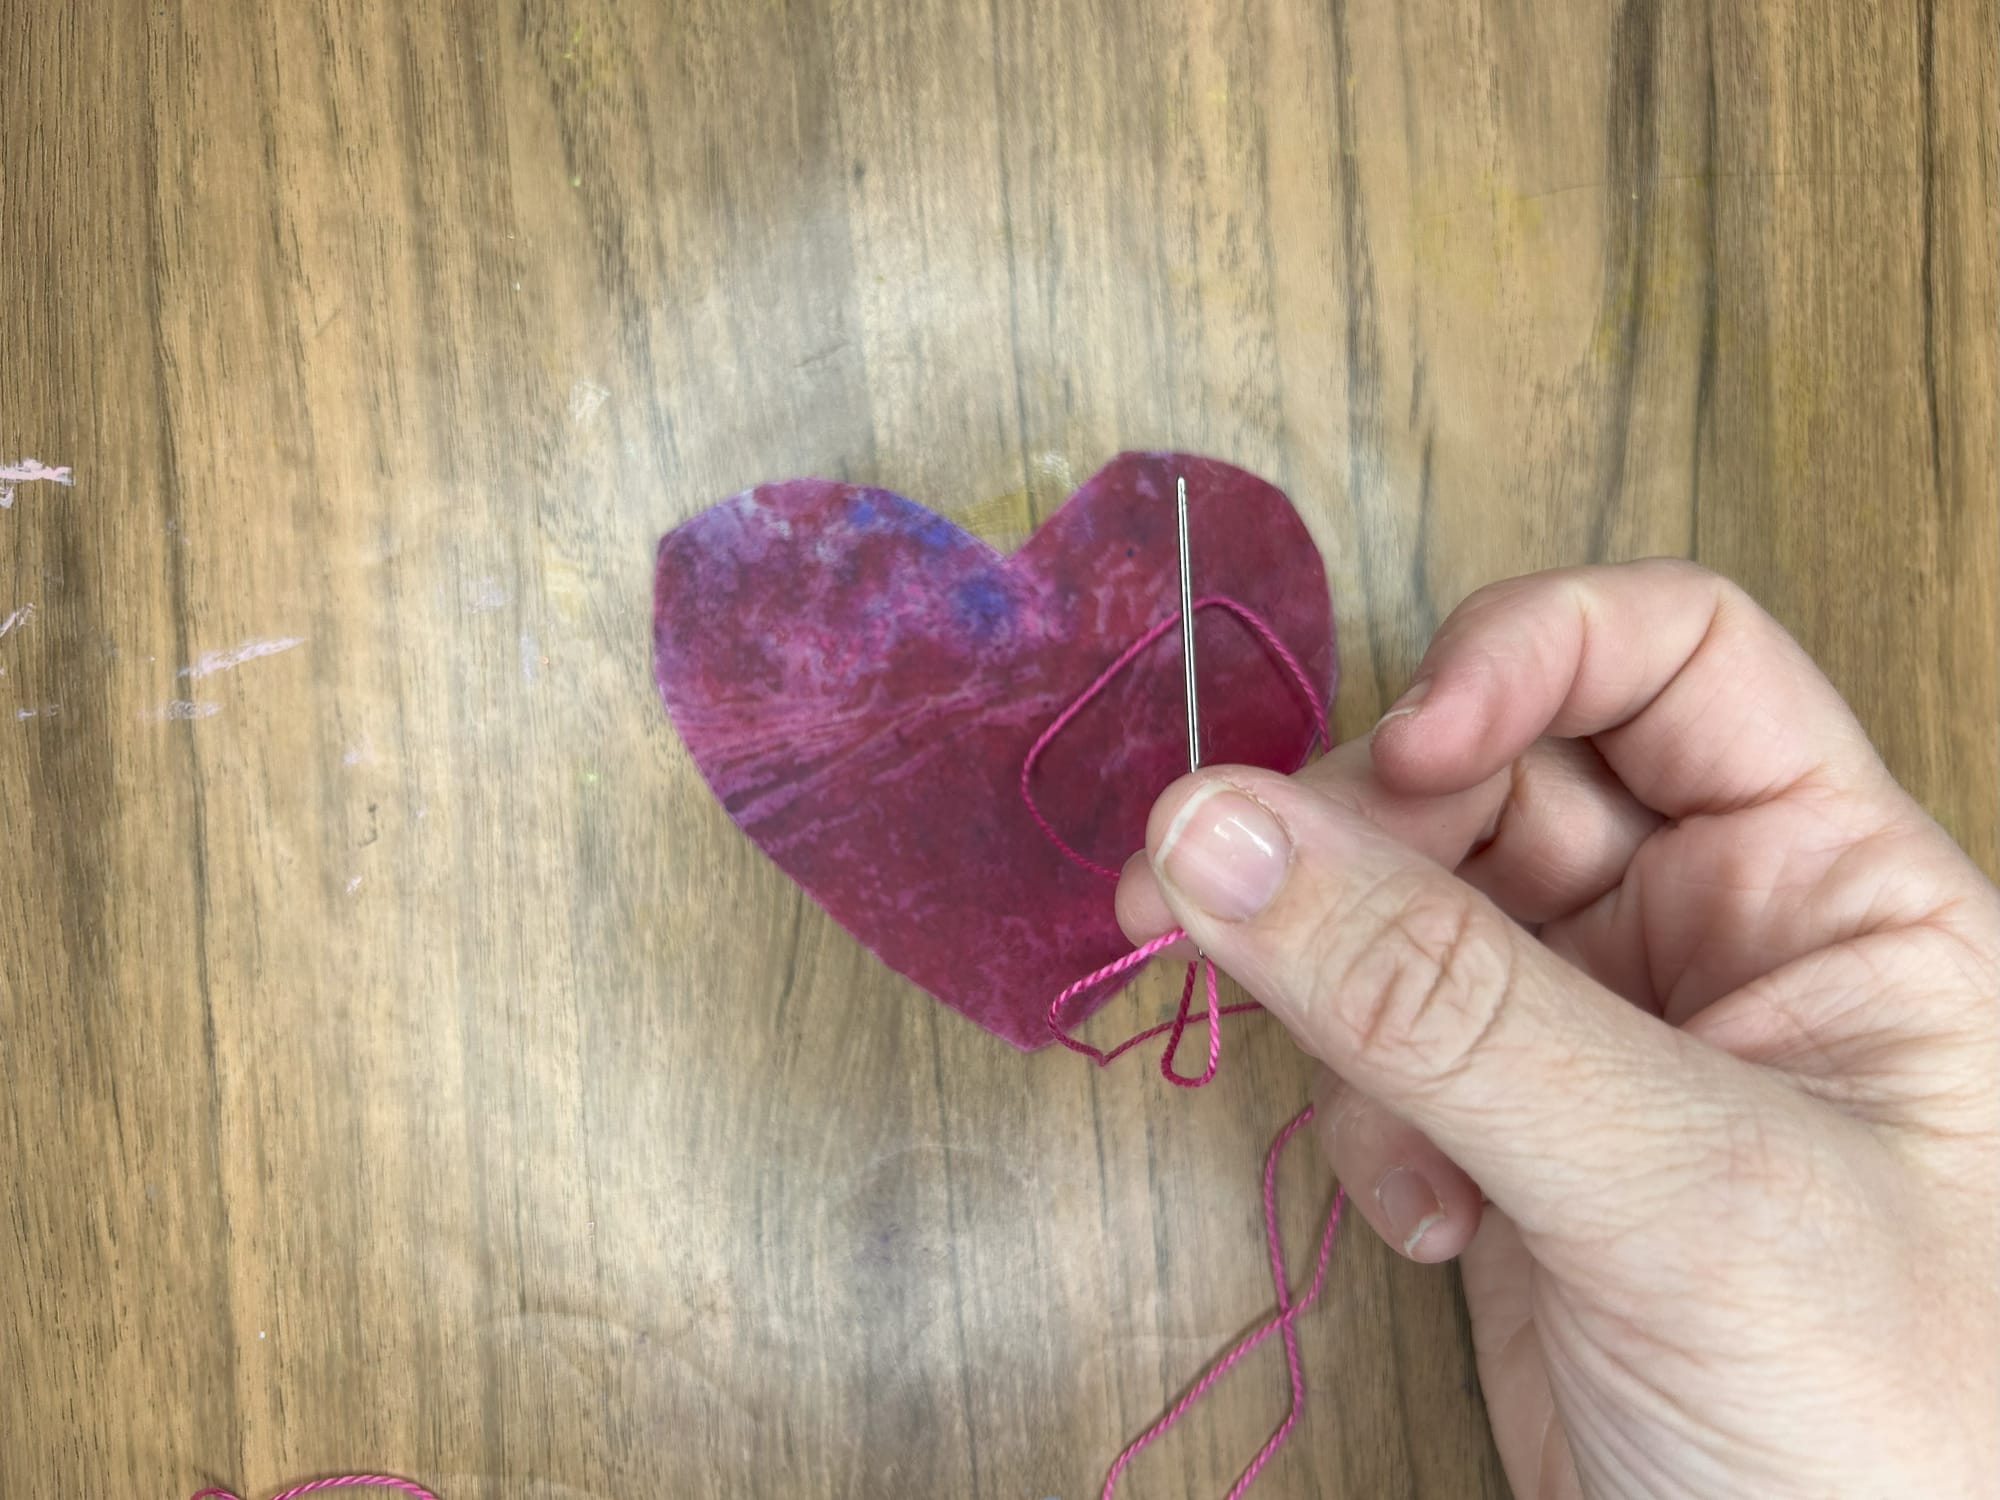
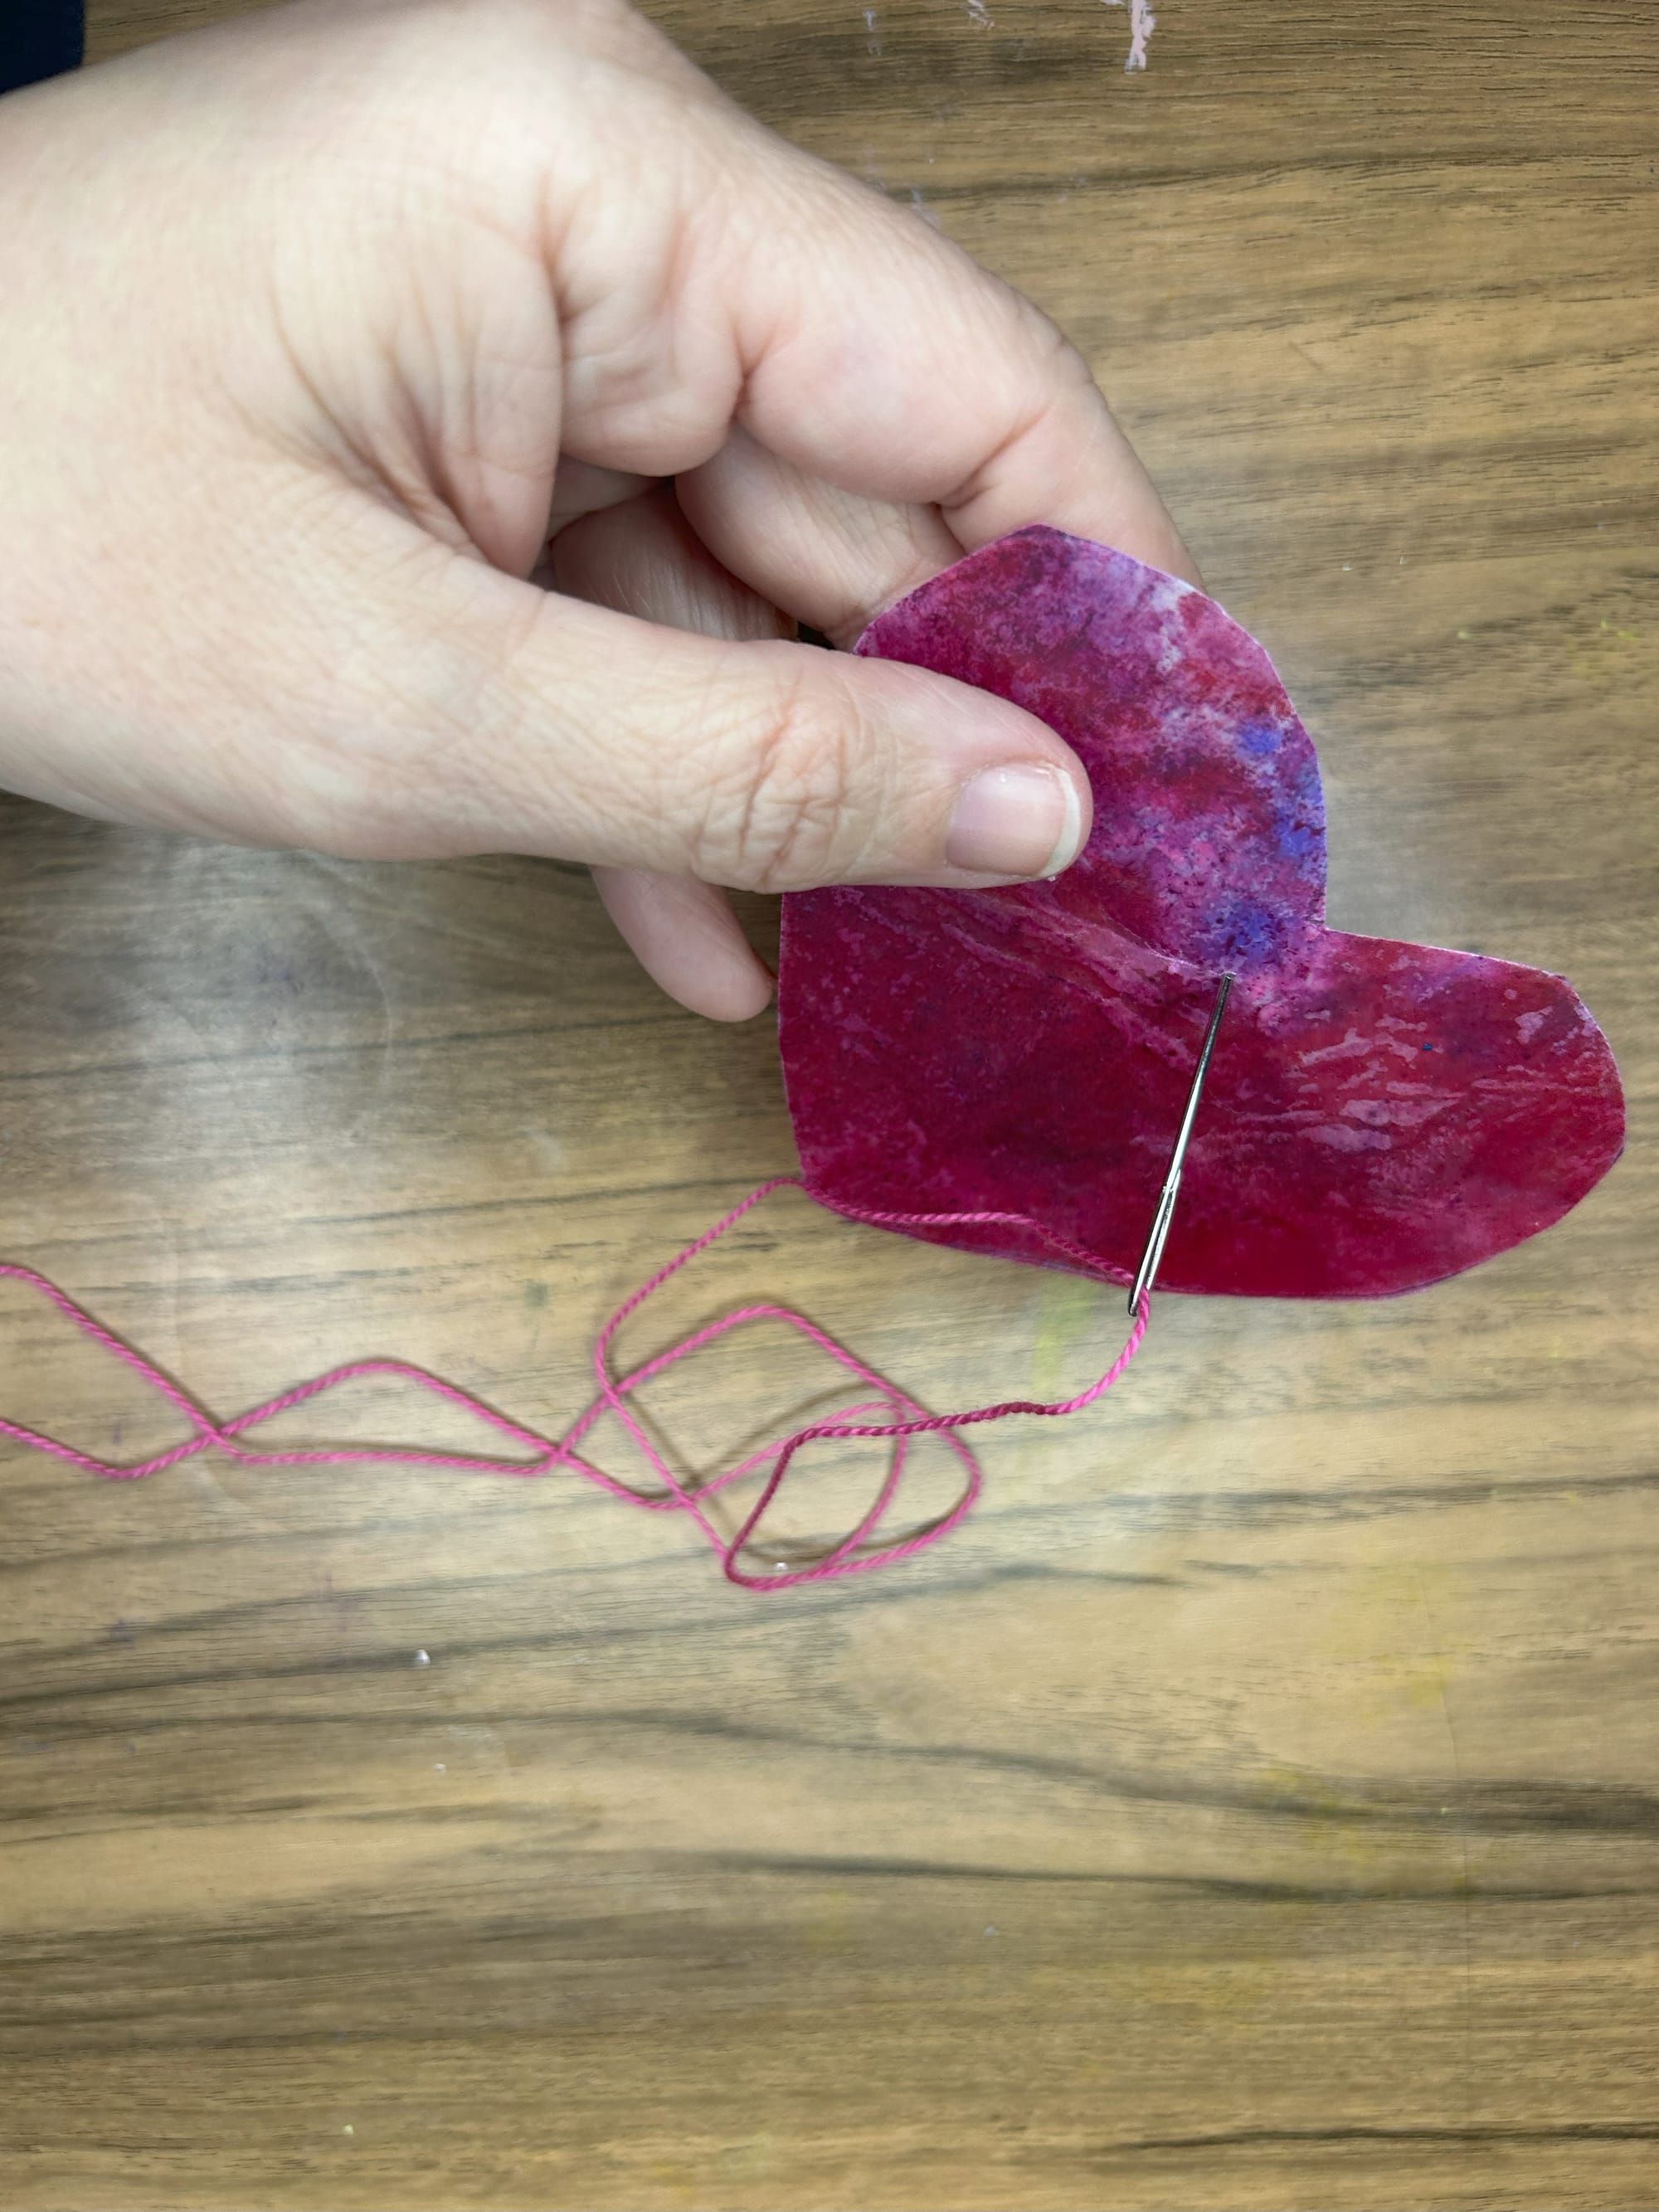
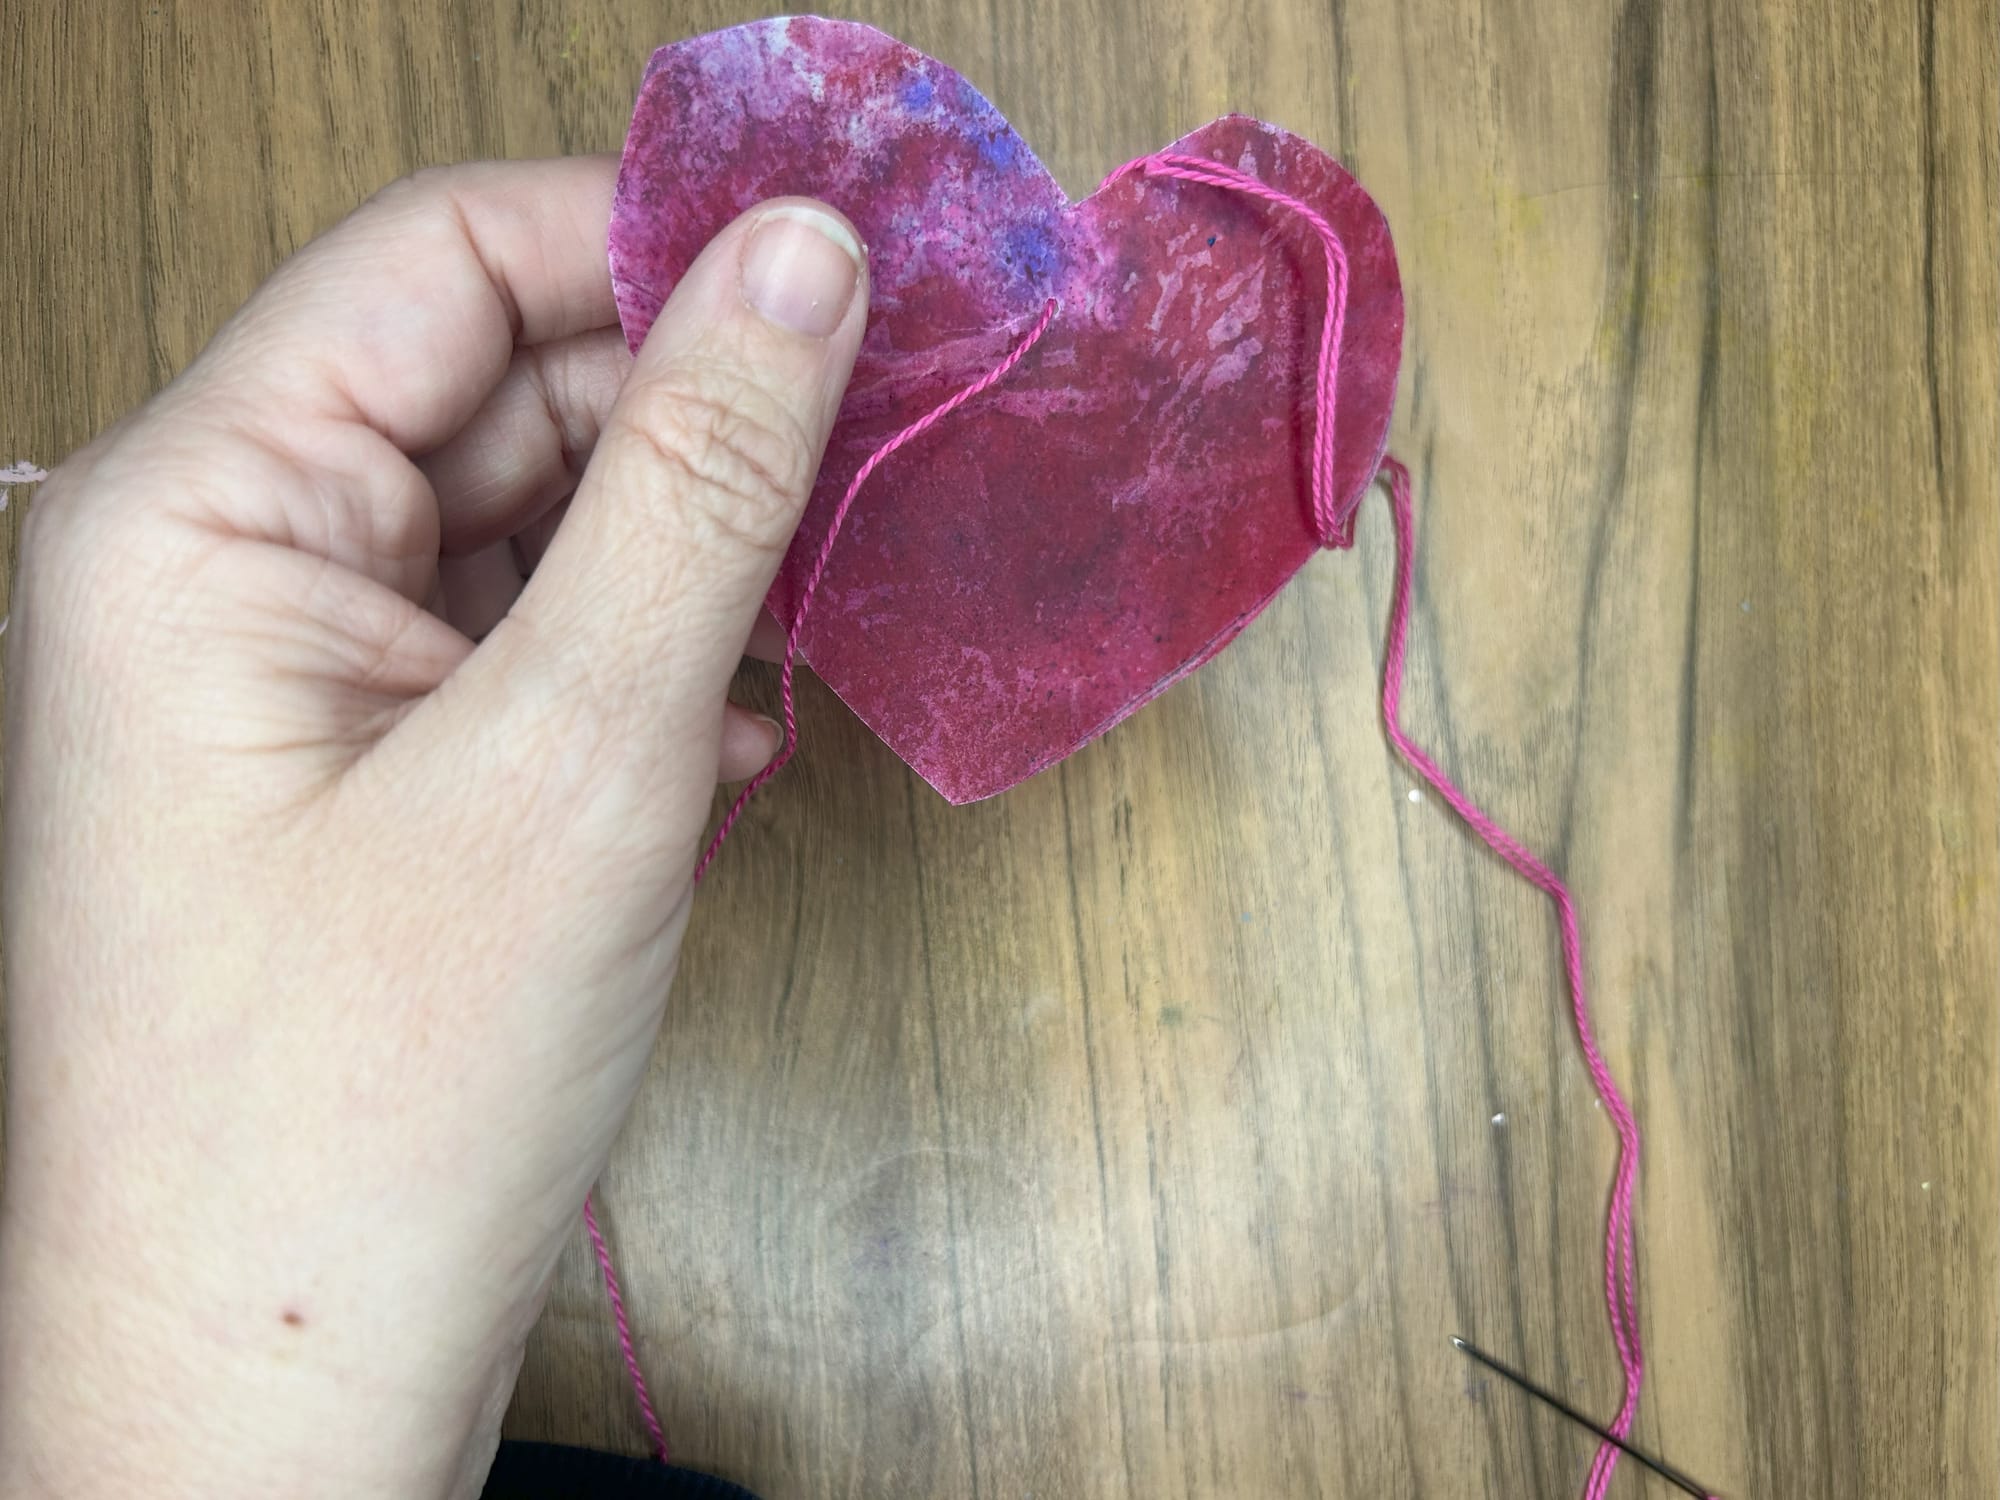
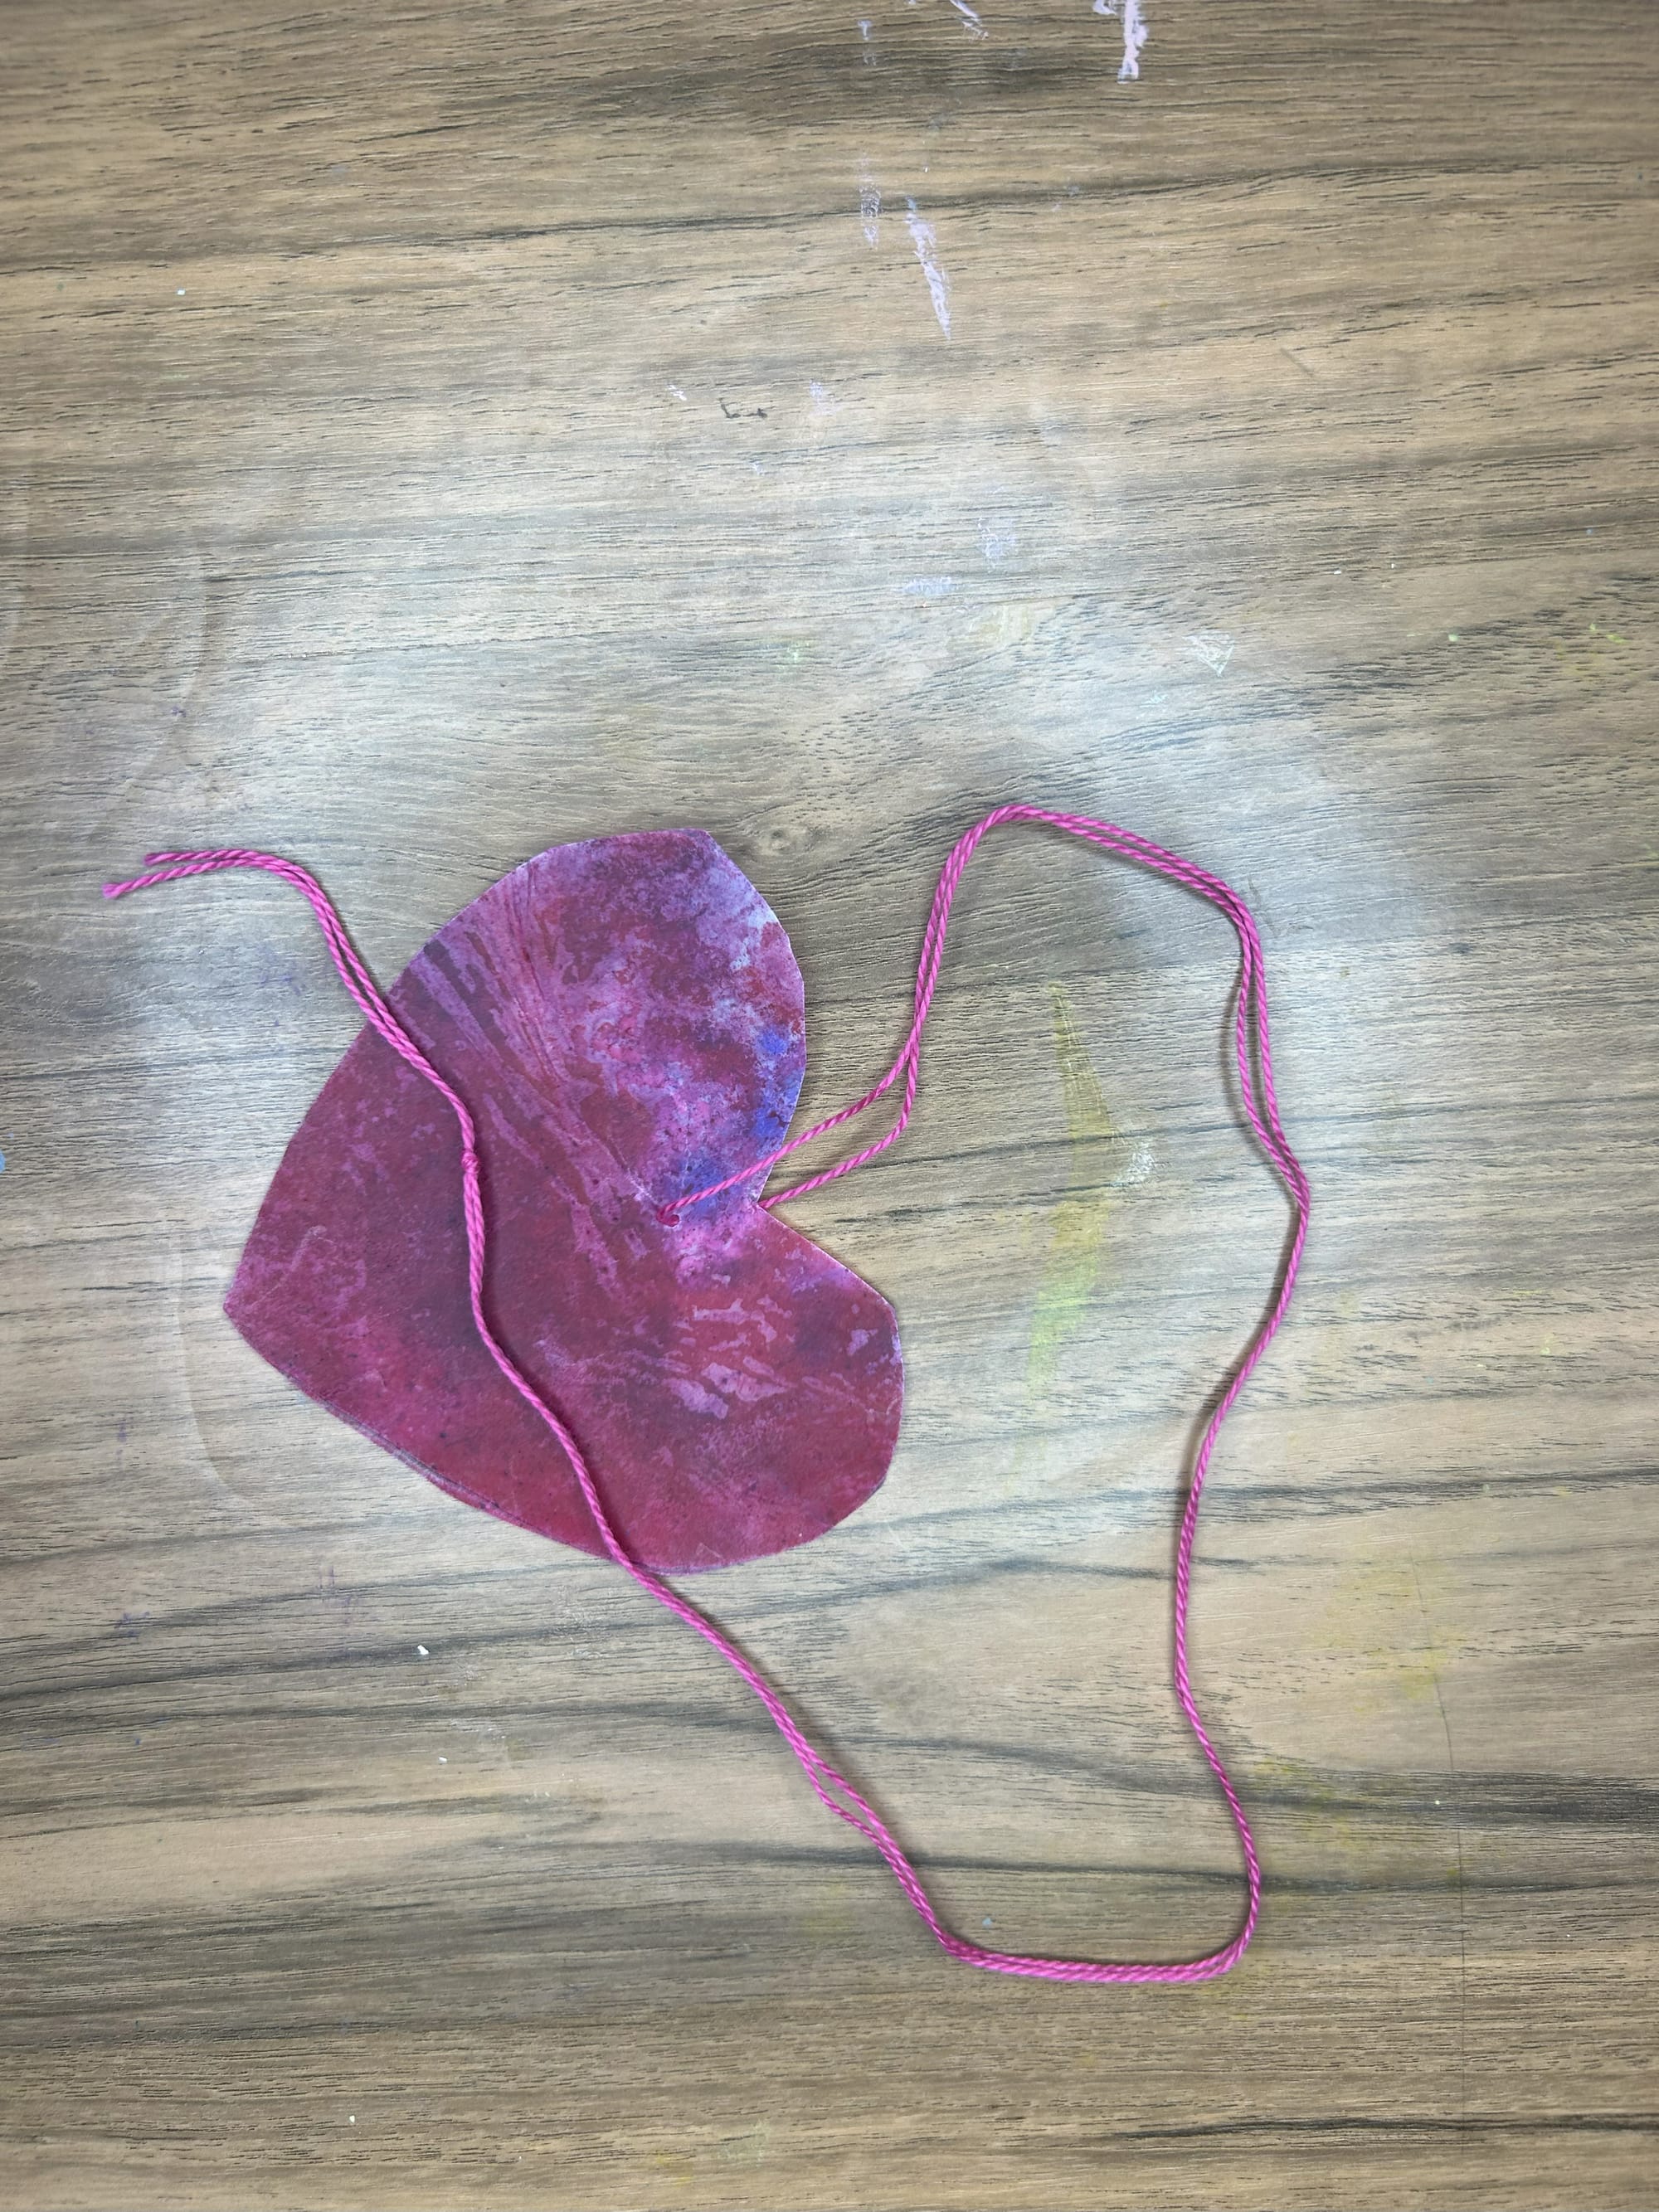
Use a needle to create a hole to attach thread to hang these hearts.
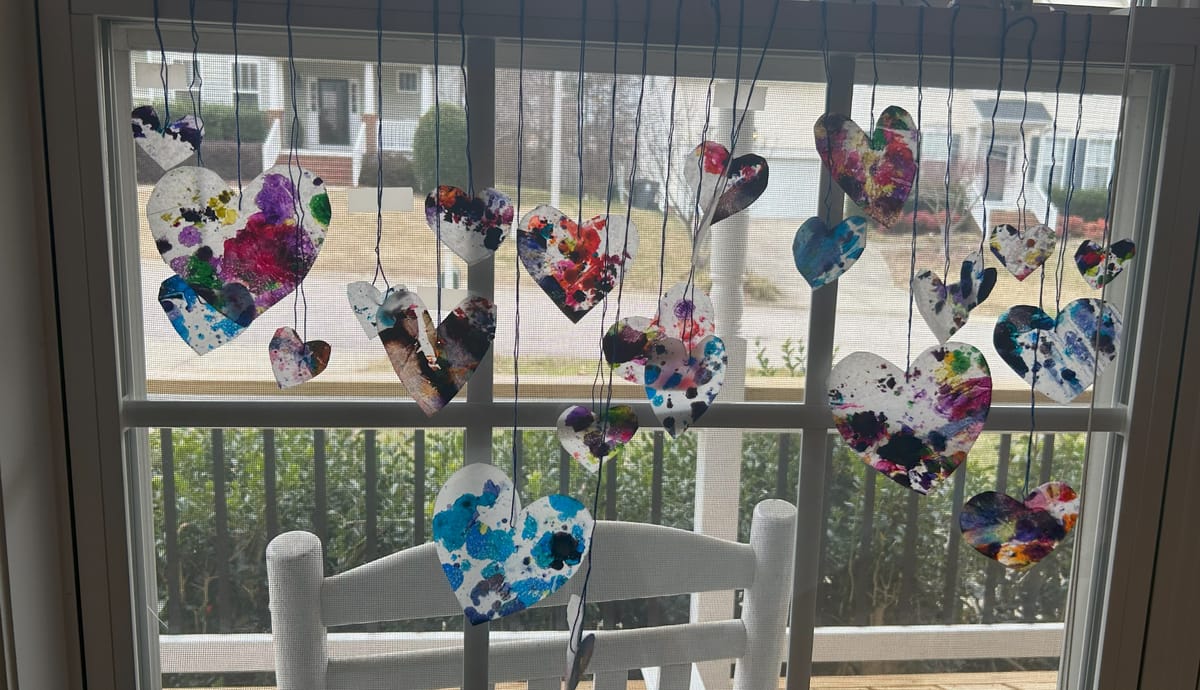
These are so lovely in your window, even cat approved.
![](https://www.craftymamabird.com/content/images/2025/02/29-1.jpg)
![](https://www.craftymamabird.com/content/images/2025/02/25-1.jpg)
![](https://www.craftymamabird.com/content/images/2025/02/27-1.jpg)
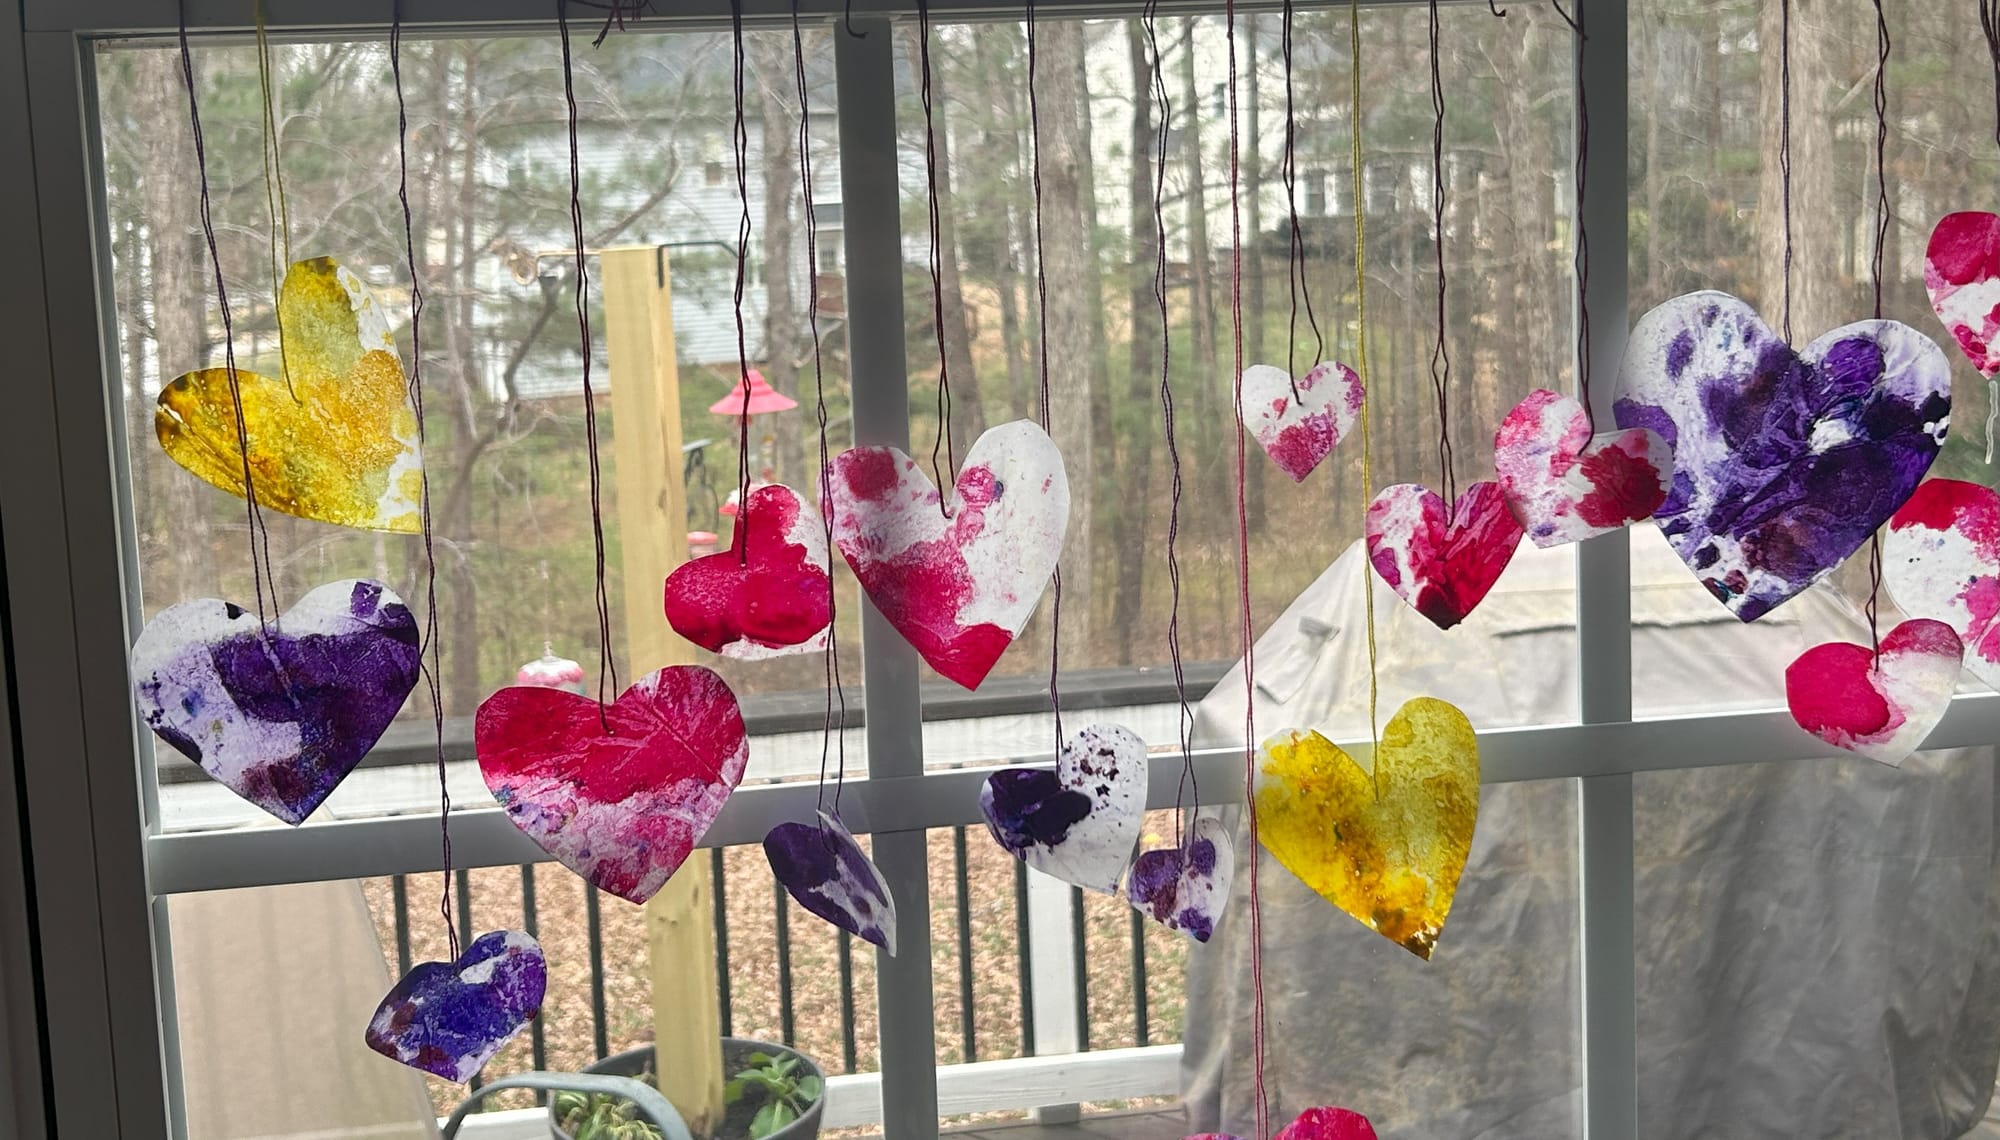
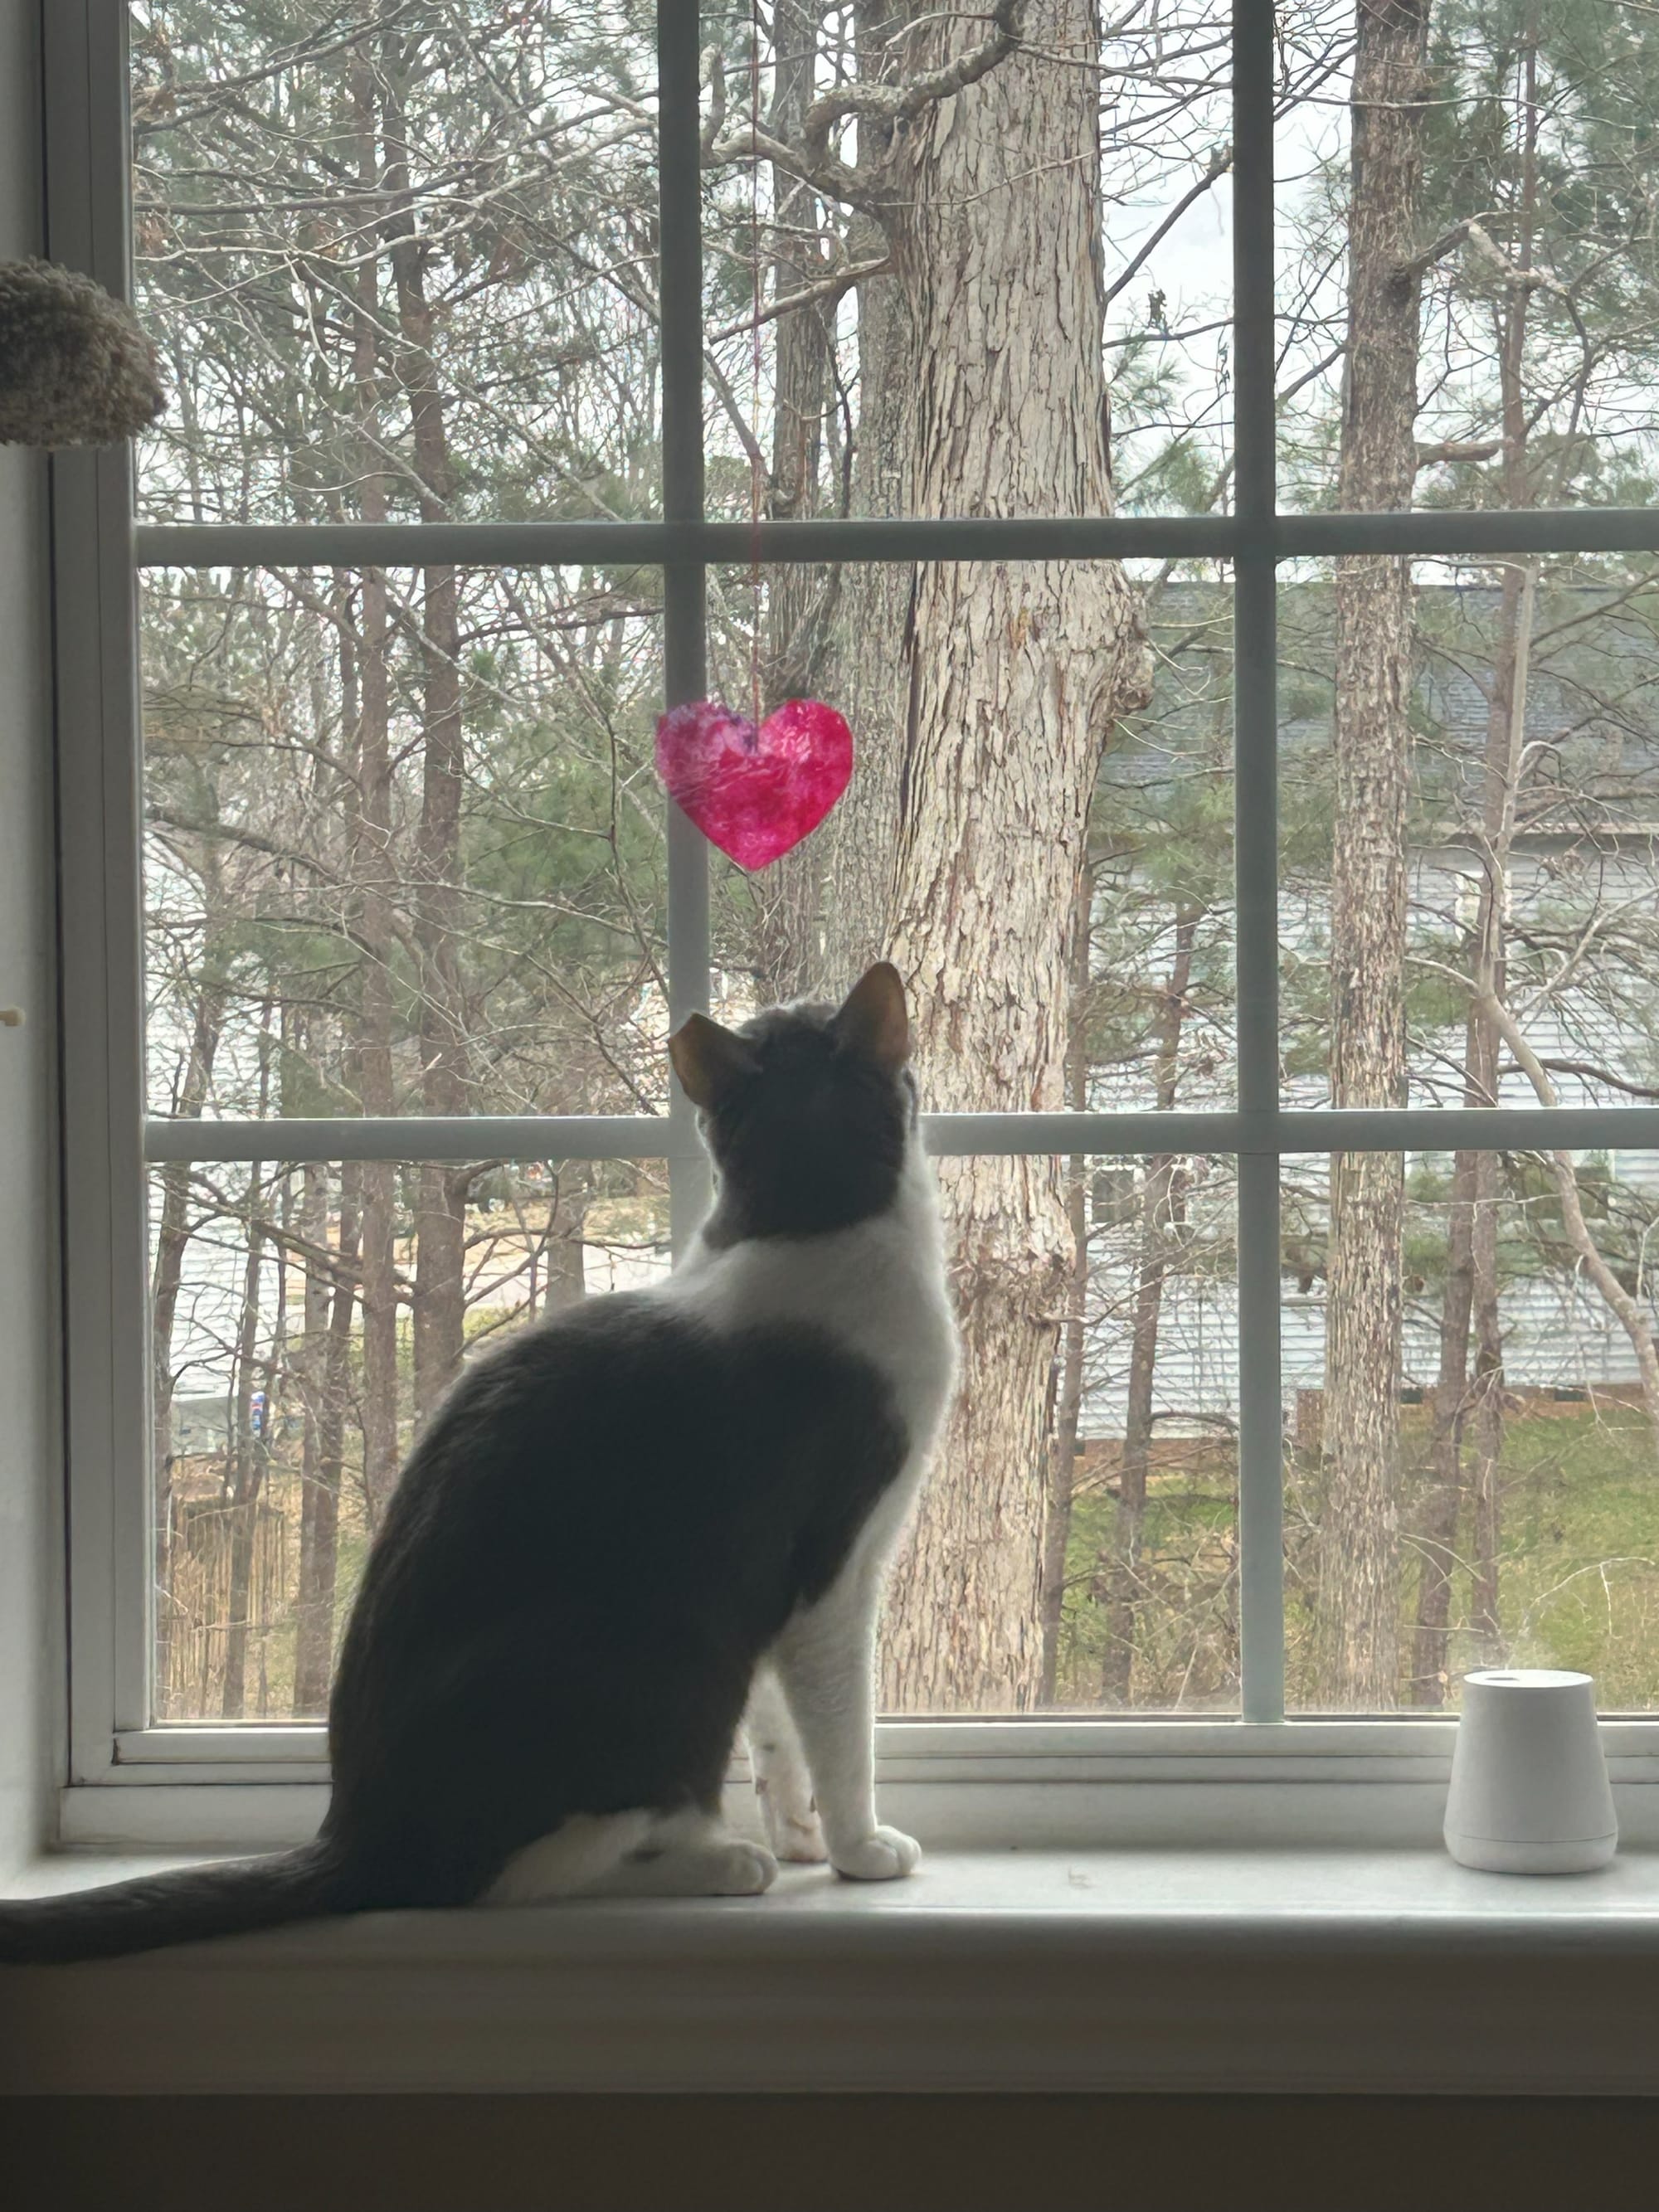
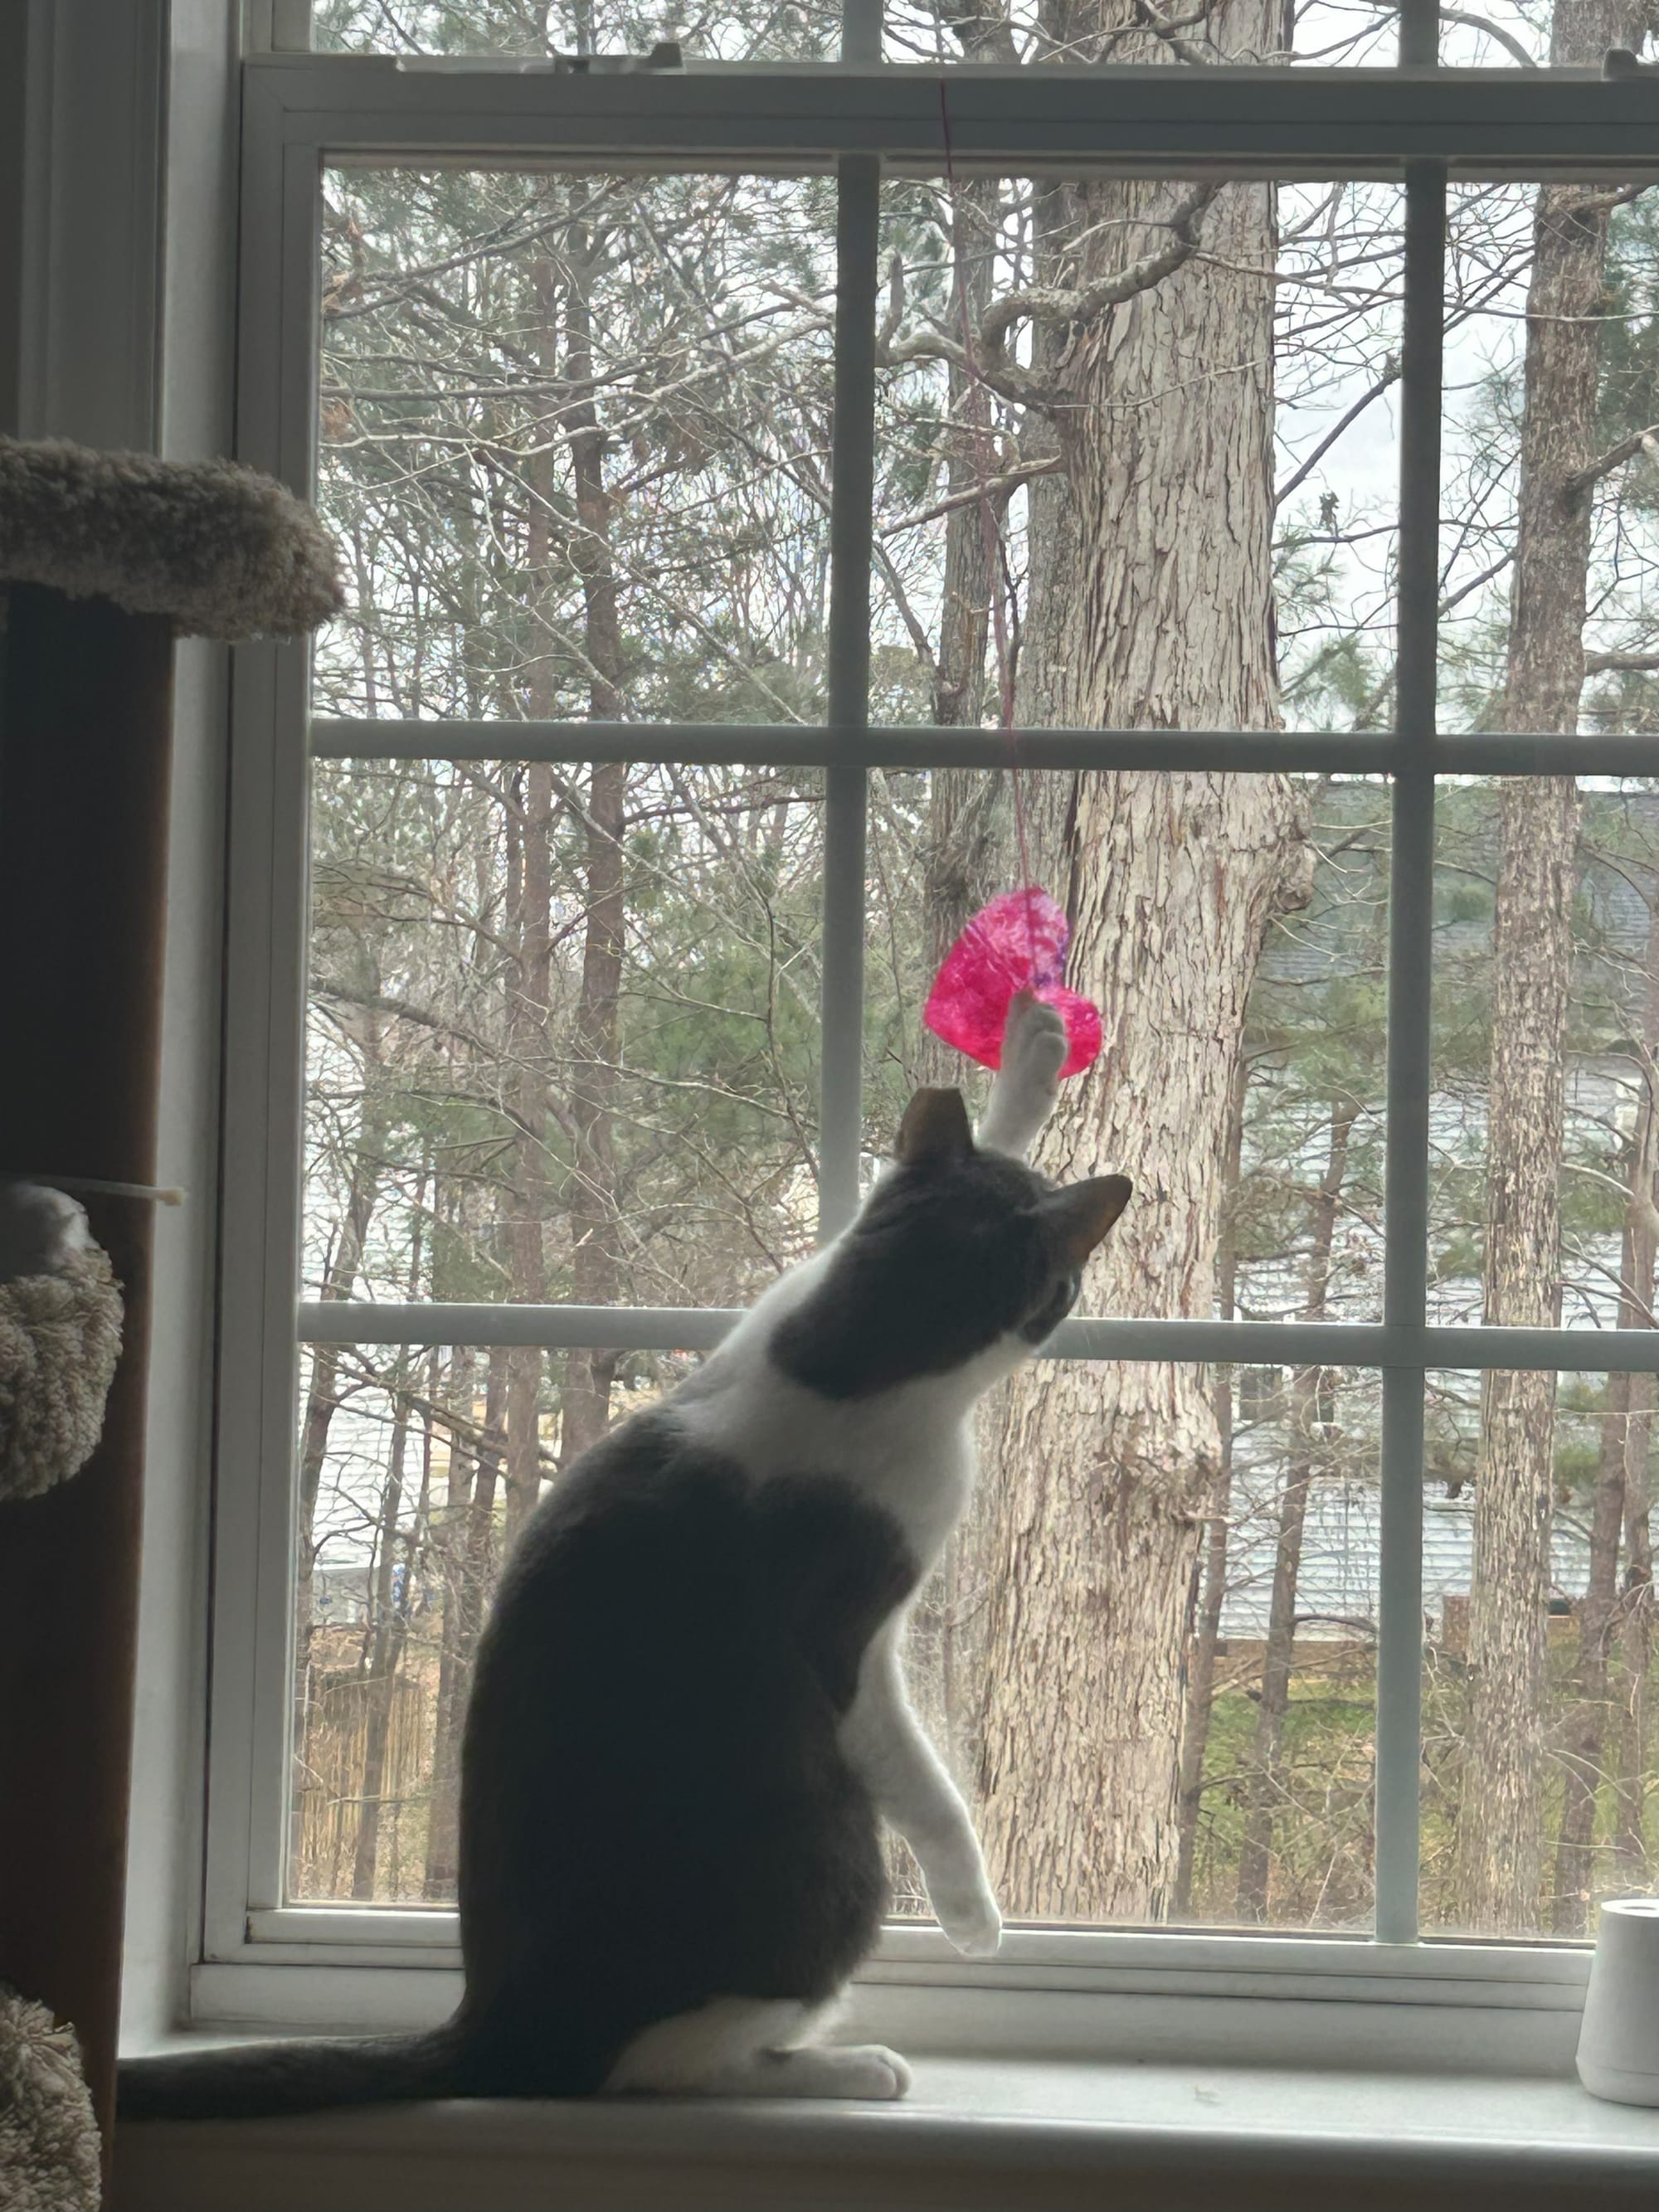
These are so nice to see the sunlight shining through these wax hearts.