Valentine Envelope Garland DIY
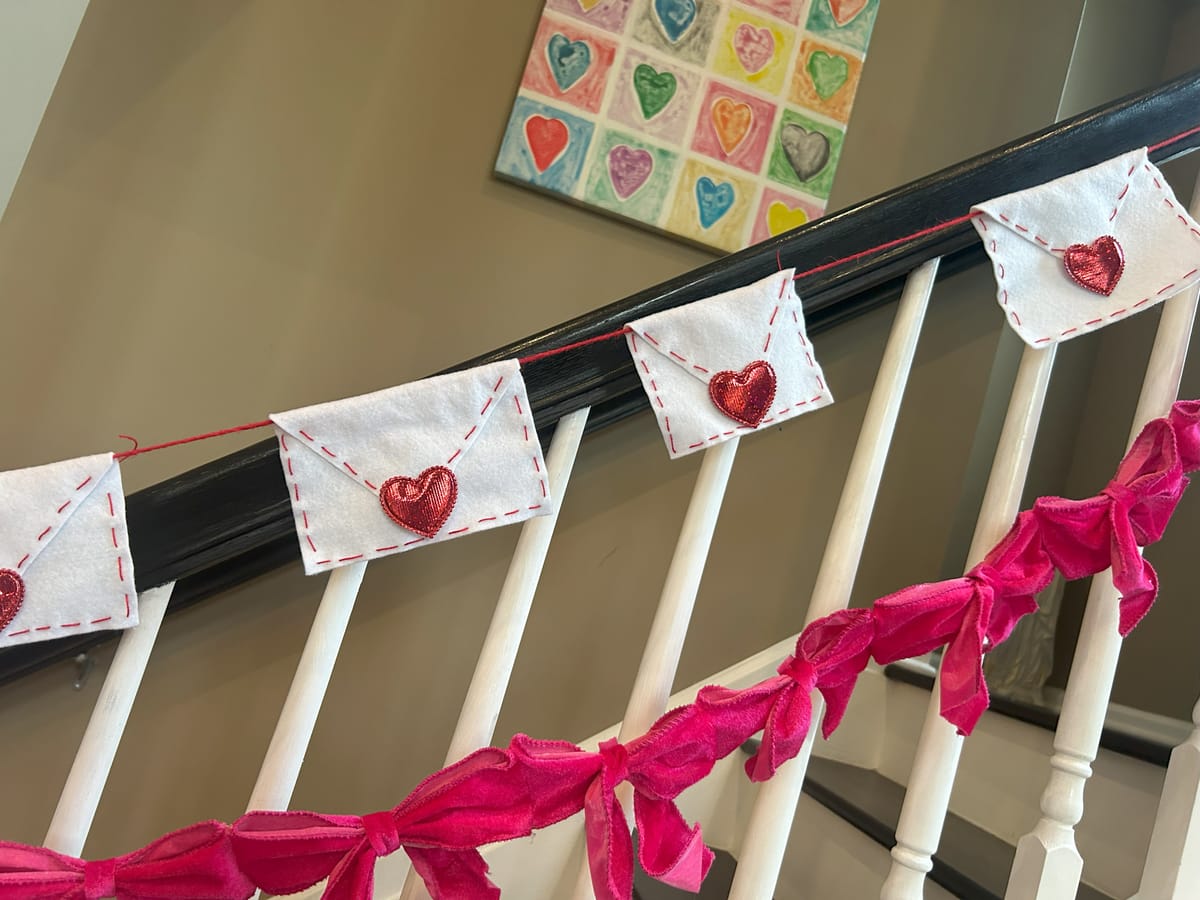
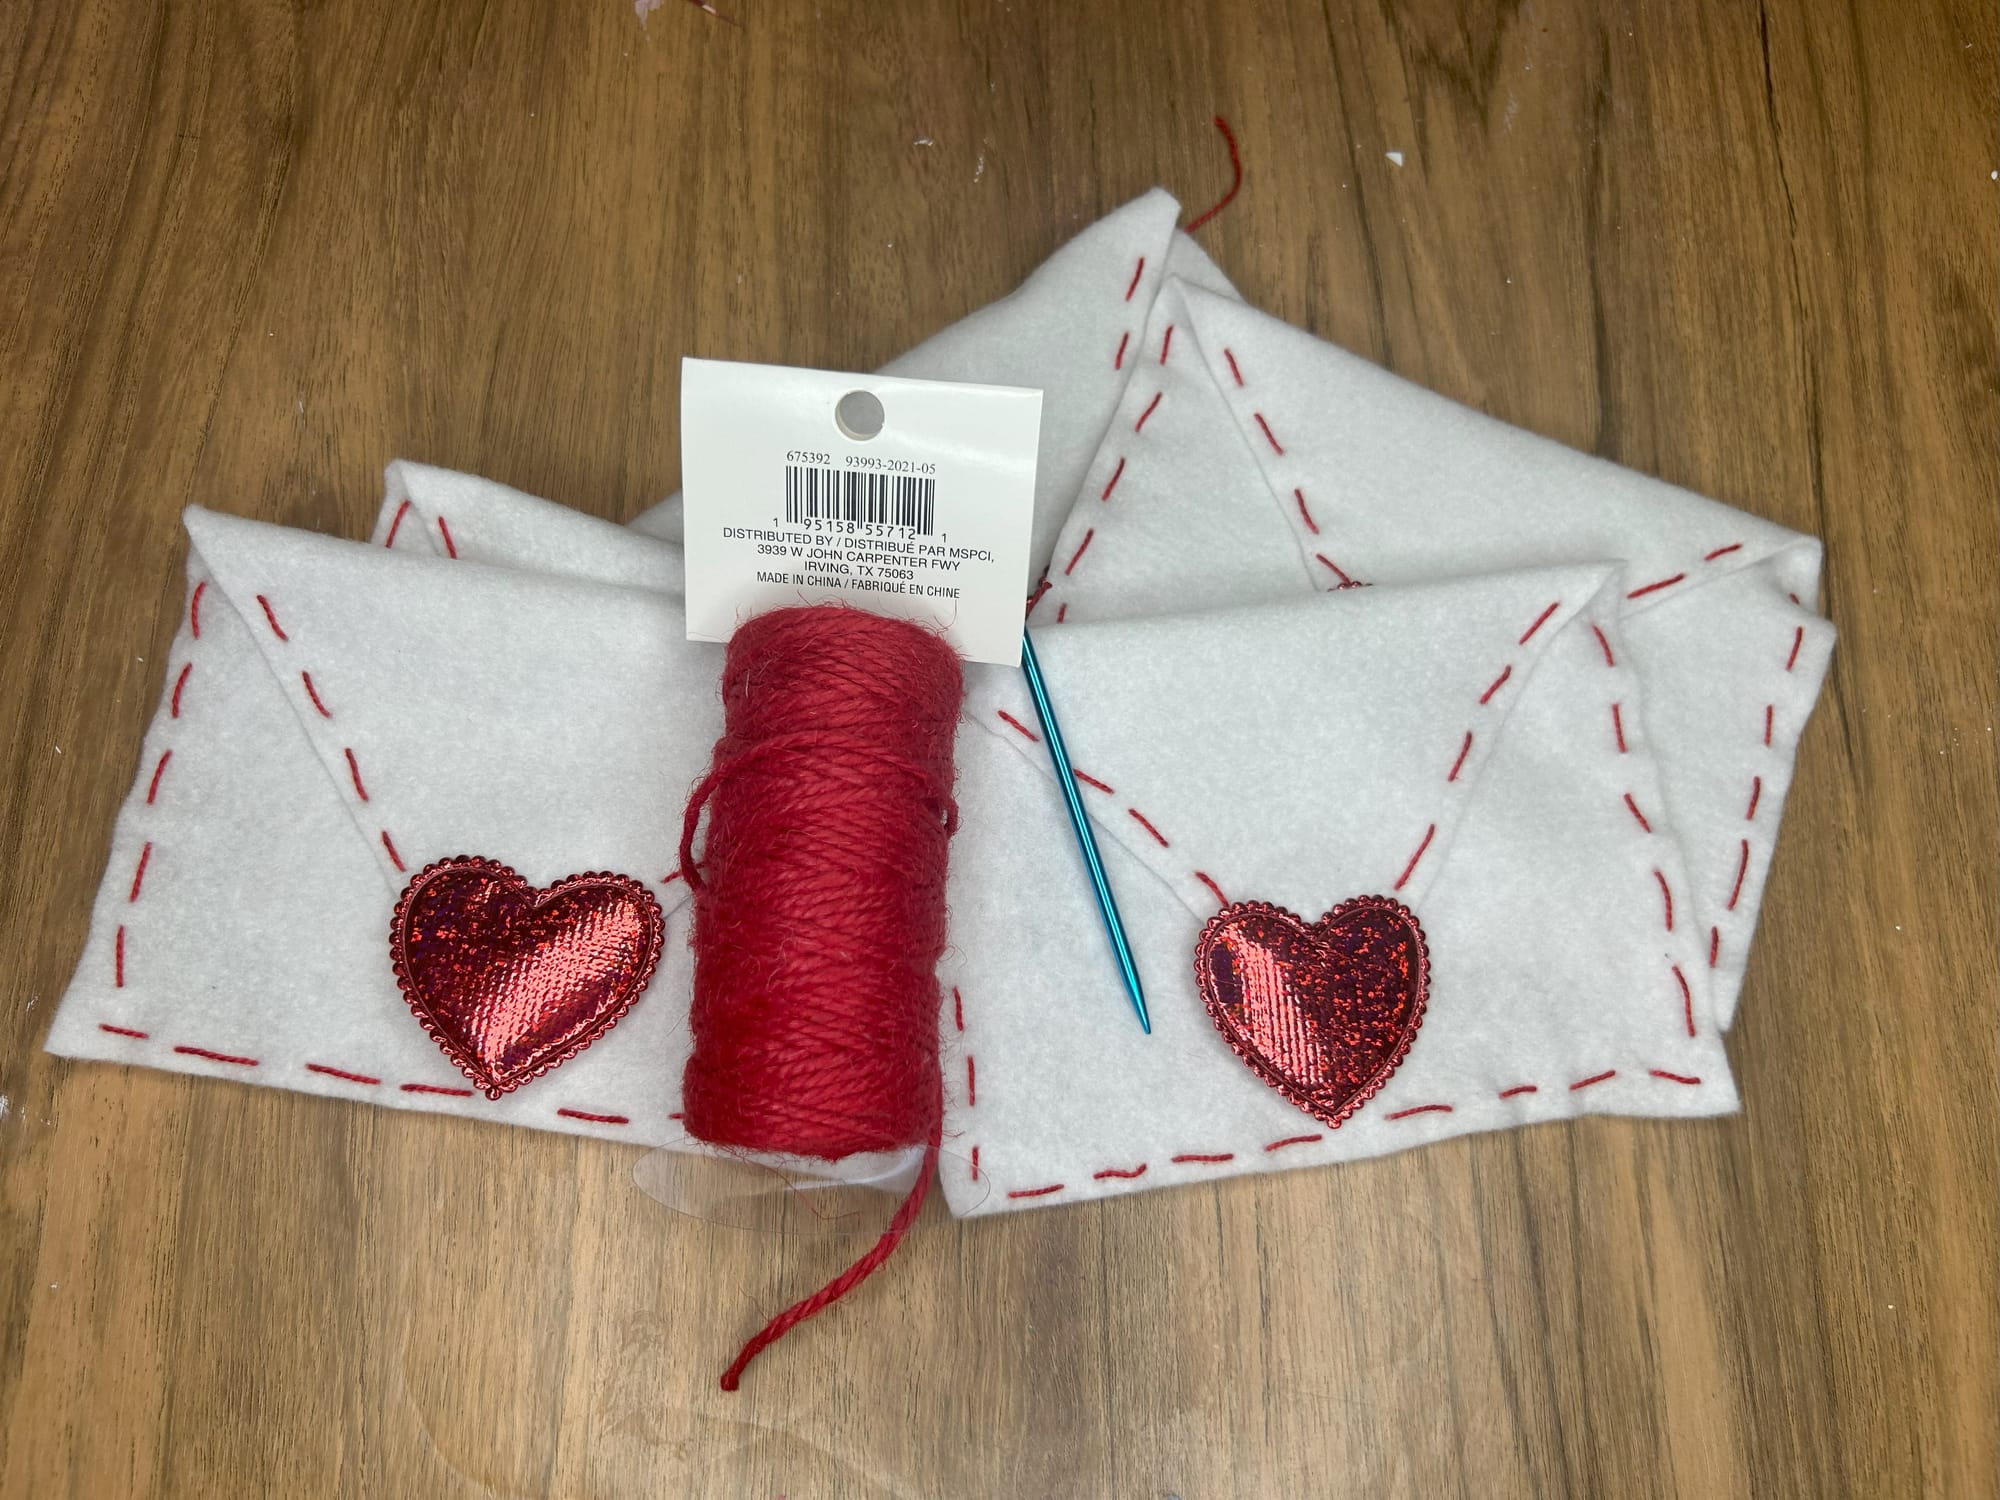
This felt envelope garland is so super cute and easy to create for your home. Use just a few supplies to make this inexpensive garland. I always love those holiday garlands at craft store but they can be pretty pricey. This craft was created with a few pieces of white felt, valentine's day heart stickers and embroidery thread. You may even have some of these items in your craft supply at home.
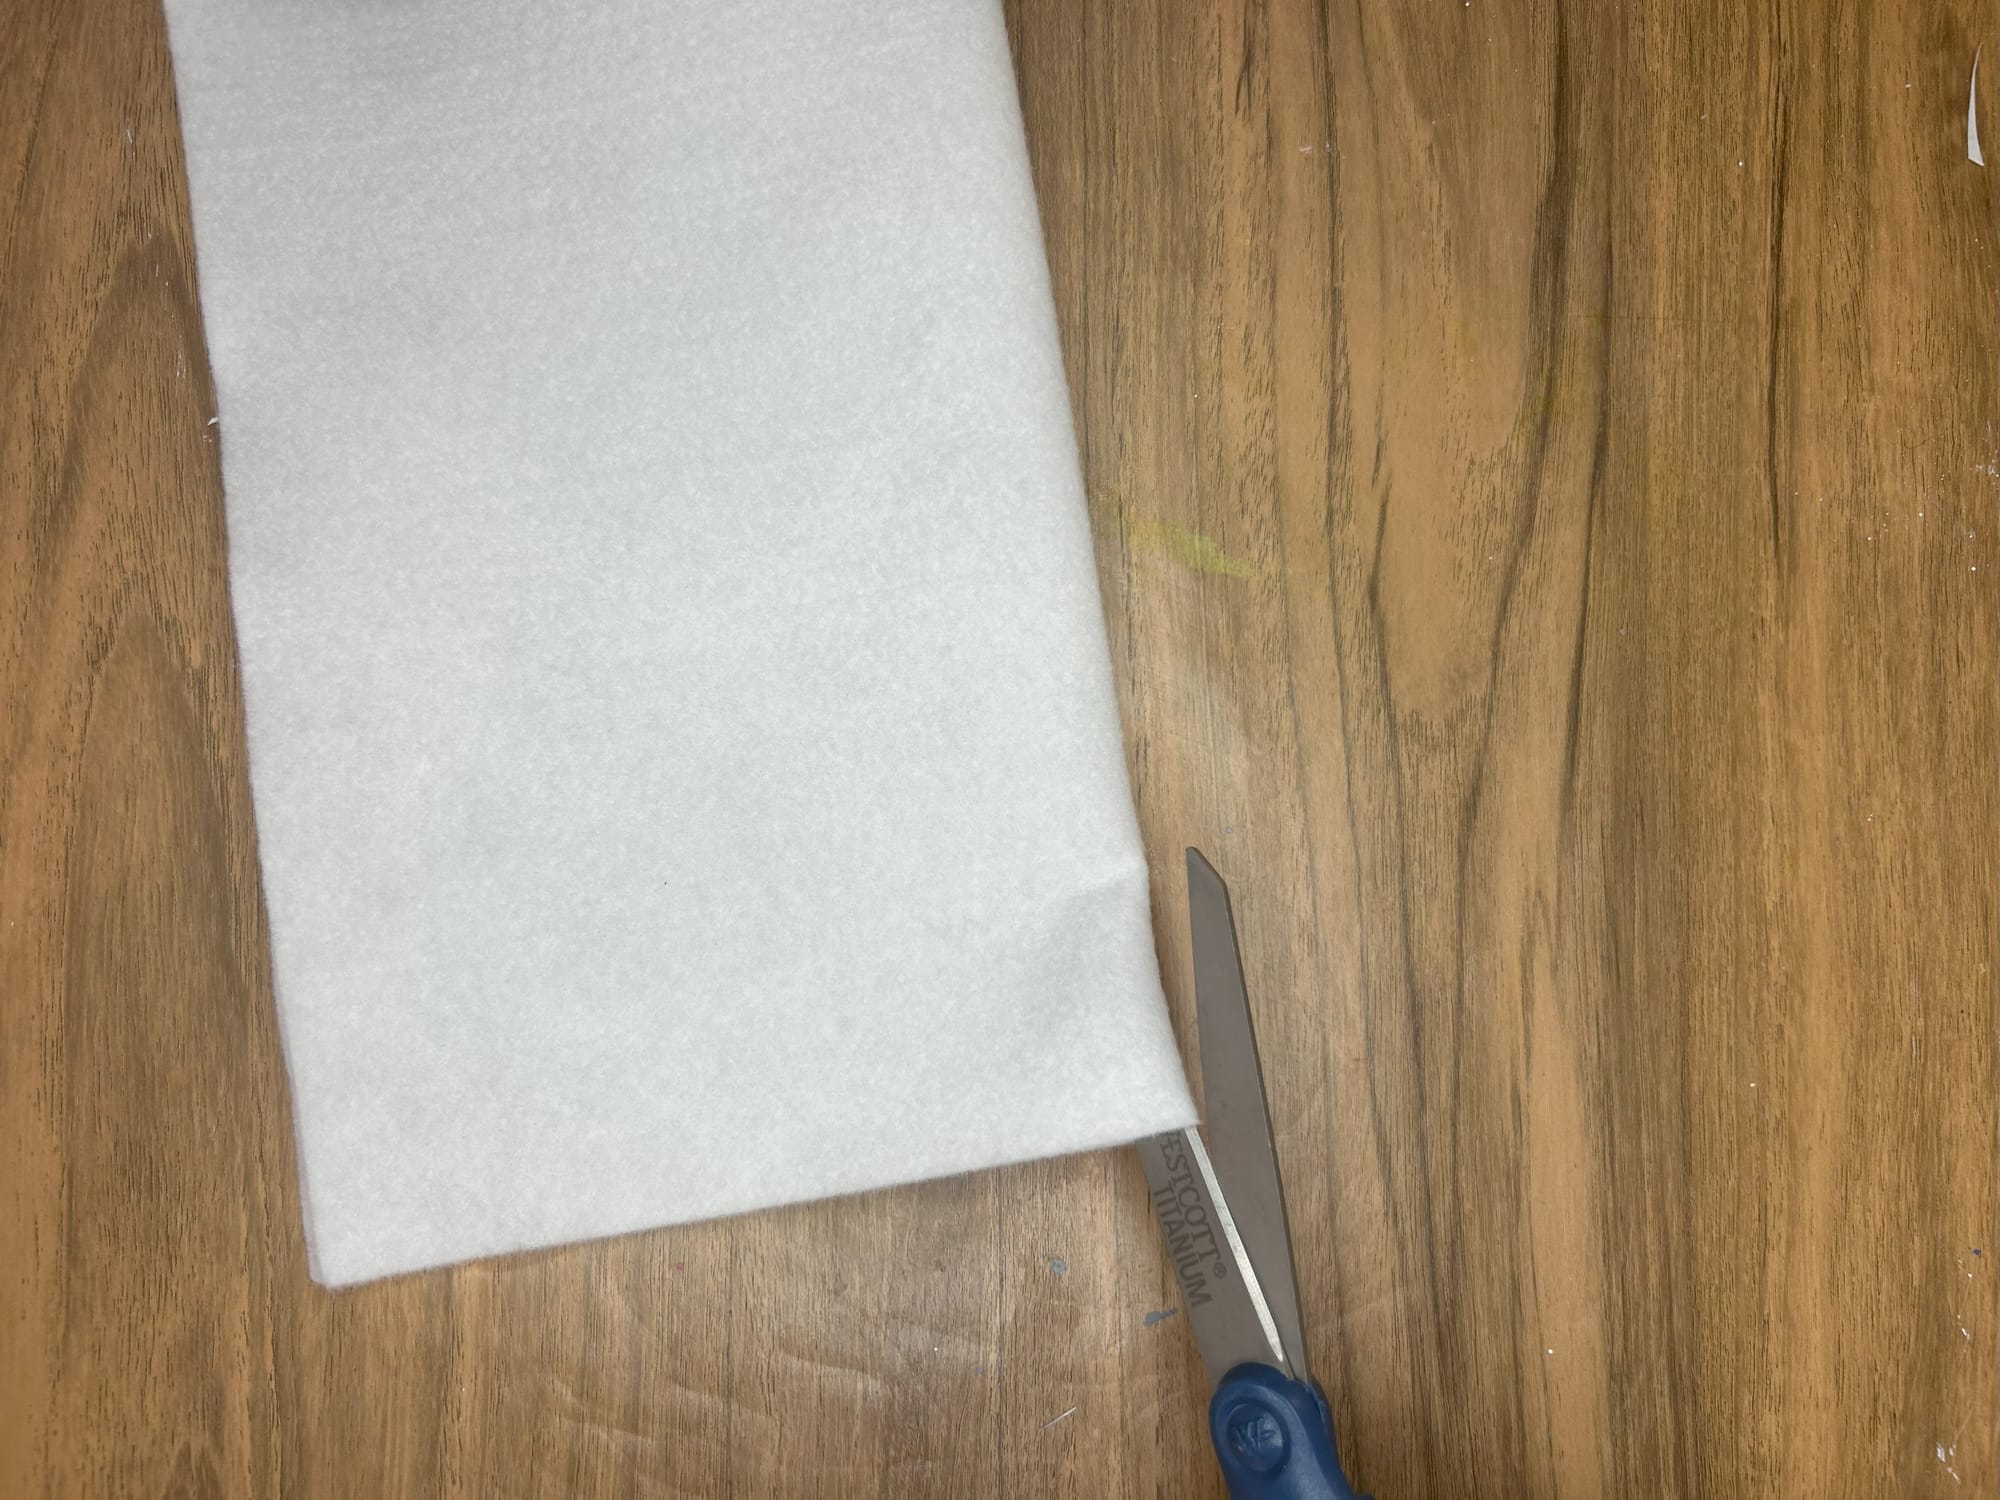
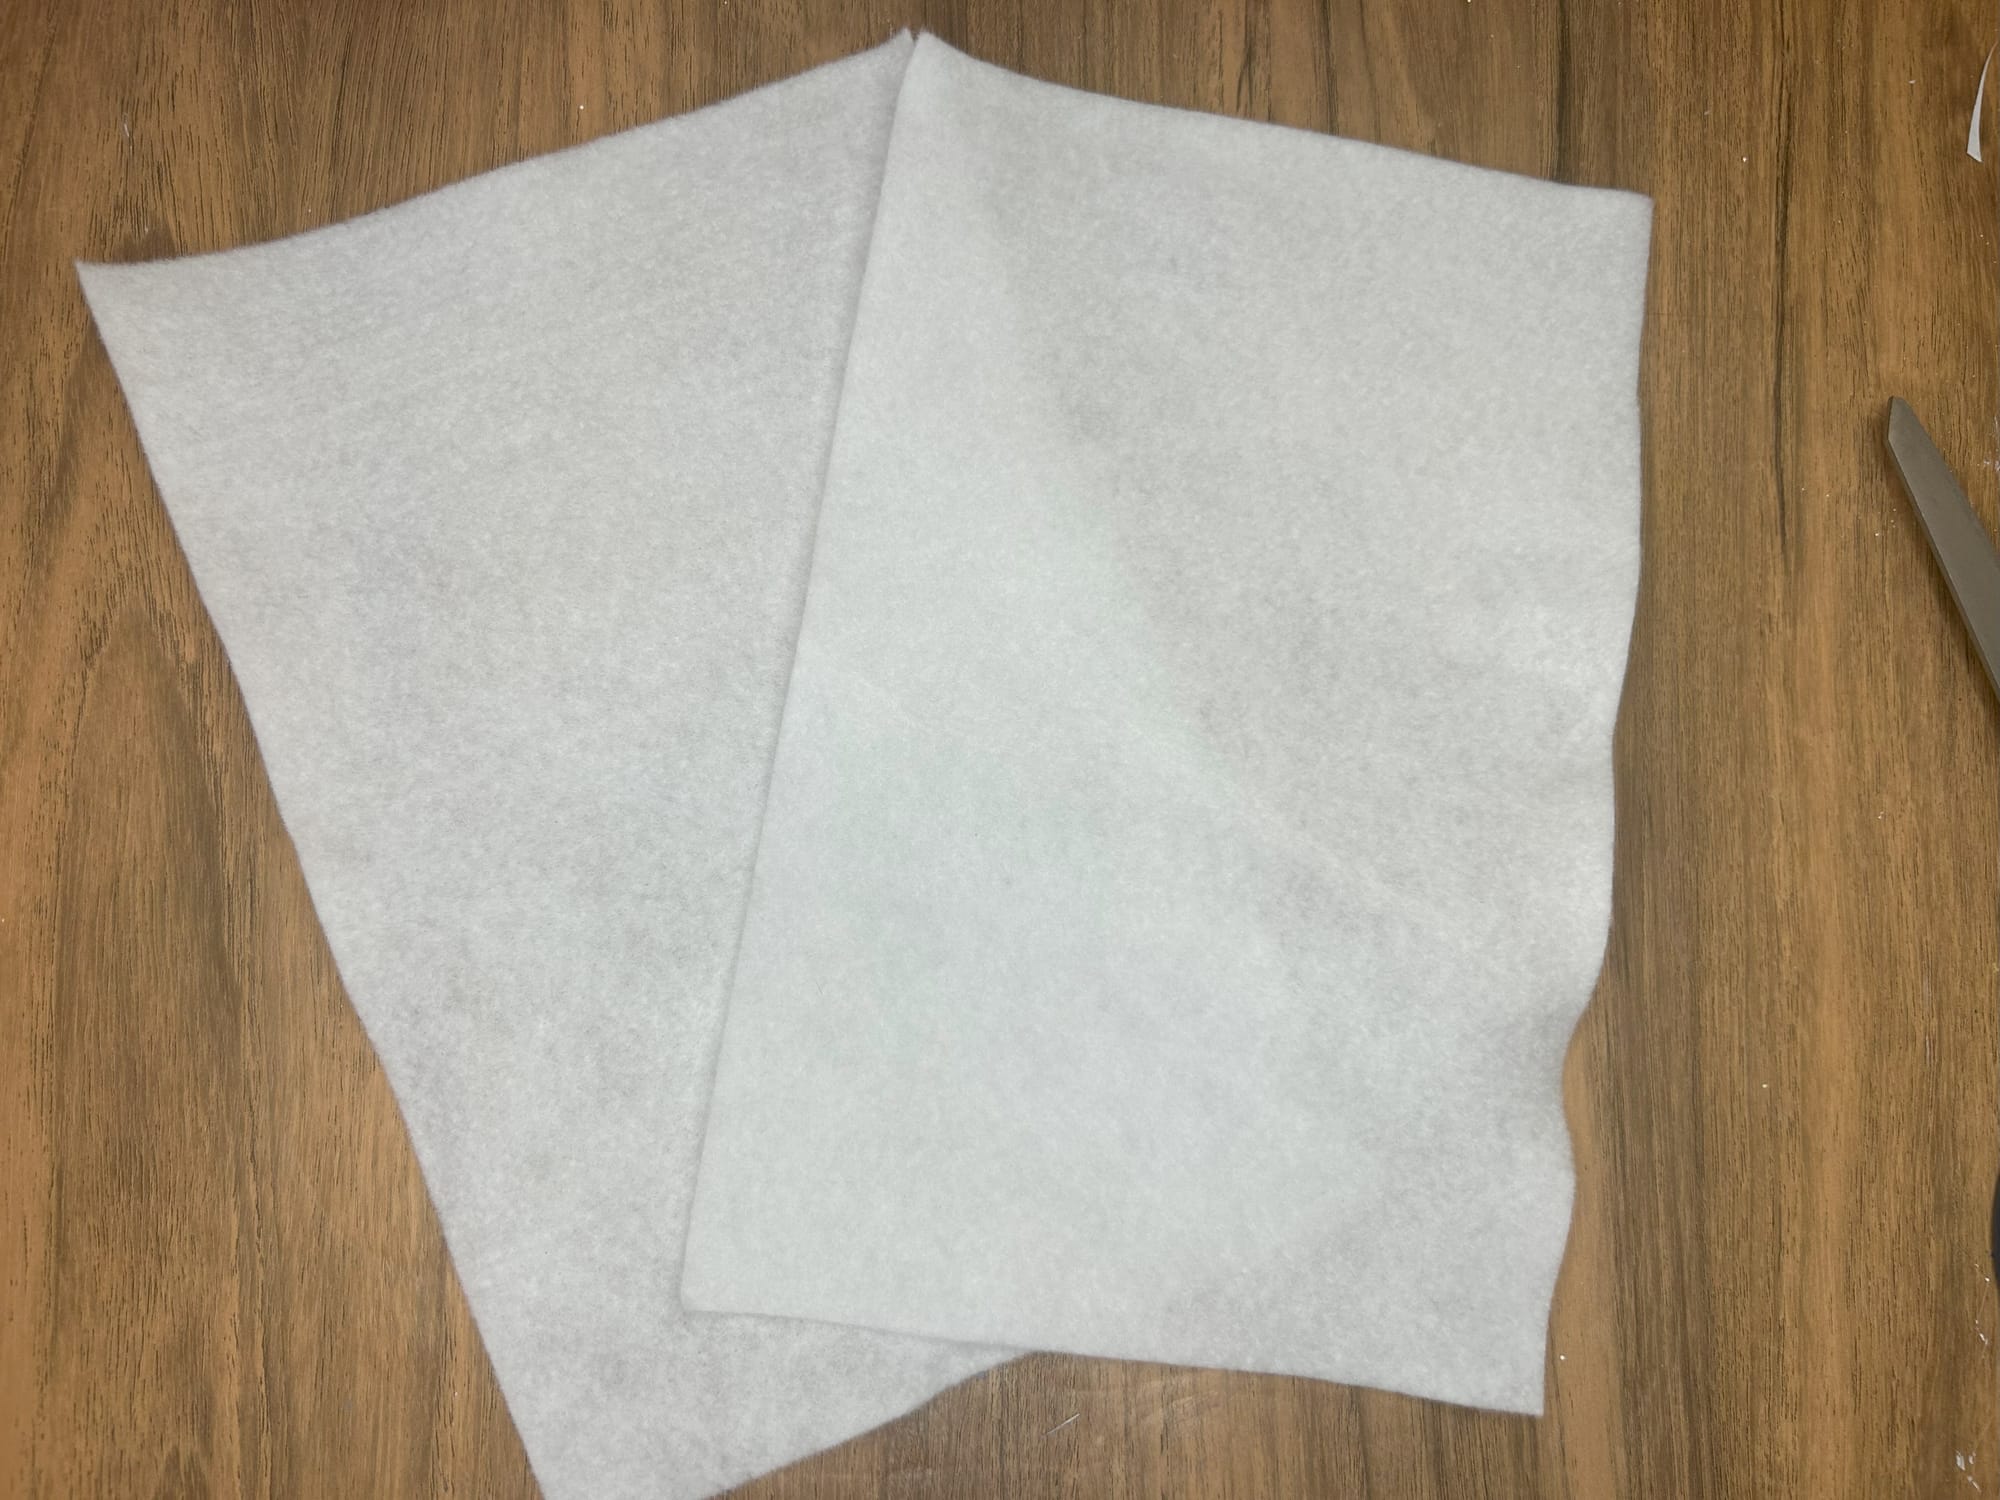
Begin by cutting your white felt in half. I was able to get two envelopes from one piece of felt. After cut the felt into an envelope shape and get ready to glue with your hot glue gun.
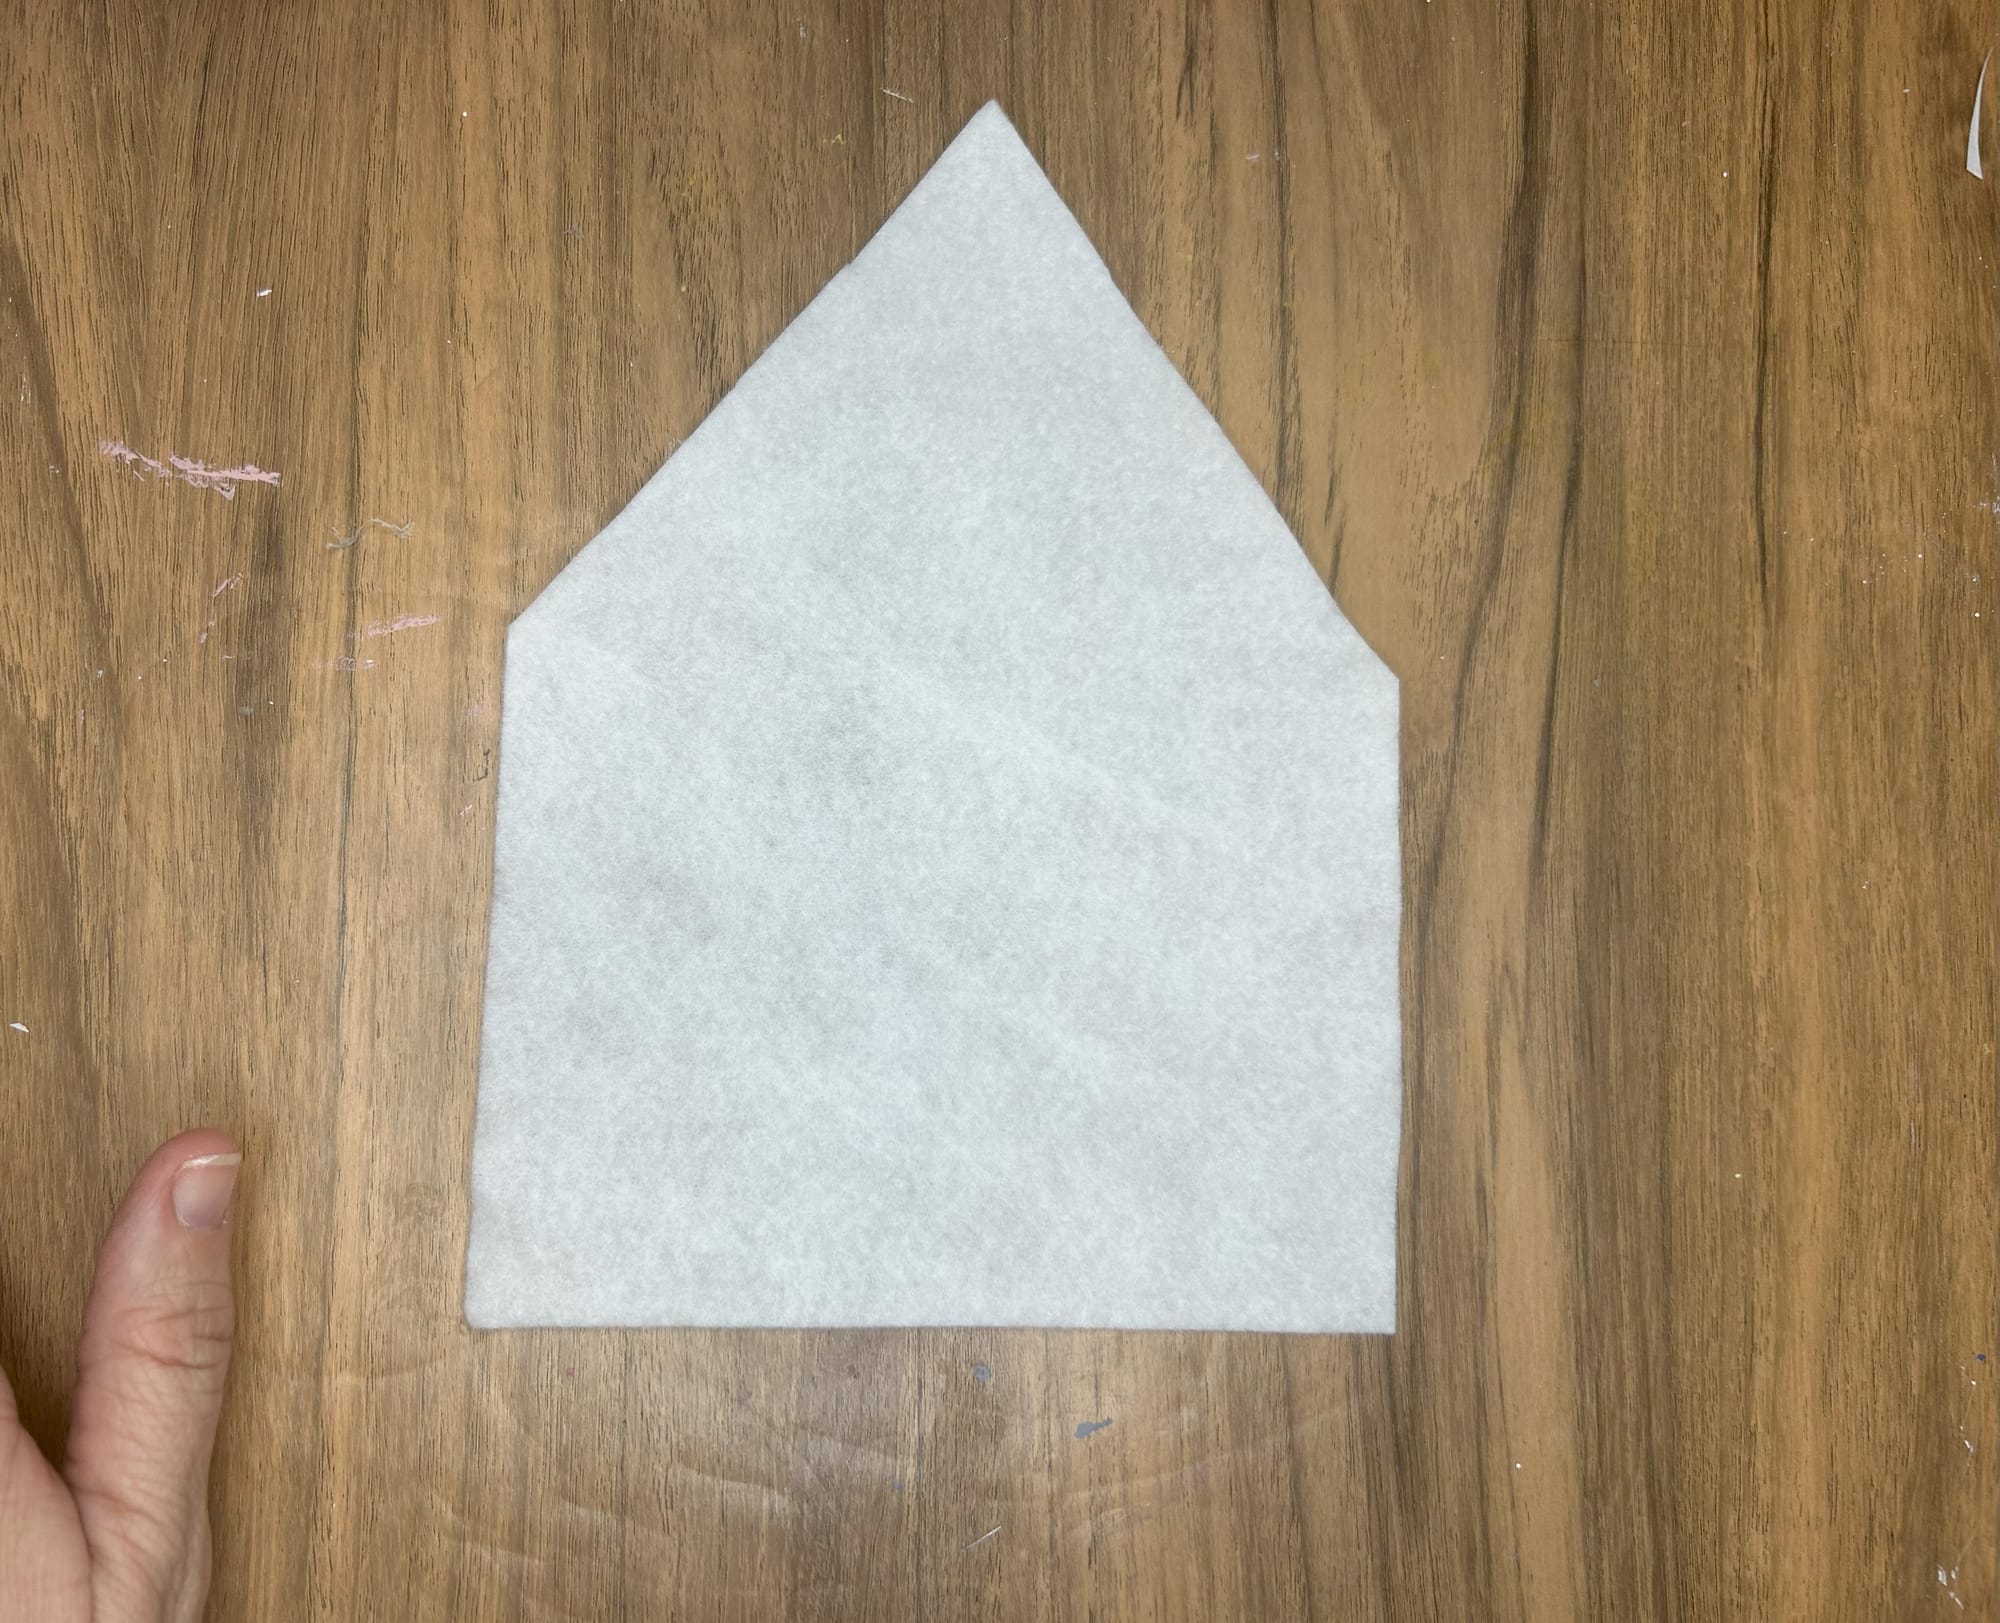
Cut your white felt into an envelope shape. It is okay if they are all not the same.
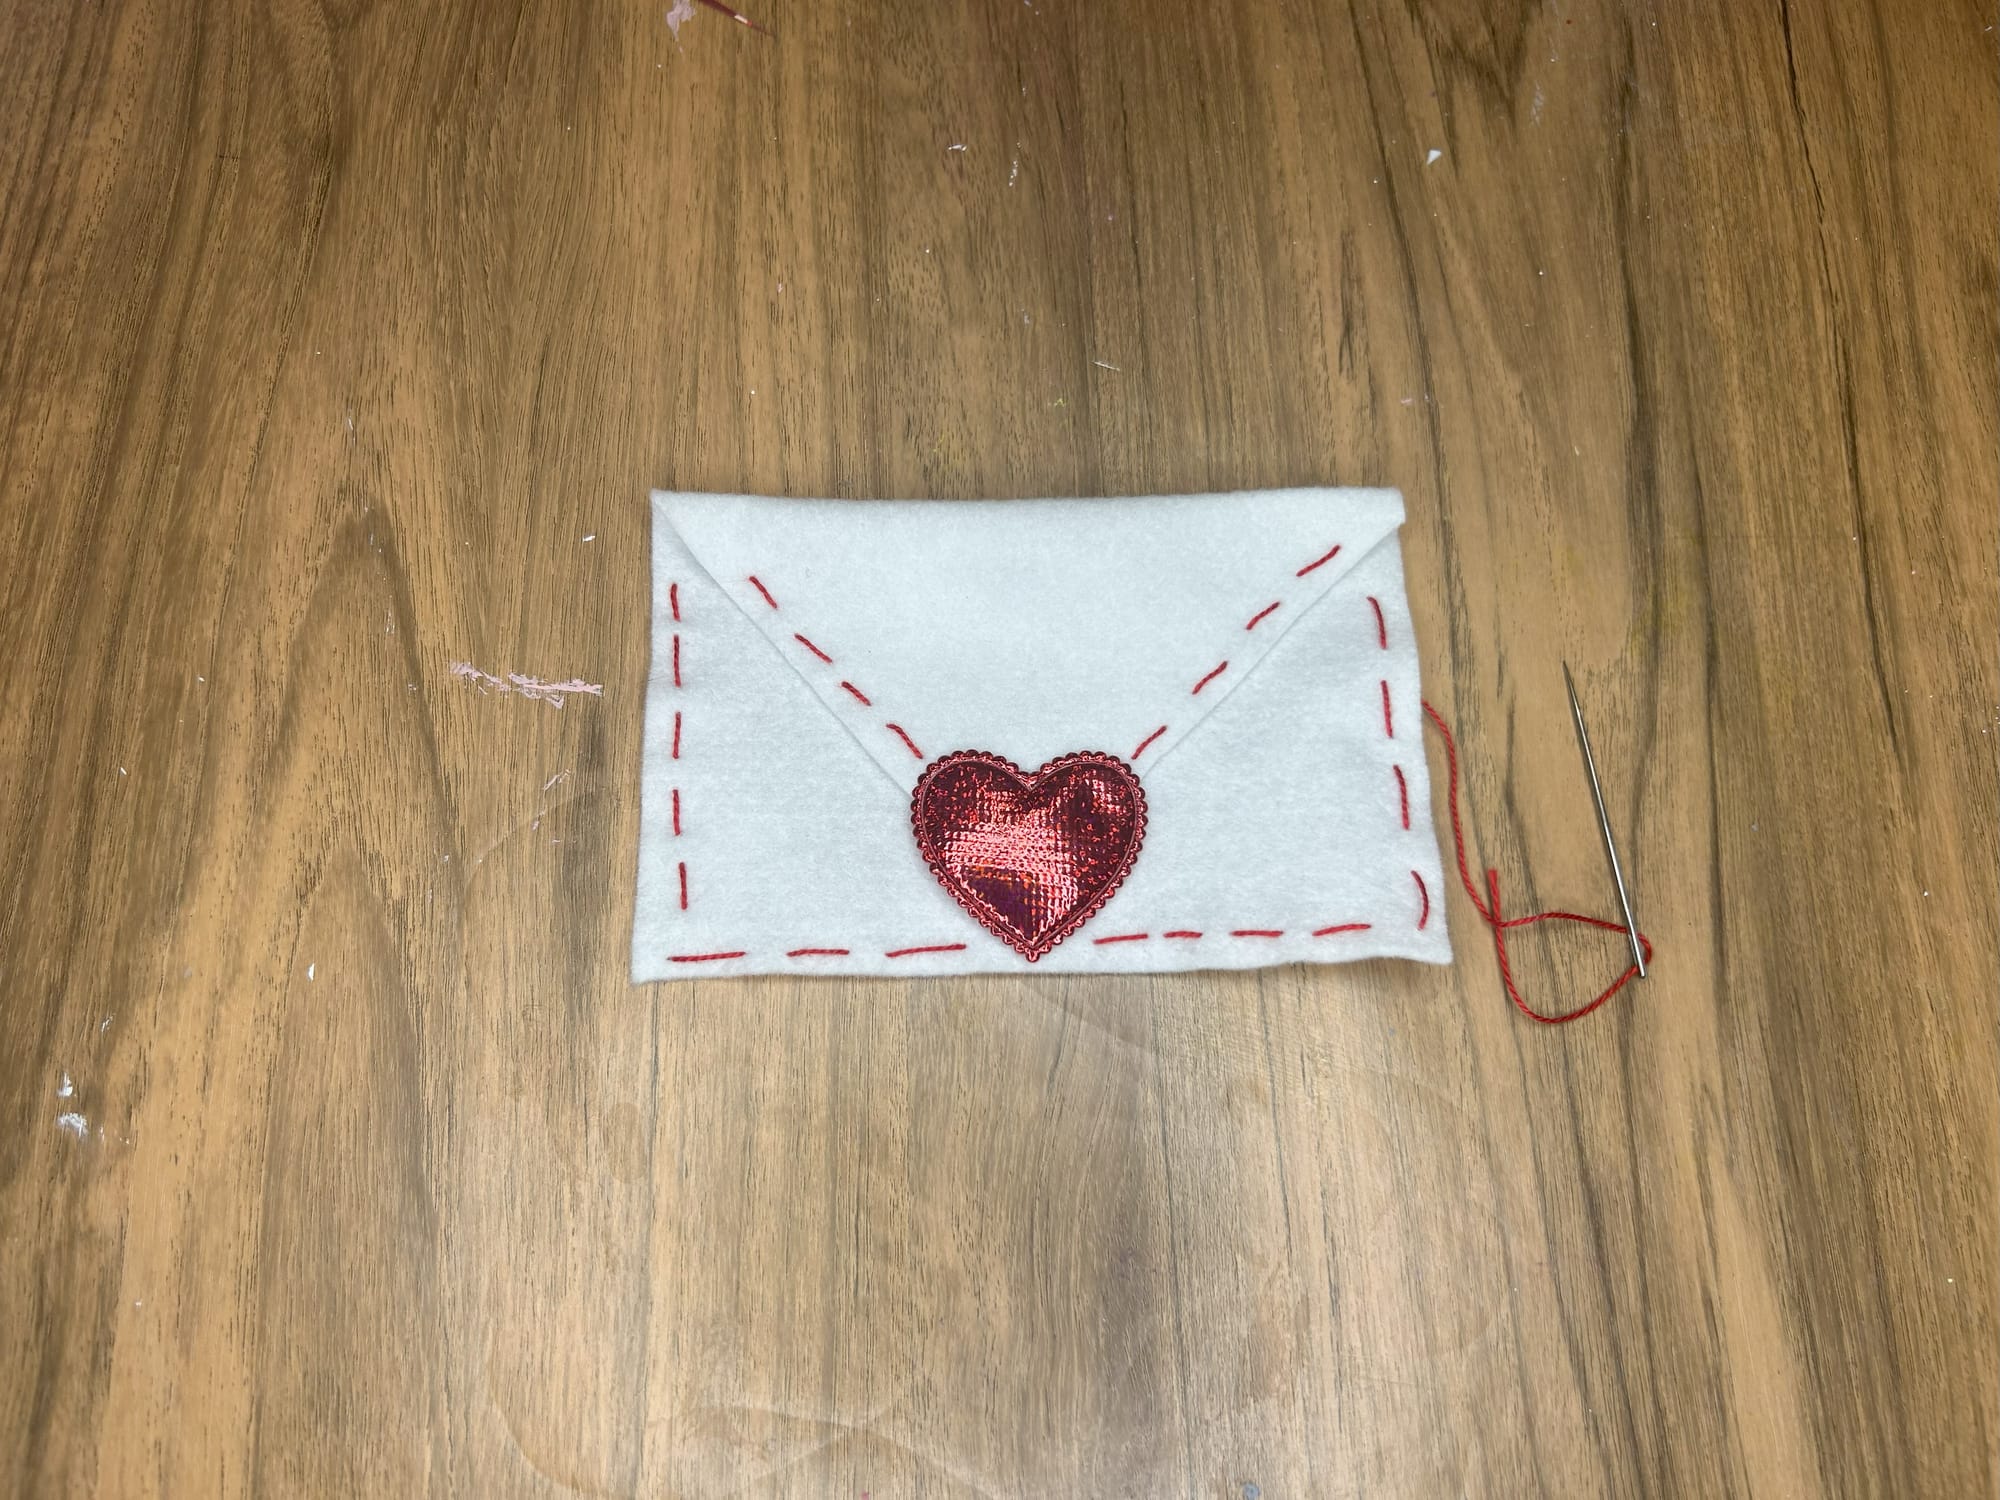
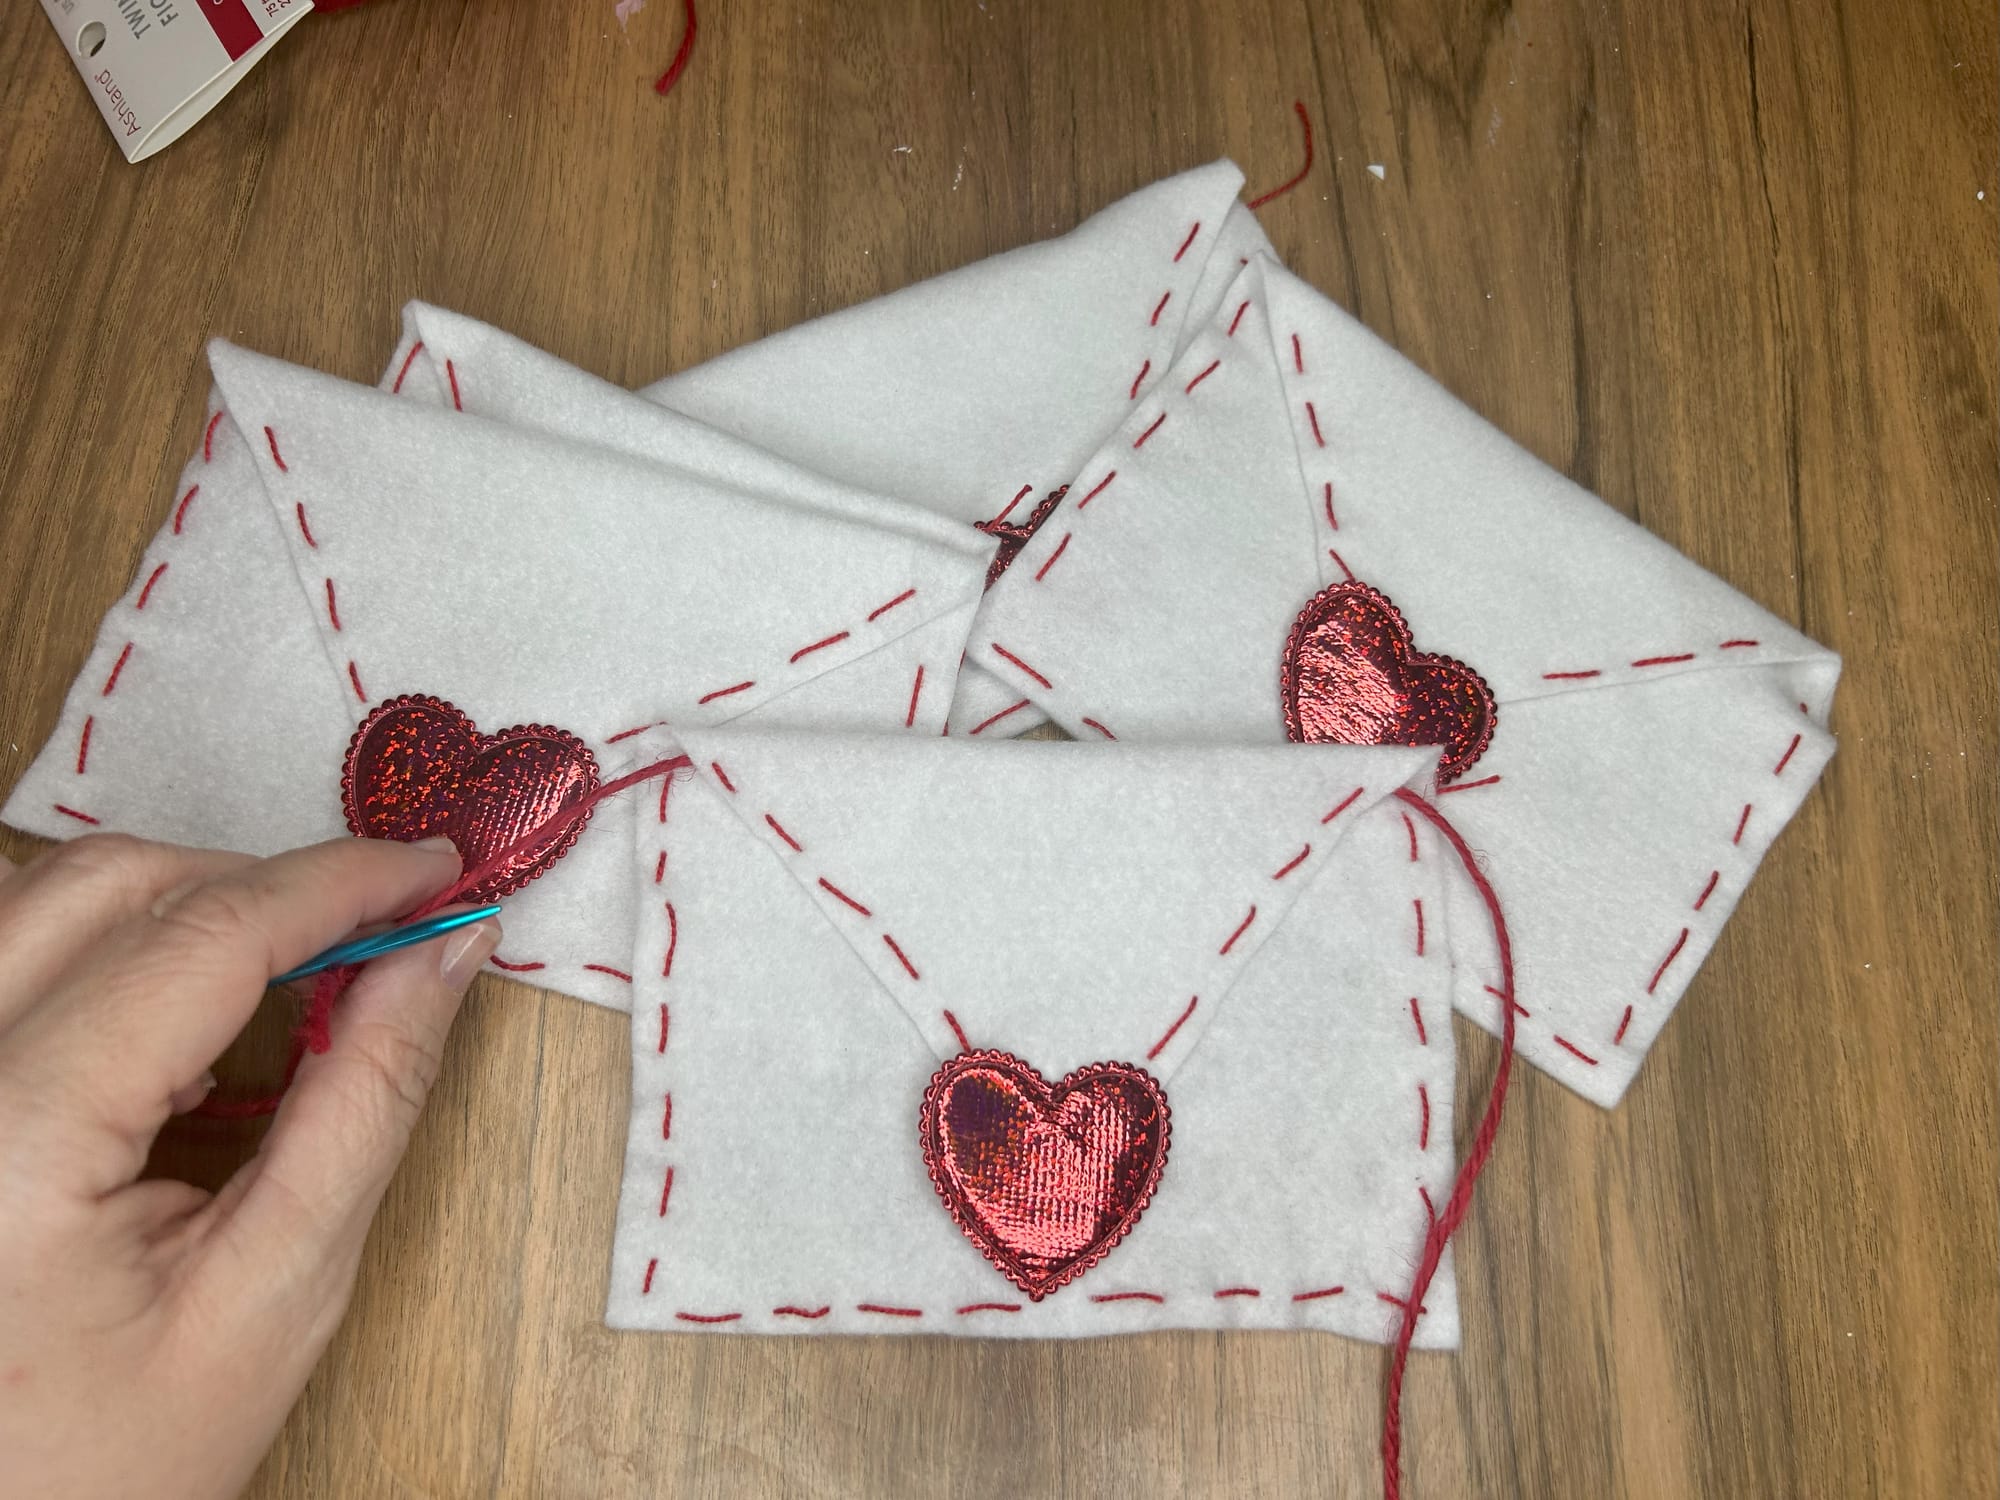
After cutting, fold down the triangle flap and glue it down using your hot glue gun. Next attach your heart sticker , you can even create your own heart with felt. Mine was a sticker, but I still decided to use the hot glue gun to attach it to the felt. I loved the bright , red, shiny heart stickers I found.

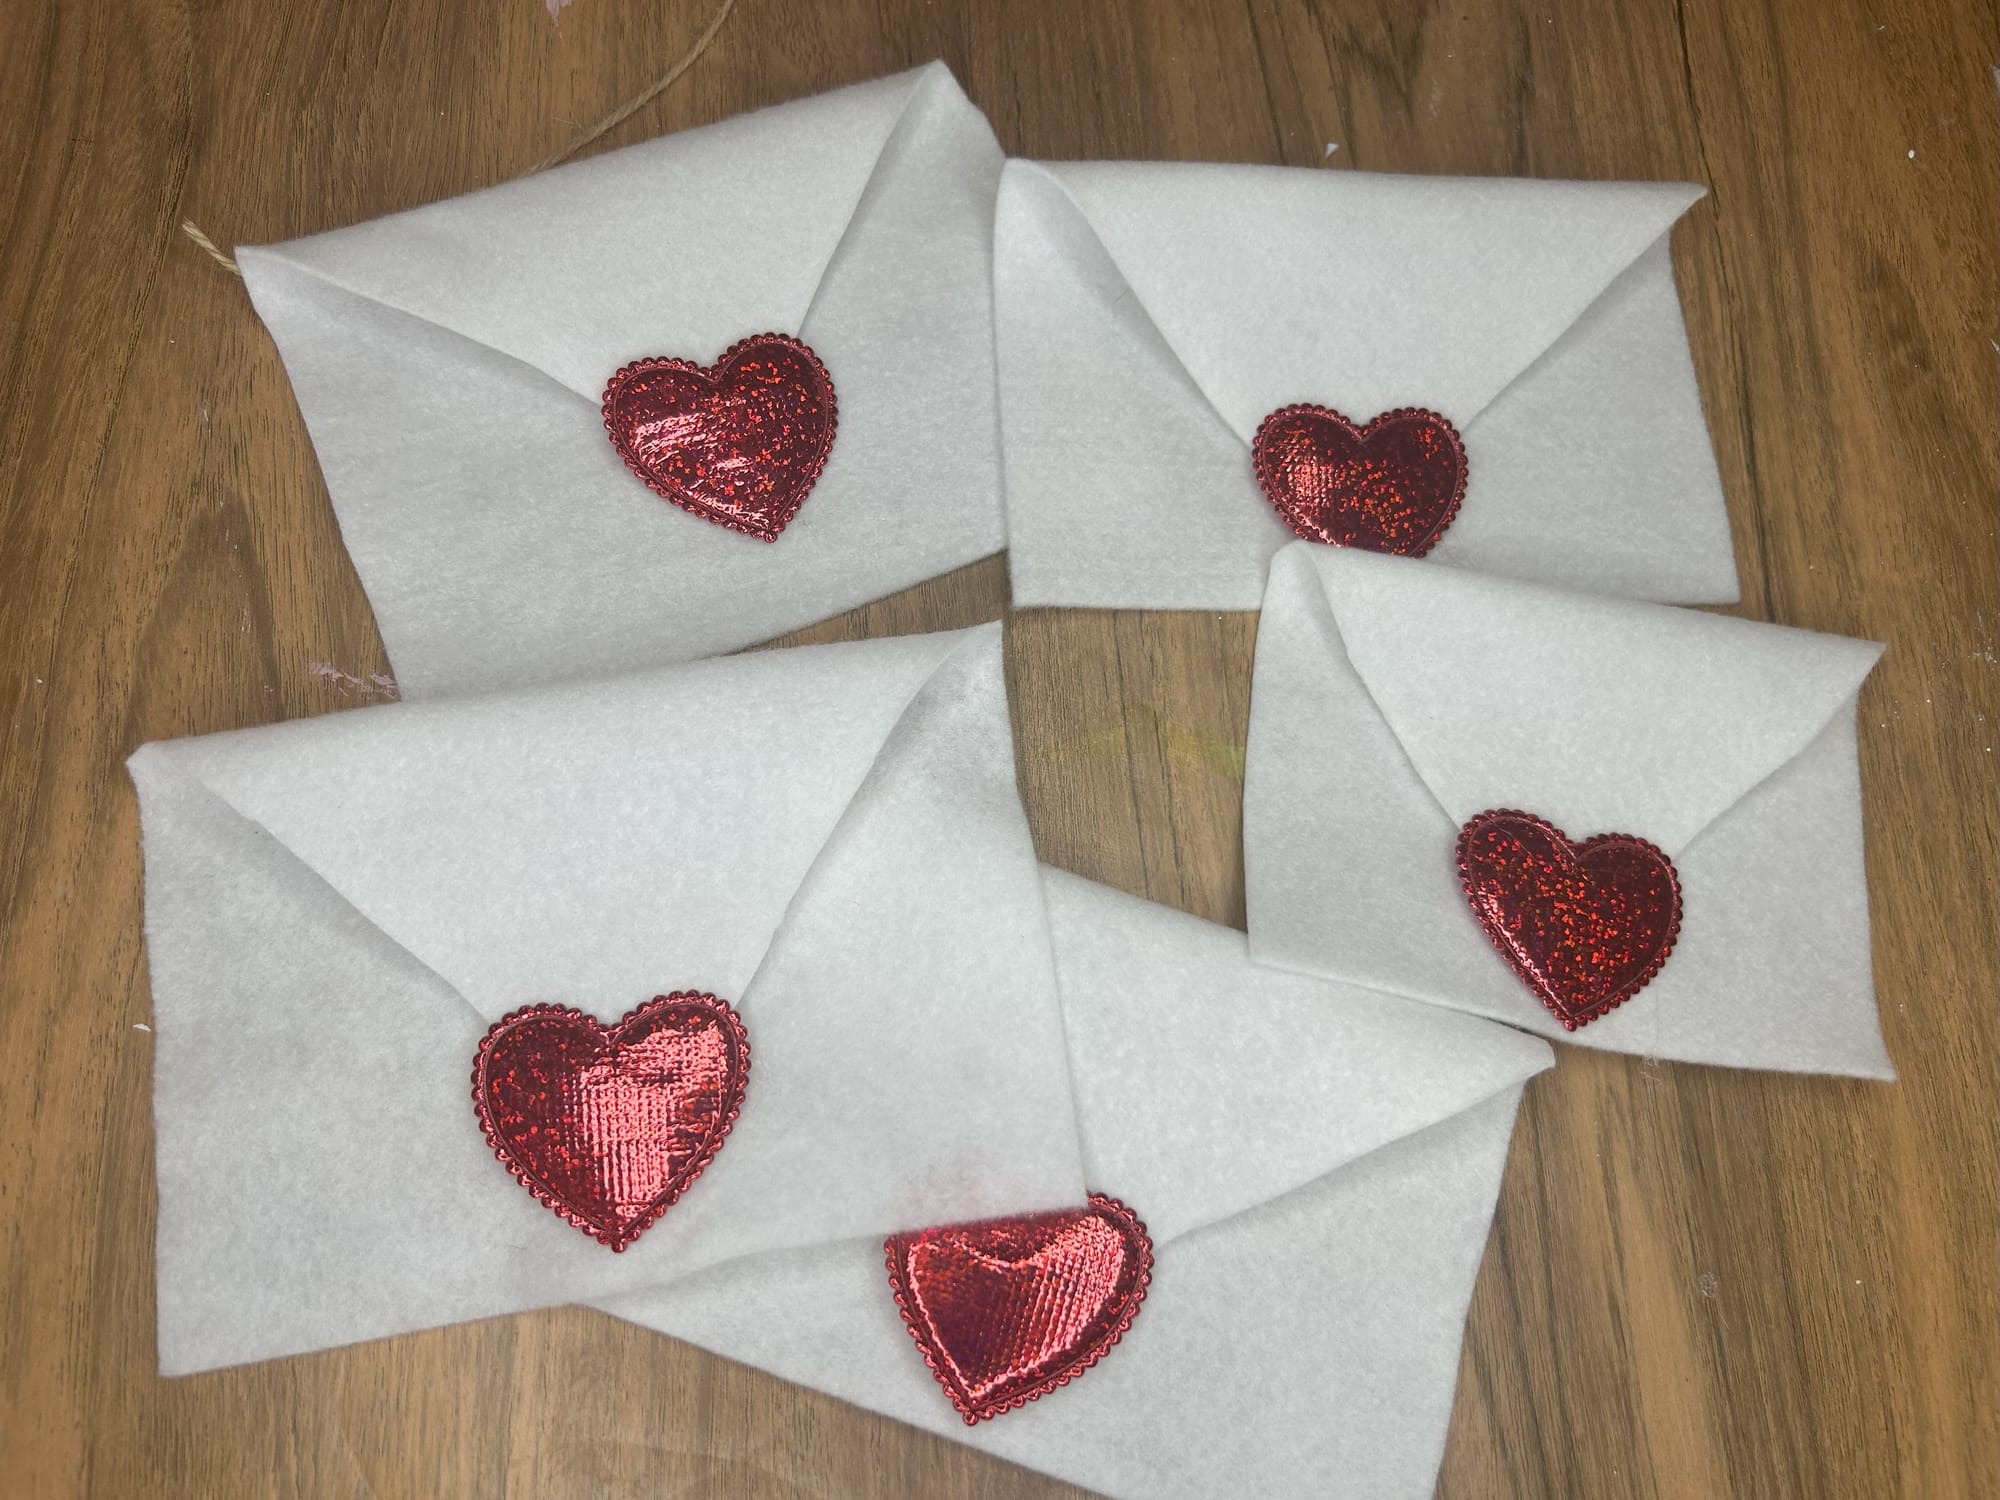
Use a hot glue gun to attach the heart stickers to your felt envelopes.
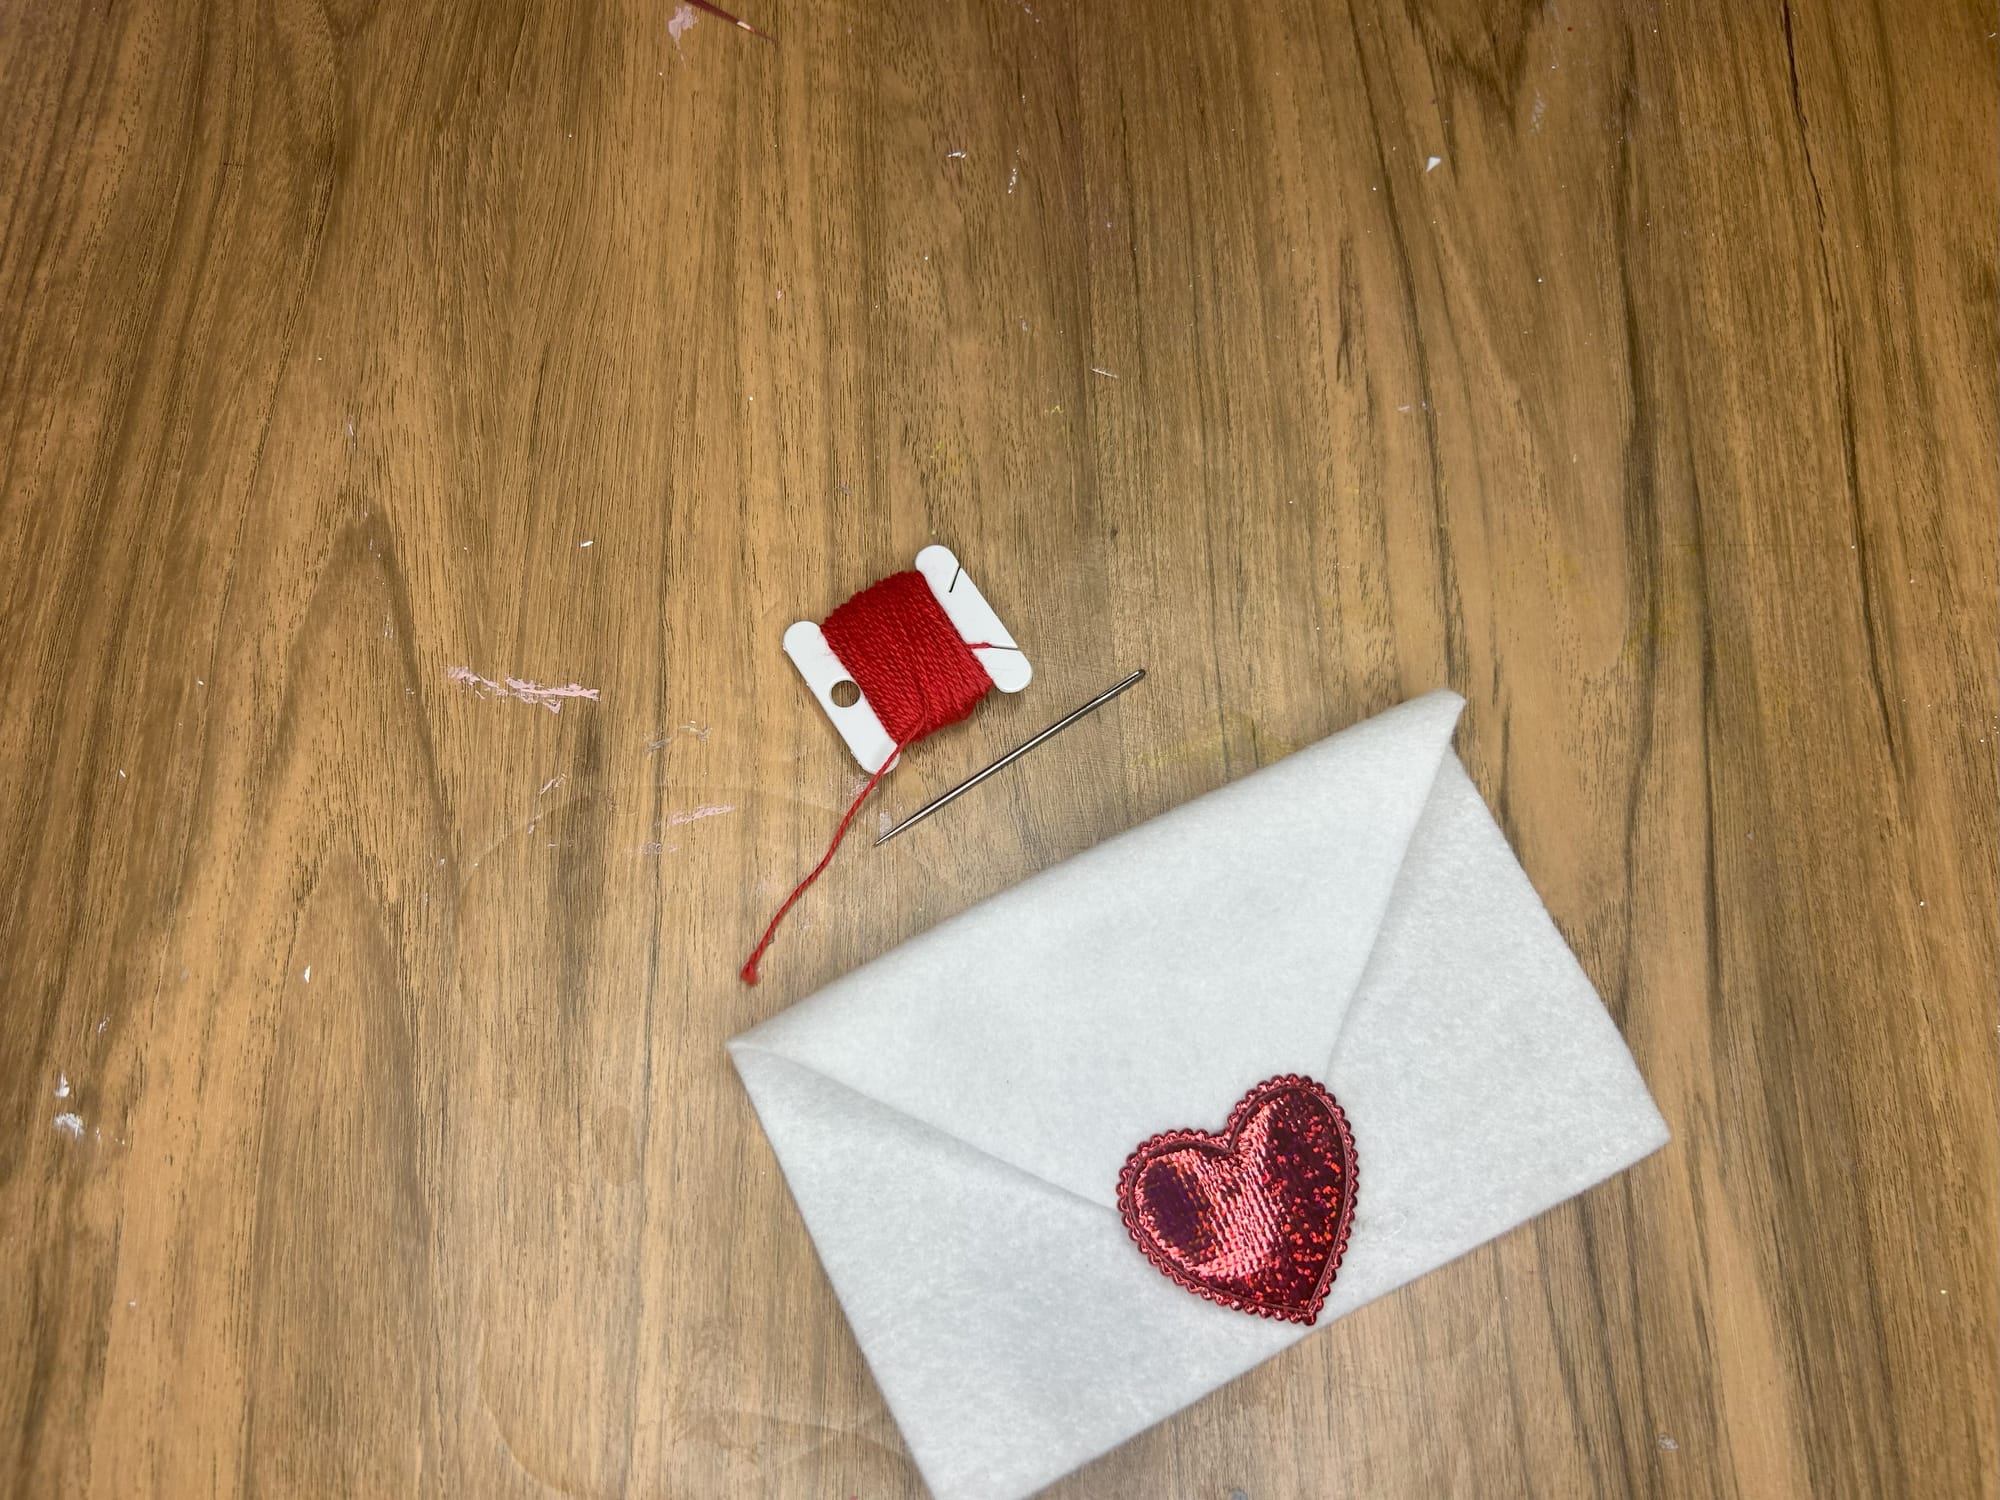
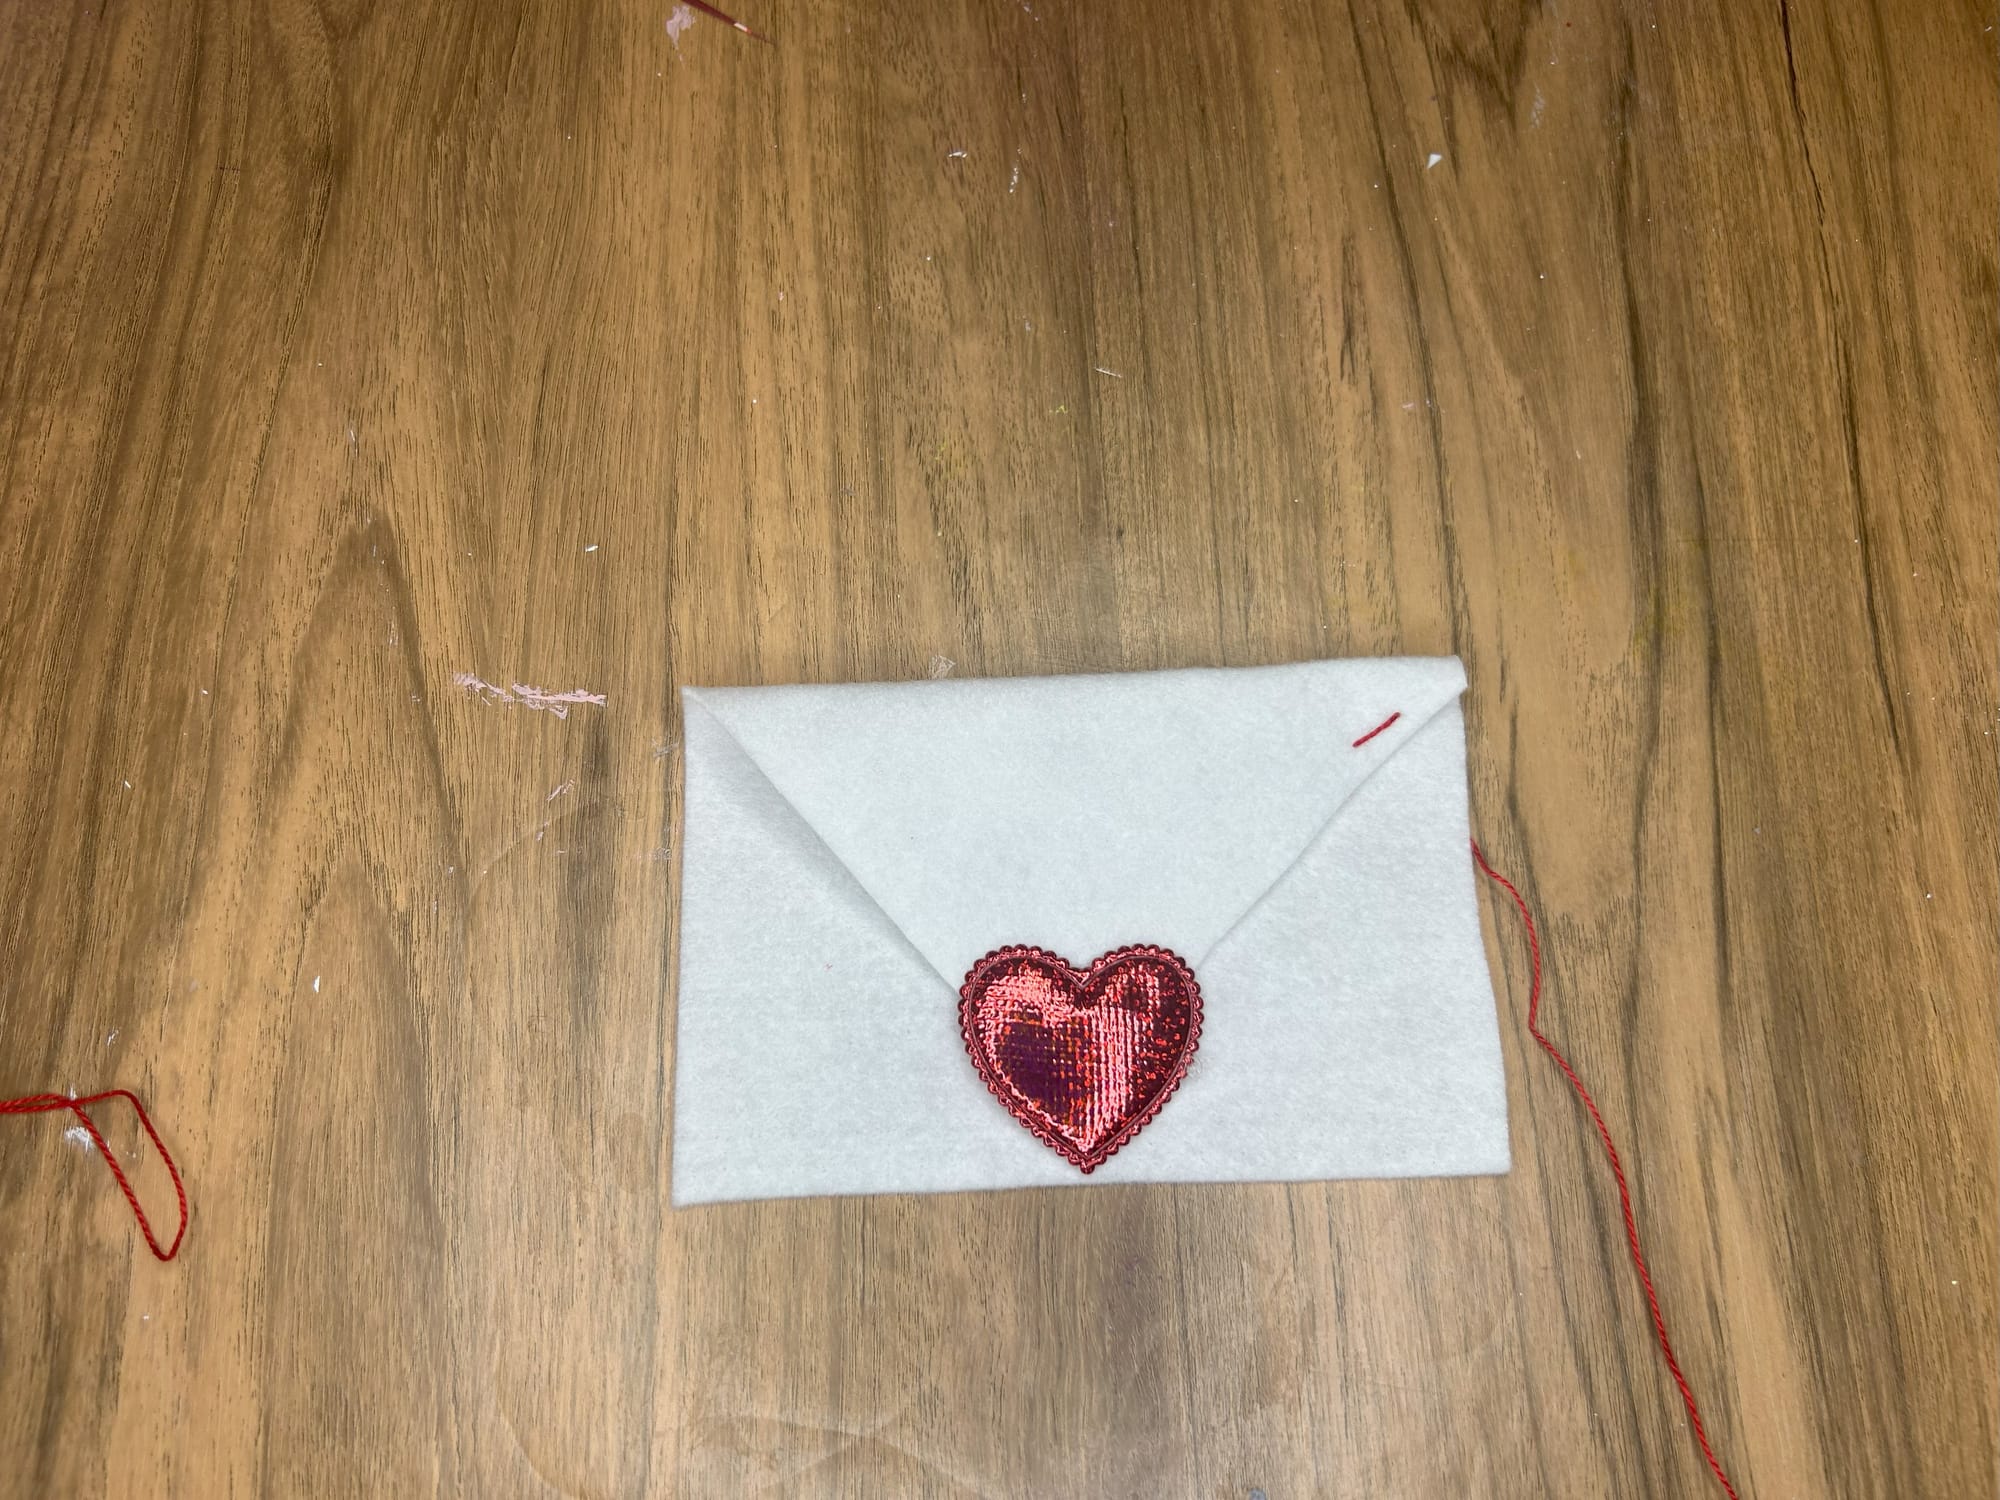
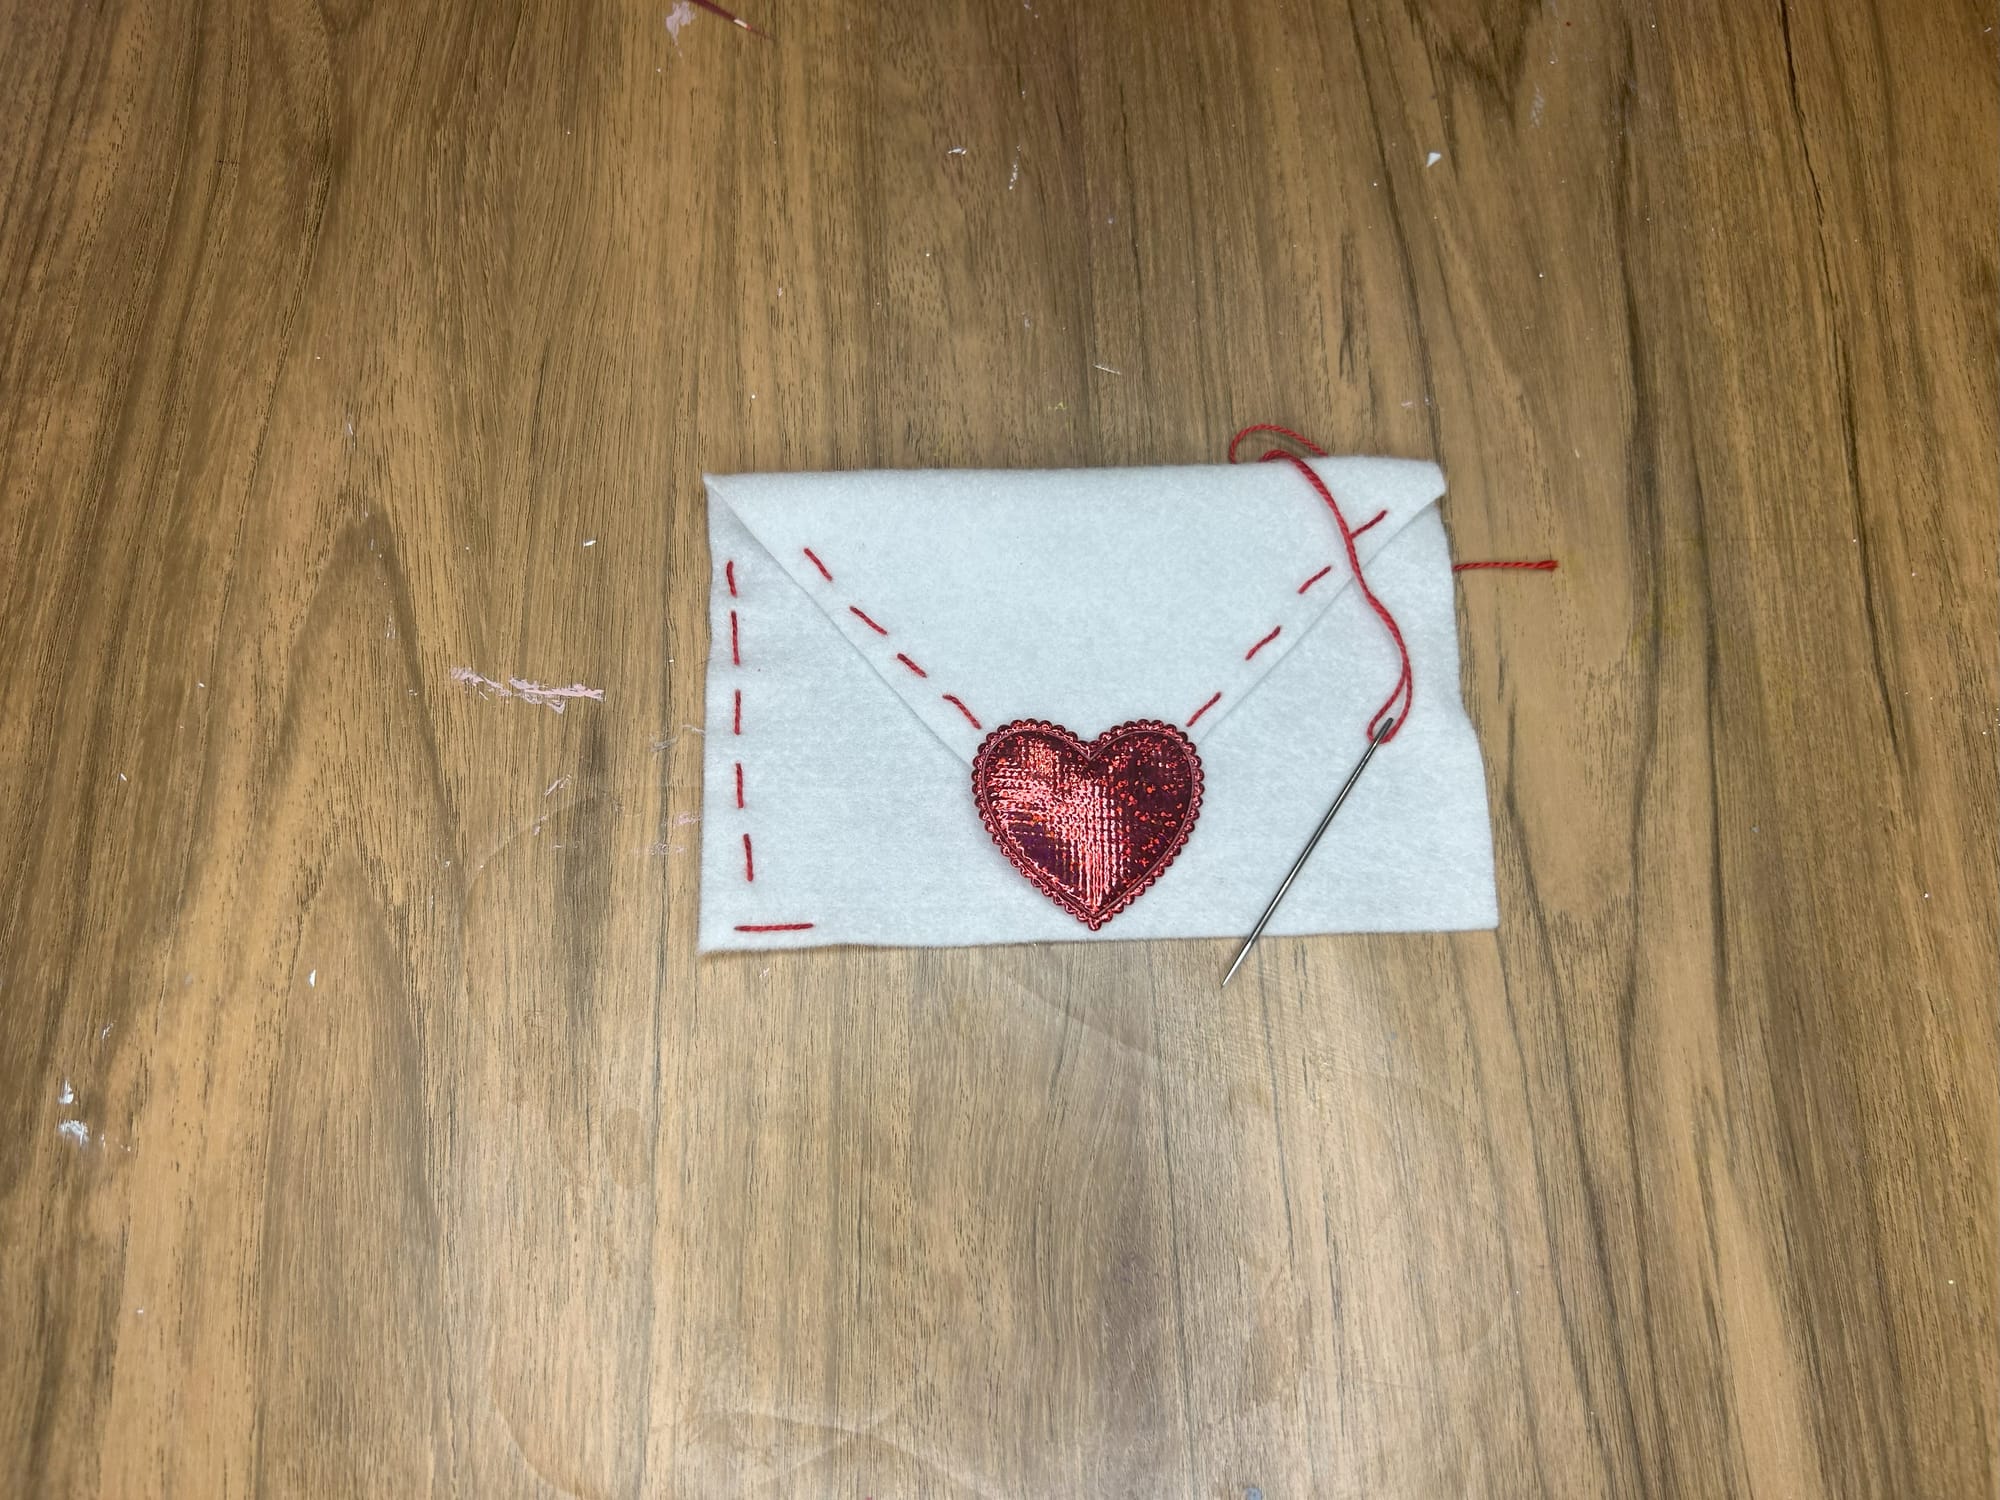
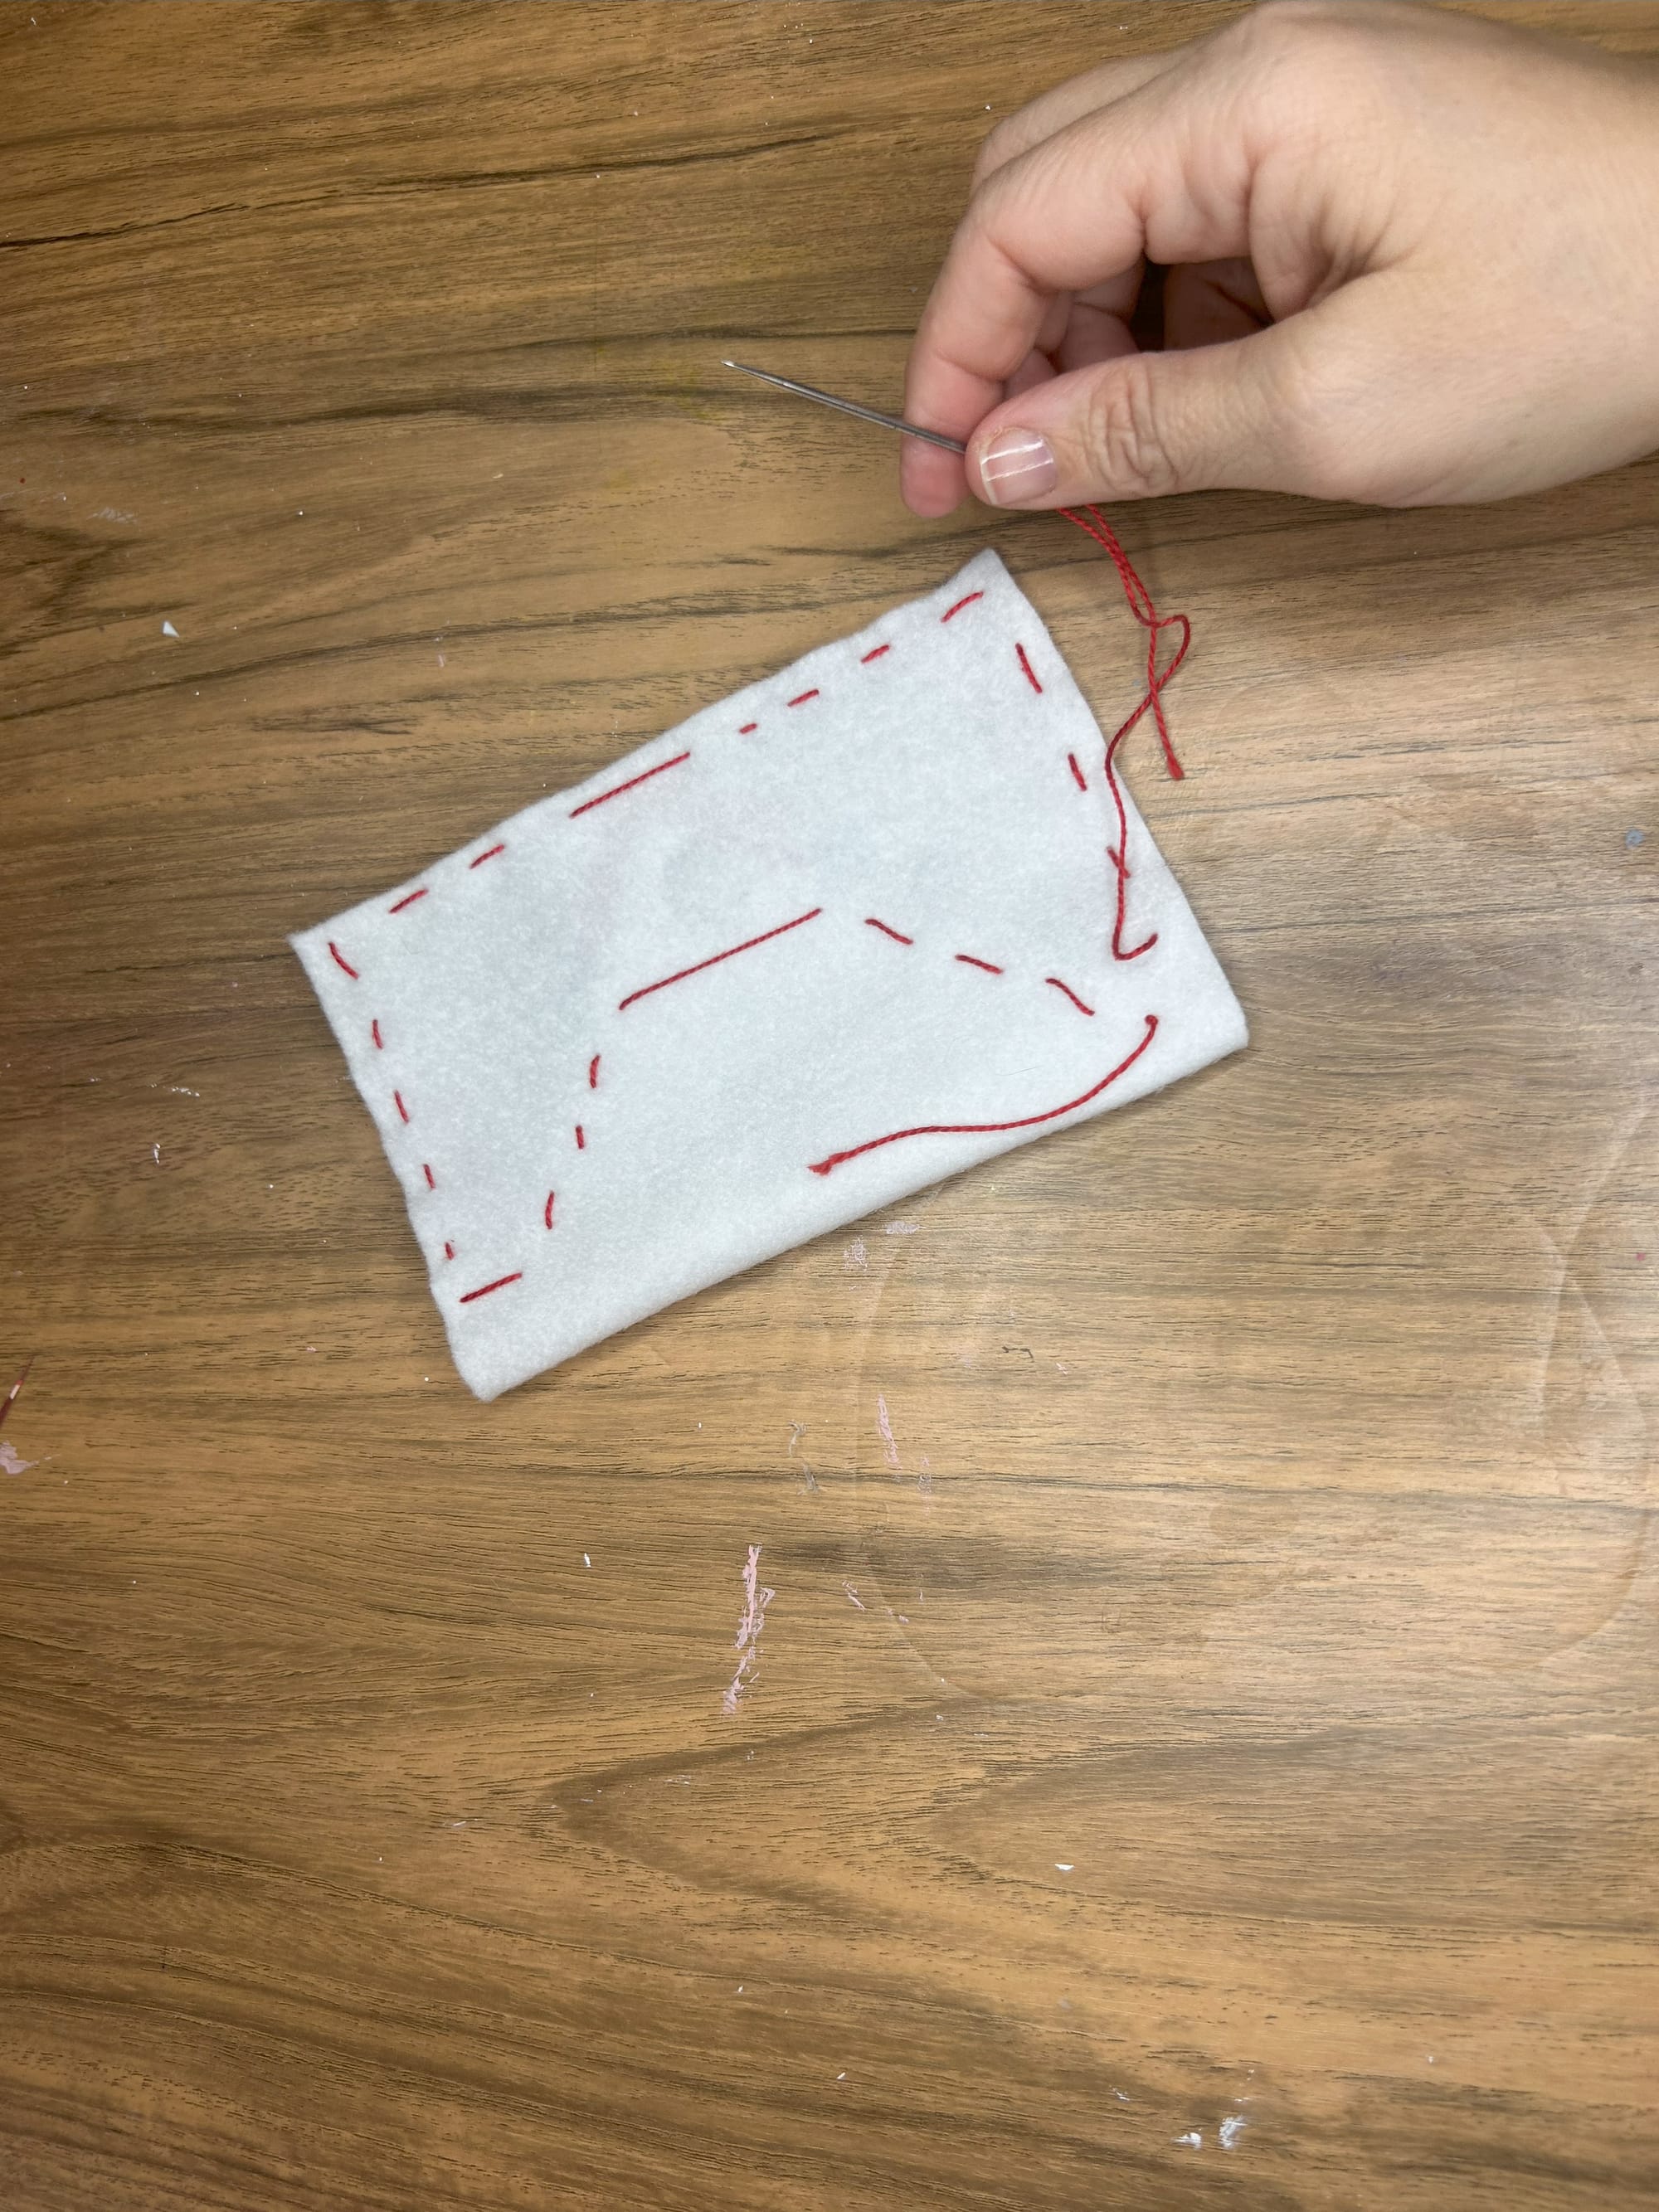
Now, you can stop here if you are happy with your envelopes. I decided to add some trim with some embroidery thread. You do not have to be good at sewing to do this. You simply need to go up and down through the felt and create lines. Start at one end and work your way around. When finished, tie the ends of the string together.
Now I recommend using a crafting needle with a large eye and blunt tip. This will make it easier to thread your needle and can push through the felt without poking yourself.
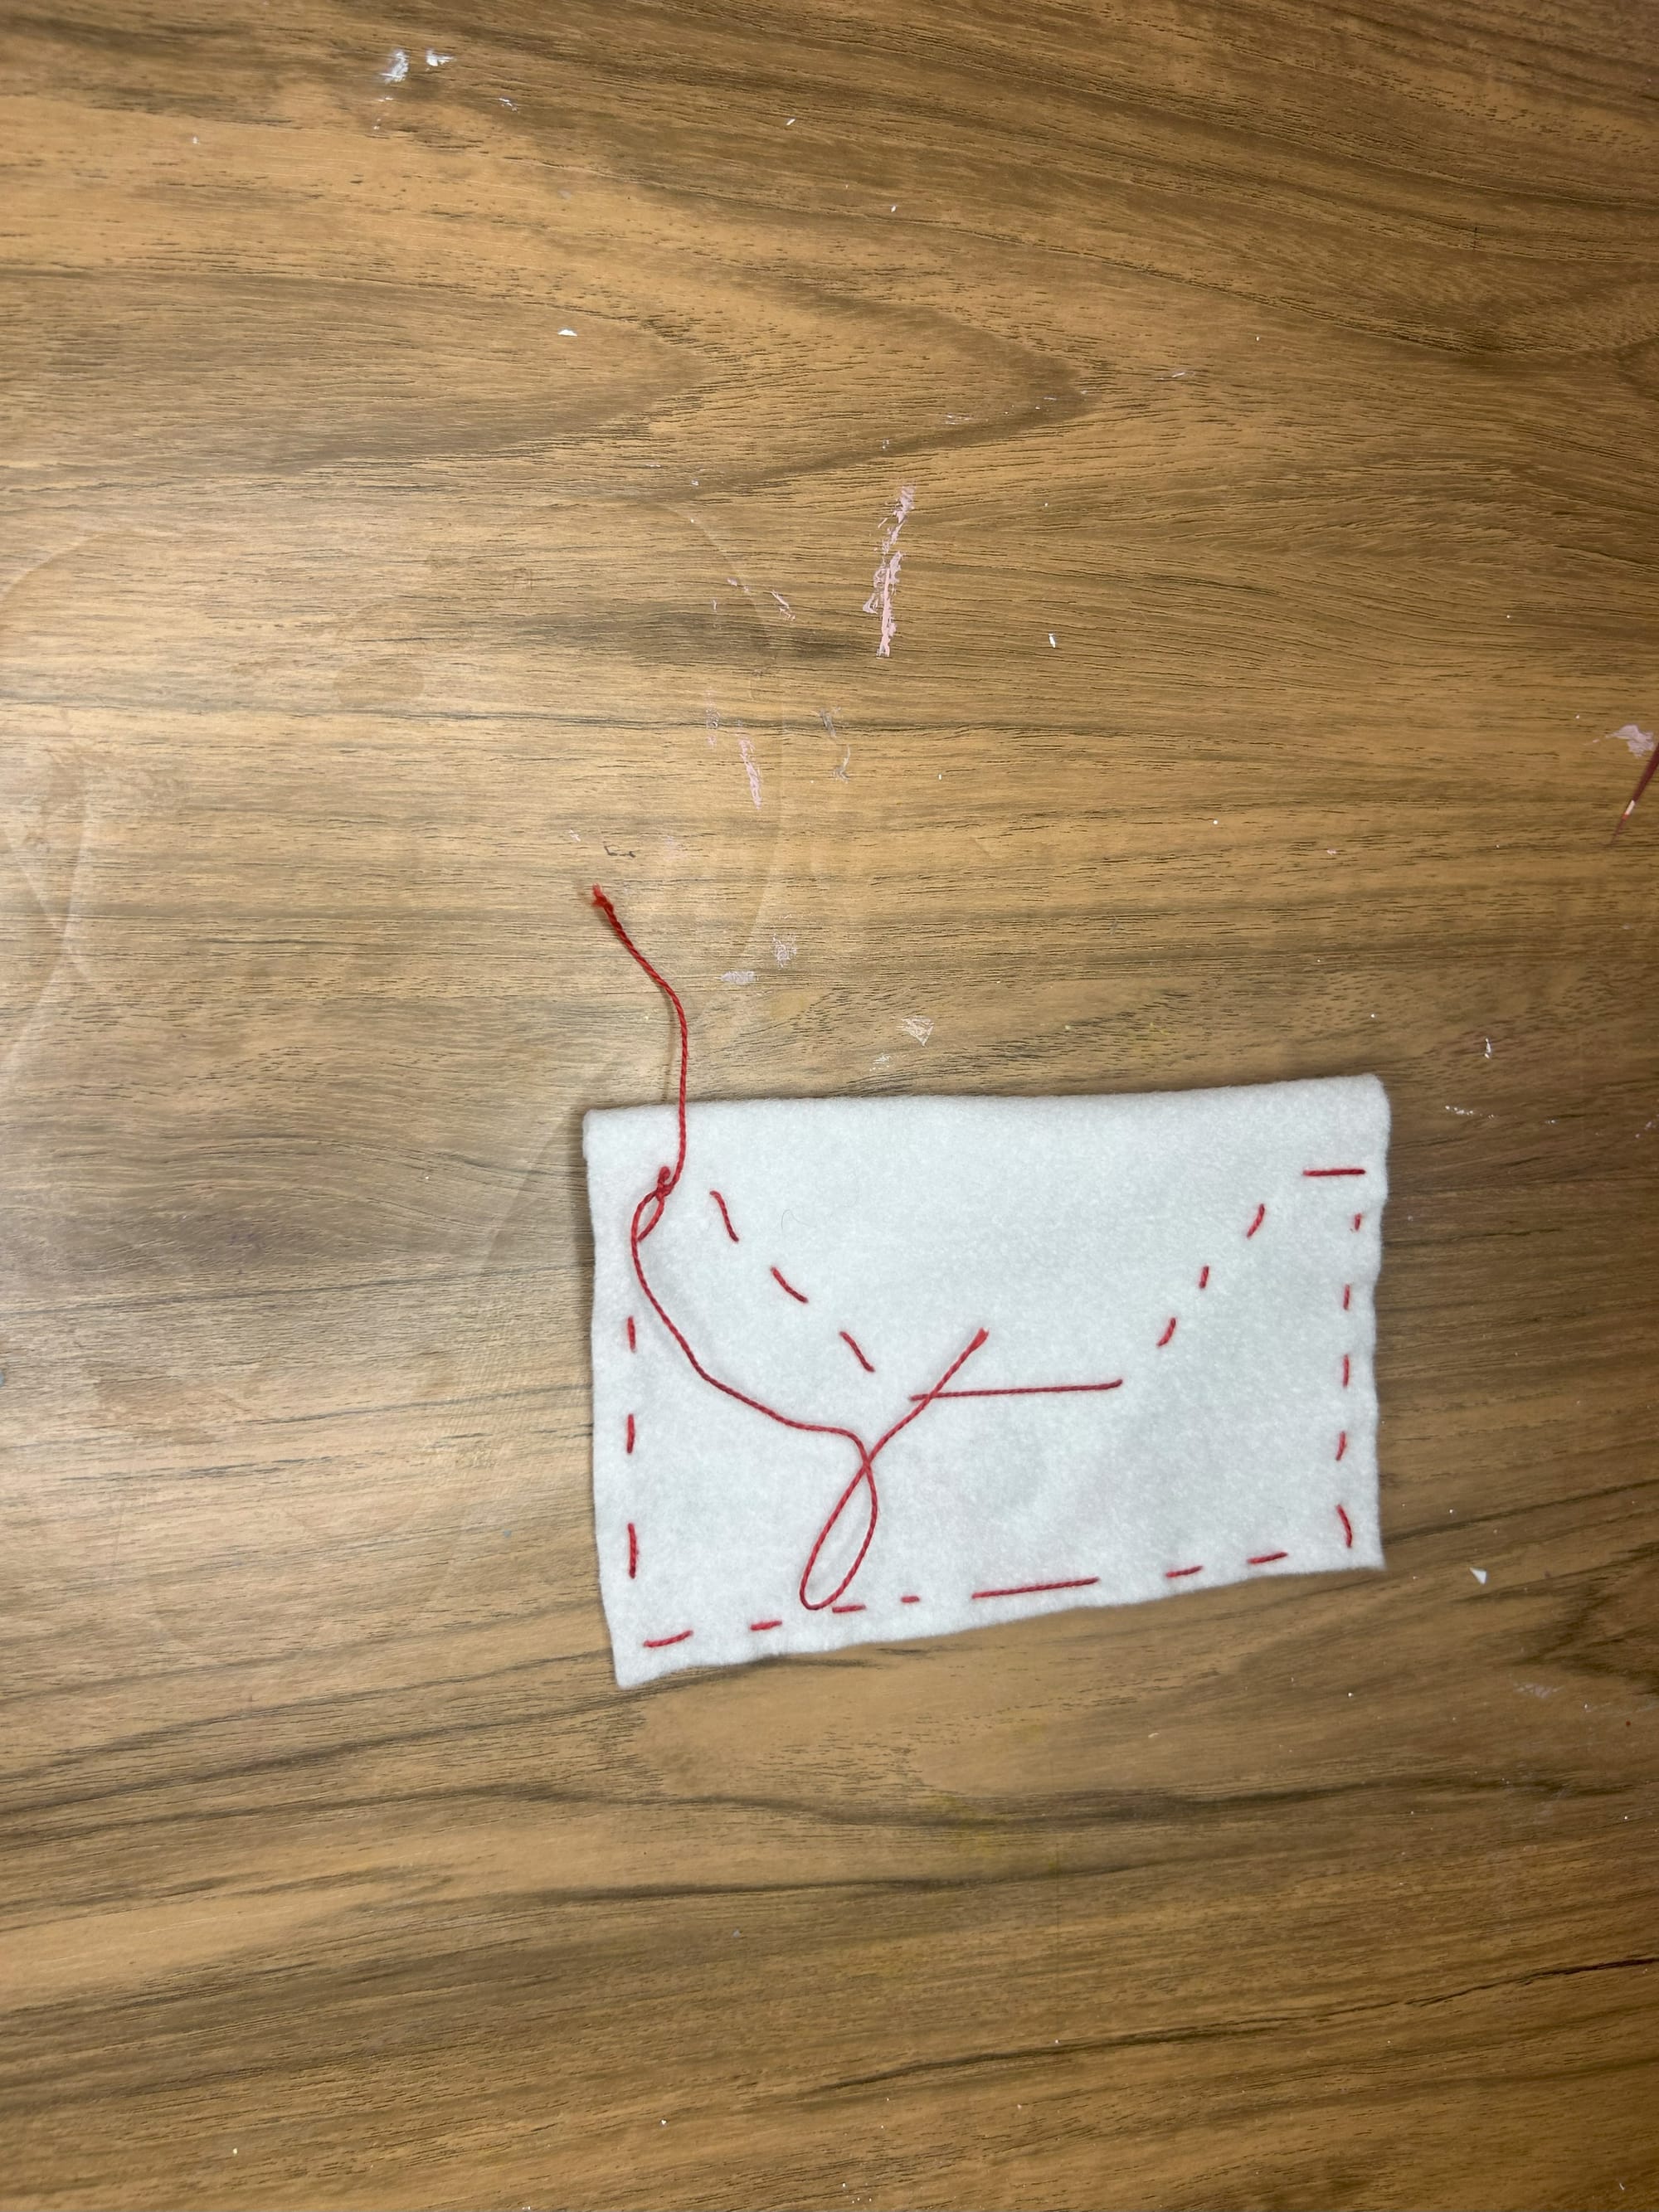
If you want to make this a more finished look, you can add another piece of white felt to the back of the envelope.
Next, add your envelopes to a coordinating piece of twine or yarn. I would recommend a wool cable eye needle for this part of the project. These wool needles are amazing! I totally recommend purchasing for crafting. They are perfect for threading with twine and thicker yarn. You don't even need to thread the needle, there is a cable eye for threading and they ends are blunt making it easy to push through.
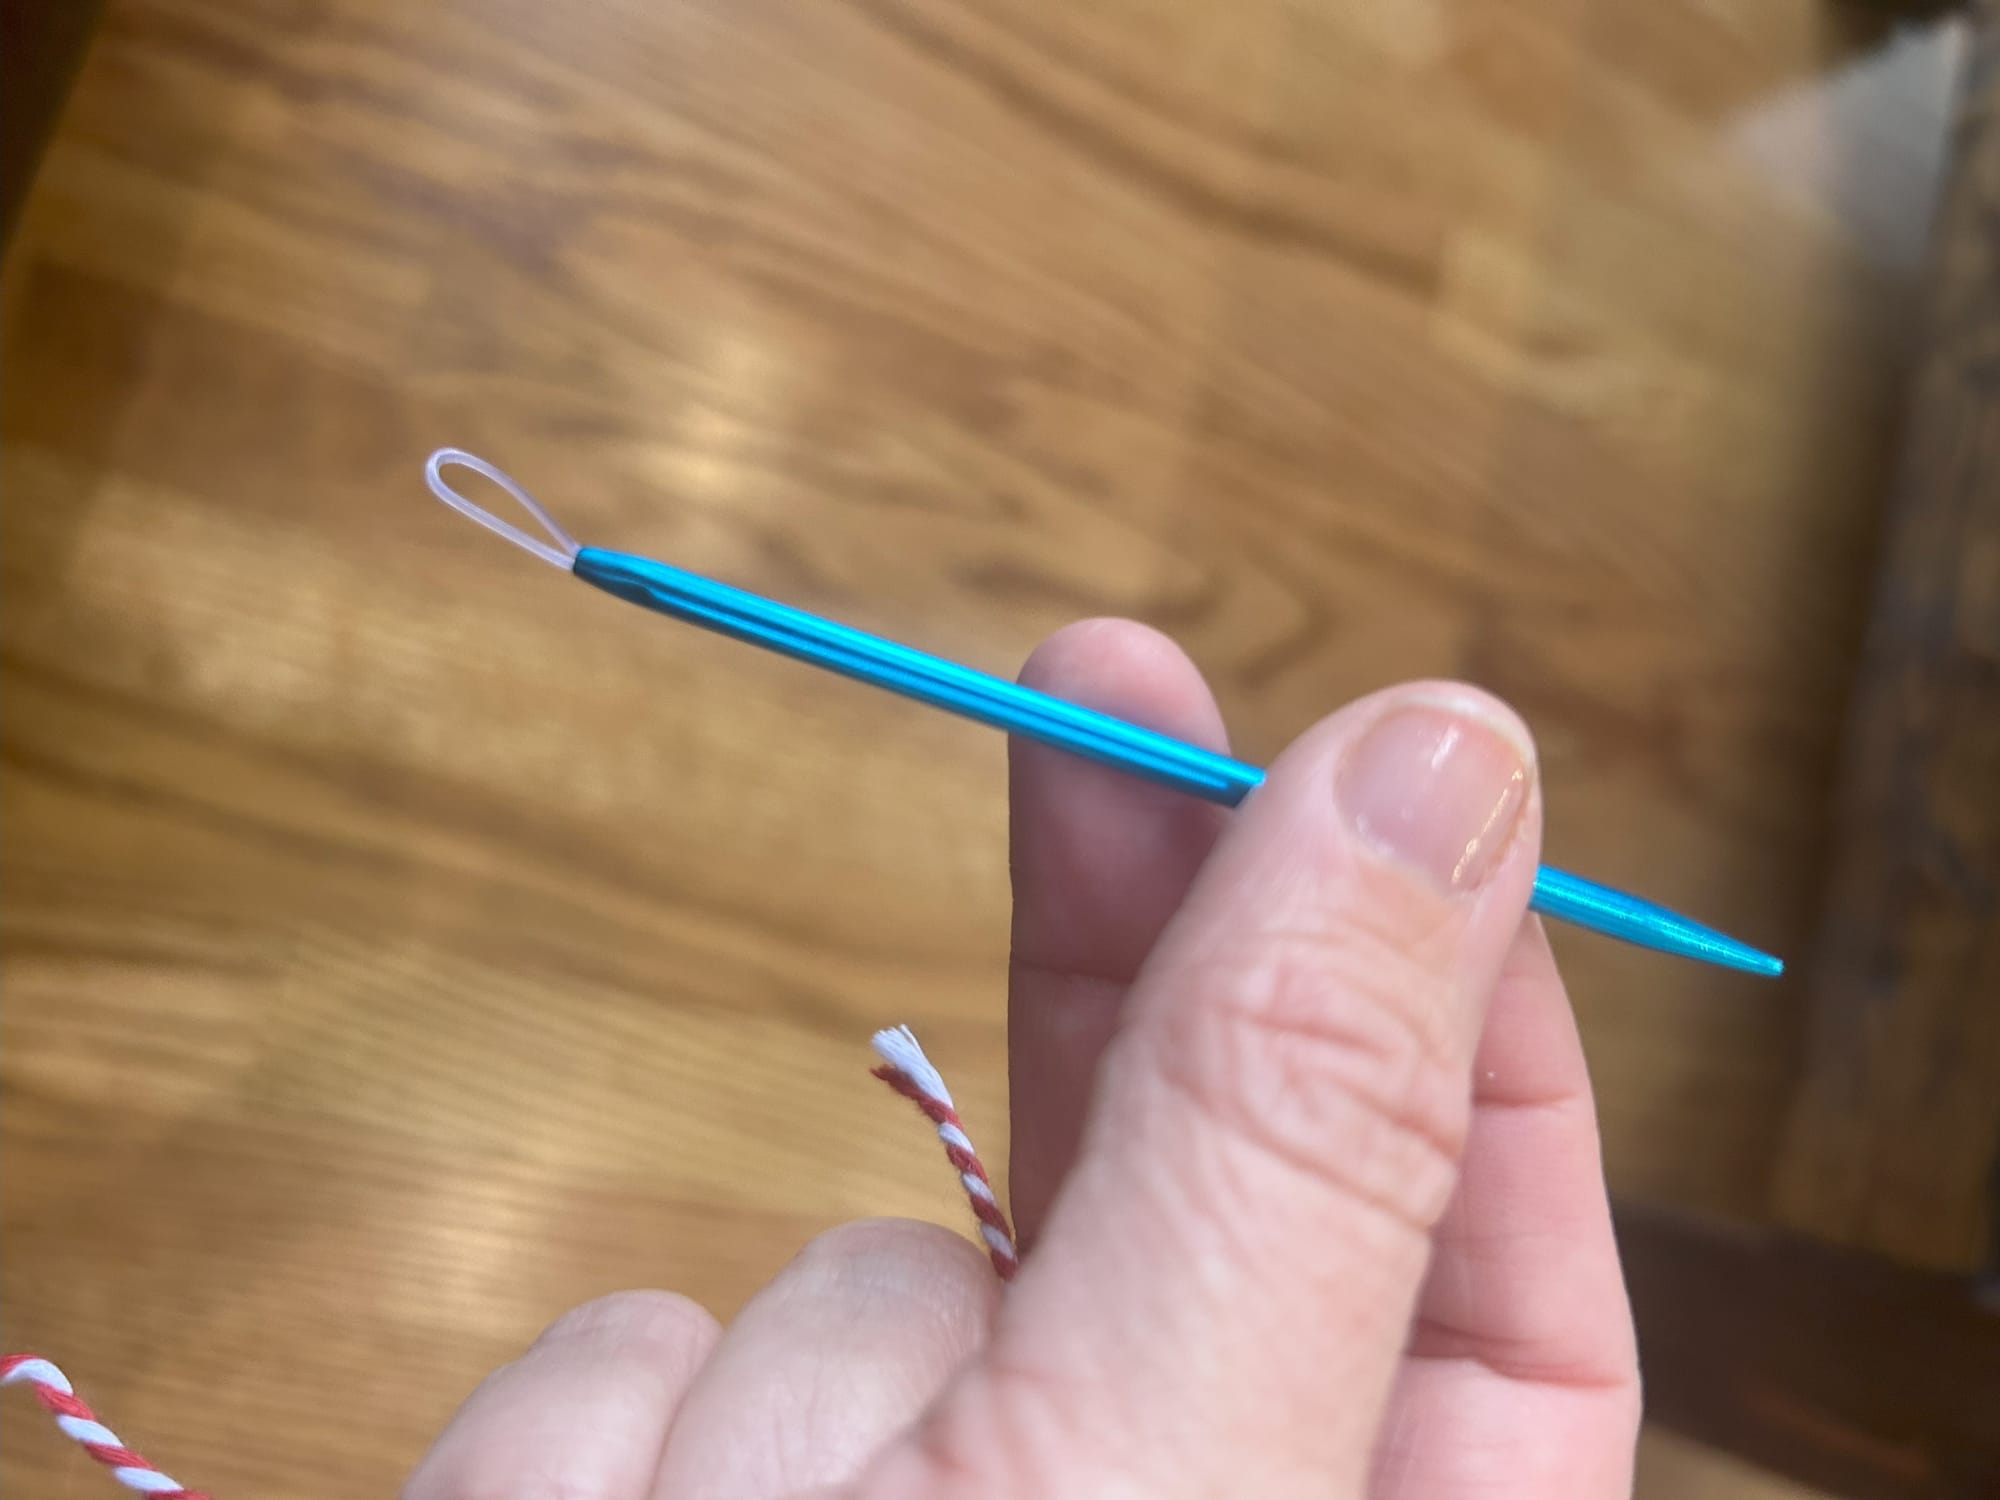
Now, simply thread your twine through the cable eye and leave a large tail and then thread the envelope through. The envelopes are open on the fold so you simple thread all the envelopes on. You may need to scrunch the envelope to pull the wool need through the envelope's top.

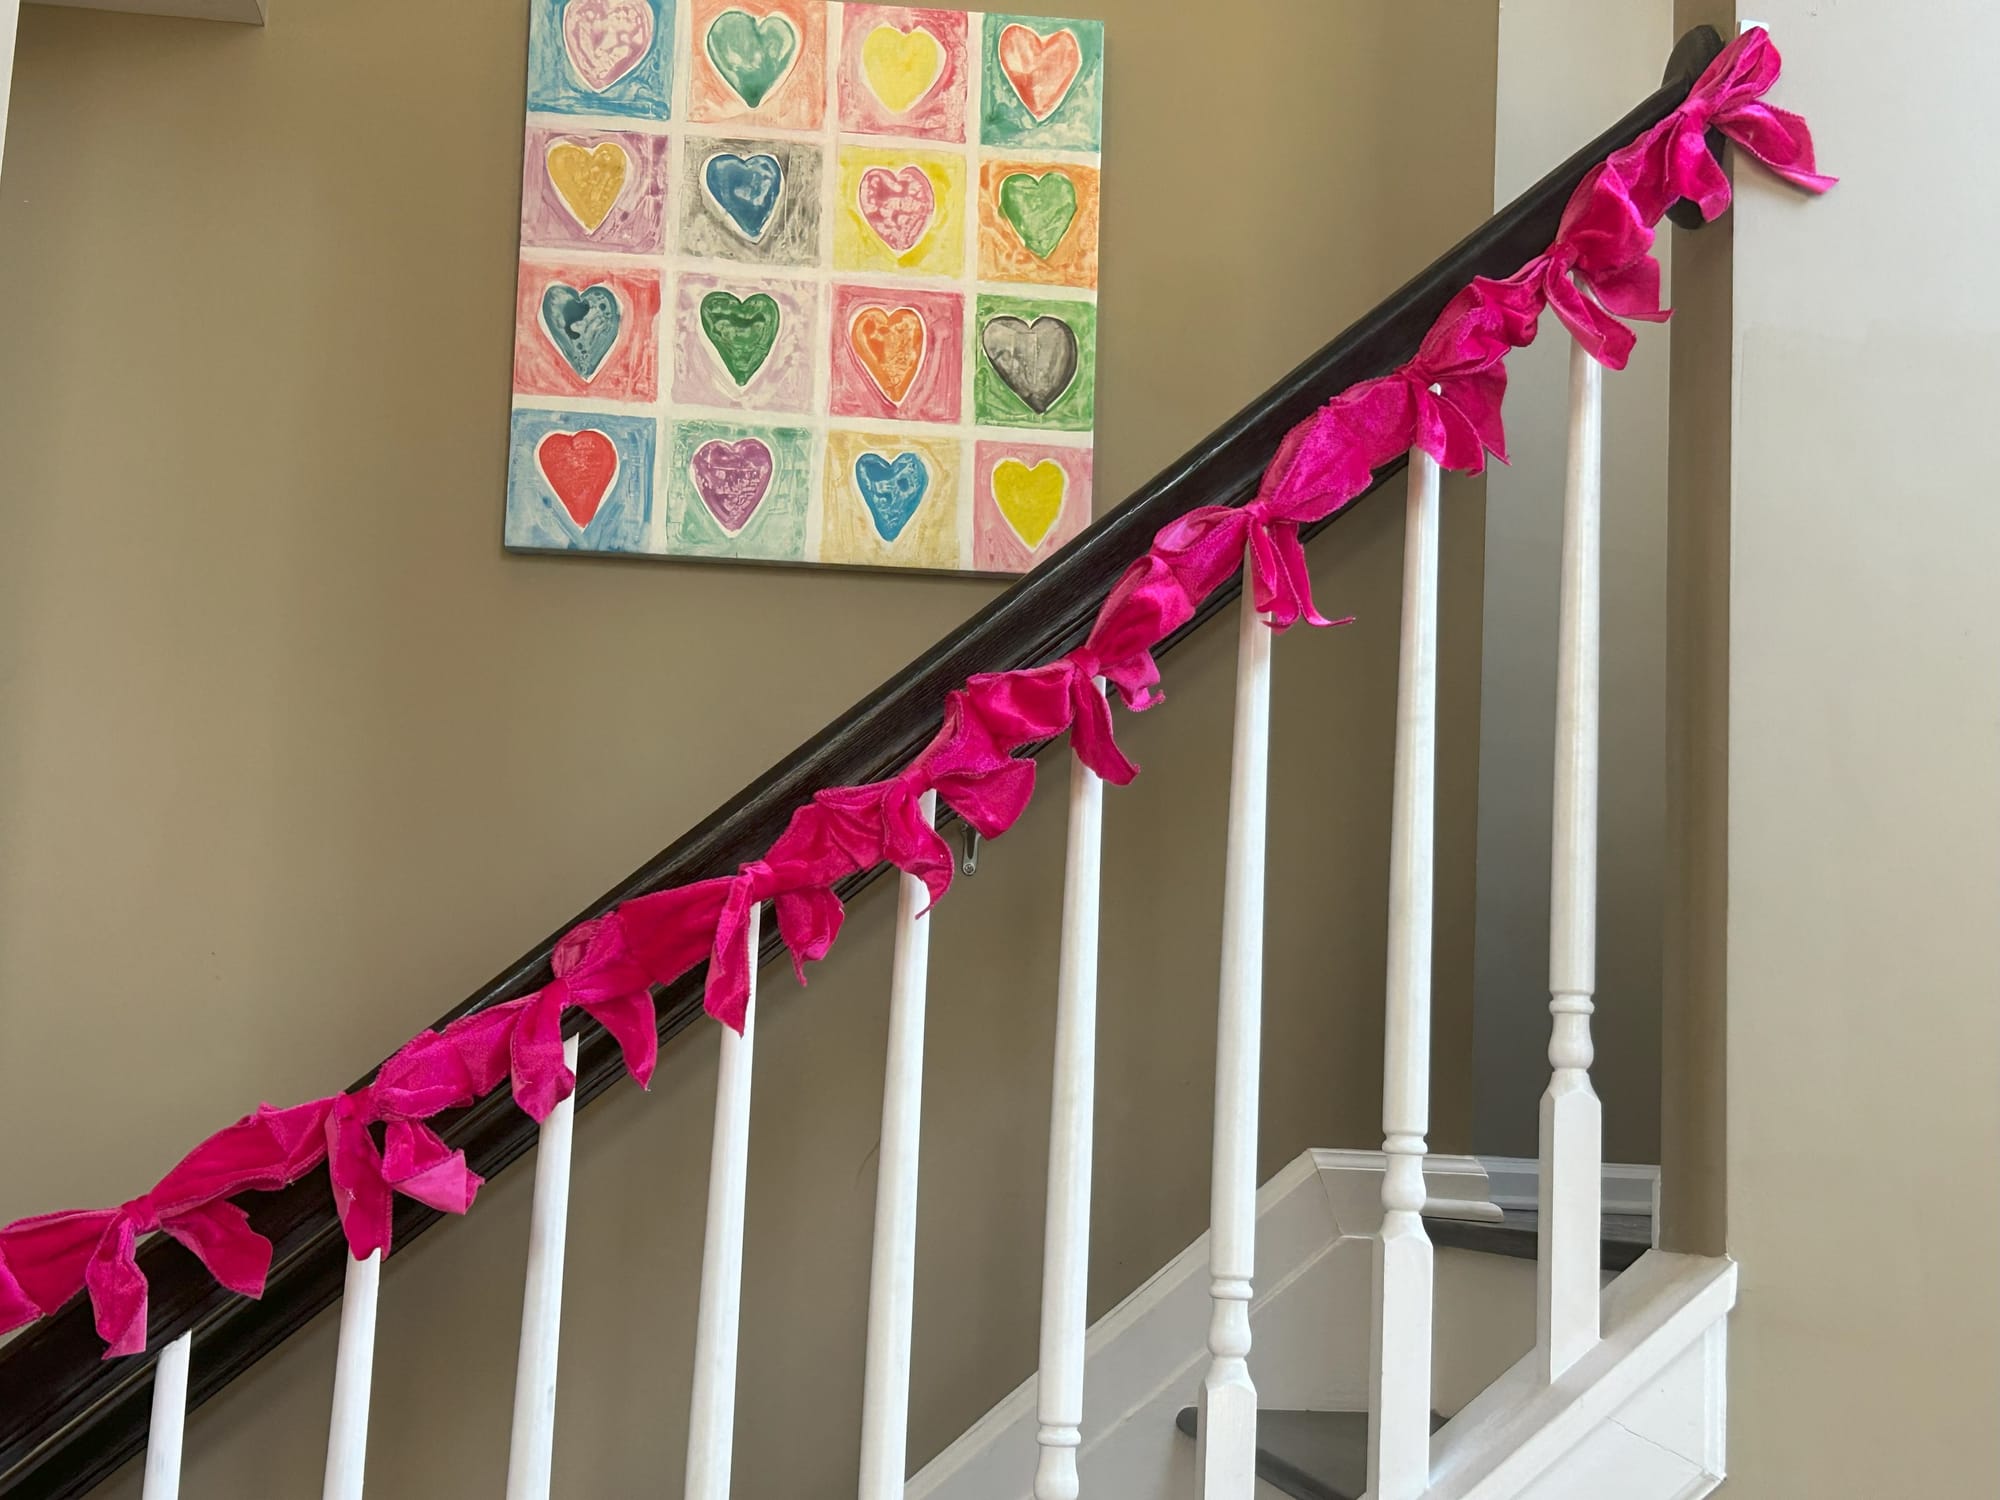
Your valentine envelope garland will be completed in no time!
Pair this with my easy DIY ribbon garland!
This post contains affiliate links to the products mentioned. Crafty Mama Bird is a participant in the Amazon Services LLC Associates Program, an affiliate advertising program designed to provide a means for sites to earn advertising fees by advertising and linking to amazon.com.