Torn Paper Apple
Fall always makes me think of apples. There are so many fun and easy ways to create apple art. Make this torn paper apple with your child. So easy, you can even make it with your toddler!
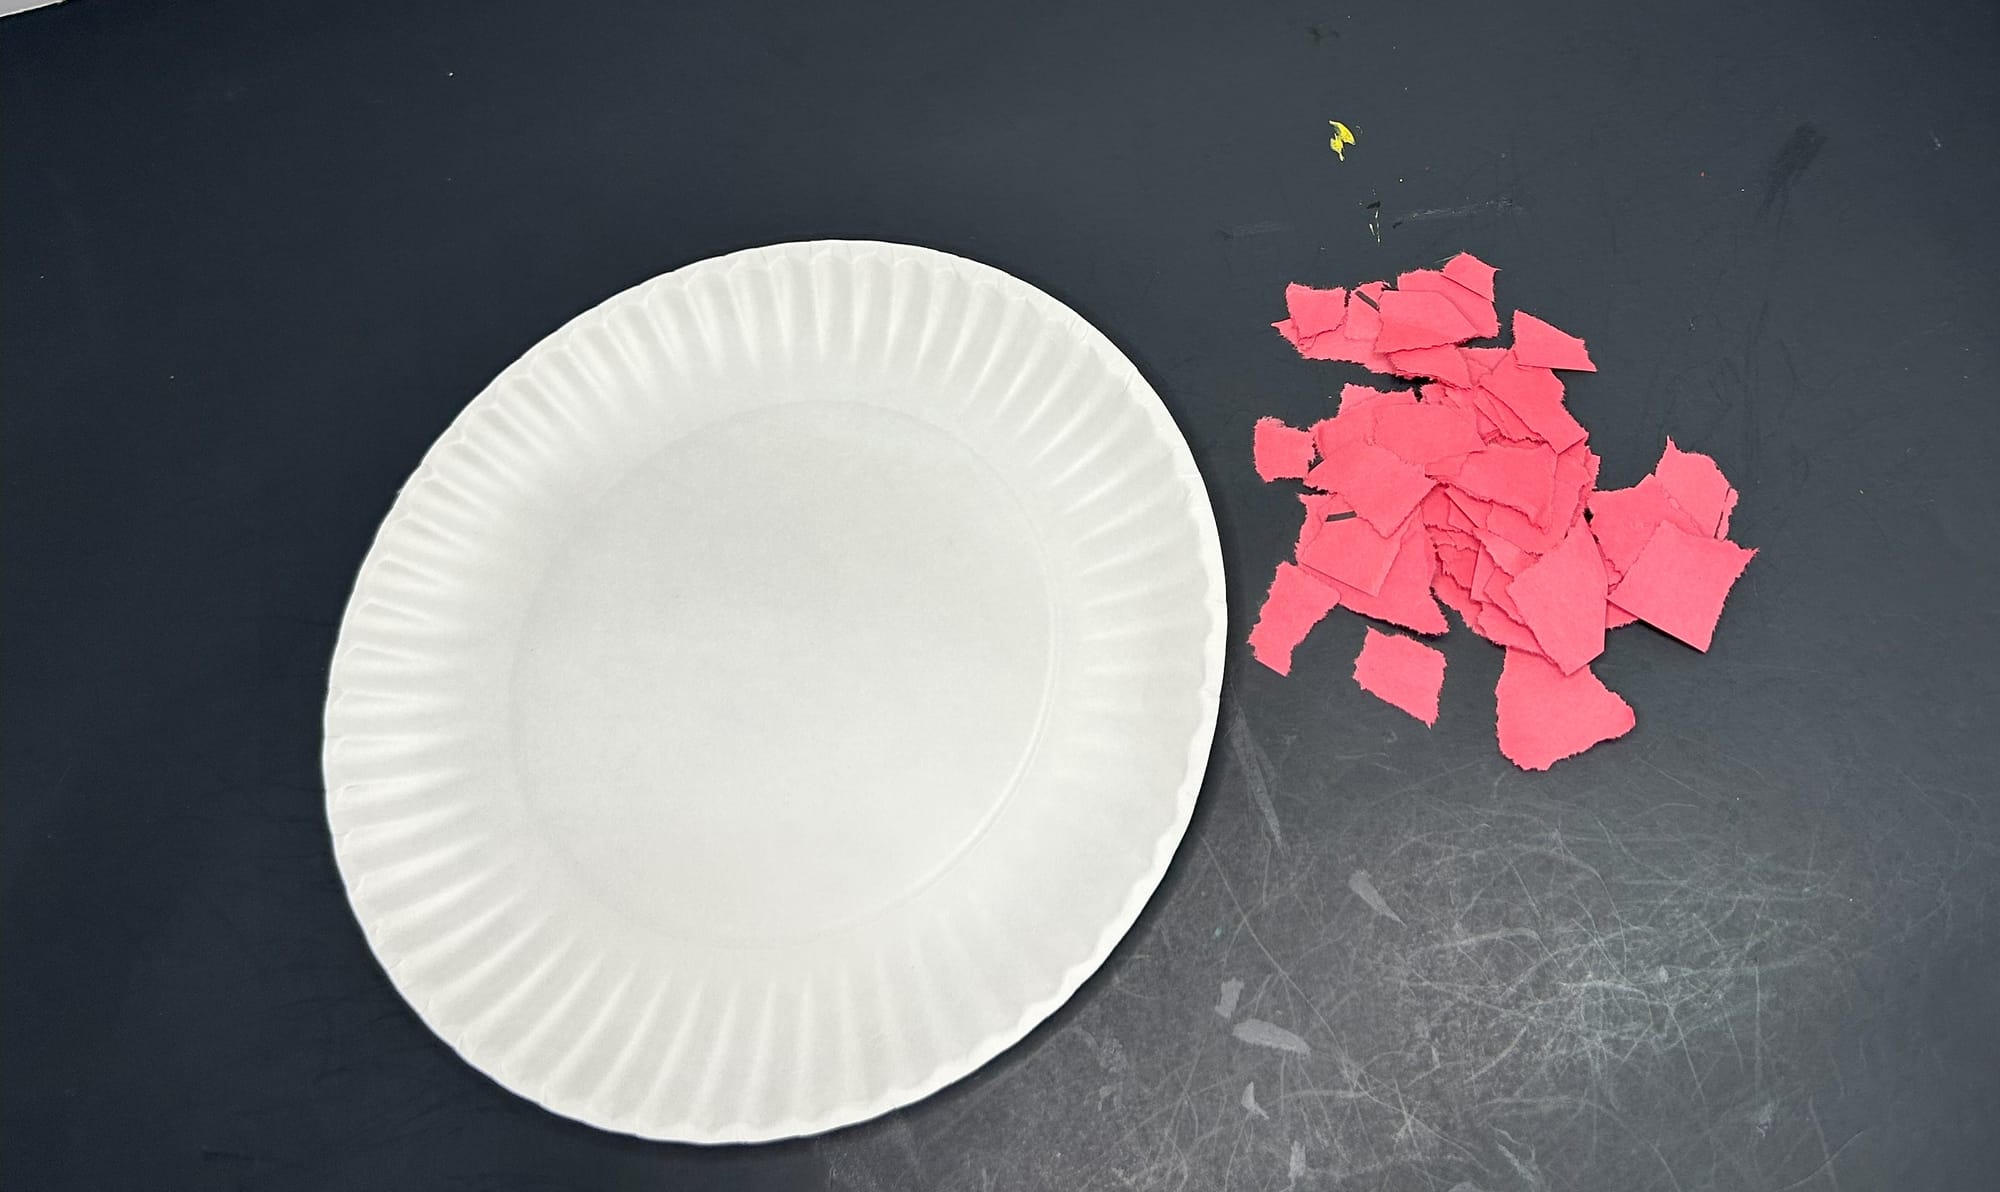
Just gather a few supplies. I used scraps of red, brown and green paper I had saved. You will also need a paper plate, gluestick and a black marker.
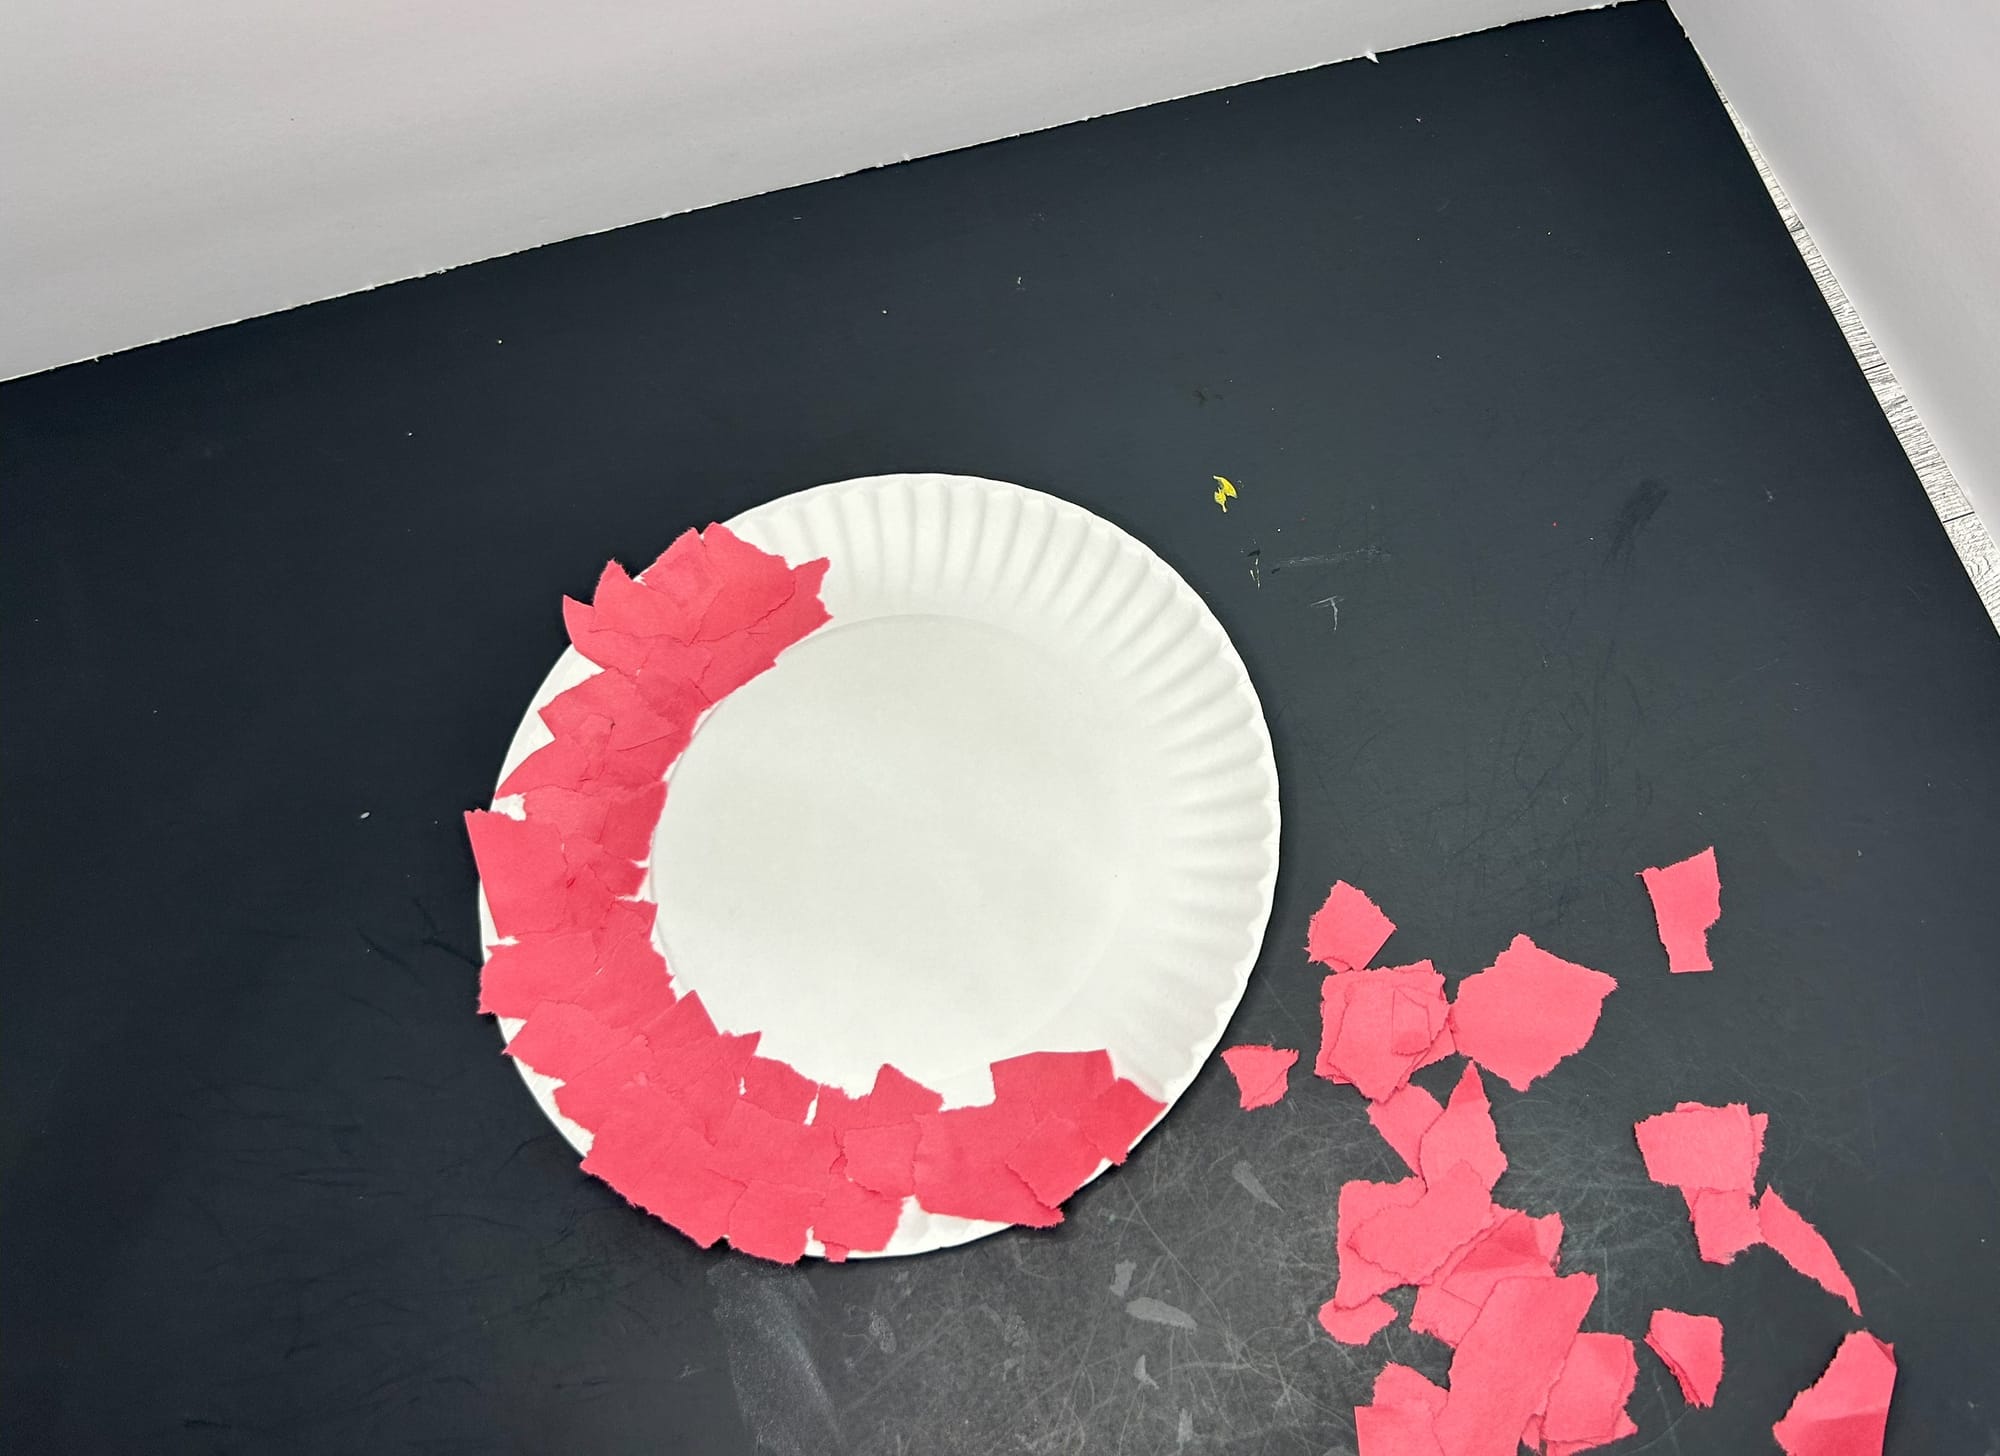
Begin by tearing the red paper into small pieces. You can also make your apple green or yellow. Tearing paper is a great fine motor skill for children. They will also enjoy ripping the paper up into pieces. Size really doesn't matter, although you don't want the too big or too small.
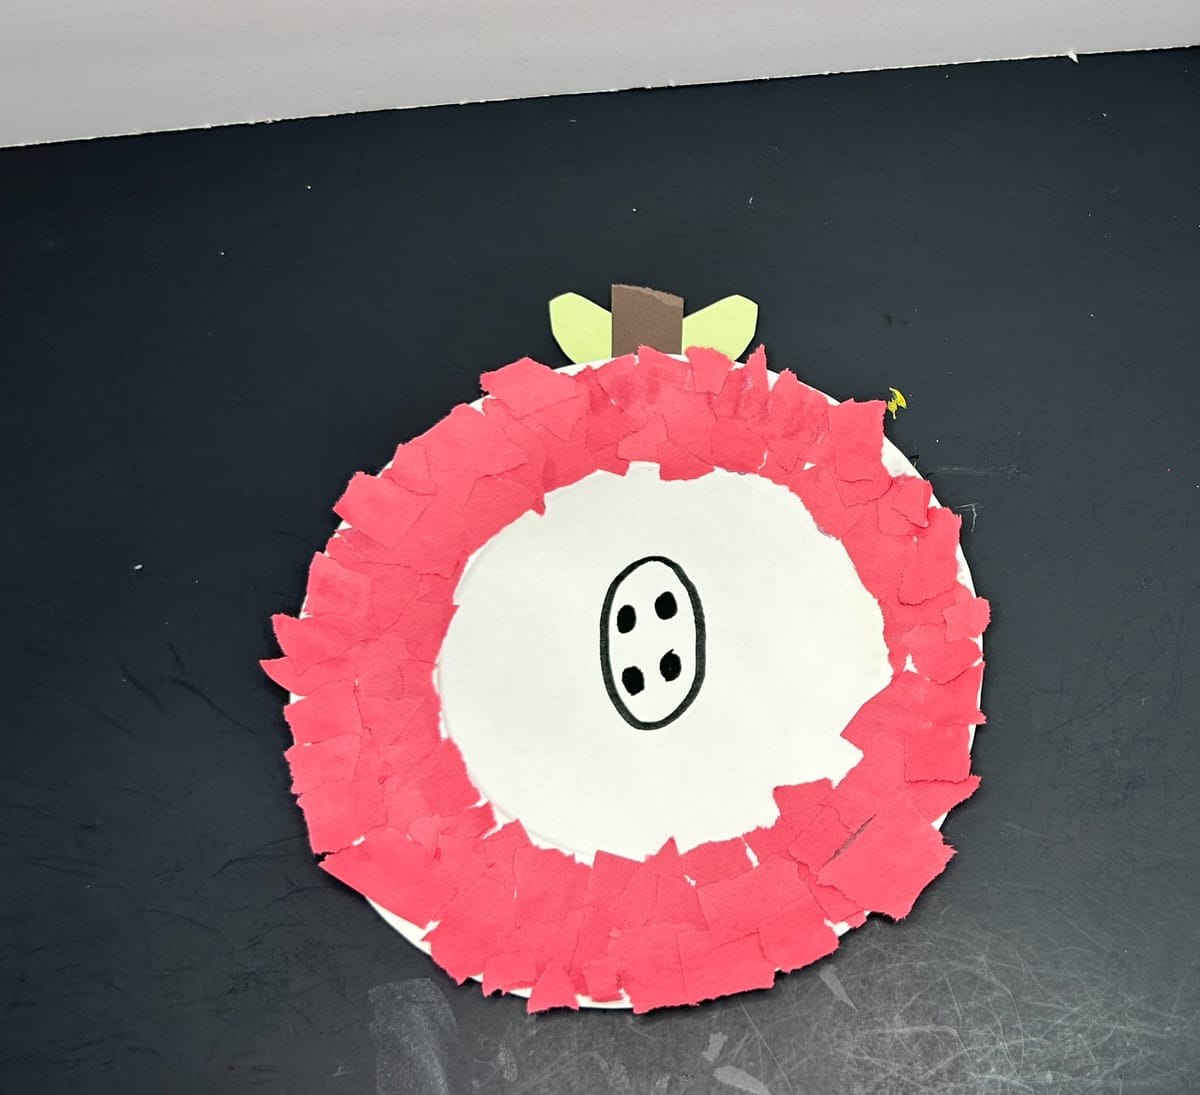
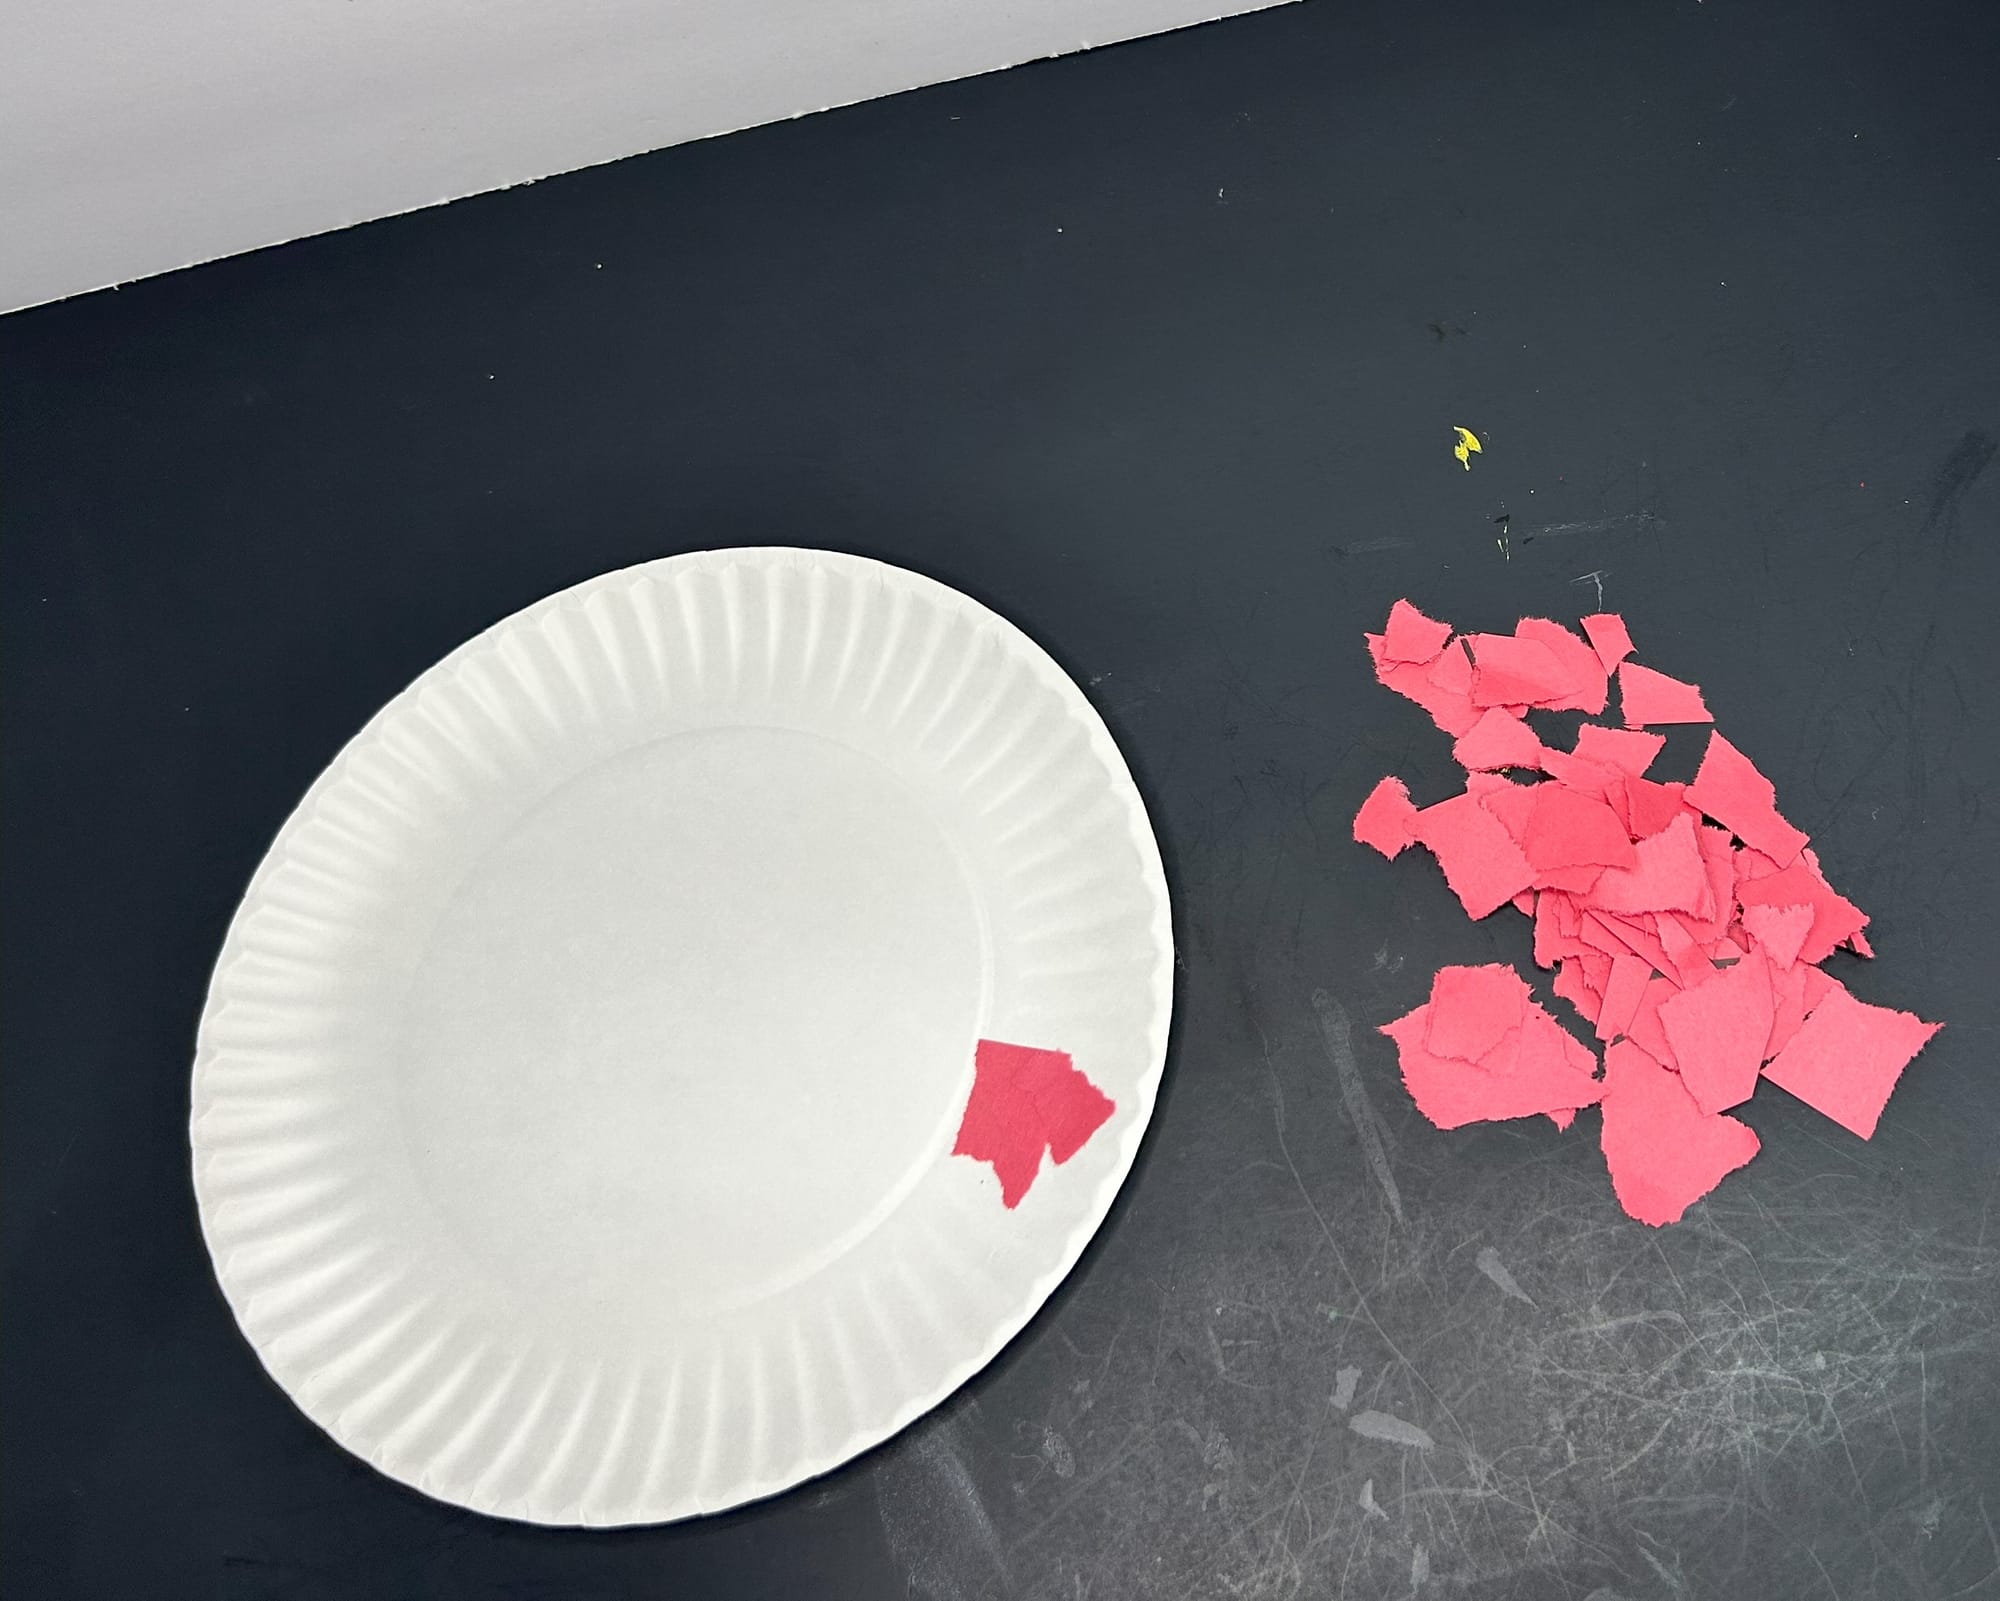
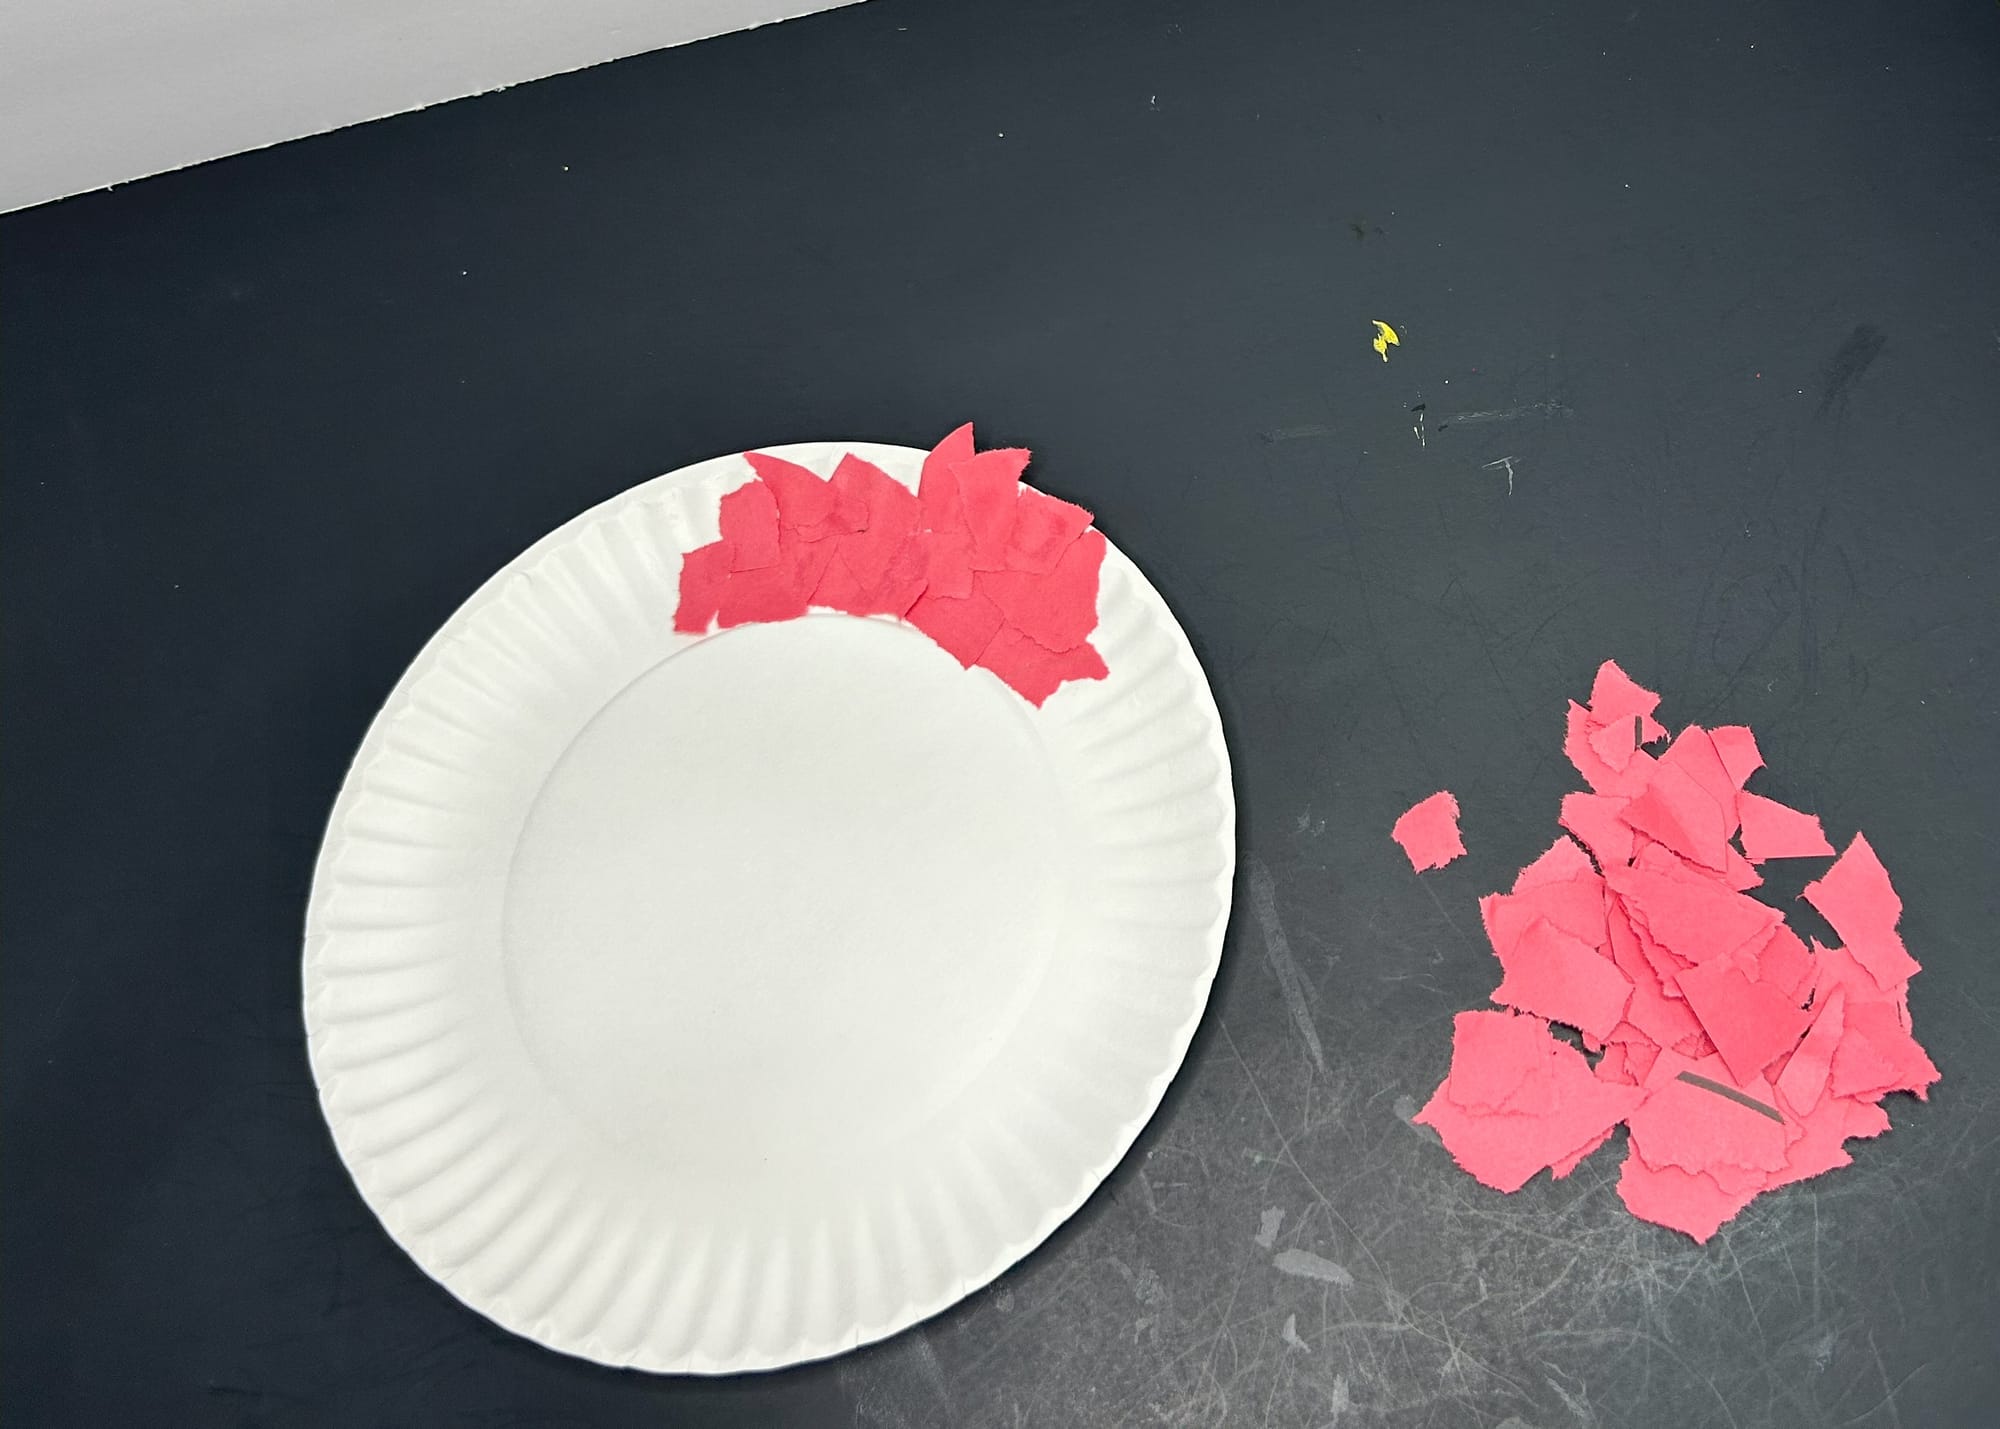
Use your gluestick to apply glue to the outside rim of the paper plate. Begin placing the paper scraps on the paper plate. Continue until the whole outer rim of the plate is covered.
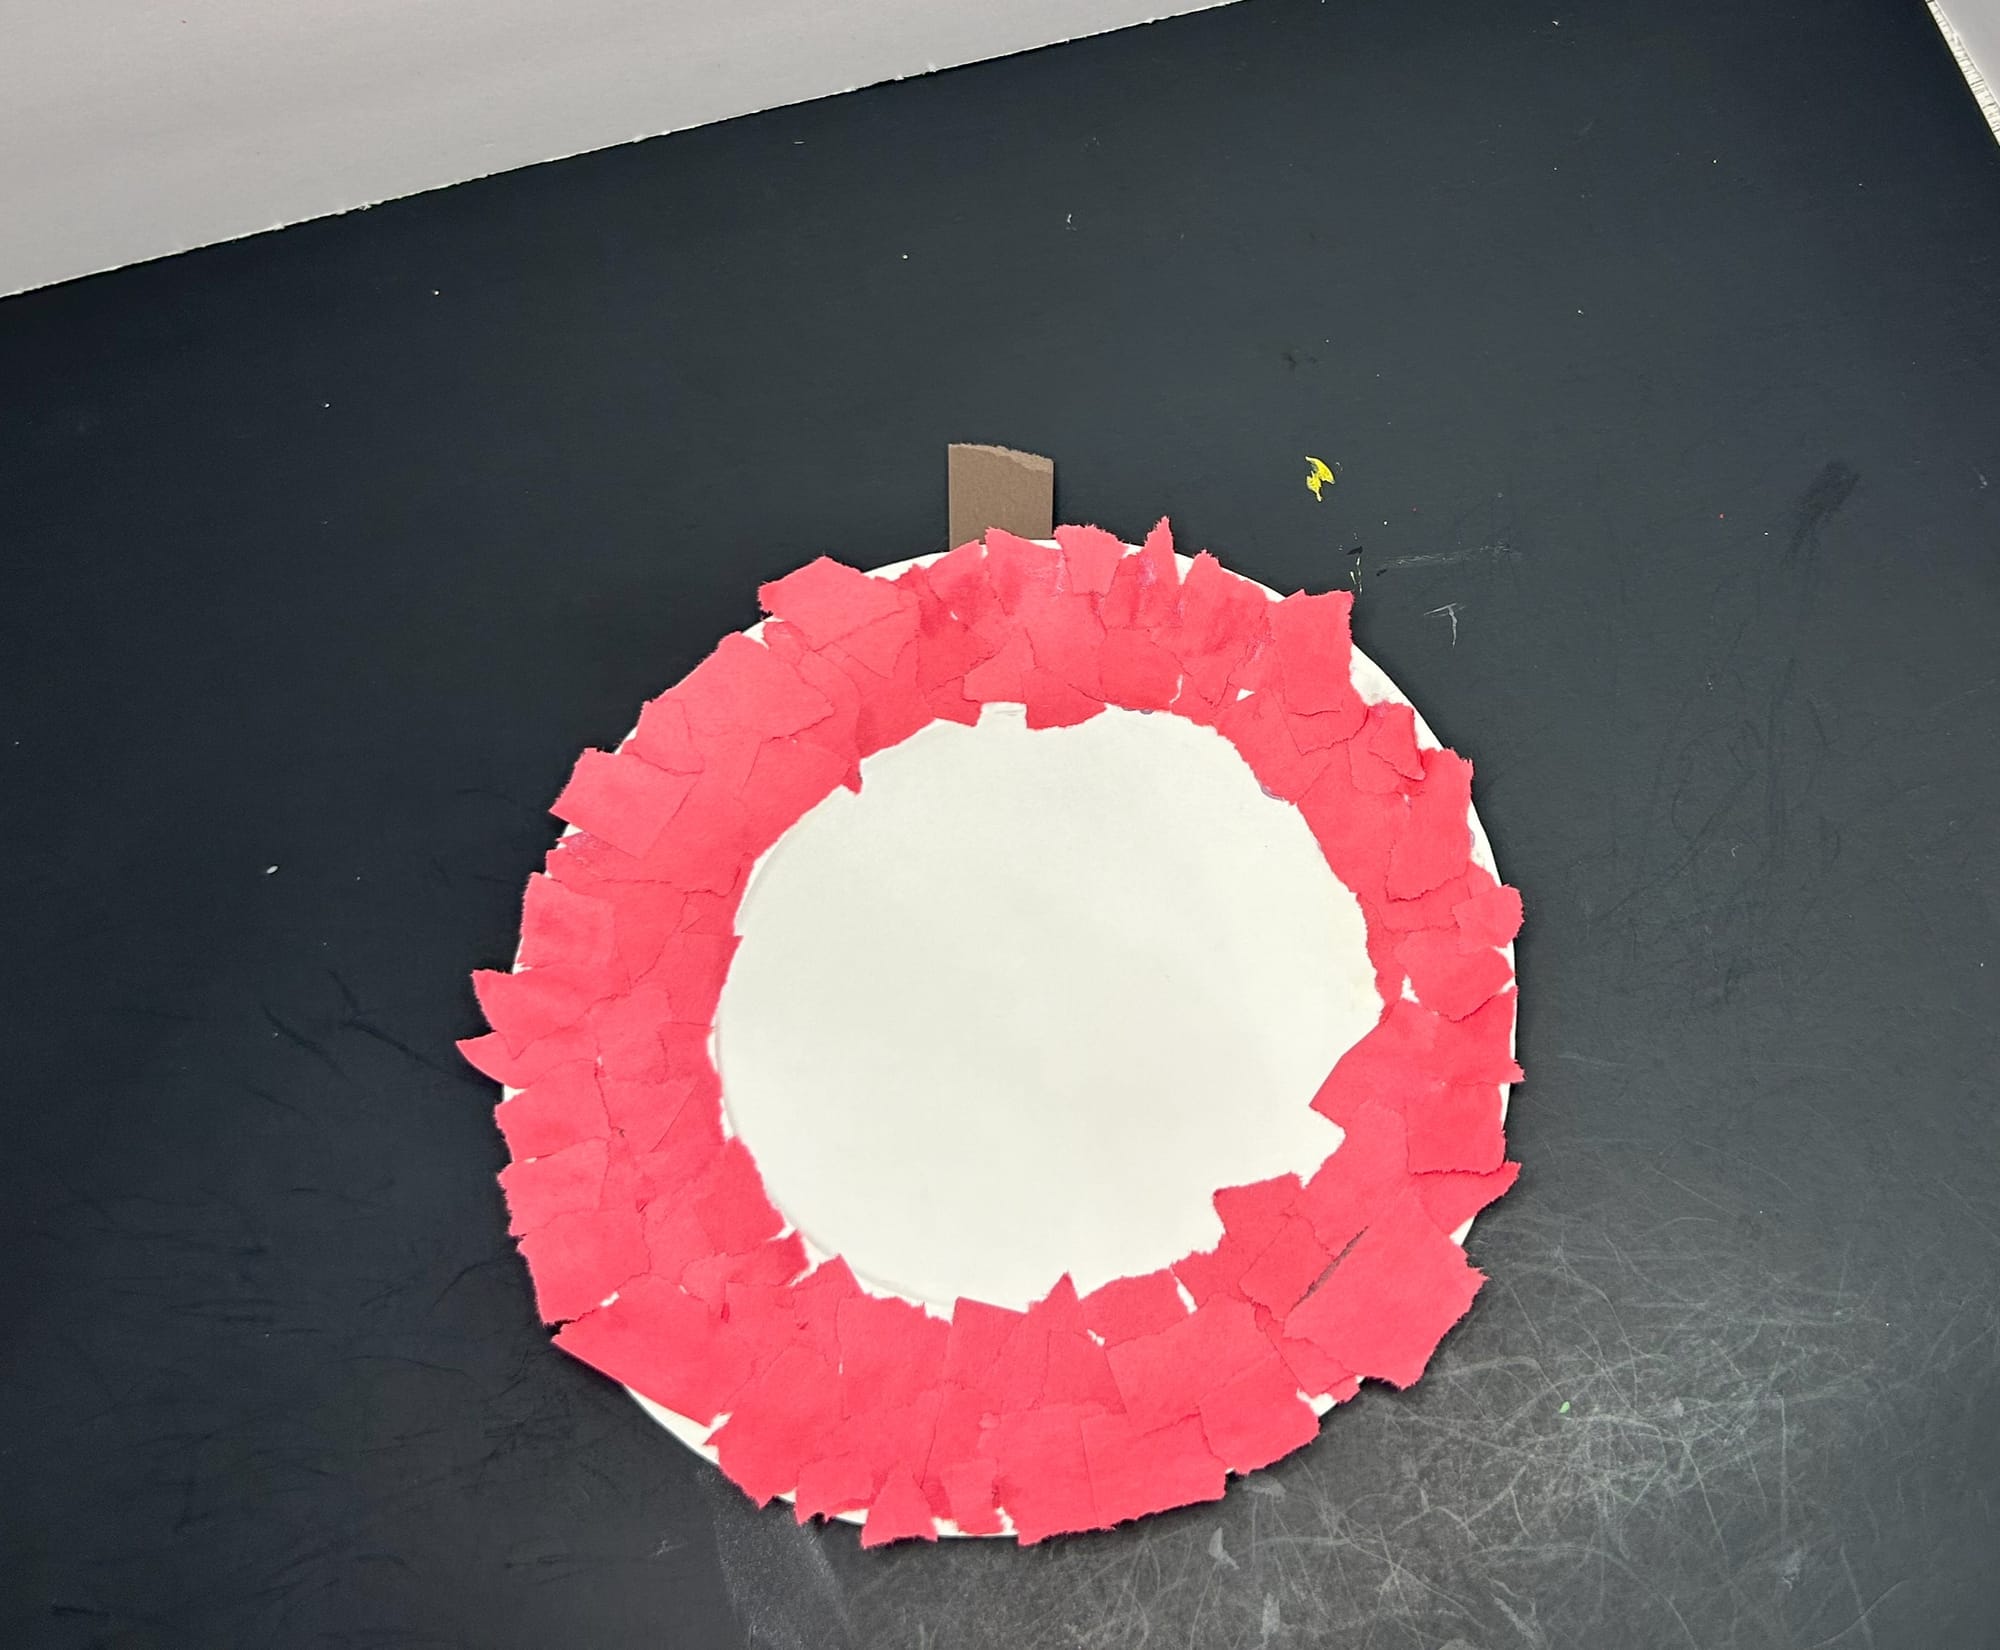
Next, use a piece of brown paper to make a stem for your apple.
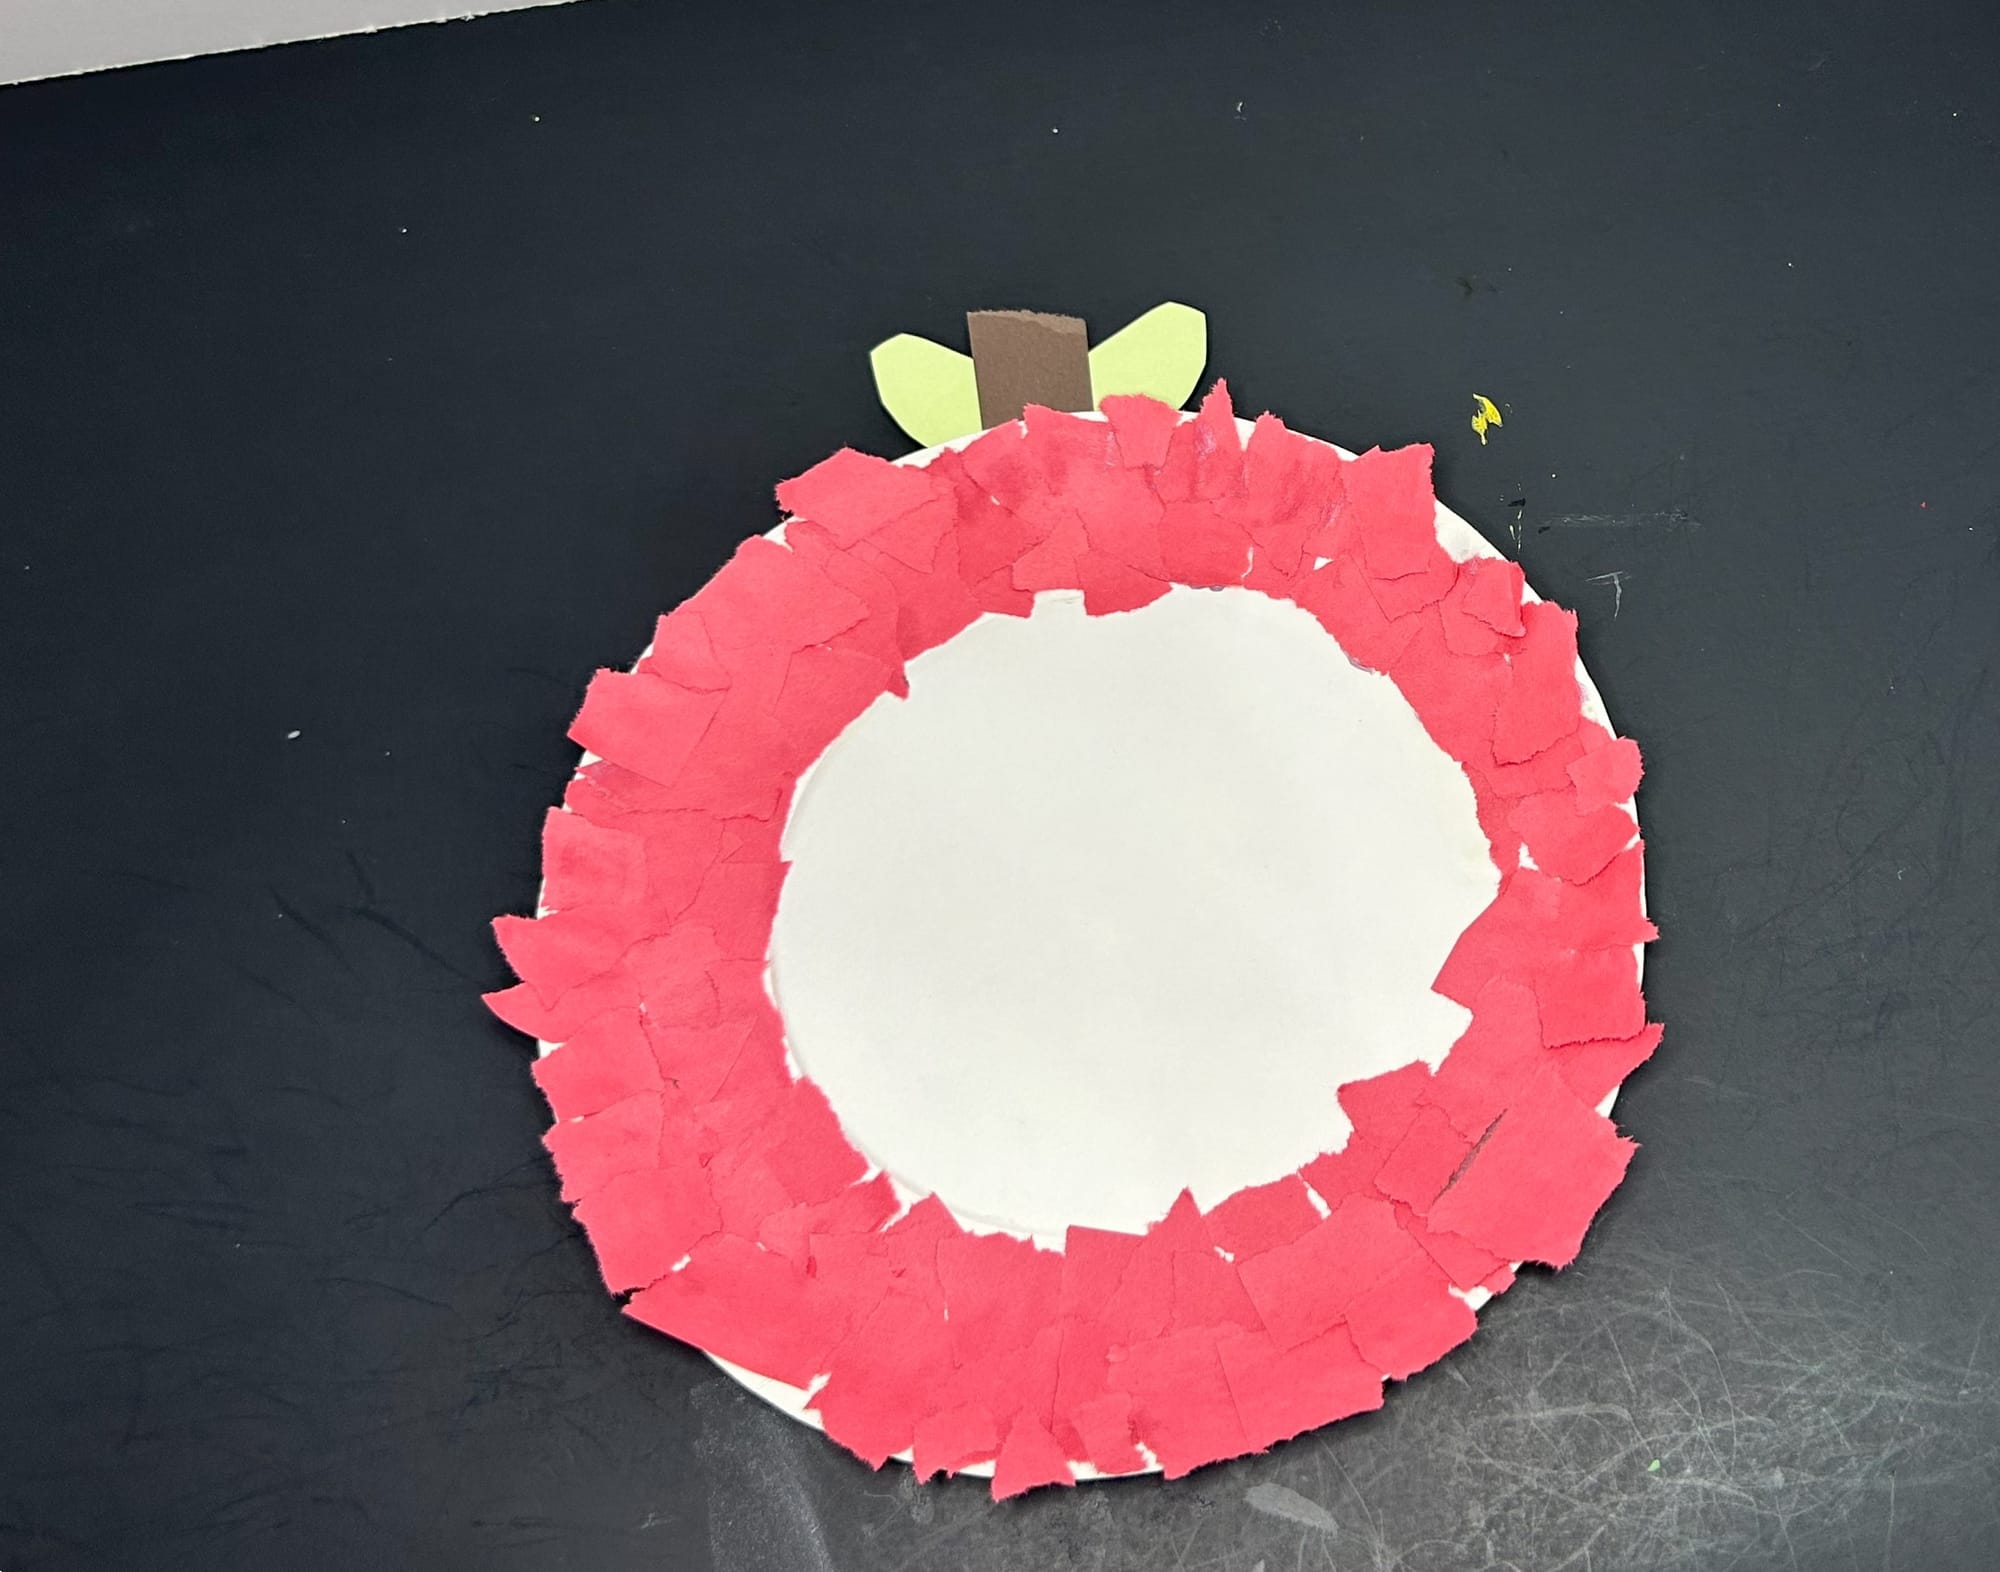
After, cut two leaves to add to the top of the apple. Glue them behind the stem of the apple.
Lastly, use a black marker to add a core to the middle of the apple. This activity is also a great way to talk about the parts of an apple. Make it more concrete for your child by cutting a real apple in half and showing your child the parts of the apple you have cut.
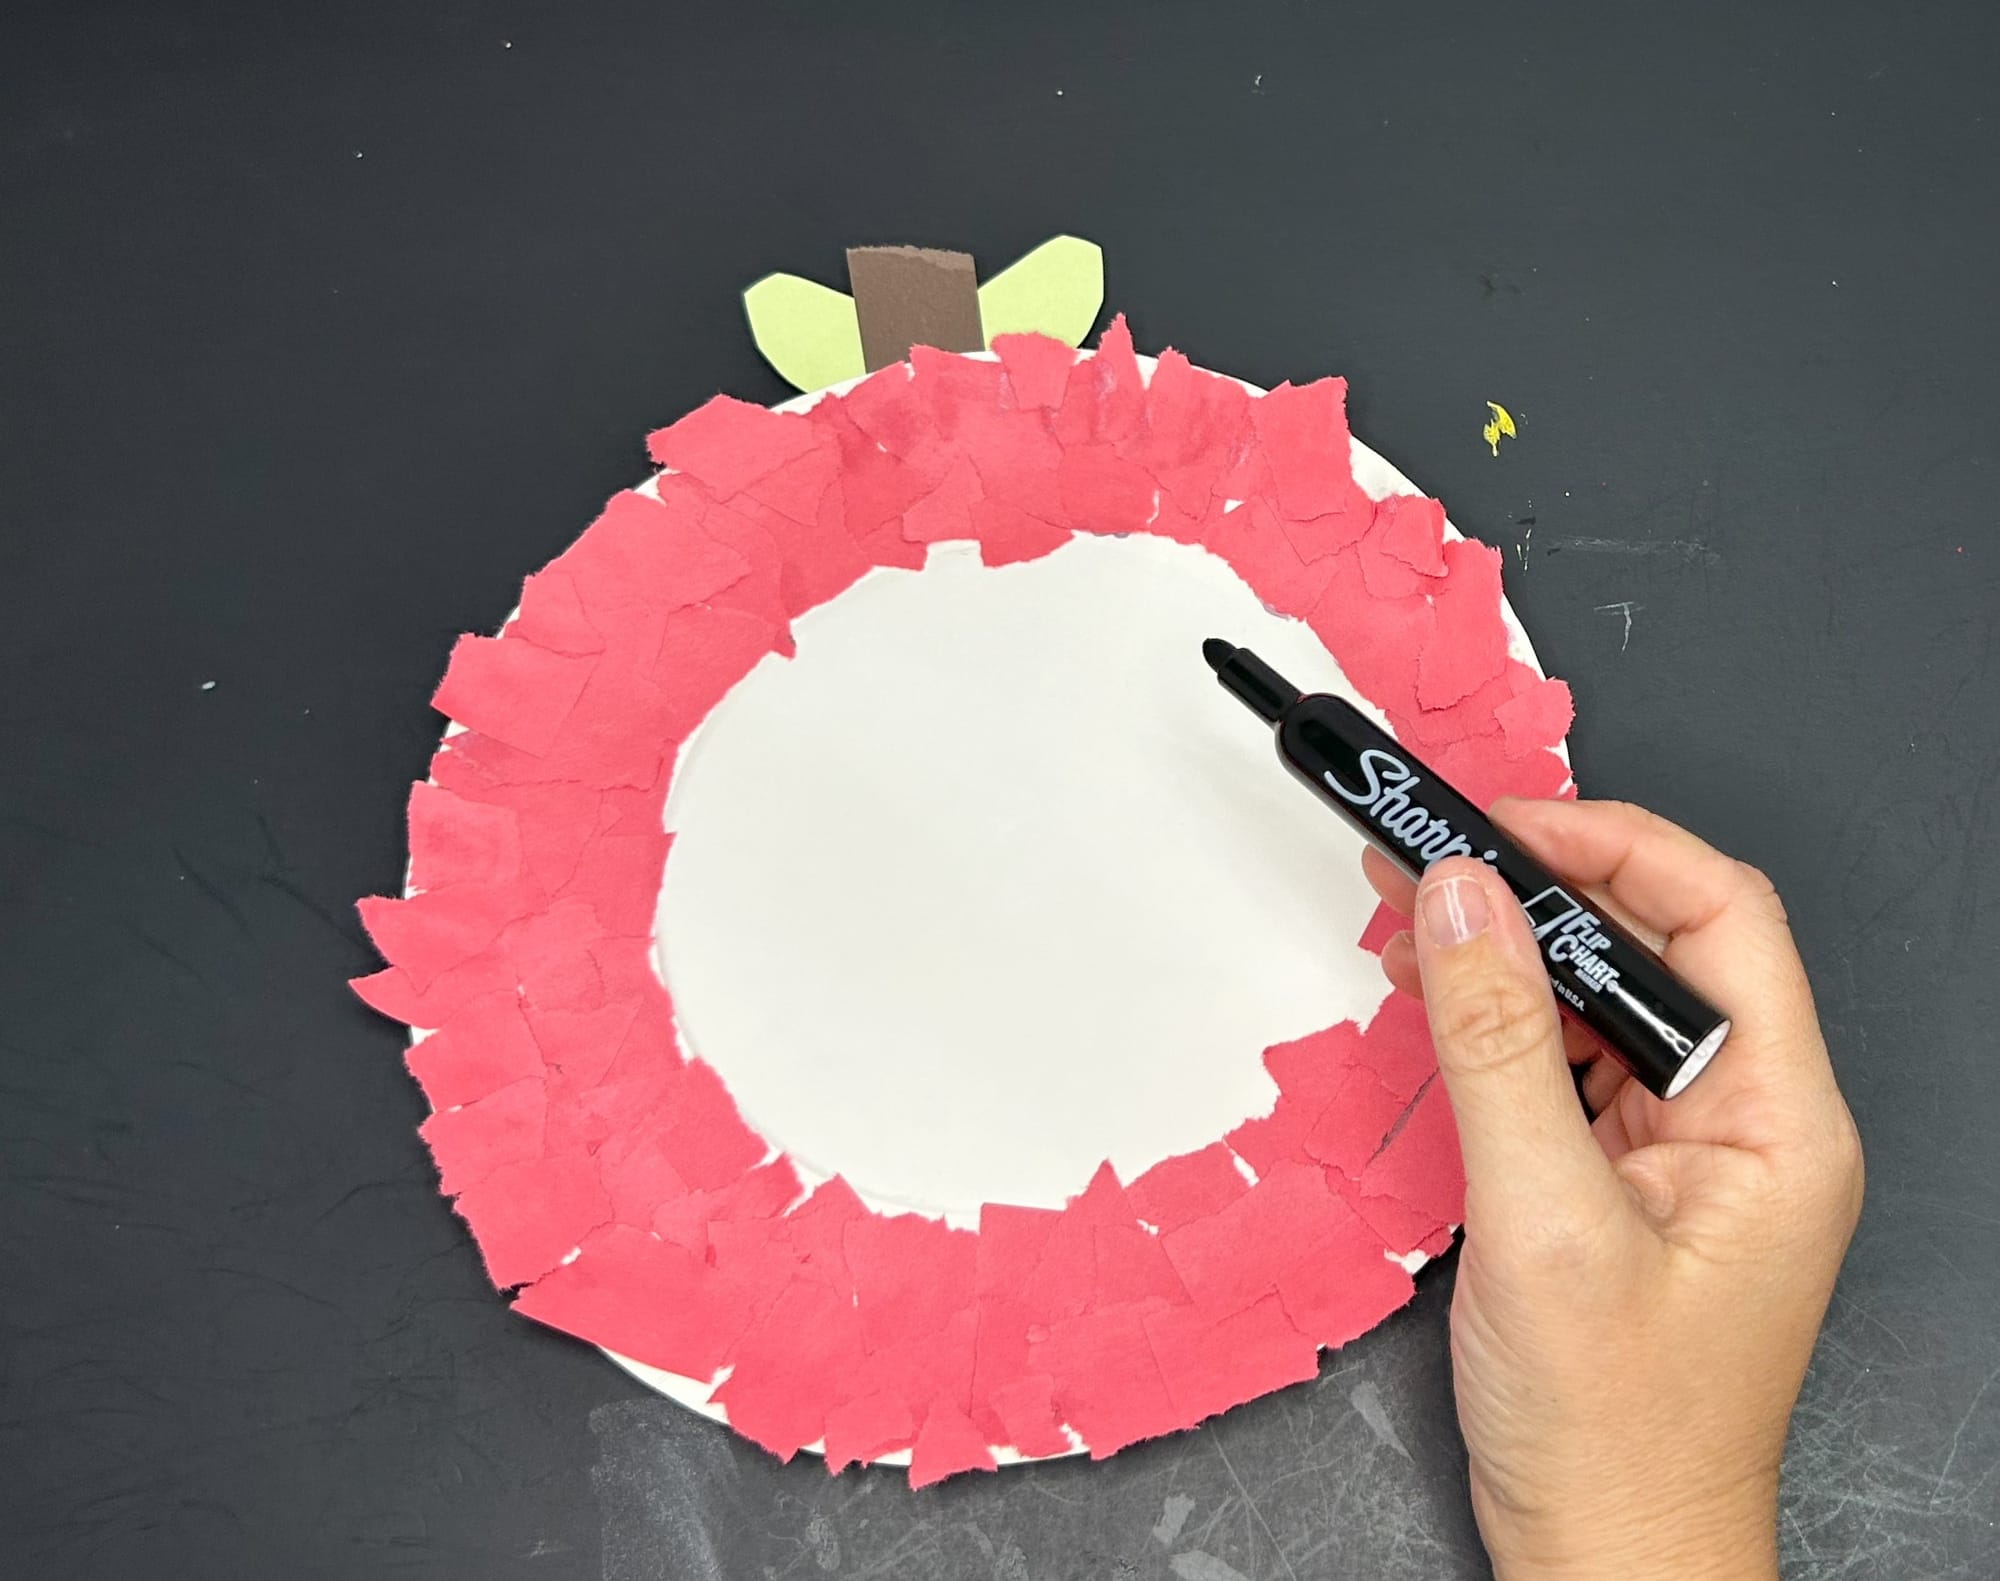

Draw an apple core in the center of the plate.