Perler Bead Fruit Coasters
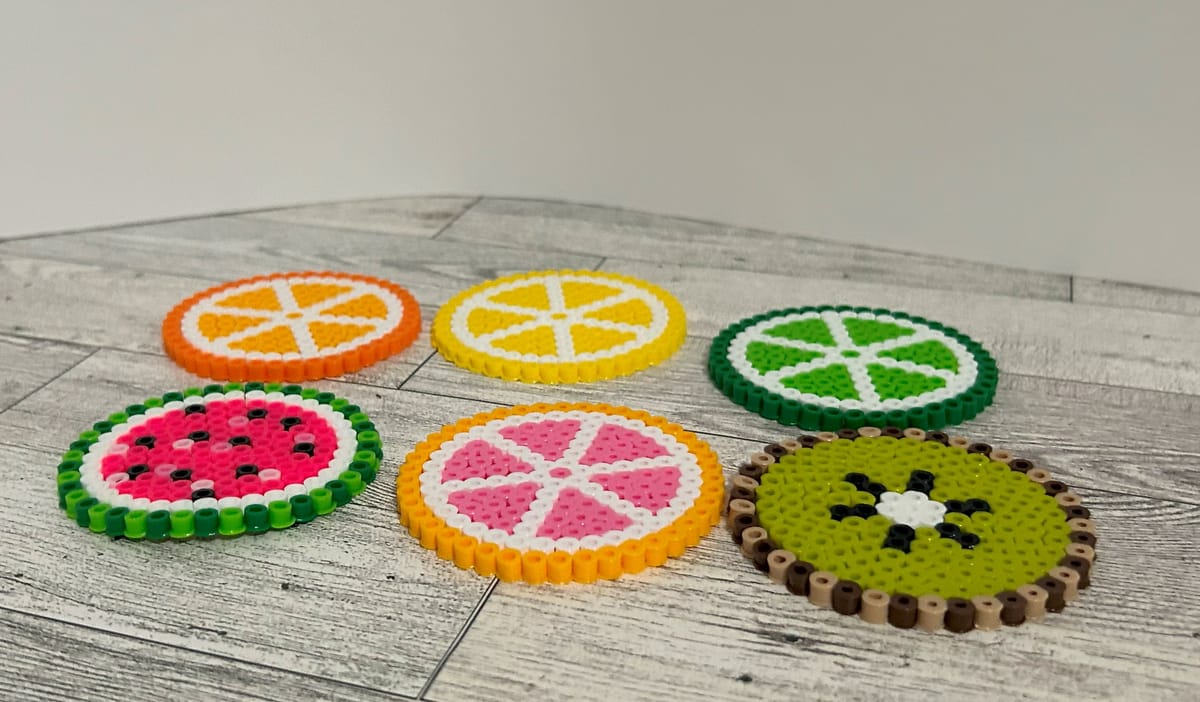
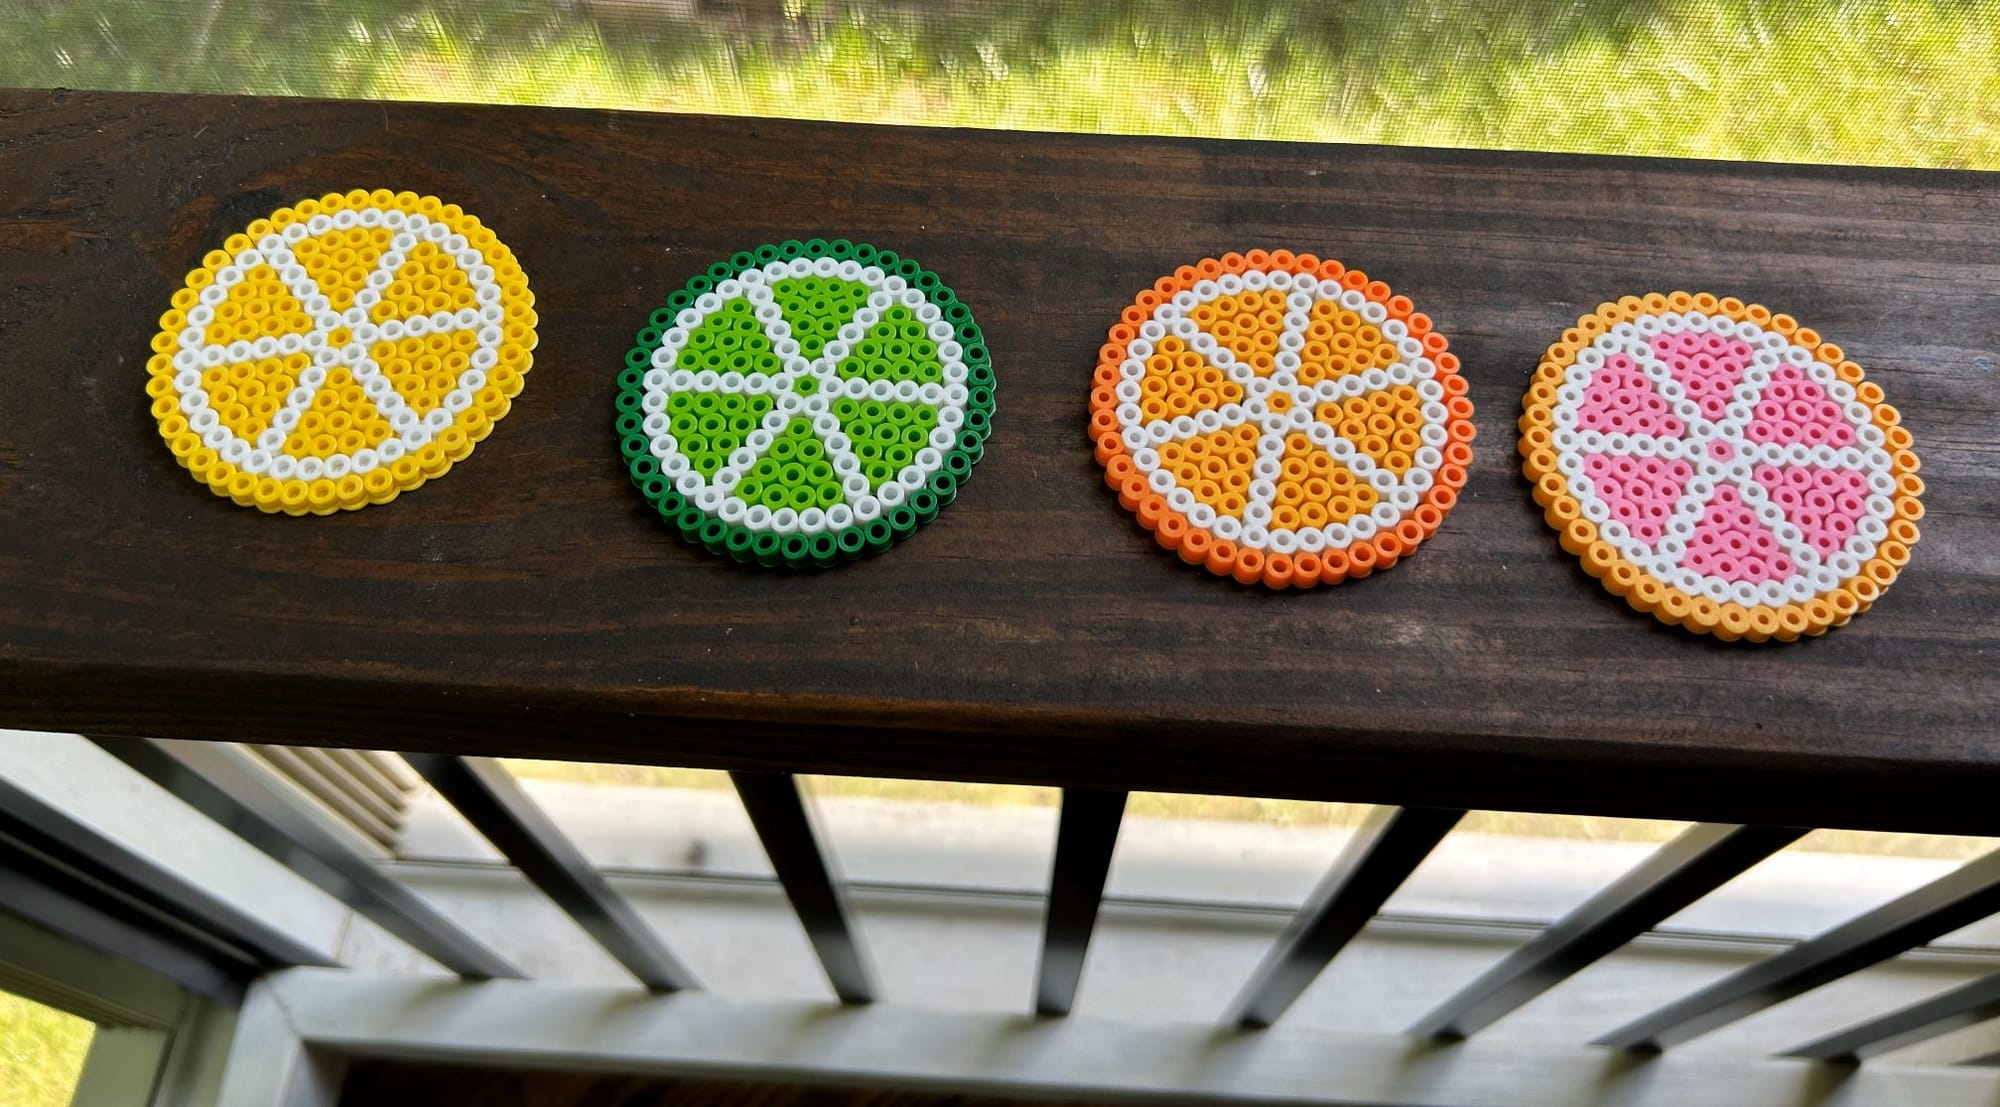
These fruit coasters were so fun to make! I love making crafts I can use on my home. I love to take these out in the summer time to use on my porch. They would be perfect my the pool or at a party as well. See how I made them below using
Perler Beads.
Supplies:
- Perler Beads
- Perler Beads Basic Shapes Pegboard
- Perler Beads Bead Tweezer Tools
- Perler Beads Ironing Paper
- Cricut Mini Press Hear Press or iron
Instructions:
- Begin my creating the outside of the fruit. Use the color chart above to use the colors I did in my fruit coasters.
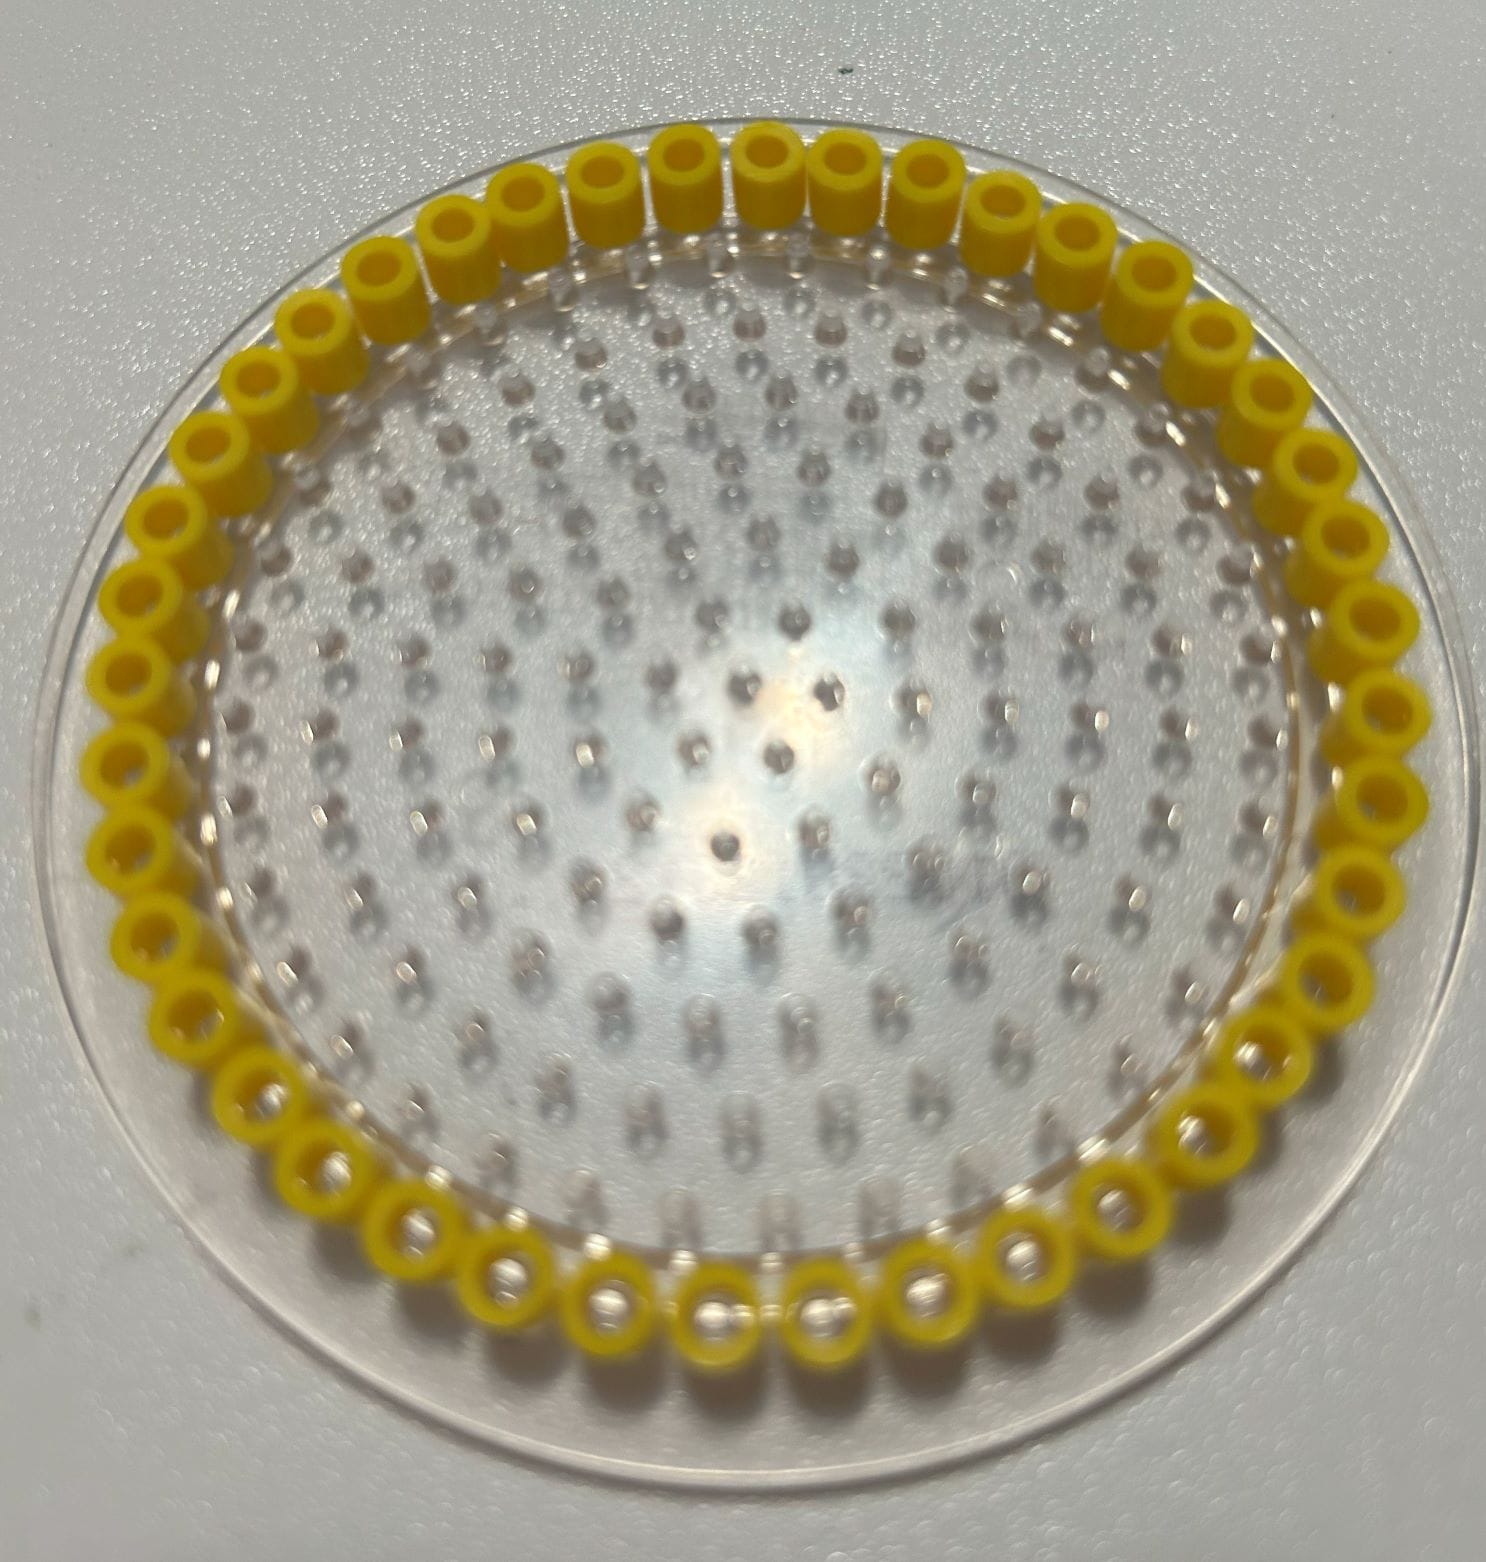
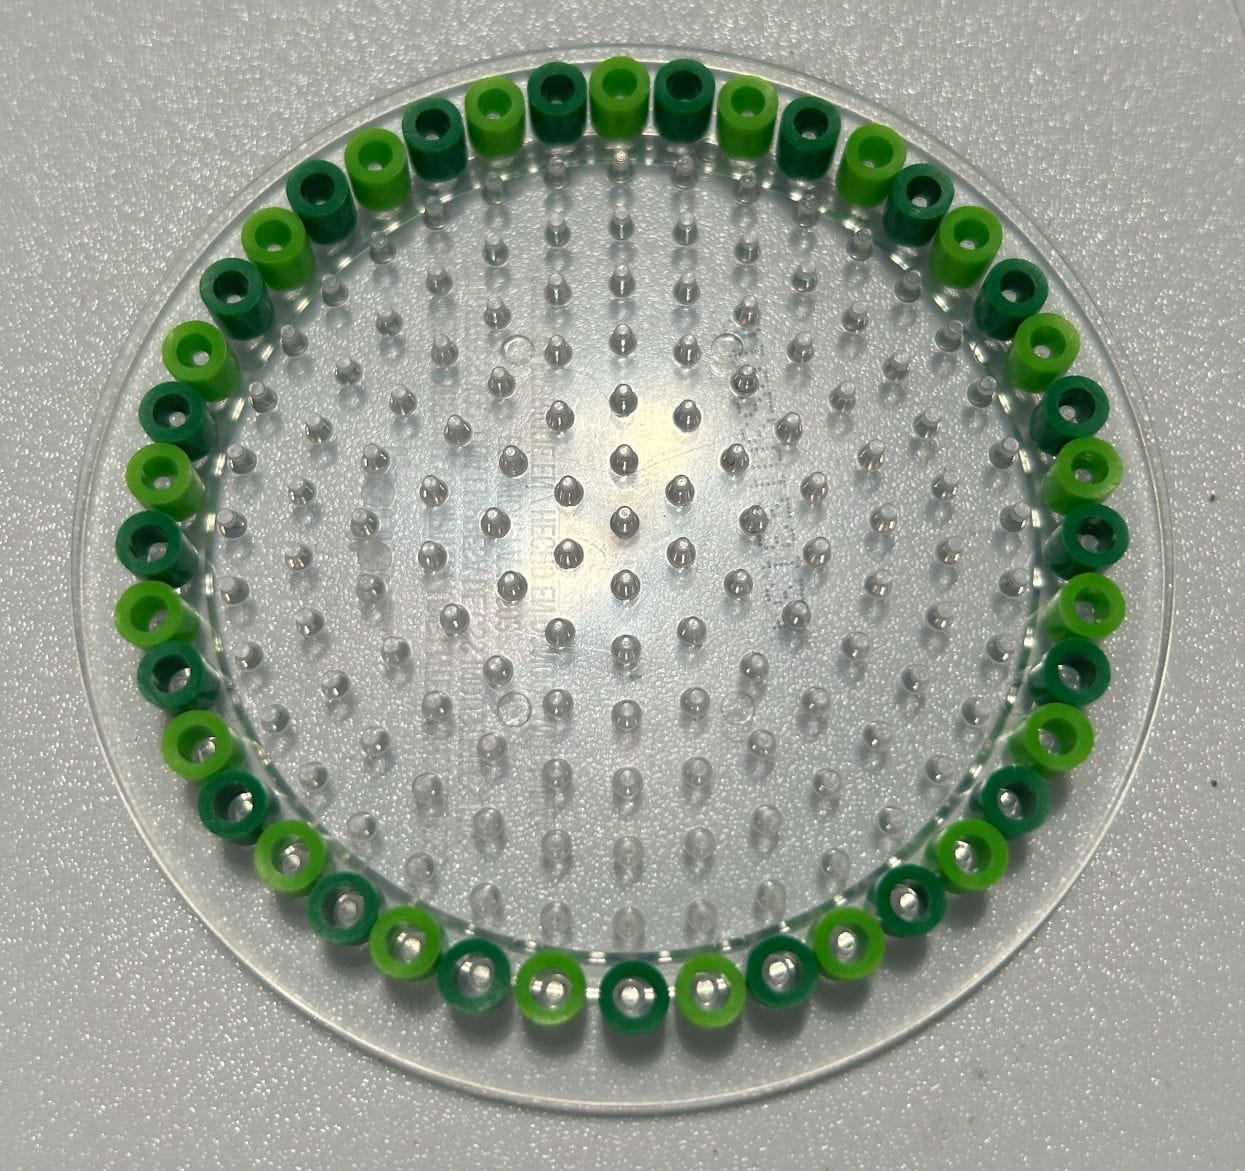
Lemon, and Watermelon
- After fill in the inside of the fruit using the colors given in the chart. All colors are included in Perler bead bucket.
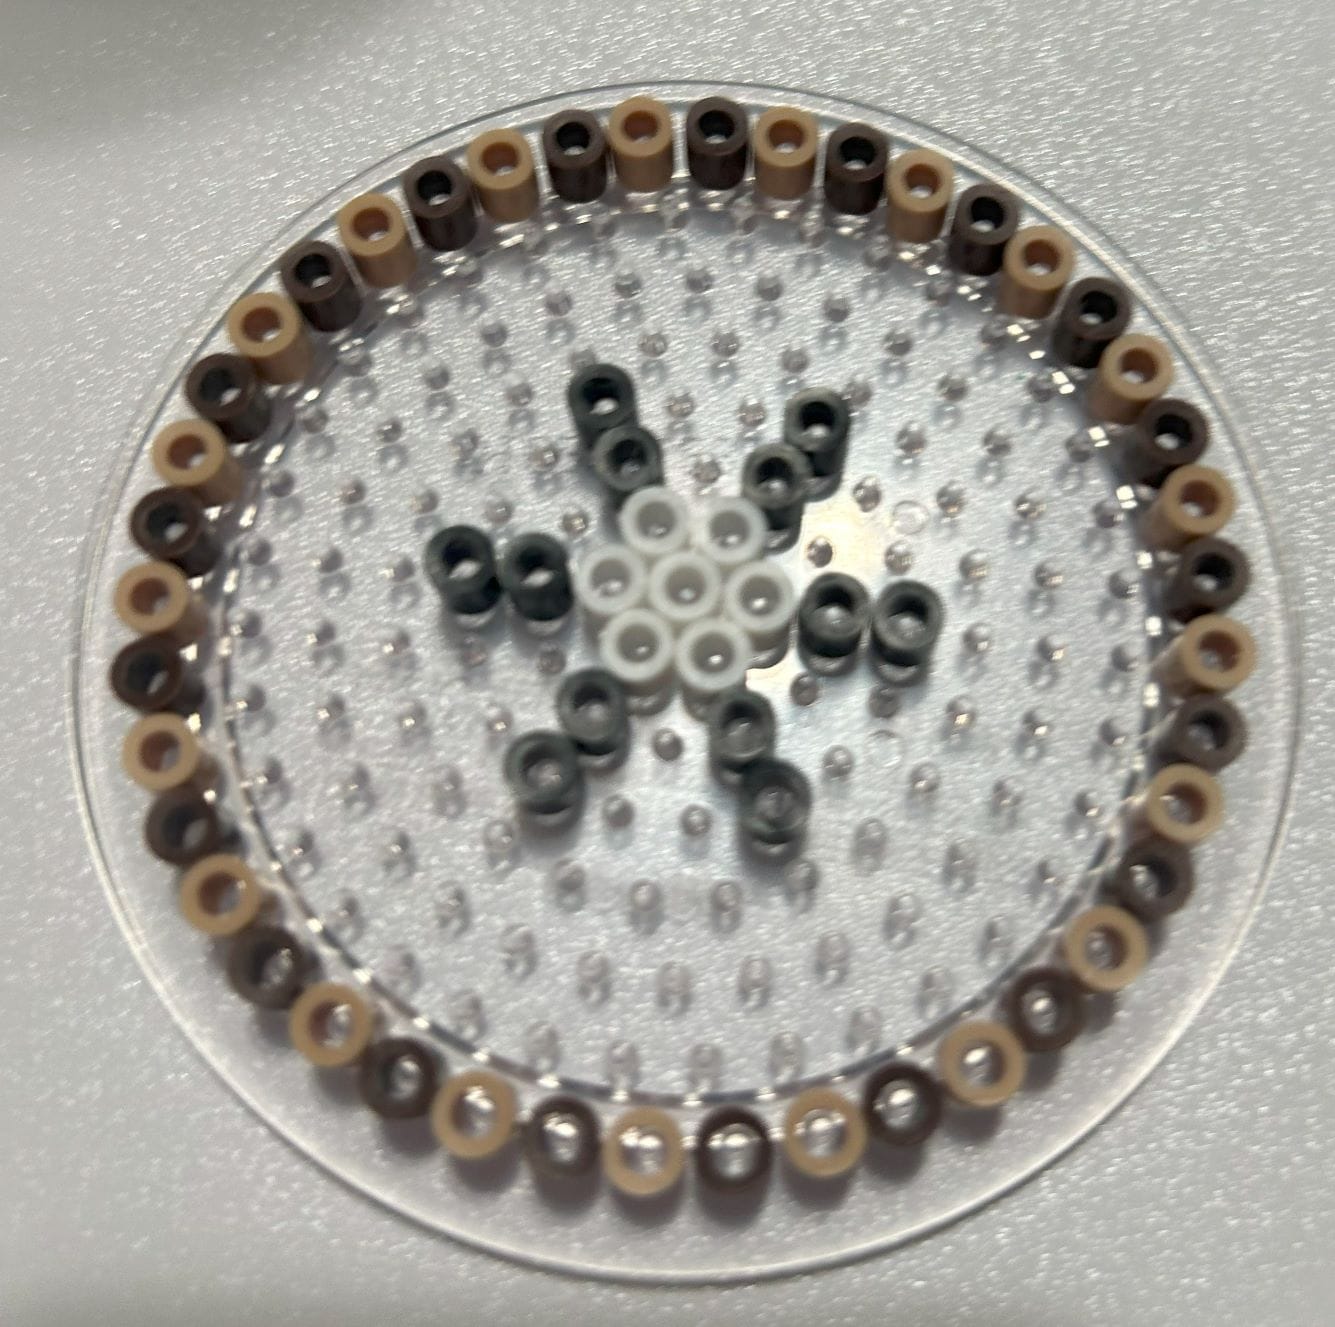
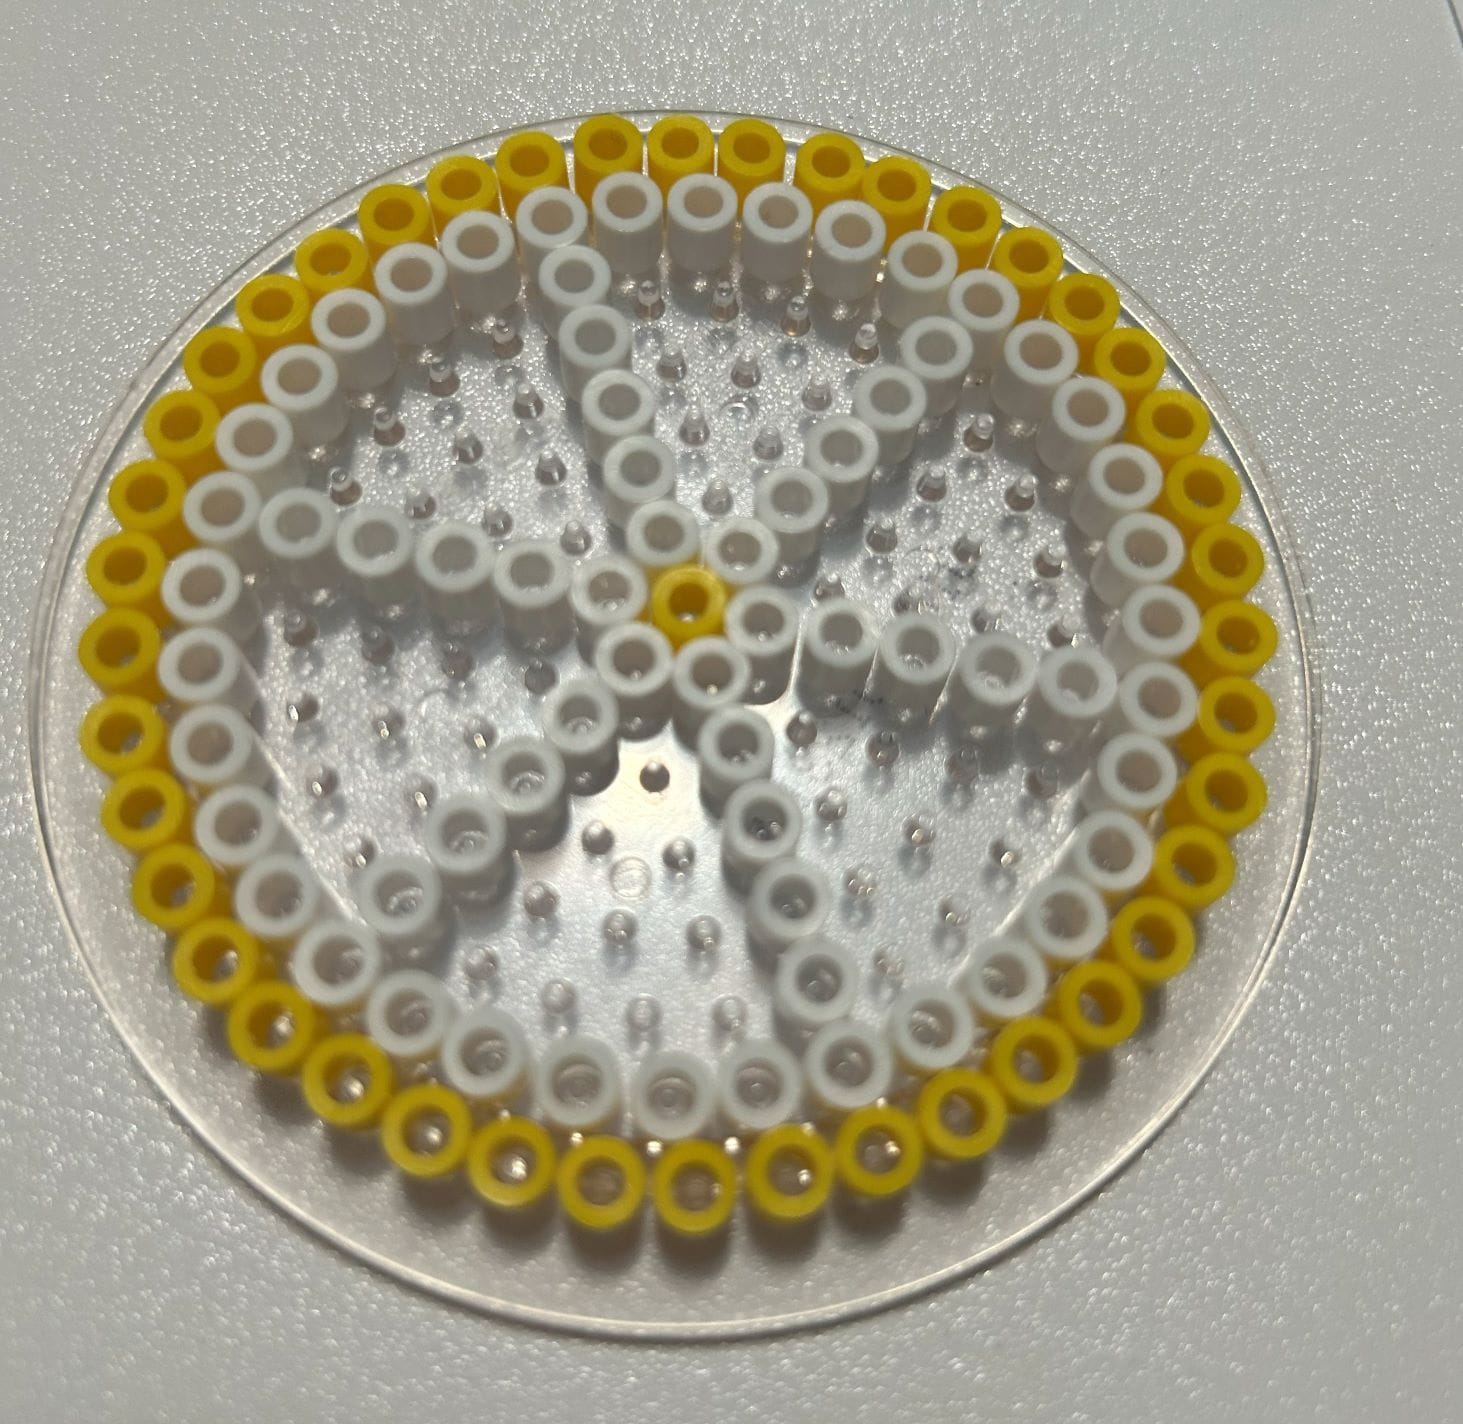
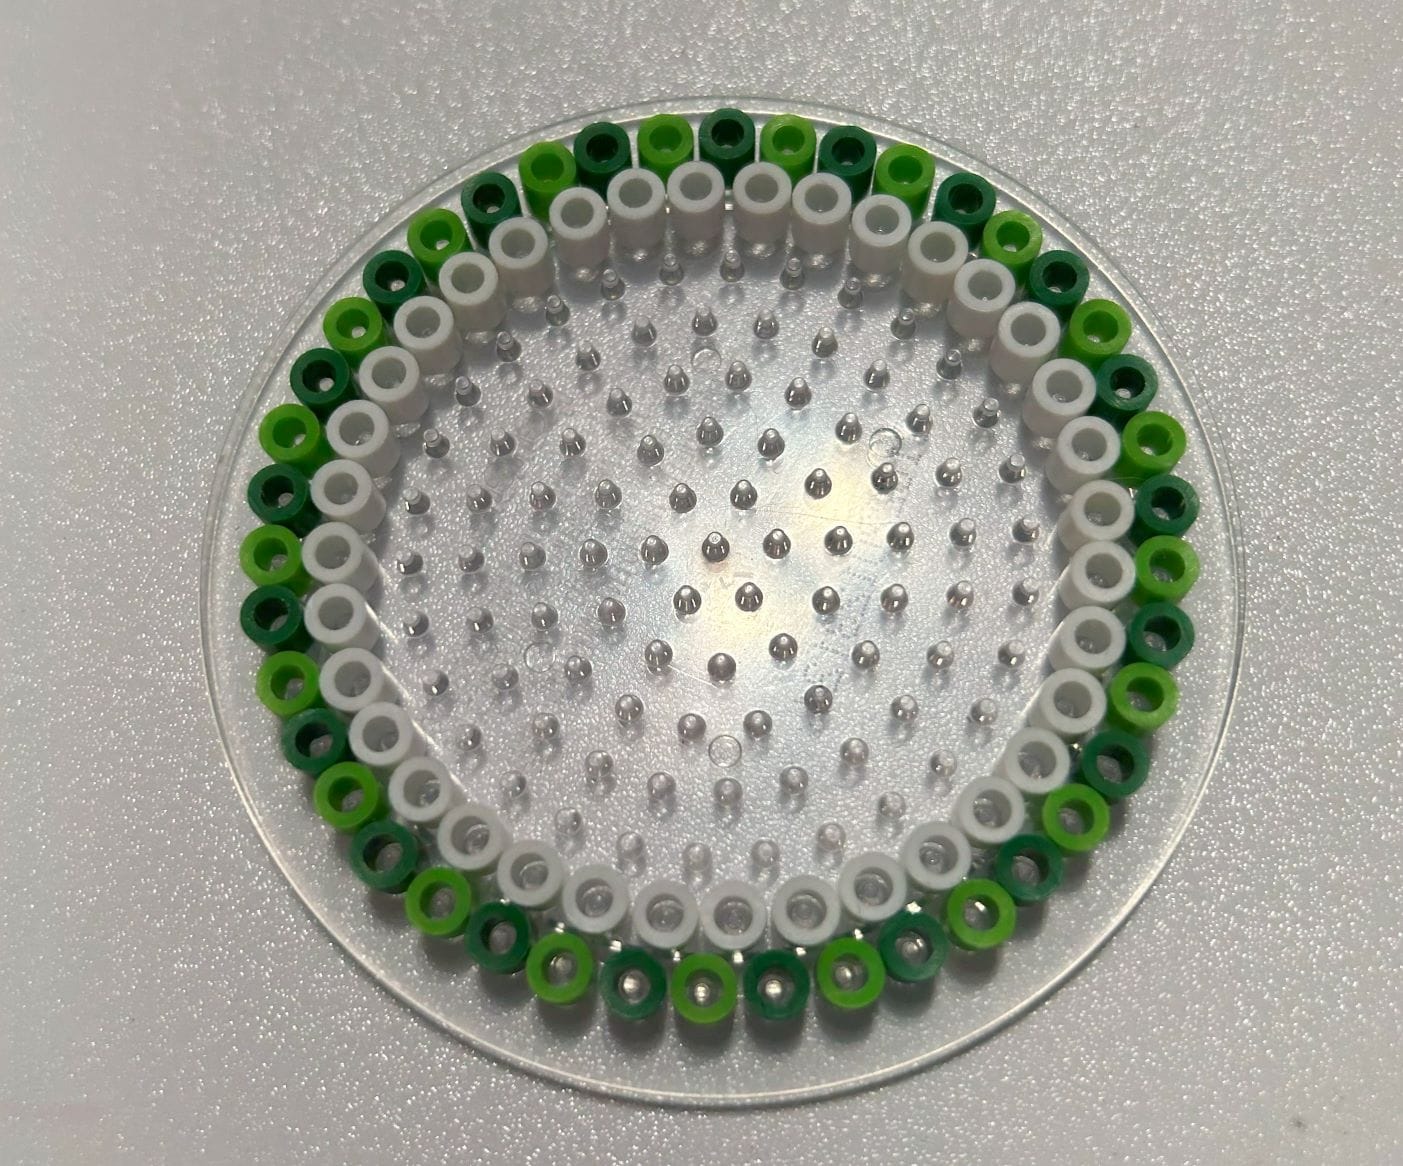
Kiwi, Lemon and Watermelon
- After the fruit is completed, place your coaster on a flat, heat-safe surface. Place a piece of ironing paper ( included in Perler Beads bucket or available for separate purchase) on top of your coaster. * This step should be completed by an adult.
- Use your Cricut mini heat press or set your iron to the medium setting. In a circular motion, begin to iron the design. This should take between 10-20 seconds. Occasionally lift the ironing paper to check your progress. When completed the beads will be fused together and will still have open centers. Let the design cool.
- Flip your coaster and completed the process on the other side.
- The ironing paper and pegboard are reusable.
- Now that your finished try some other Perler bead projects. Their website has tons of FREE patterns. You can also find many project patterns online.
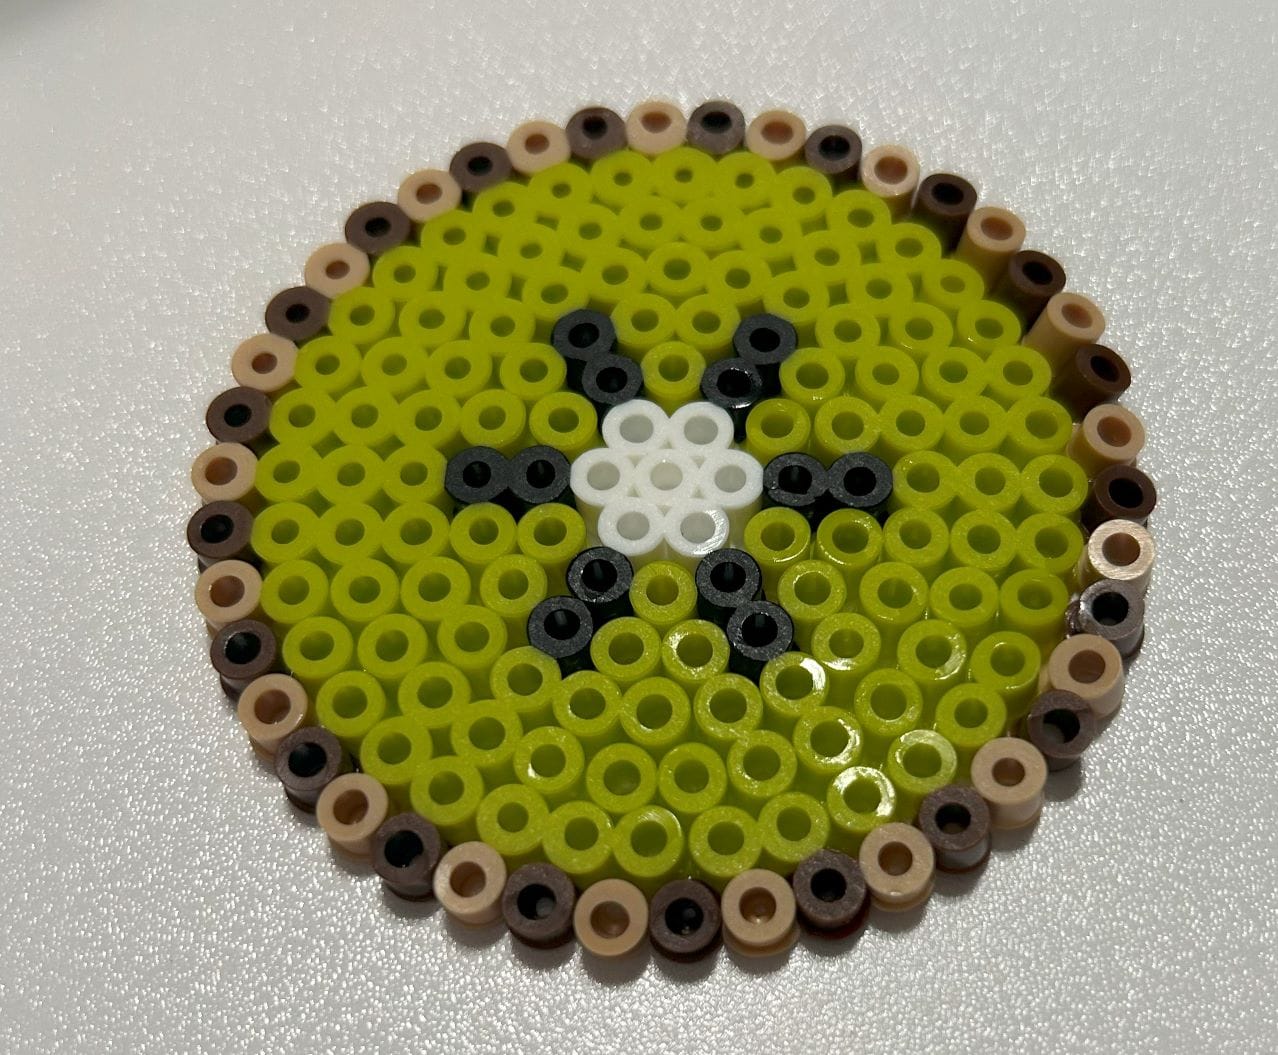
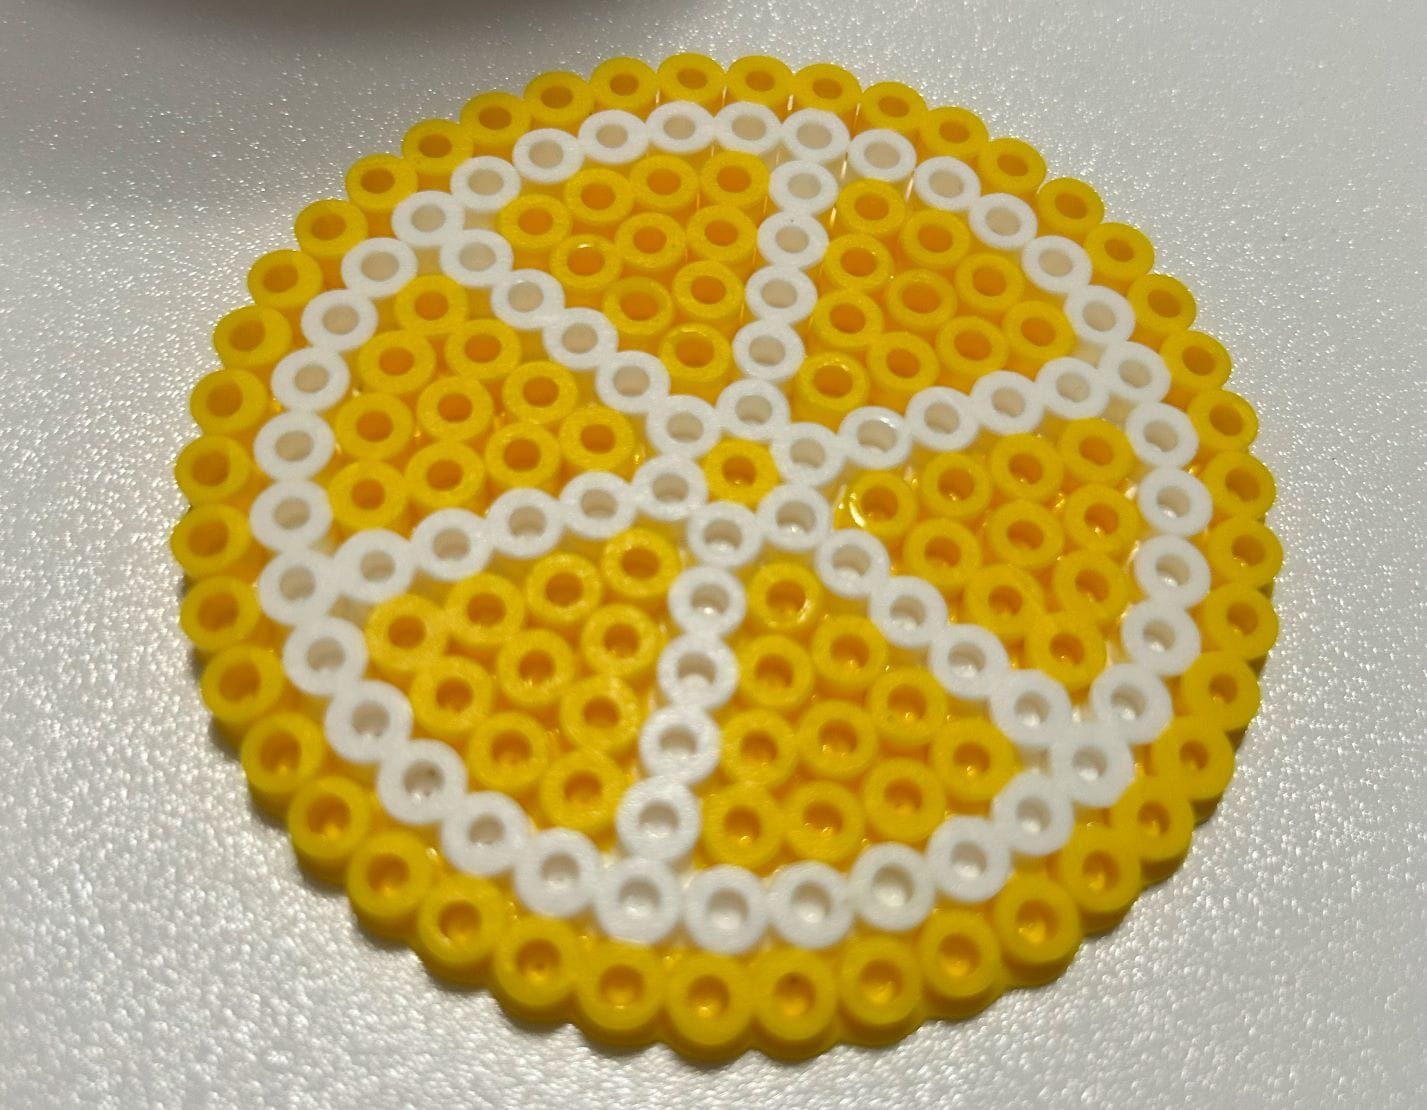
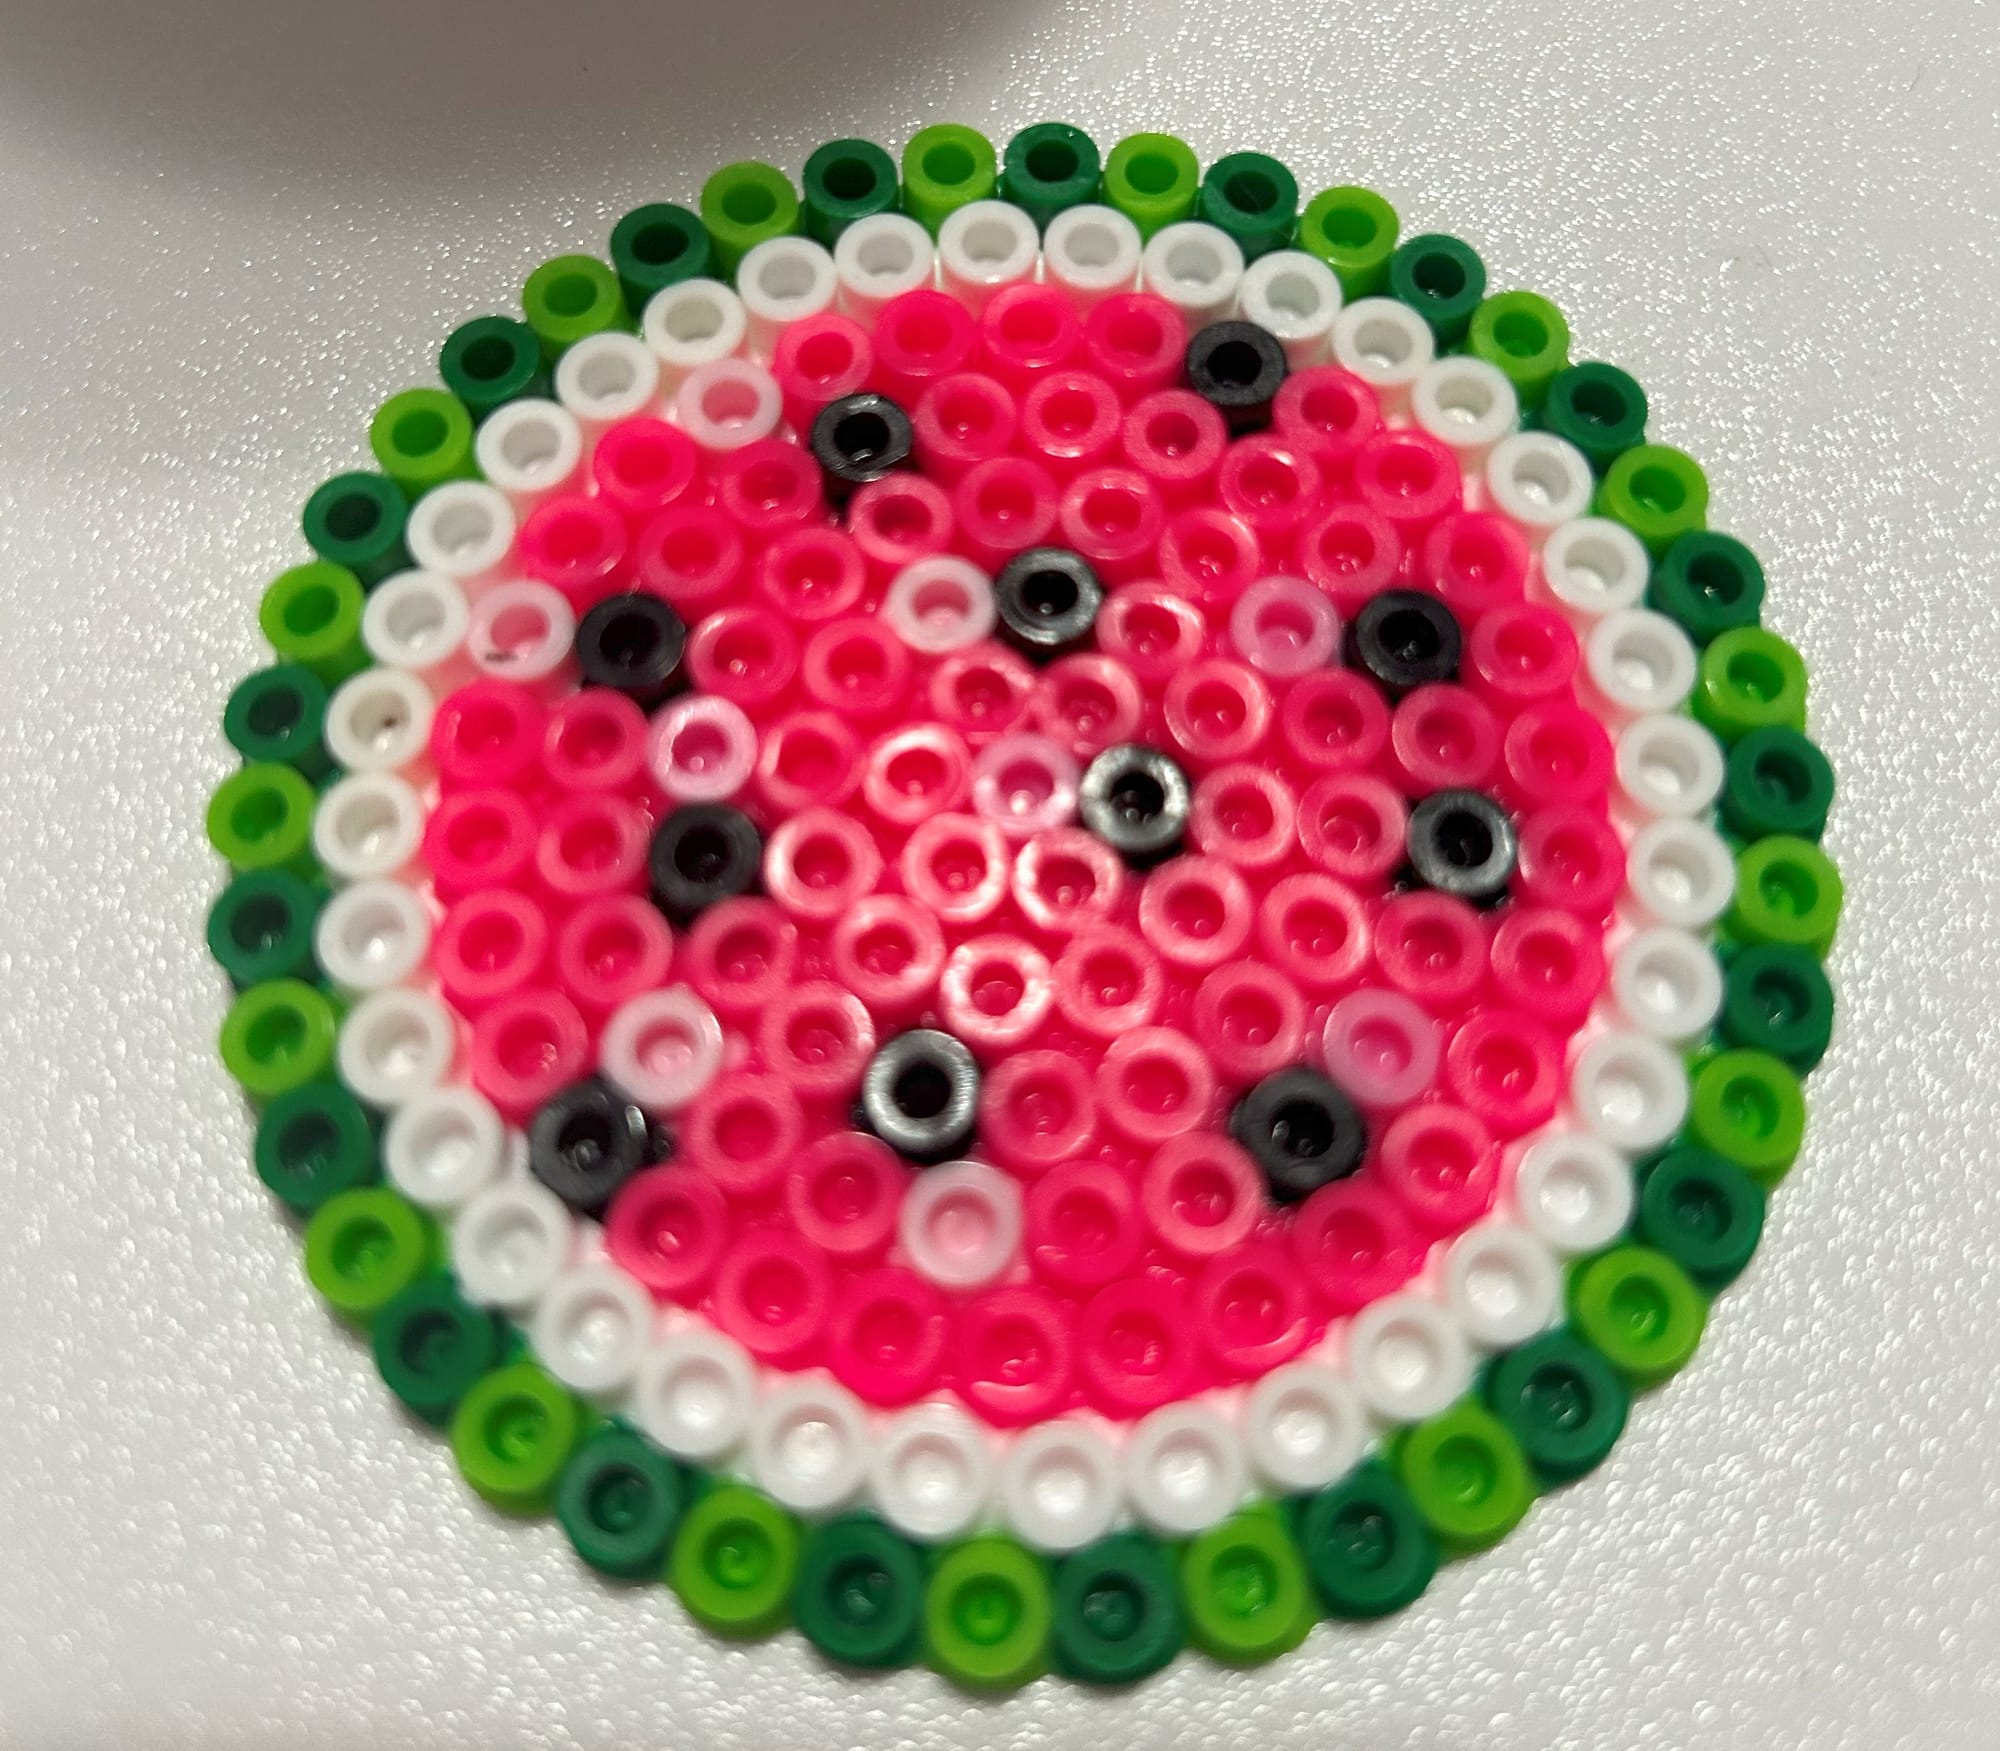
Kiwi, Lemon and Watermelon completed
This post contains affiliate links to the products mentioned. Crafty Mama Bird is a participant in the Amazon Services LLC Associates Program, an affiliate advertising program designed to provide a means for sites to earn advertising fees by advertising and linking to amazon.com.


