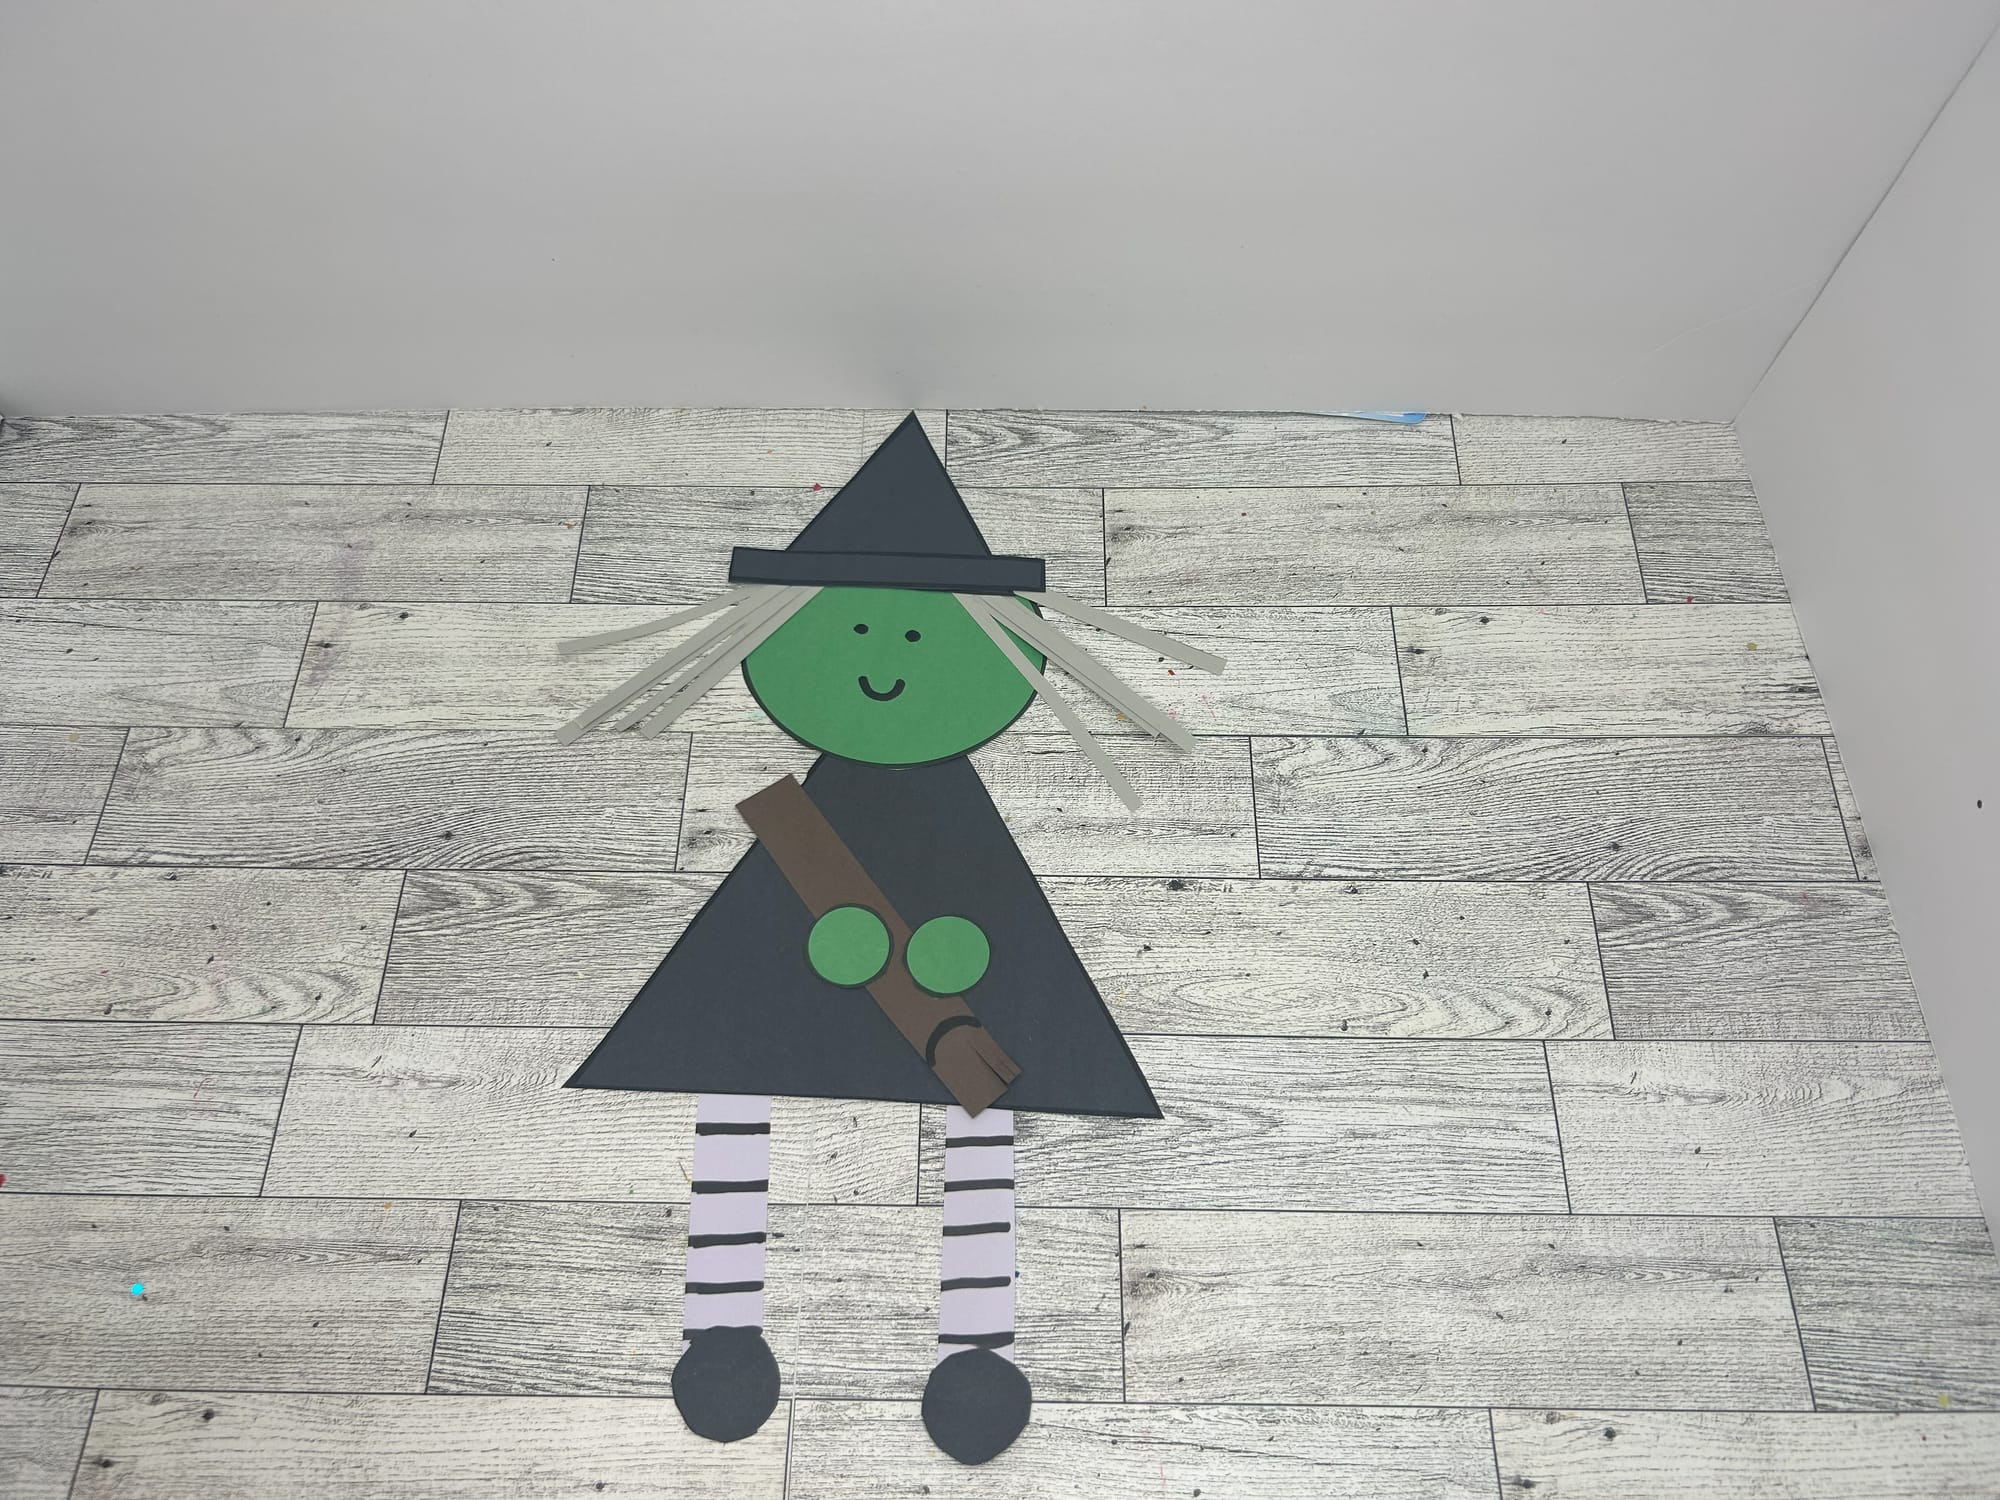
Shape Witch
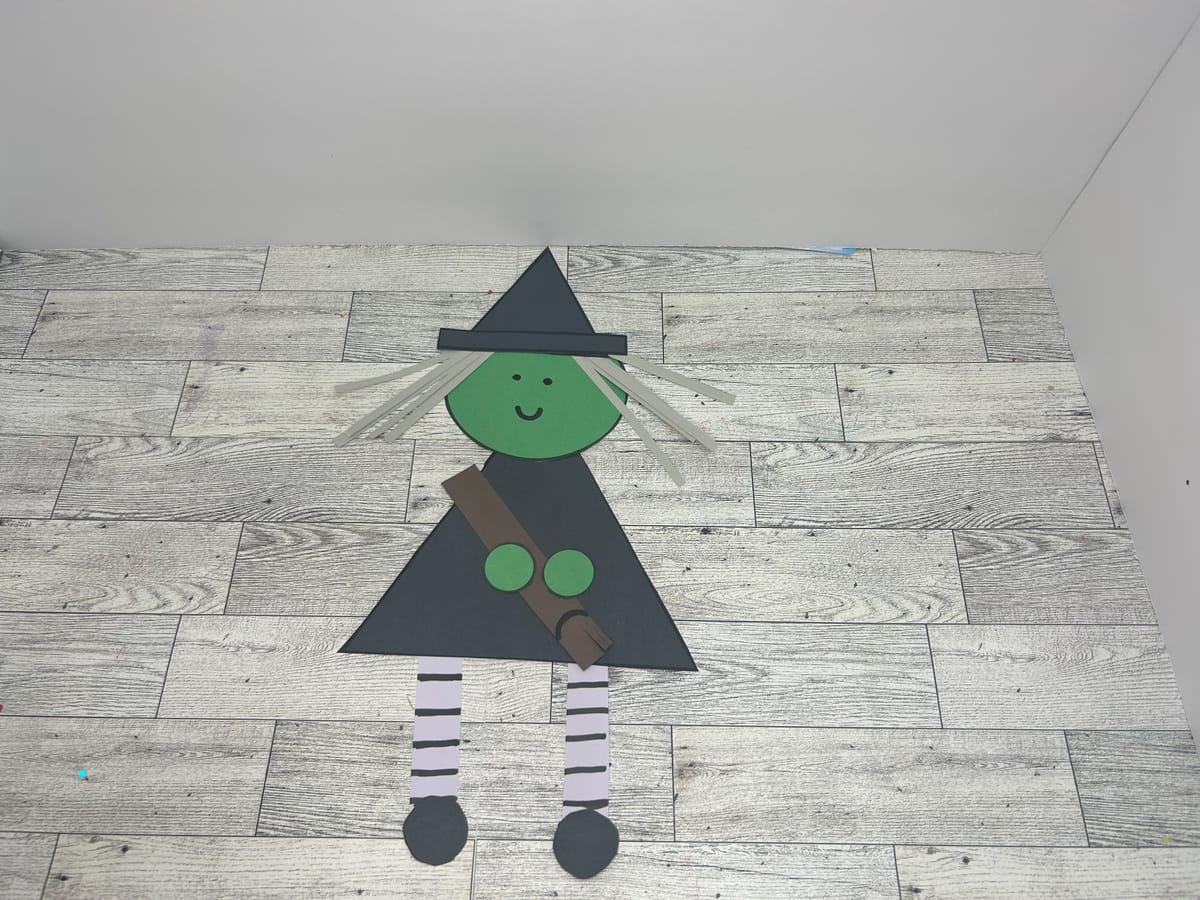
Halloween is a fun time for creating arts and crafts. Simply print simple shapes out on colored paper to make this Halloween friendly witch.
Identifying shapes
This activity is a great way to see if your child can identify simple shapes. This activity includes circles, rectangles and triangles. As your child works to cut out the shapes don't stress if they are not cut perfect. You can however ask your child, What shape are you cutting out? How many triangles are there? What are some shapes you know that are not a part of this witch? These questions can lead to more conversation about the shapes other attributes as well.
Attributes of shapes
Take this activity a step further by teaching your child about attributes of shapes. Attributes are something about a shape that makes it similar or different from another shape. Start with simple attributes like size, color and number of sides. After you can move to number of corners and if the shape is open or closed.
Directions:
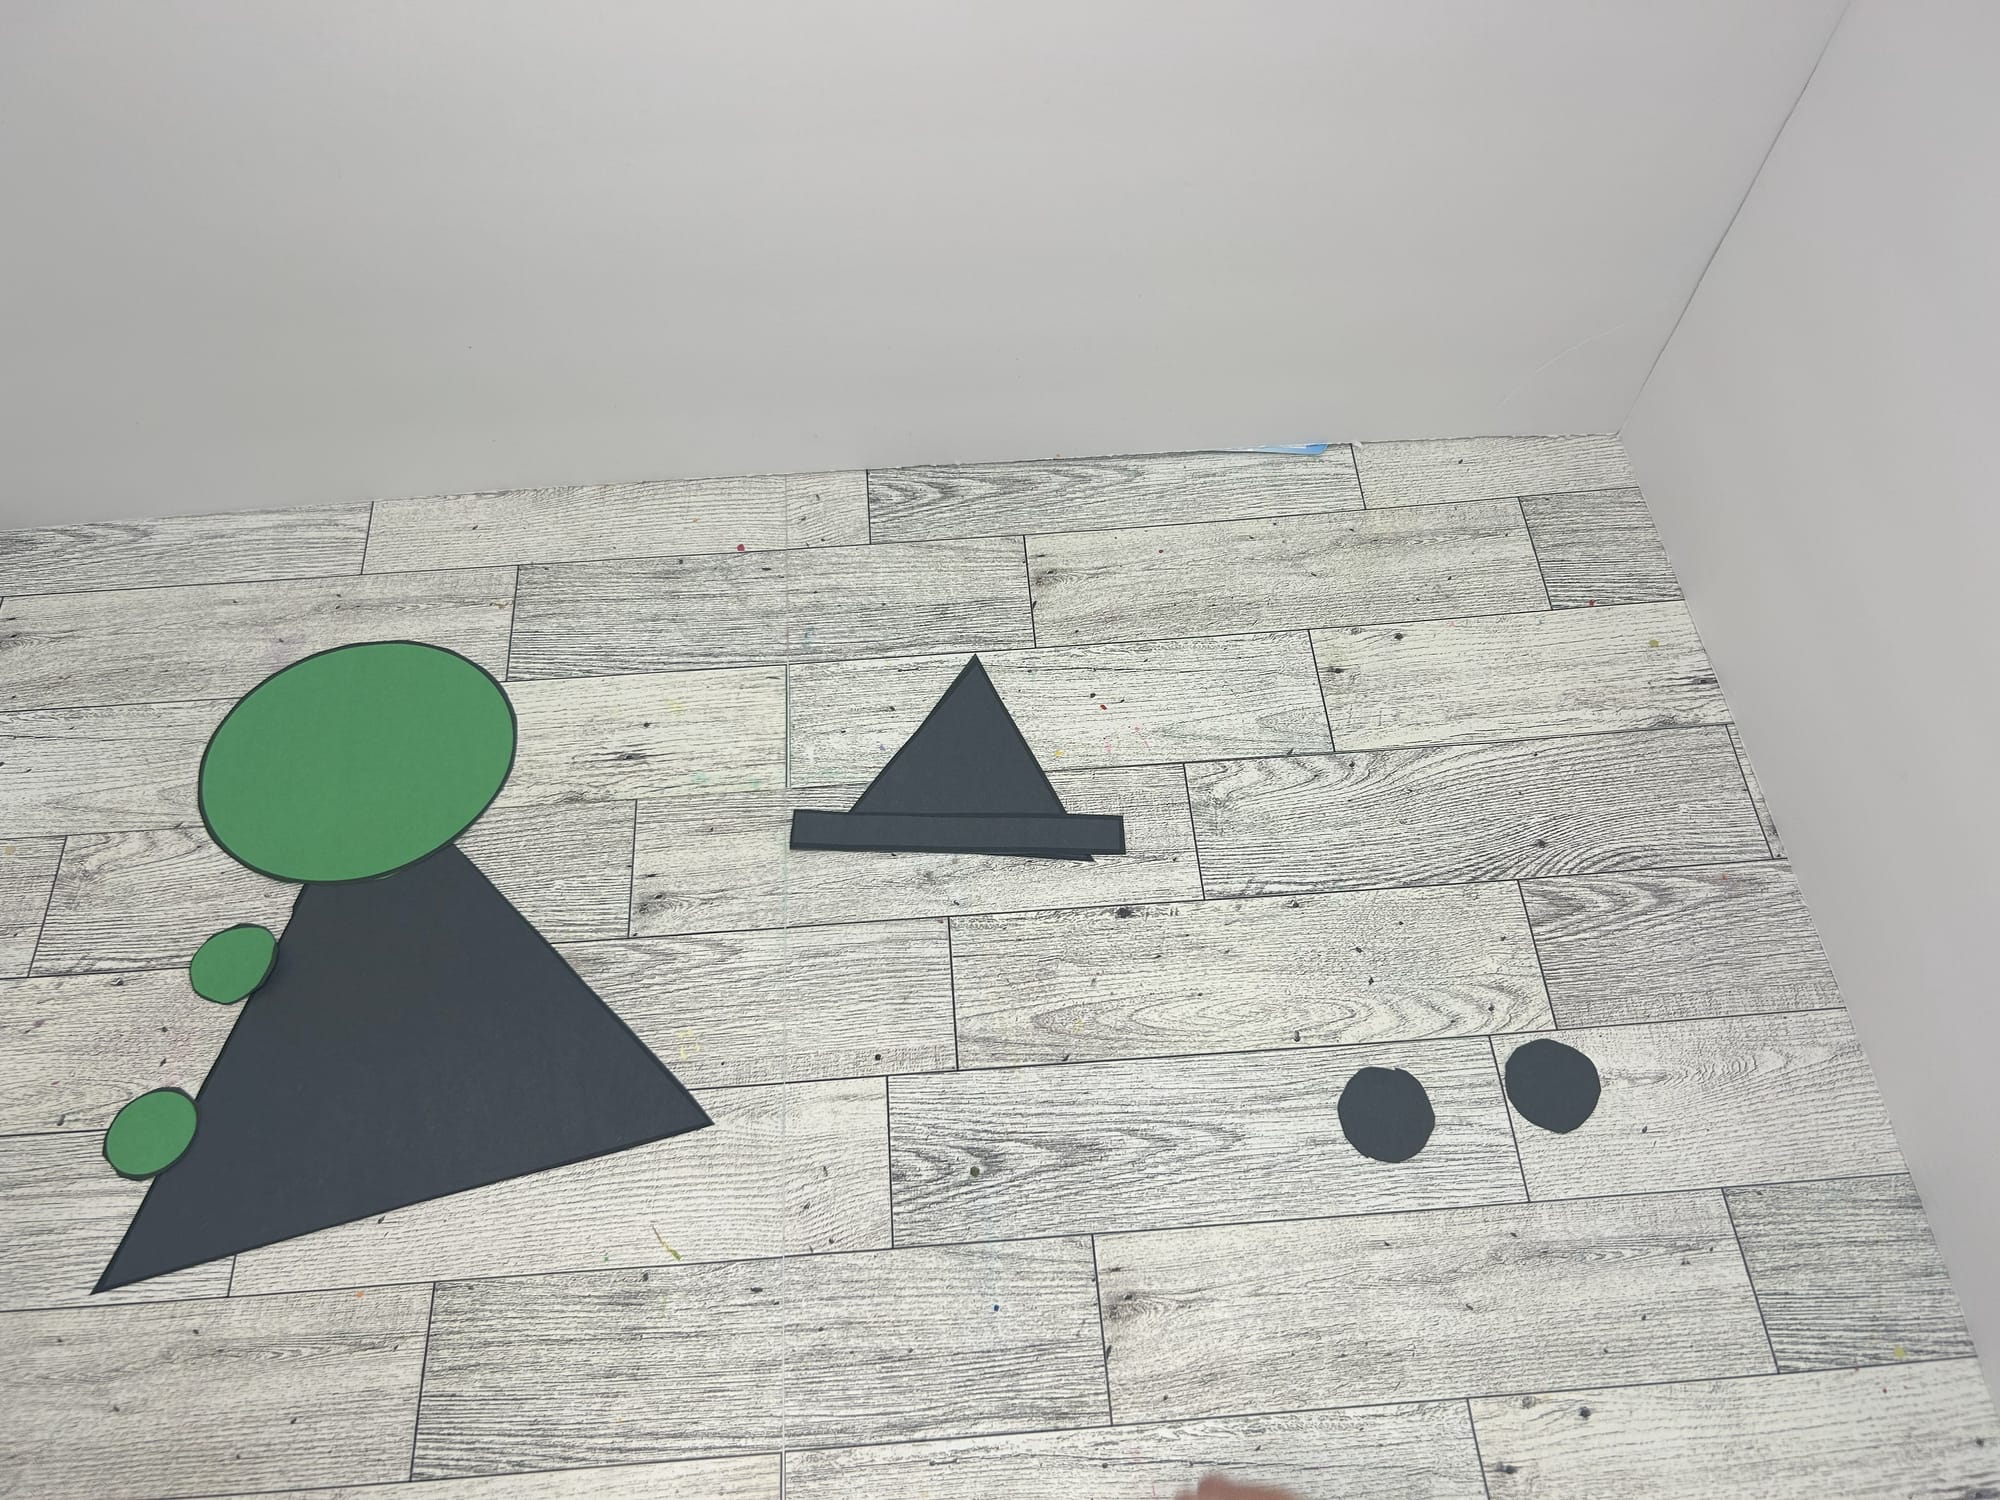
- Print out shape witch template. You can print on colored paper of color the template.
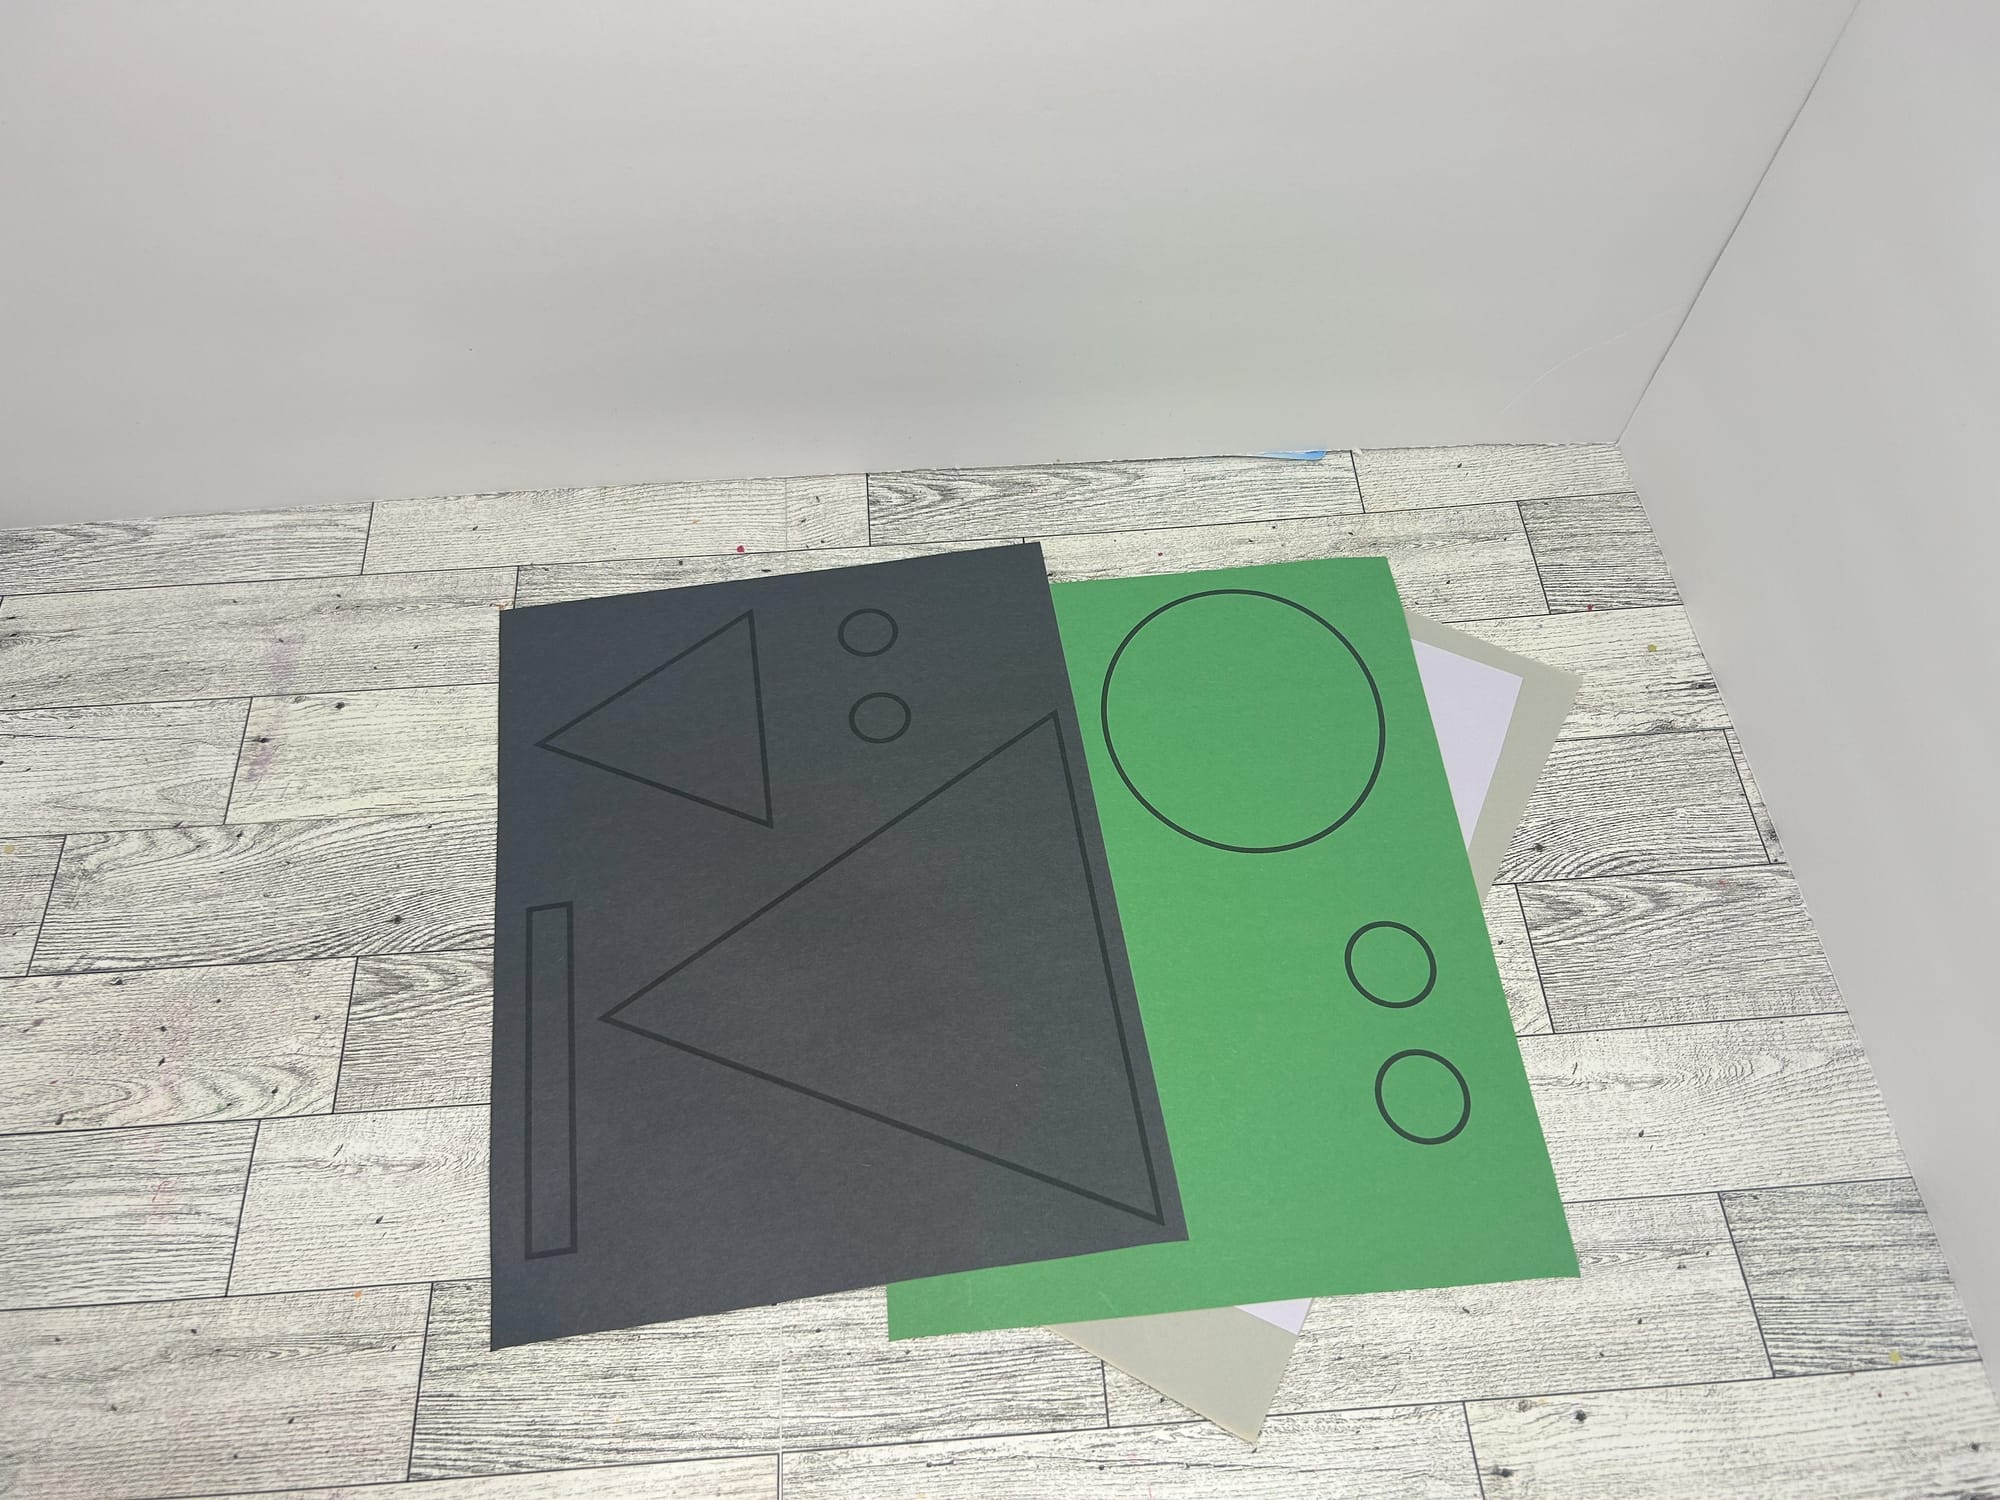
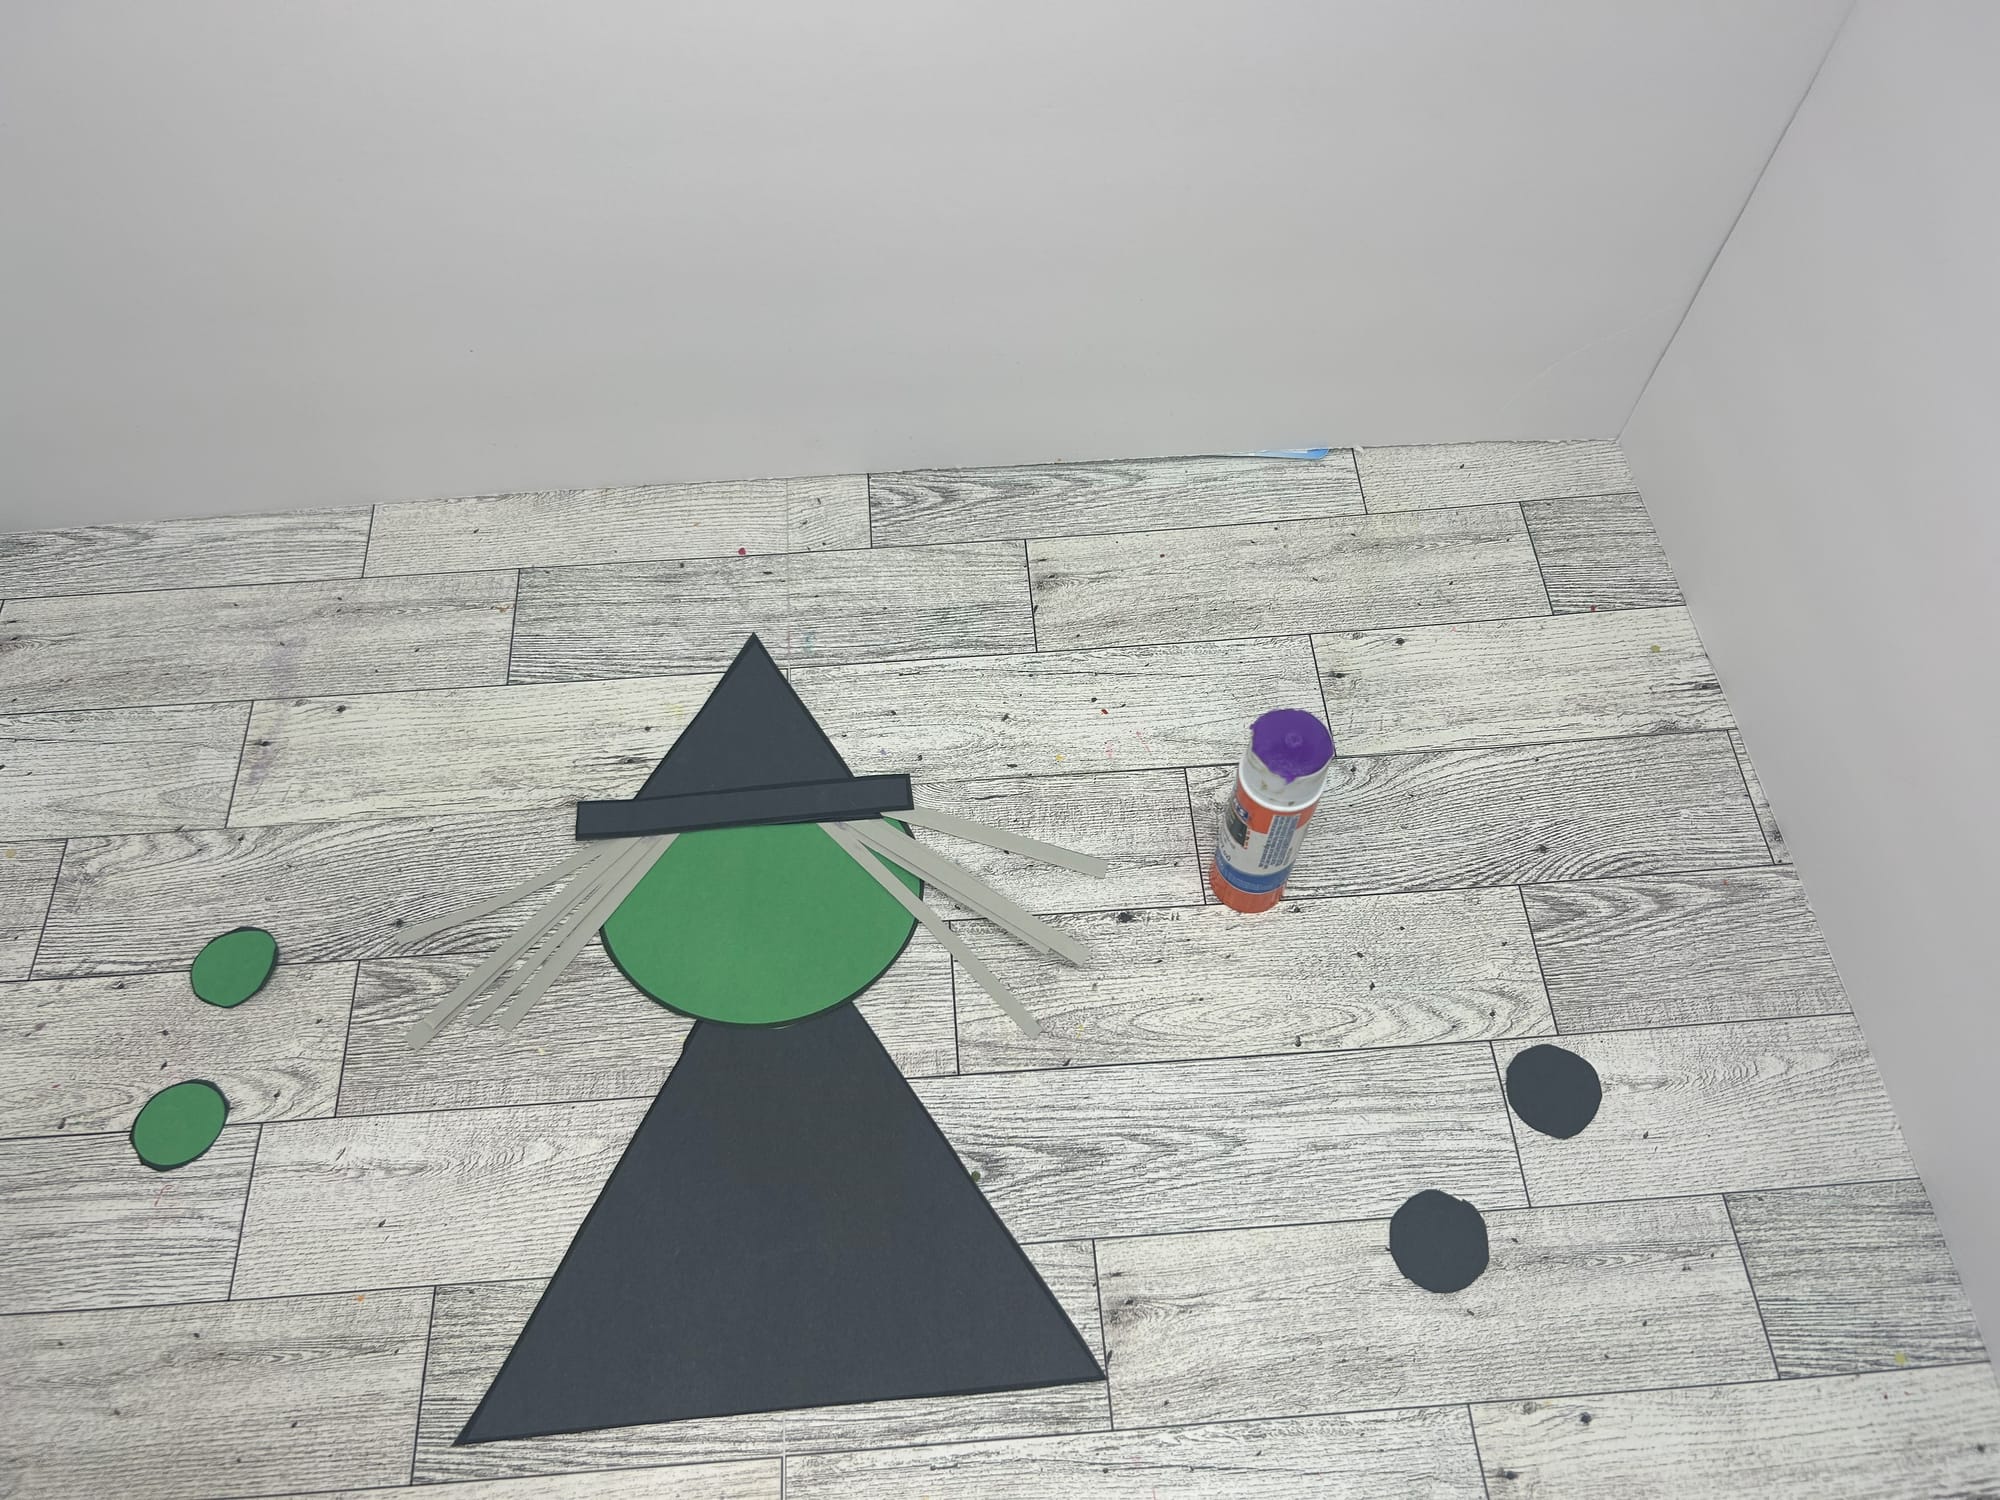
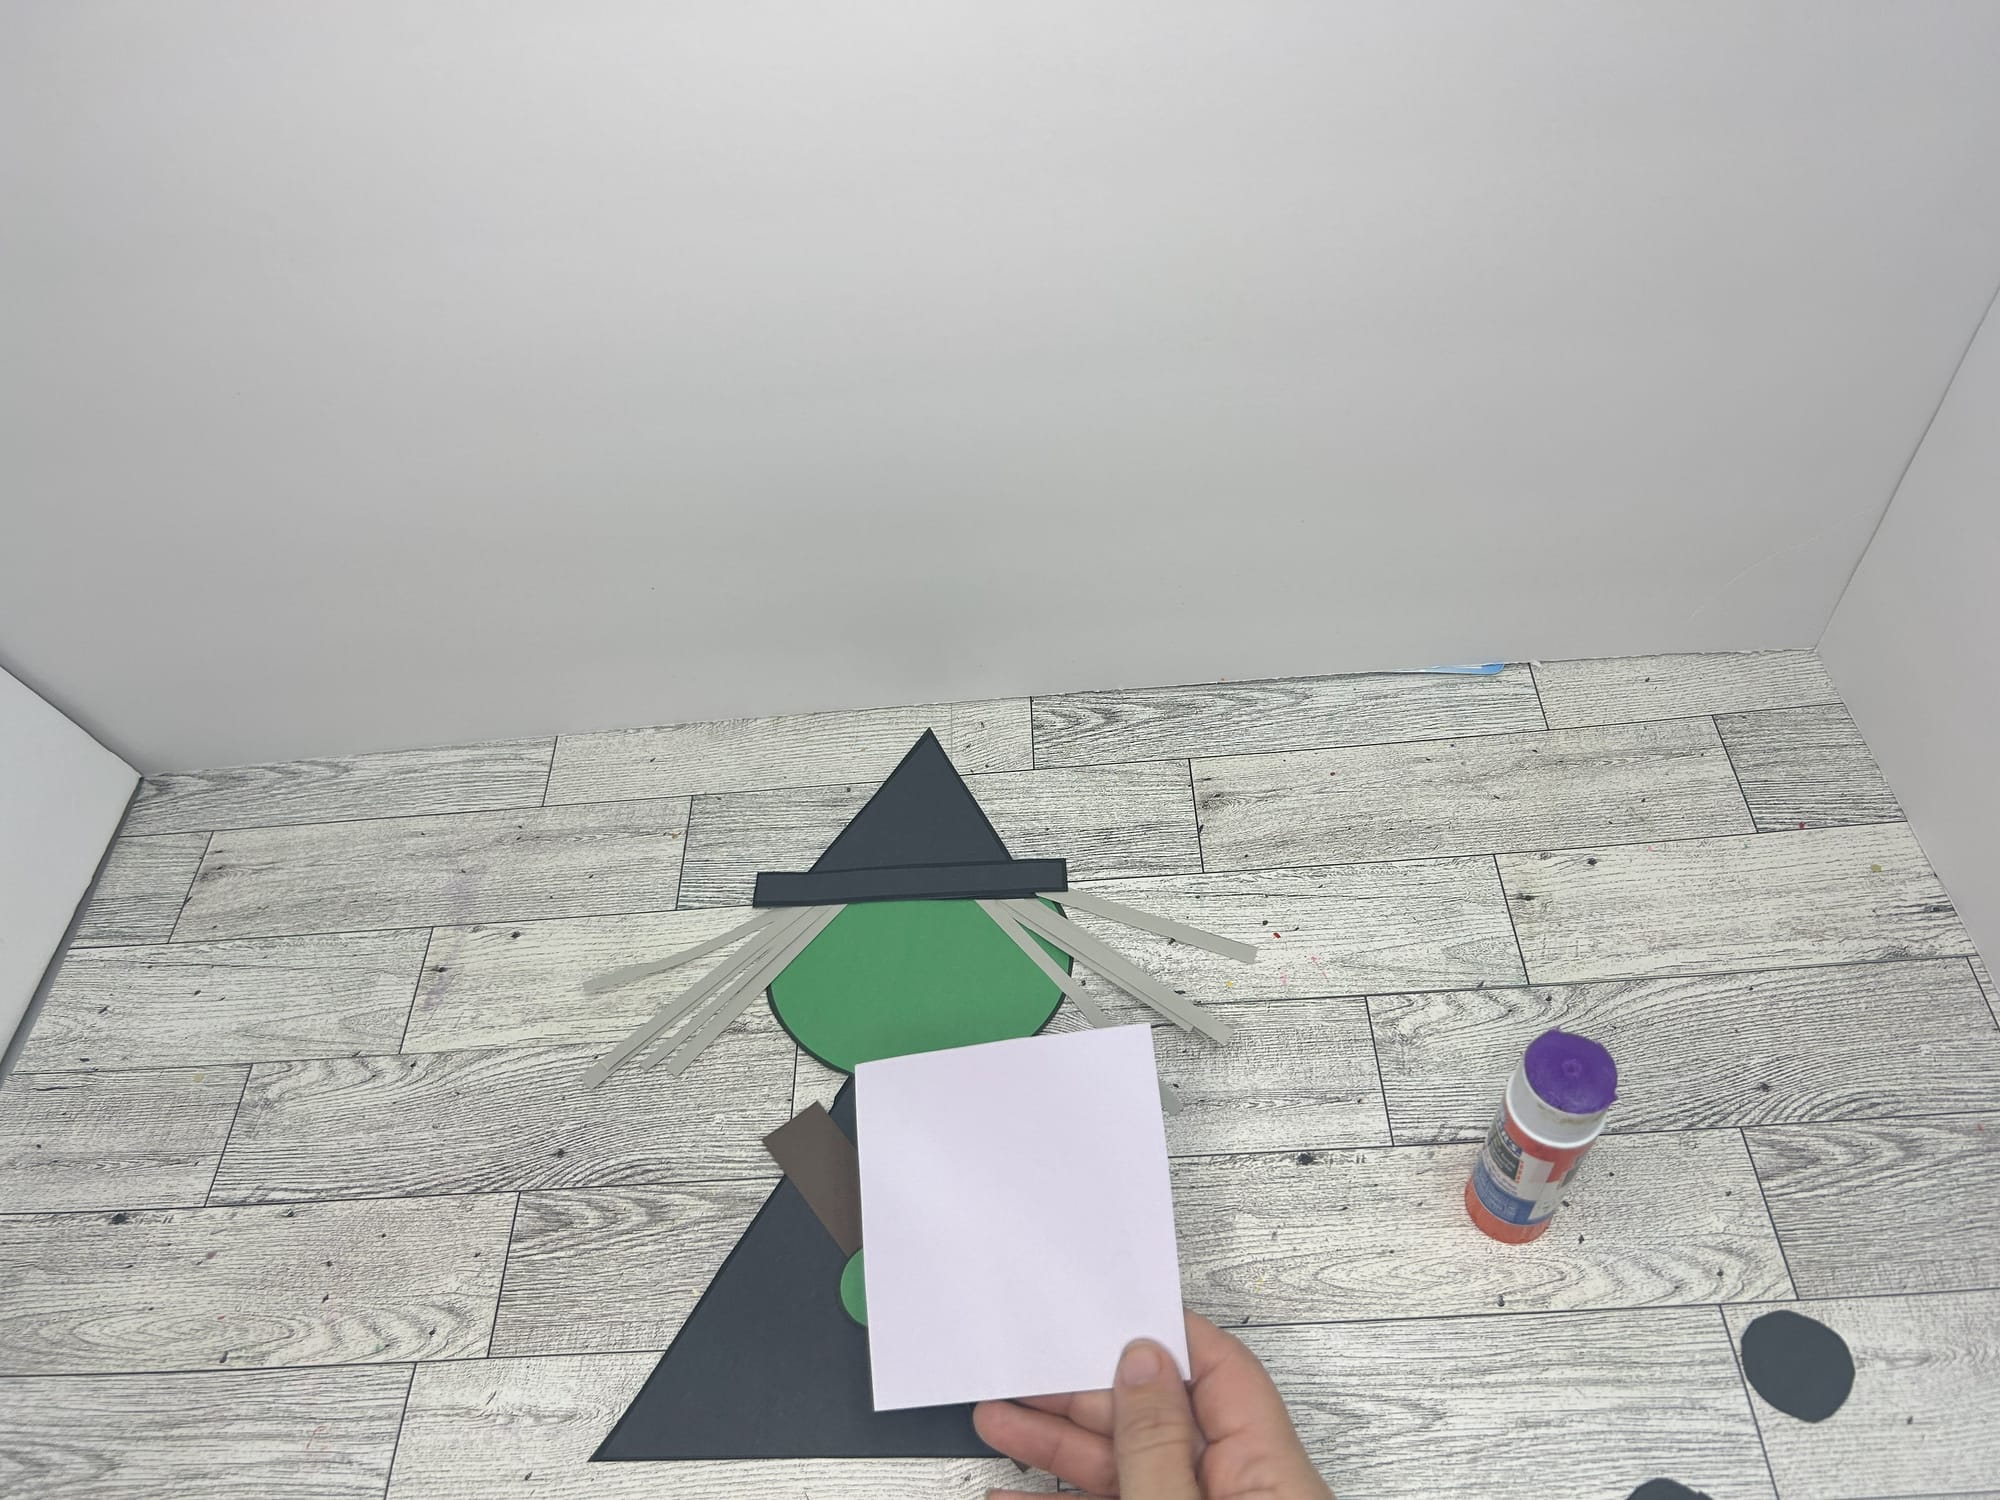
- Cut out the shapes needed to create the witch. Glue the large green circle to the large black triangle to create the witch's body.
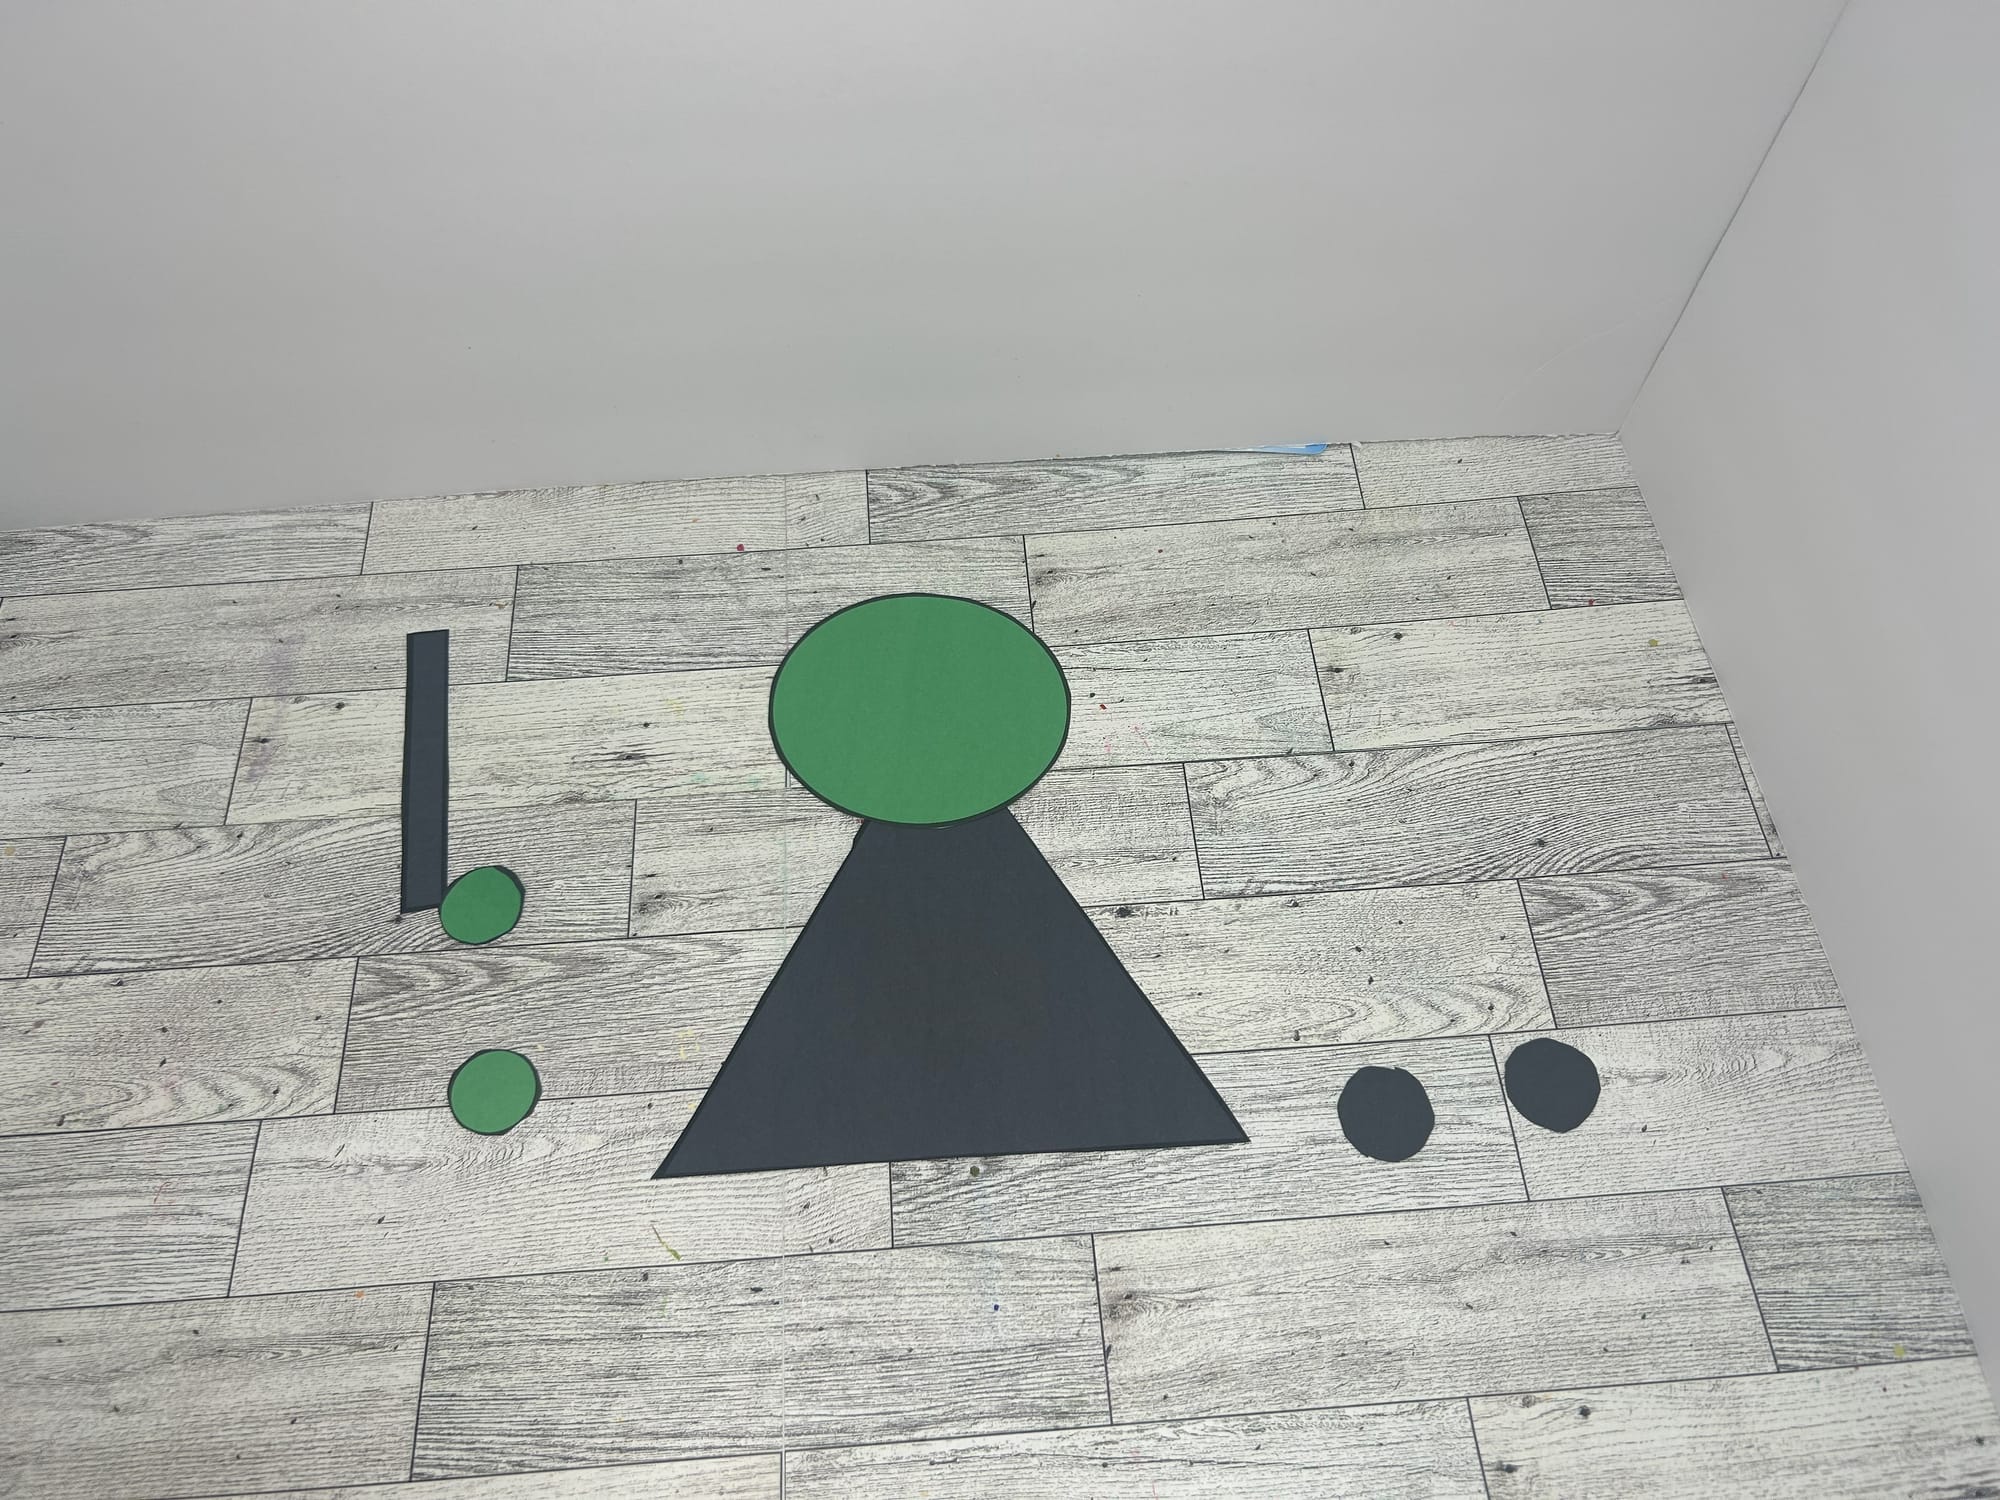
- Next, glue the small thin rectangle to the bottom of the black triangle.
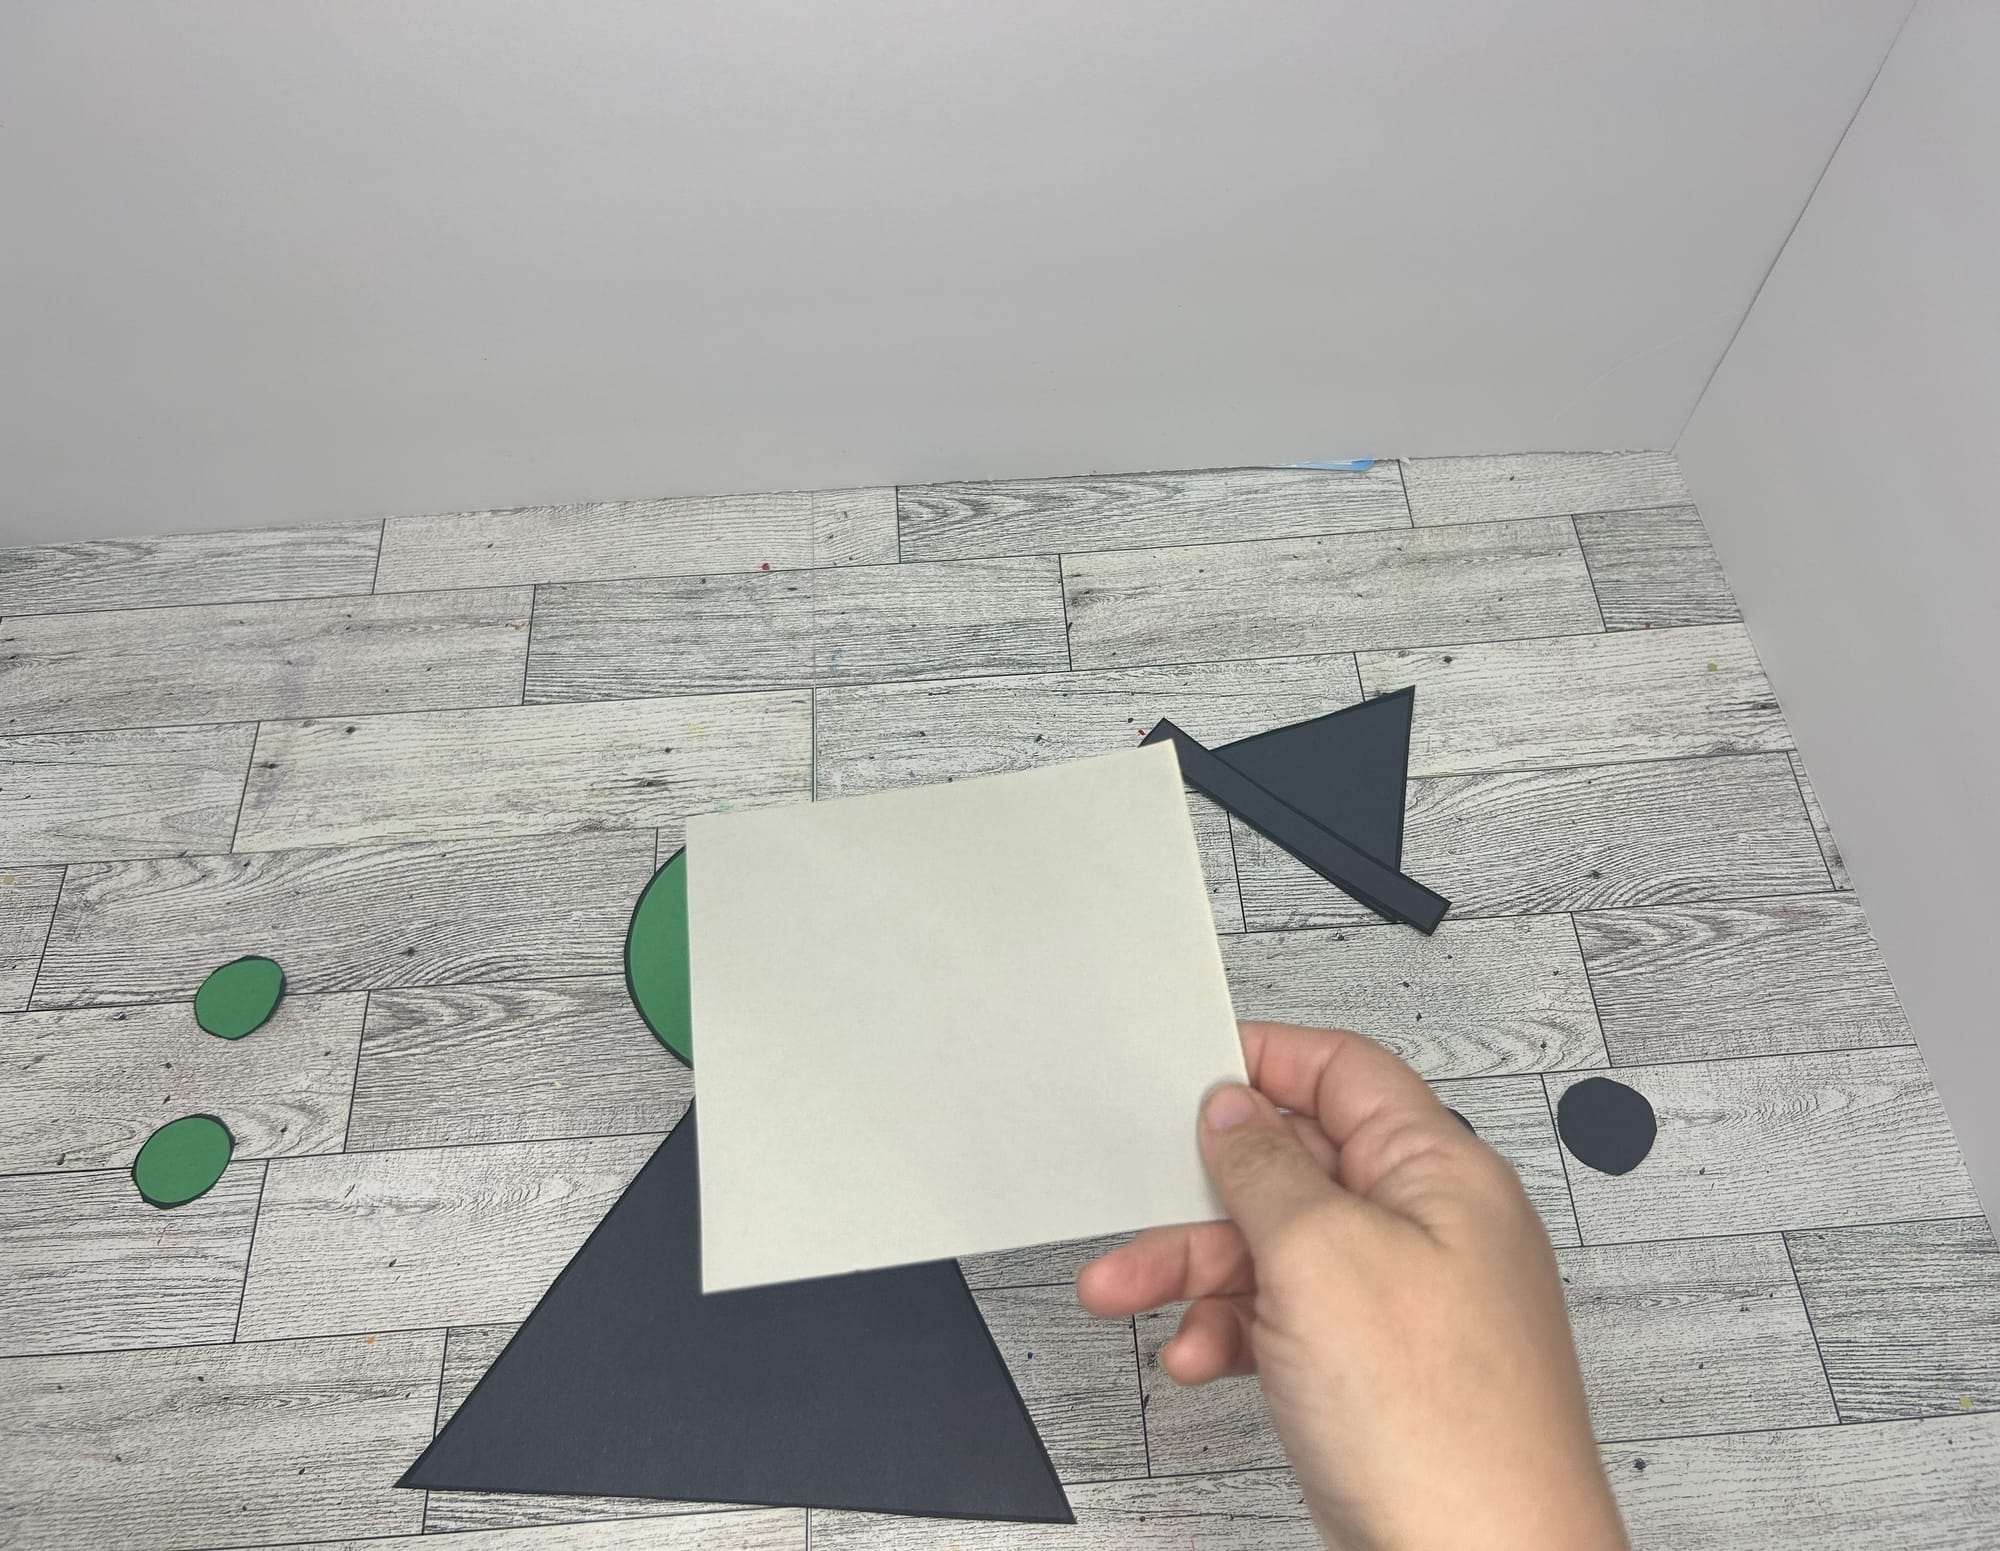
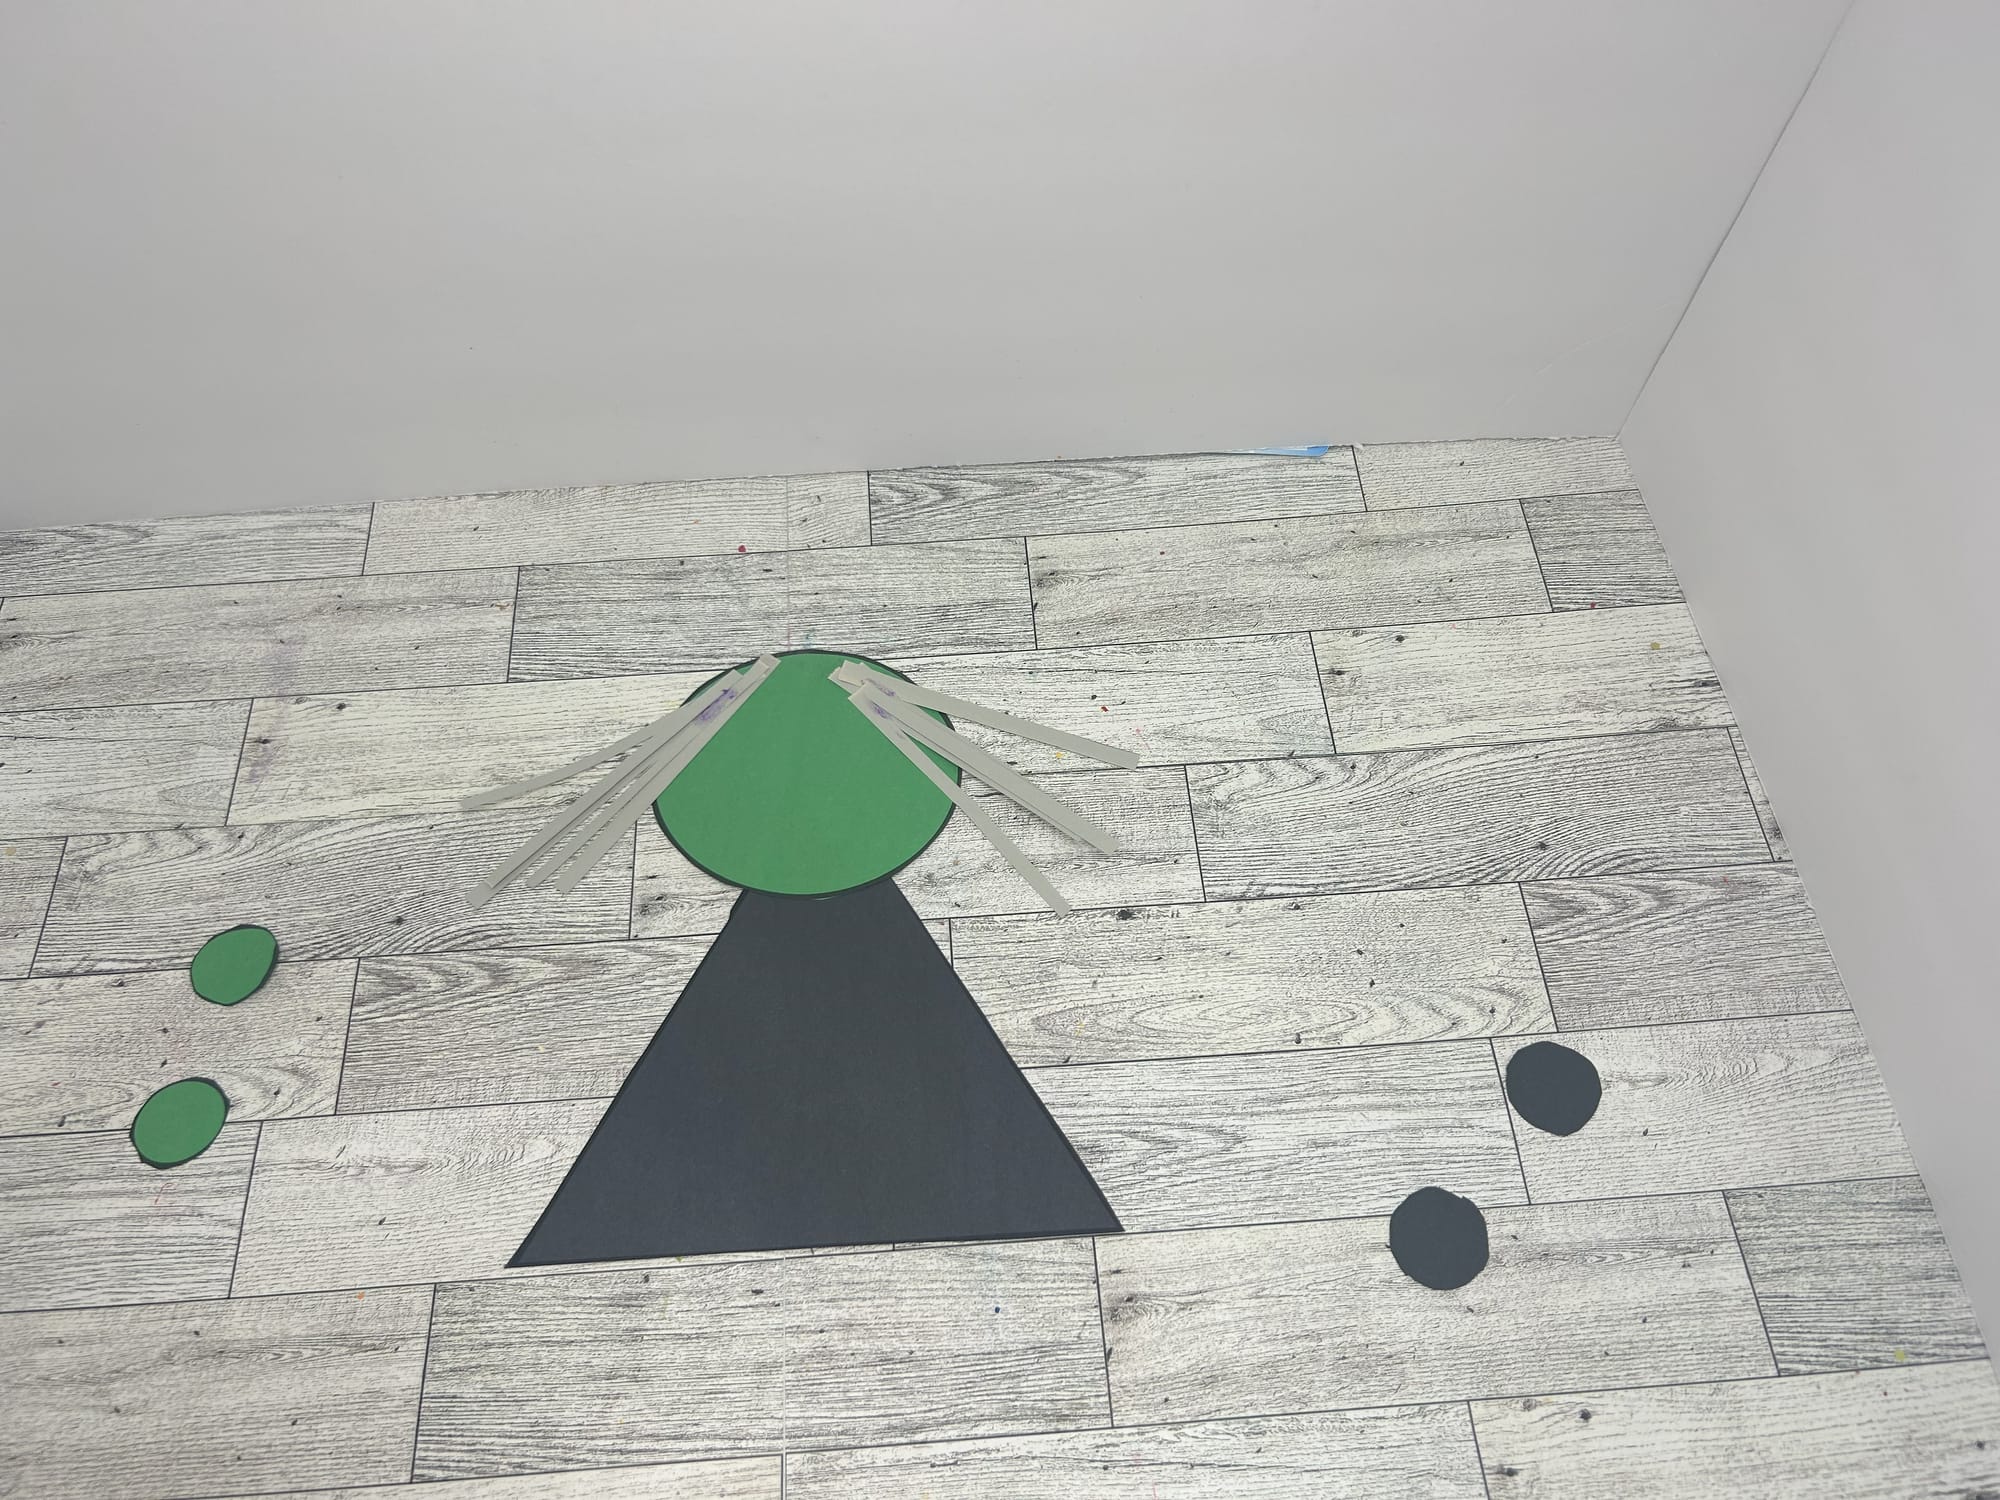
- After, use scrap paper to create the hair. I chose gray for the hair but, you can choose any color your child wants. Have your child cut the paper into long, thin rectangle to create strands of hair. Then use a glue stick to glue the hair on both sides of the green circle. Don't worry about the middle because the hat will be glued in this spot.
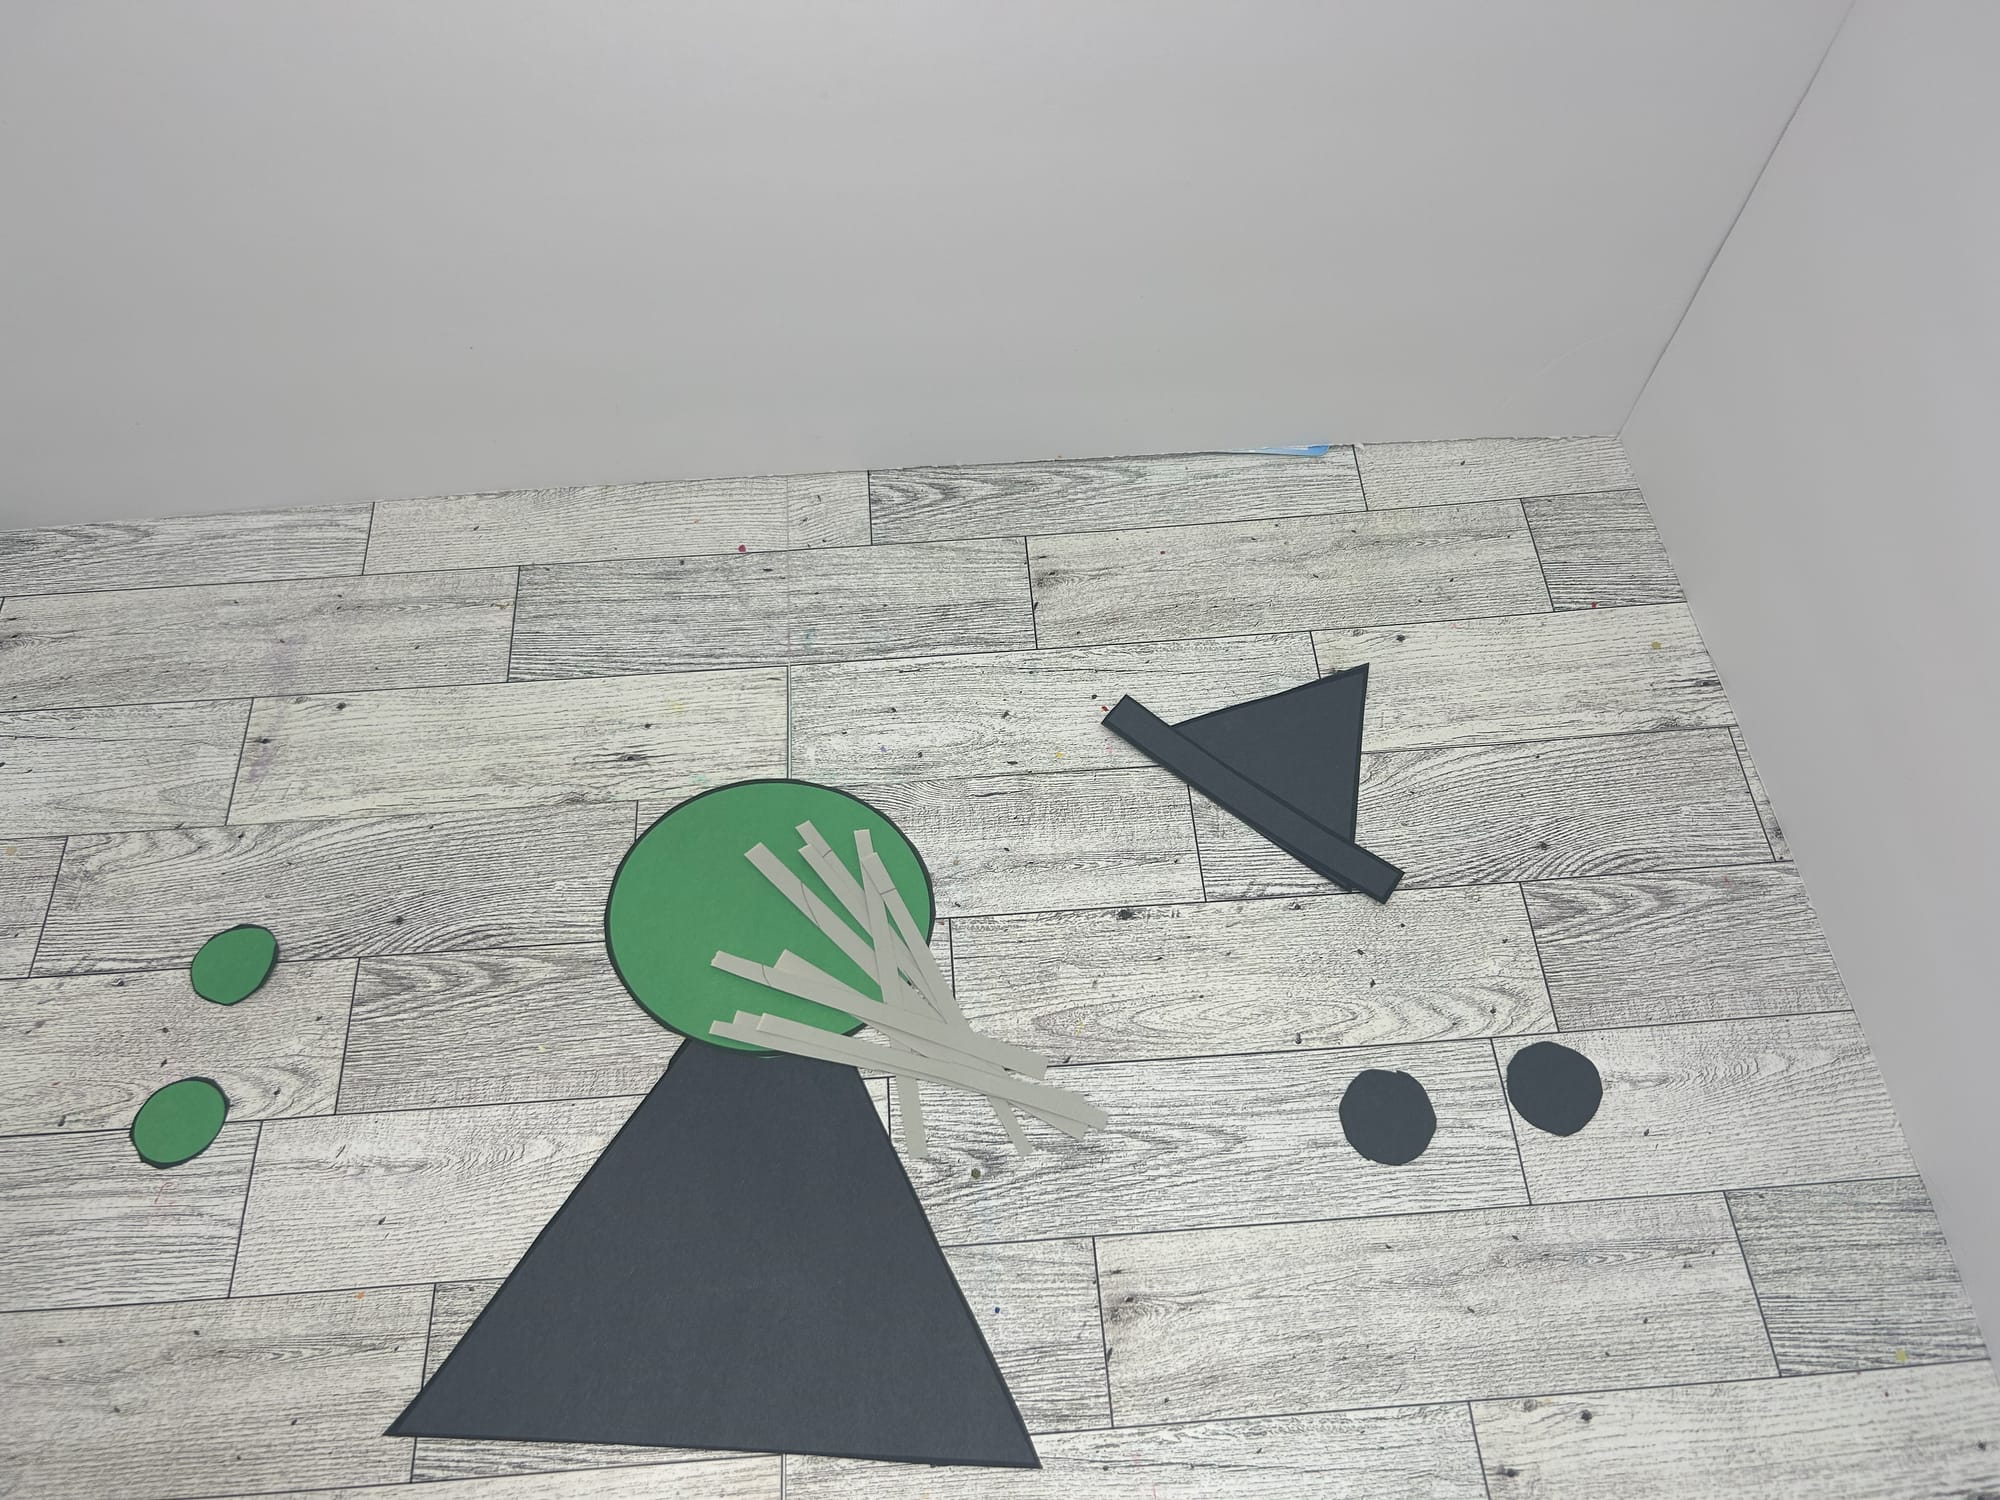
Create hair using a scrap piece of paper. Color of your choice.
- Glue the witch's hair in place on the middle of the head.
- Use a scrap piece of brown paper to make a broom. Cut the brown paper into a rectangle shape. Then have your child cut strips at the end to make the end of the broom stick. Glue the broom stick onto the witch's body.
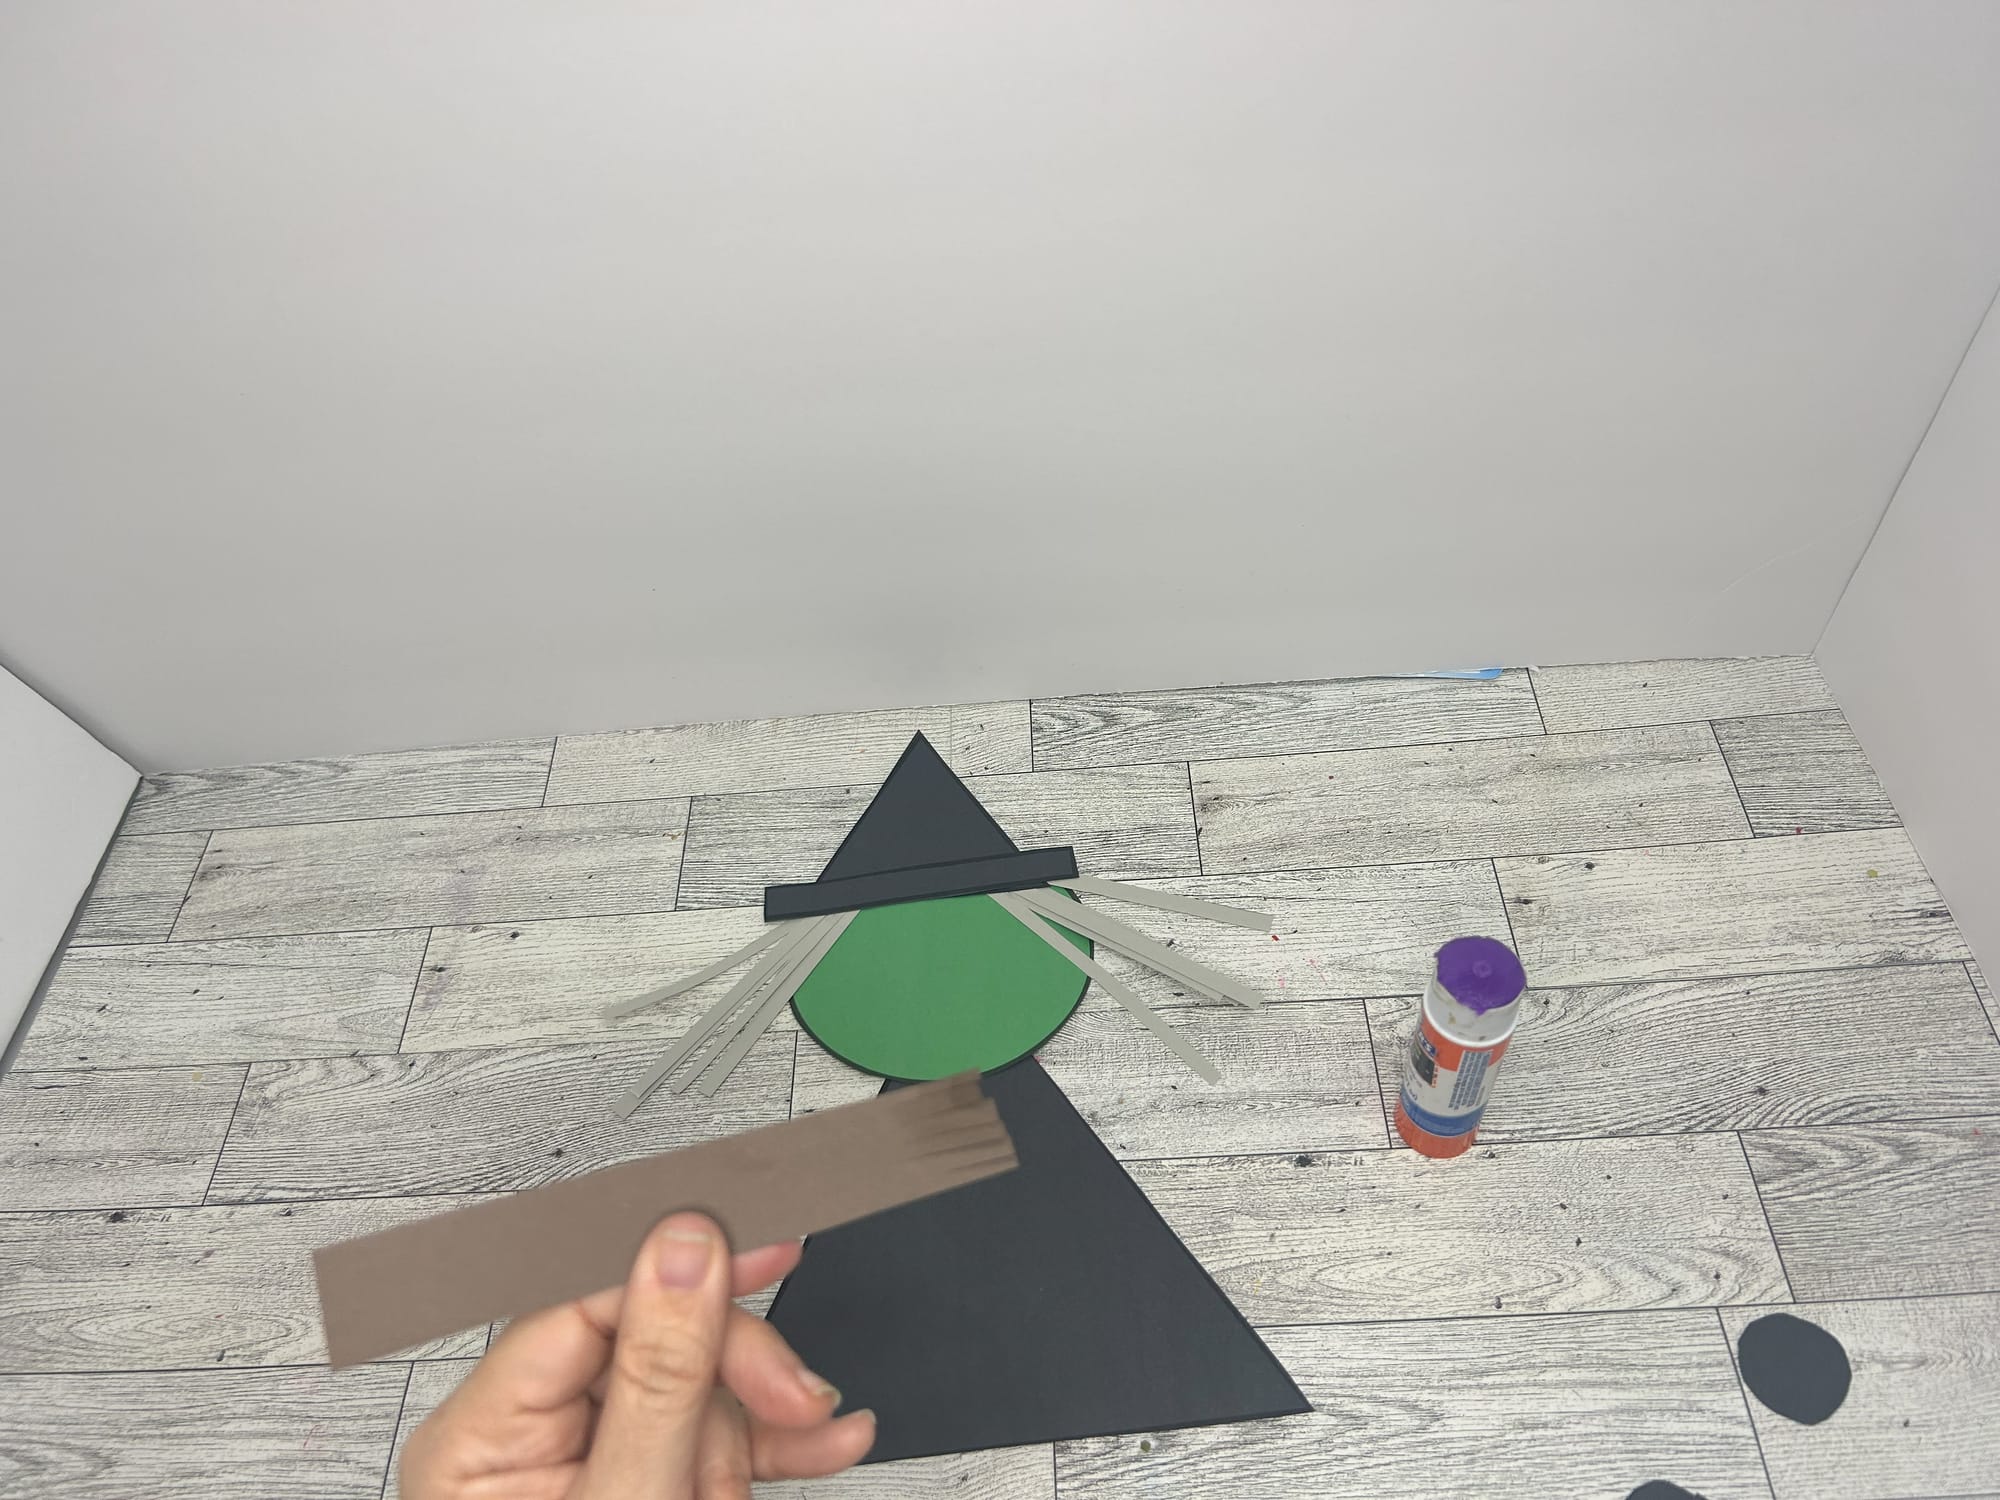
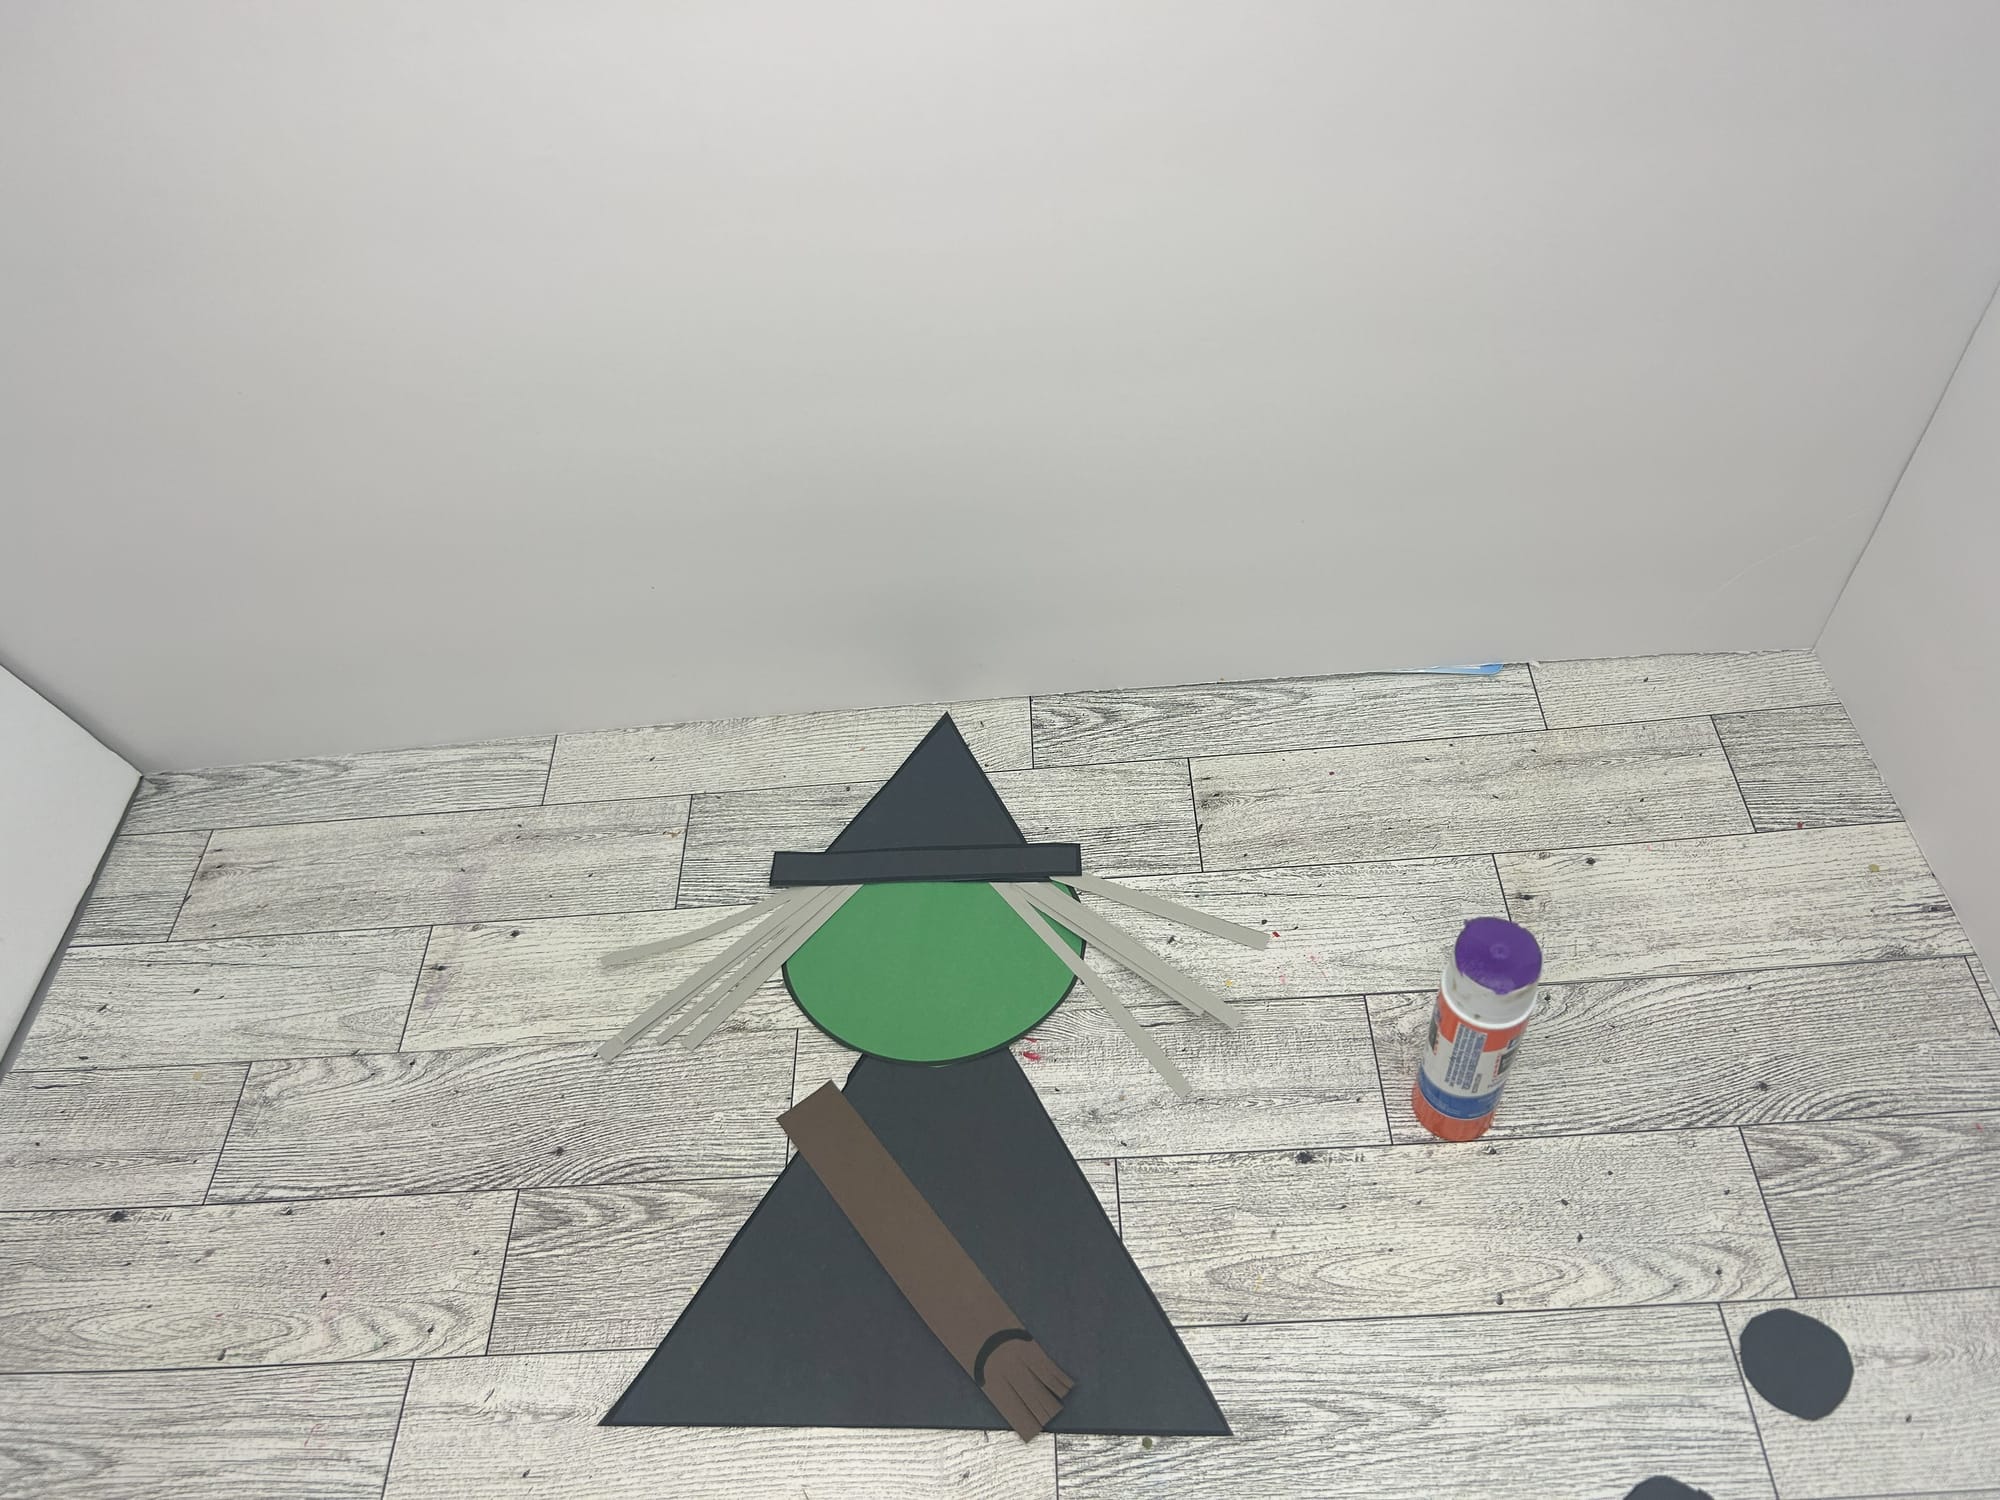
Create a broom stick with a brown rectangle.
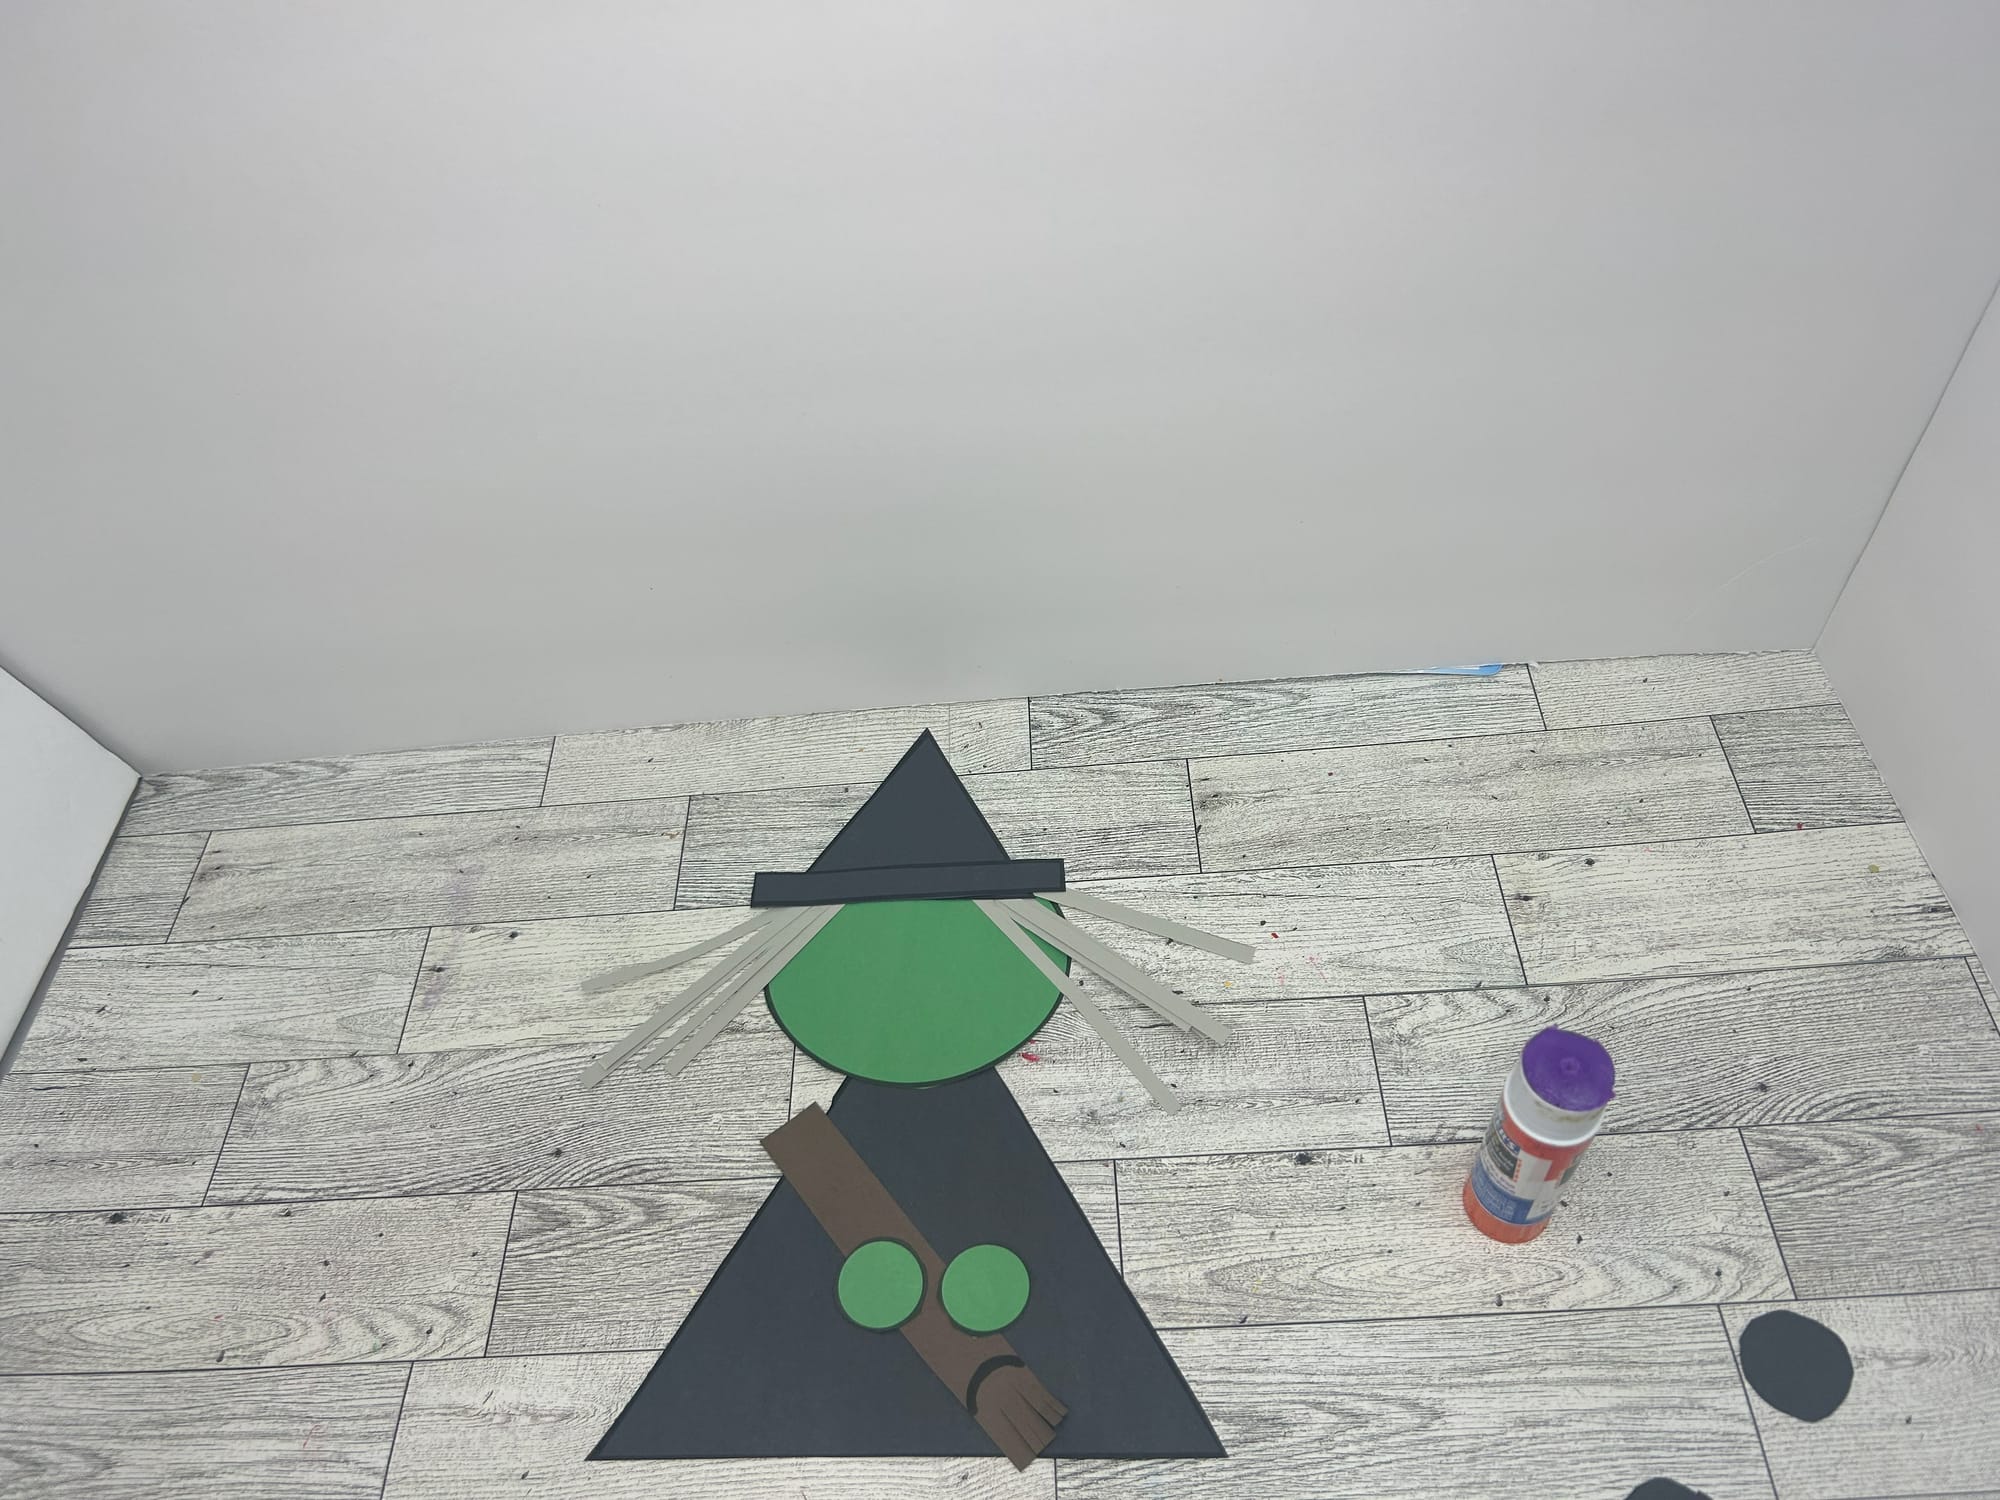
- Glue the two green circles on top of the broom stick as the witch's hands.
- Next, you will make the witch's legs. I chose a purple piece of scrap paper and cut it into two rectangles for legs. I drew stripes on the legs and added the two black circles for feet.
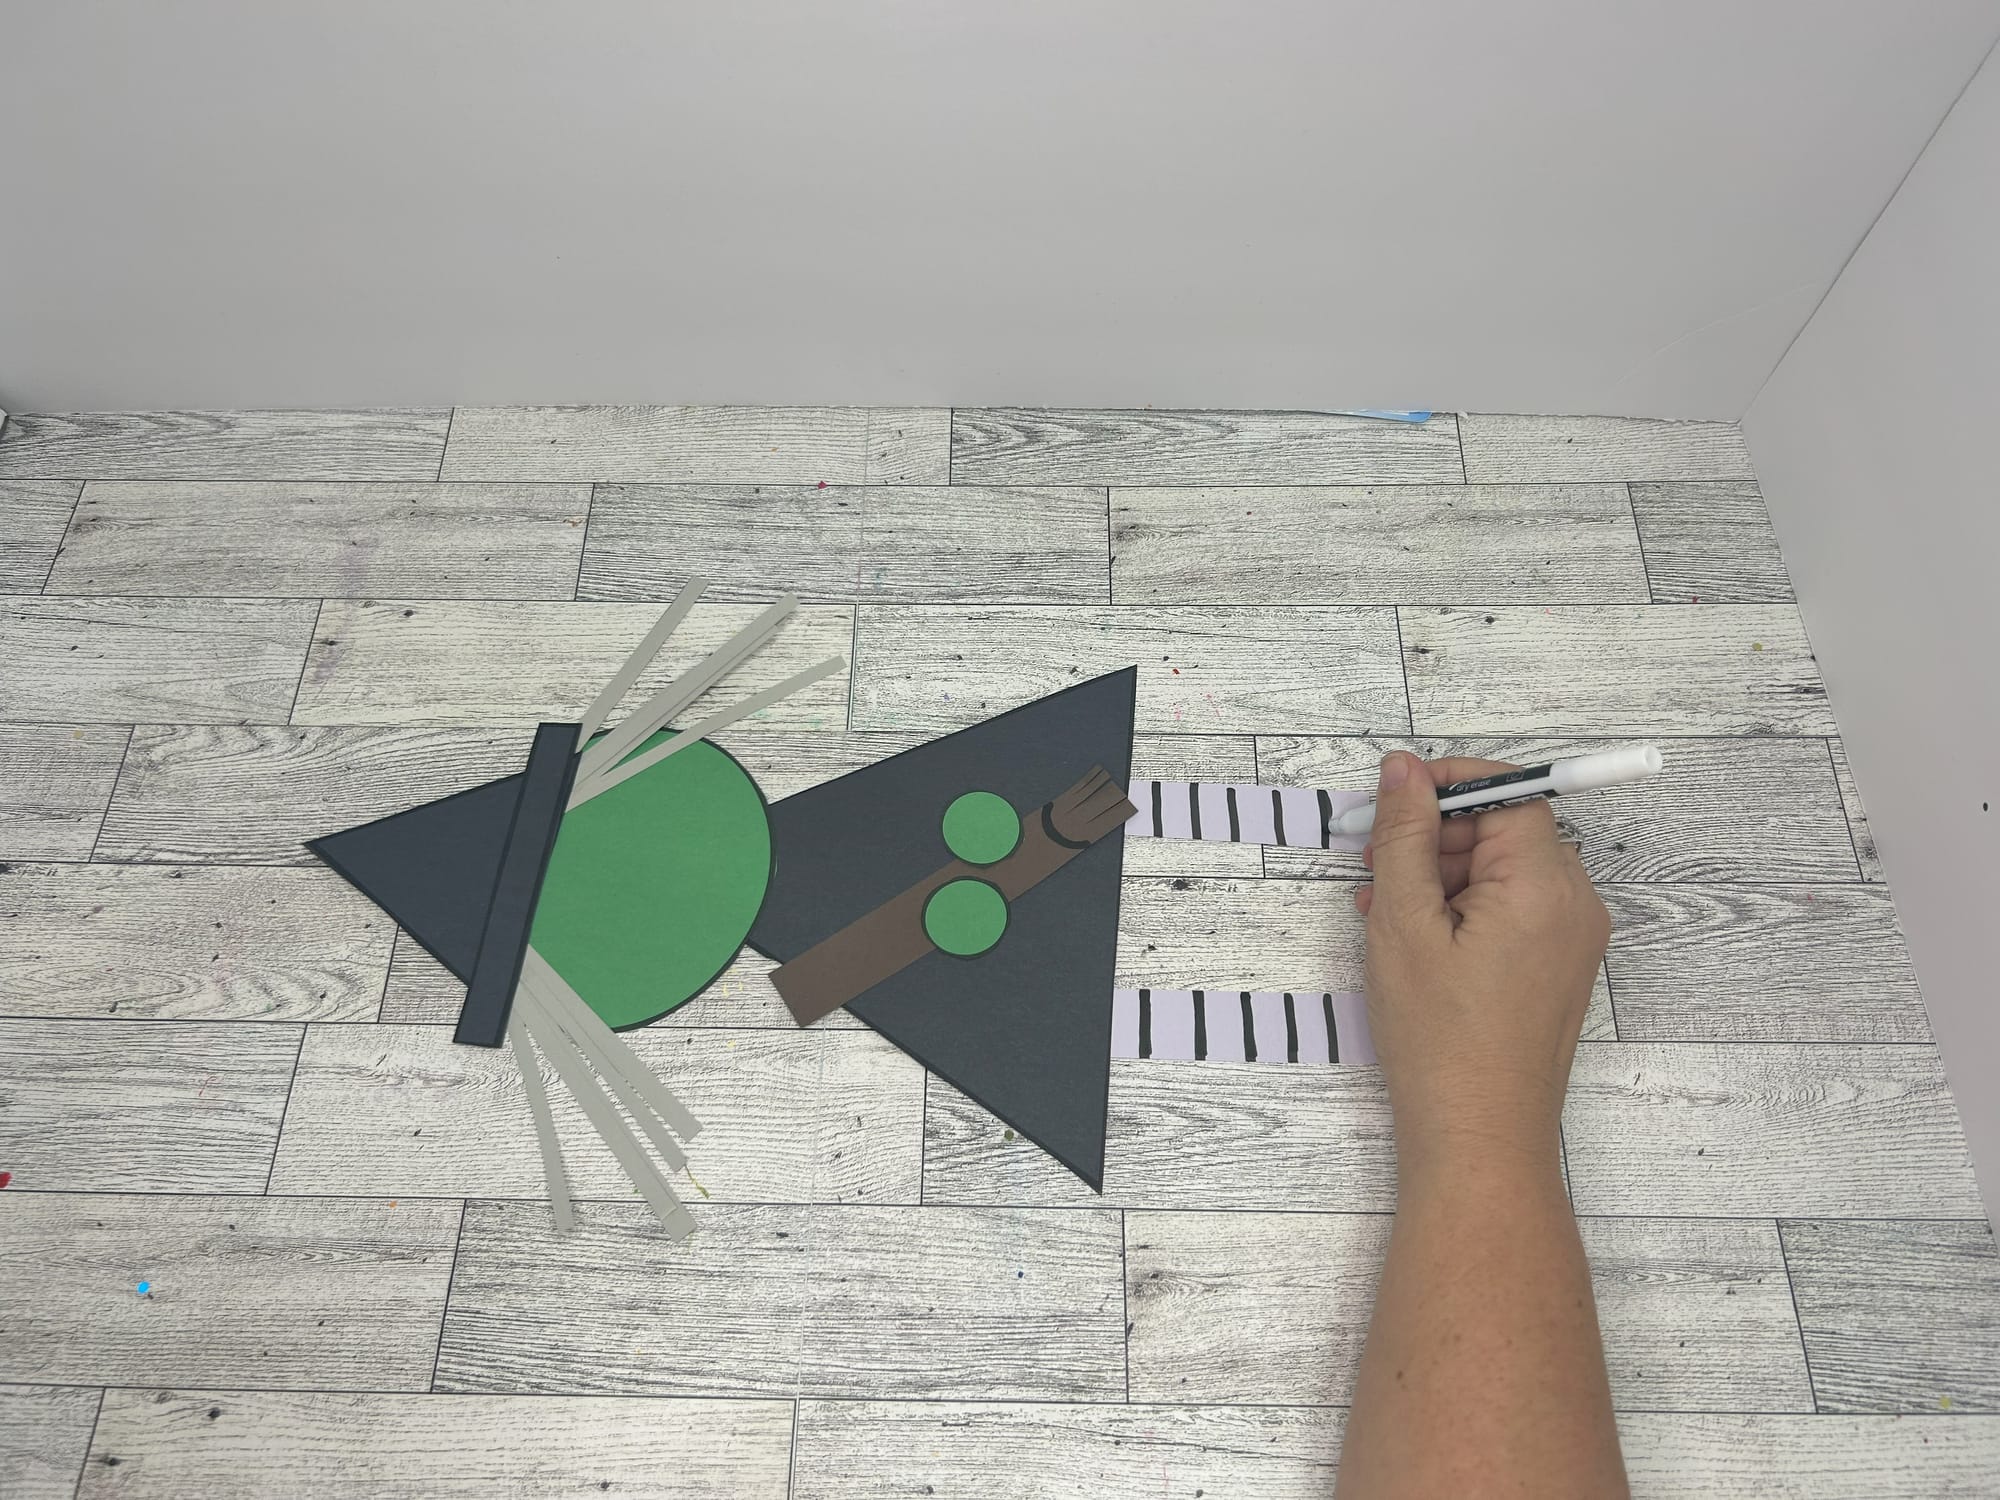

Use a black marker to create stripes on the witch's legs.
- Use a black marker to add a face to your witch. I made mine with simple eyes and a sweet smile.