Shape School Bus

Heading back to school sometimes involves riding the school bus. It is so exciting for children. When I taught first grade, the kids even loved riding the big, yellow school bus to go on field trips. Creating a school bus using shapes is a great way to practice, fine motor skills like cutting along with identifying basic shapes.
Identifying shapes
This school bus craft activity includes rectangles, squares, circles and an octagon. As your child works to cut out the shapes don't stress if they are not cut perfectly. You can however ask you child, What shape are you cutting out? How many squares are there? What shape should we color red, like a stop sign? What are some shapes you know that are not a part of this bus? These questions can lead to more conversation about the shape's other attributes as well.
Attributes of shapes
Take this activity a step further by teaching your child about attributes of shapes. Attributes are something about a shape that makes it similar or different from another shape. Start with simple attributes like size, color and number of sides. After you can move to number of corners and if the shape is open or closed.
Supplies:
- Yellow cardstock or construction paper
- White cardstock or printer paper
- Scissors
- Glue stick
- Markers
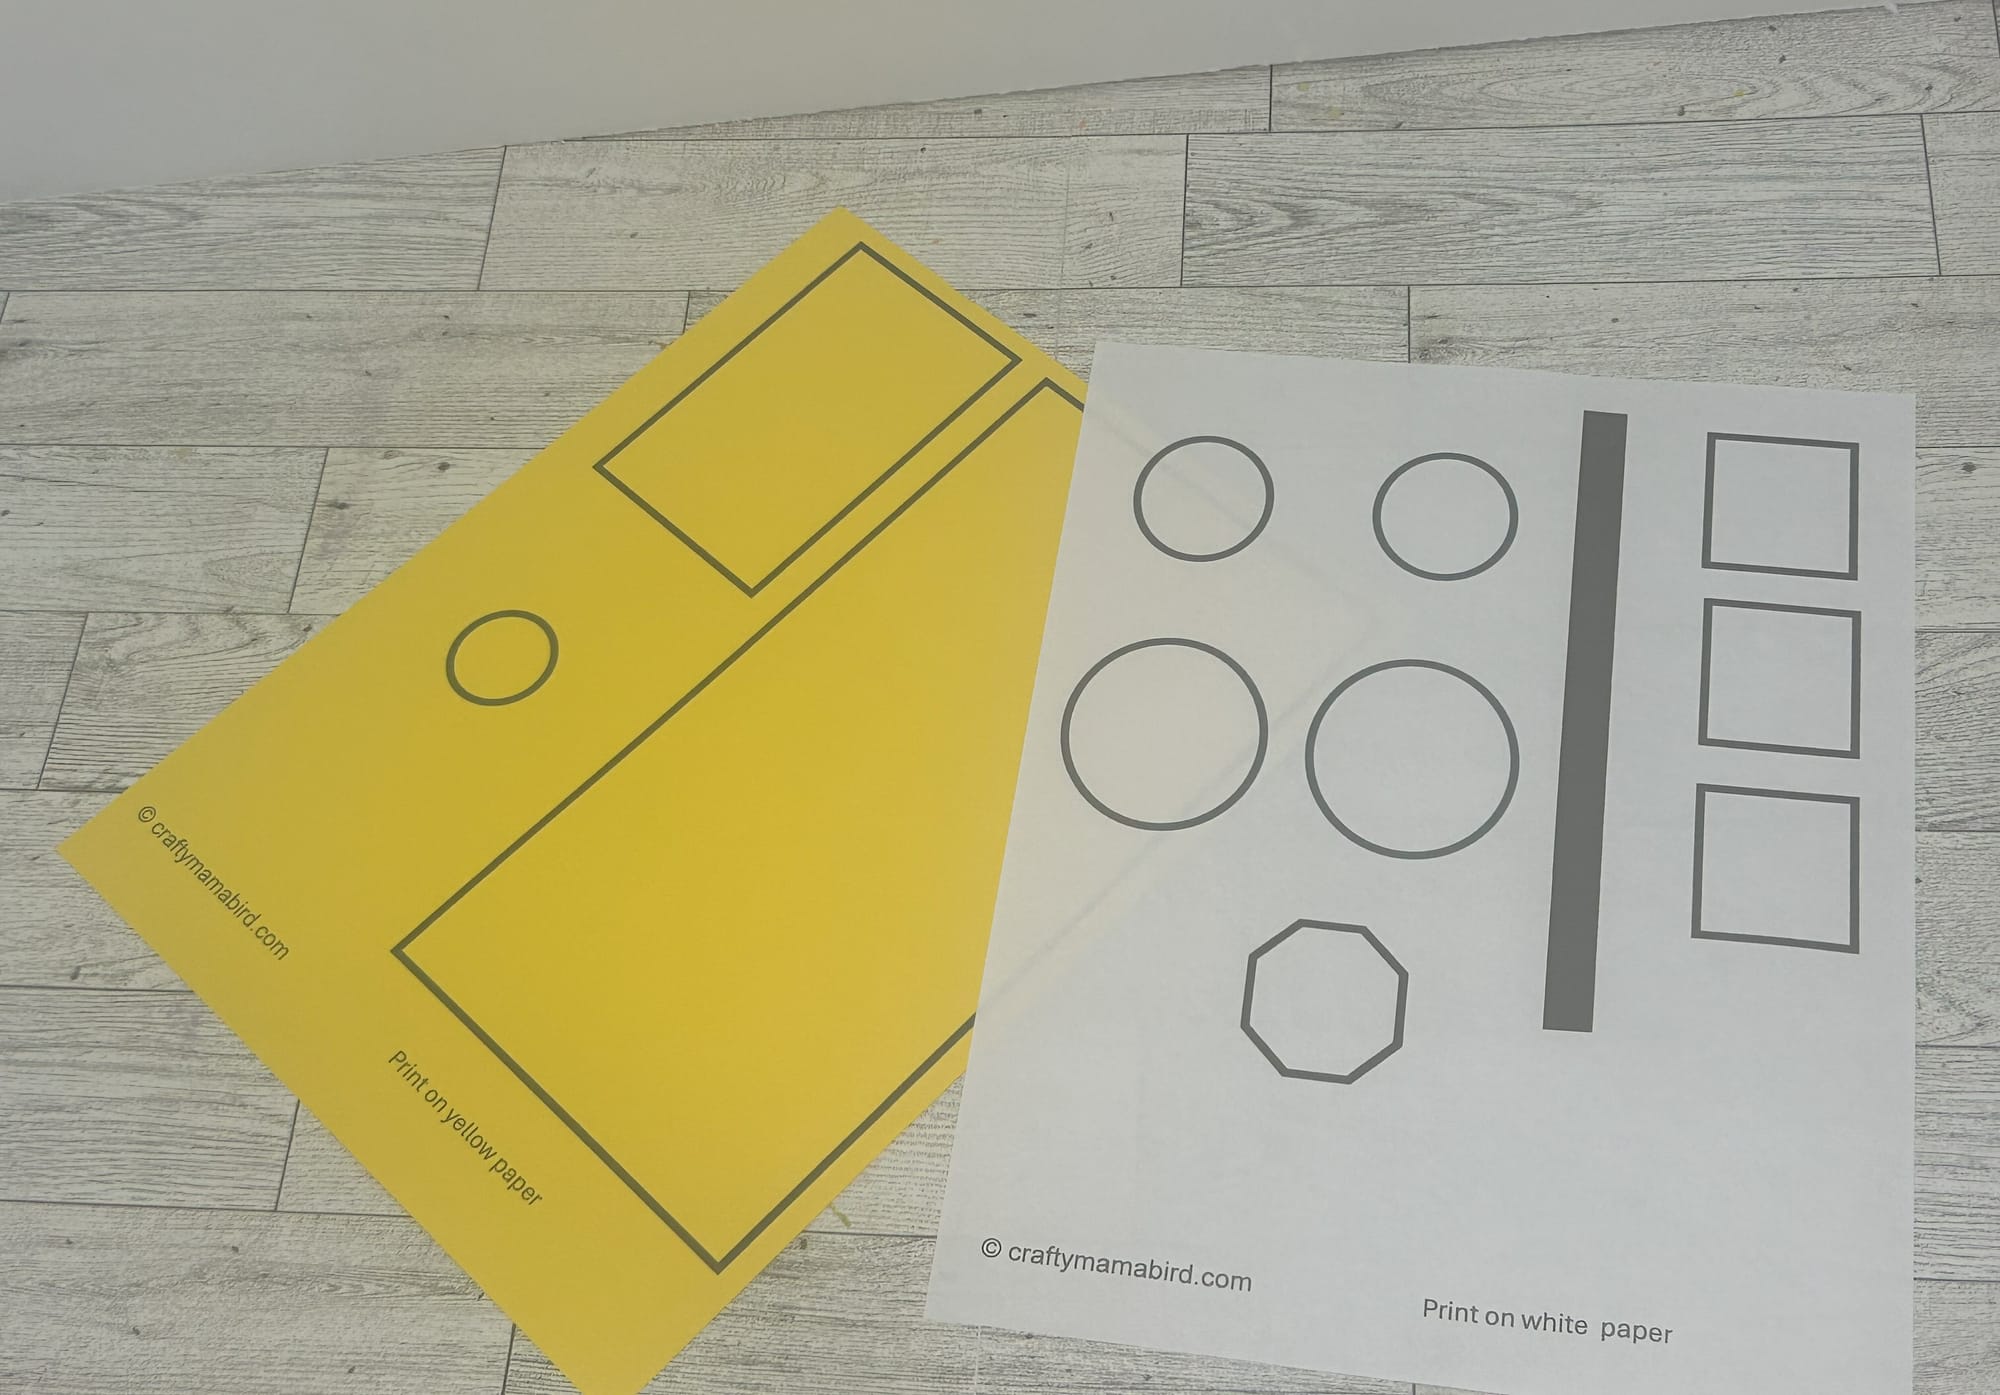
- Shape School Bus Template
Directions:
- Print out the school bus pieces on cardstock or construction paper. You can print on construction paper easily by trimming the paper to the same size as printer paper. Then simply pop it in your printer and print as you normally do.
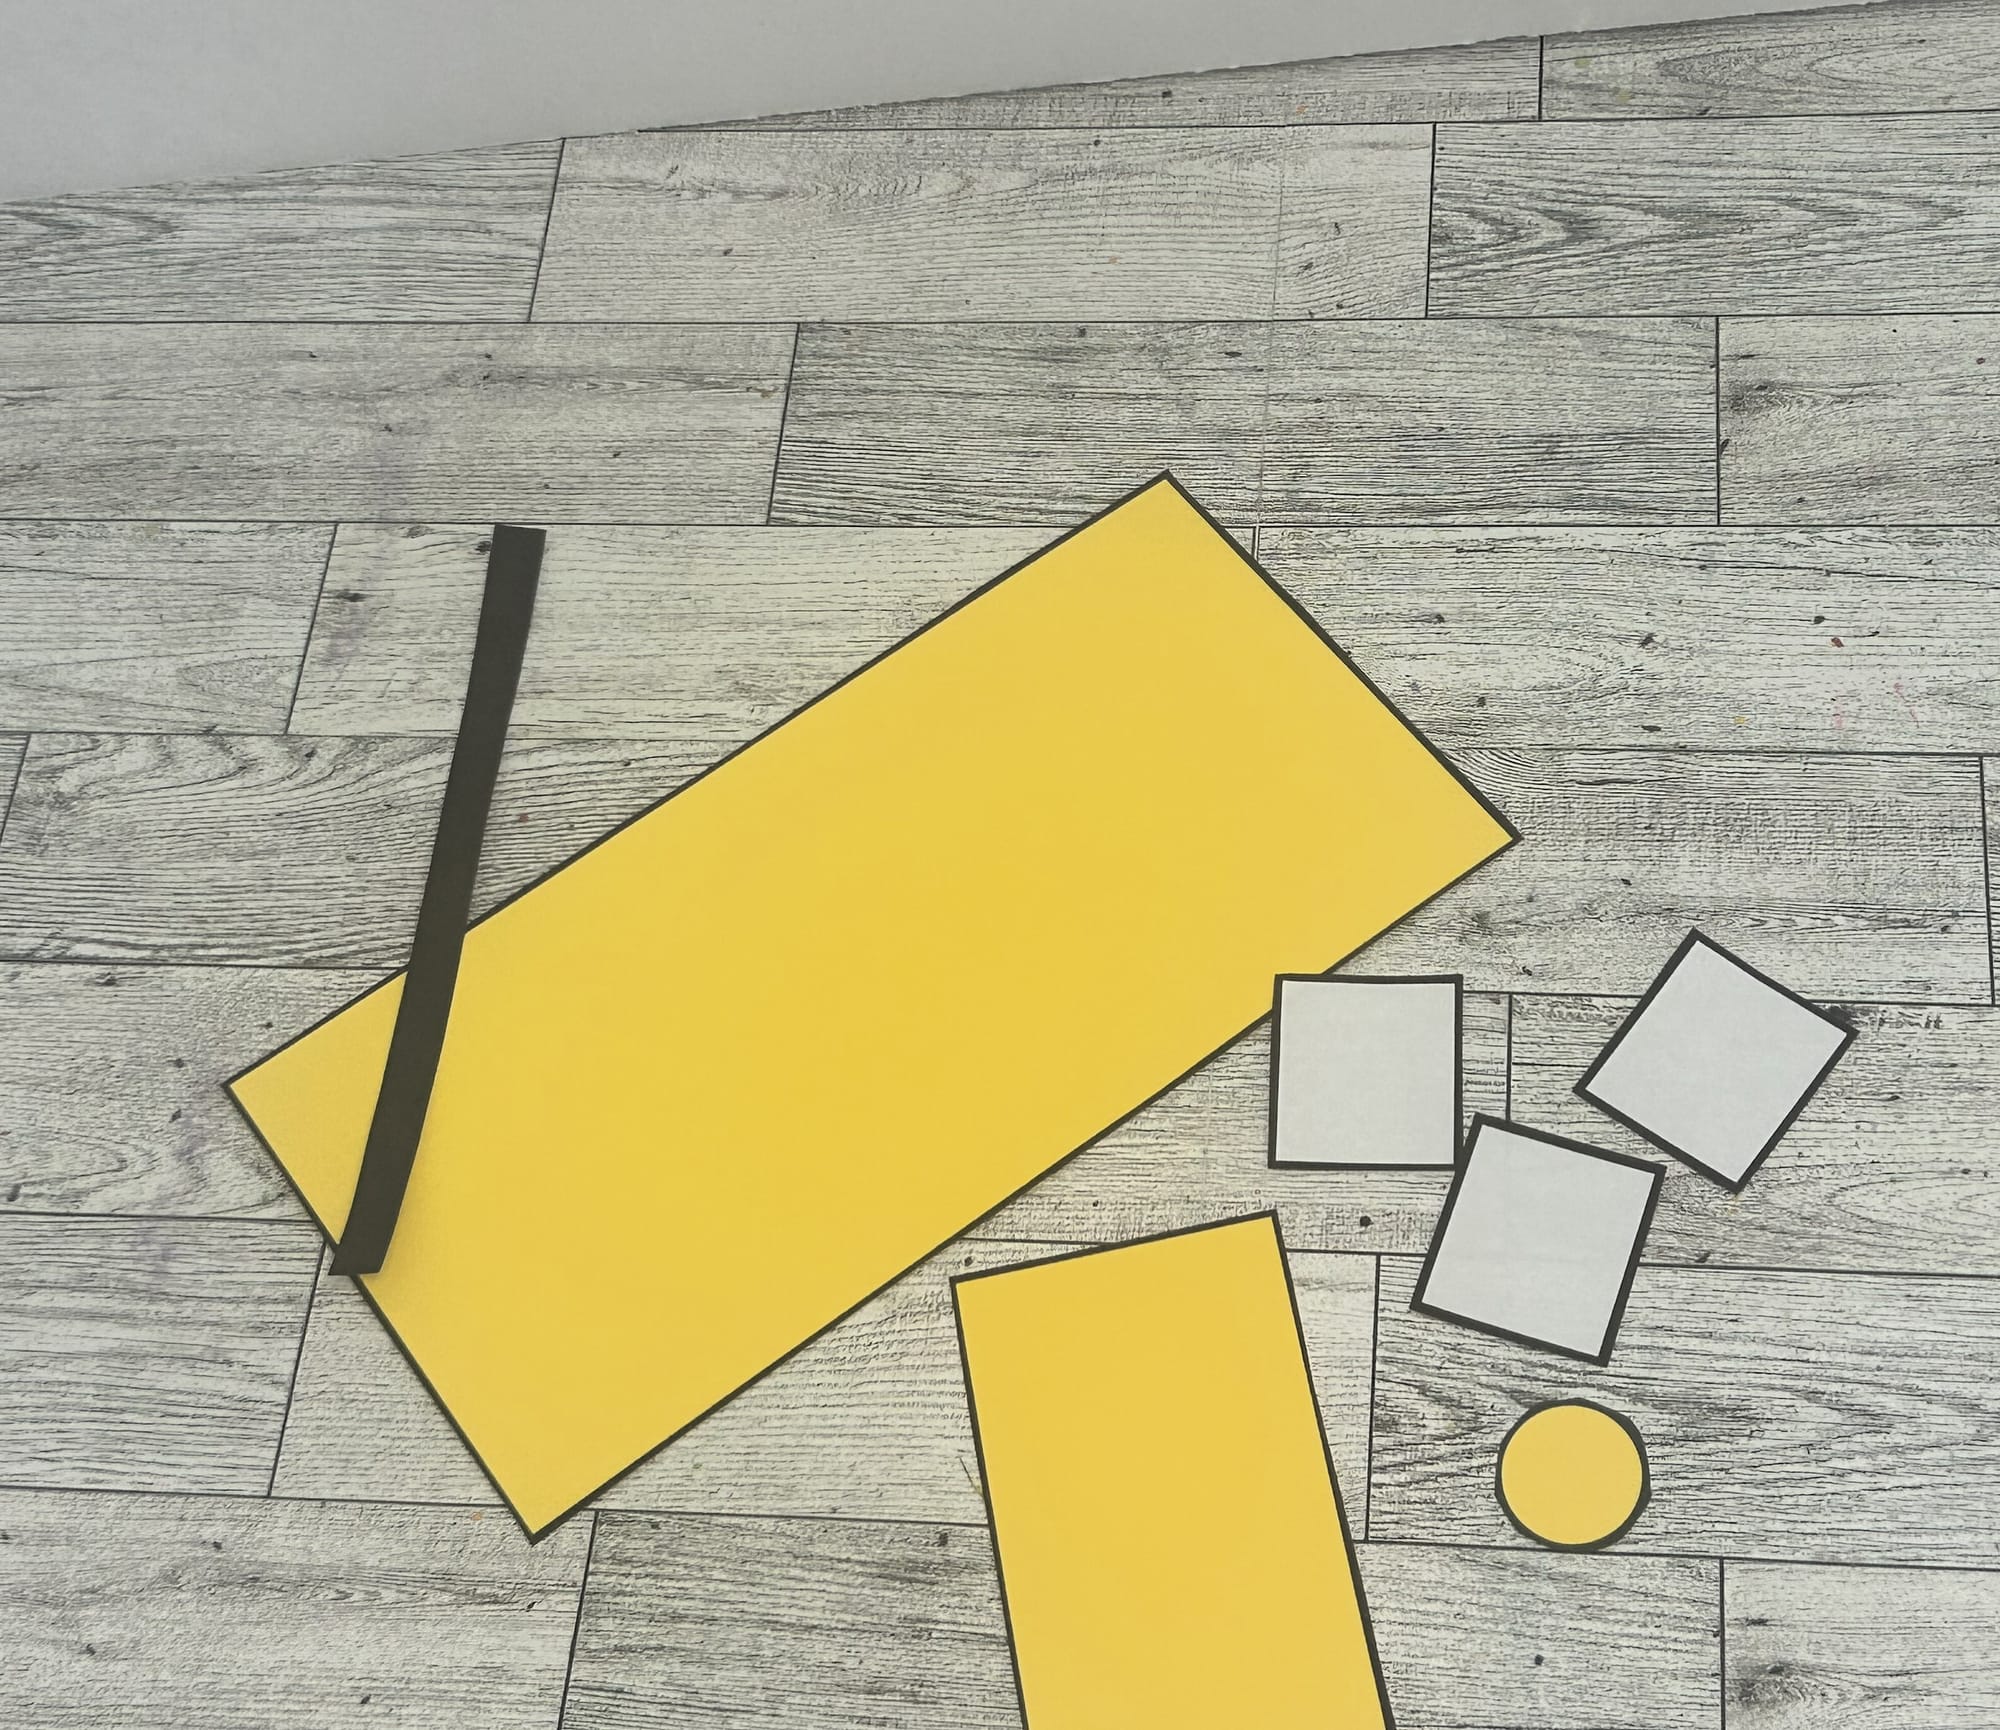
- Cut out the shapes with scissors. I would encourage your child to do the cutting by themselves. Cutting with scissors is a great fine motor activity. If you child becomes frustrated, you can take a break or help them cut some of the more challenging pieces.
- Color the octagon shape red. I like to color prior to cutting so there is not need to worry about coloring outside the lines. After coloring, use a white marker to write STOP. Then cut the octagon out. This will be the stop sign for the side of the bus. This would also be a great time to talk to your child about the number of sides of different shapes.

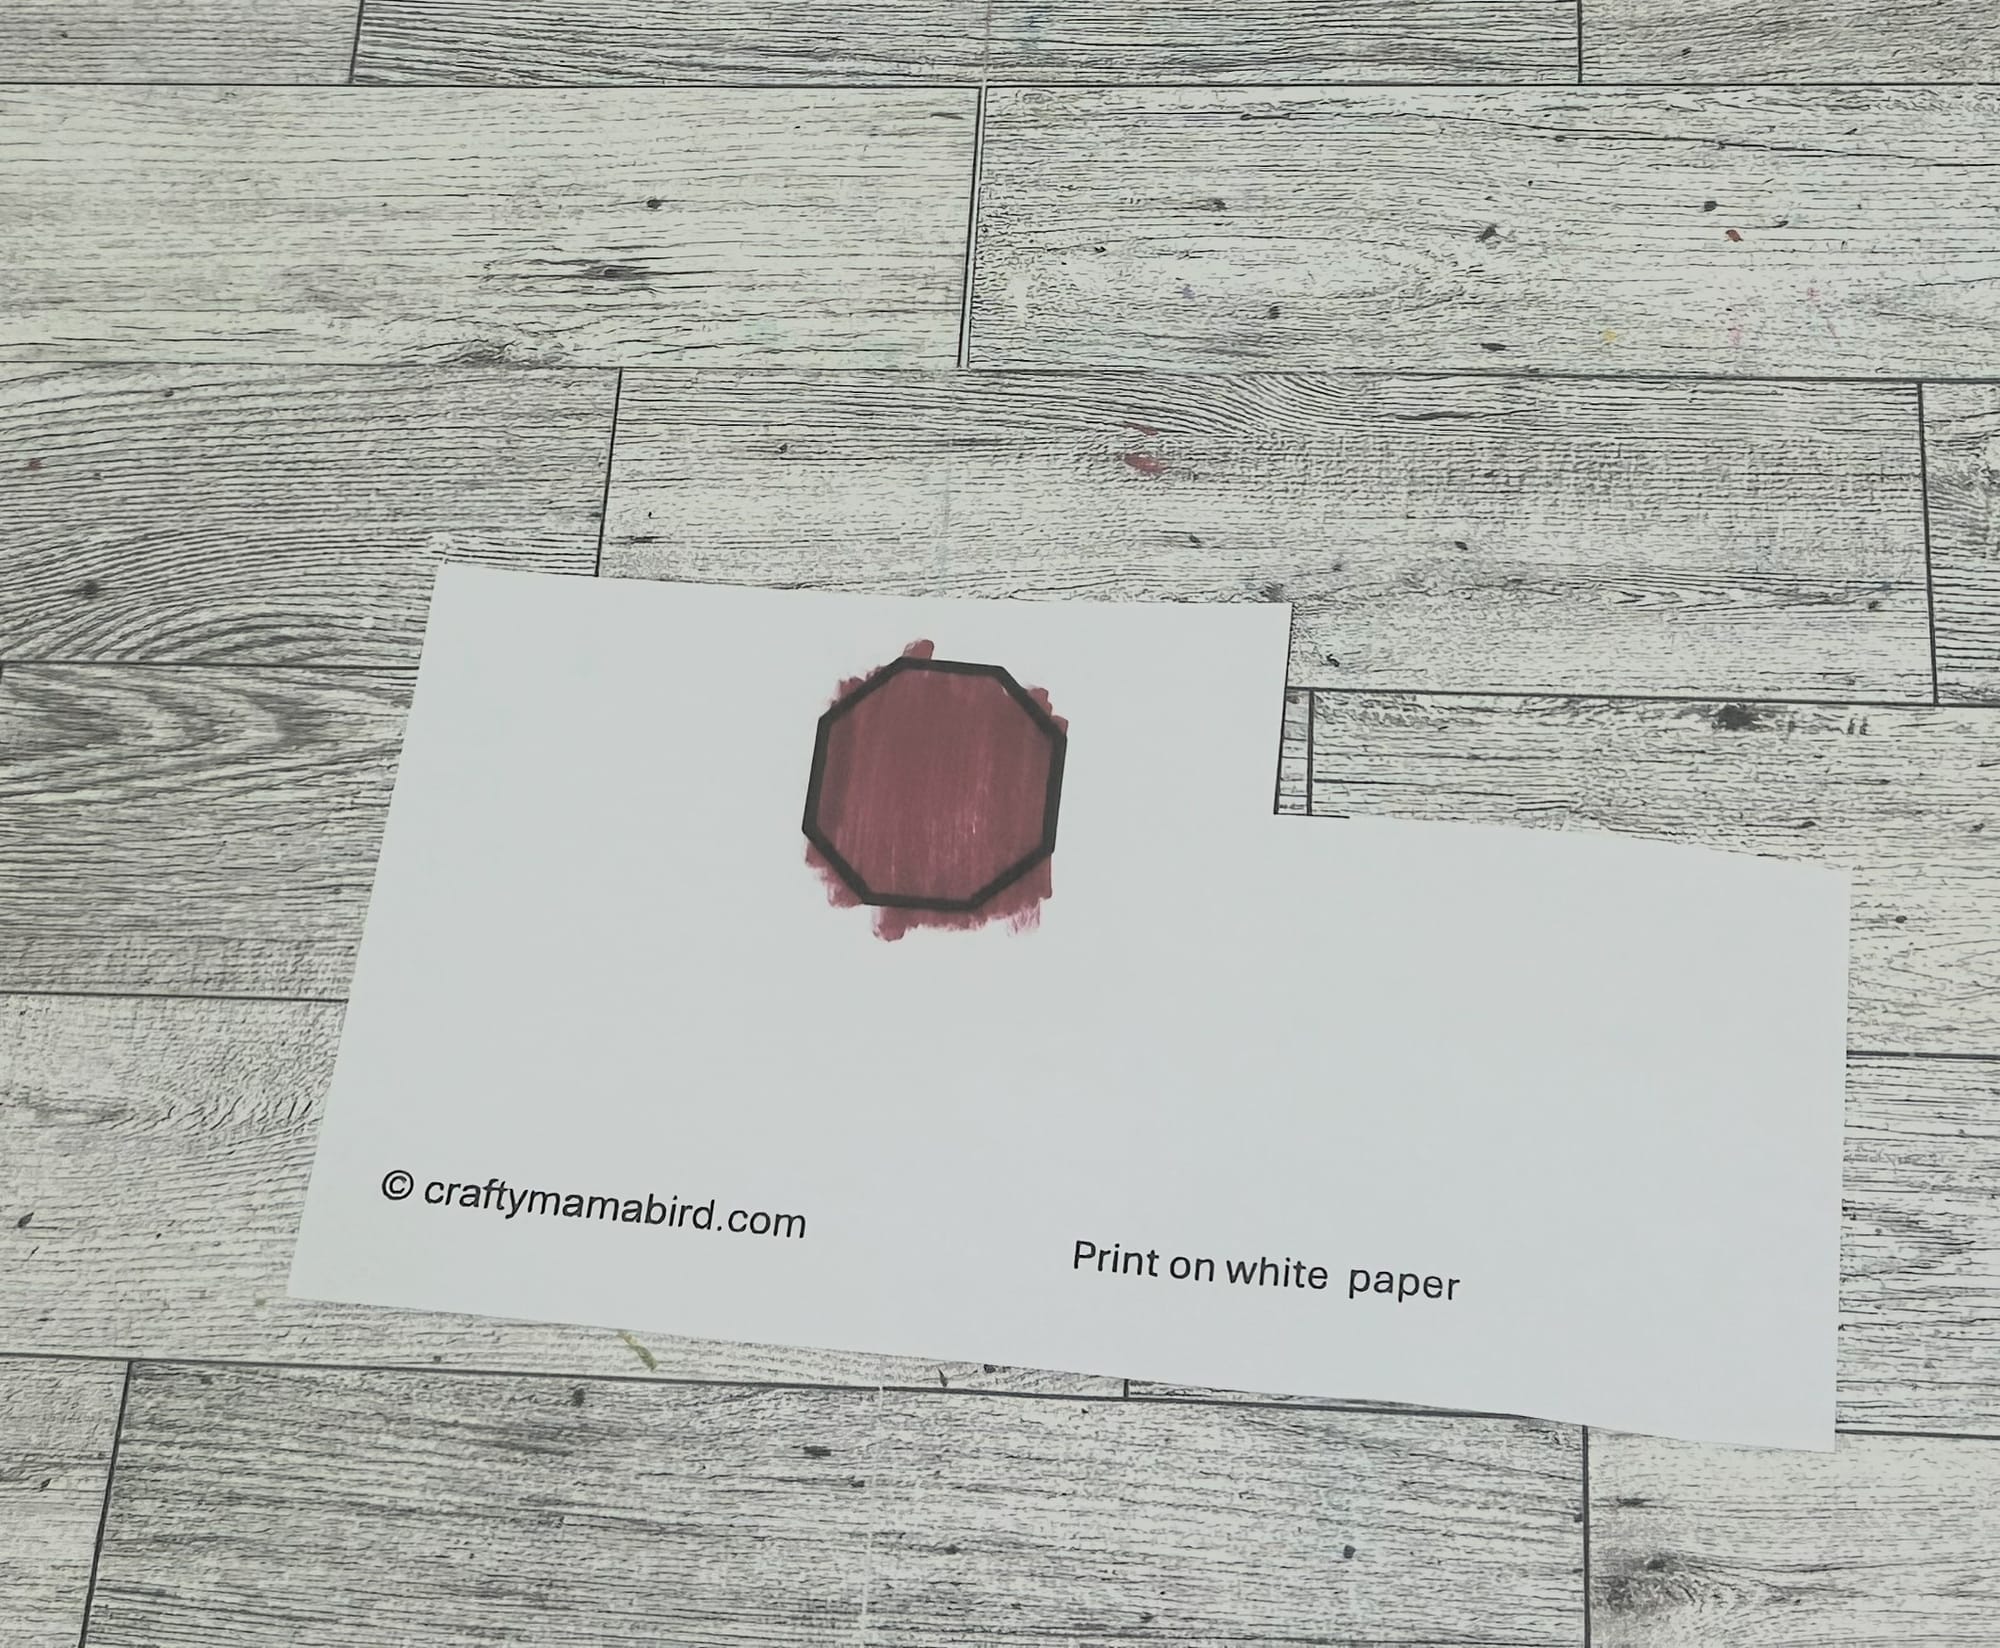
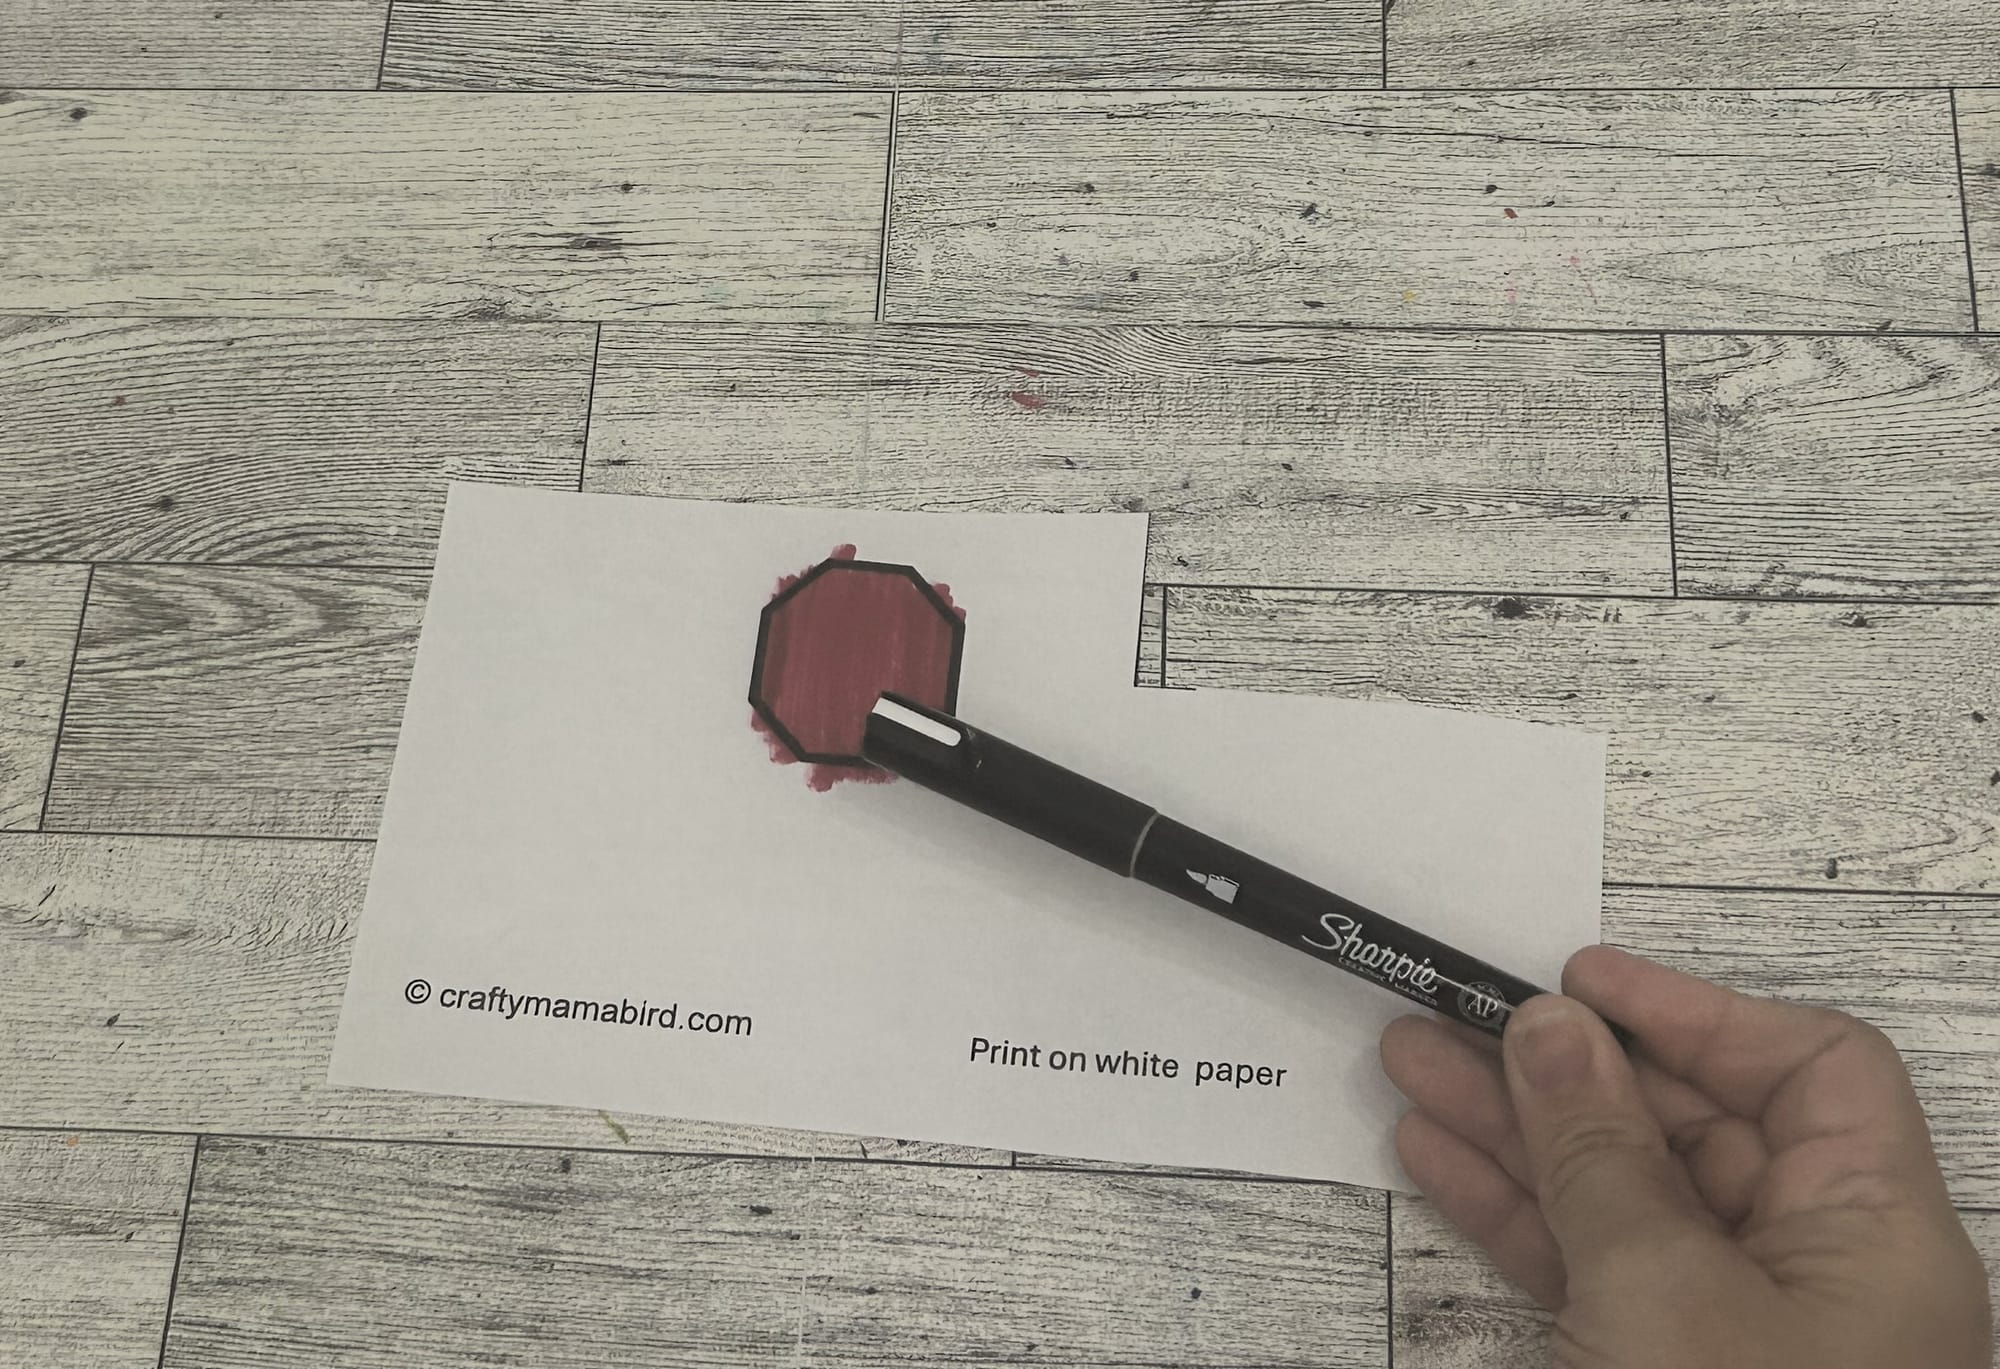
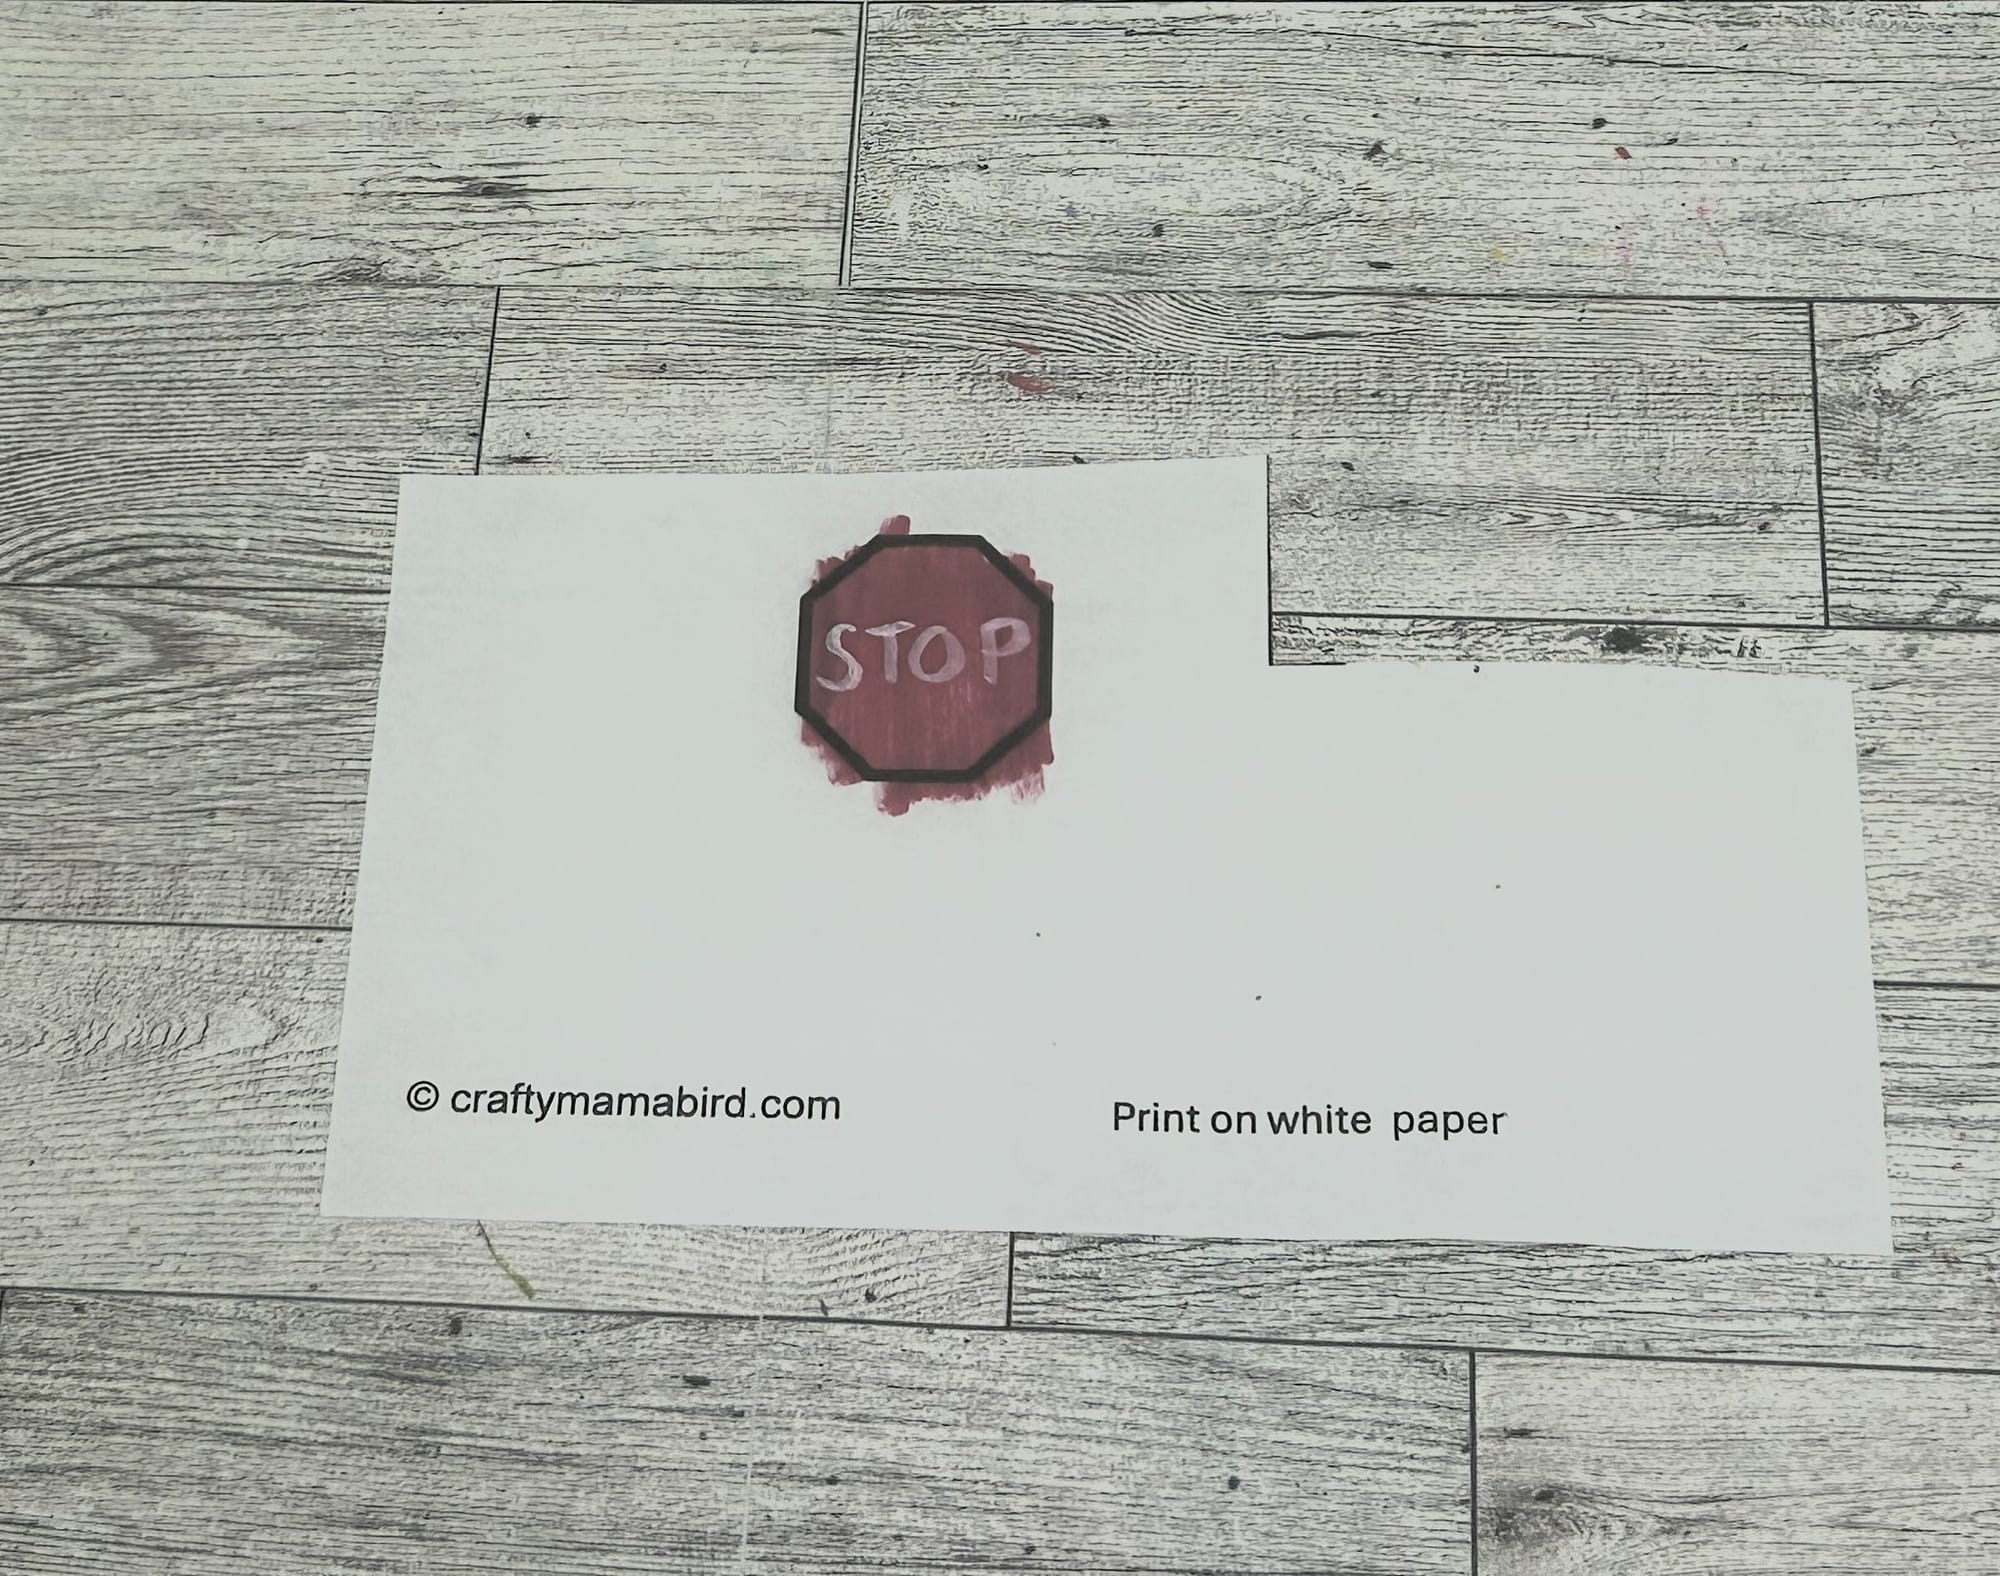
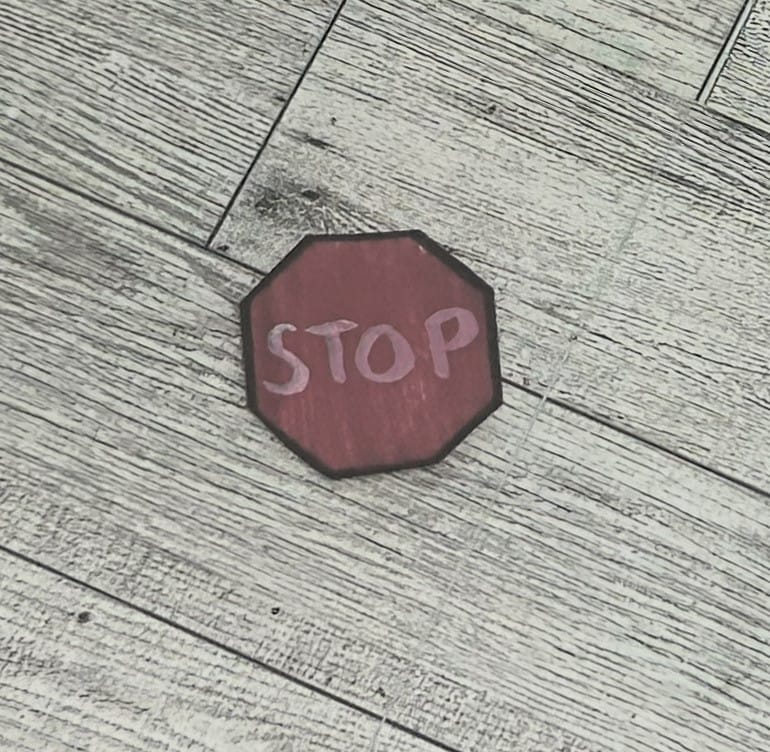
Color octagon red and add the word STOP.
- Color the larger circles with a black marker. Then cut out all four circles.
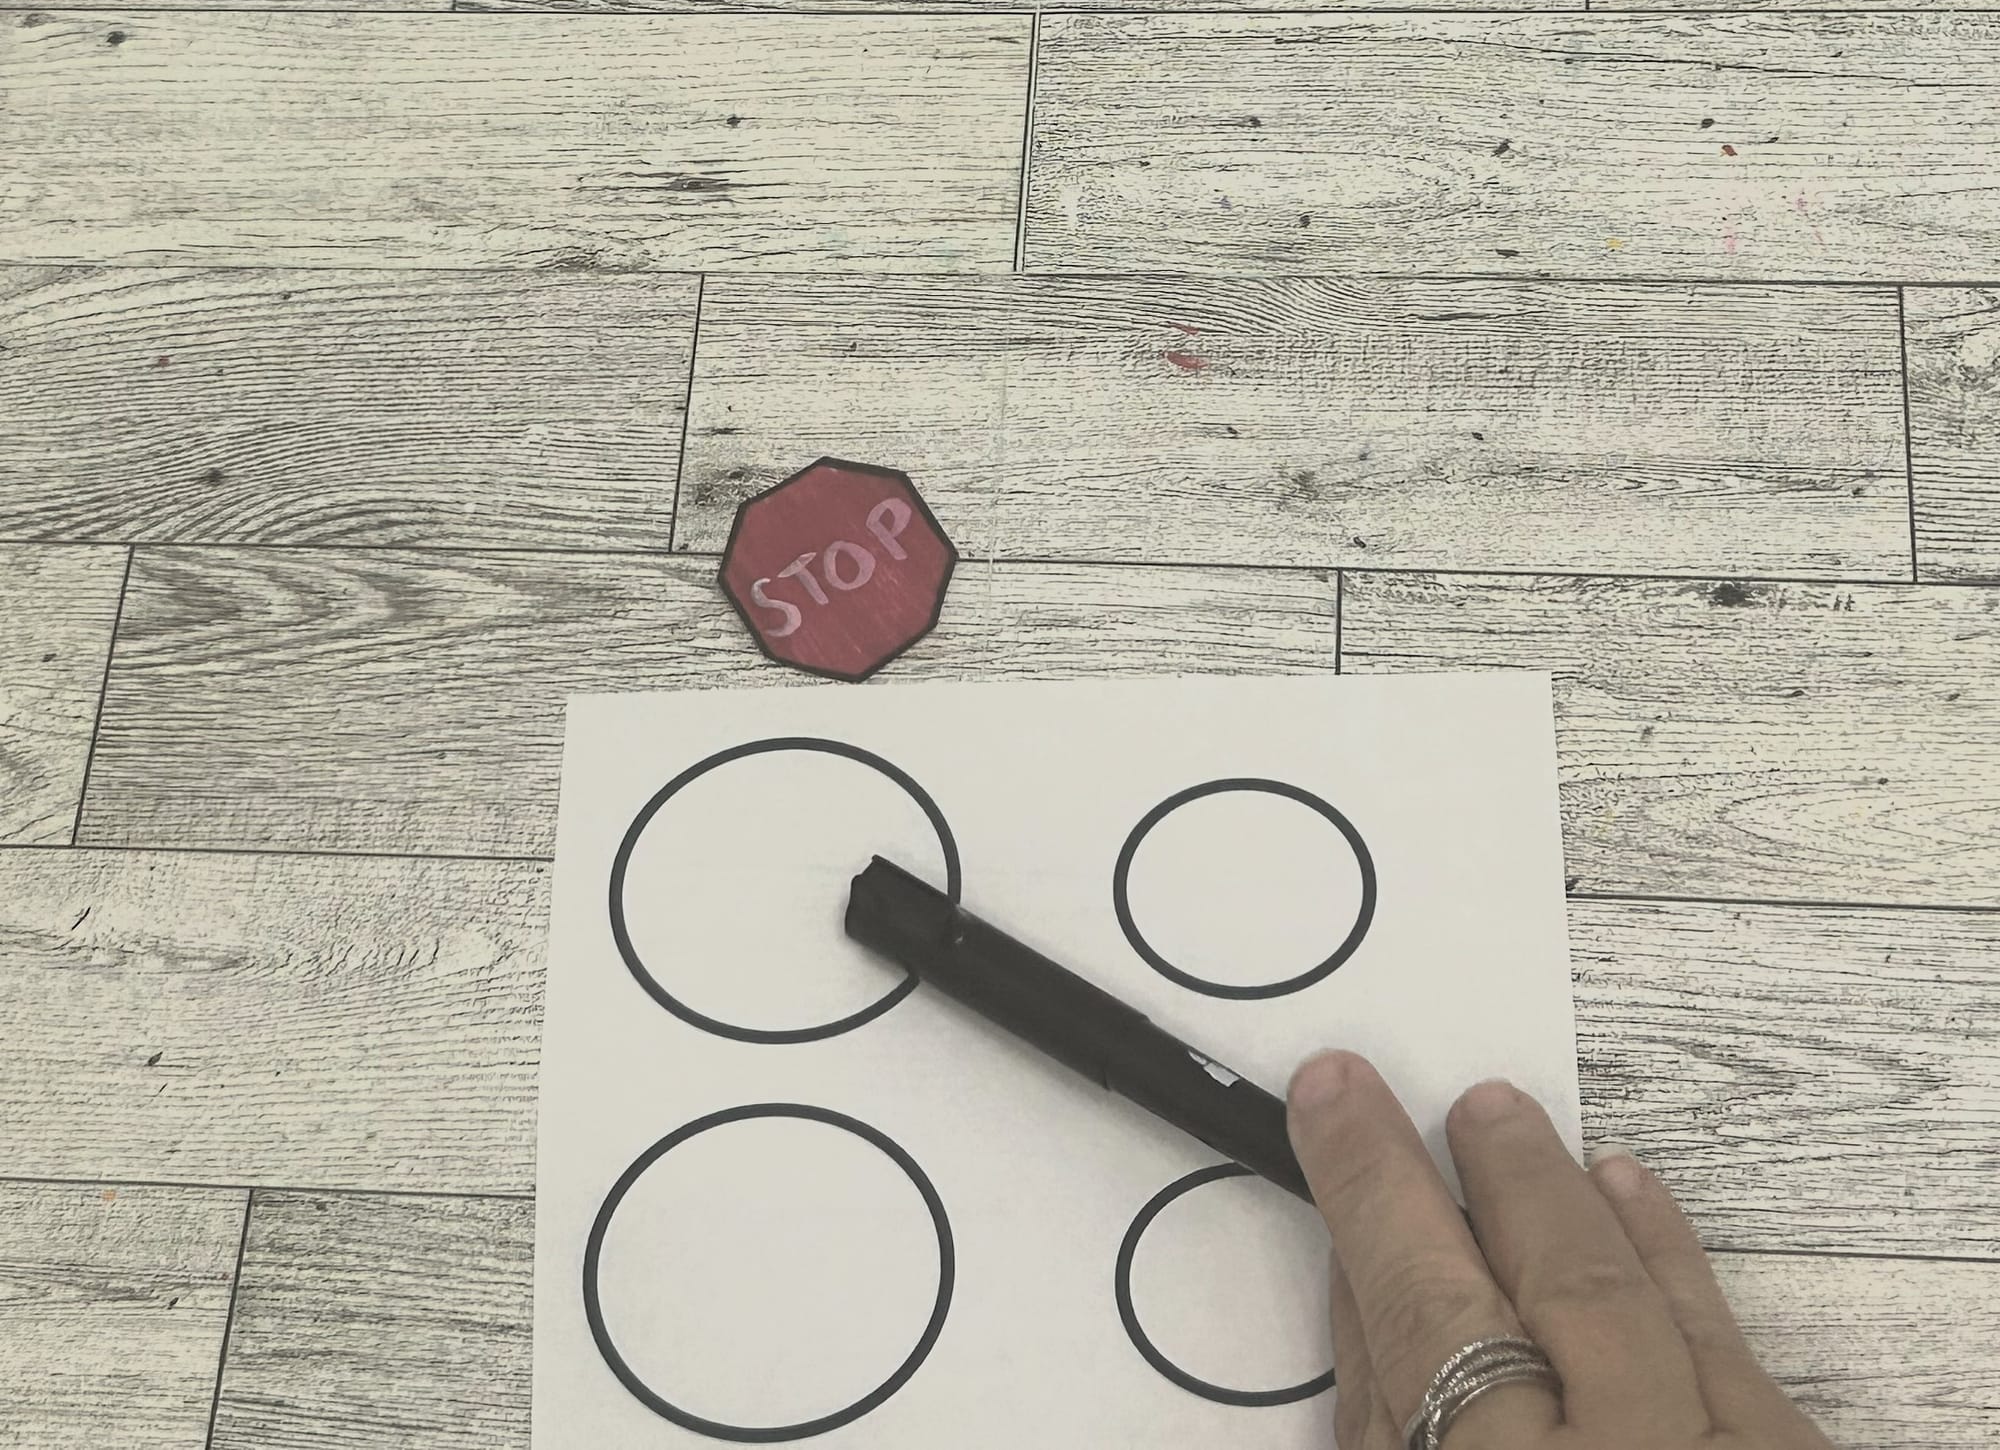

The circle will be used to create the wheels on the bus.
- Glue the smaller circles on top of the larger black circles. This will create the large tires for the bus.

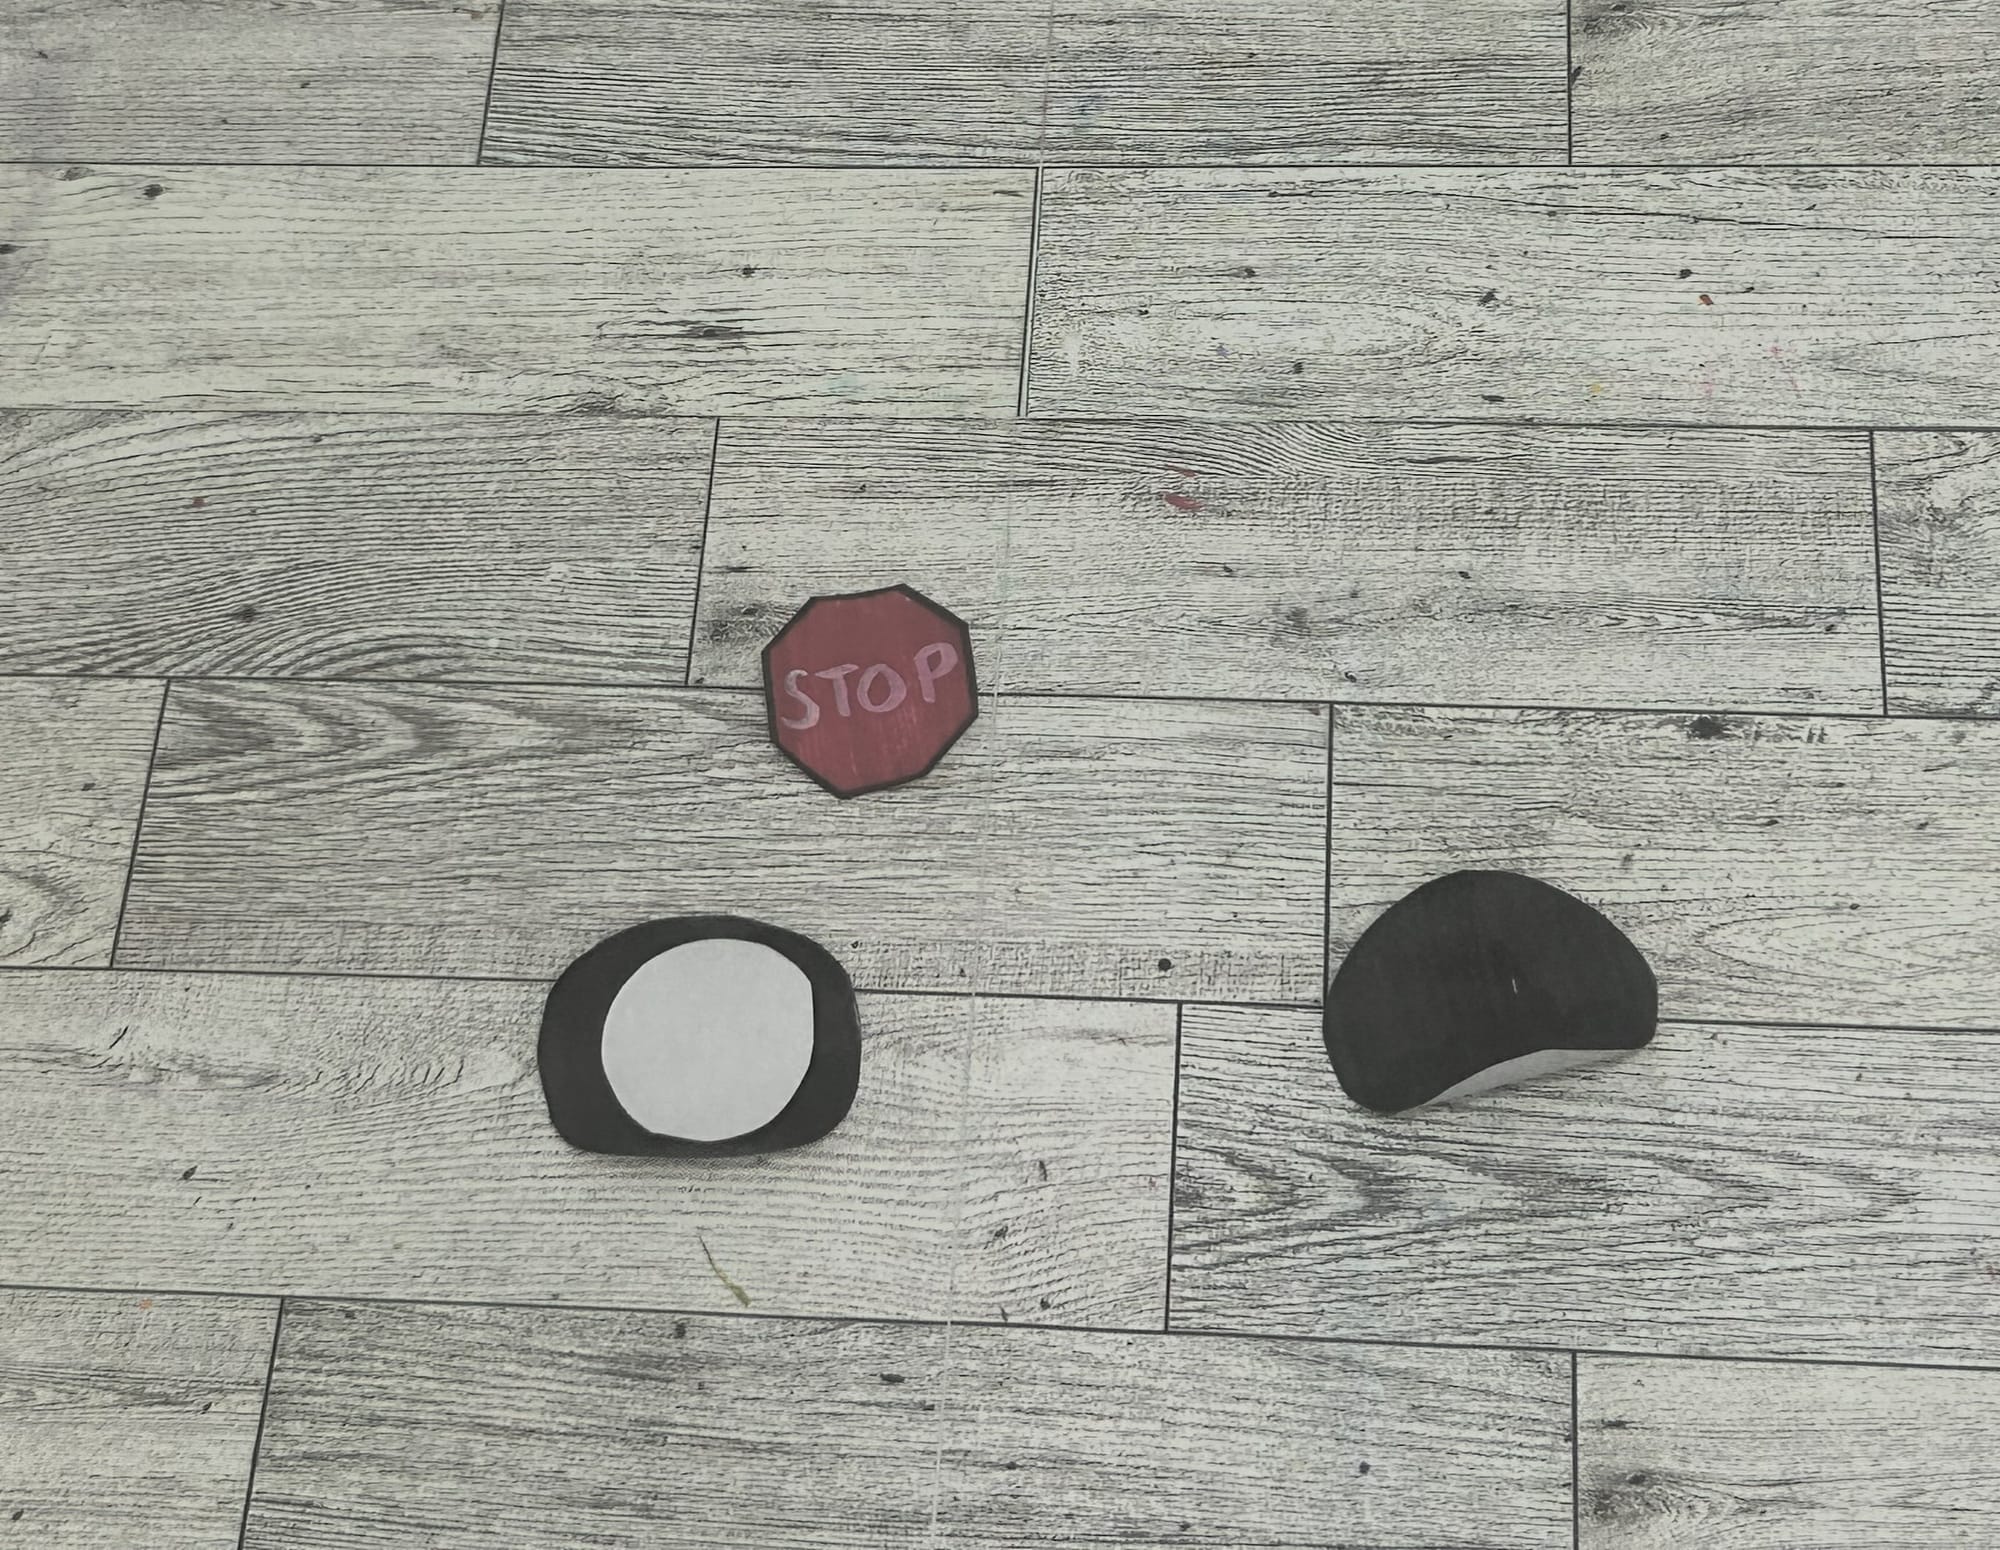
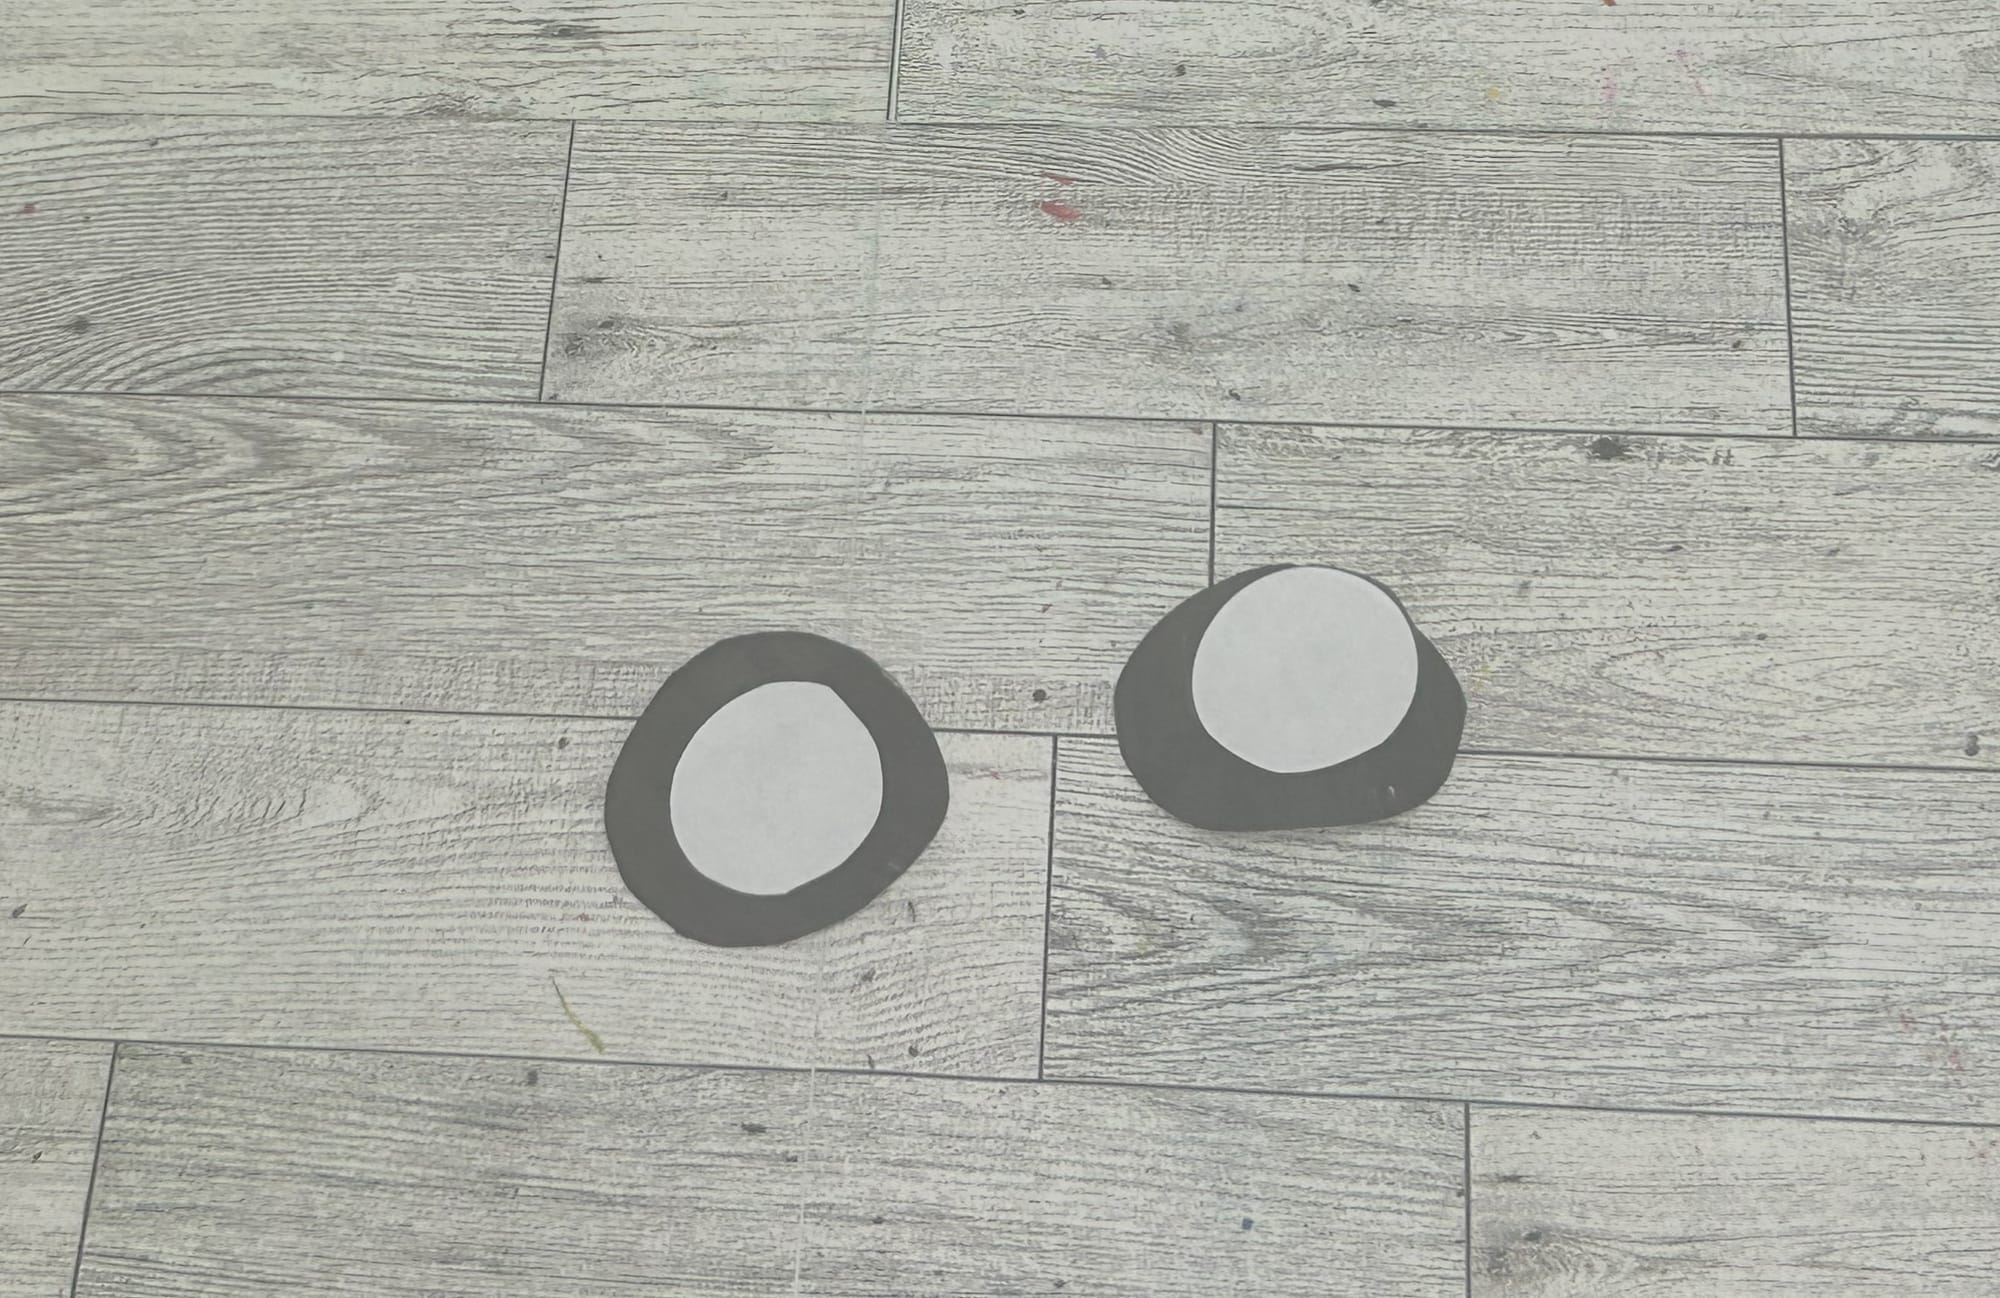
Glue circles to create tires.
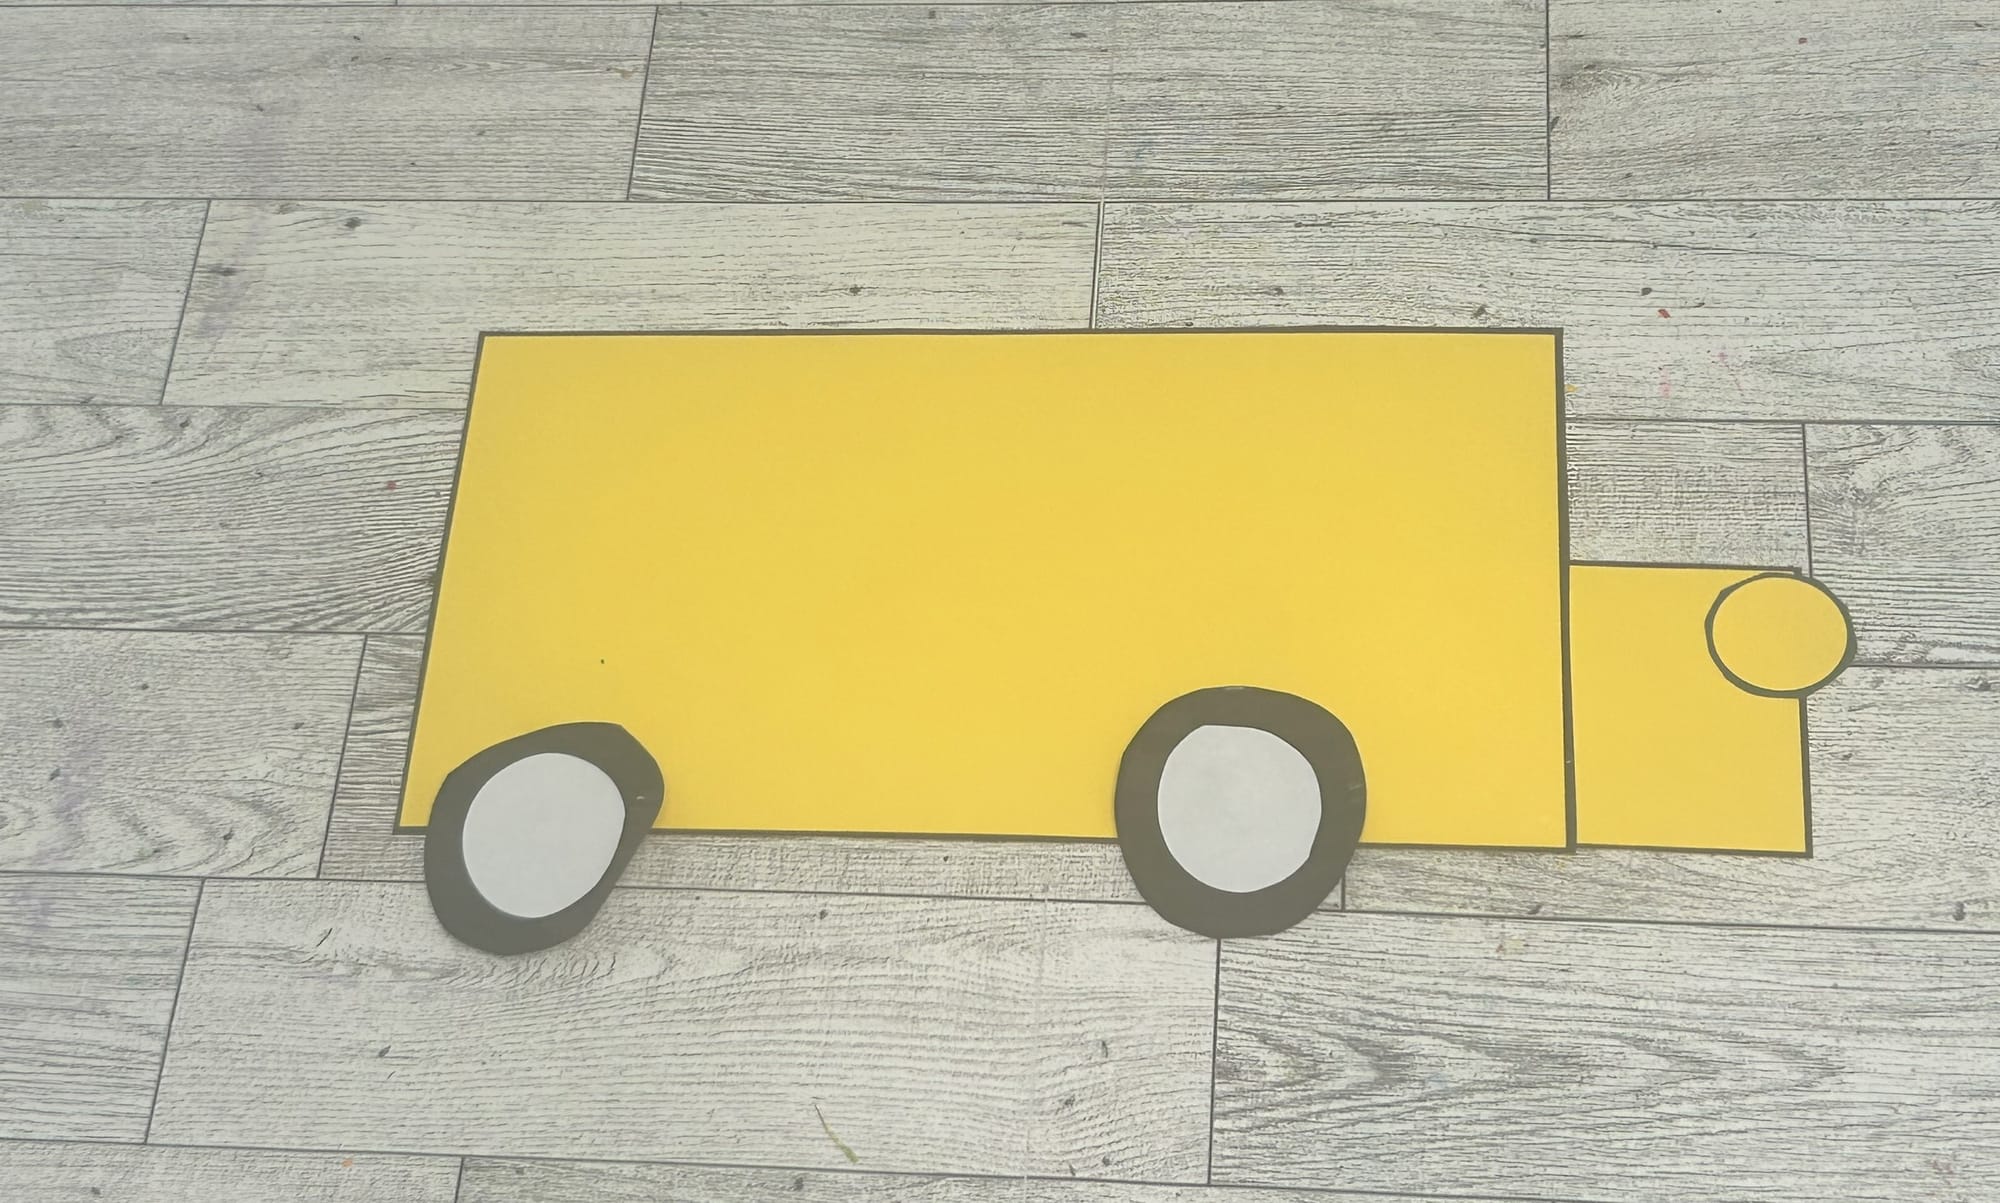
- Next, you will glue to 2 yellow rectangles together to create the bus's shape.
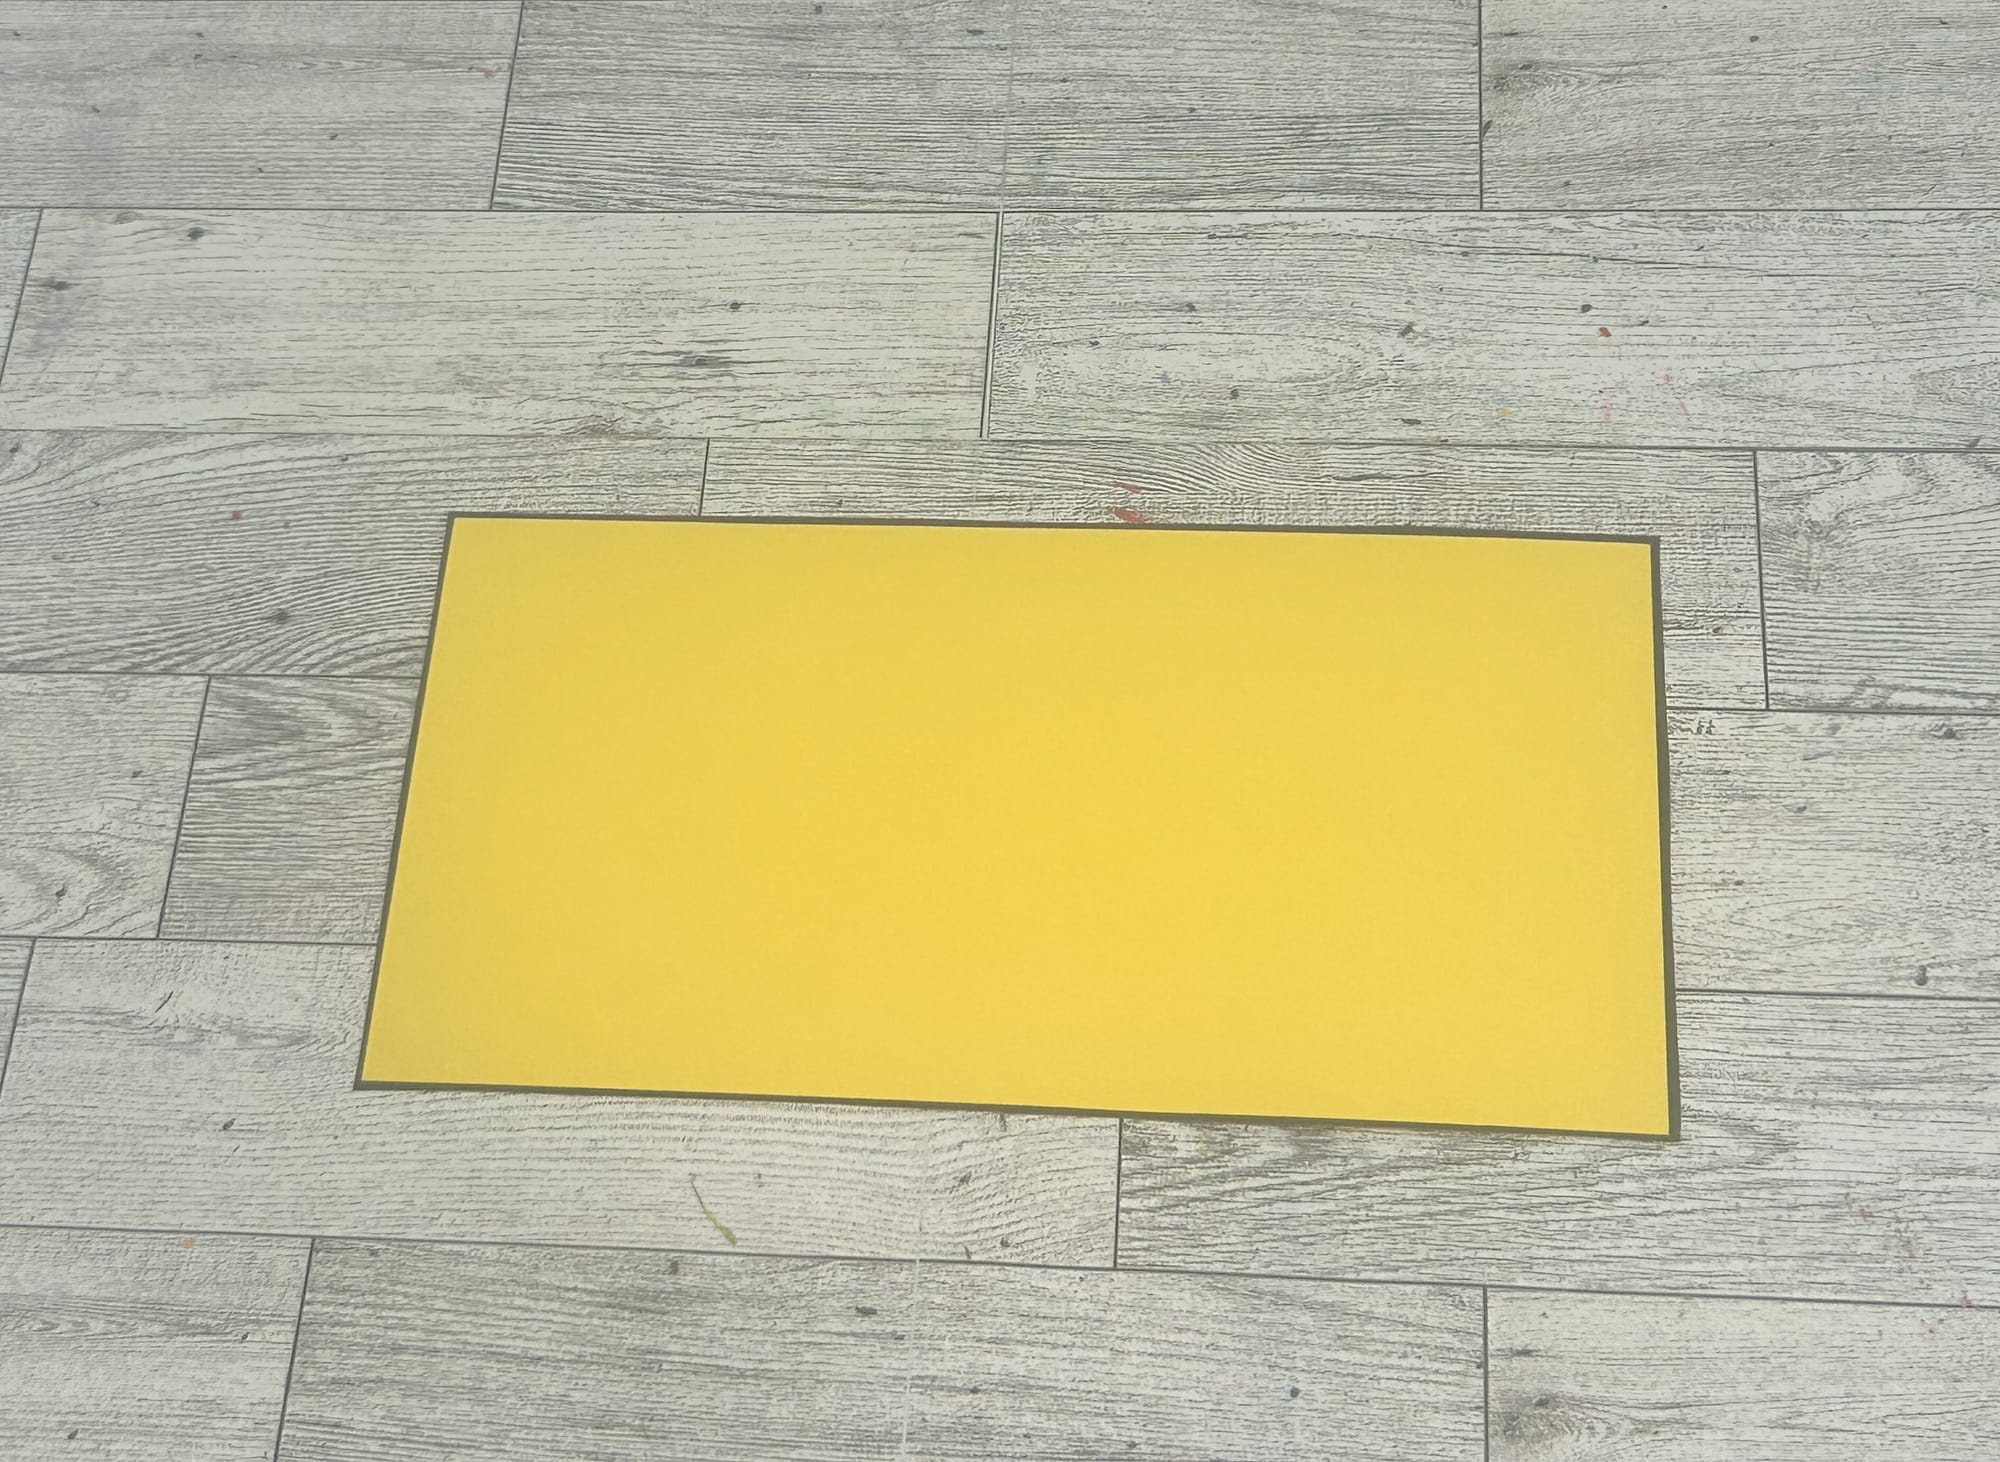
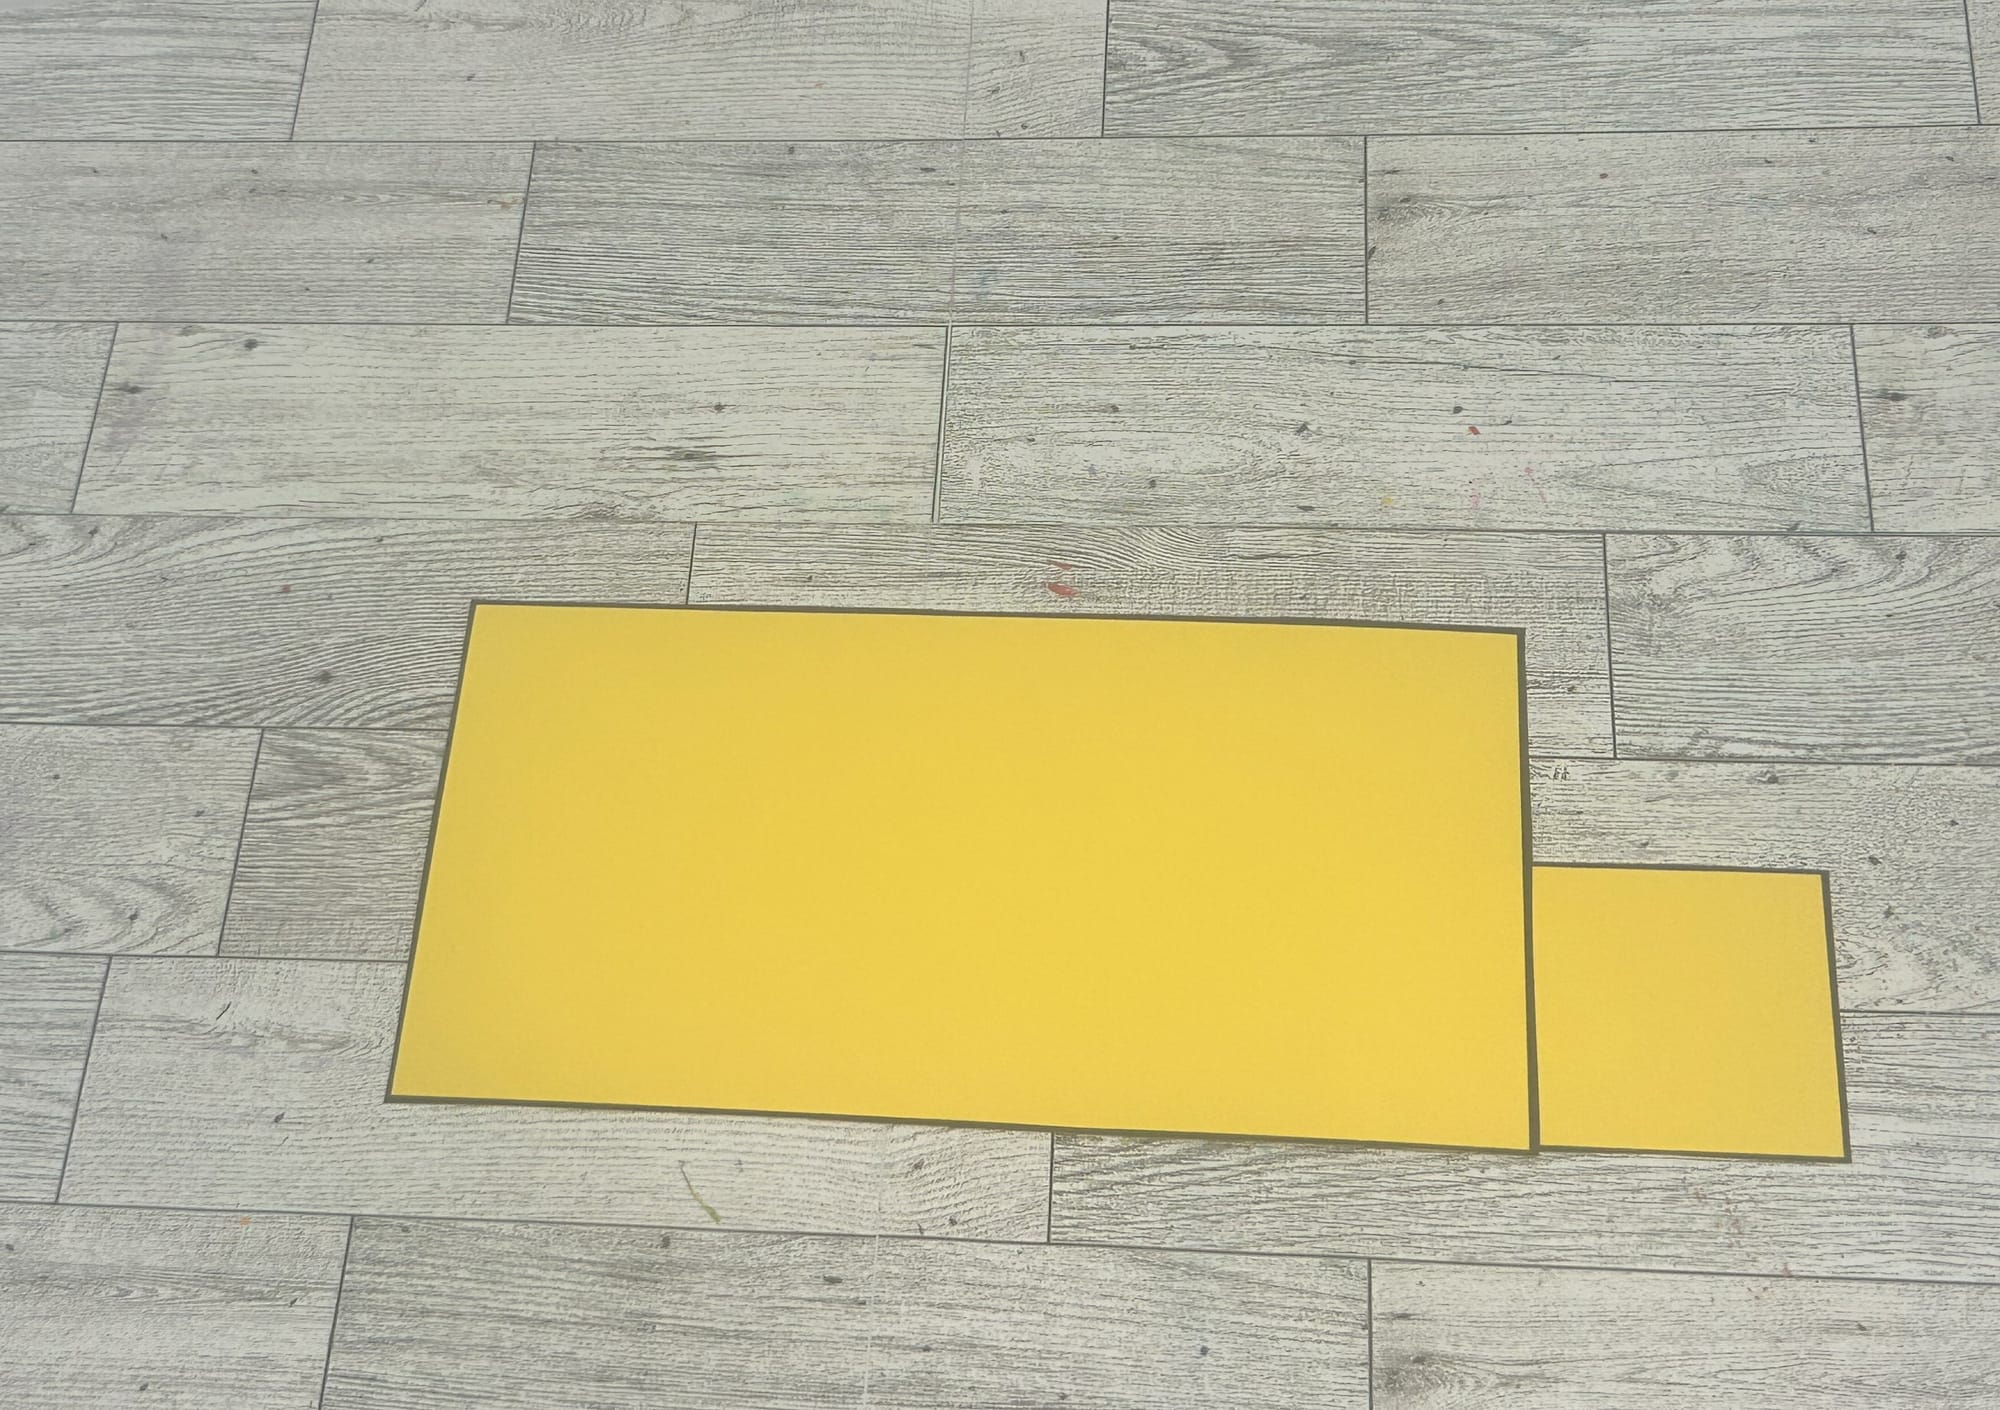
Glue the 2 rectangles together to create the bus shape.
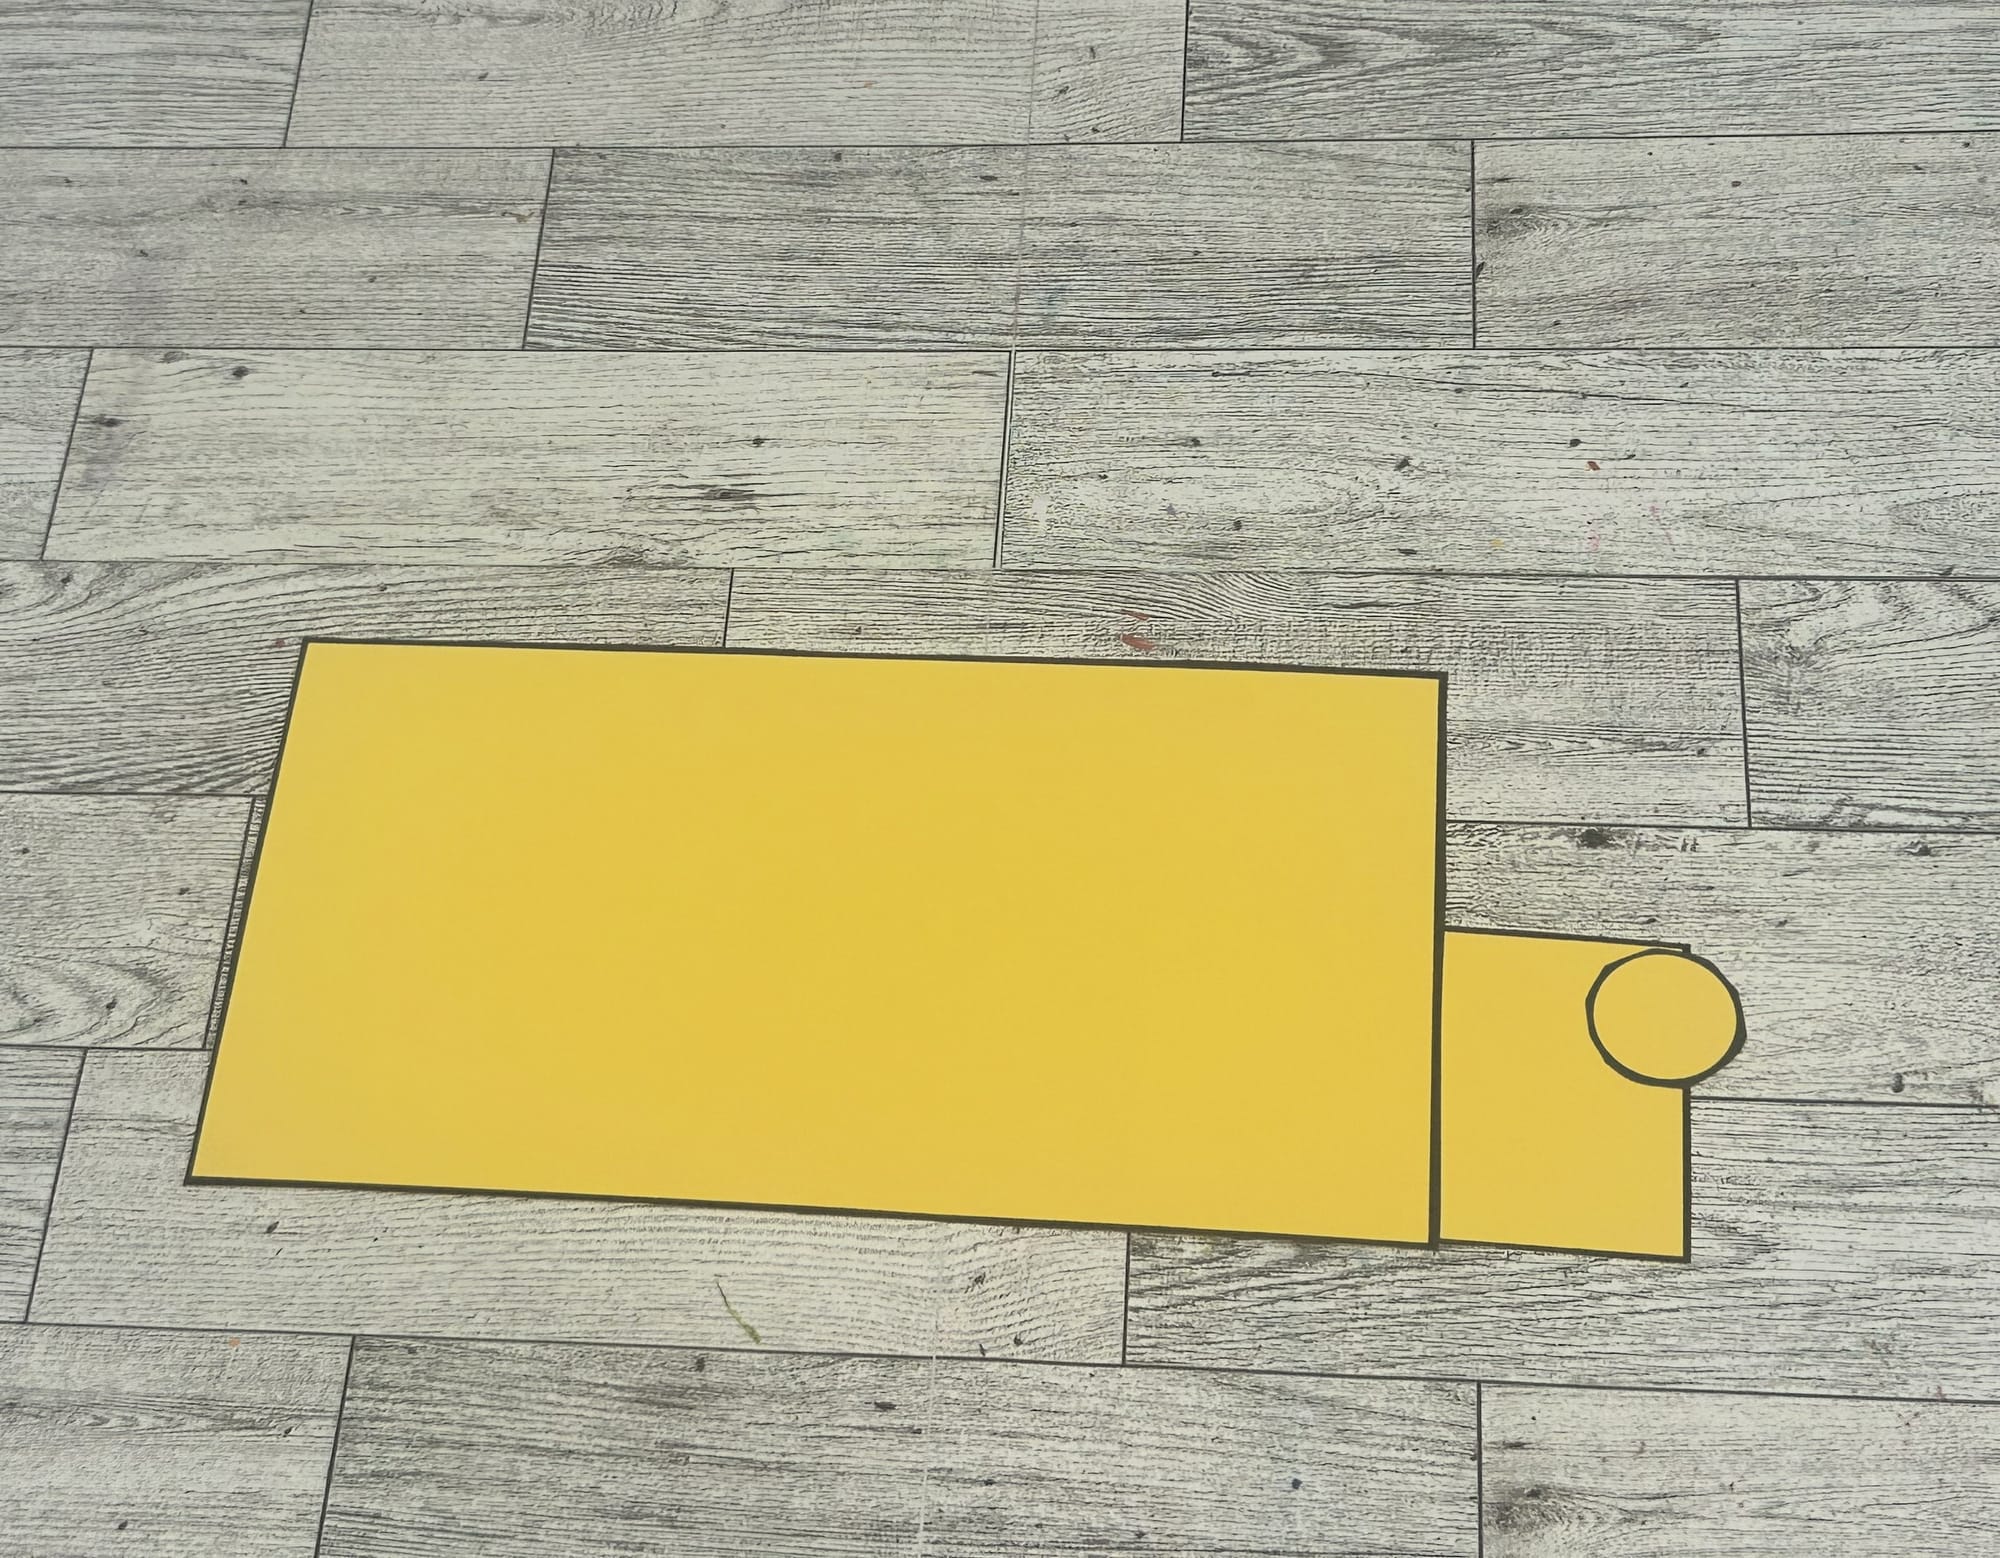
- Then, glue the small yellow circle to the front, top of the smaller yellow rectangle ( which may now look more like a square shape) This will be the headlight on the front part of the school bus.
- Glue the wheels to the bottom of the larger, yellow rectangle.
- Add the details to the bus. Glue on the three windows across the top of the bus. Then, add the small, black rectangle and the stop sign to the middle of the bus. Finally, use a black marker to write School Bus on the side of the bus.
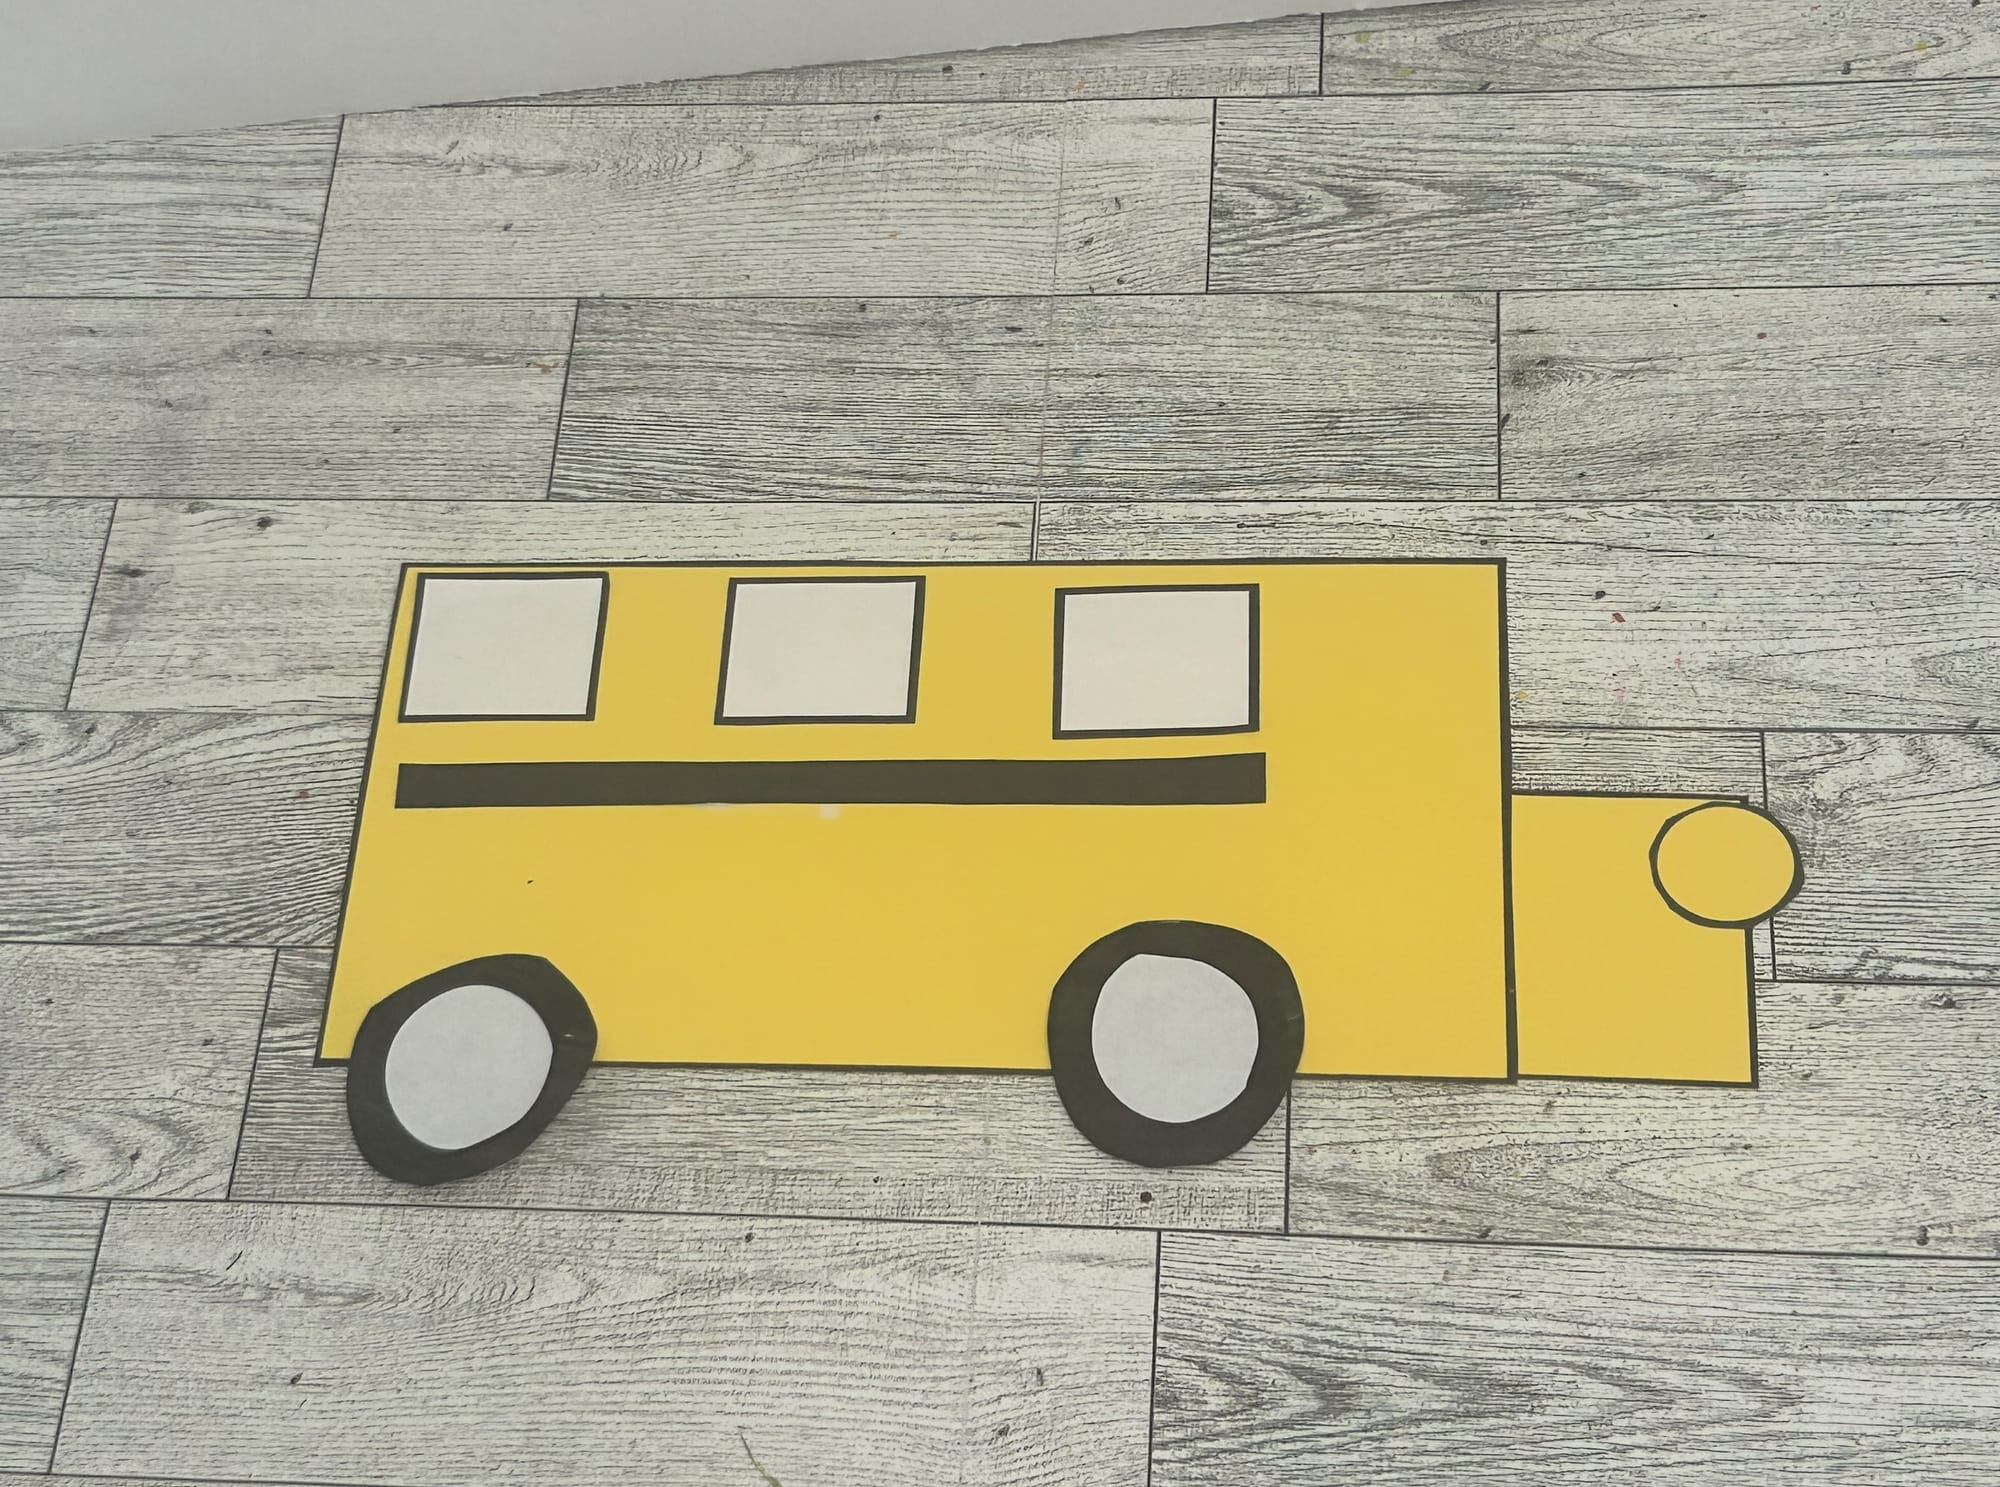

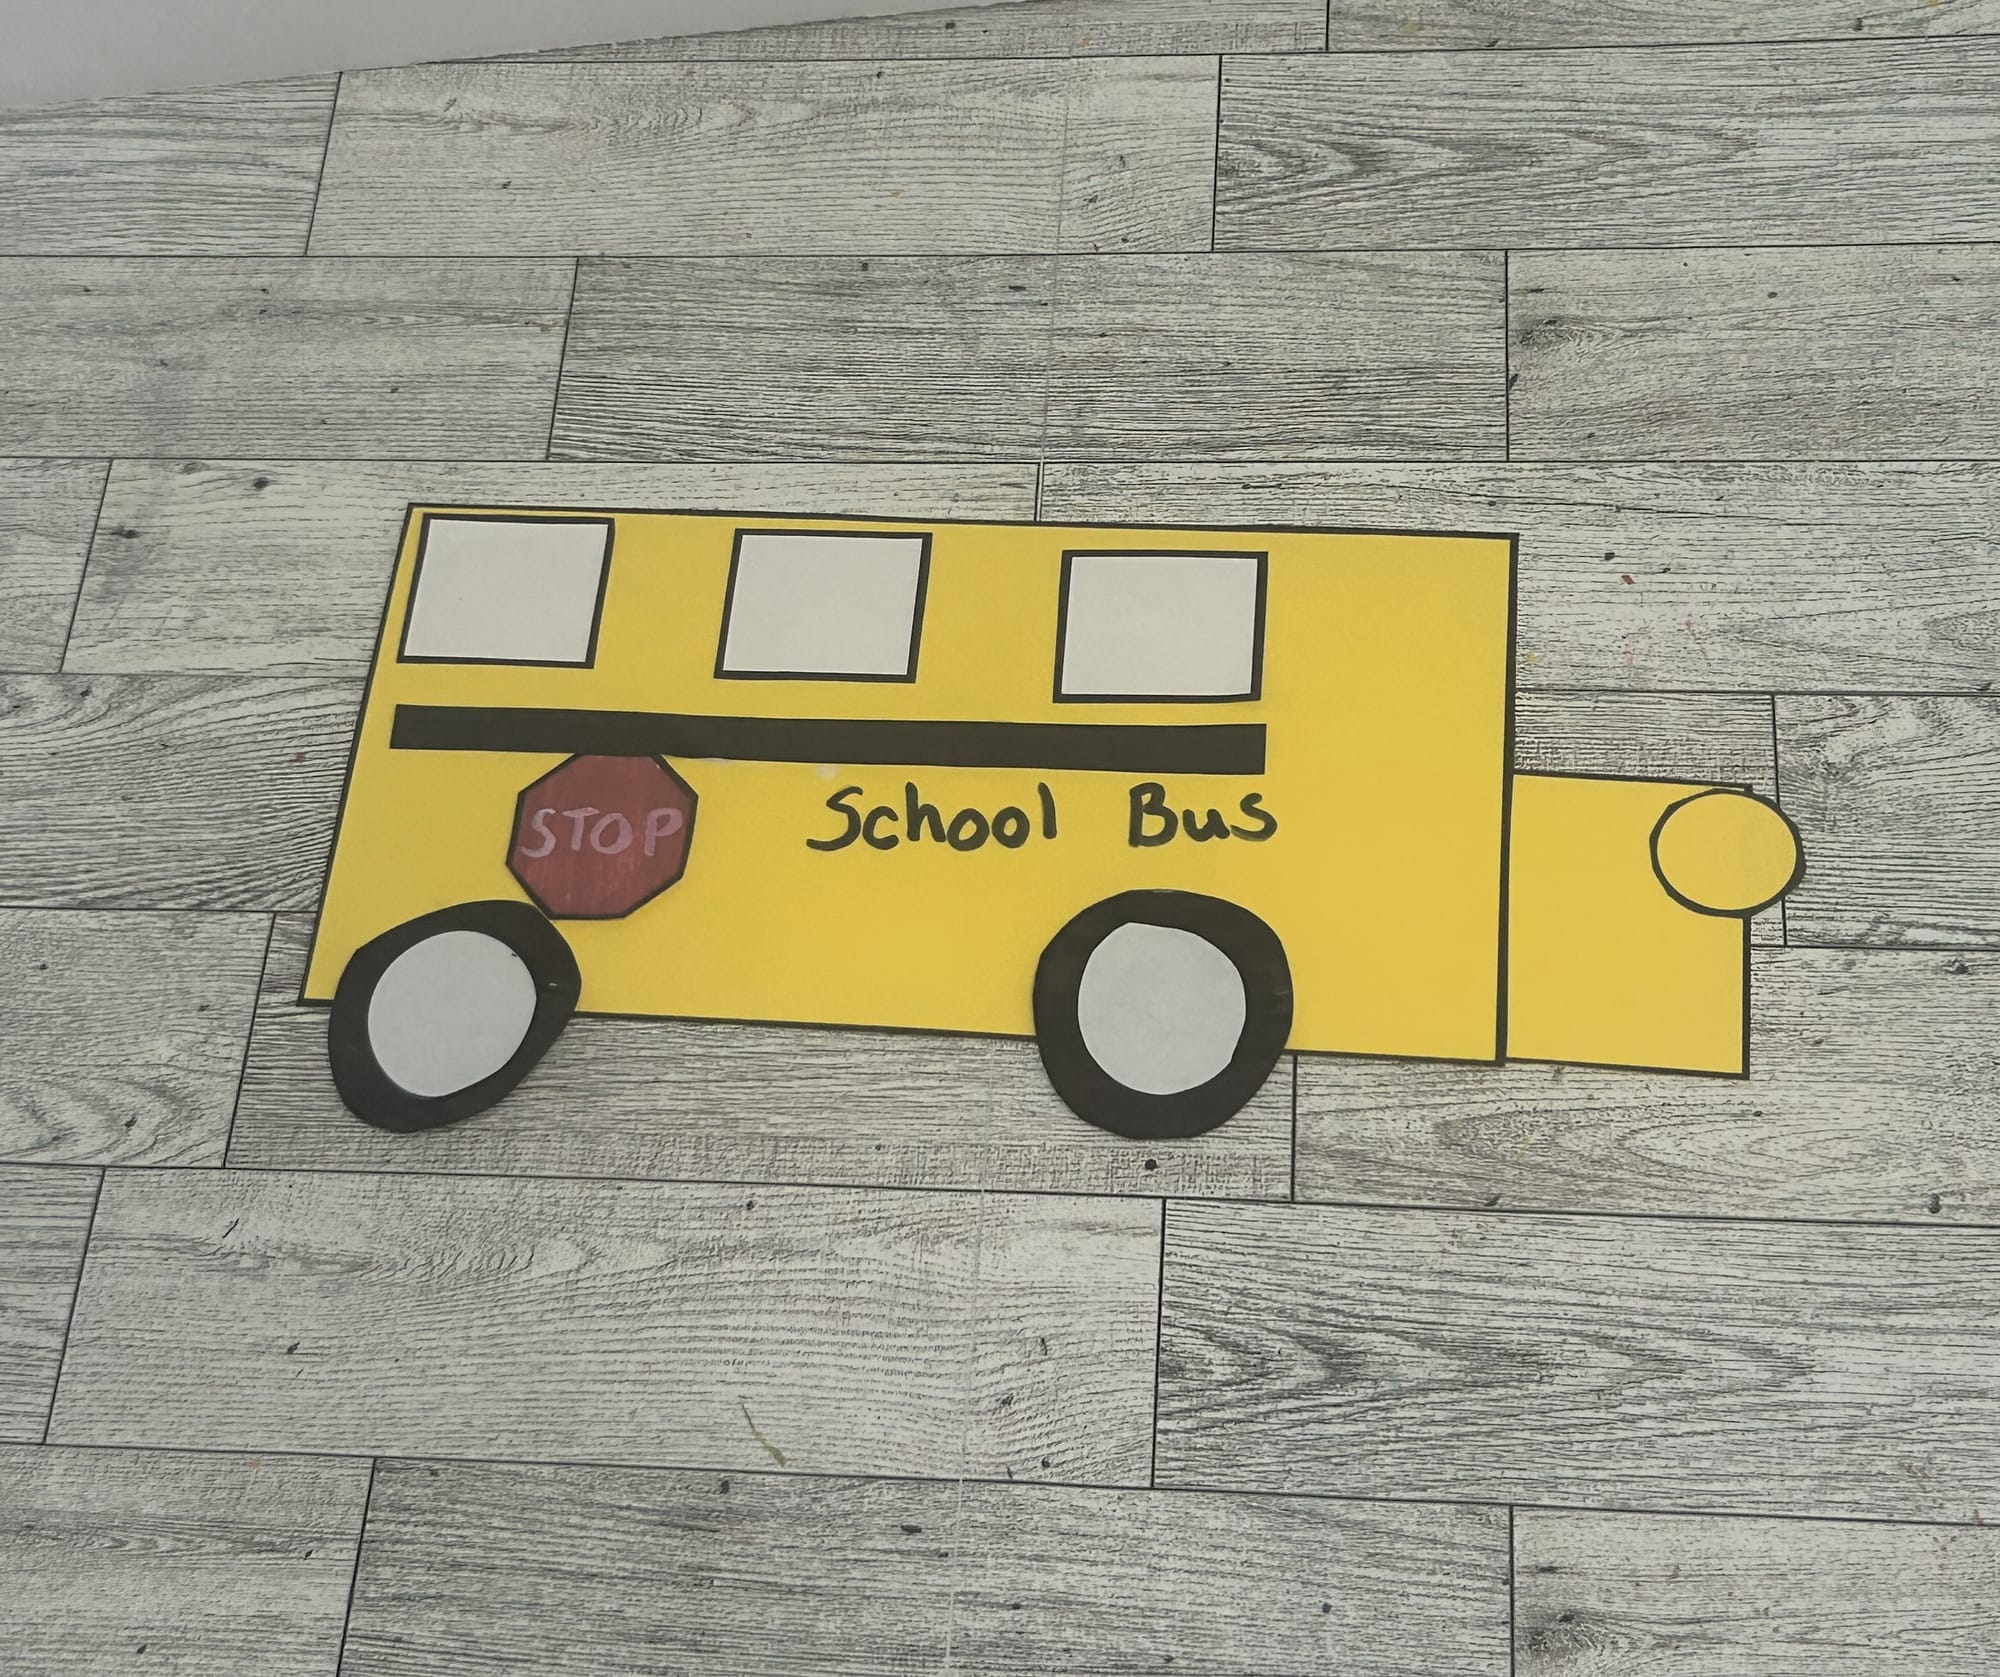
Add details to the side of the bus.