Shamrock Suncatcher
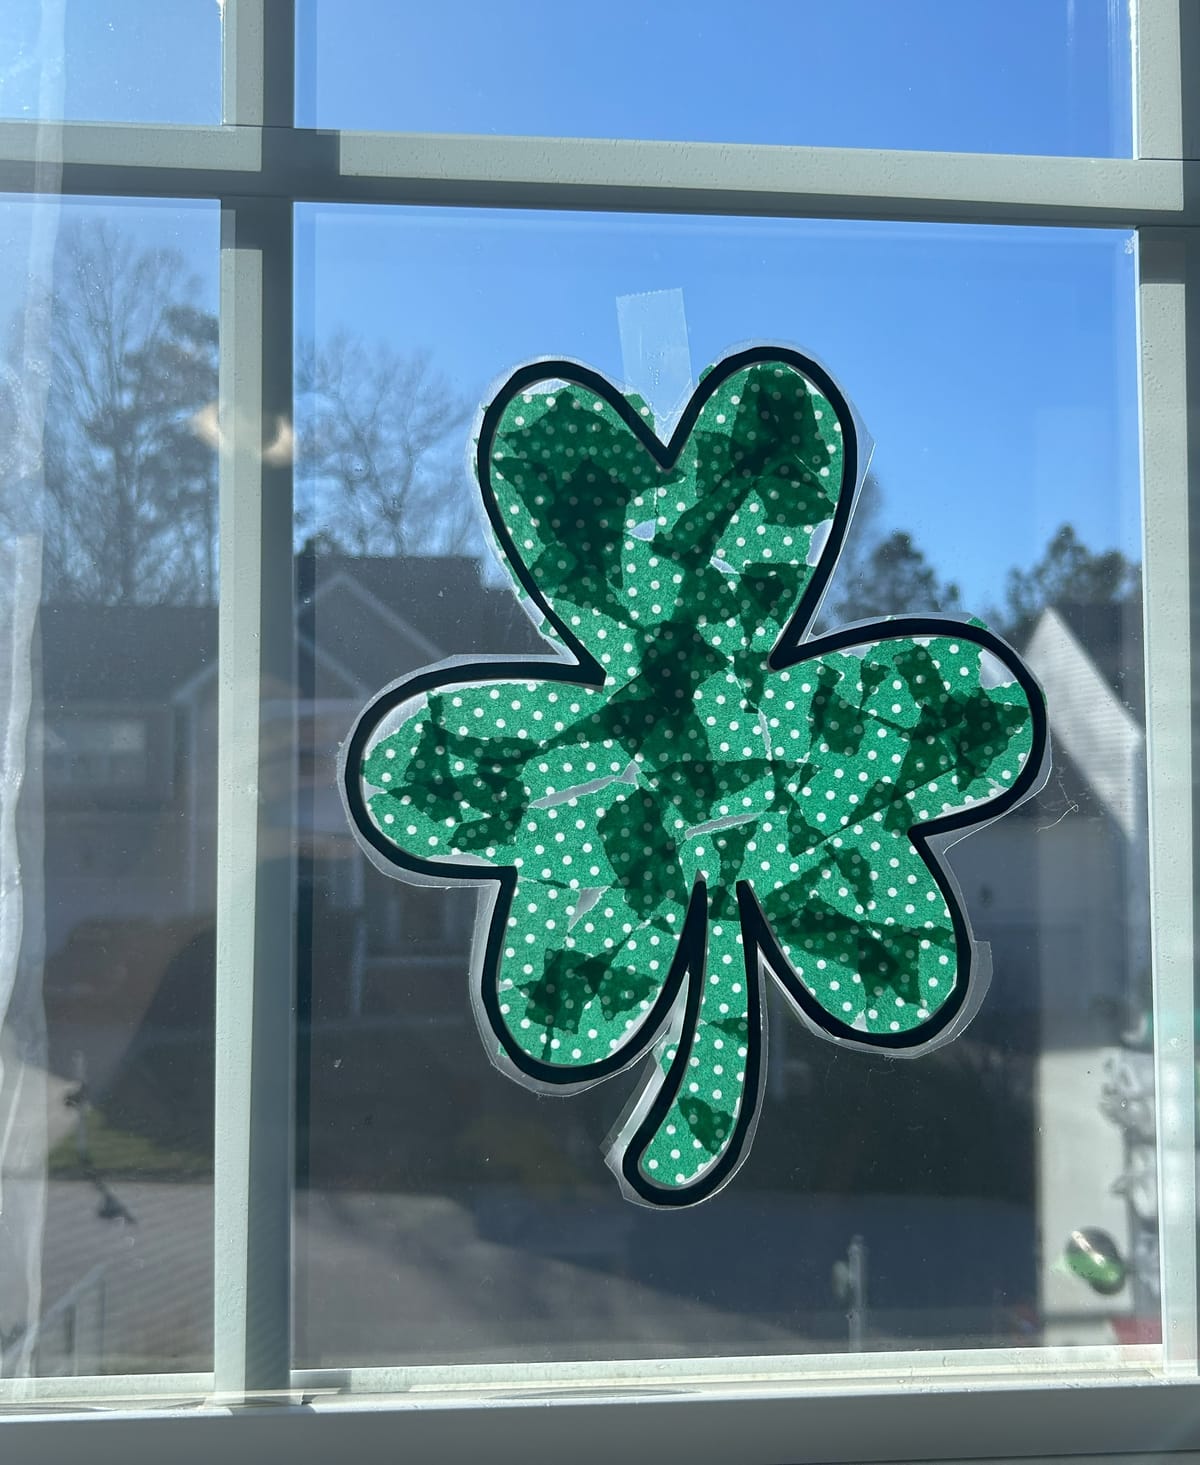
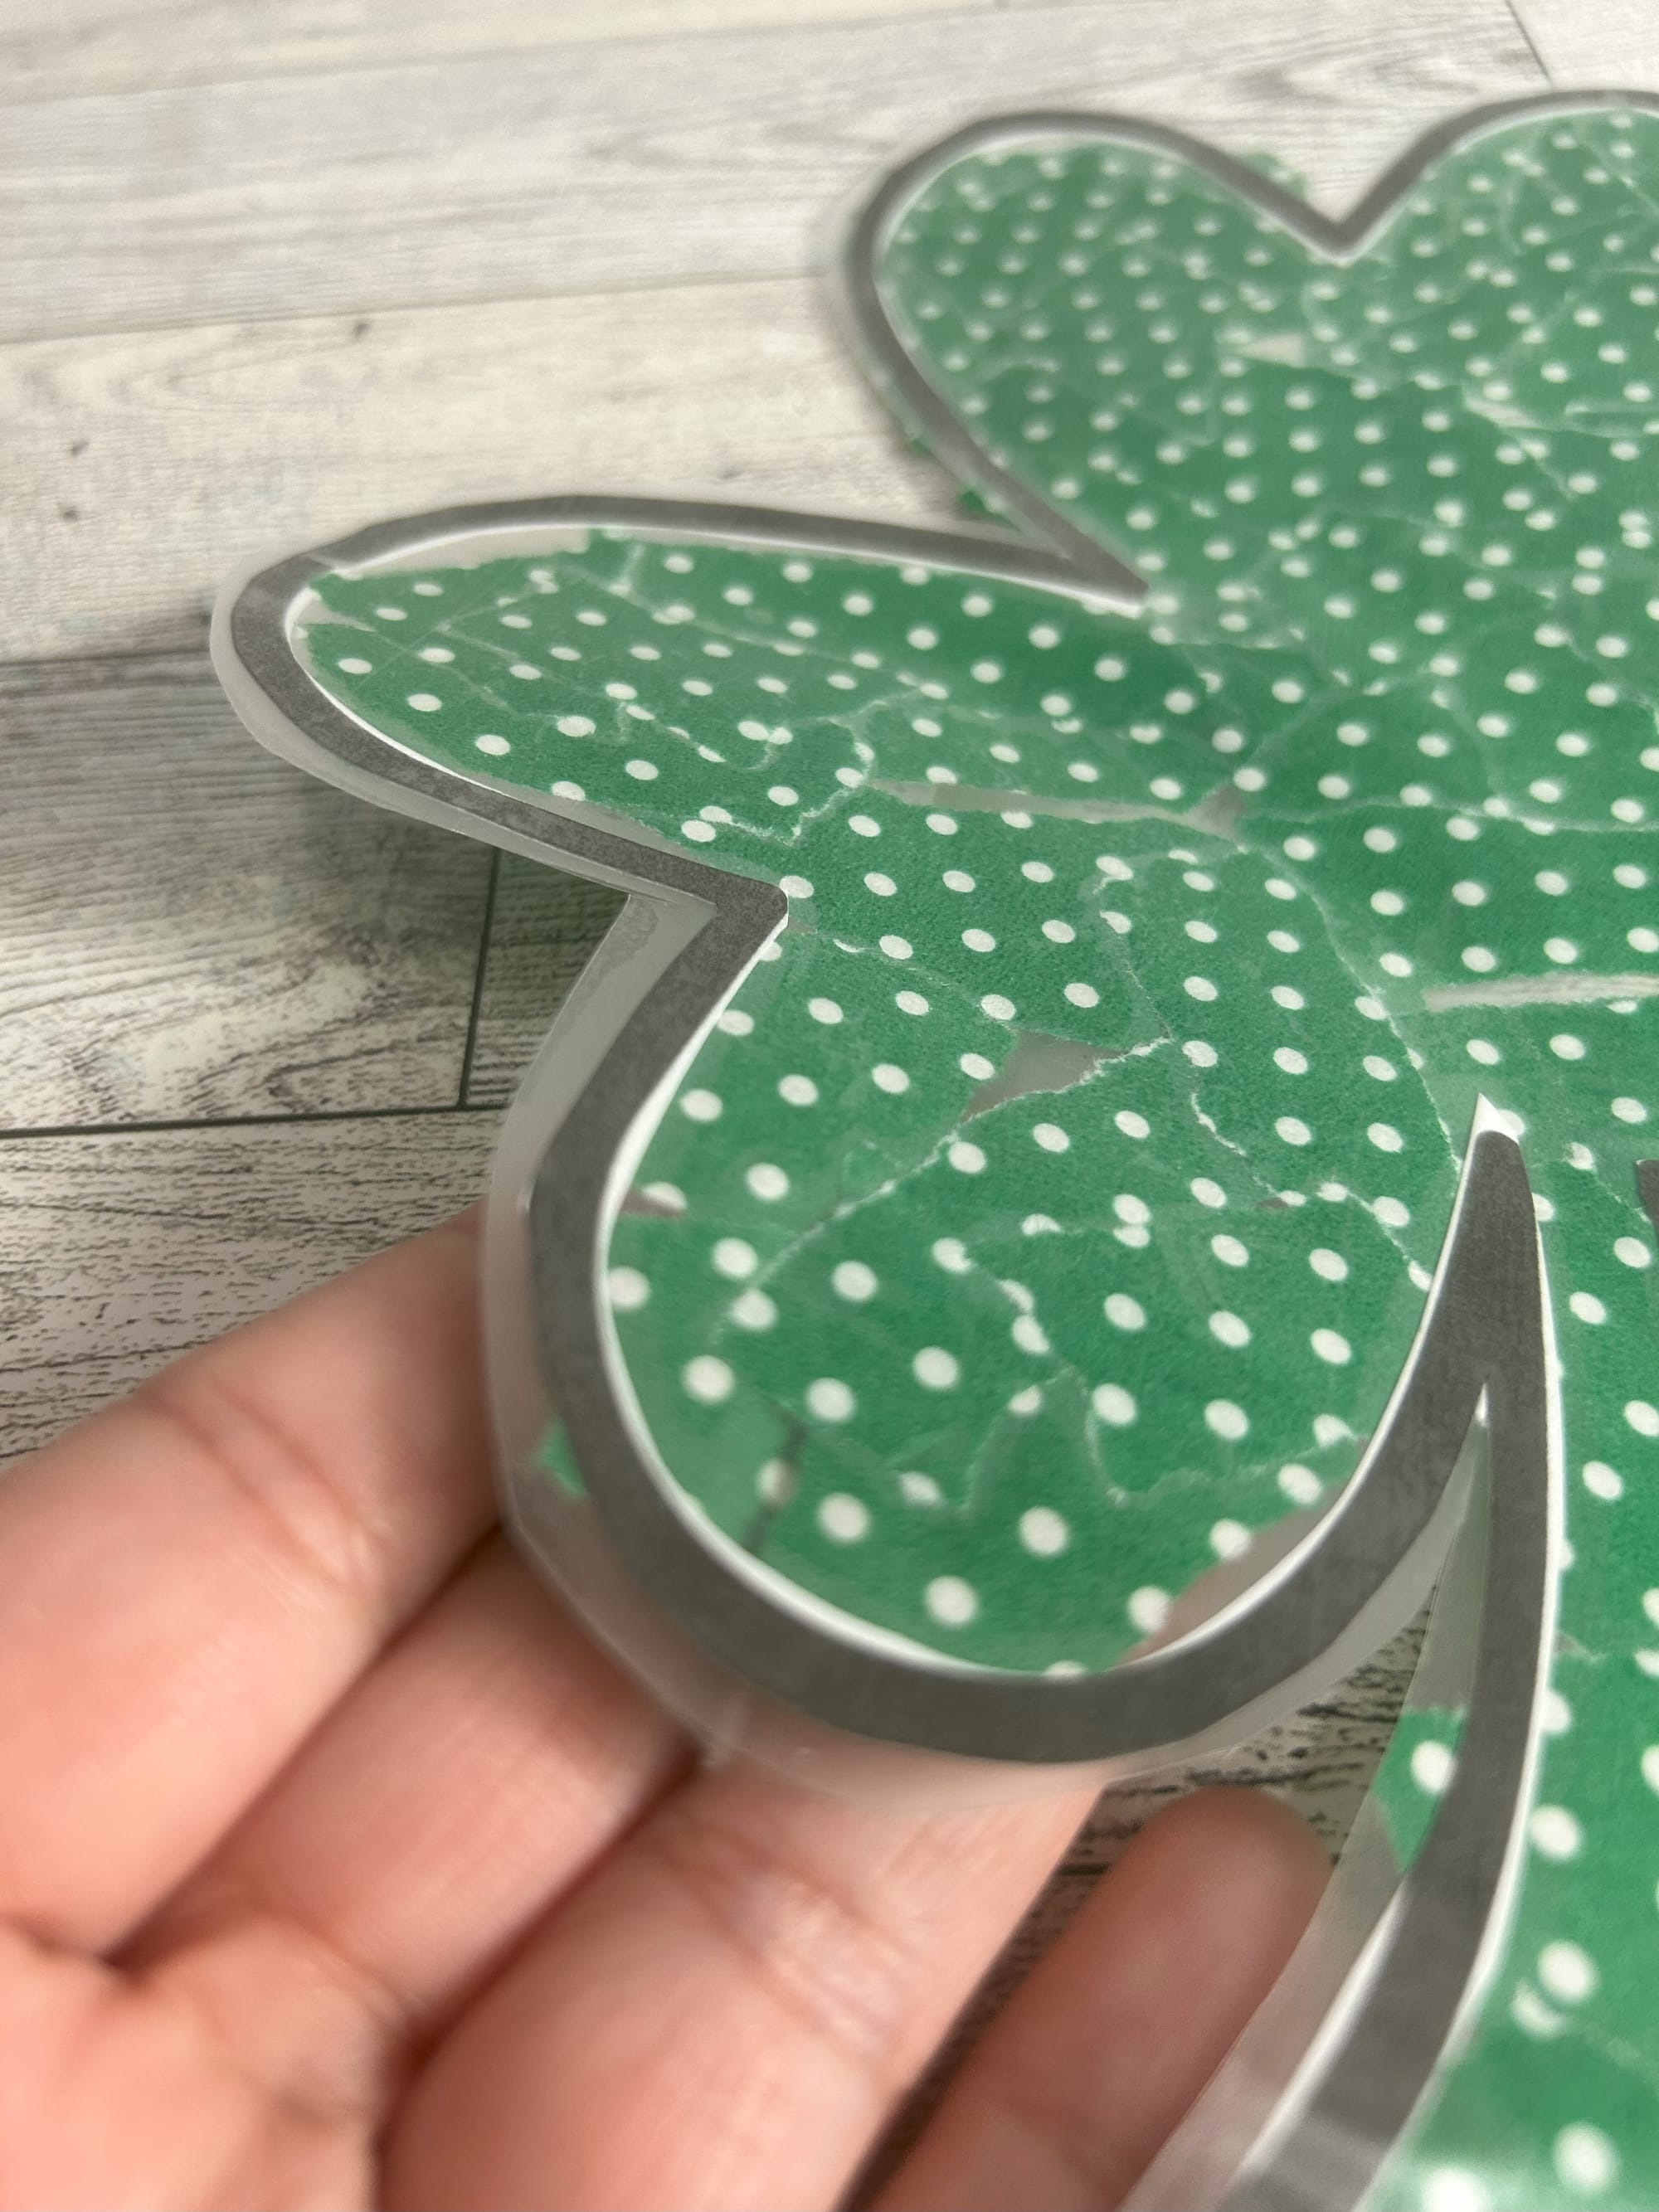
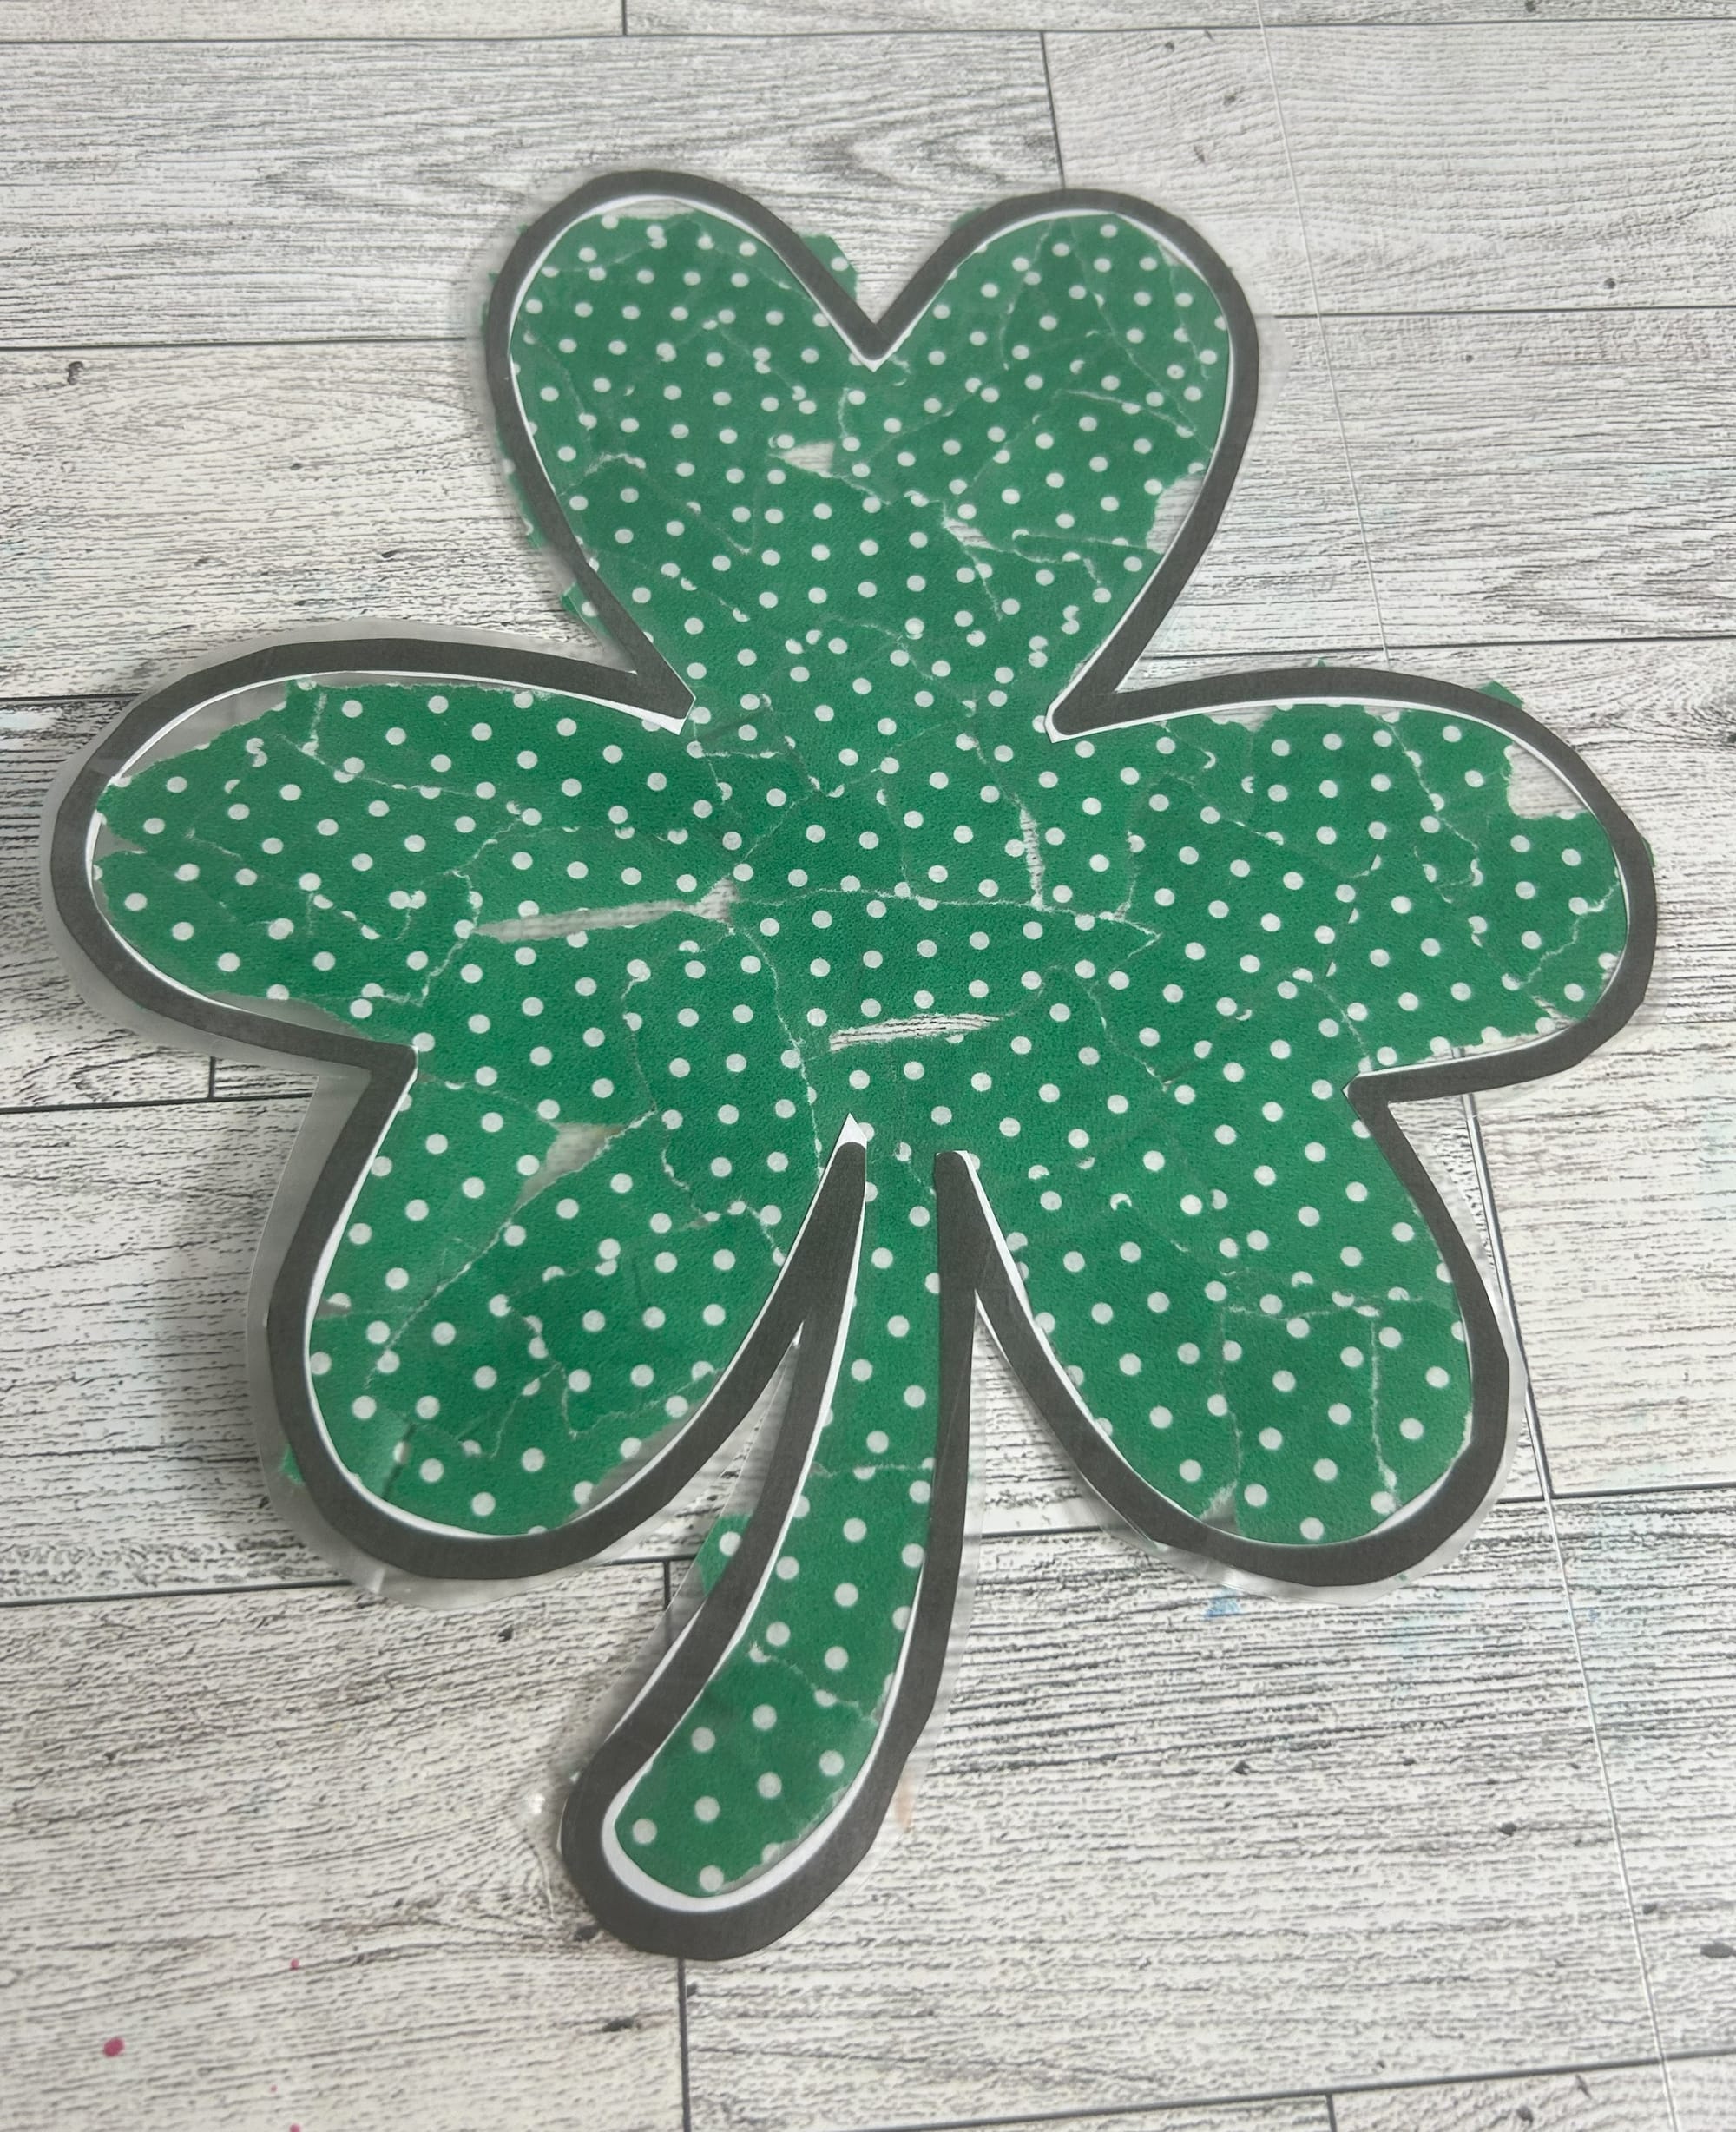
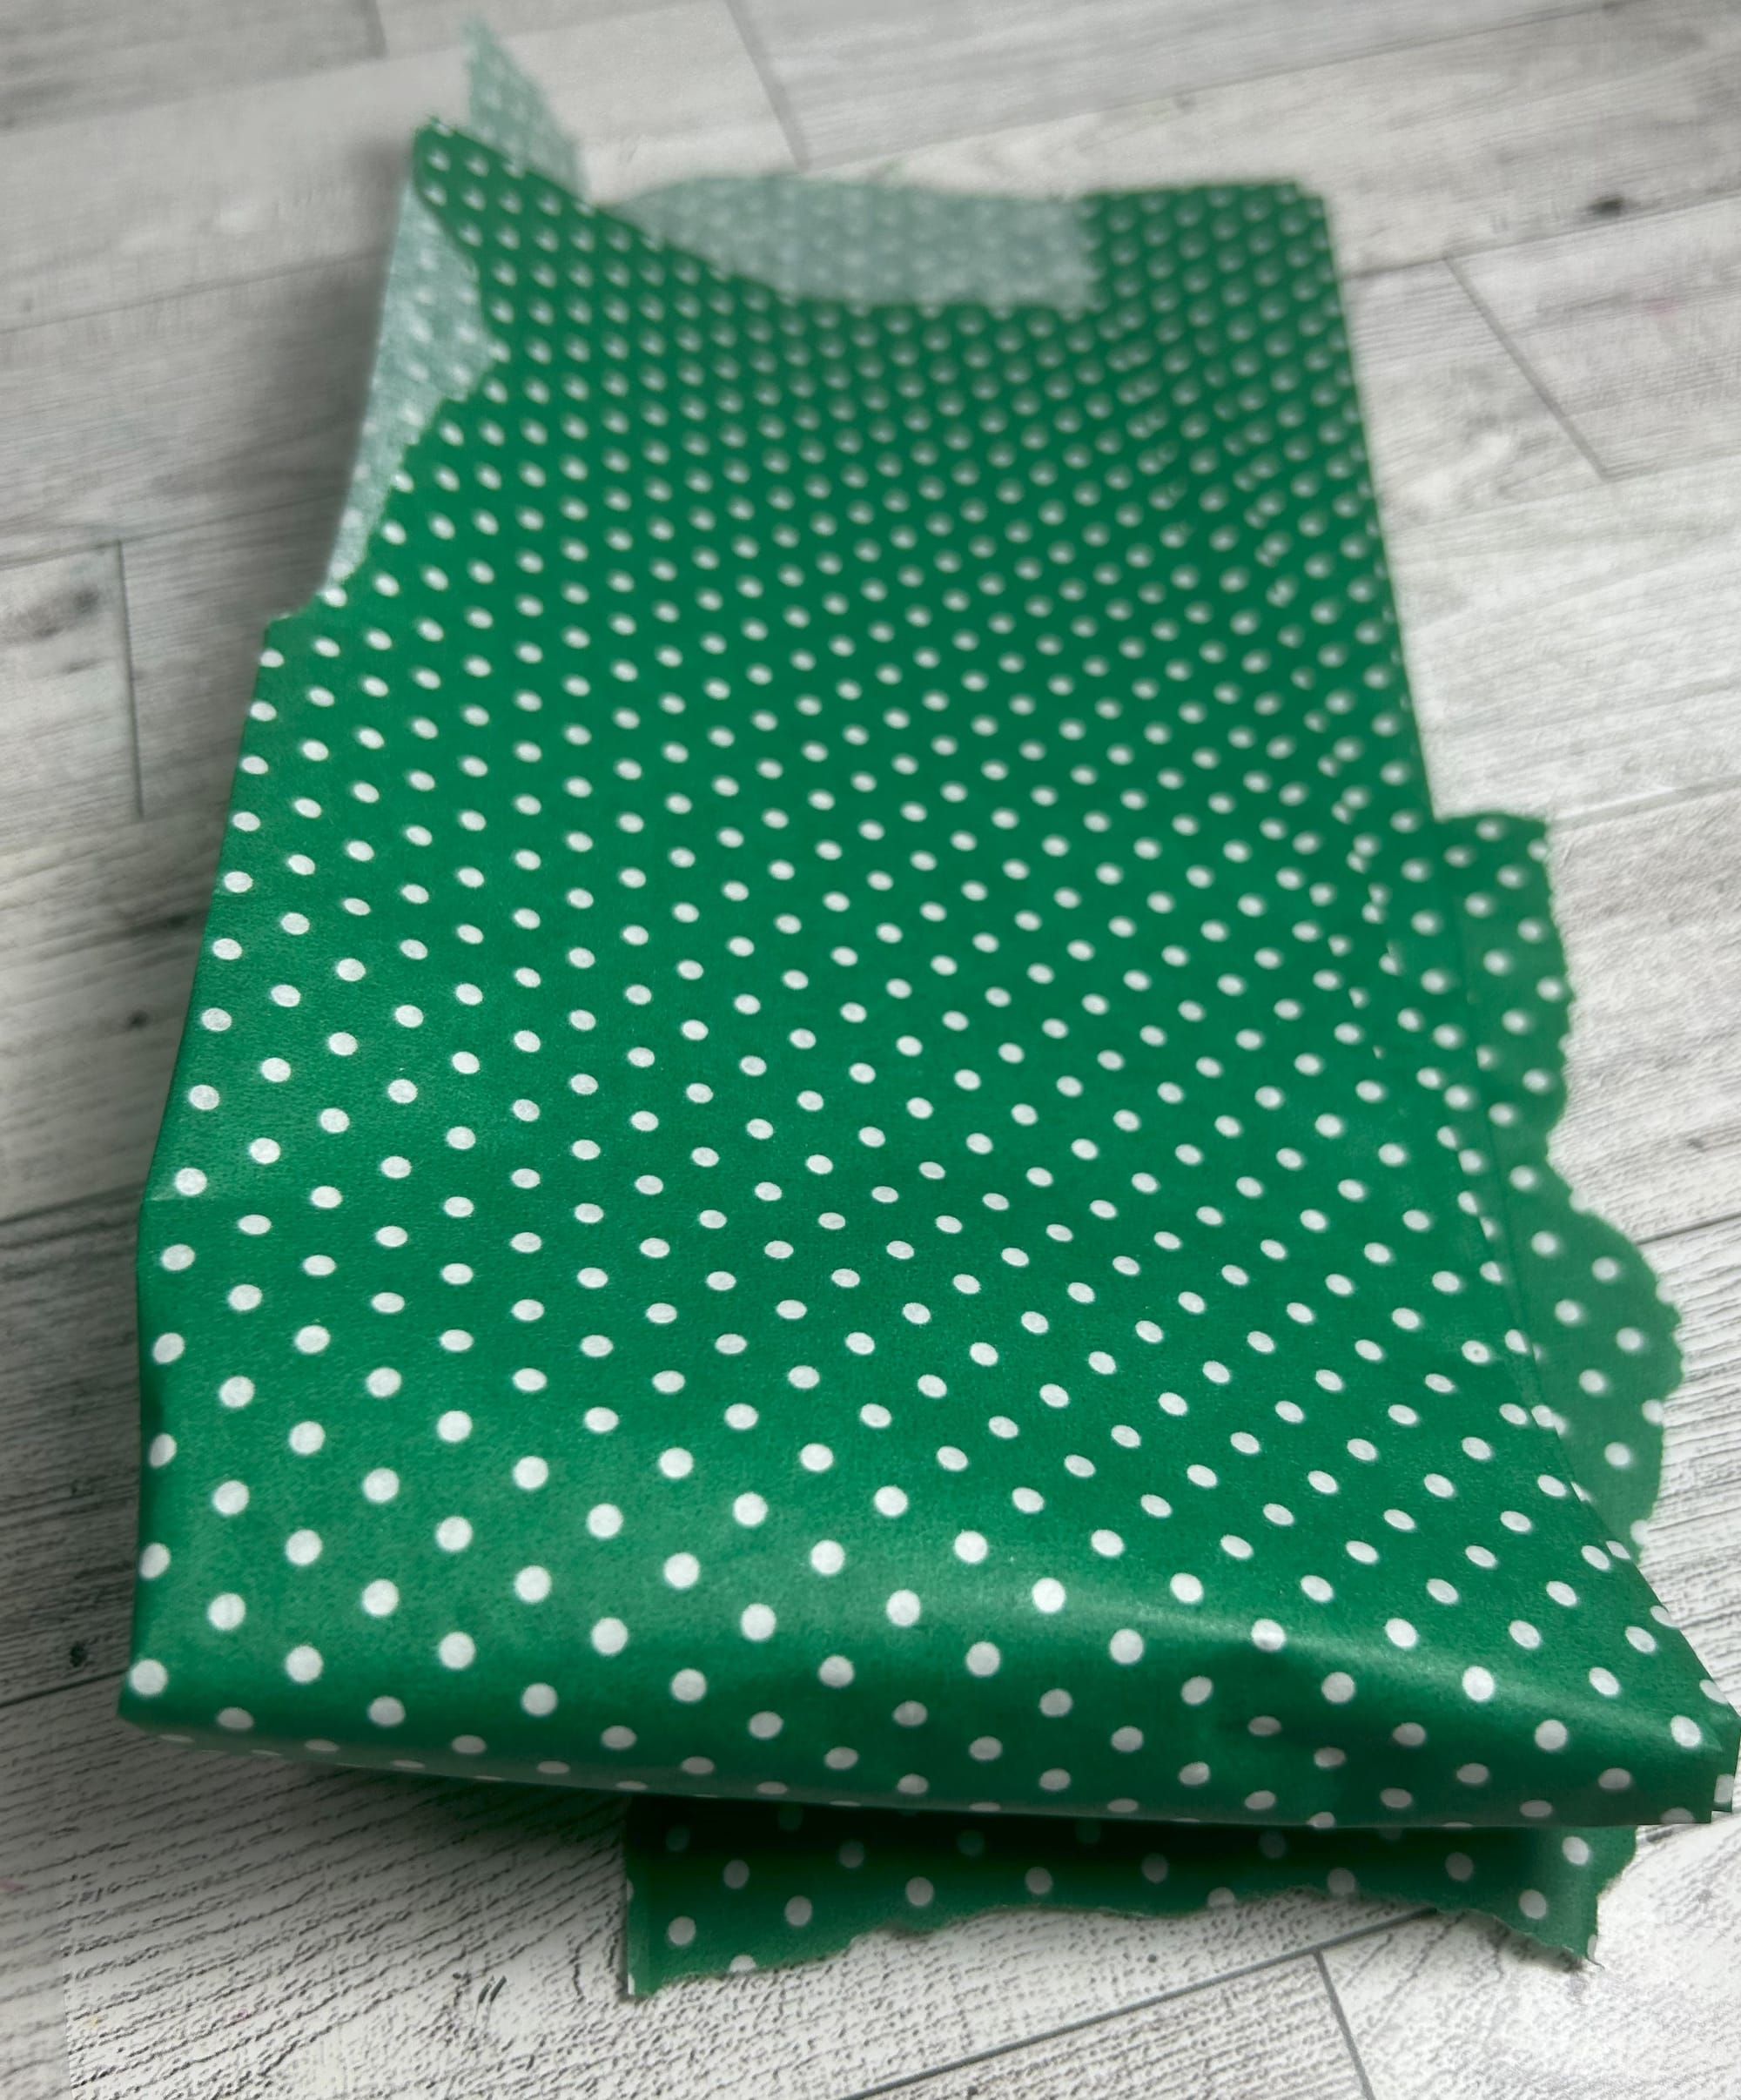
St. Patrick's Day is coming up and I love creating suncatchers for all holidays and seasons, so why no for this holiday as well. I created this shamrock suncatcher using a shamrock cutout, tissue paper and clear contact paper. Feel free to choose any kind of paper, tissue paper or napkin you have to decorate your shamrock the way you want. I had this green with white polka dots that I simply adored. I think it turned out perfect.
You will have to prep this craft by cutting out the outline of the shamrock. This is pretty easy although it takes a little time. Place on contact paper and let your little one go to work ripping and tearing the paper to cover as little or as much of the shamrock as they want.
Supplies:
- Clear contact paper
- Green tissue paper, paper or napkins
- Scissors
- Shamrock template
Instructions:
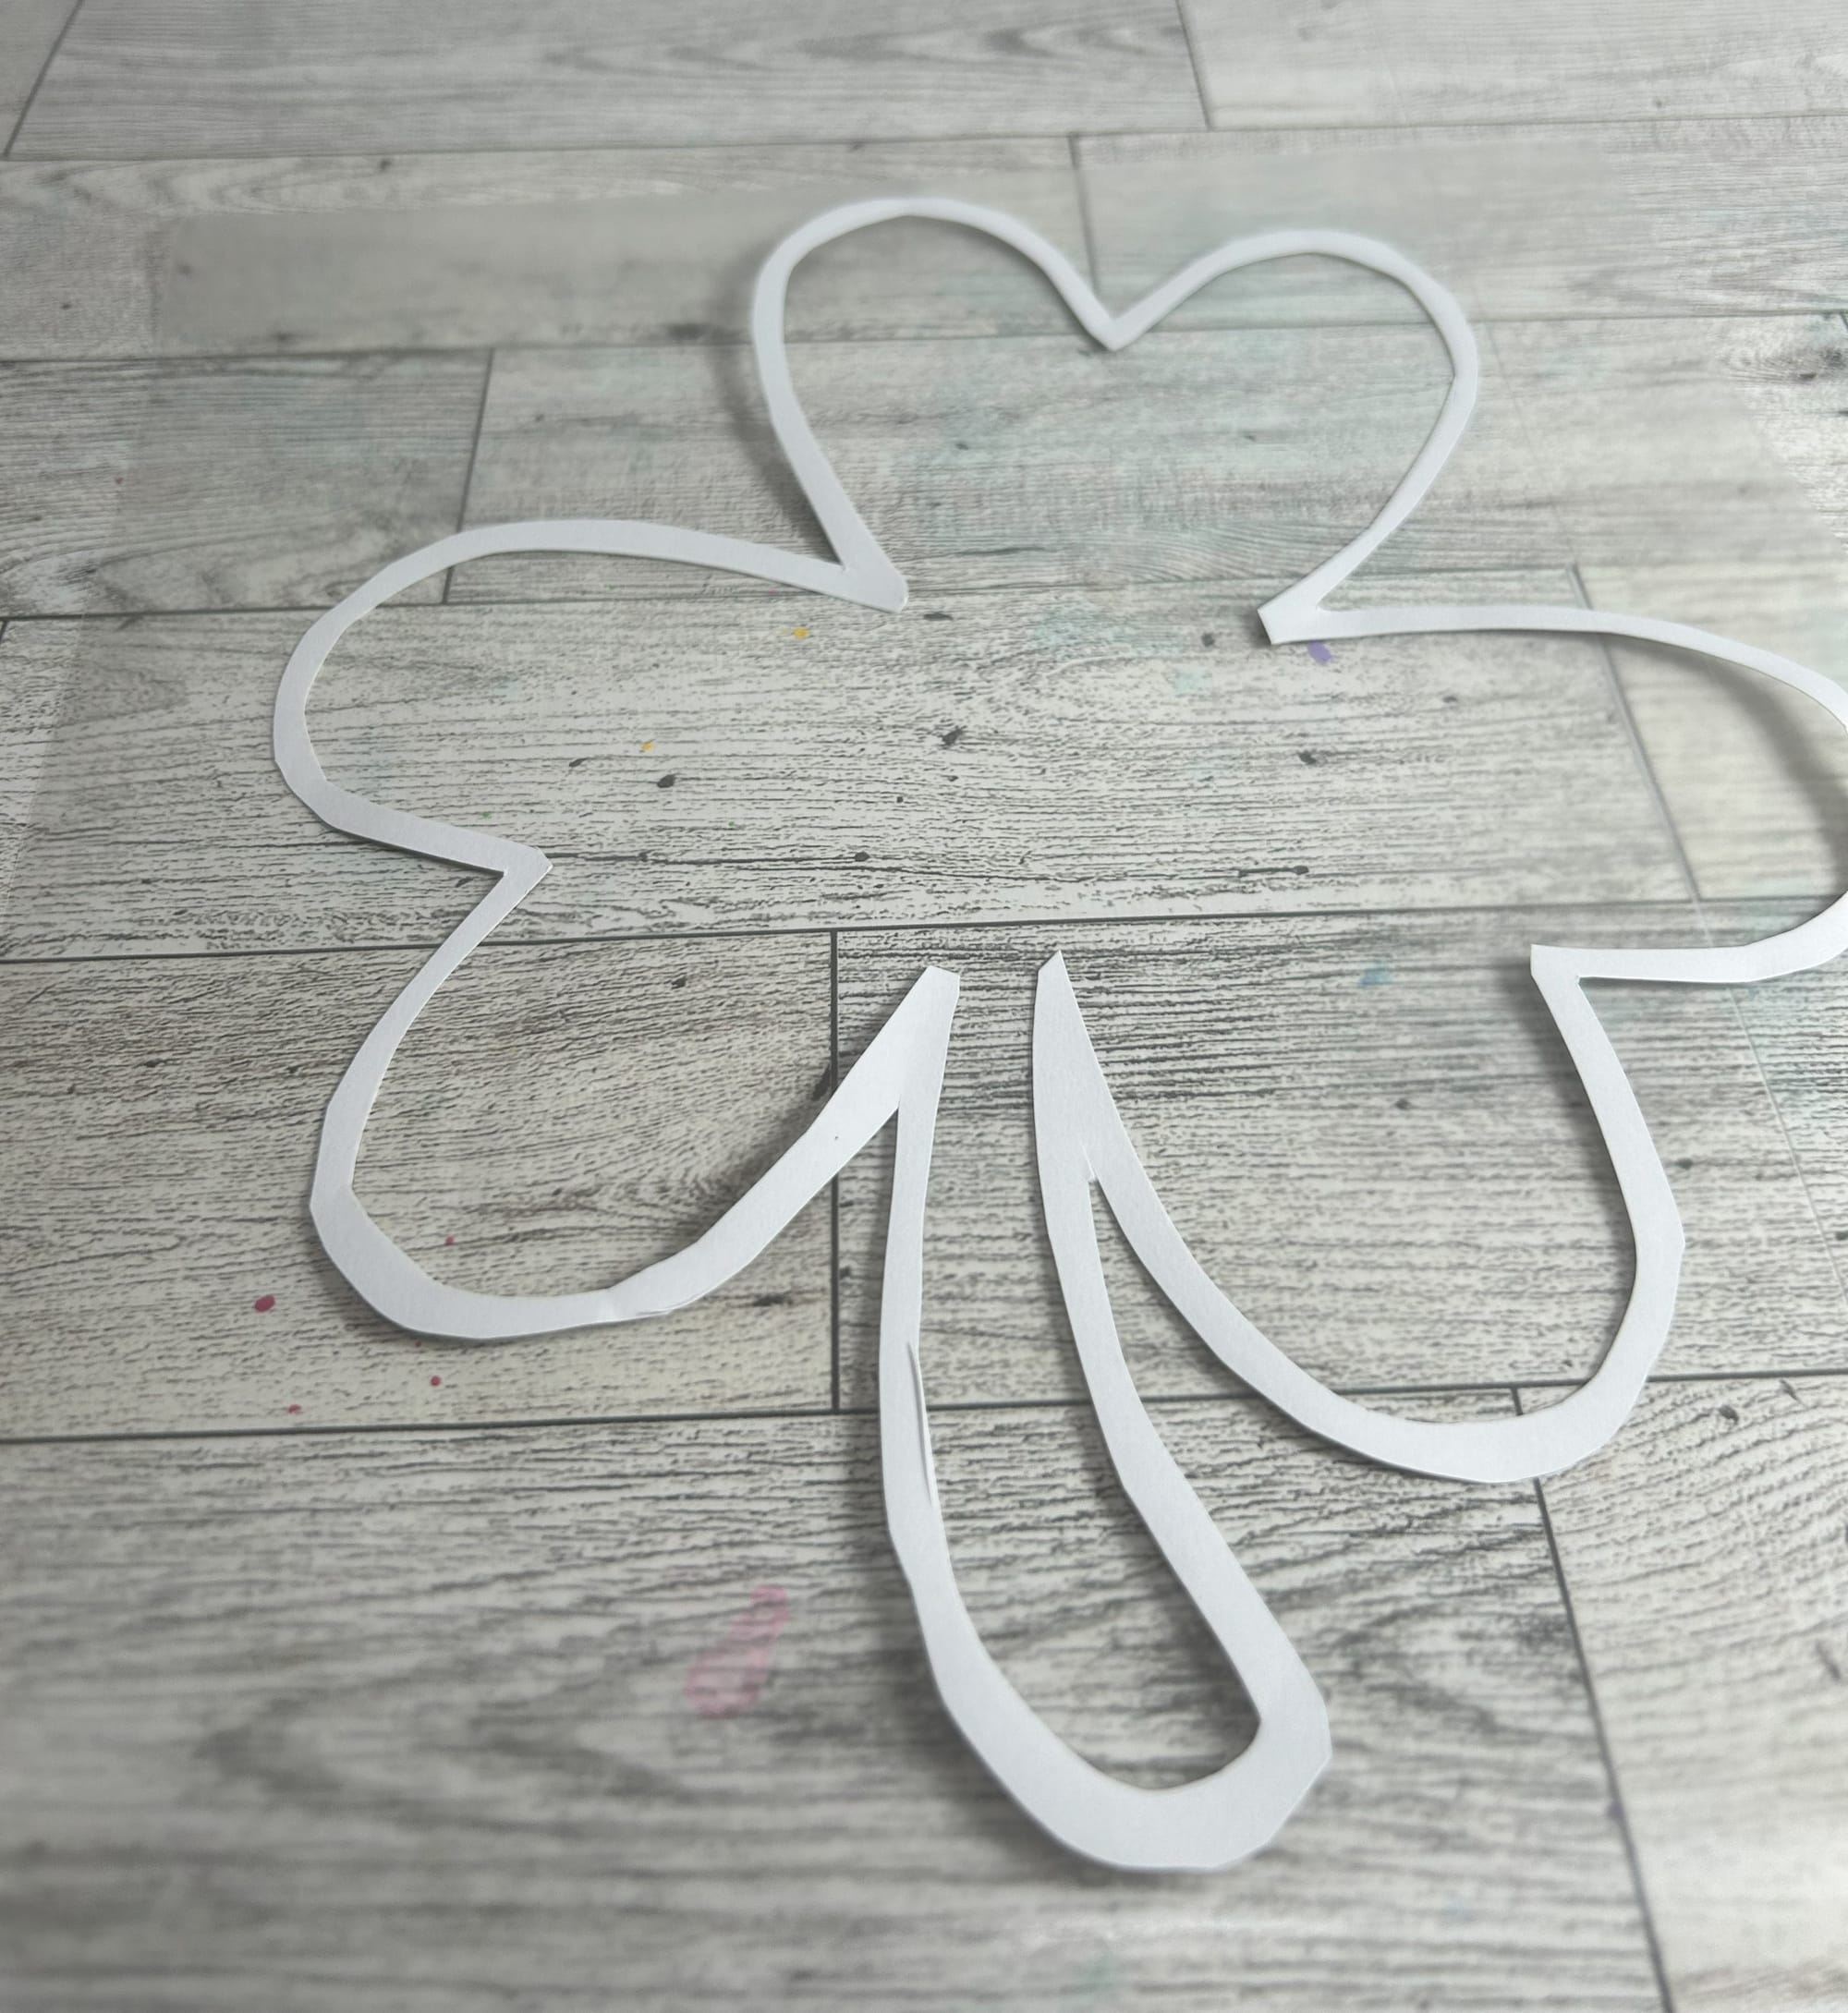
- Cut out the shamrock template to prepare the craft for your child. You will cut the shamrock out and then fold in half to cut the inside of the shamrock out. Don't worry if the outline rips you will just place it on top of the contact paper.
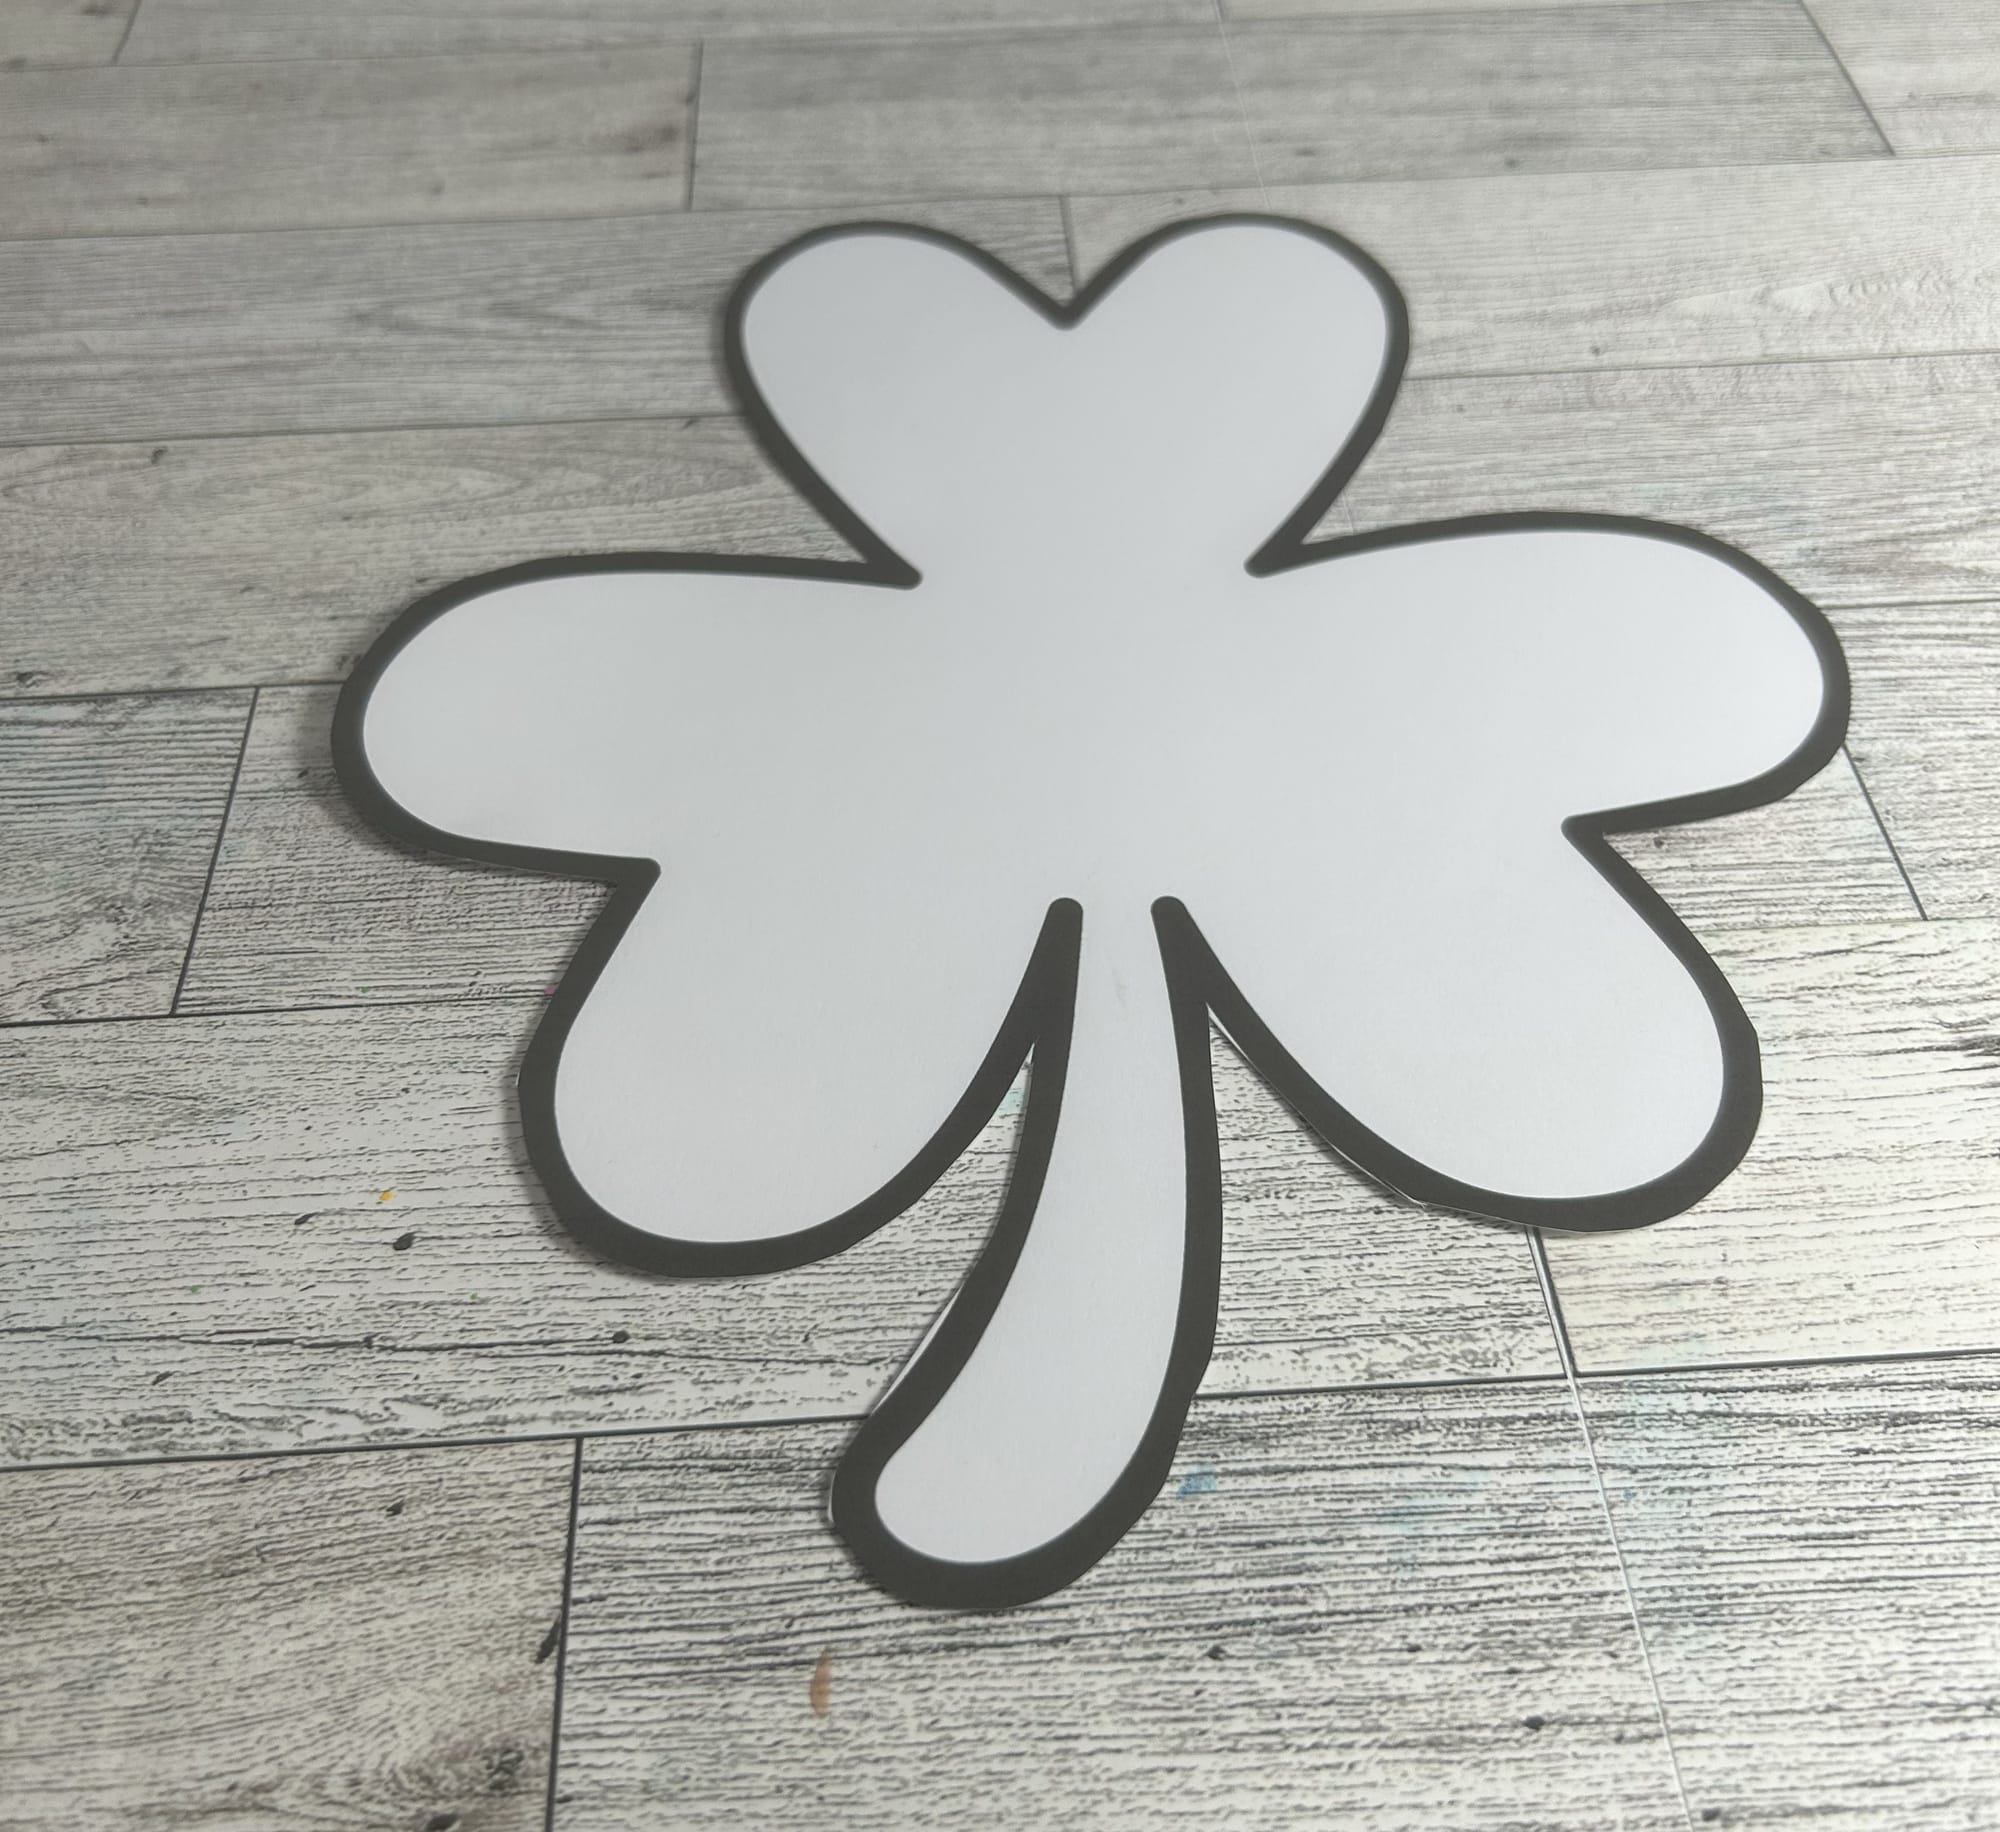
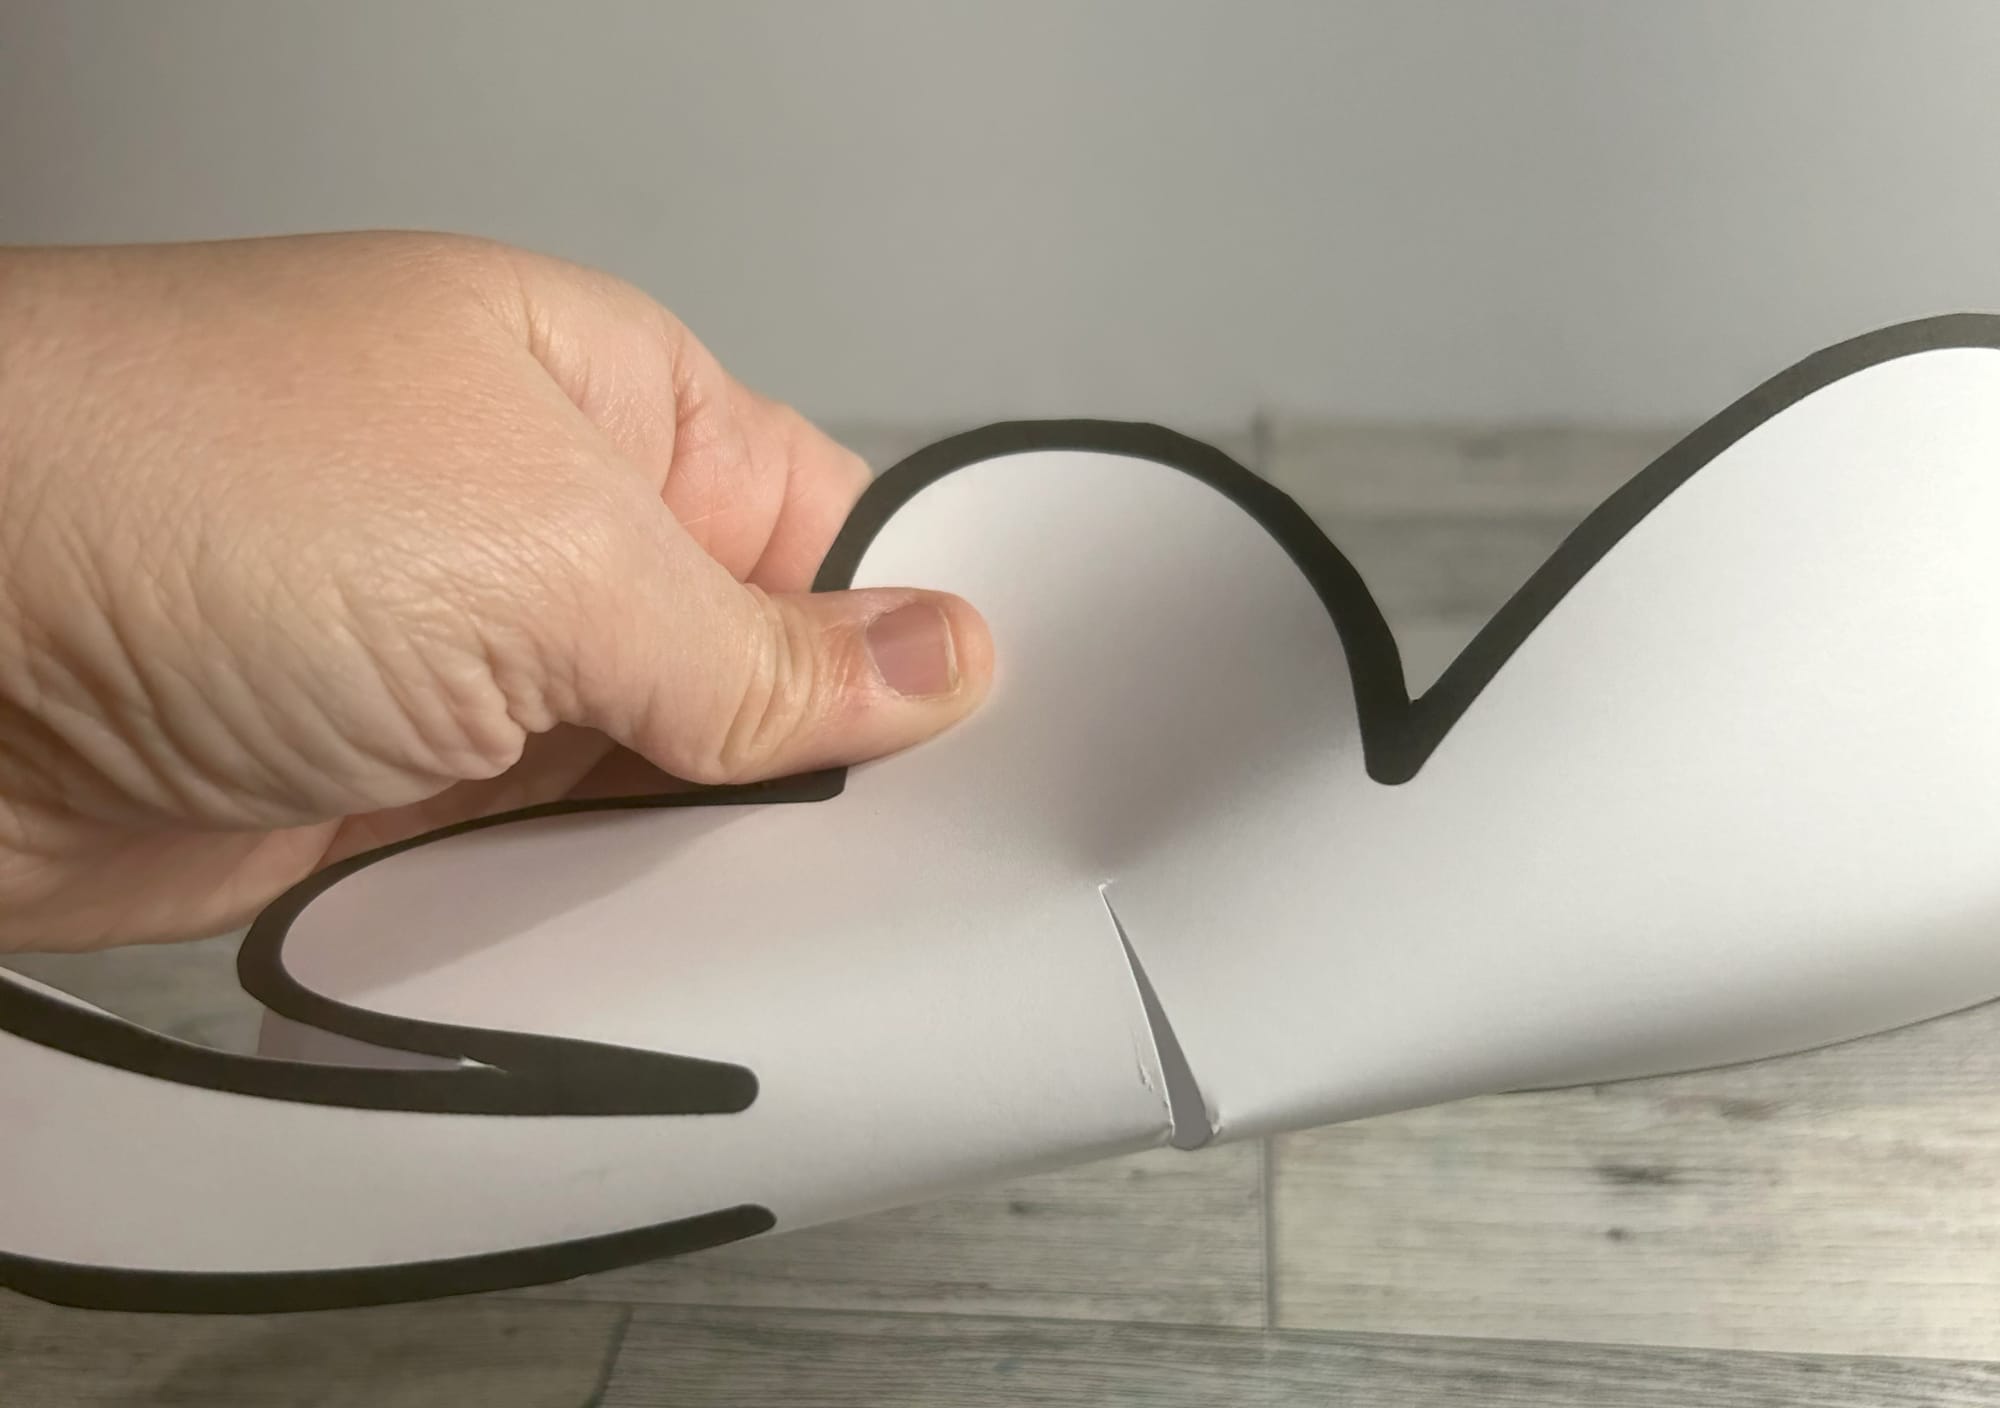

Cut the shamrock out in advanced to prepare for creating your suncatchers.
- Place shamrock on the contact paper. I flipped mine upside down and then place my tissue paper upside down. However, you can do the opposite so you can see your design as you work on it.
- Have your child tear the paper and place on top of the clear contact paper. You can have your child pre tear or do as you work. Choose what you think will work best for your child. However, I would recommend allowing your child to tear the paper as it is a good fine motor skill.
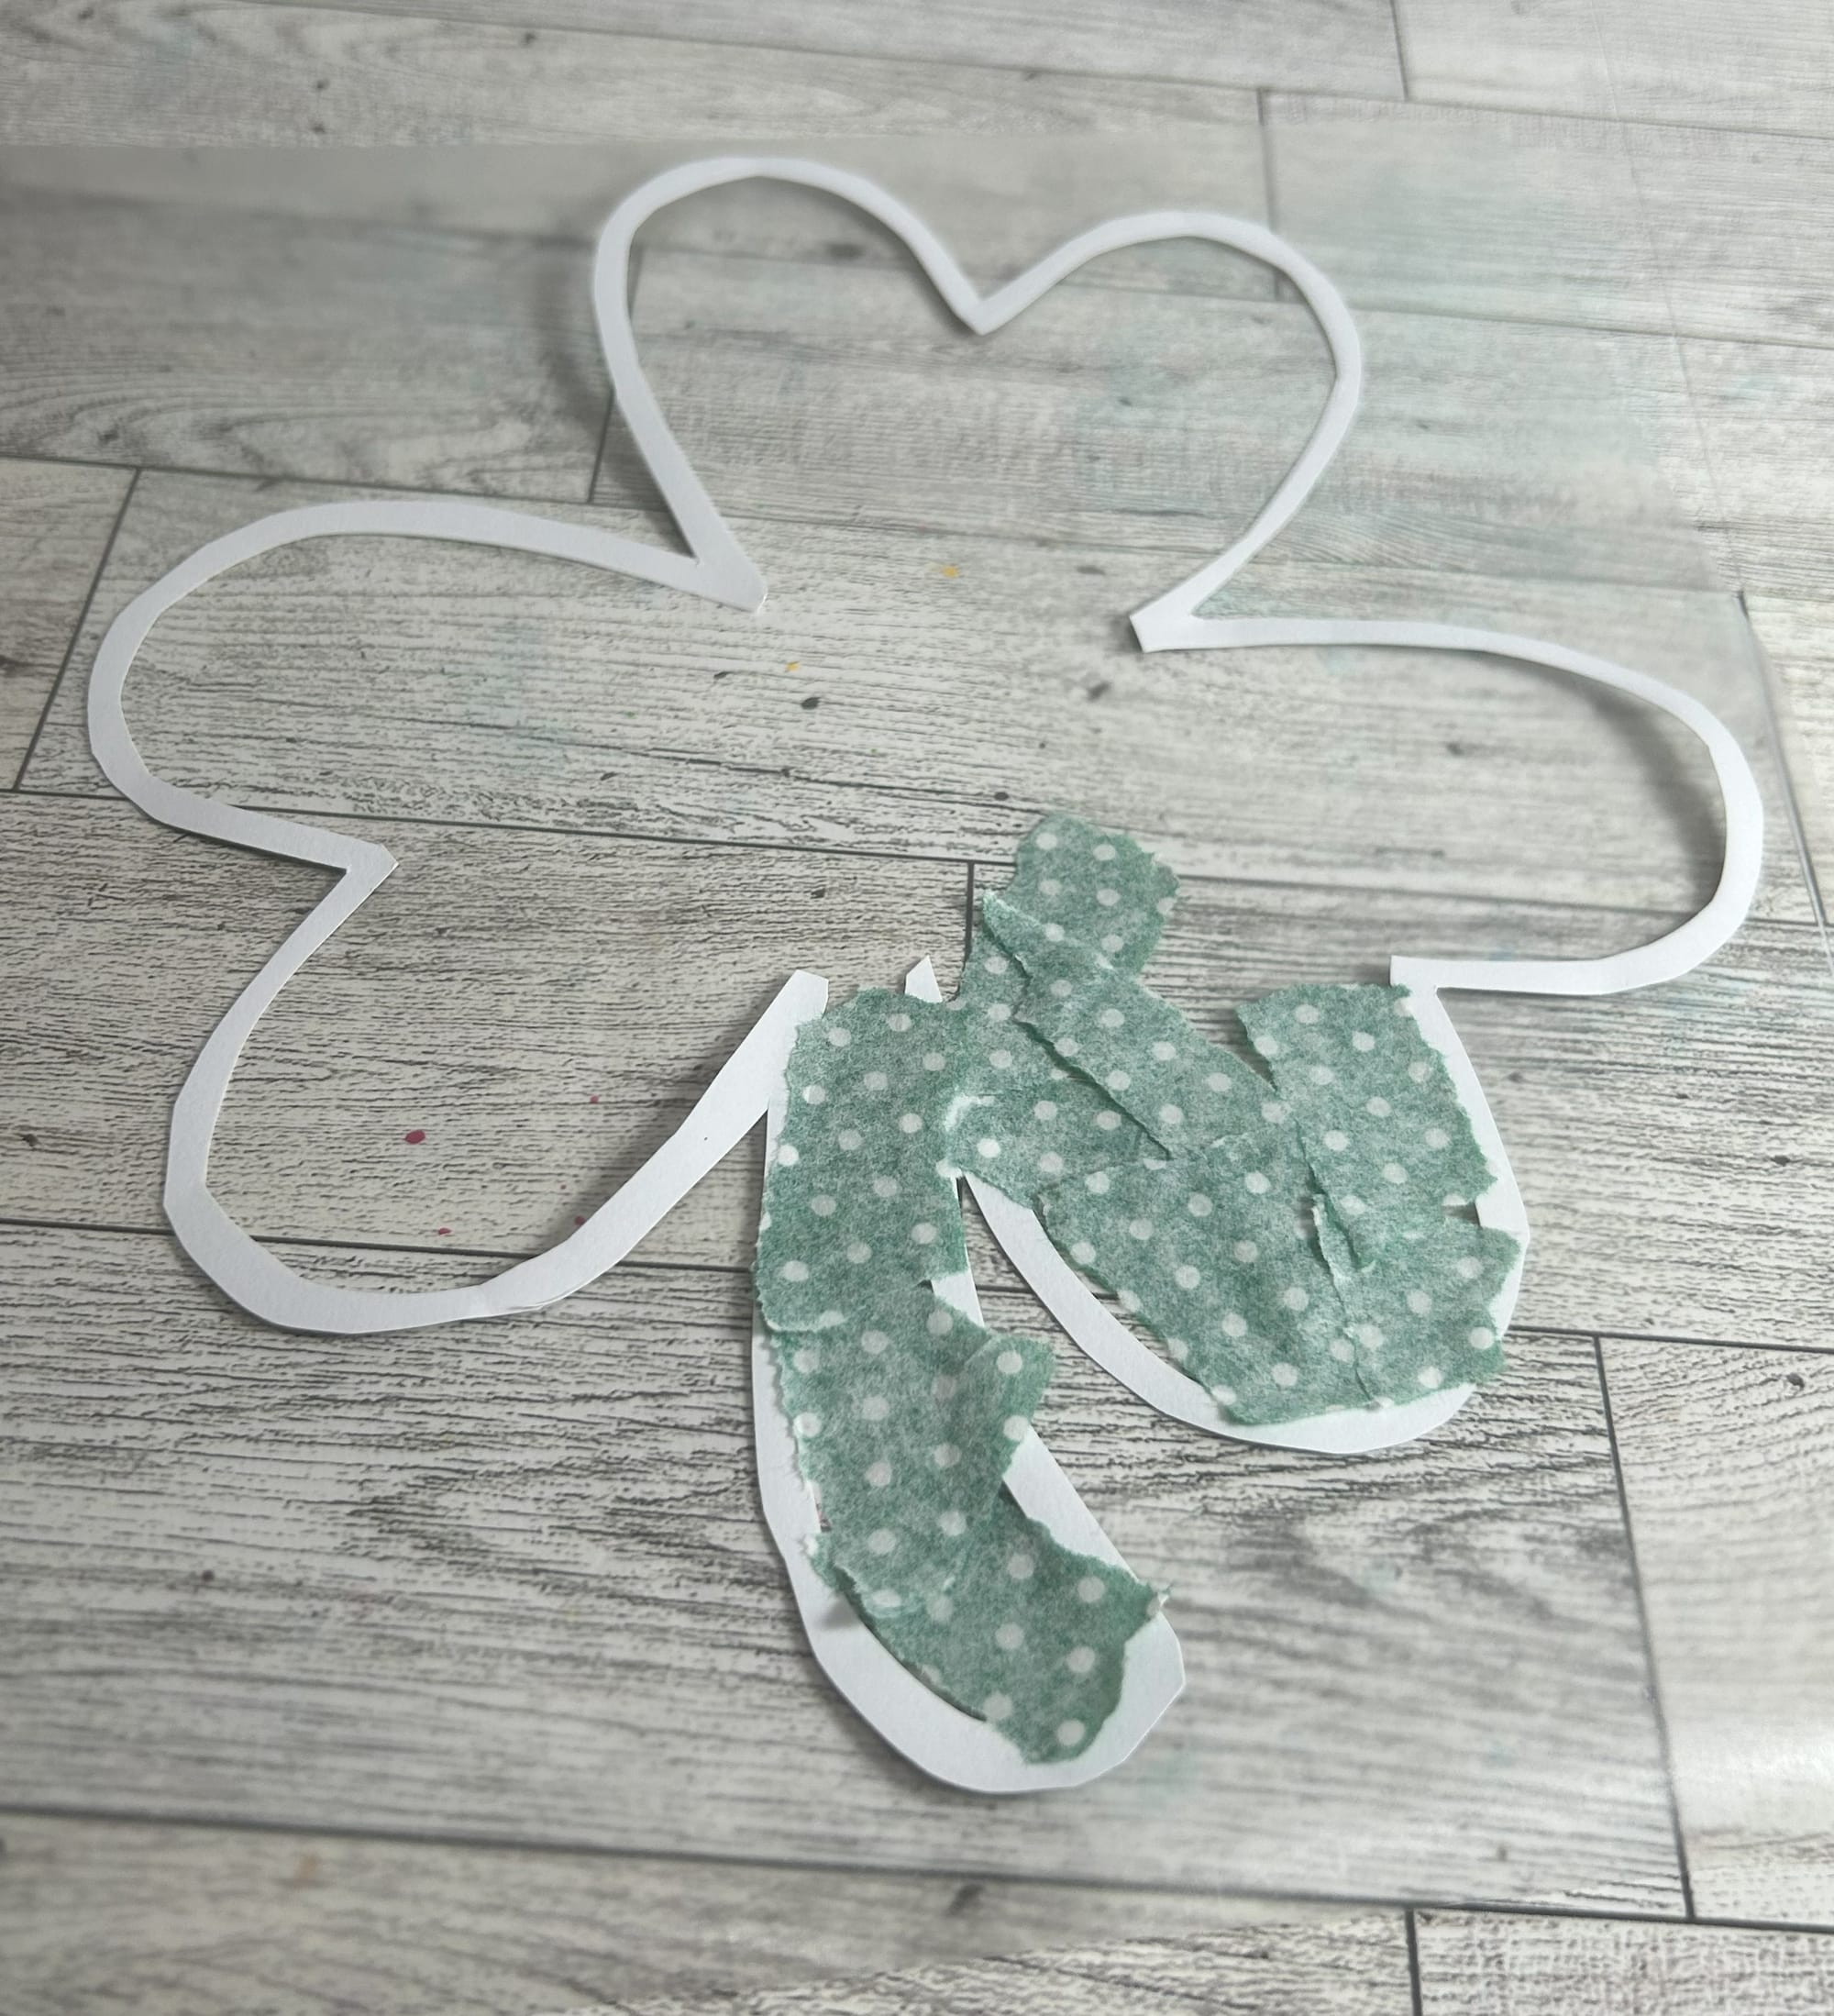
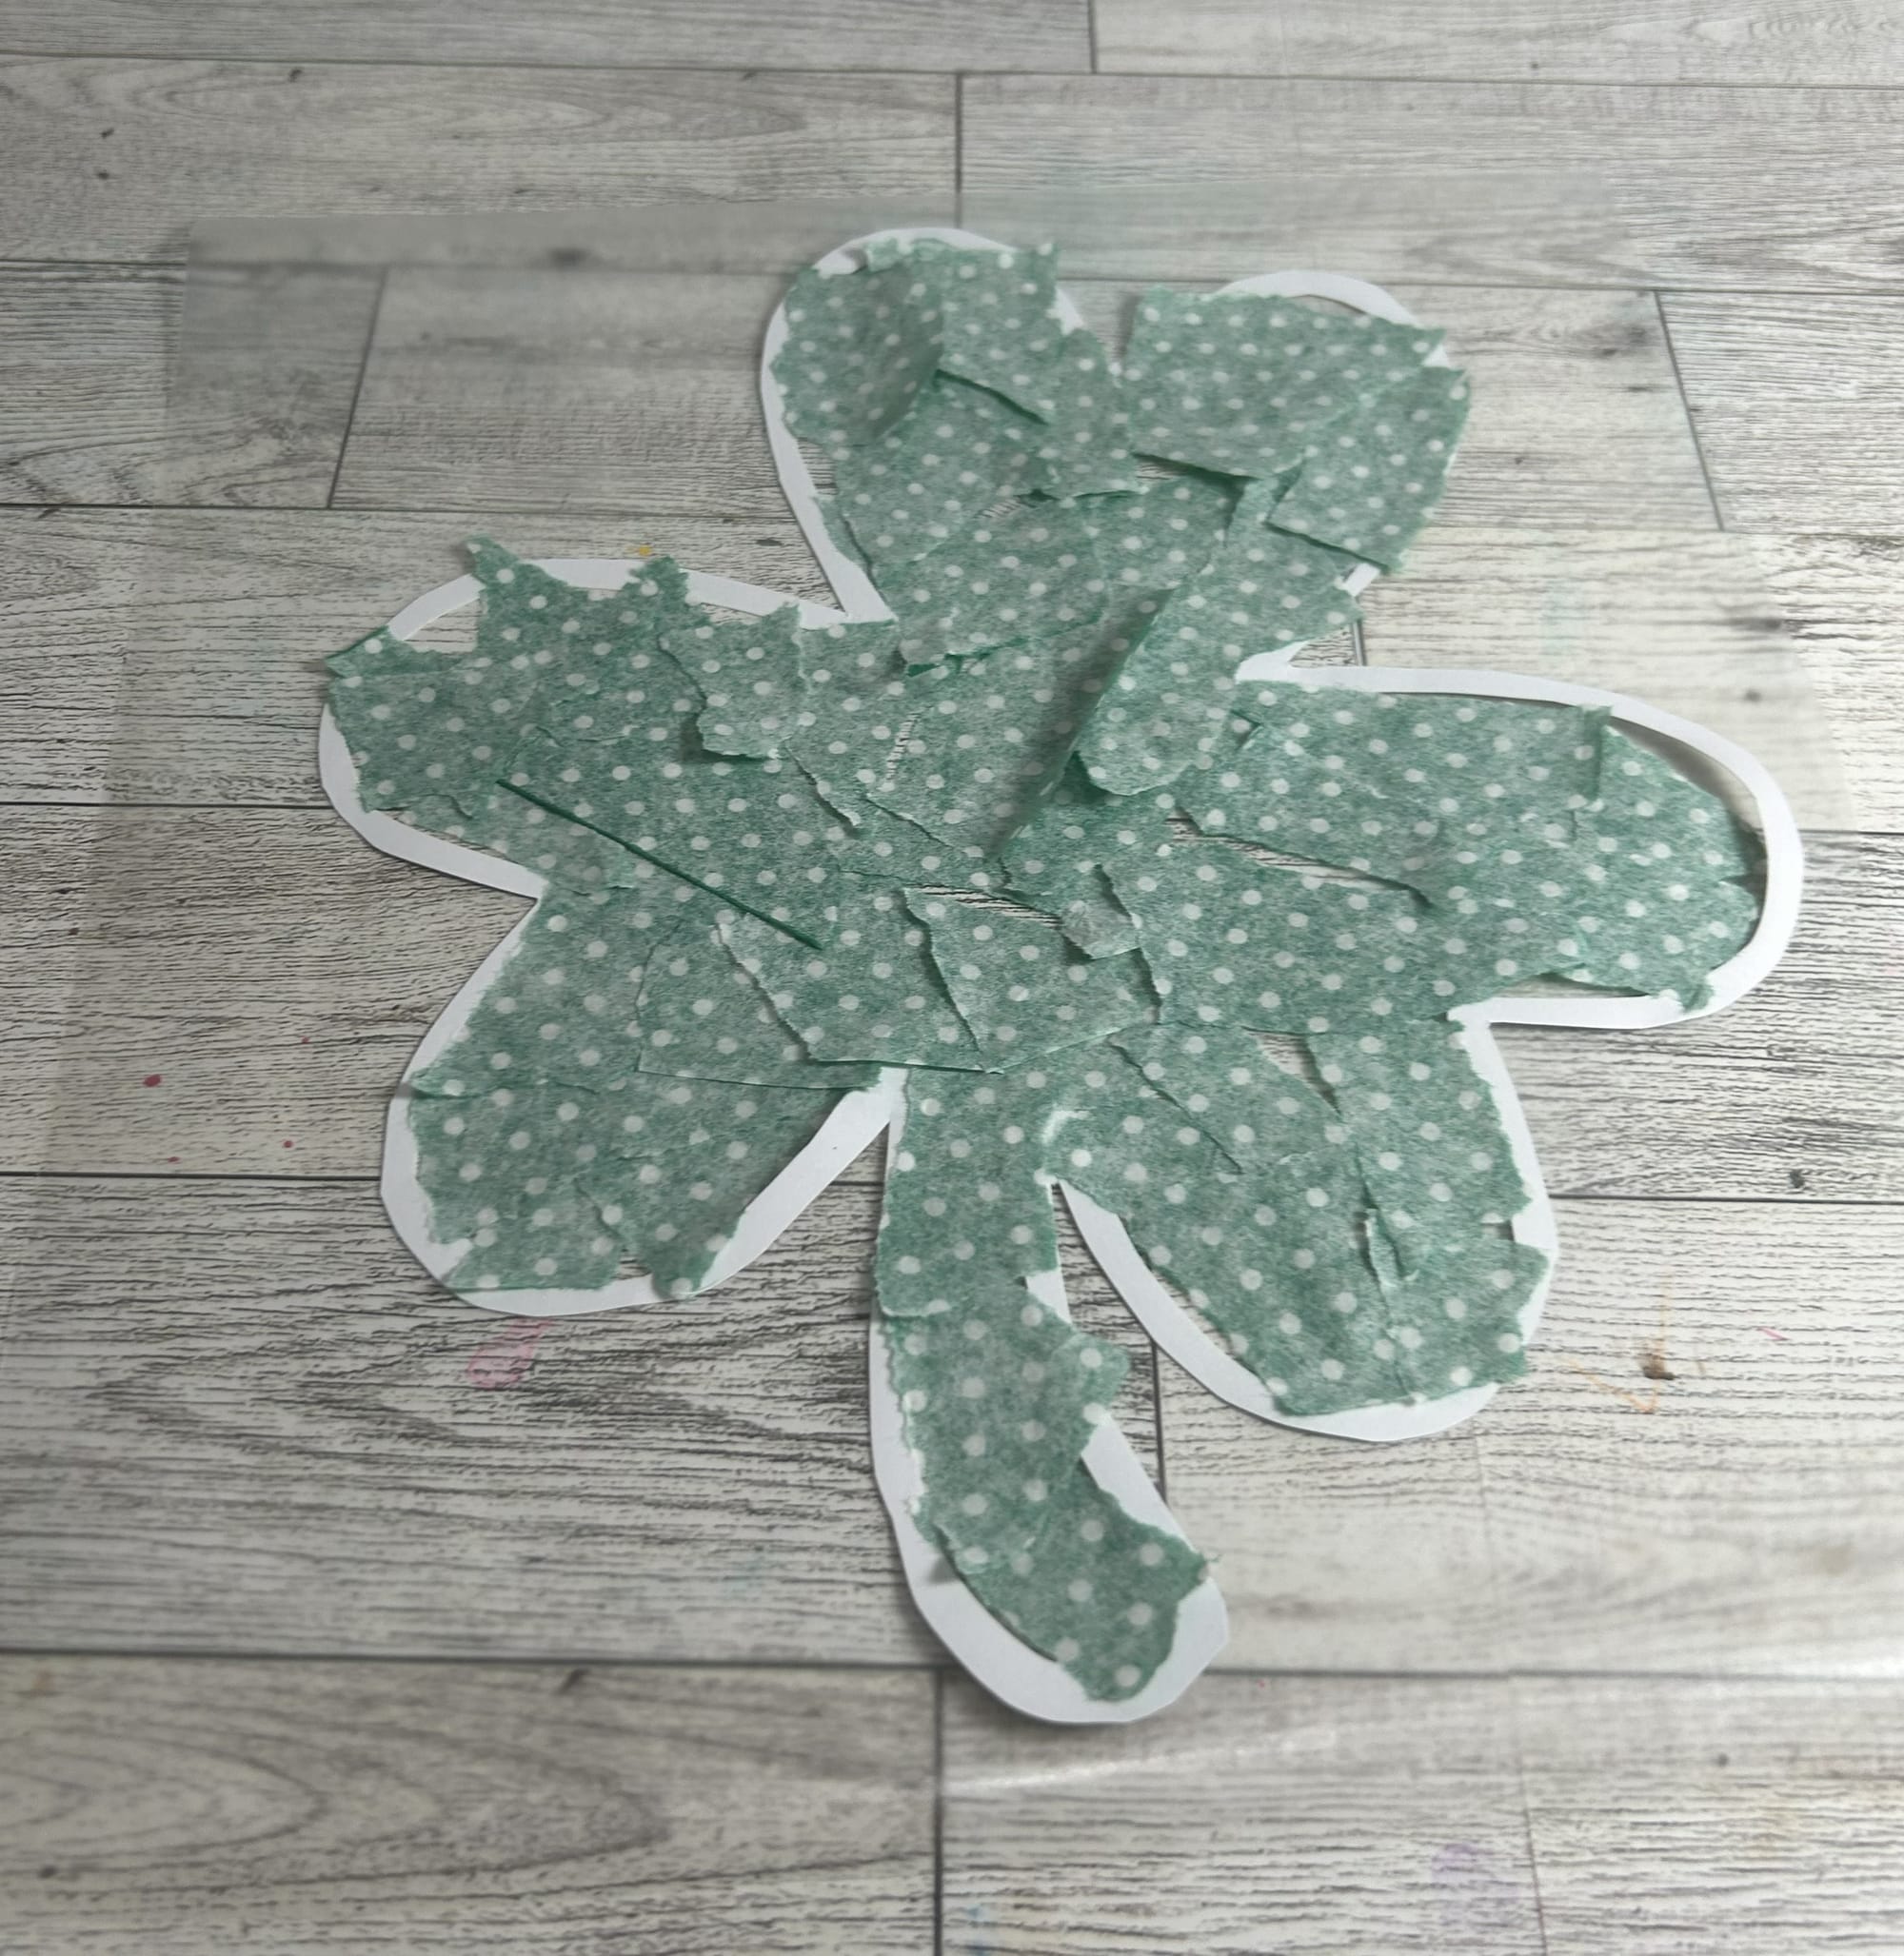
- Place another piece of contact paper on top of your shamrock. Smooth it out, it is okay if it is not perfect.
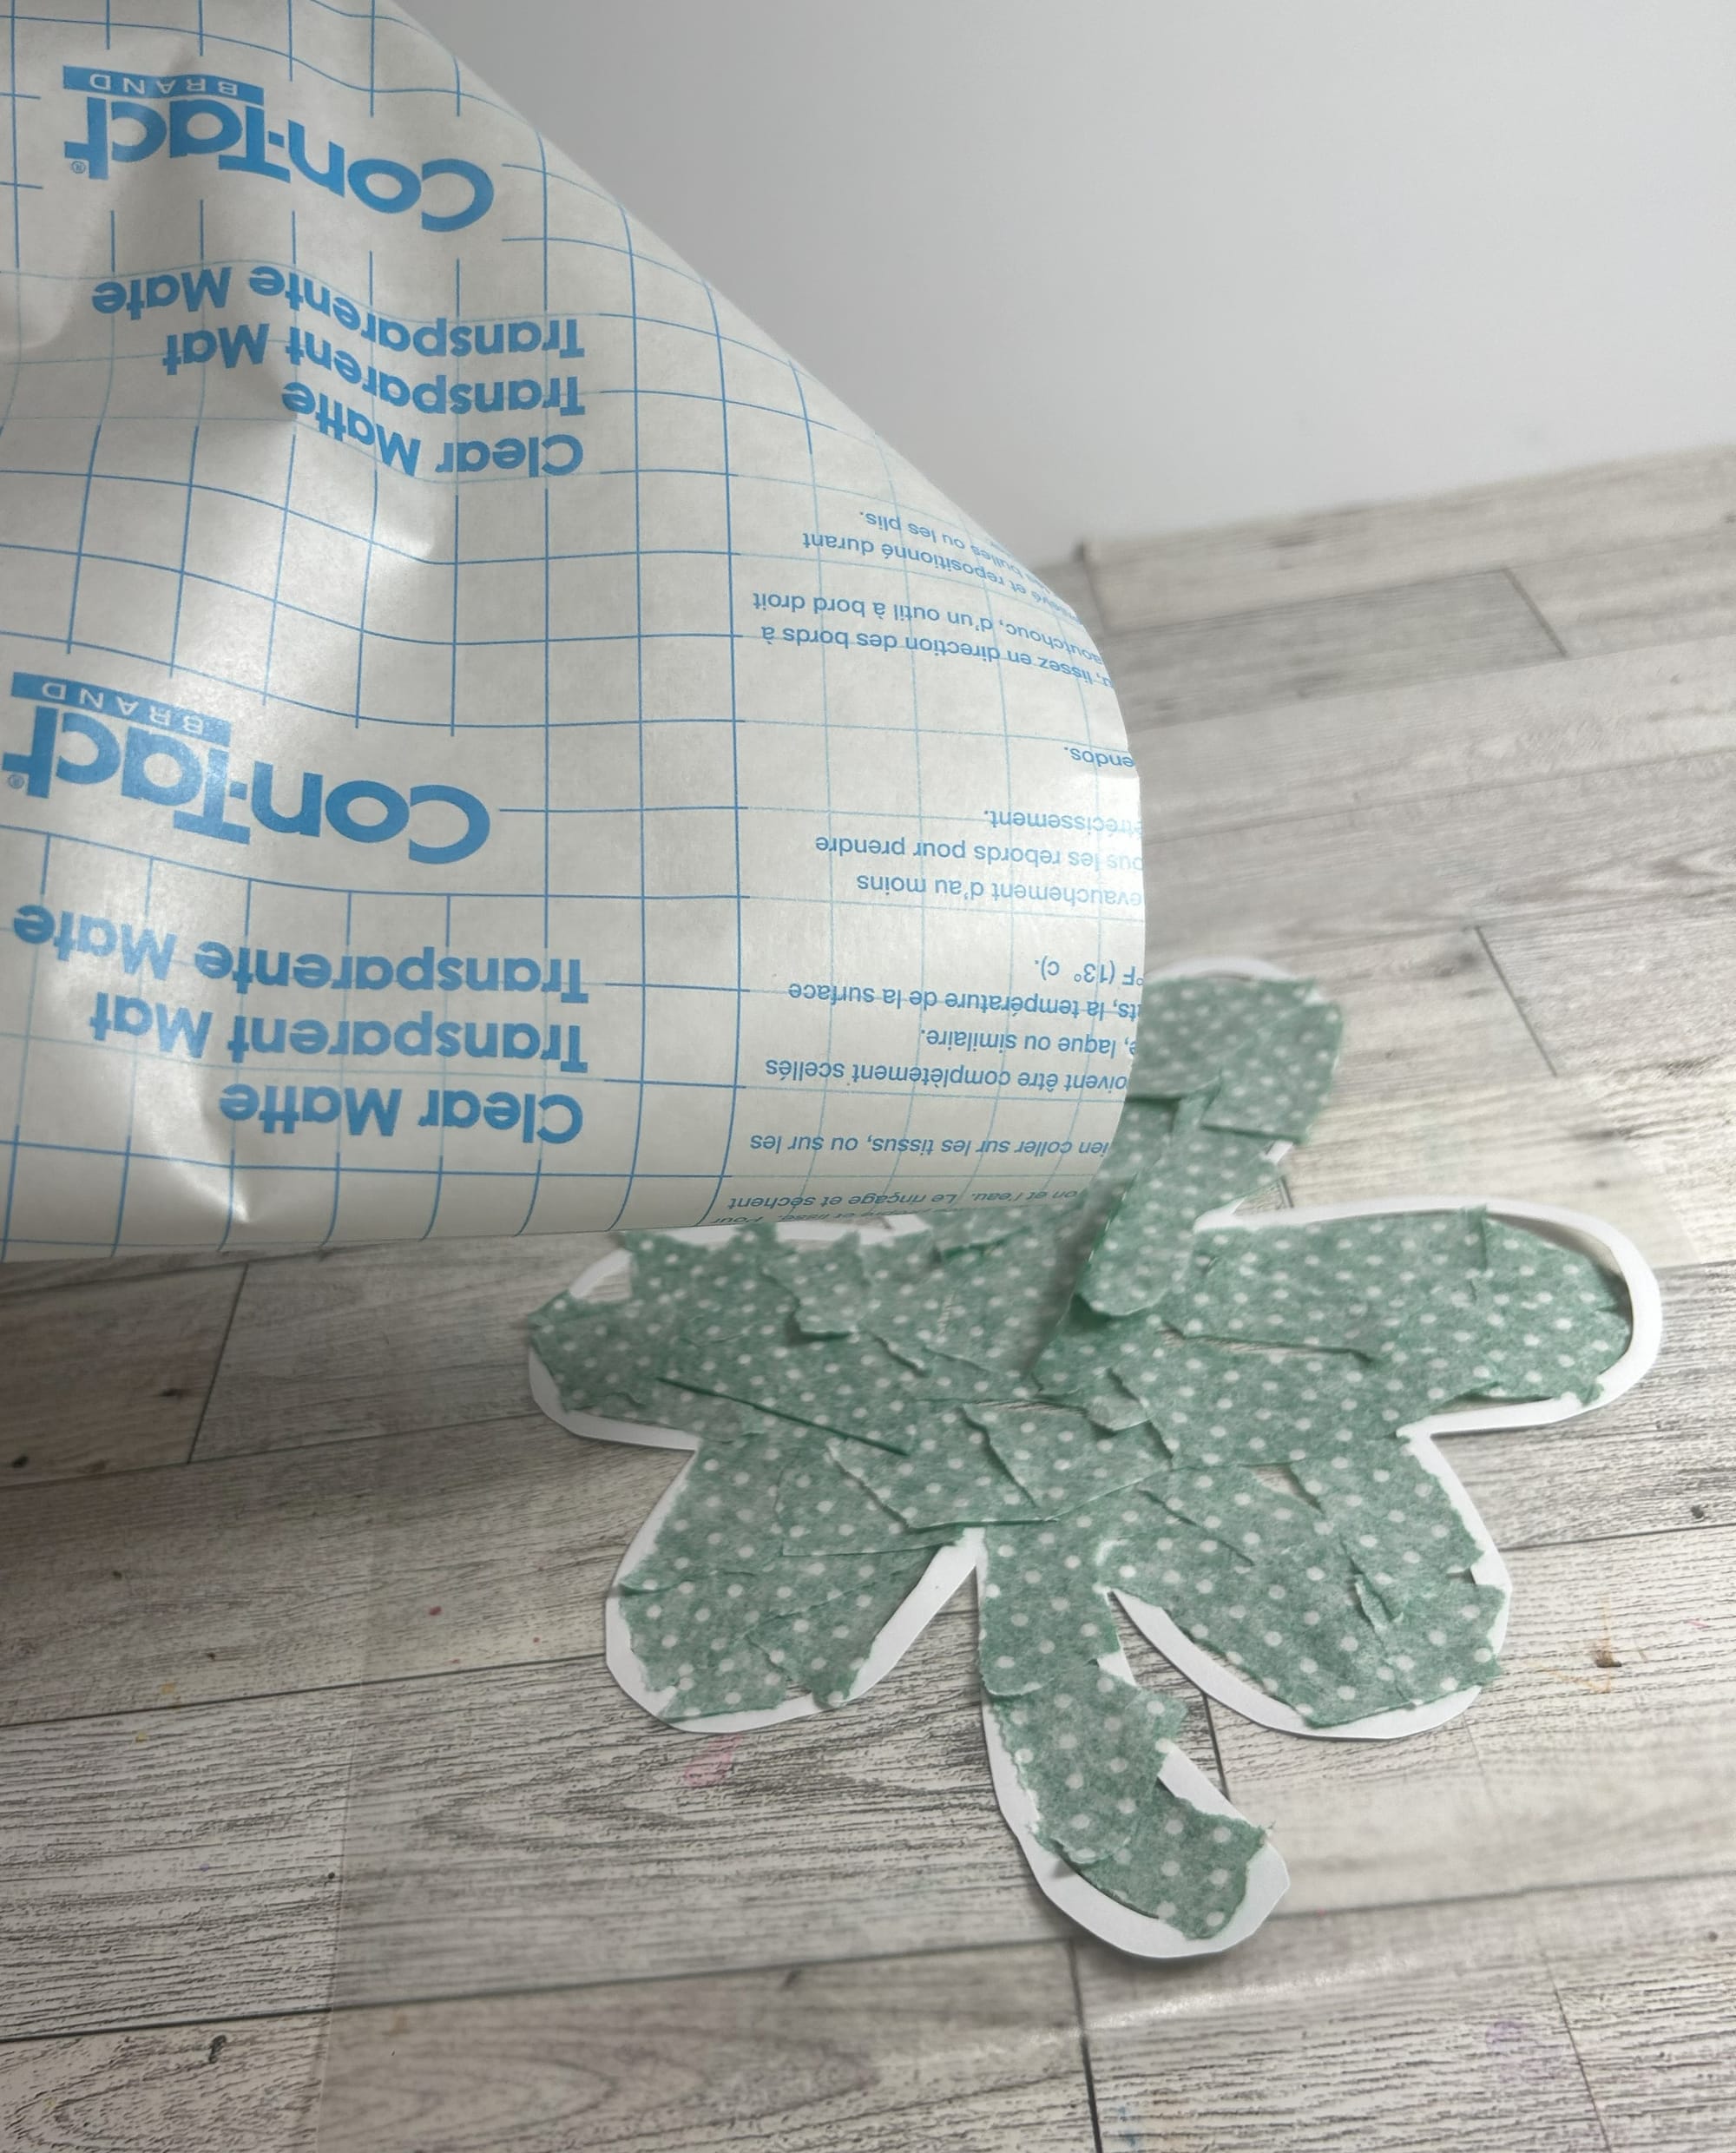
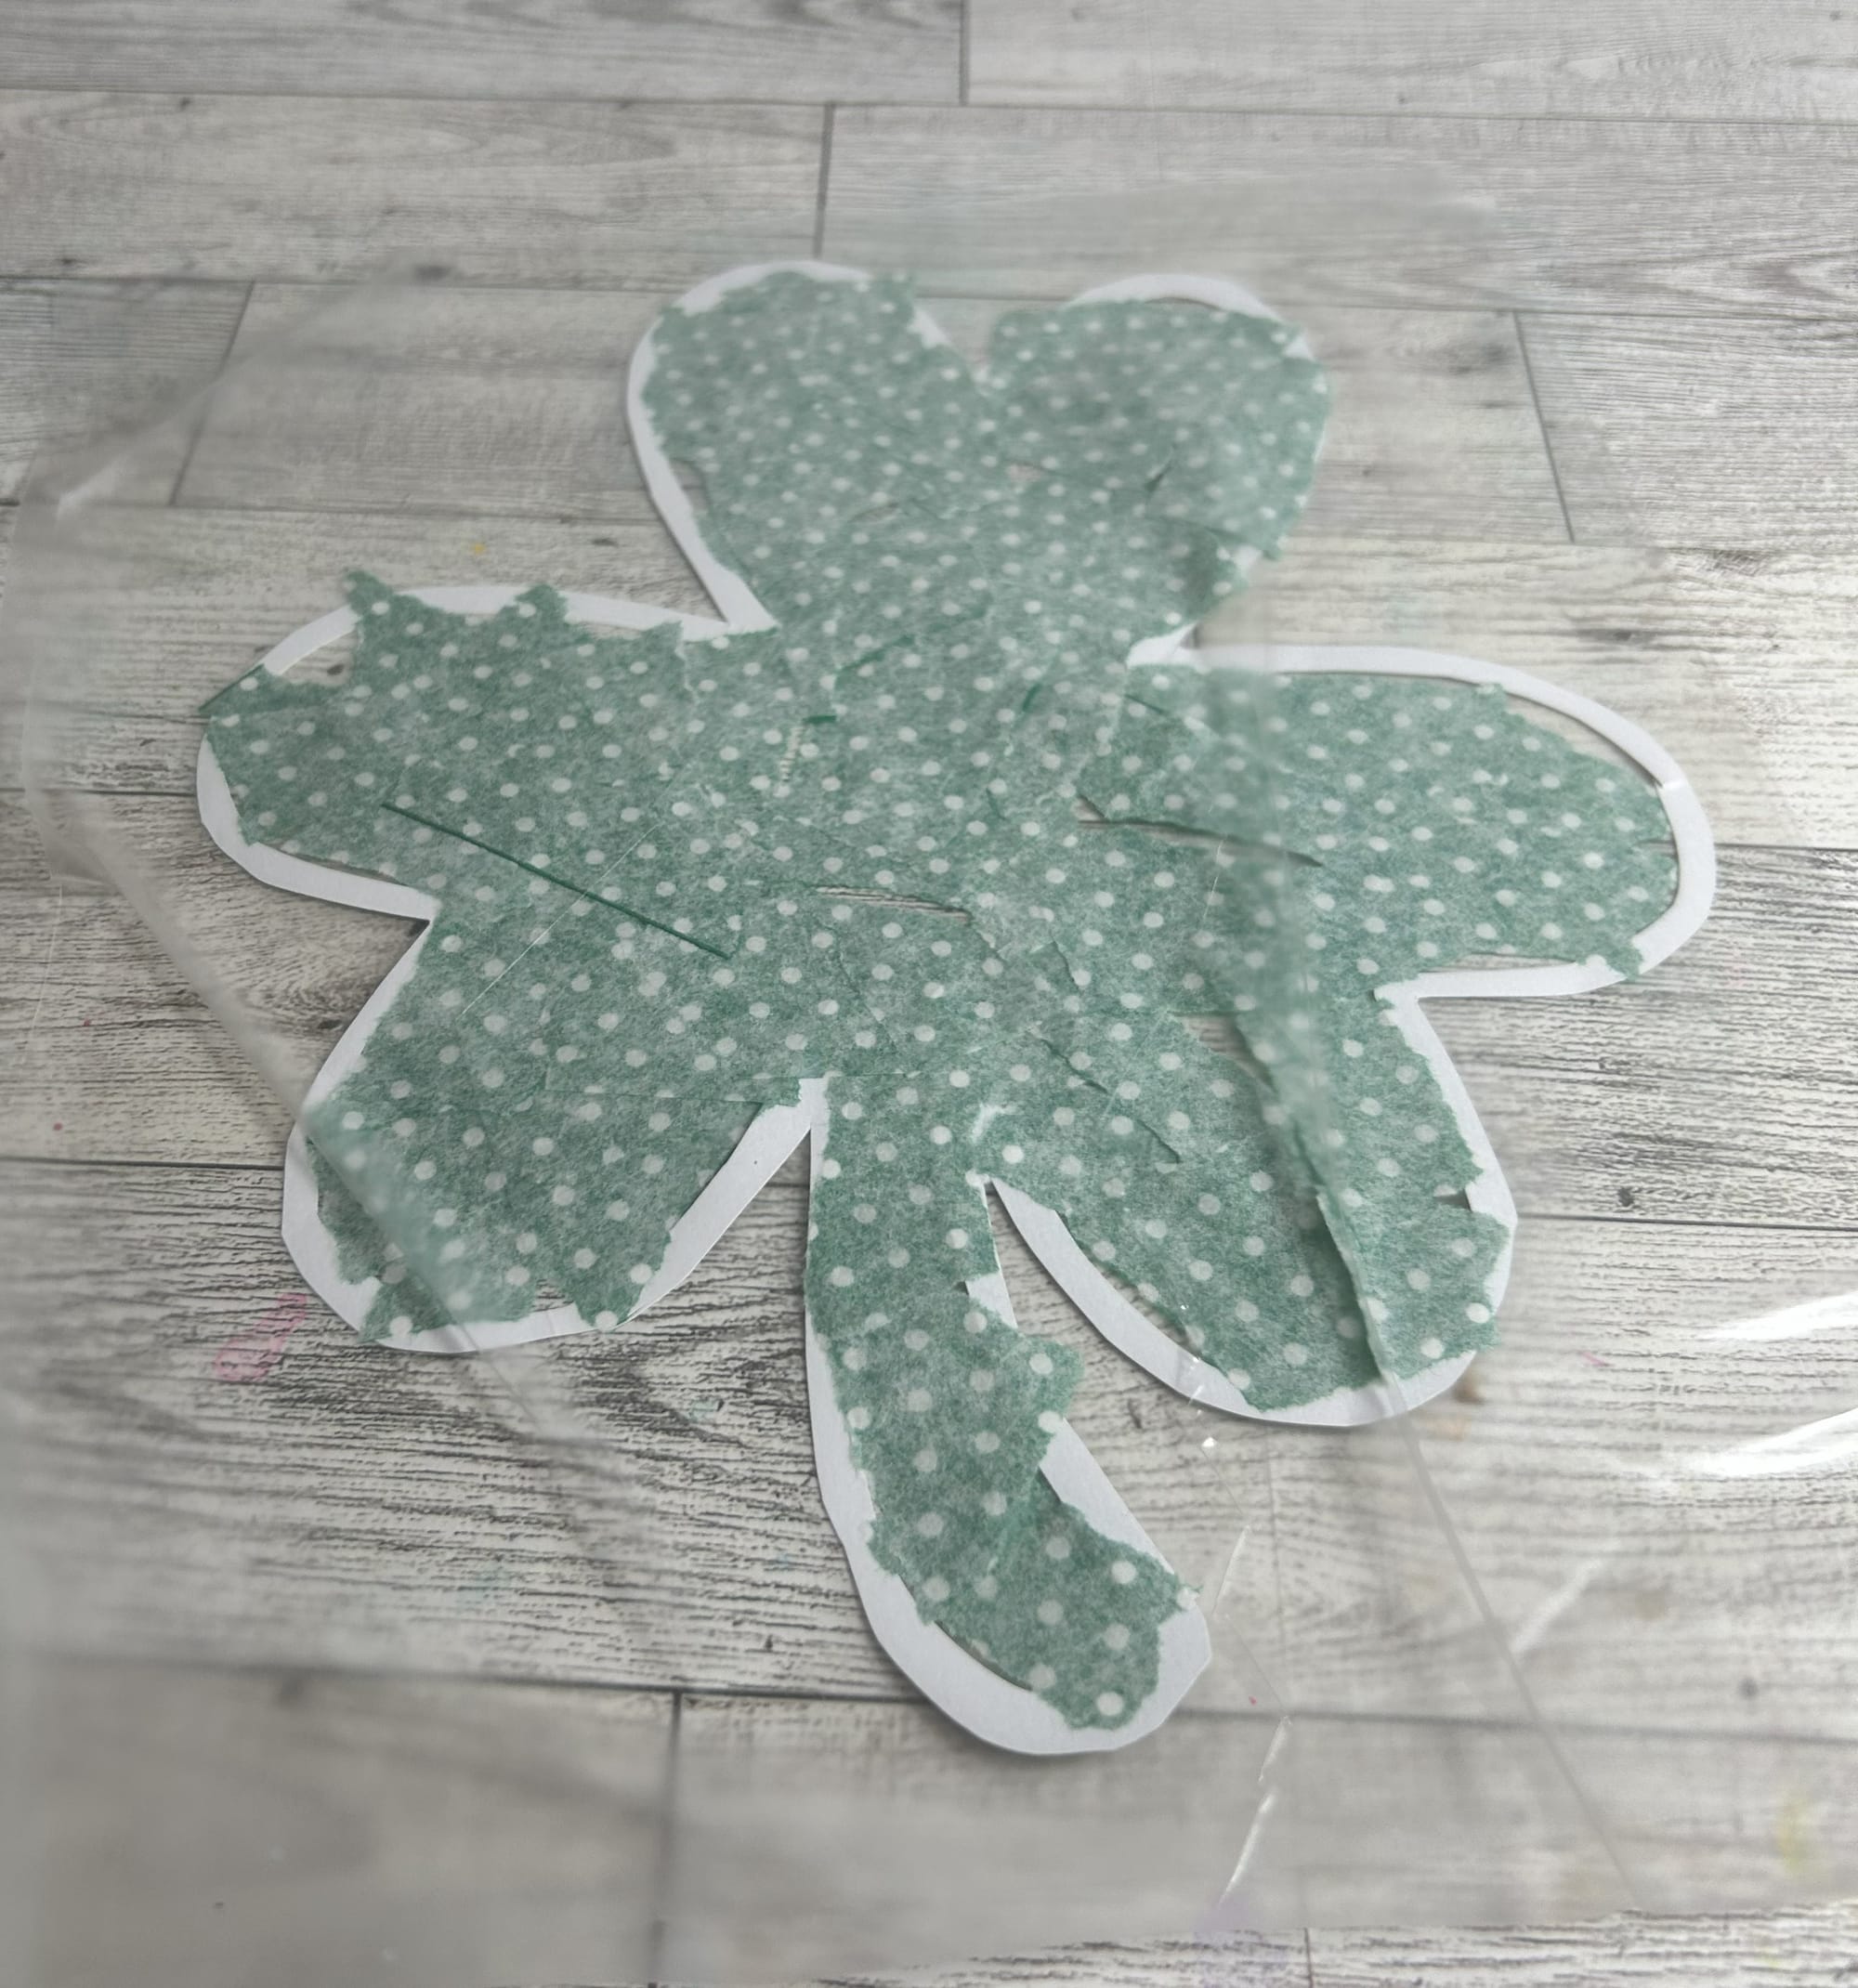
- Take a scissor and cut around the shamrock again. Be sure to leave a little space around the edge to be sure it doesn't come apart.
