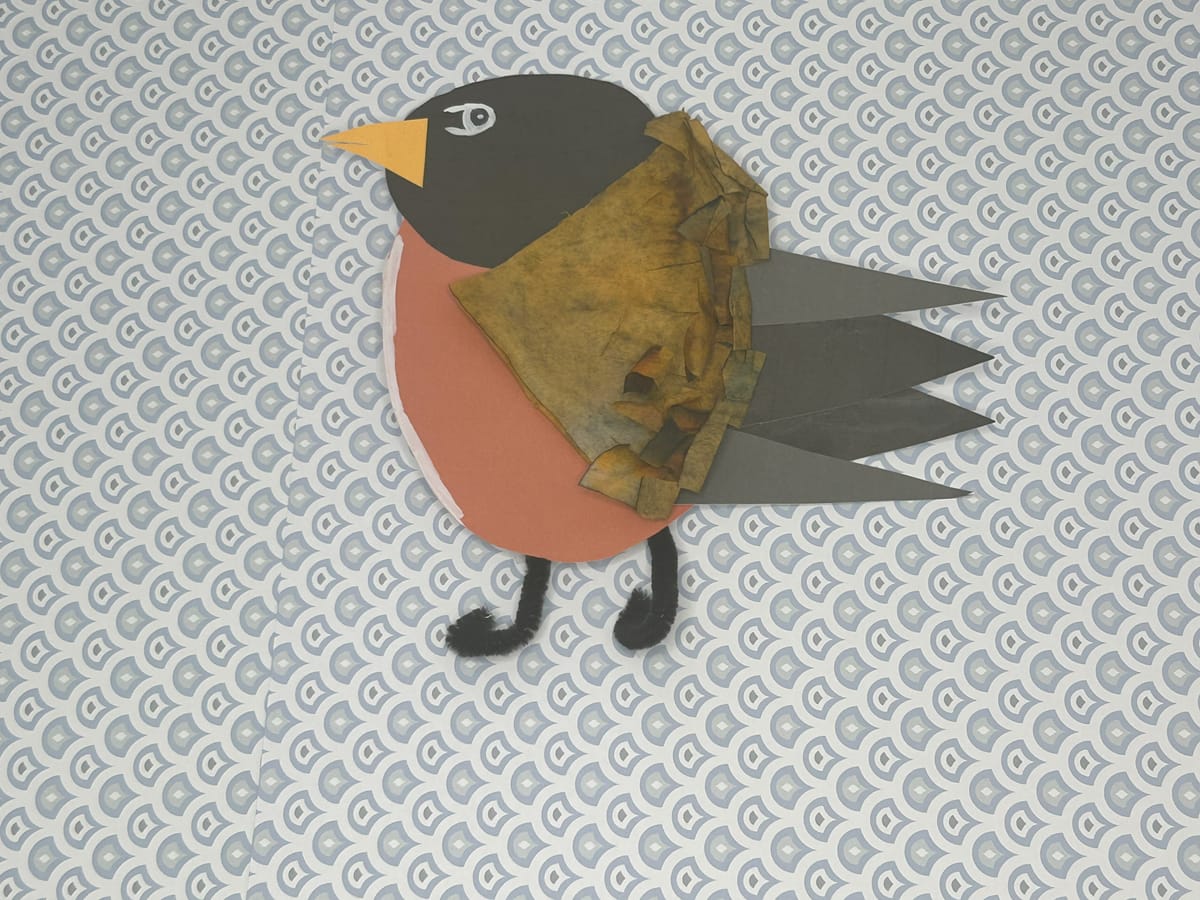
Robin Craft
I love birds and had the best time creating this craft. It is made with simple shapes and a coffee filter. Coffee filters are such a versatile items to use for craft projects. They are so fun to create with a variety of colors. It is enjoyable for kids to see all the colors change as they add water to their colorful coffee filter.
Crafting with shapes is an easy way to incorporate identifying the names of shapes. It is also a great way to have your child practice cutting with scissors. No need for this project to turn out perfect, it is actually fun to see how this project will turn out.
Supplies:
- Coffee filter
- Washable markers
- Black pipe cleaner
- White detail marker
- Glue stick
- Robin template
Instructions:
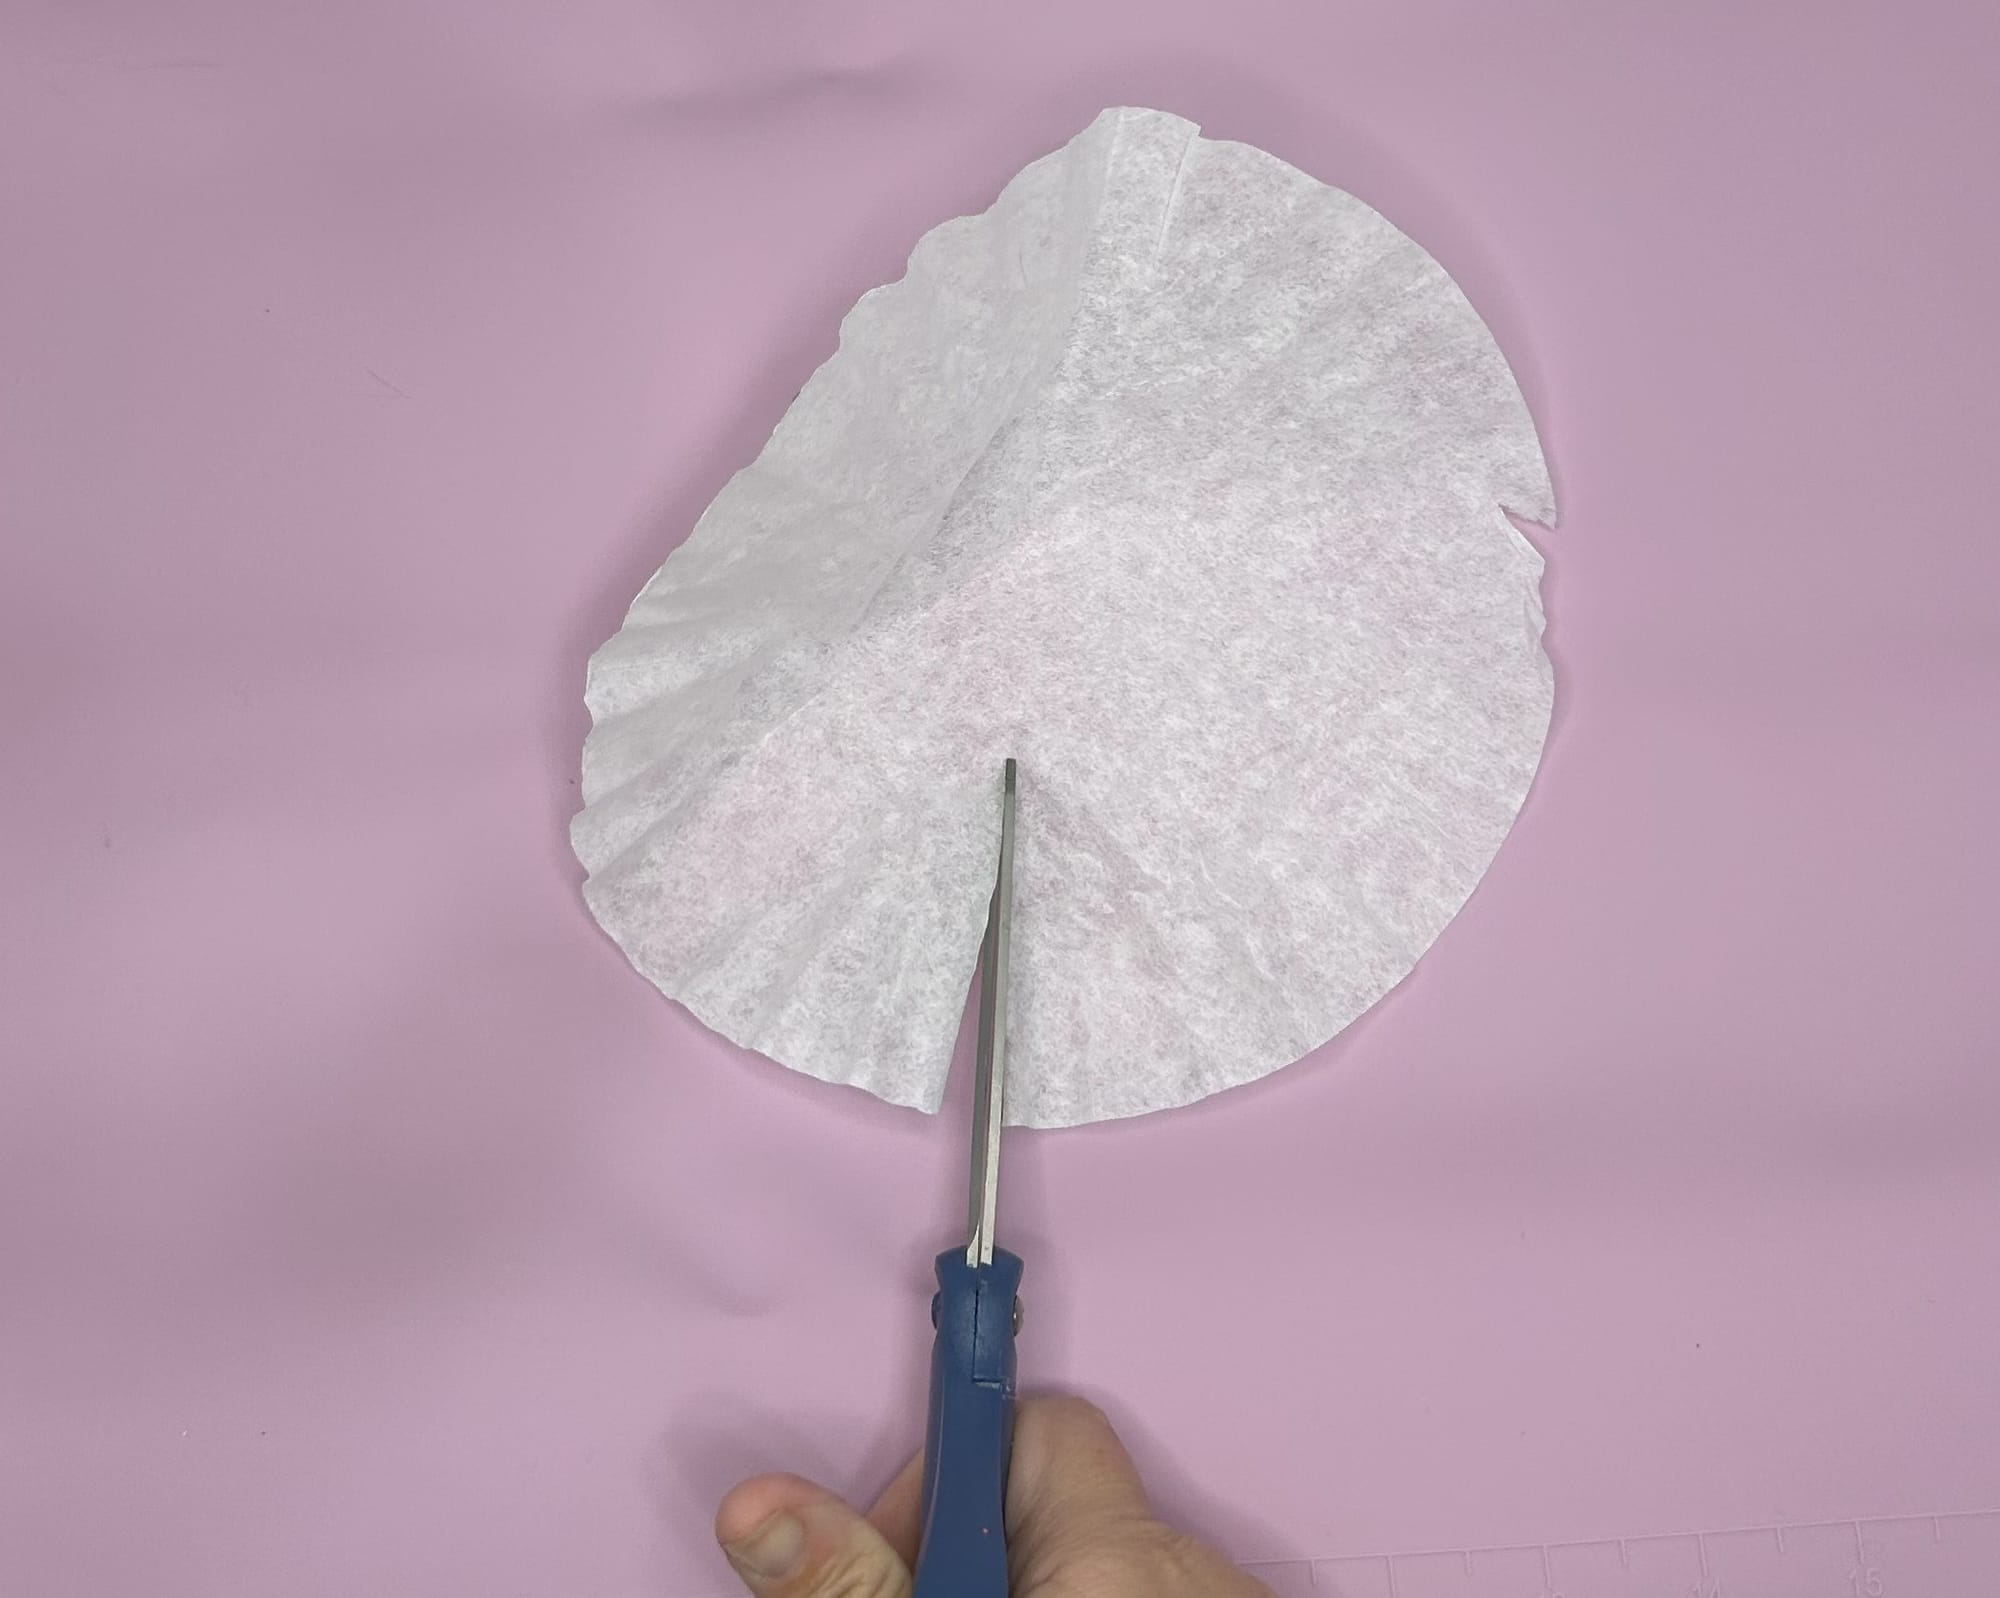
- To begin take a coffee filter and cut it in half. Save the other half for another project.
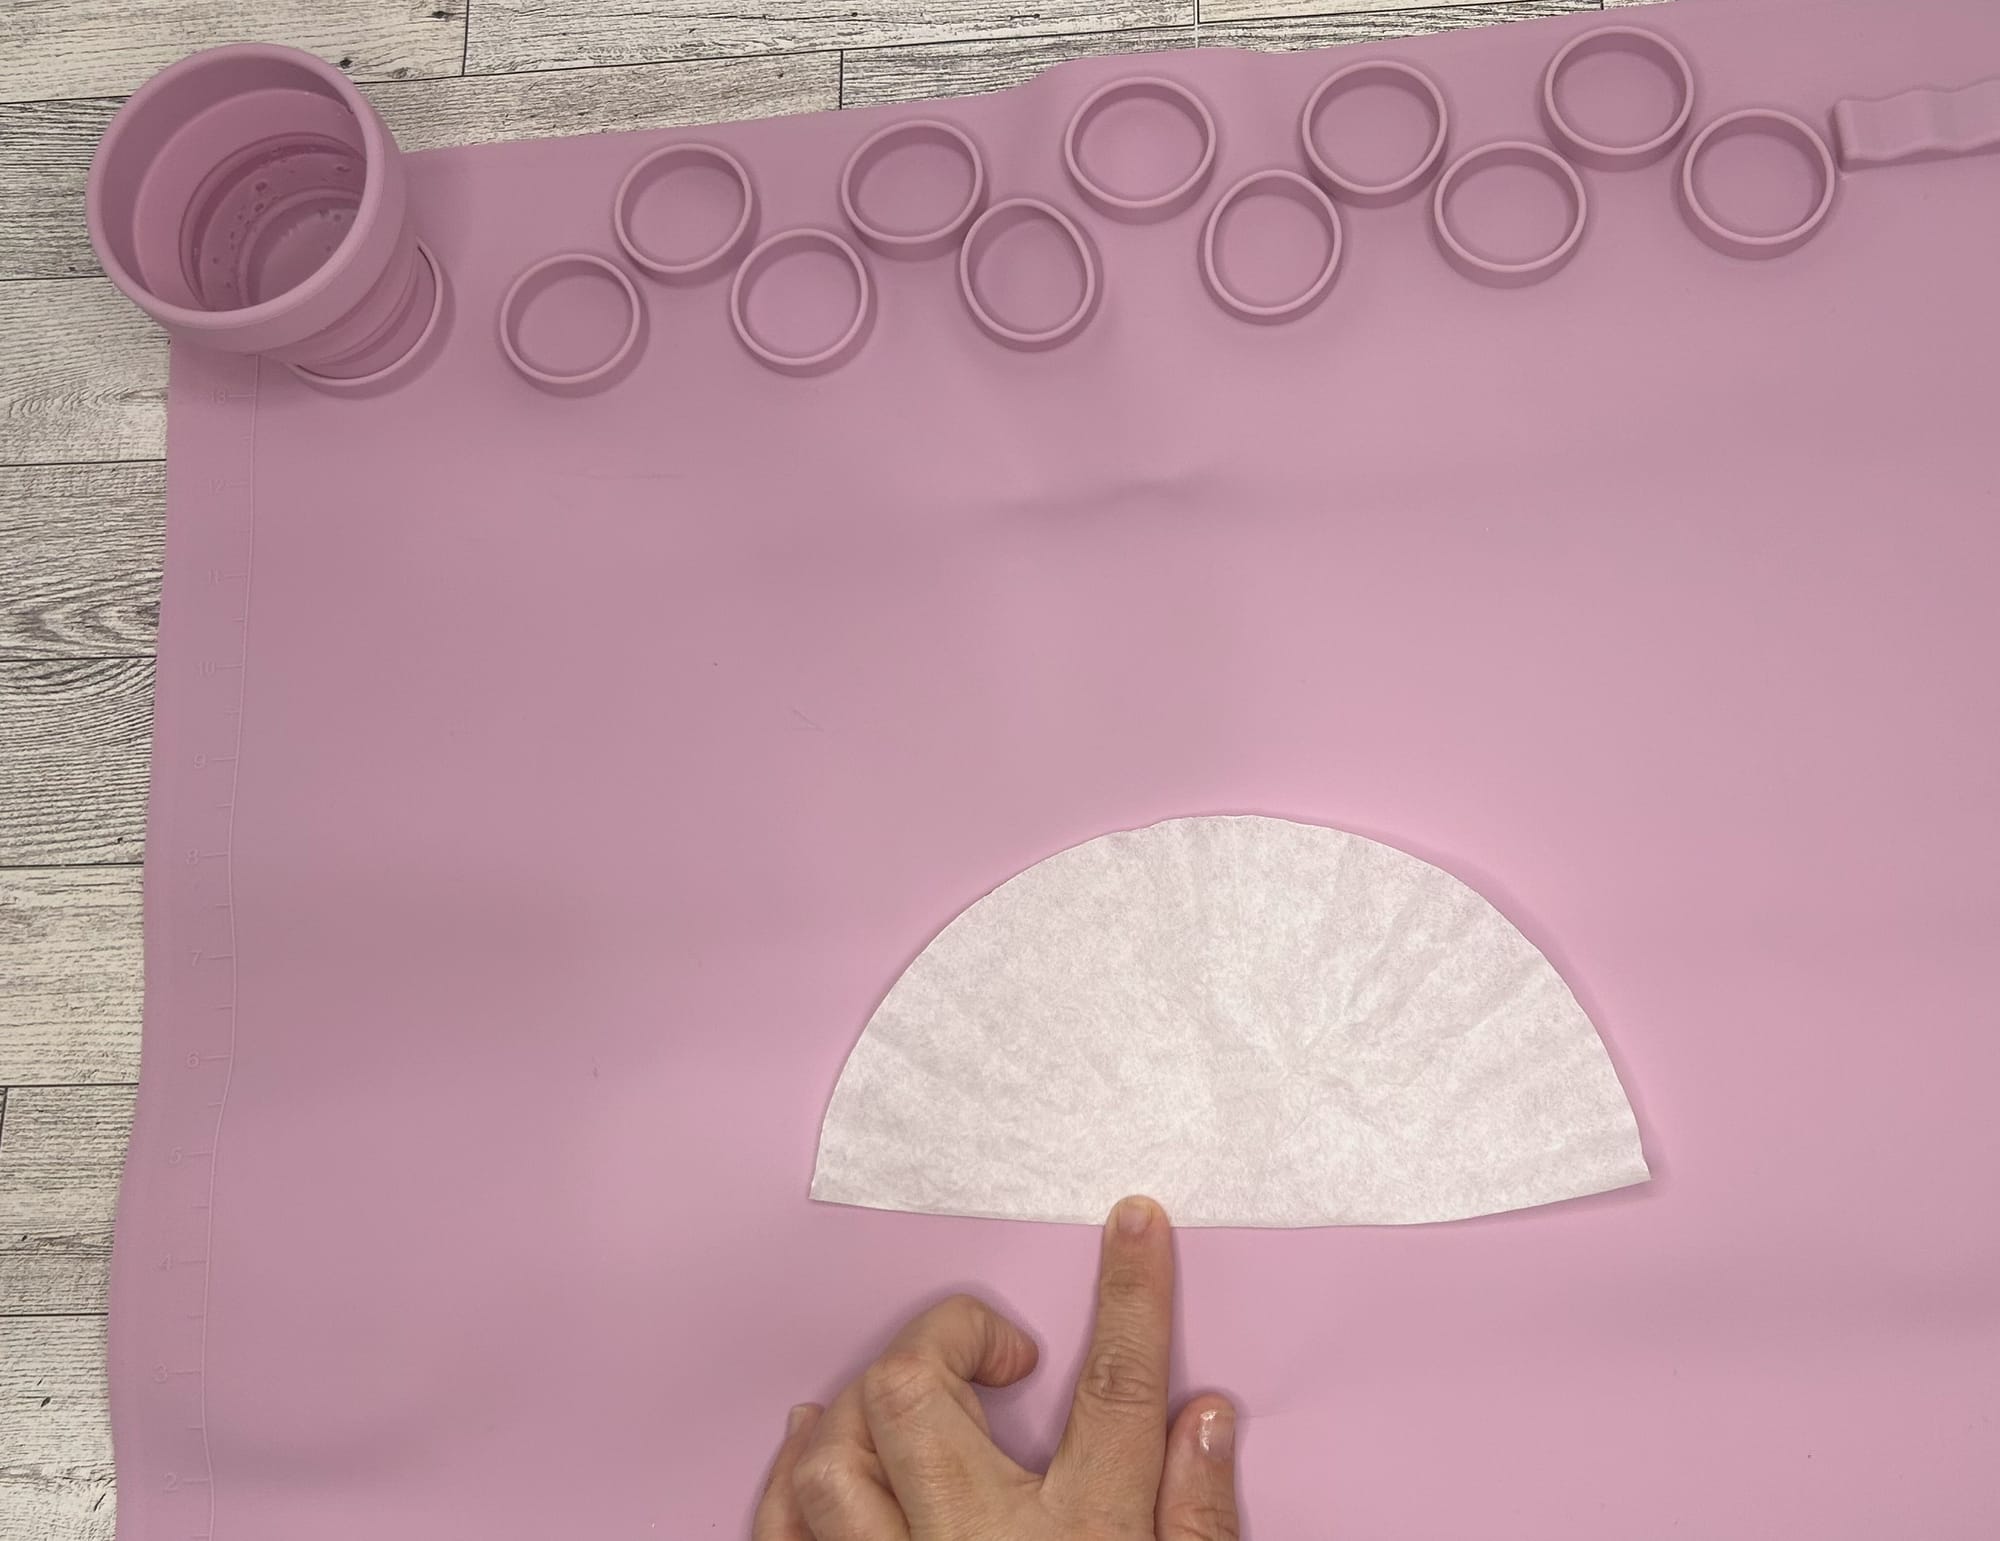
I purchased this Silicone craft mat at Five Below, such a steal for $5
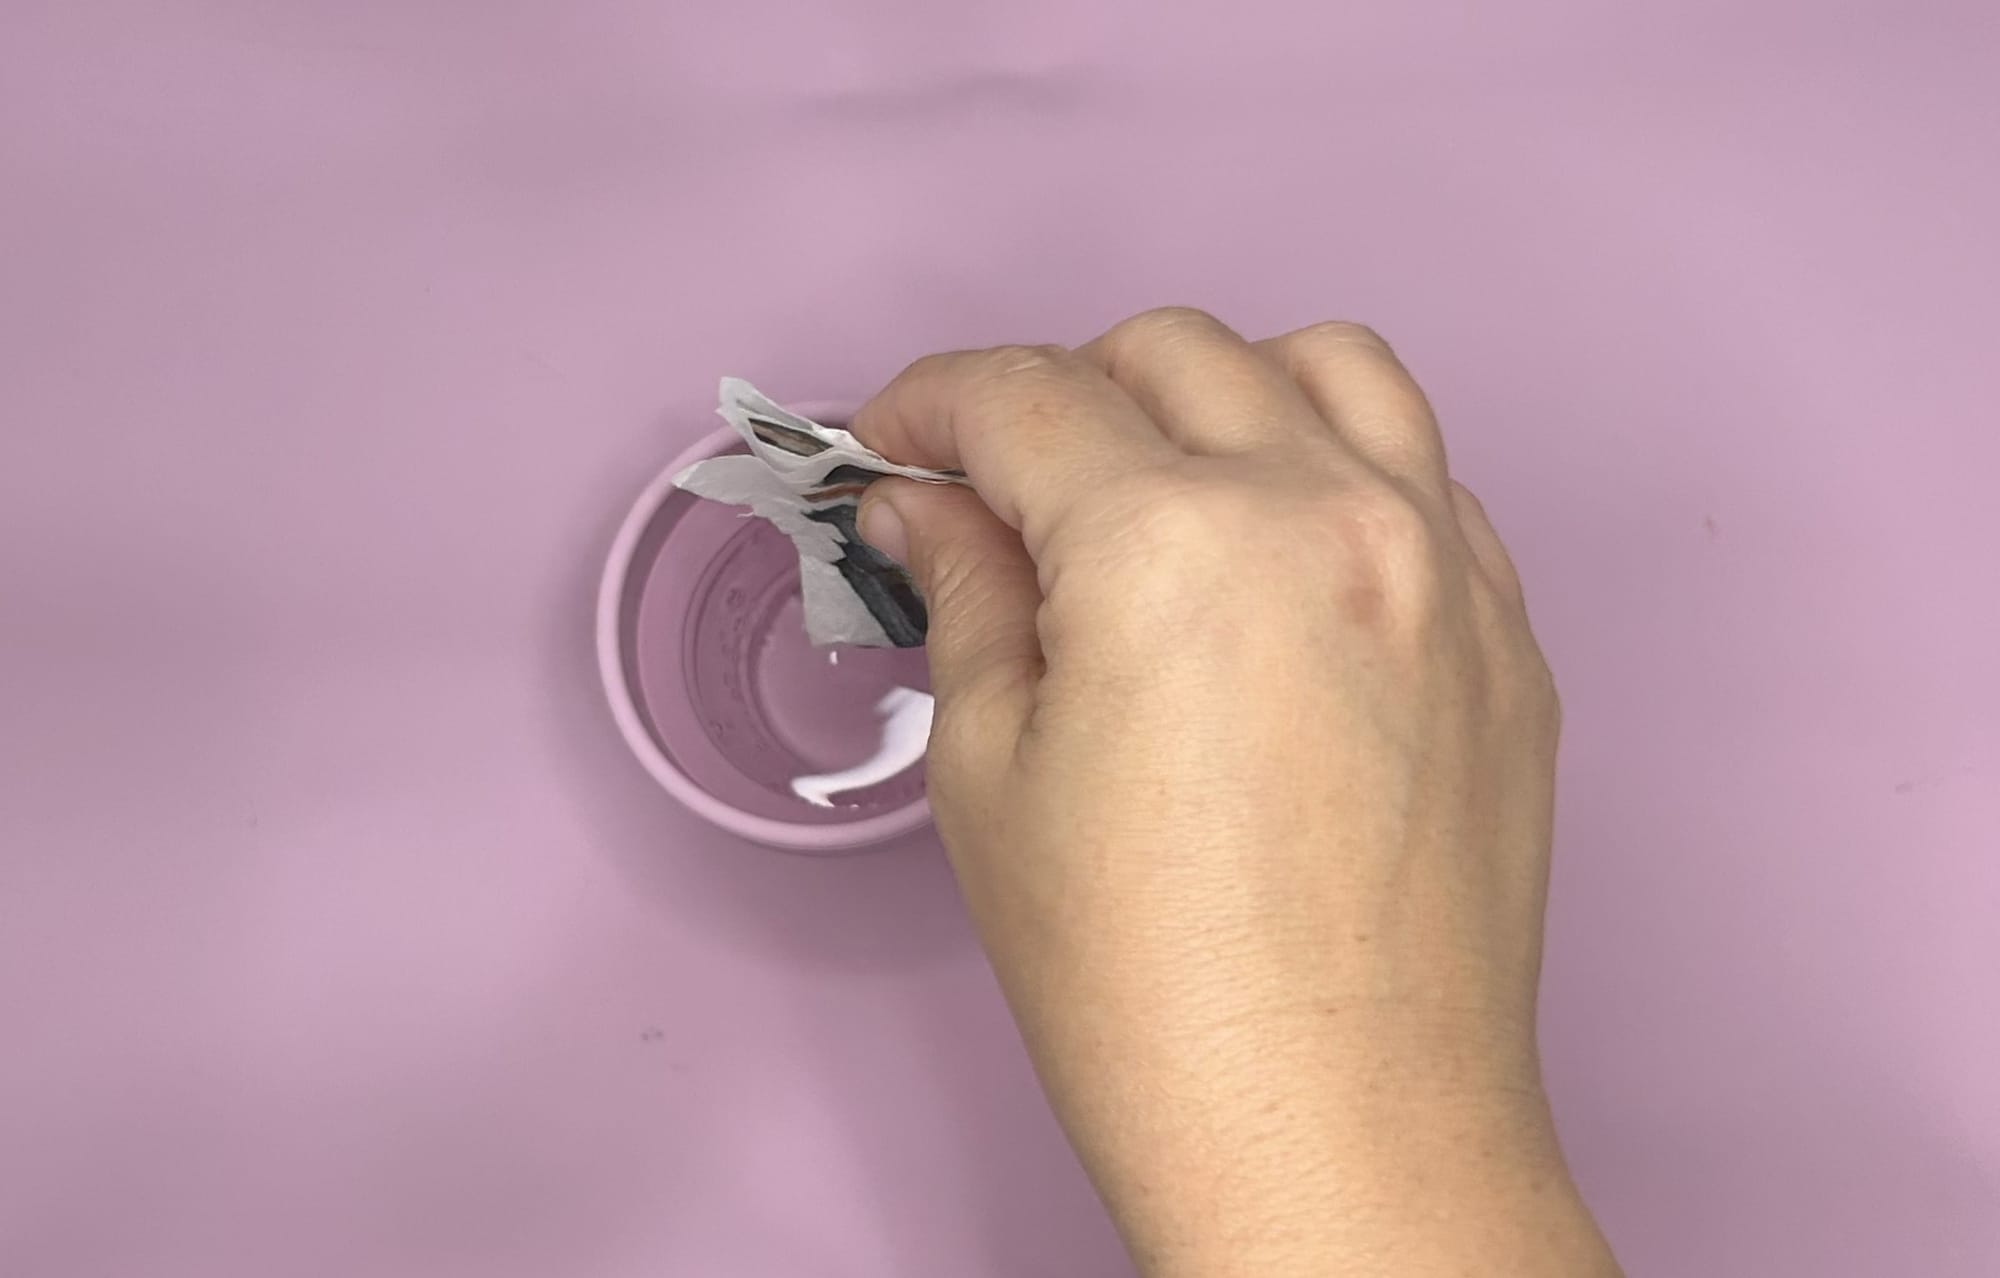
- Color the coffee filter using watercolor markers. This will allow the markers to spread easily. You can allow your child to choose any colors they want. I opted for orange, ,brown and black to keep it similar to a real robin.
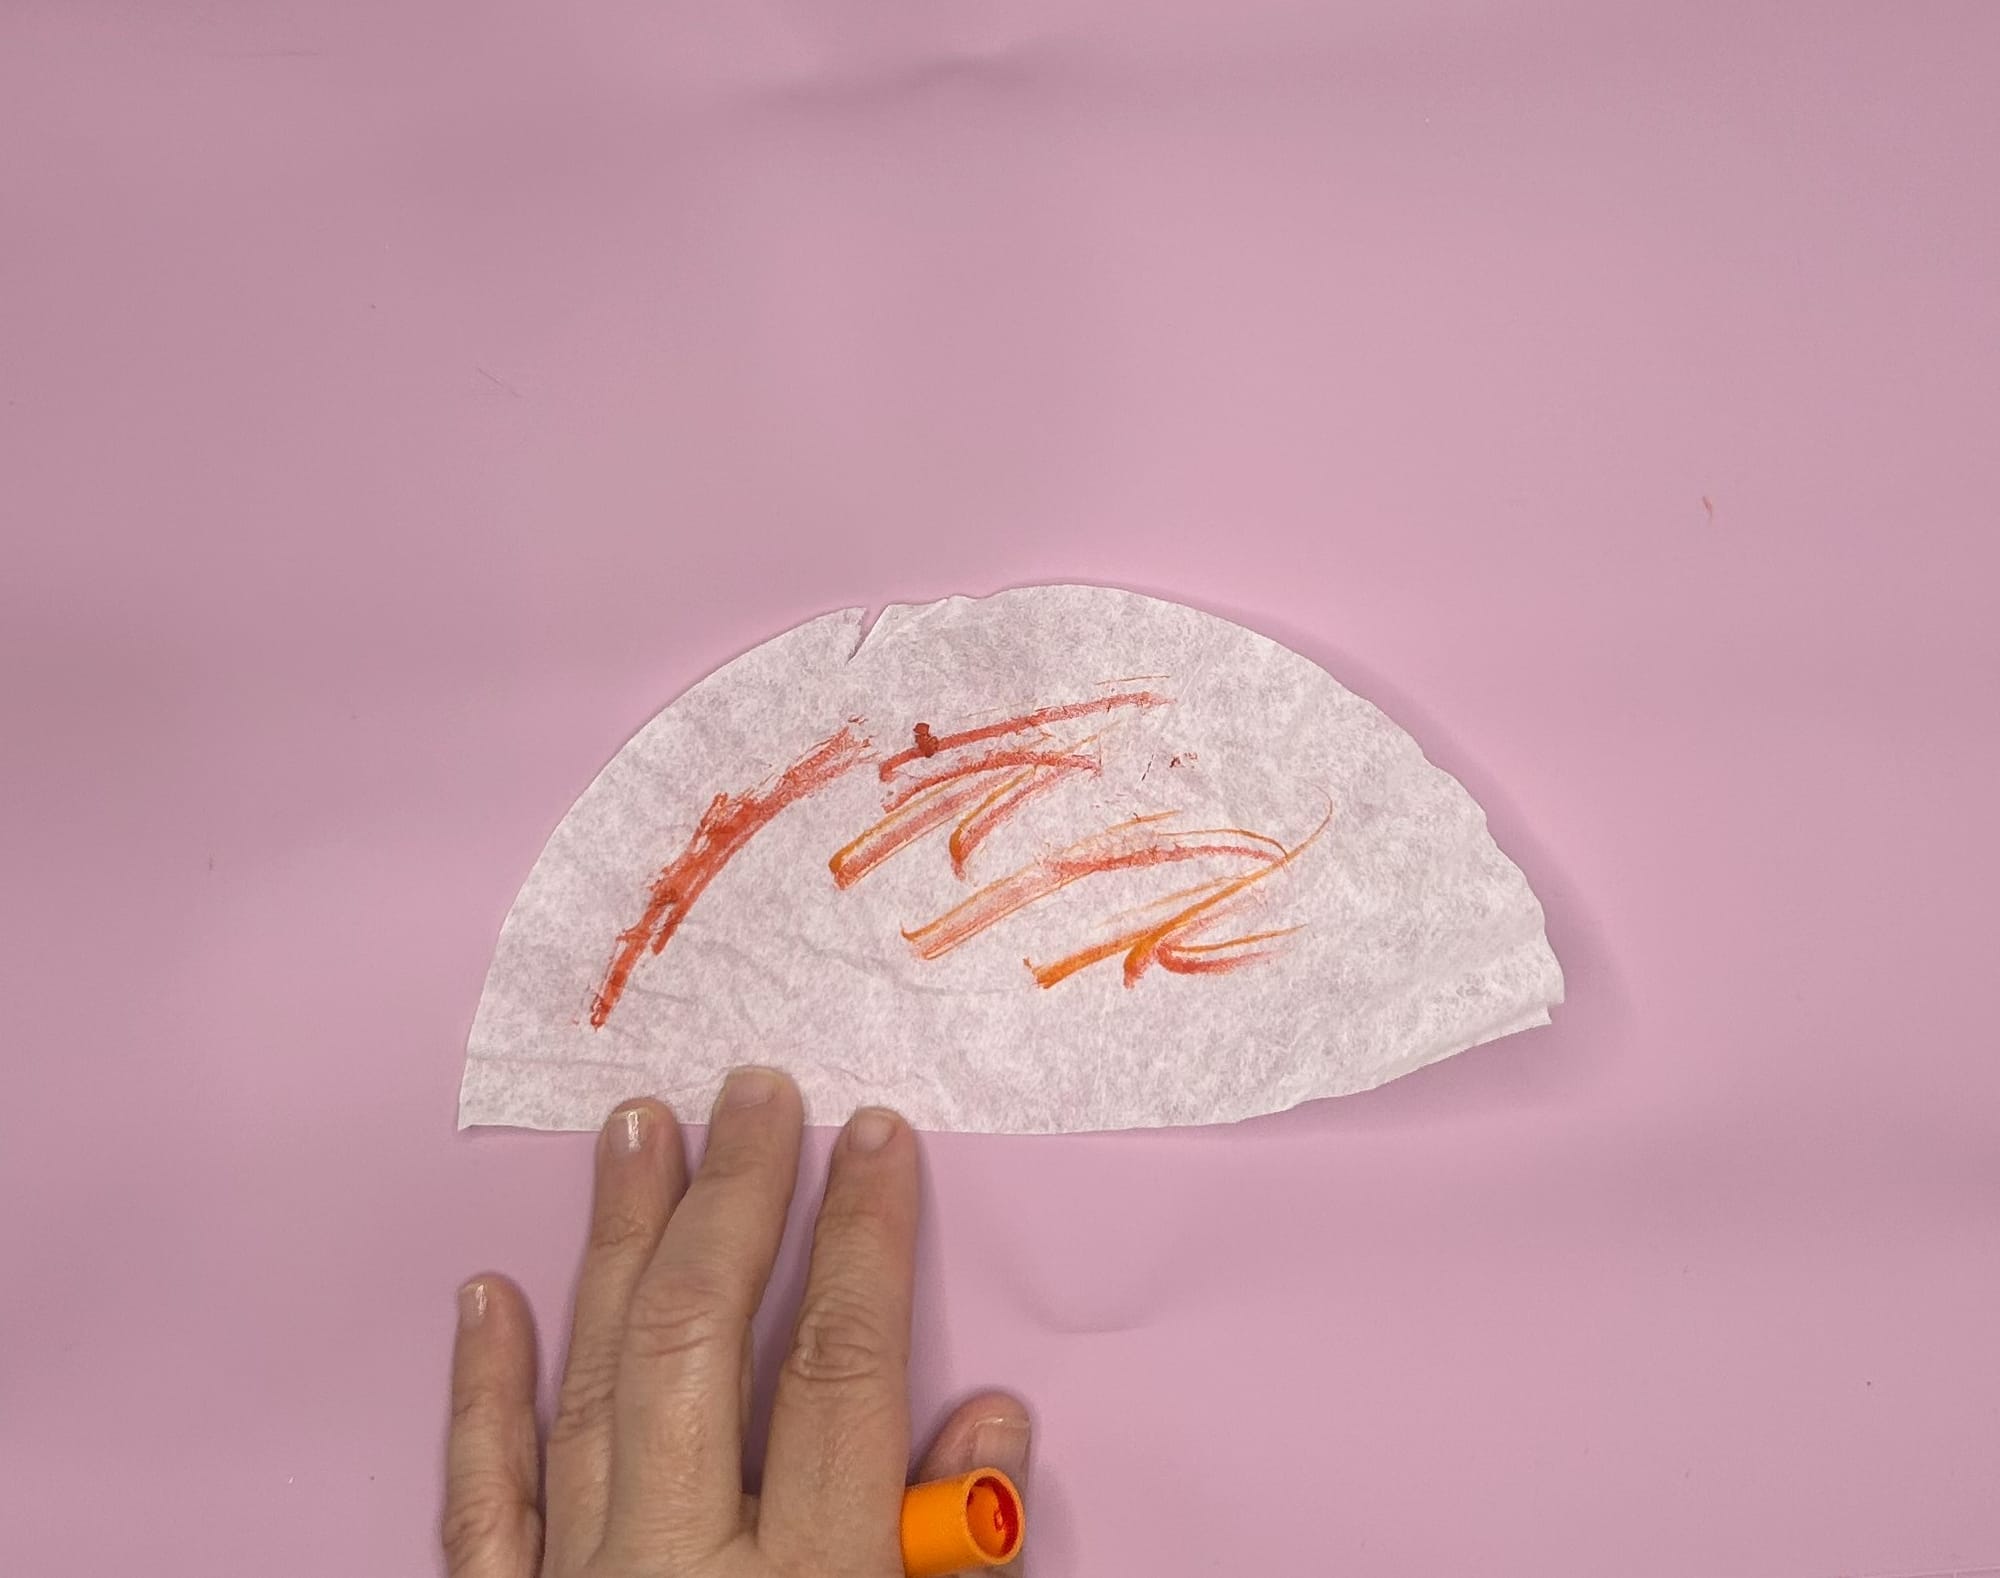
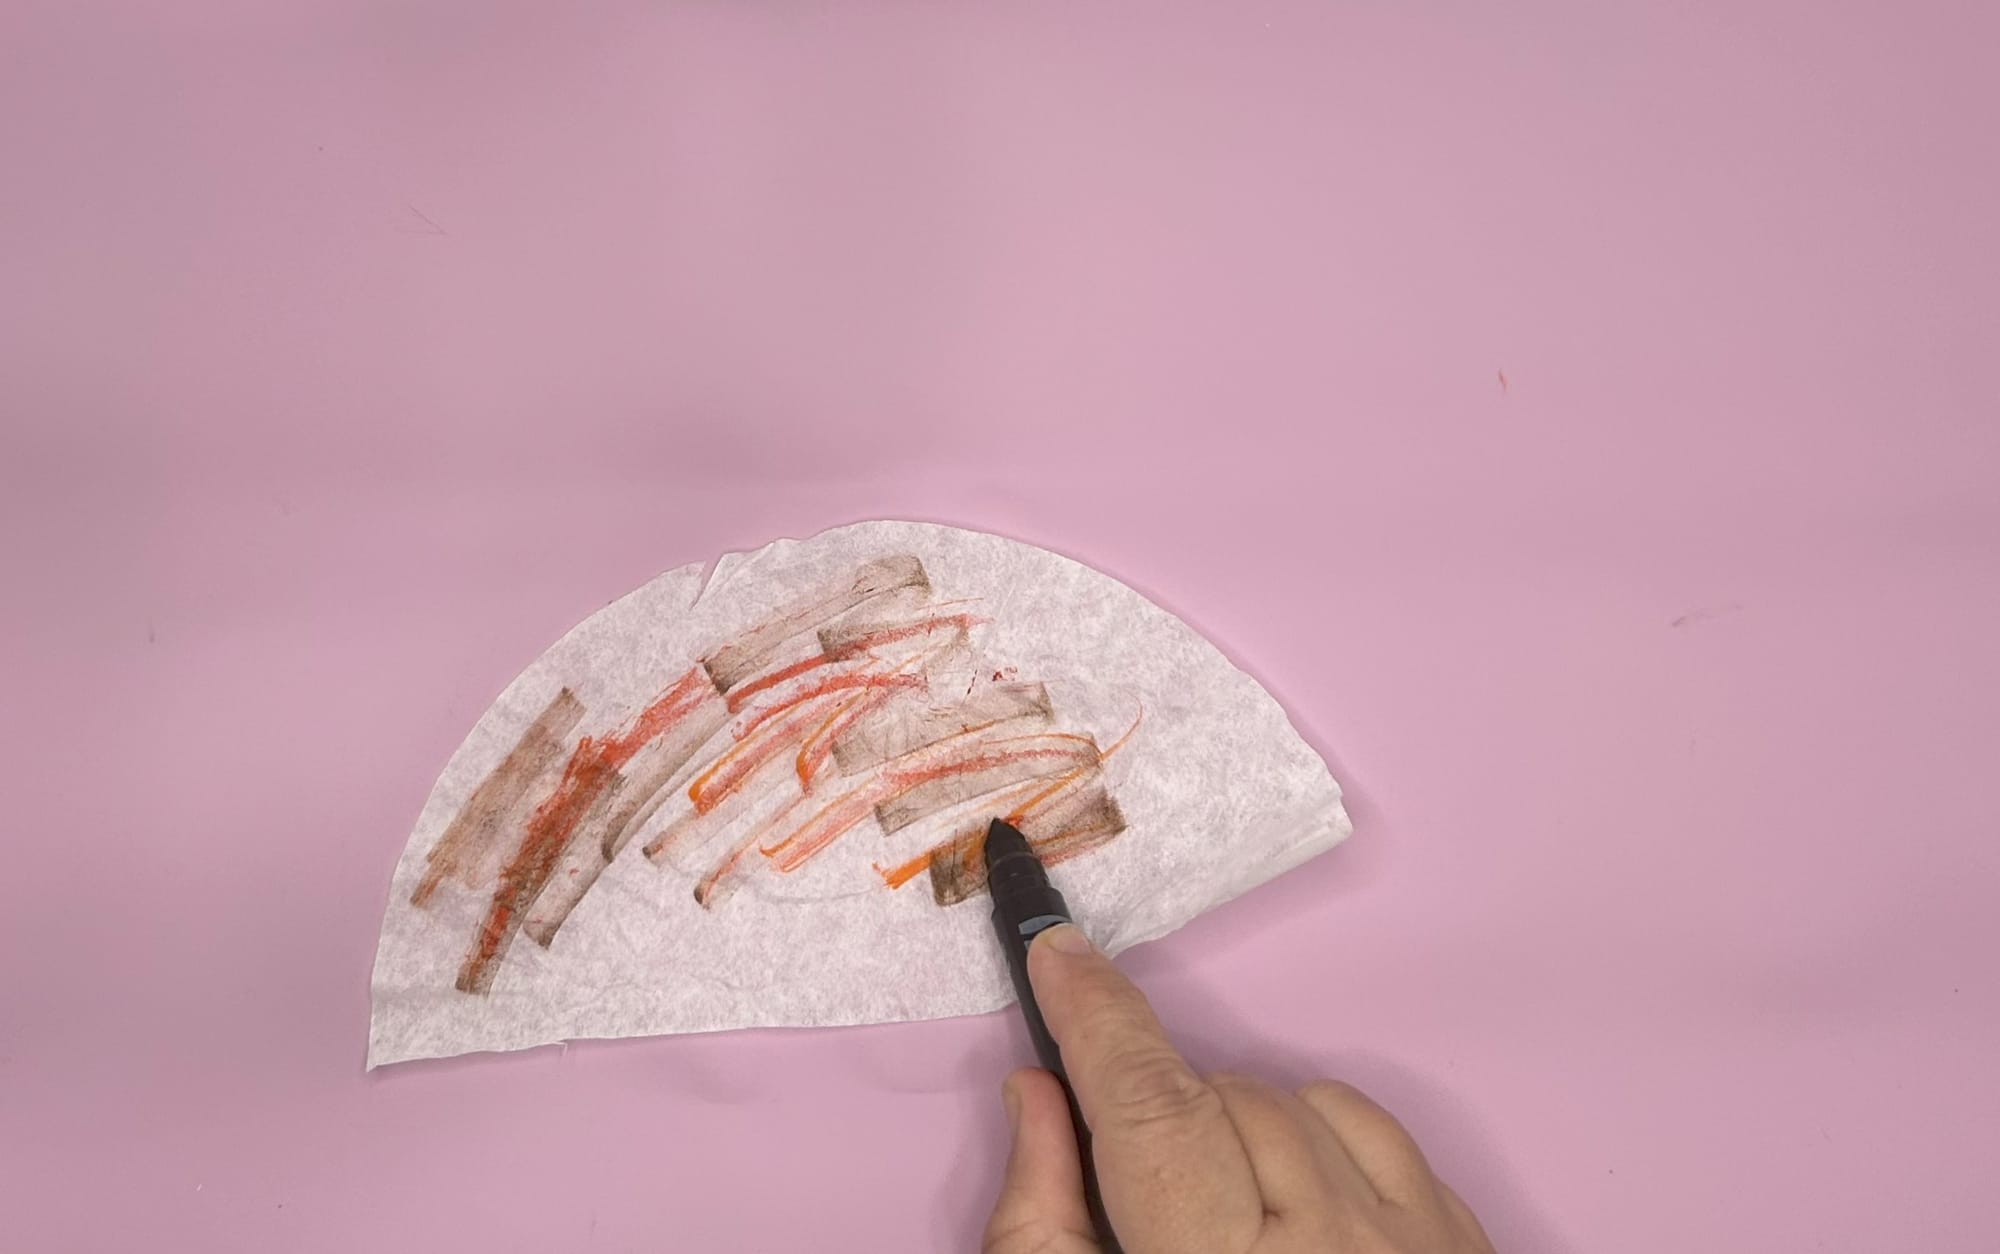
Use washable markers to help the colors spread.
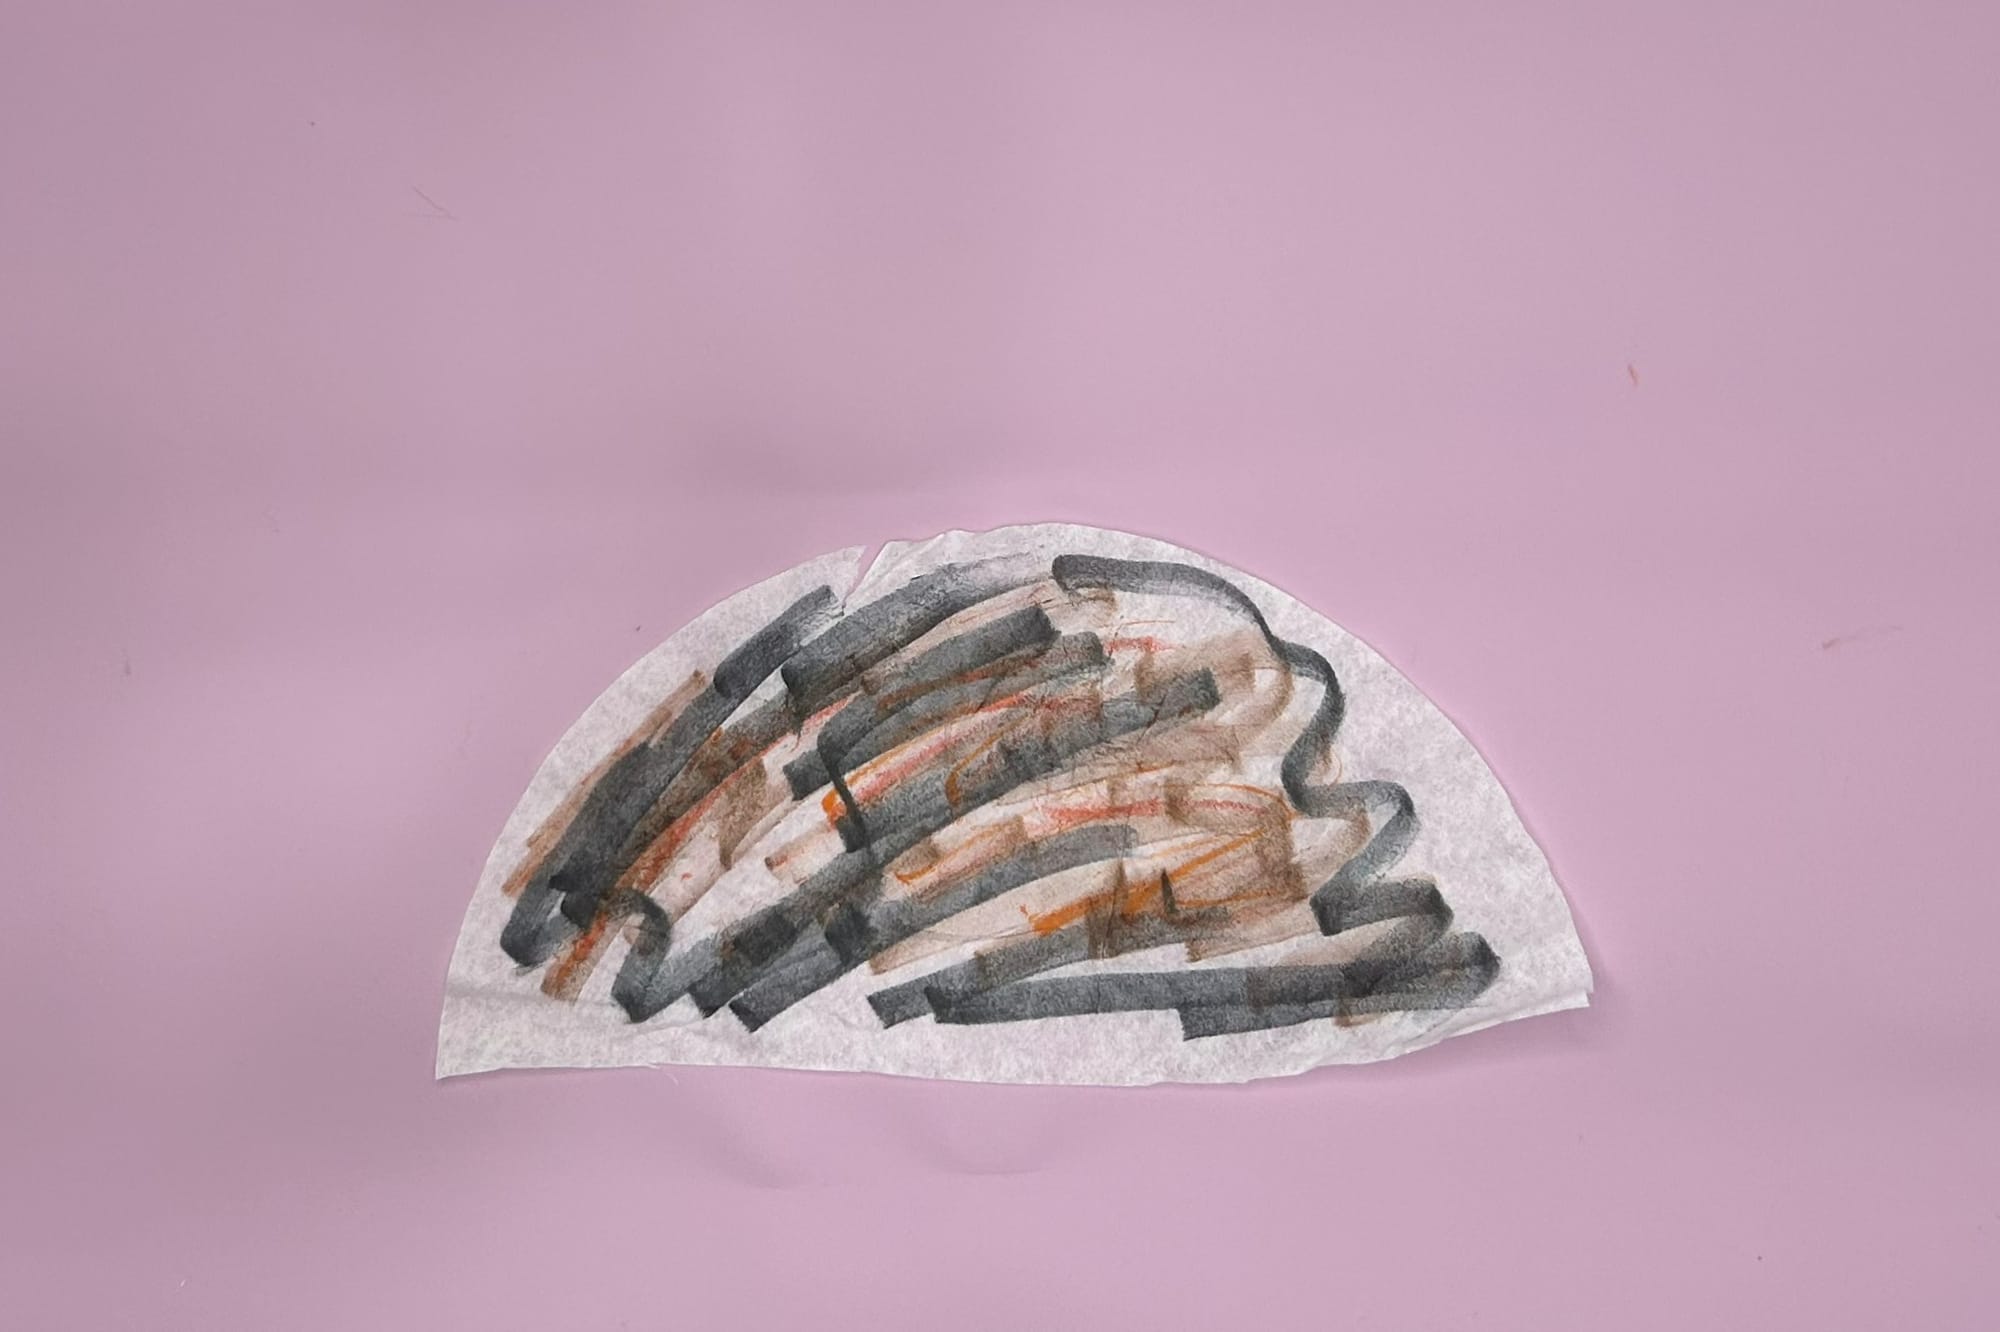
- Fold the coffee filter in fourths and dip into a cup of water. Open the coffee filter up and set it aside to dry to use later on as the wings of the bird.
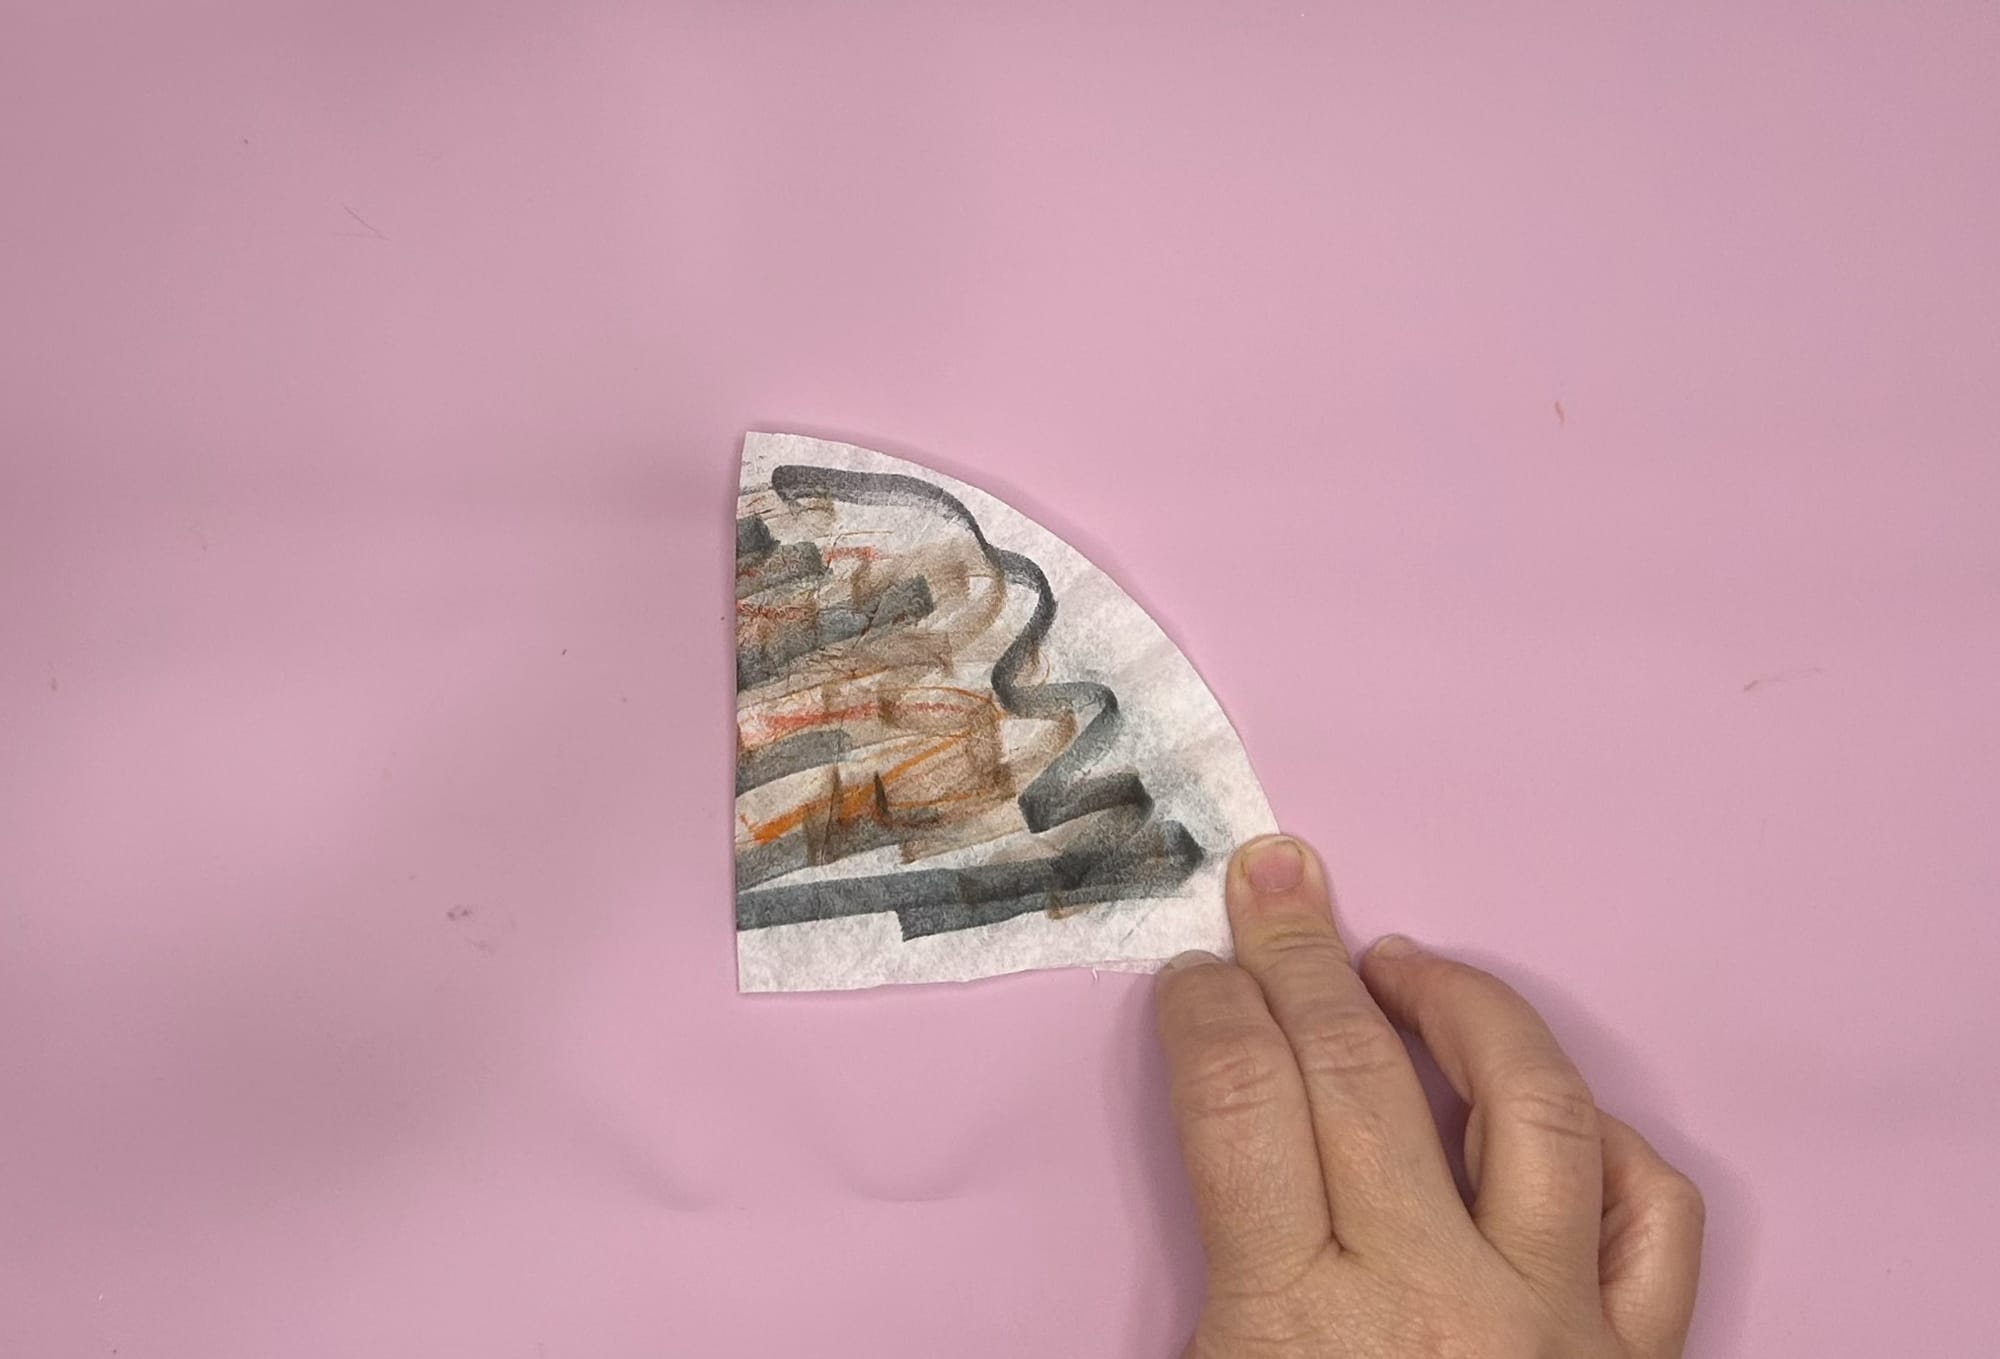
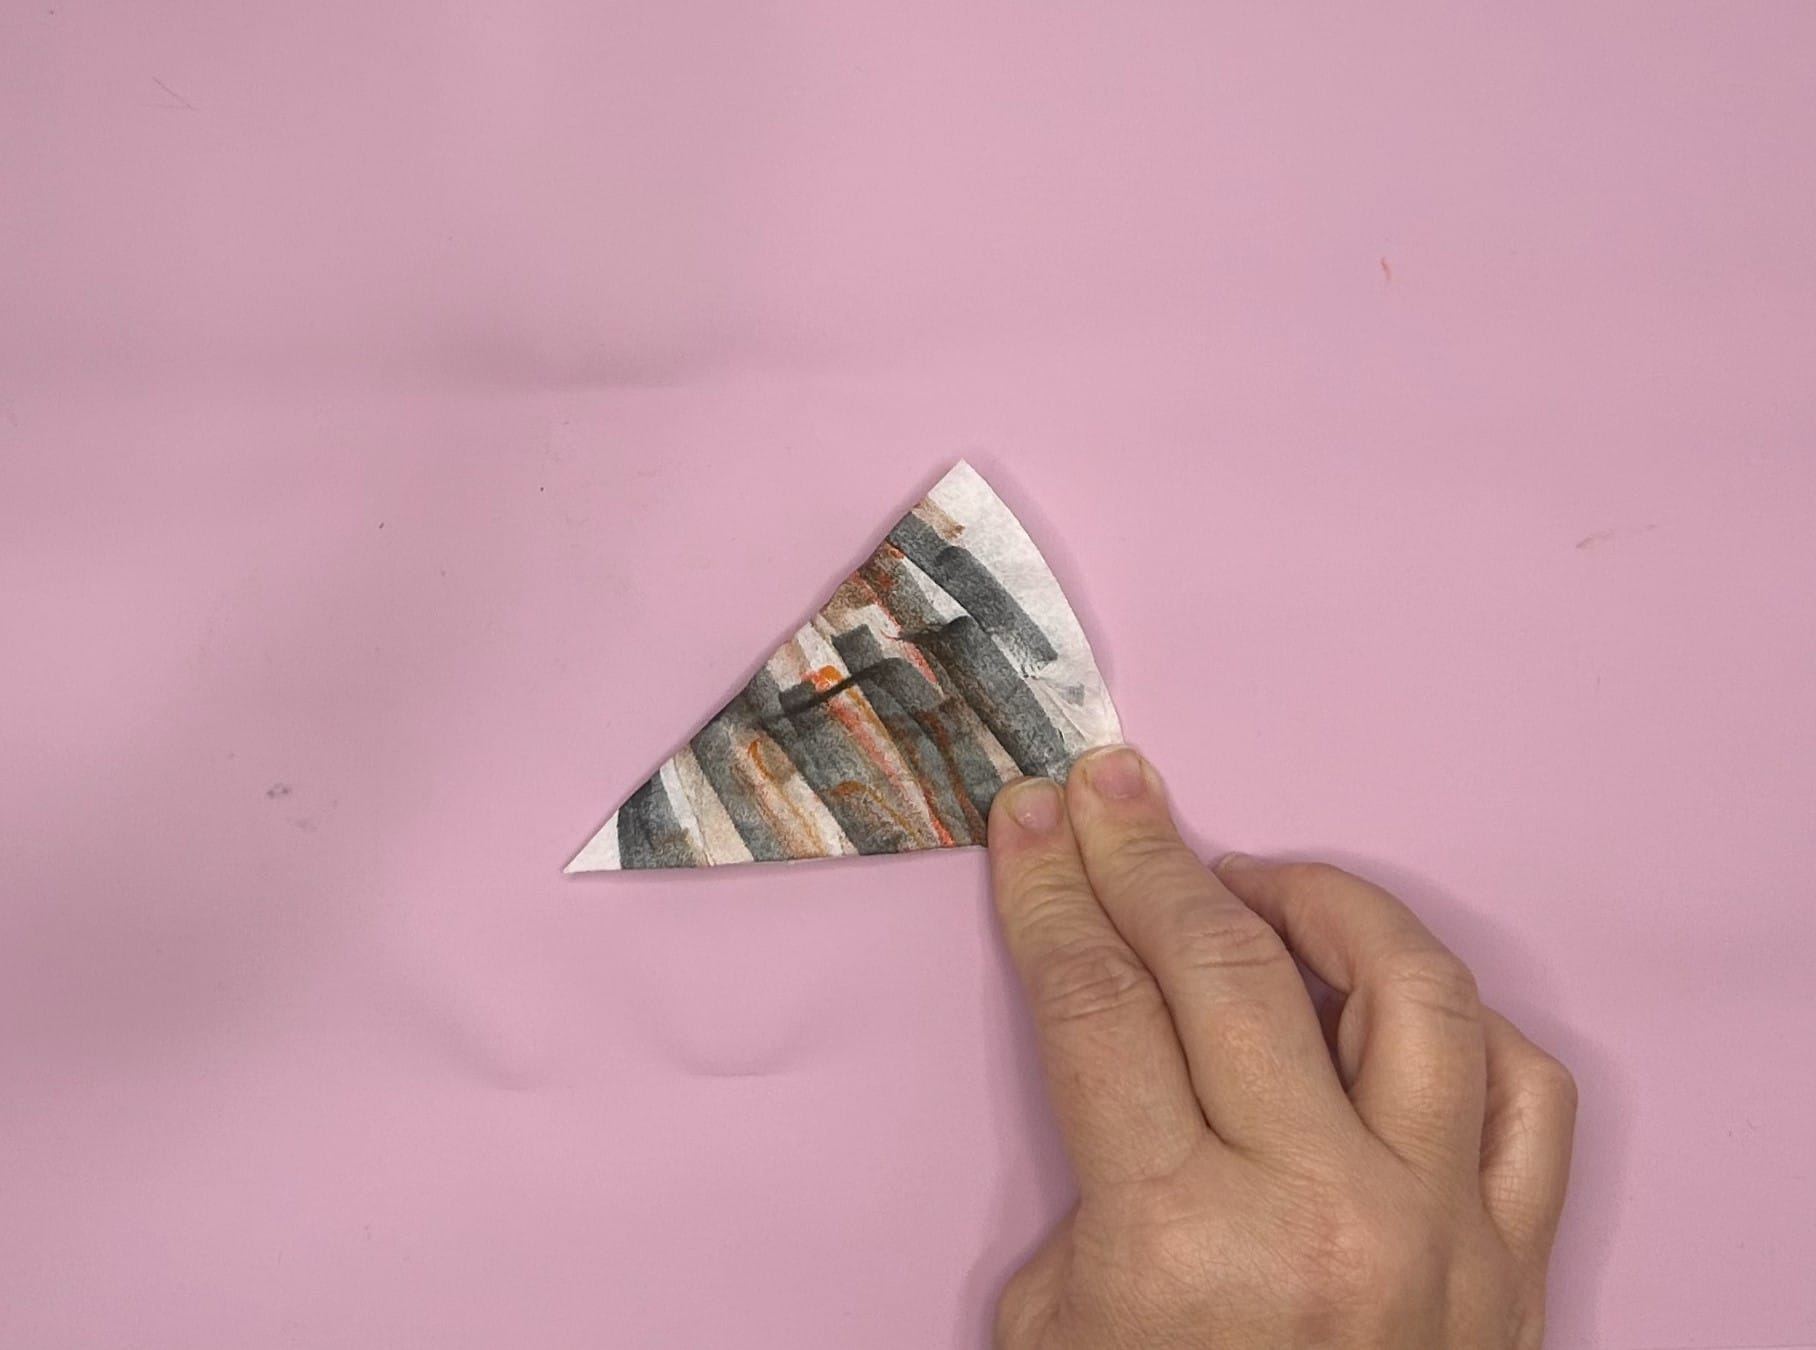
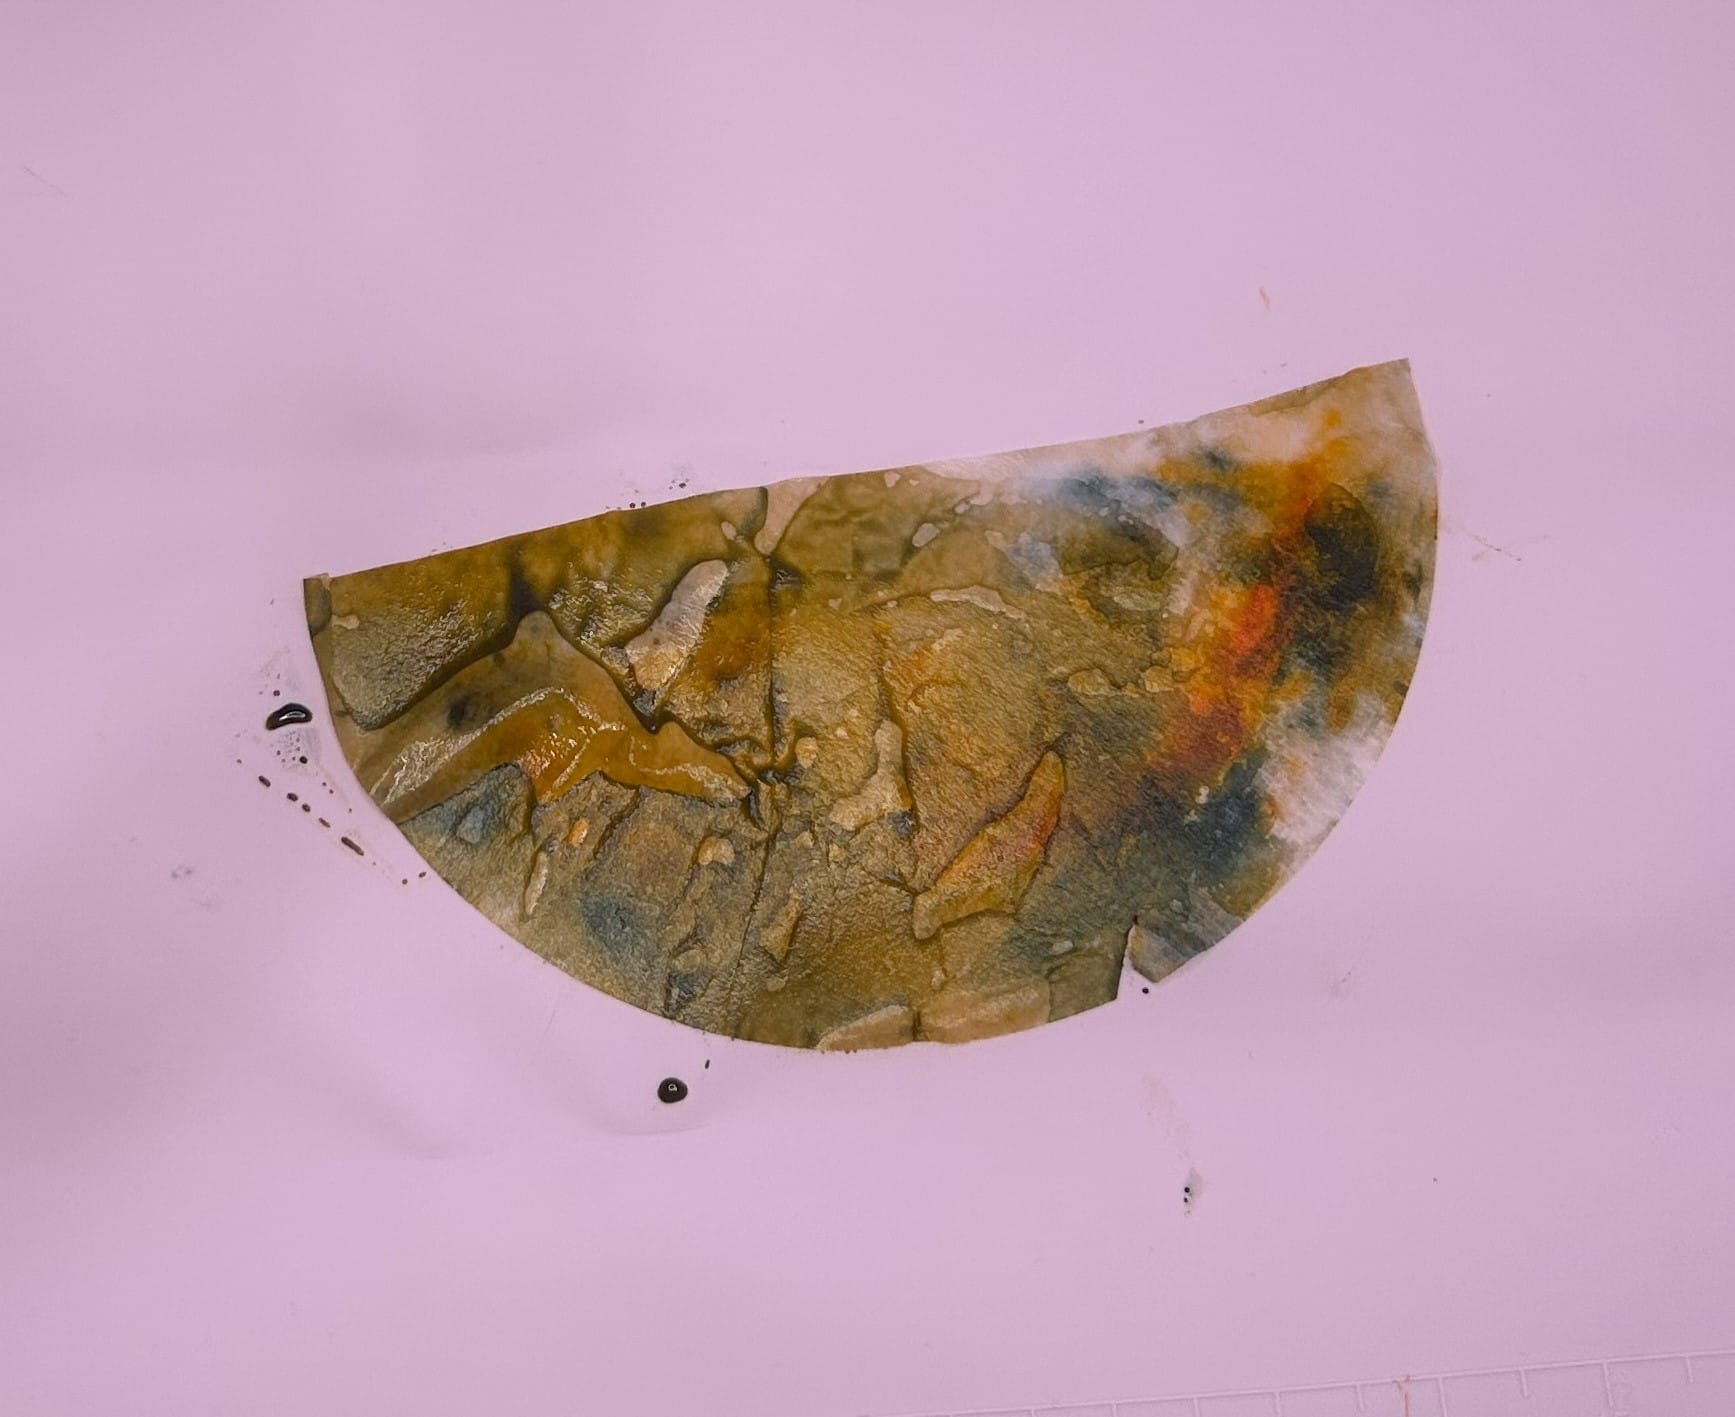
Fold coffee filter and sip in water. Allow coffee filter to dry for use later.
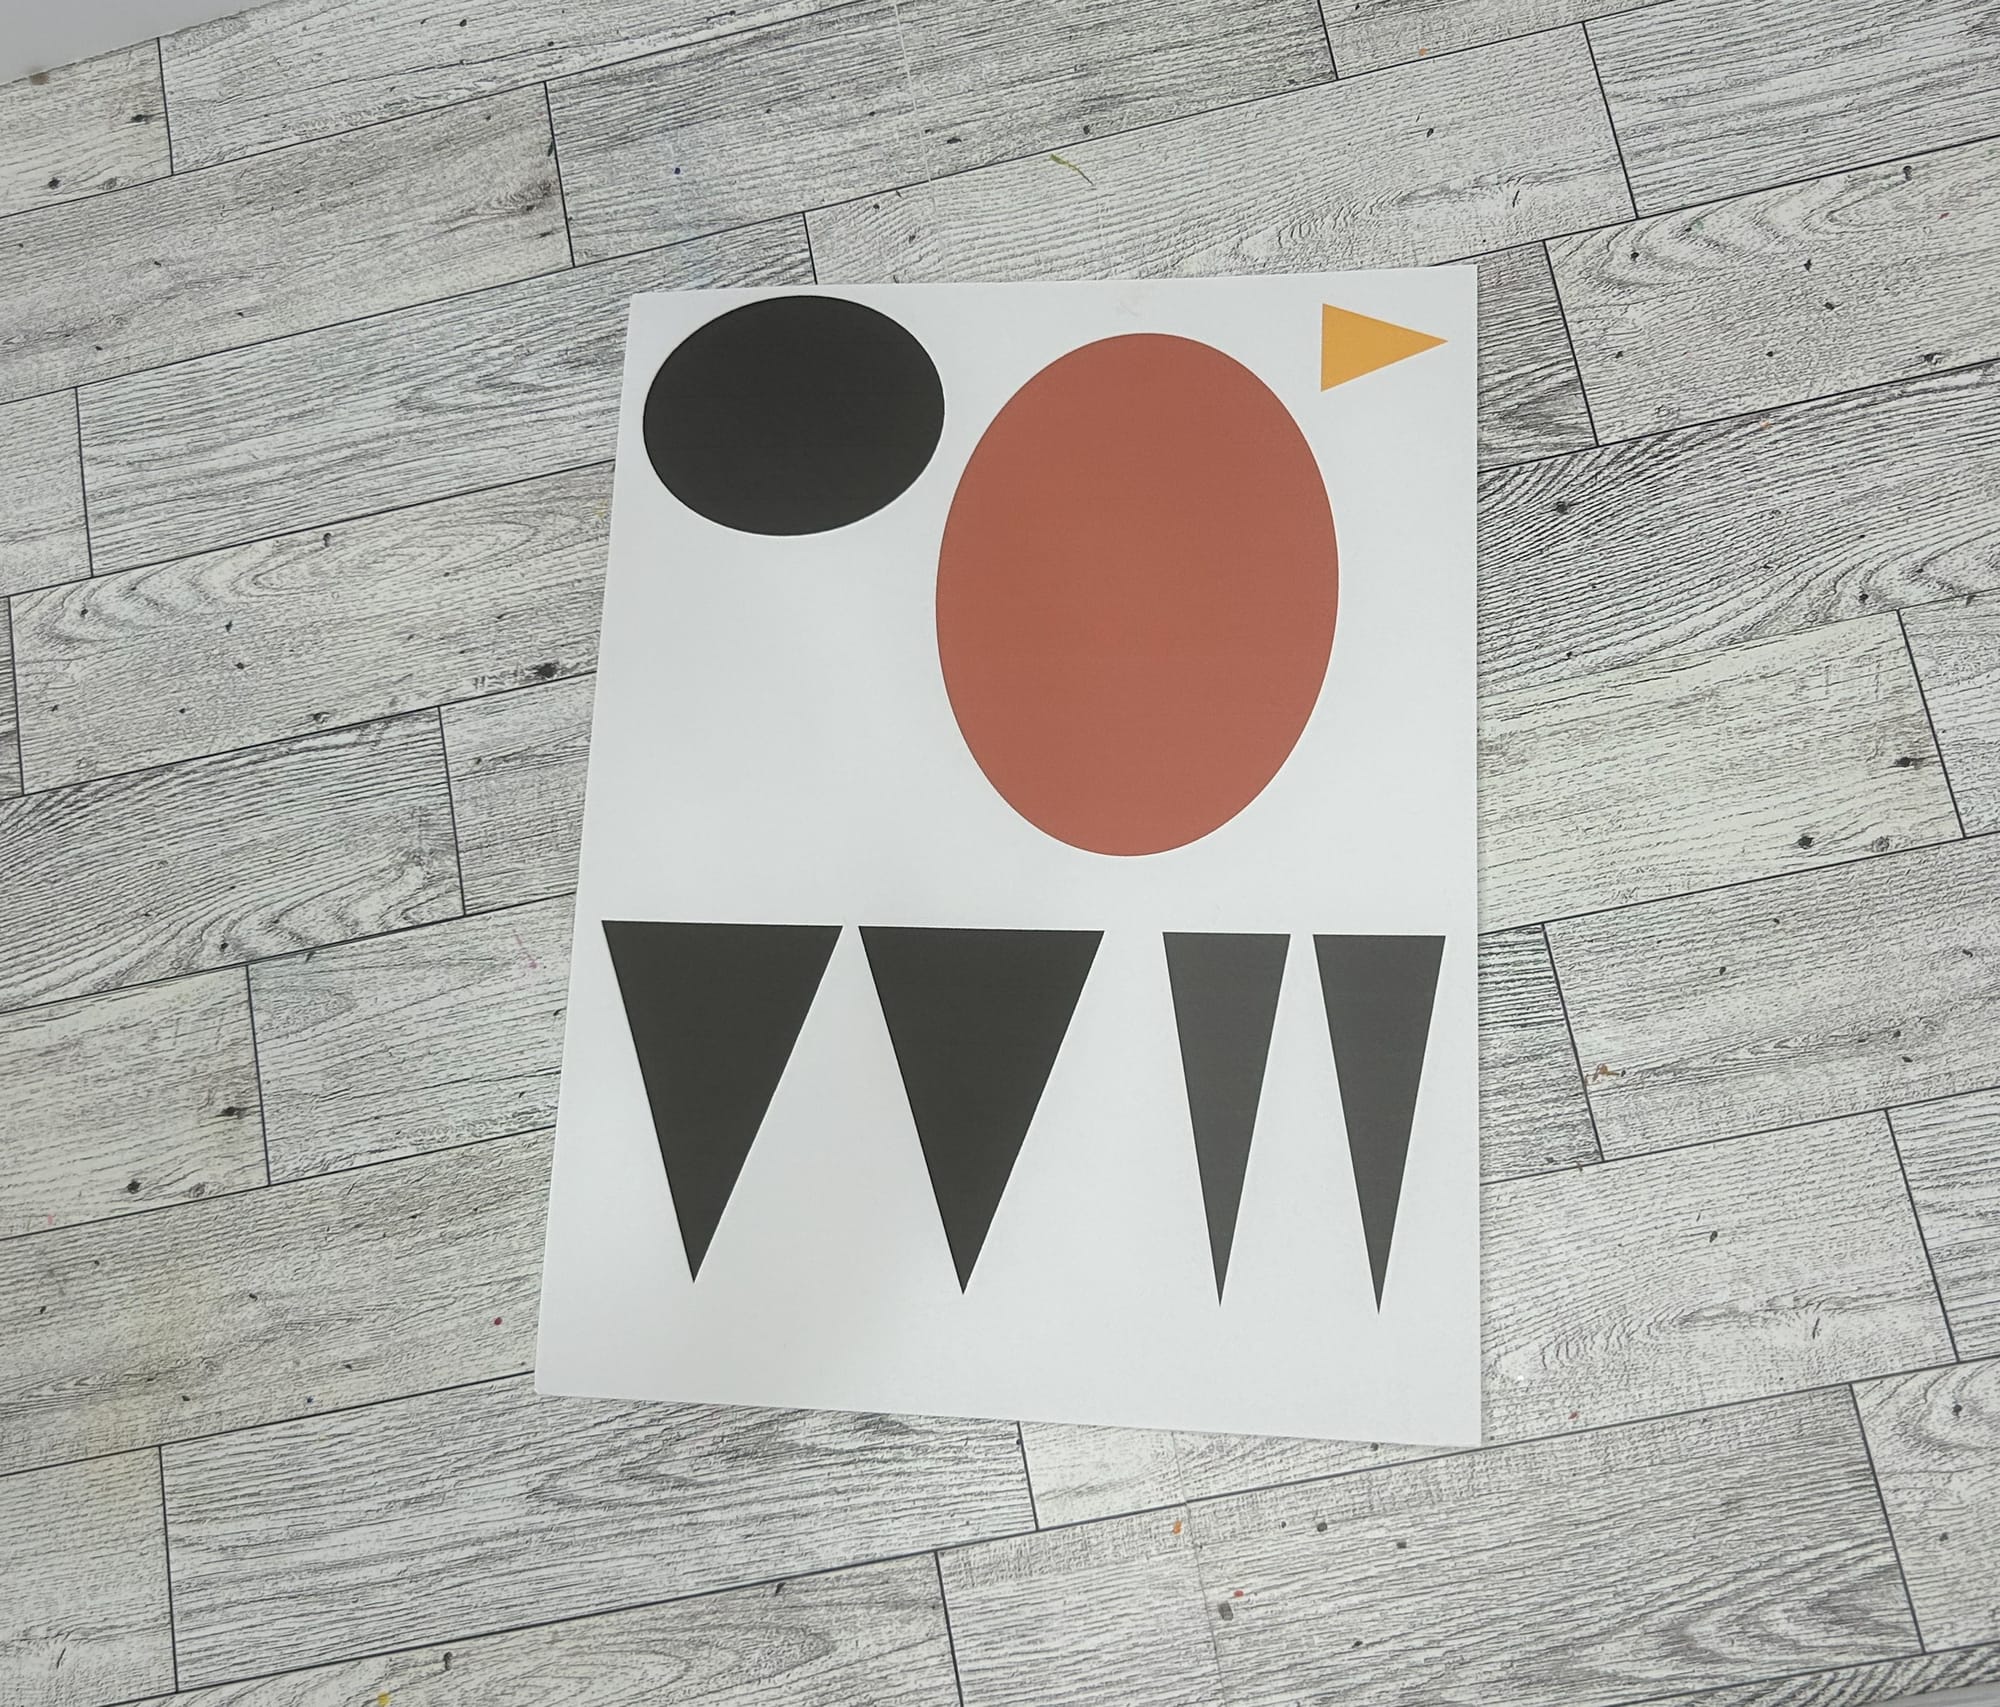
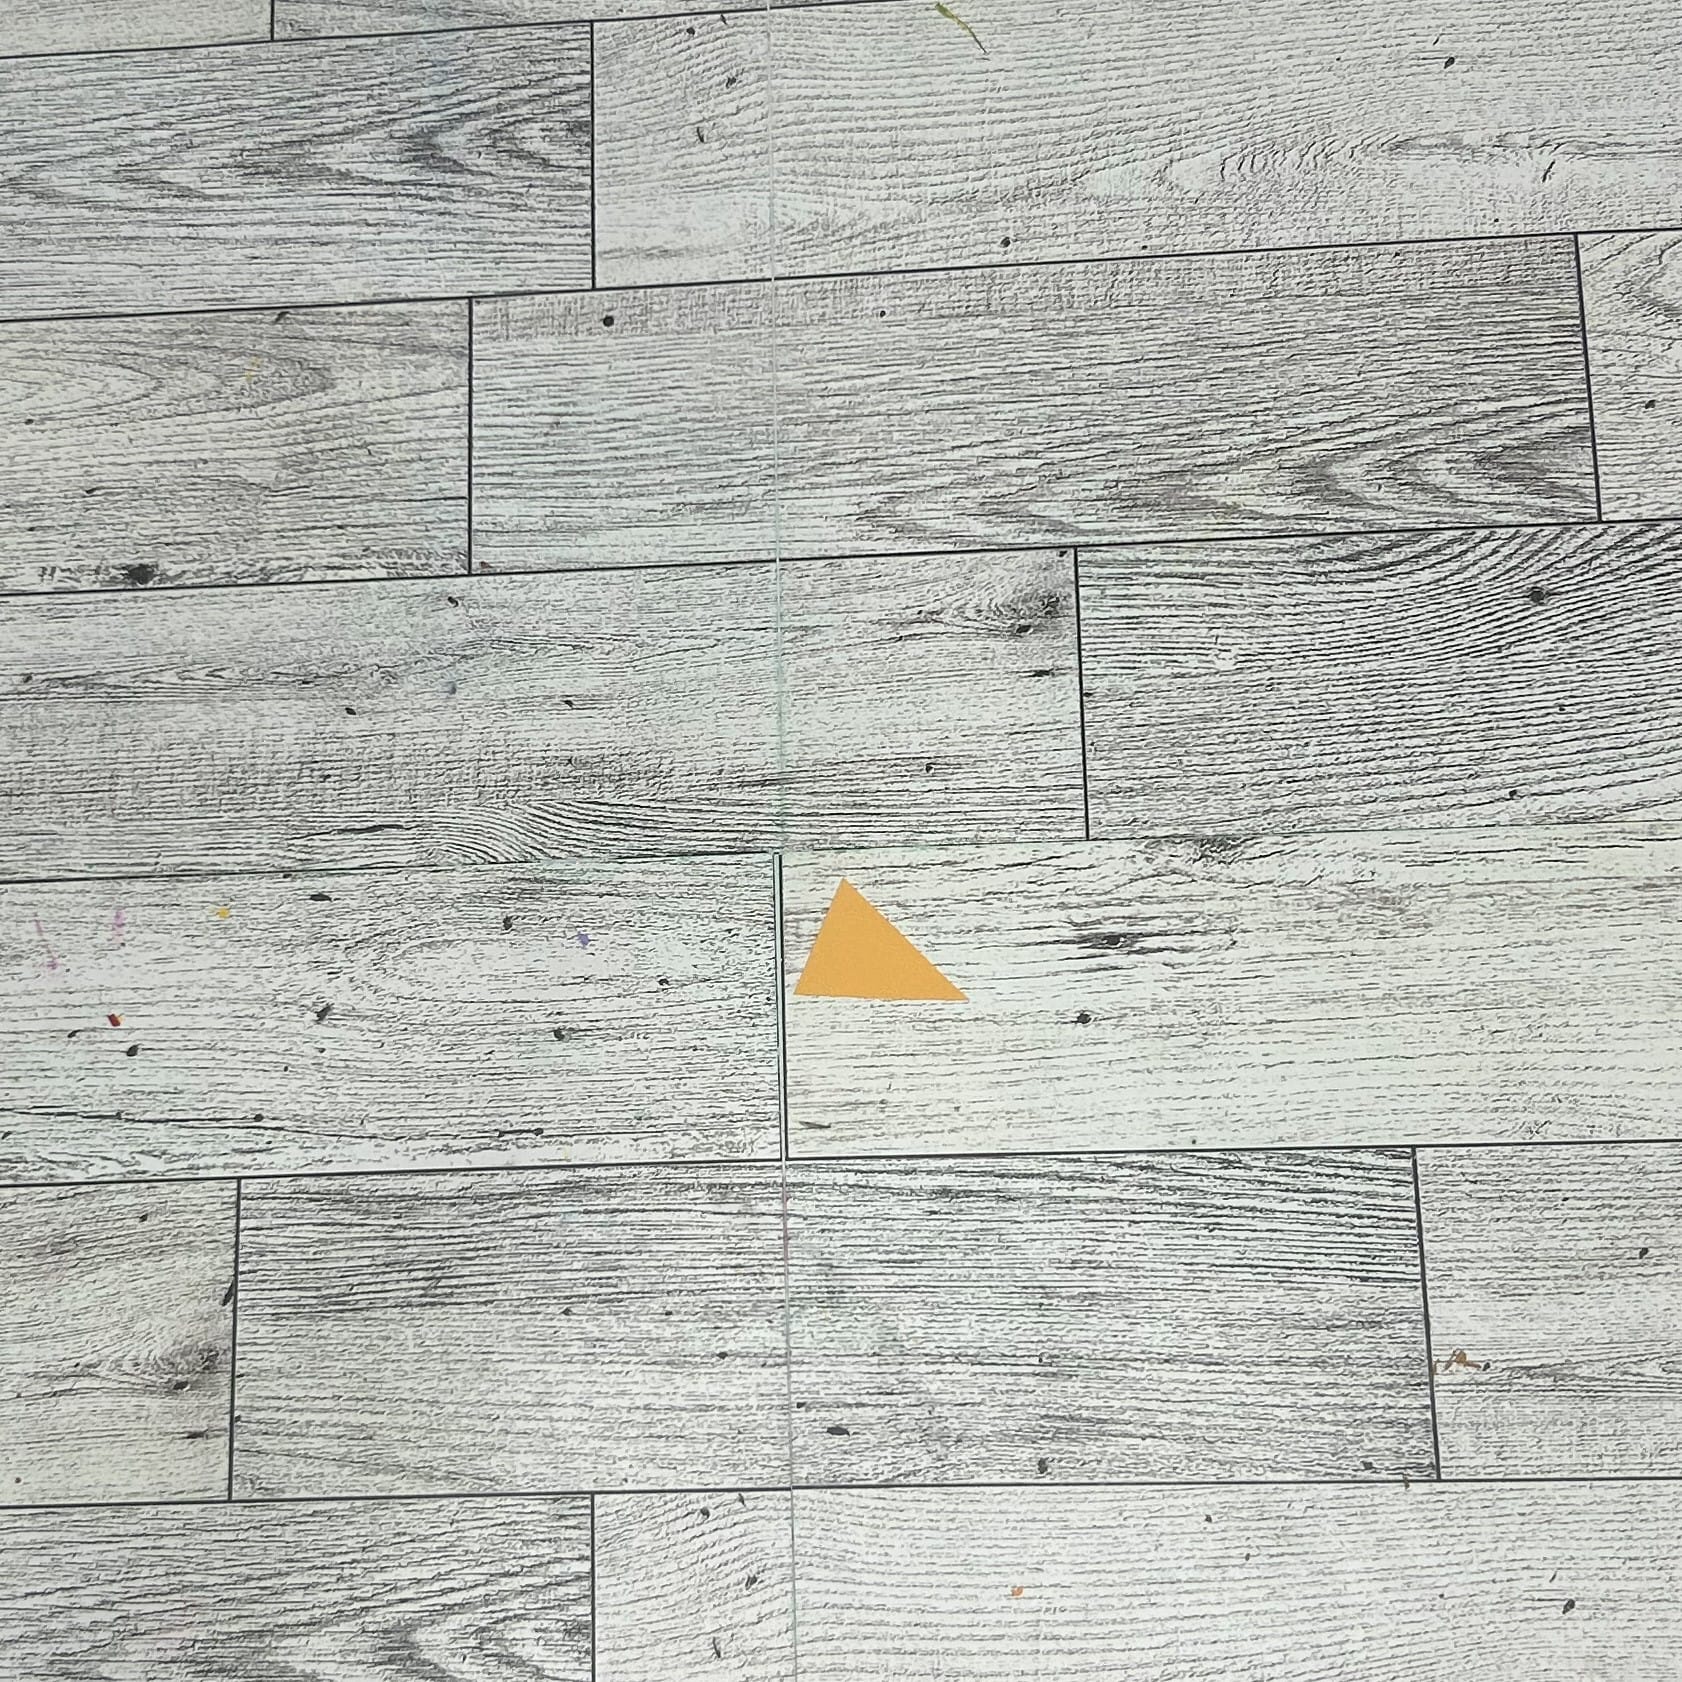
- Print robin template and cut out the pieces.
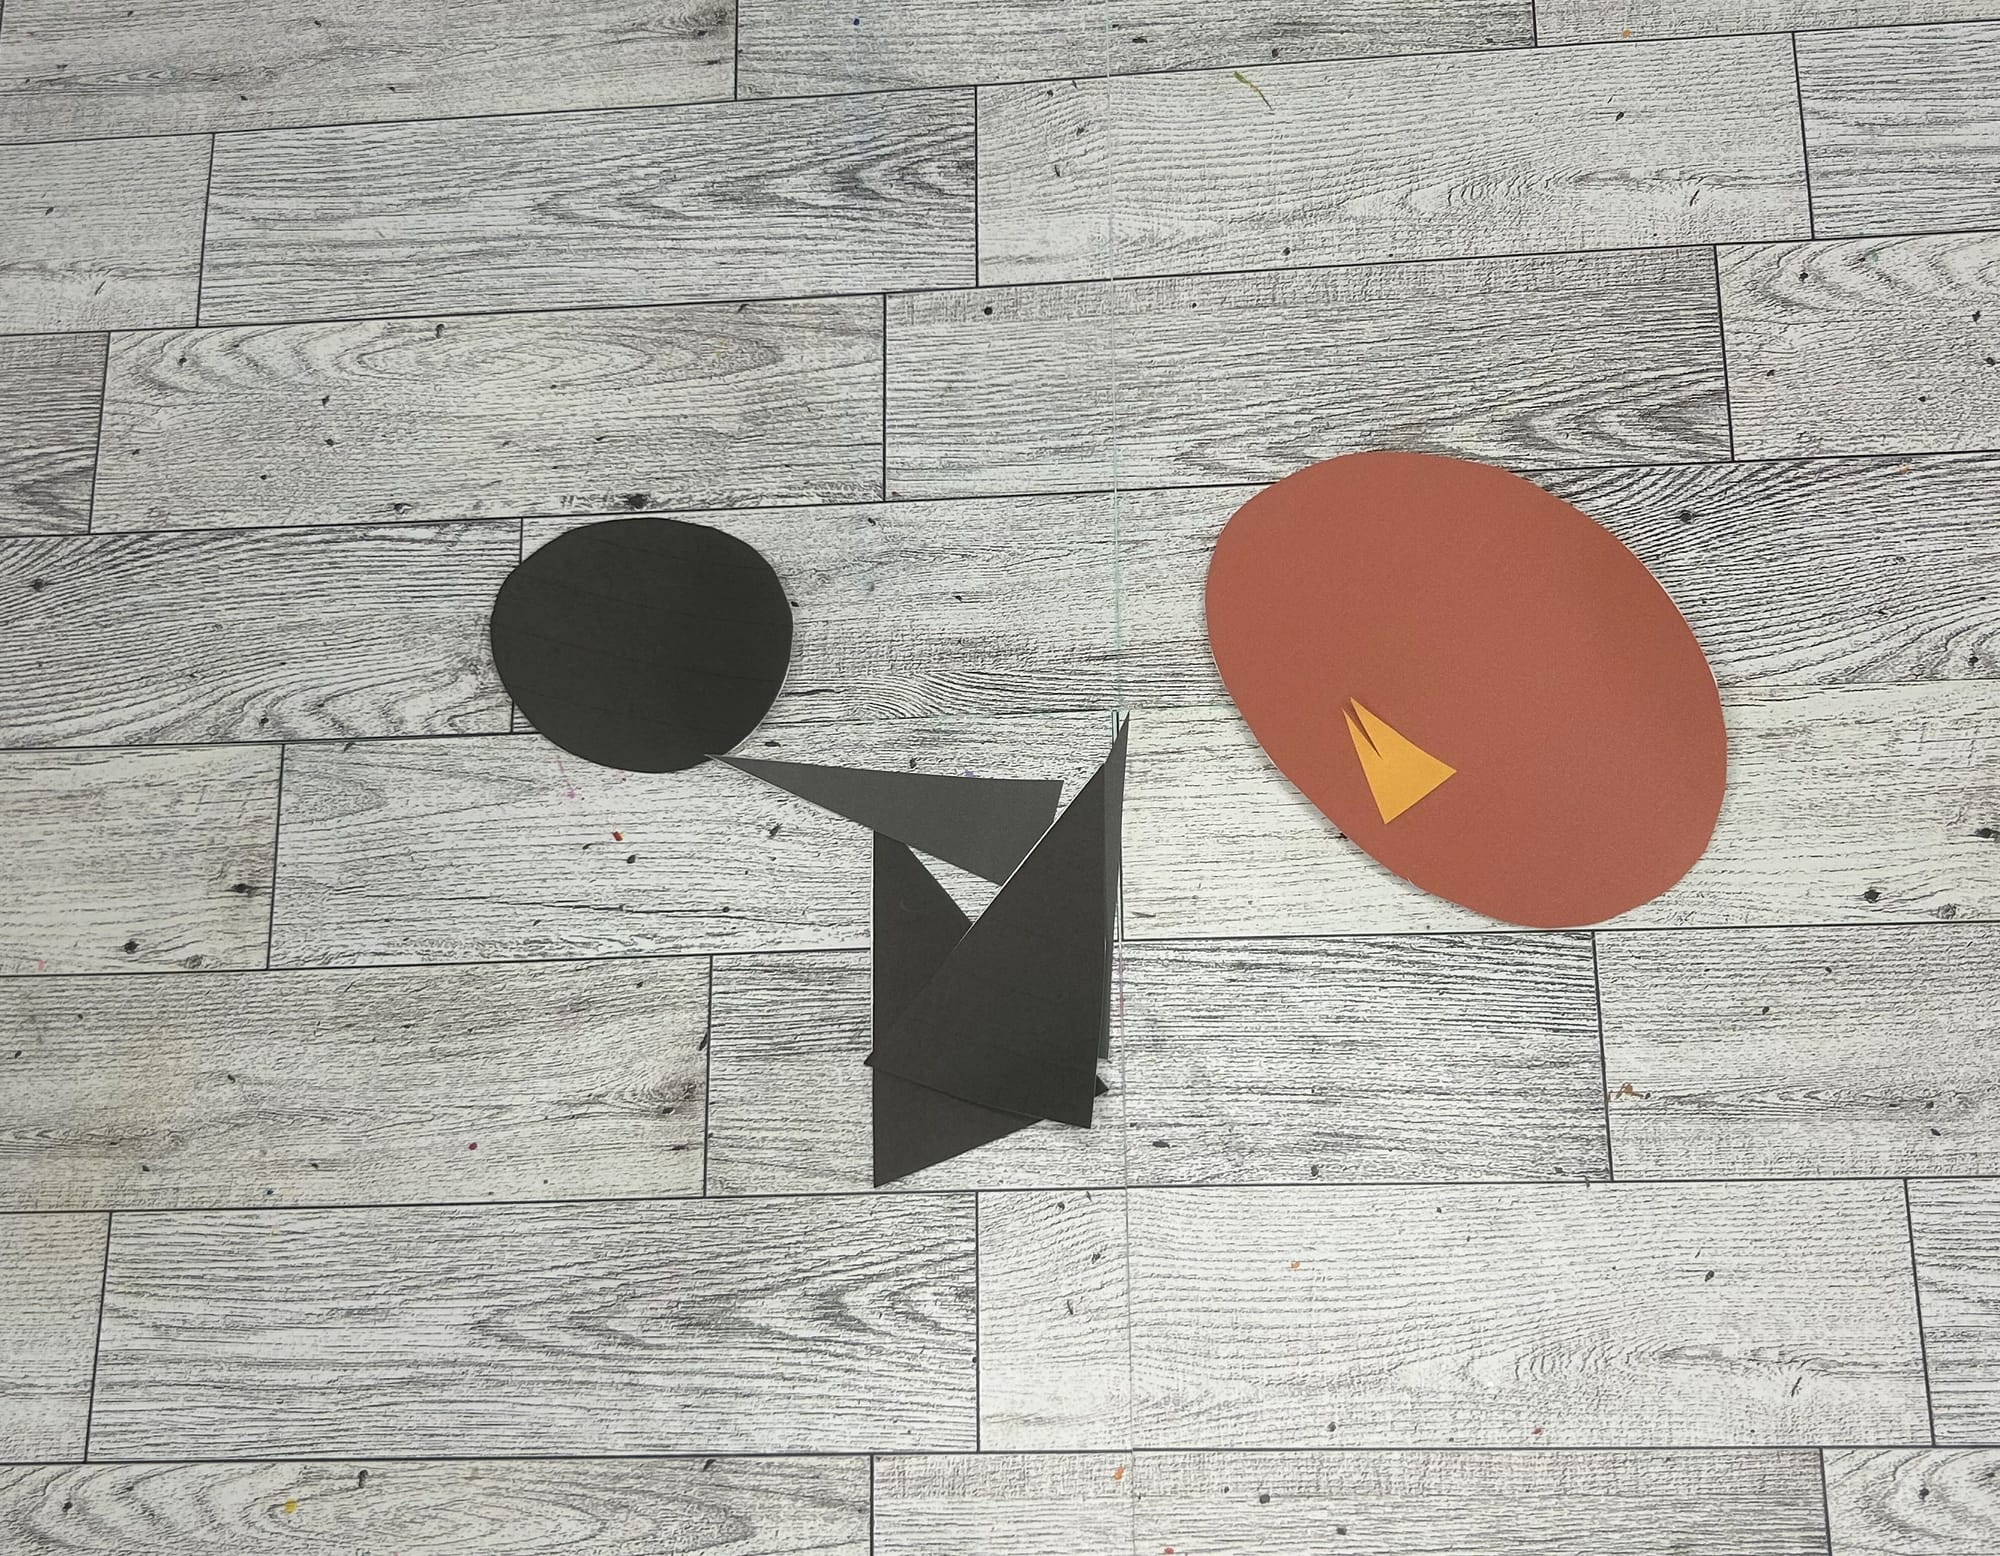
Help your child if needed, but it is great fine motor practice to allow them to do on their own.
- Take the yellow triangle. Use scissors to cut a slit in the middle of the triangle to create a beak.
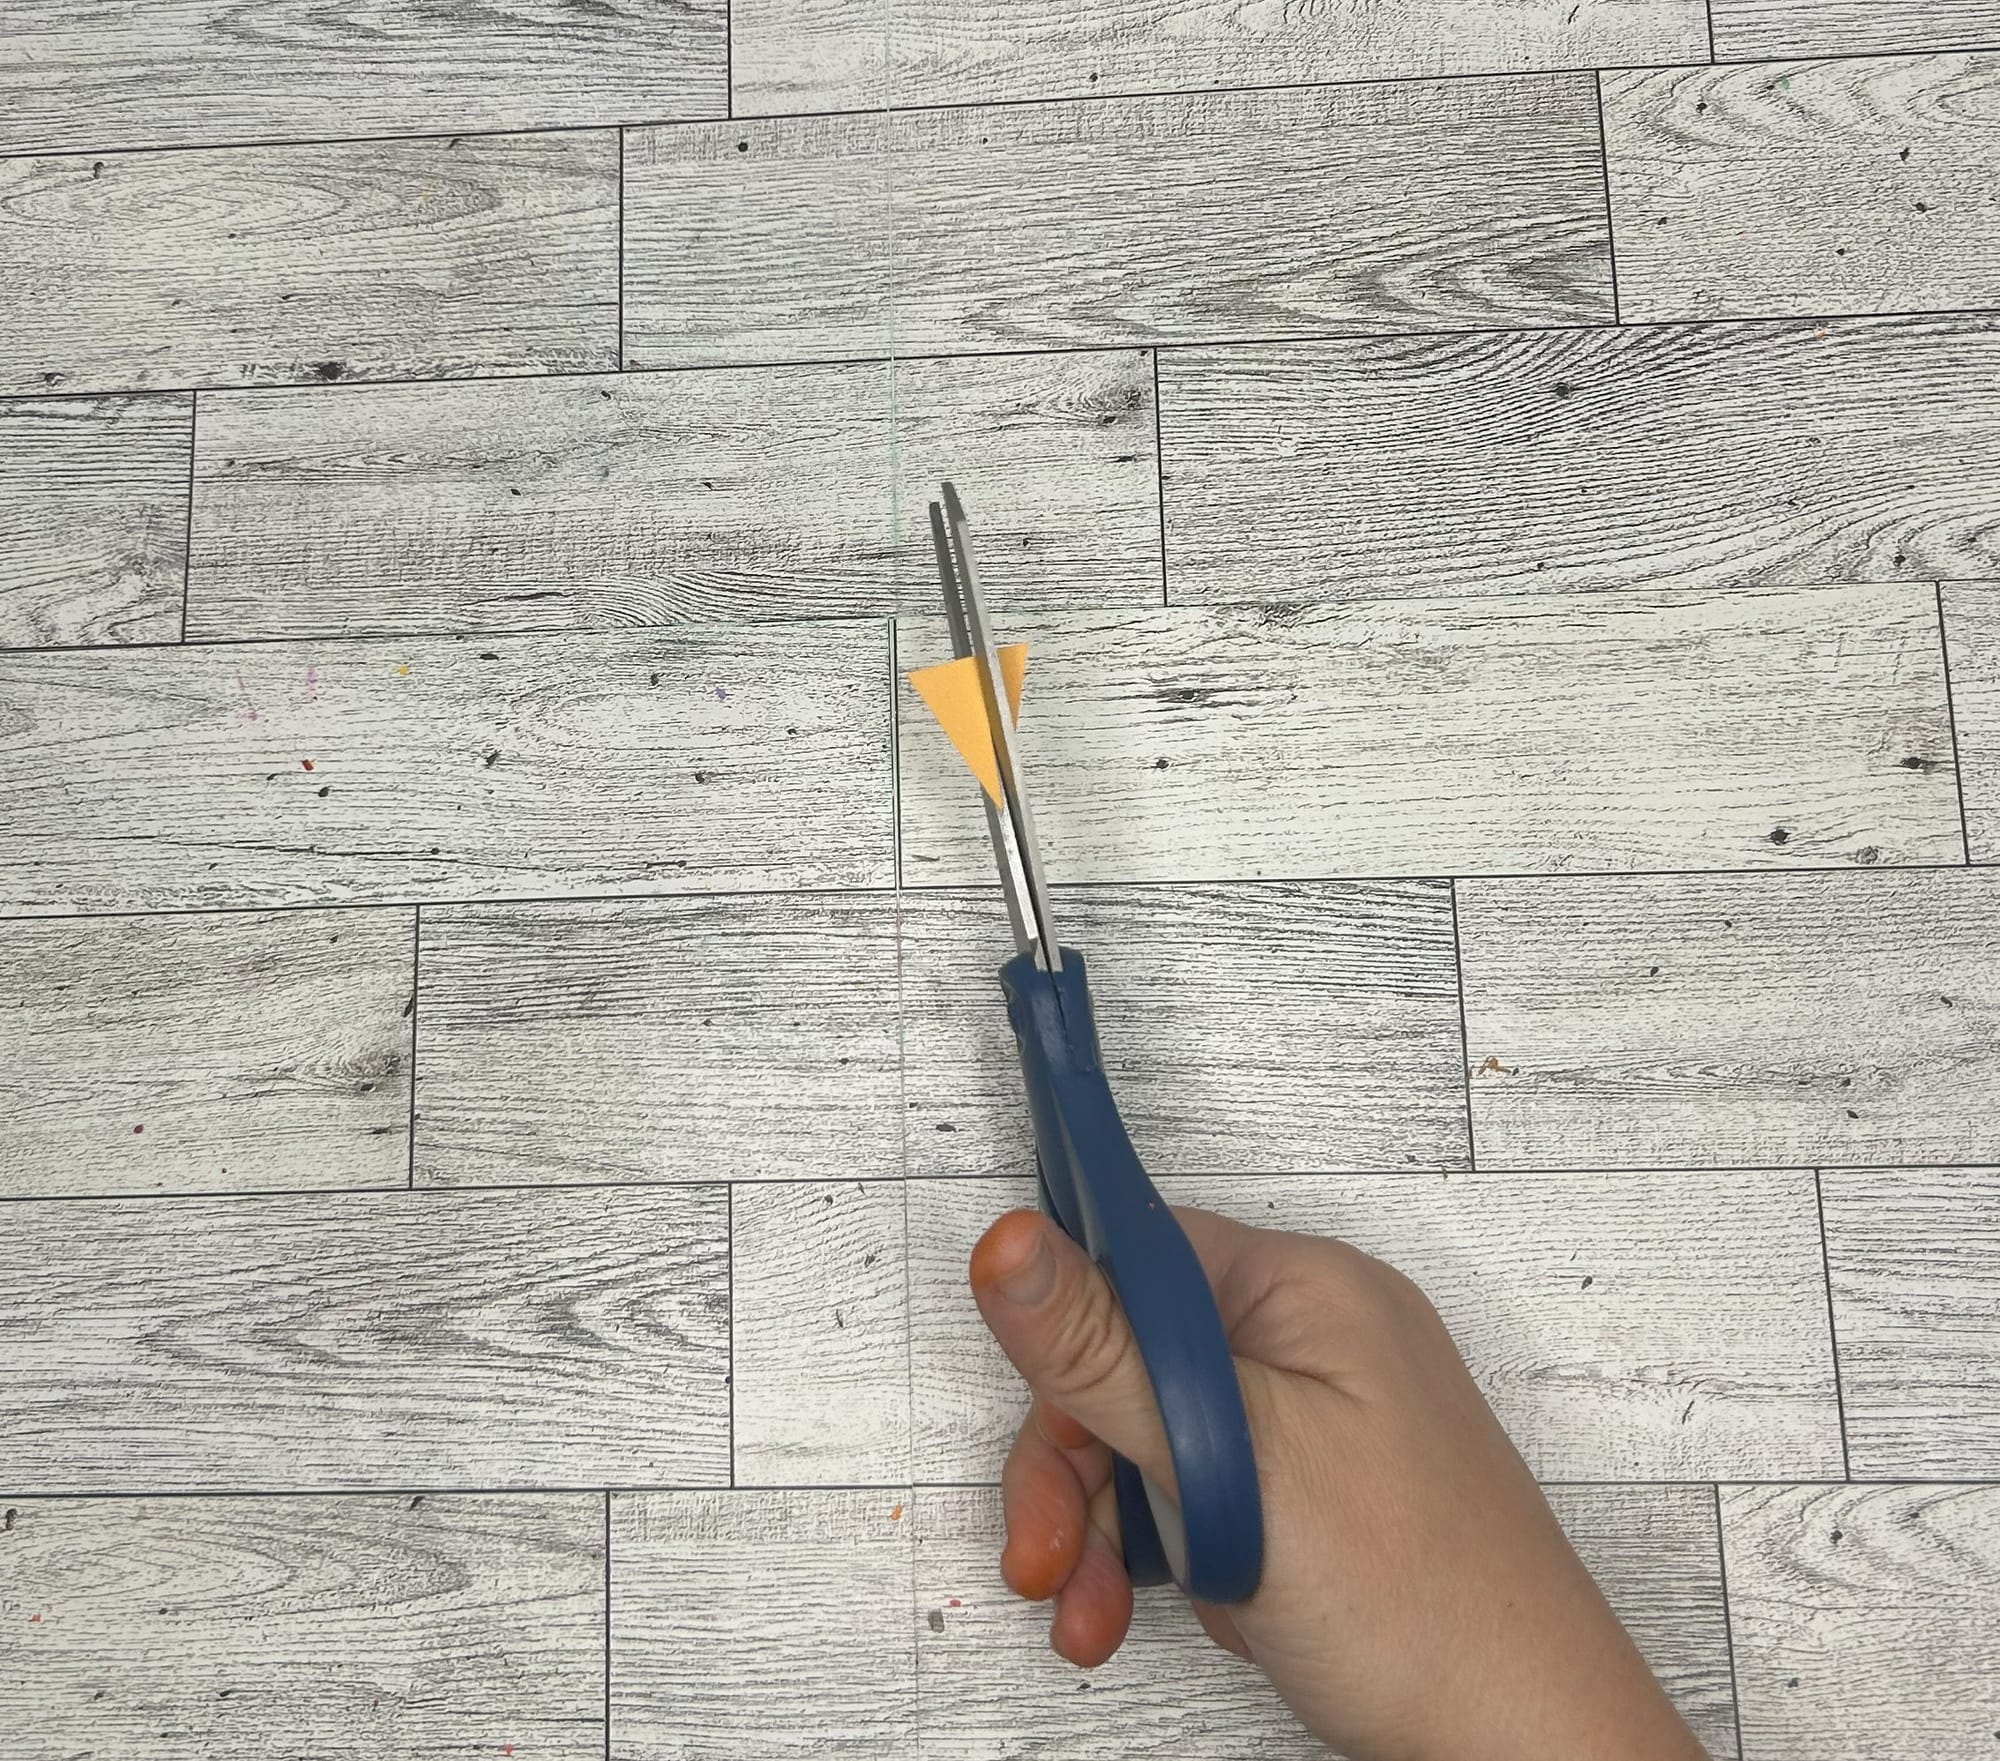
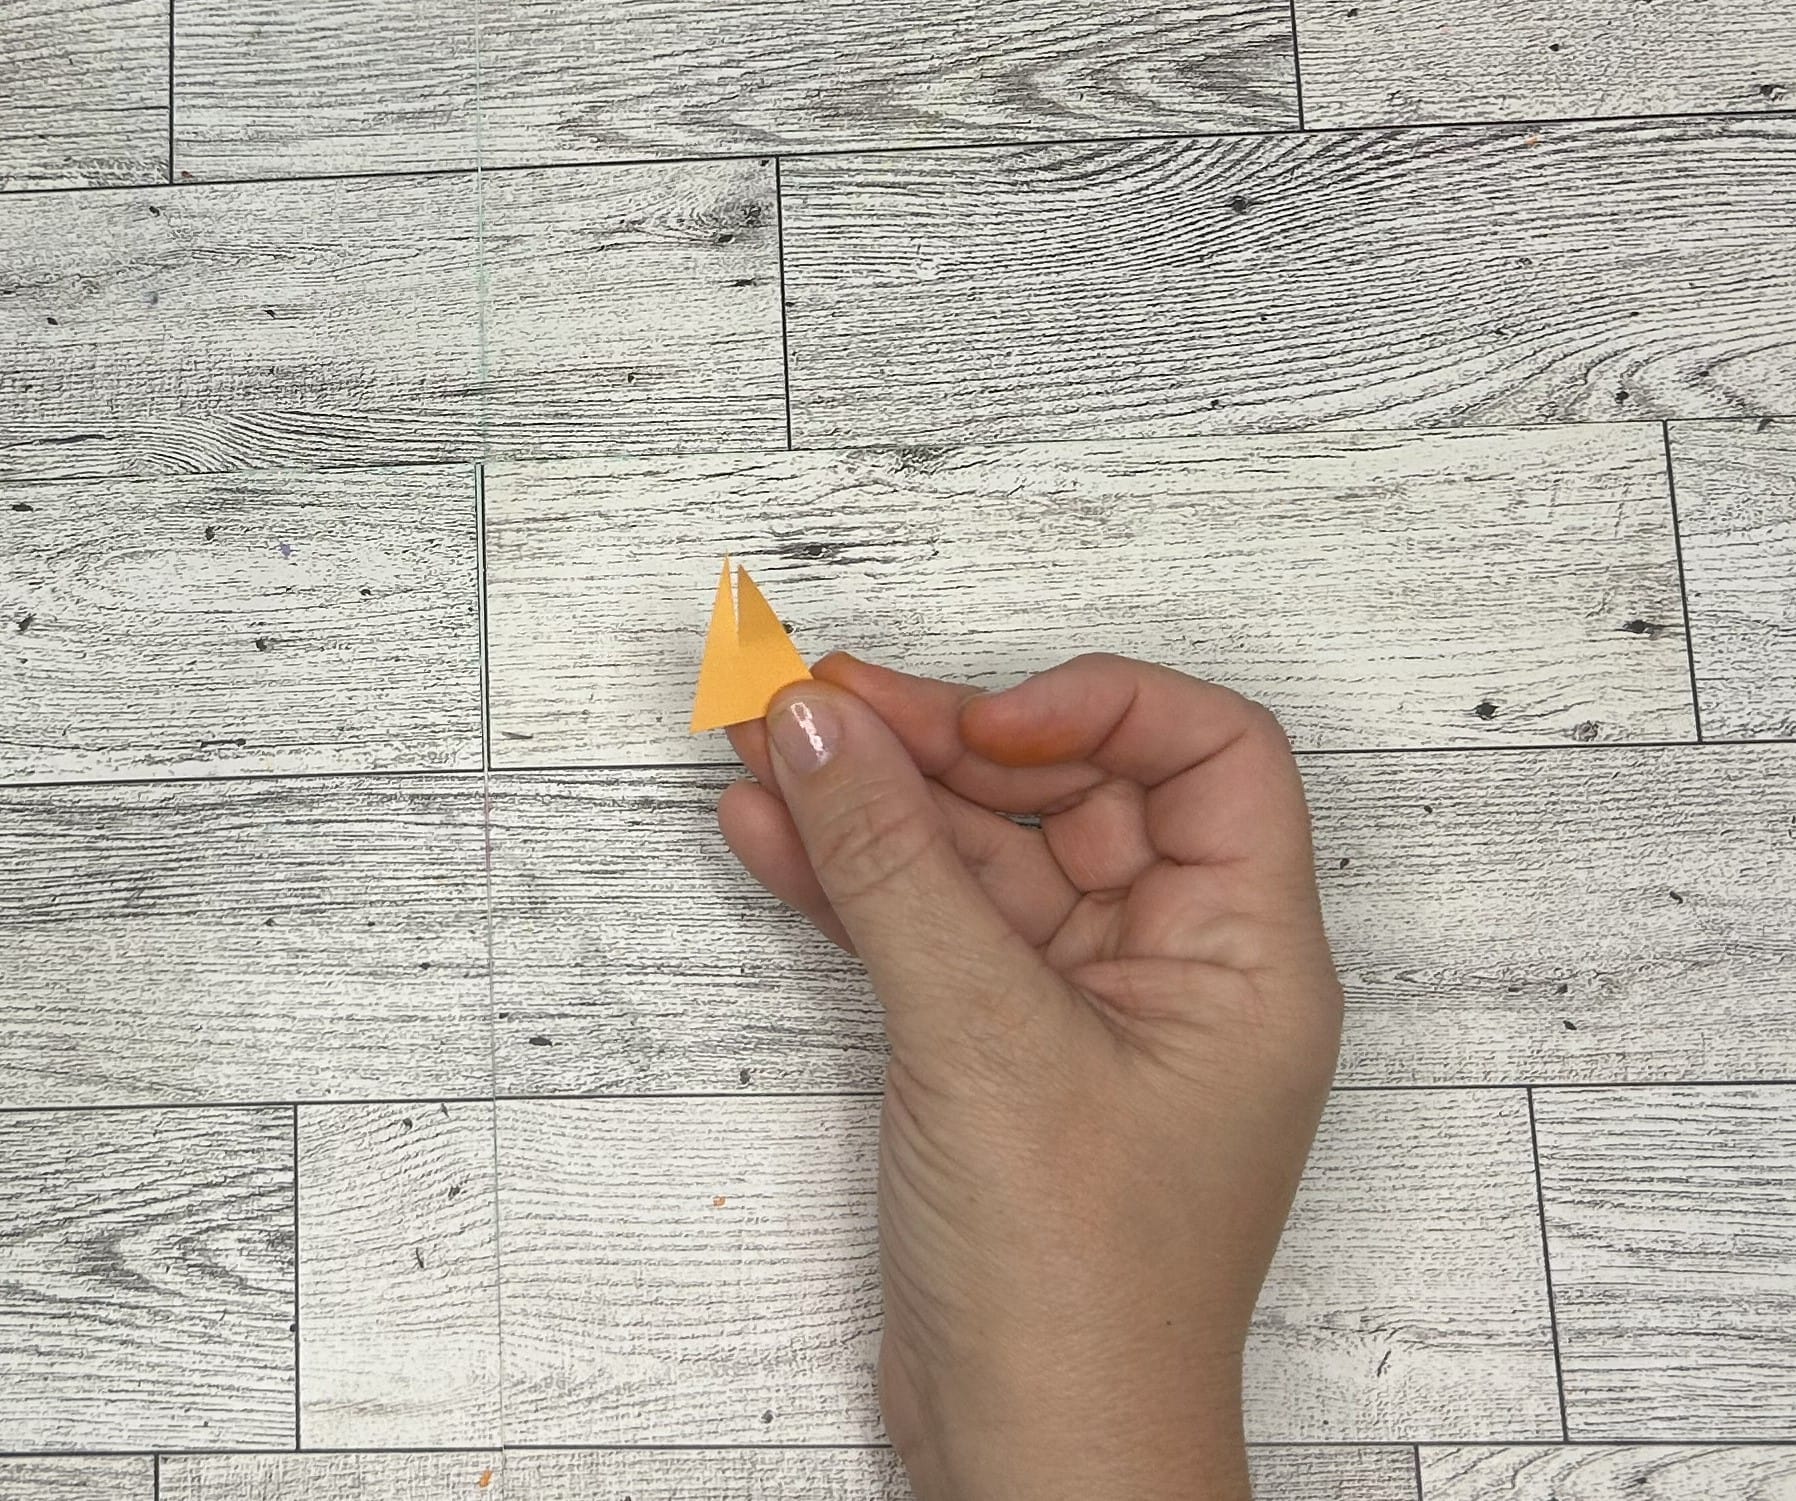
Cut triangle to create bird's beak.
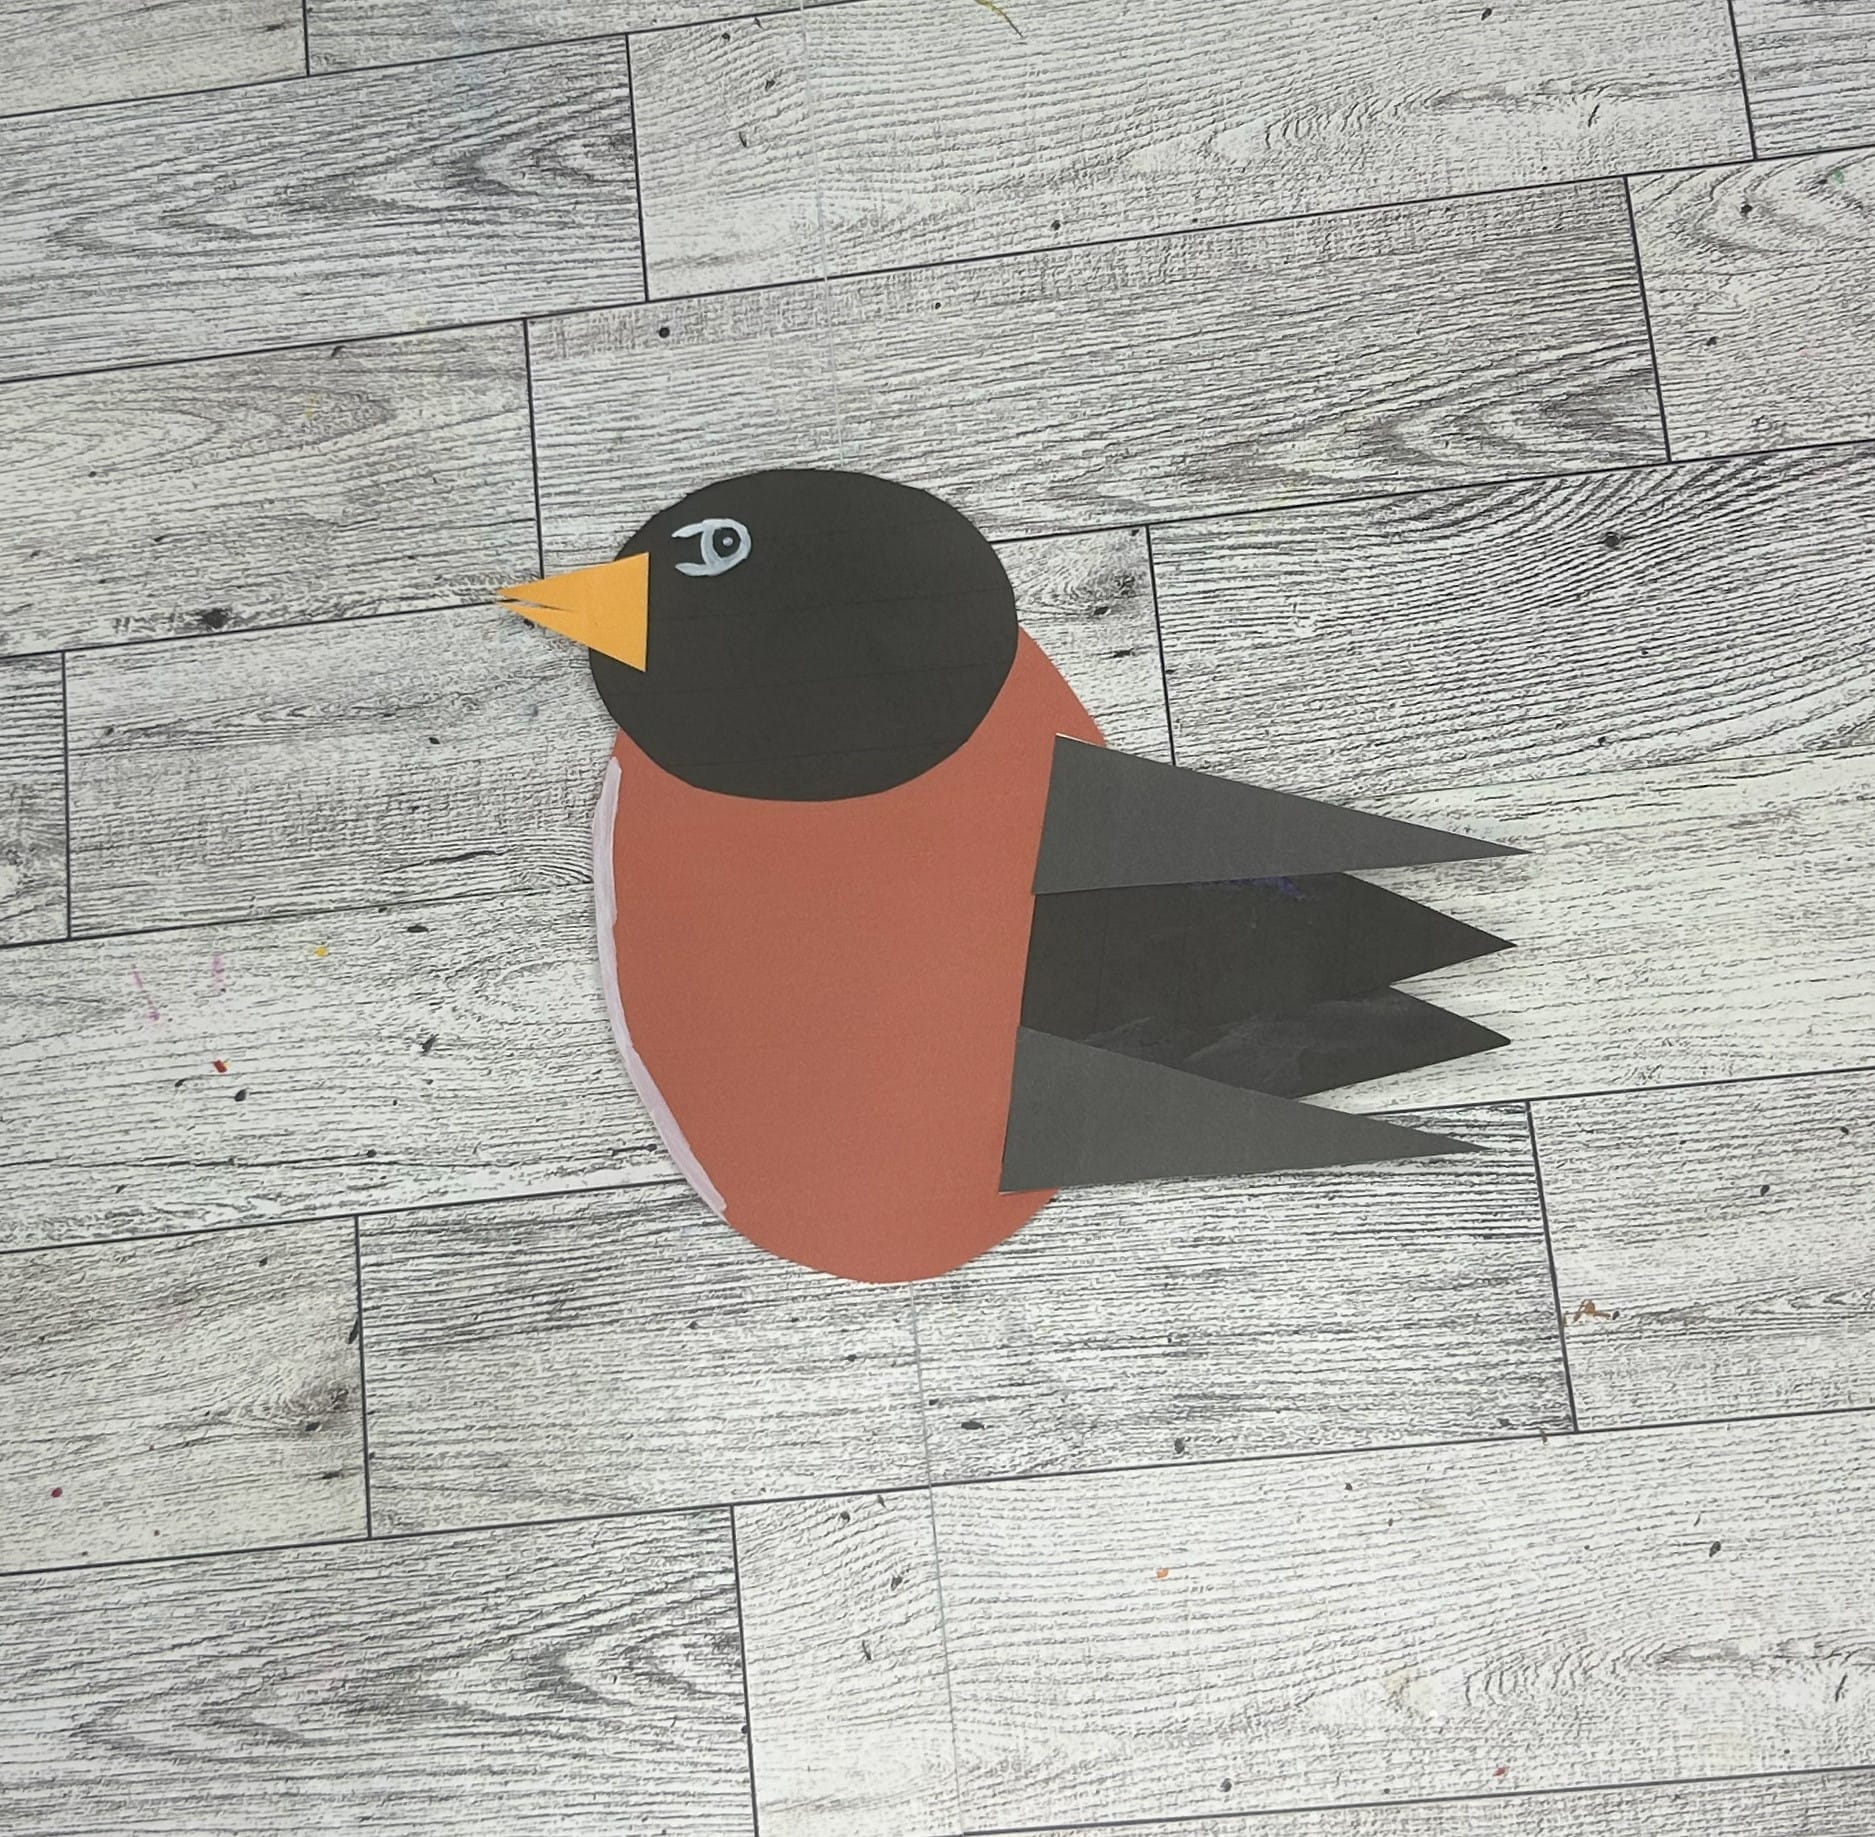
- Glue the triangles shapes together to create the robin's tail.

- Glue the oval shape as the body and add the circle to the oval to create the head. Next, glue to yellow triangle on the circle as the beak of the bird. Last add the triangle tail feathers.
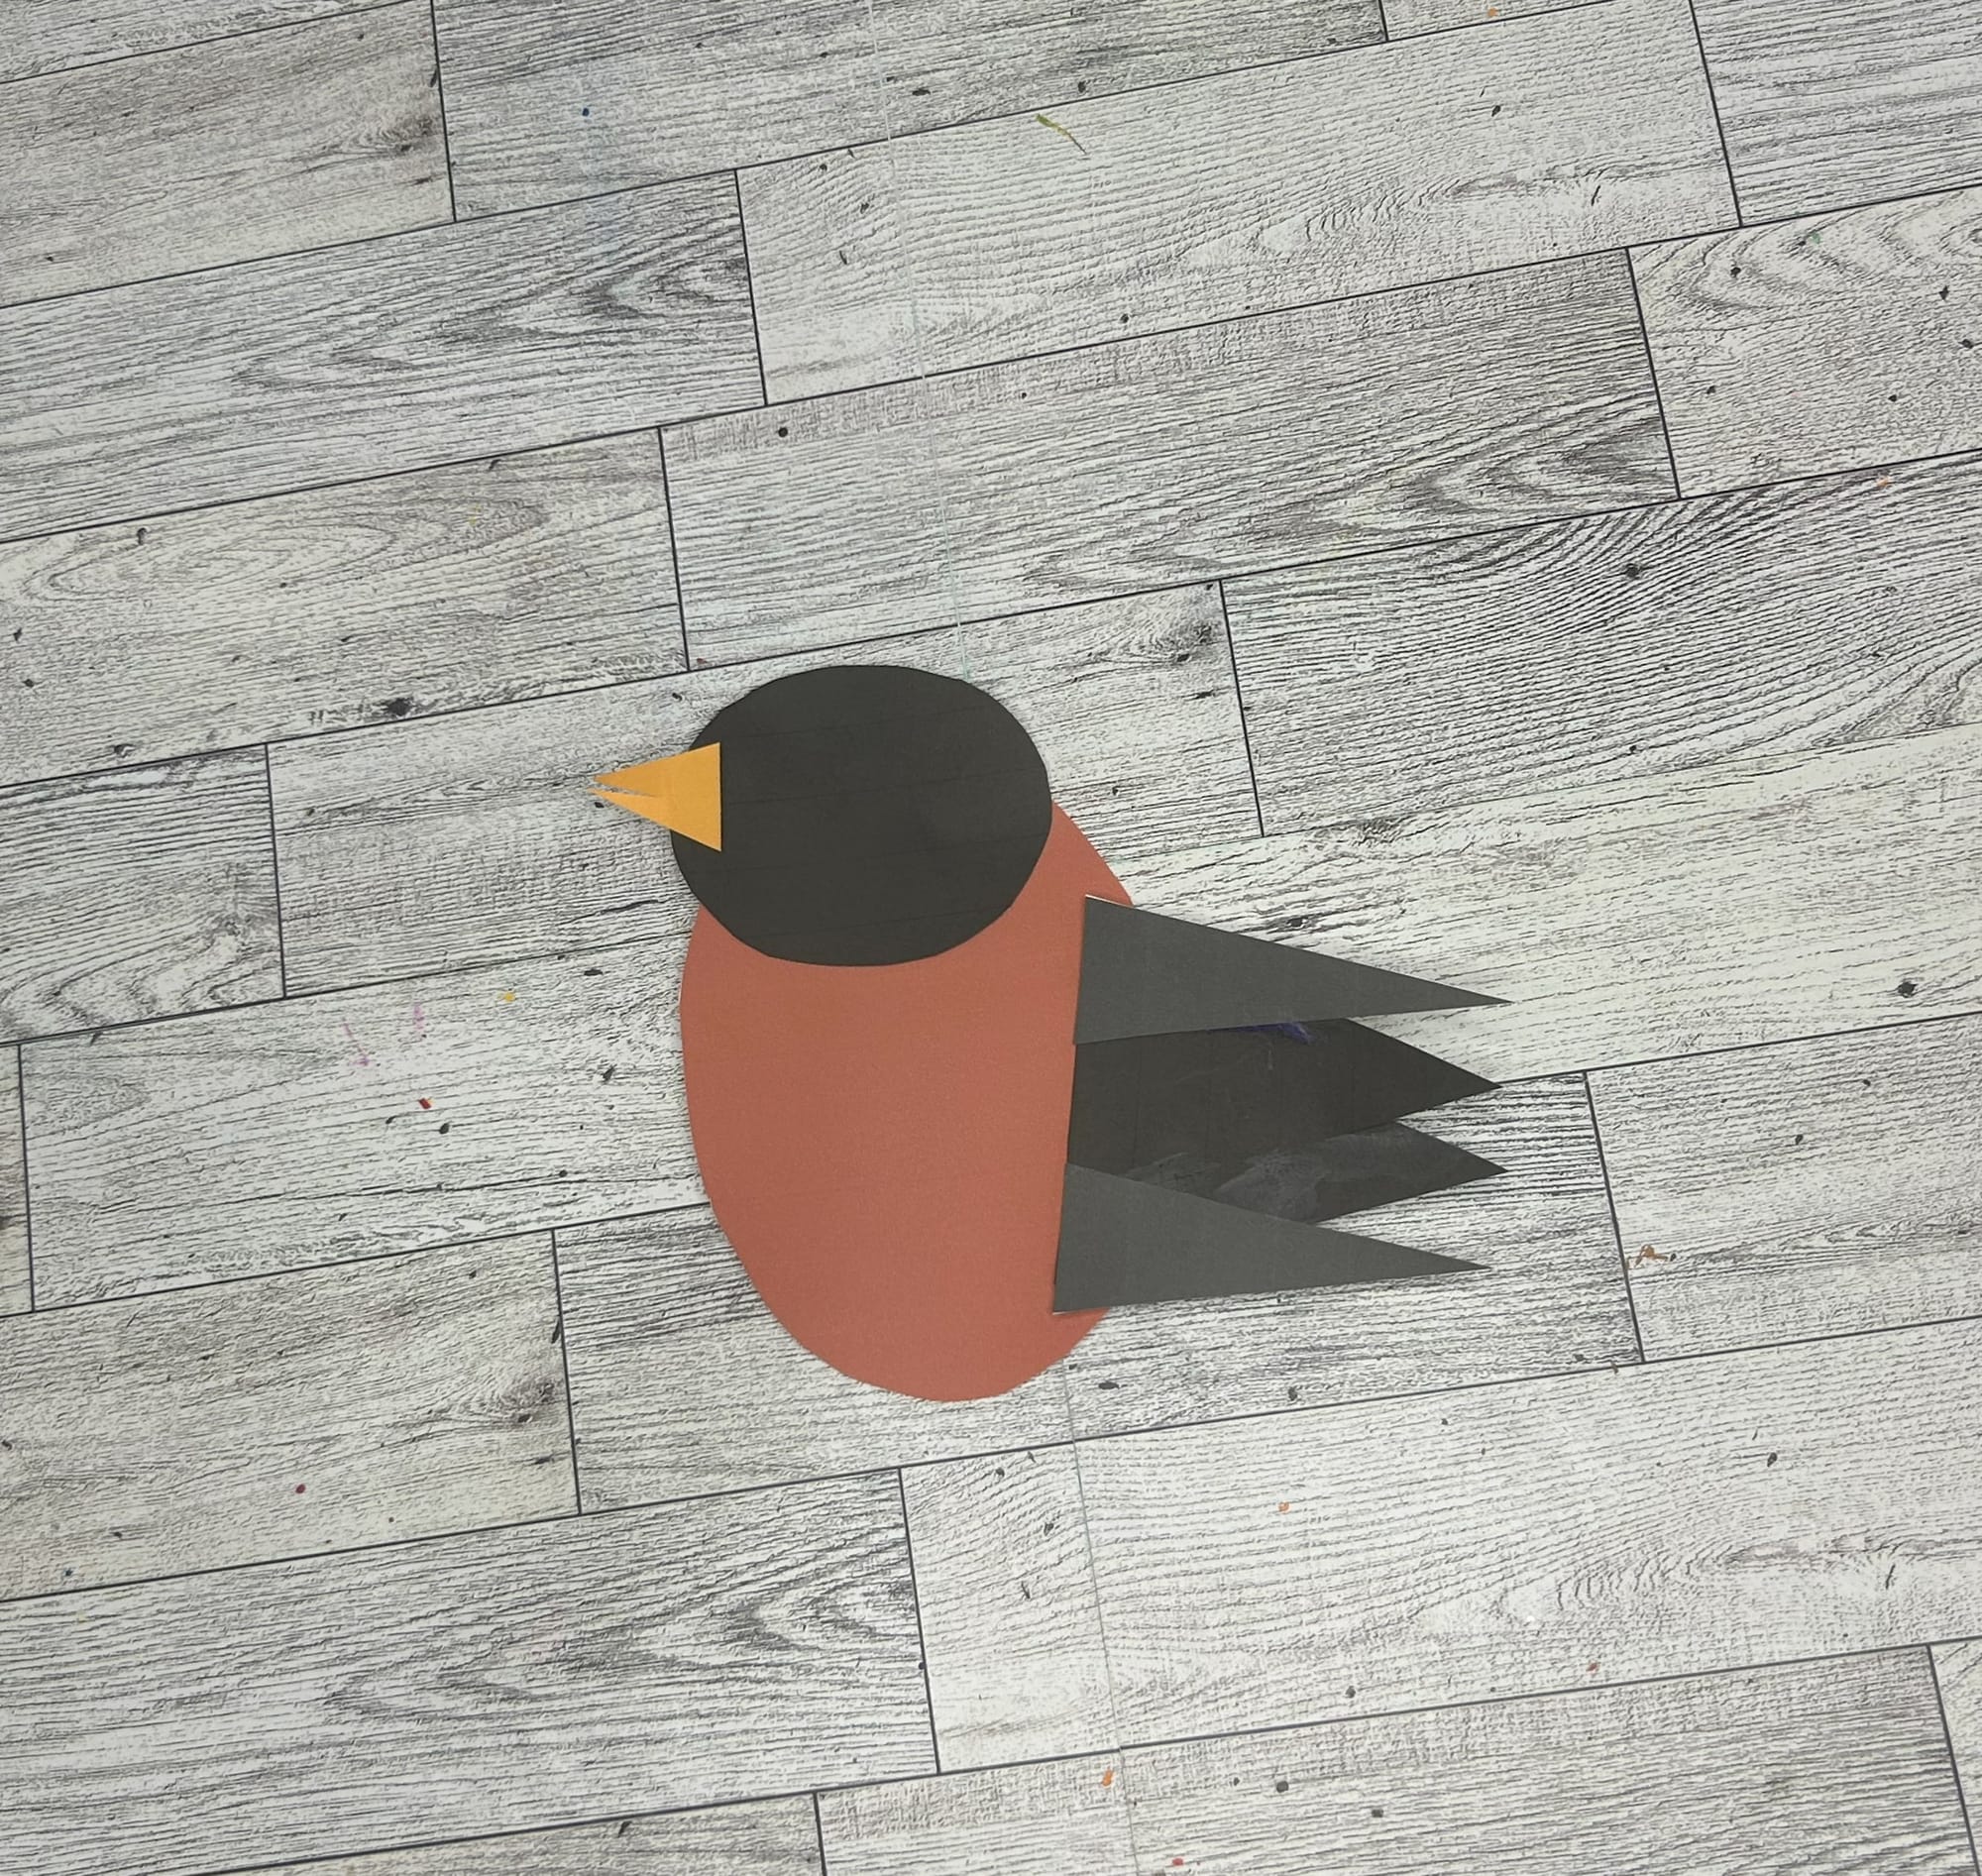
- Use the white marker or crayon to add the details to the bird's face and chest.
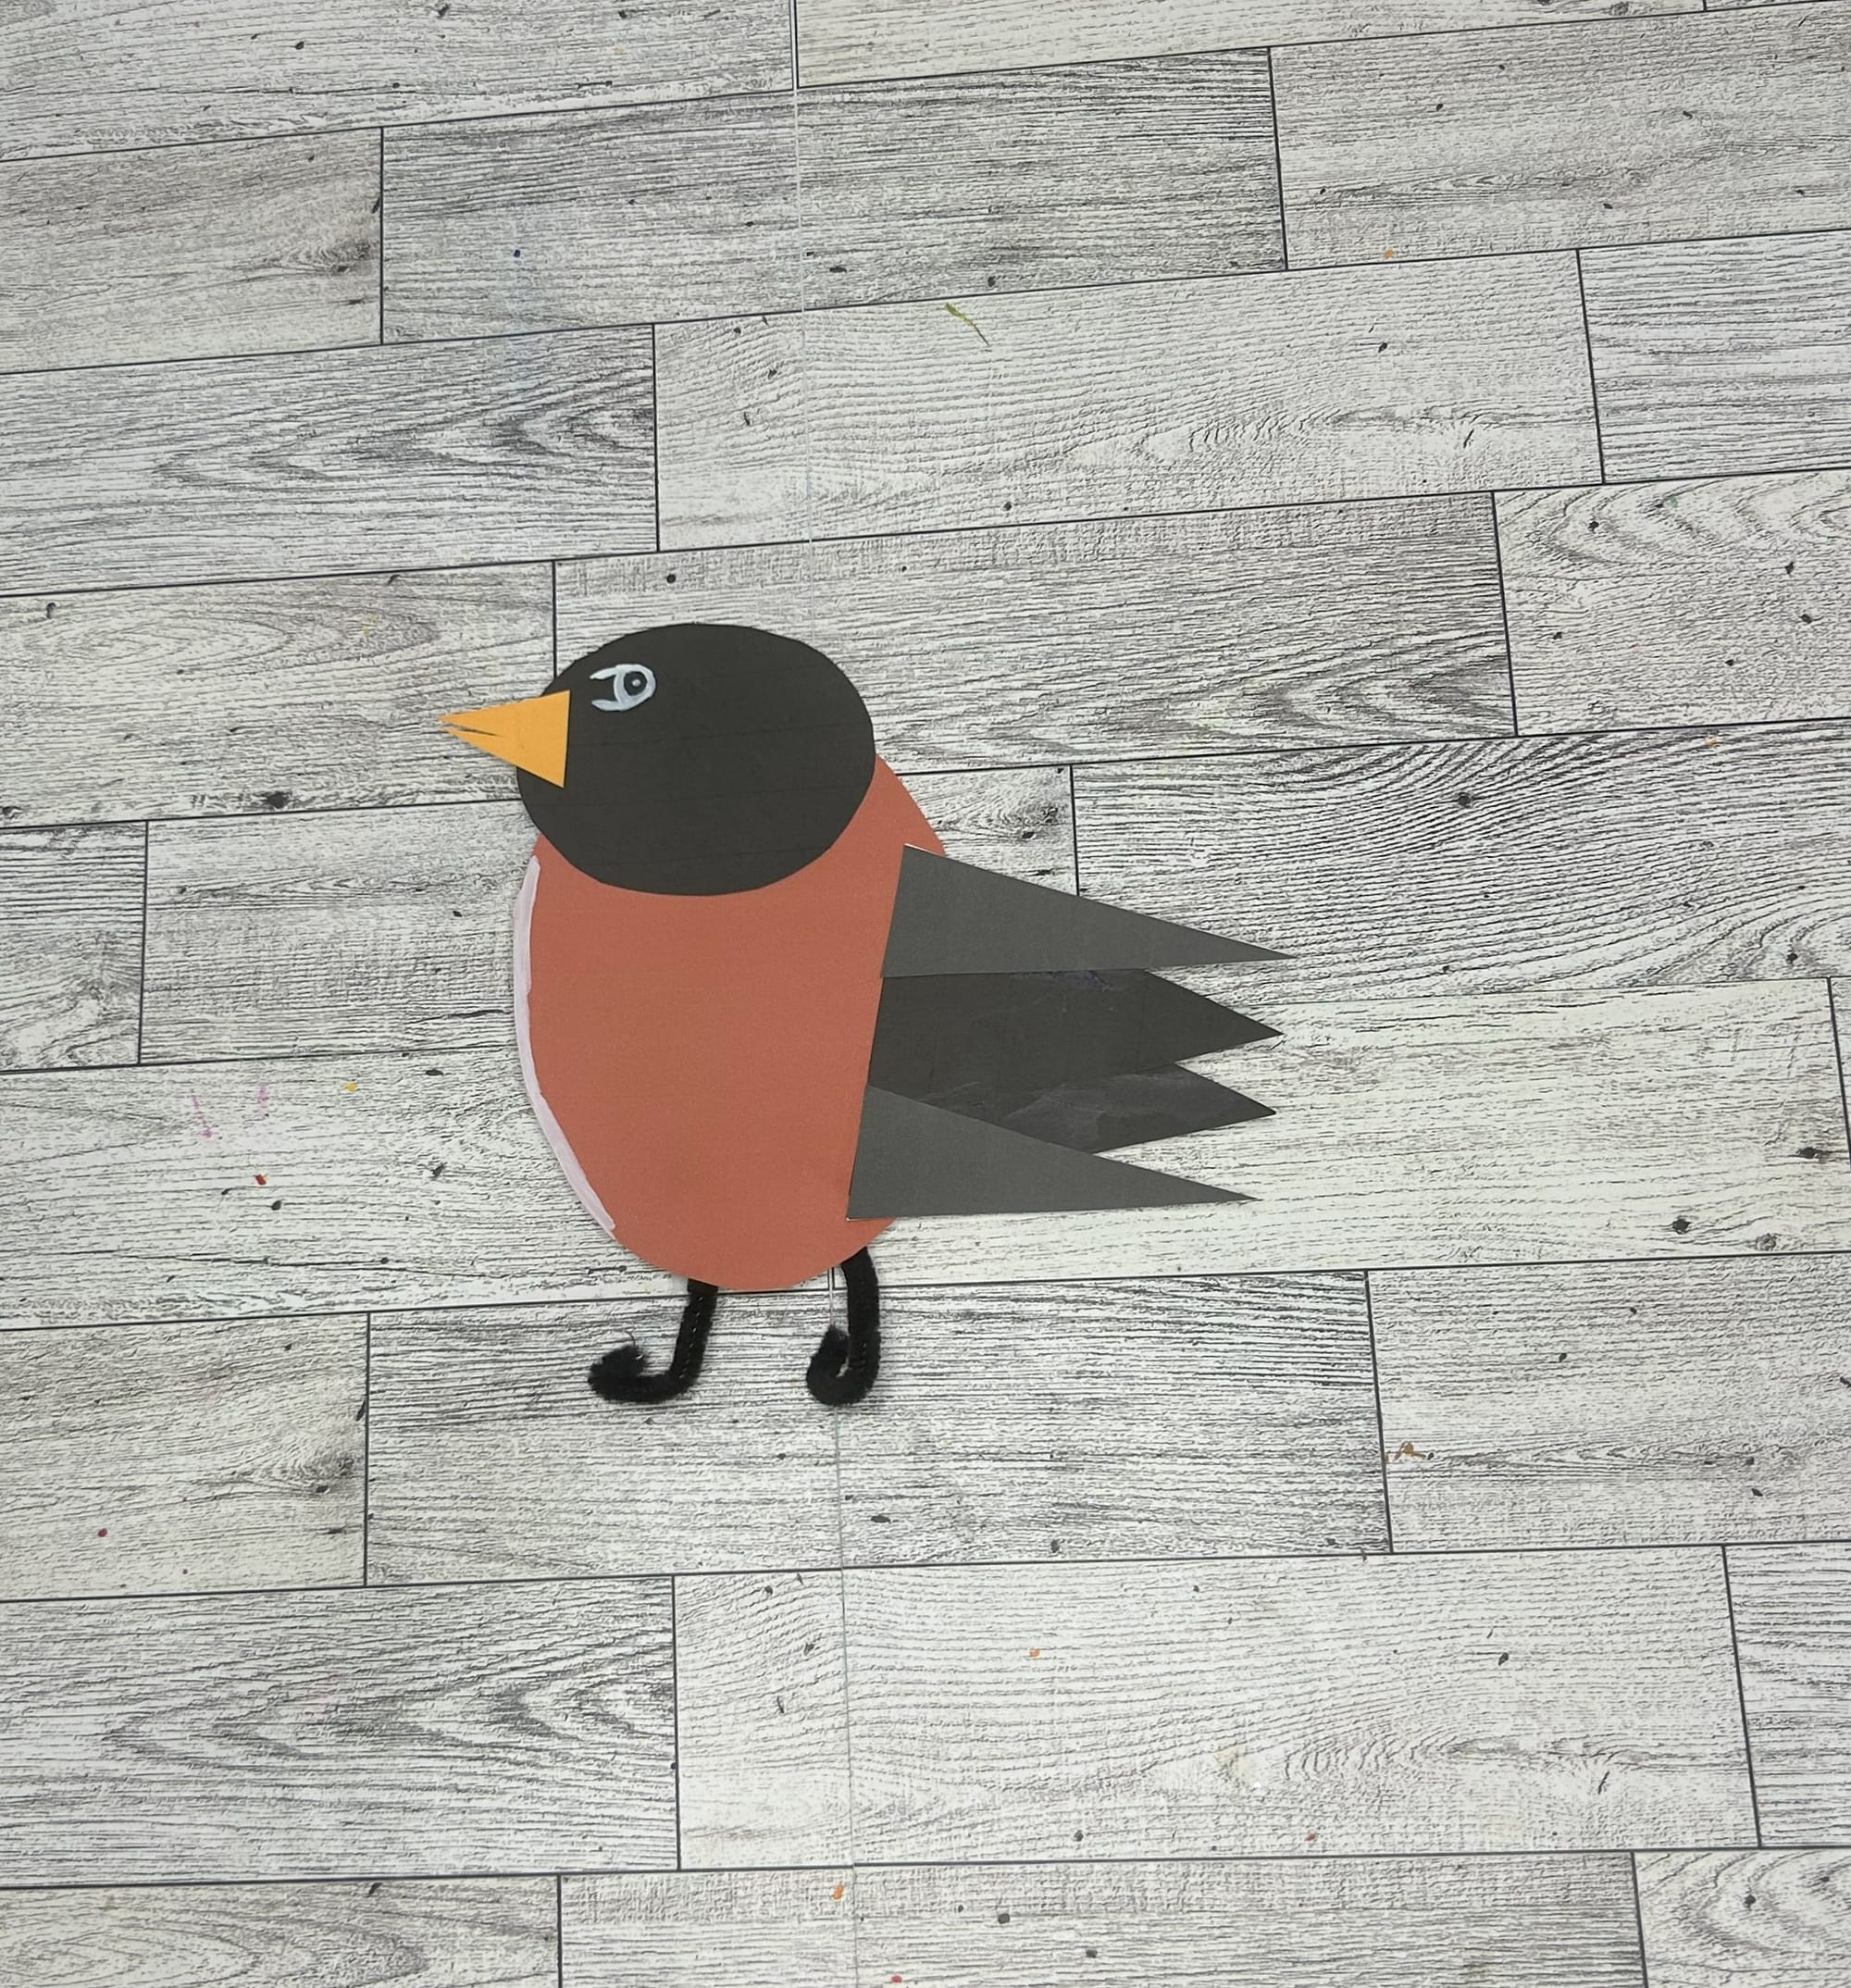
- Take a pipe cleaner and cut into fourths. Shape into the birds legs.
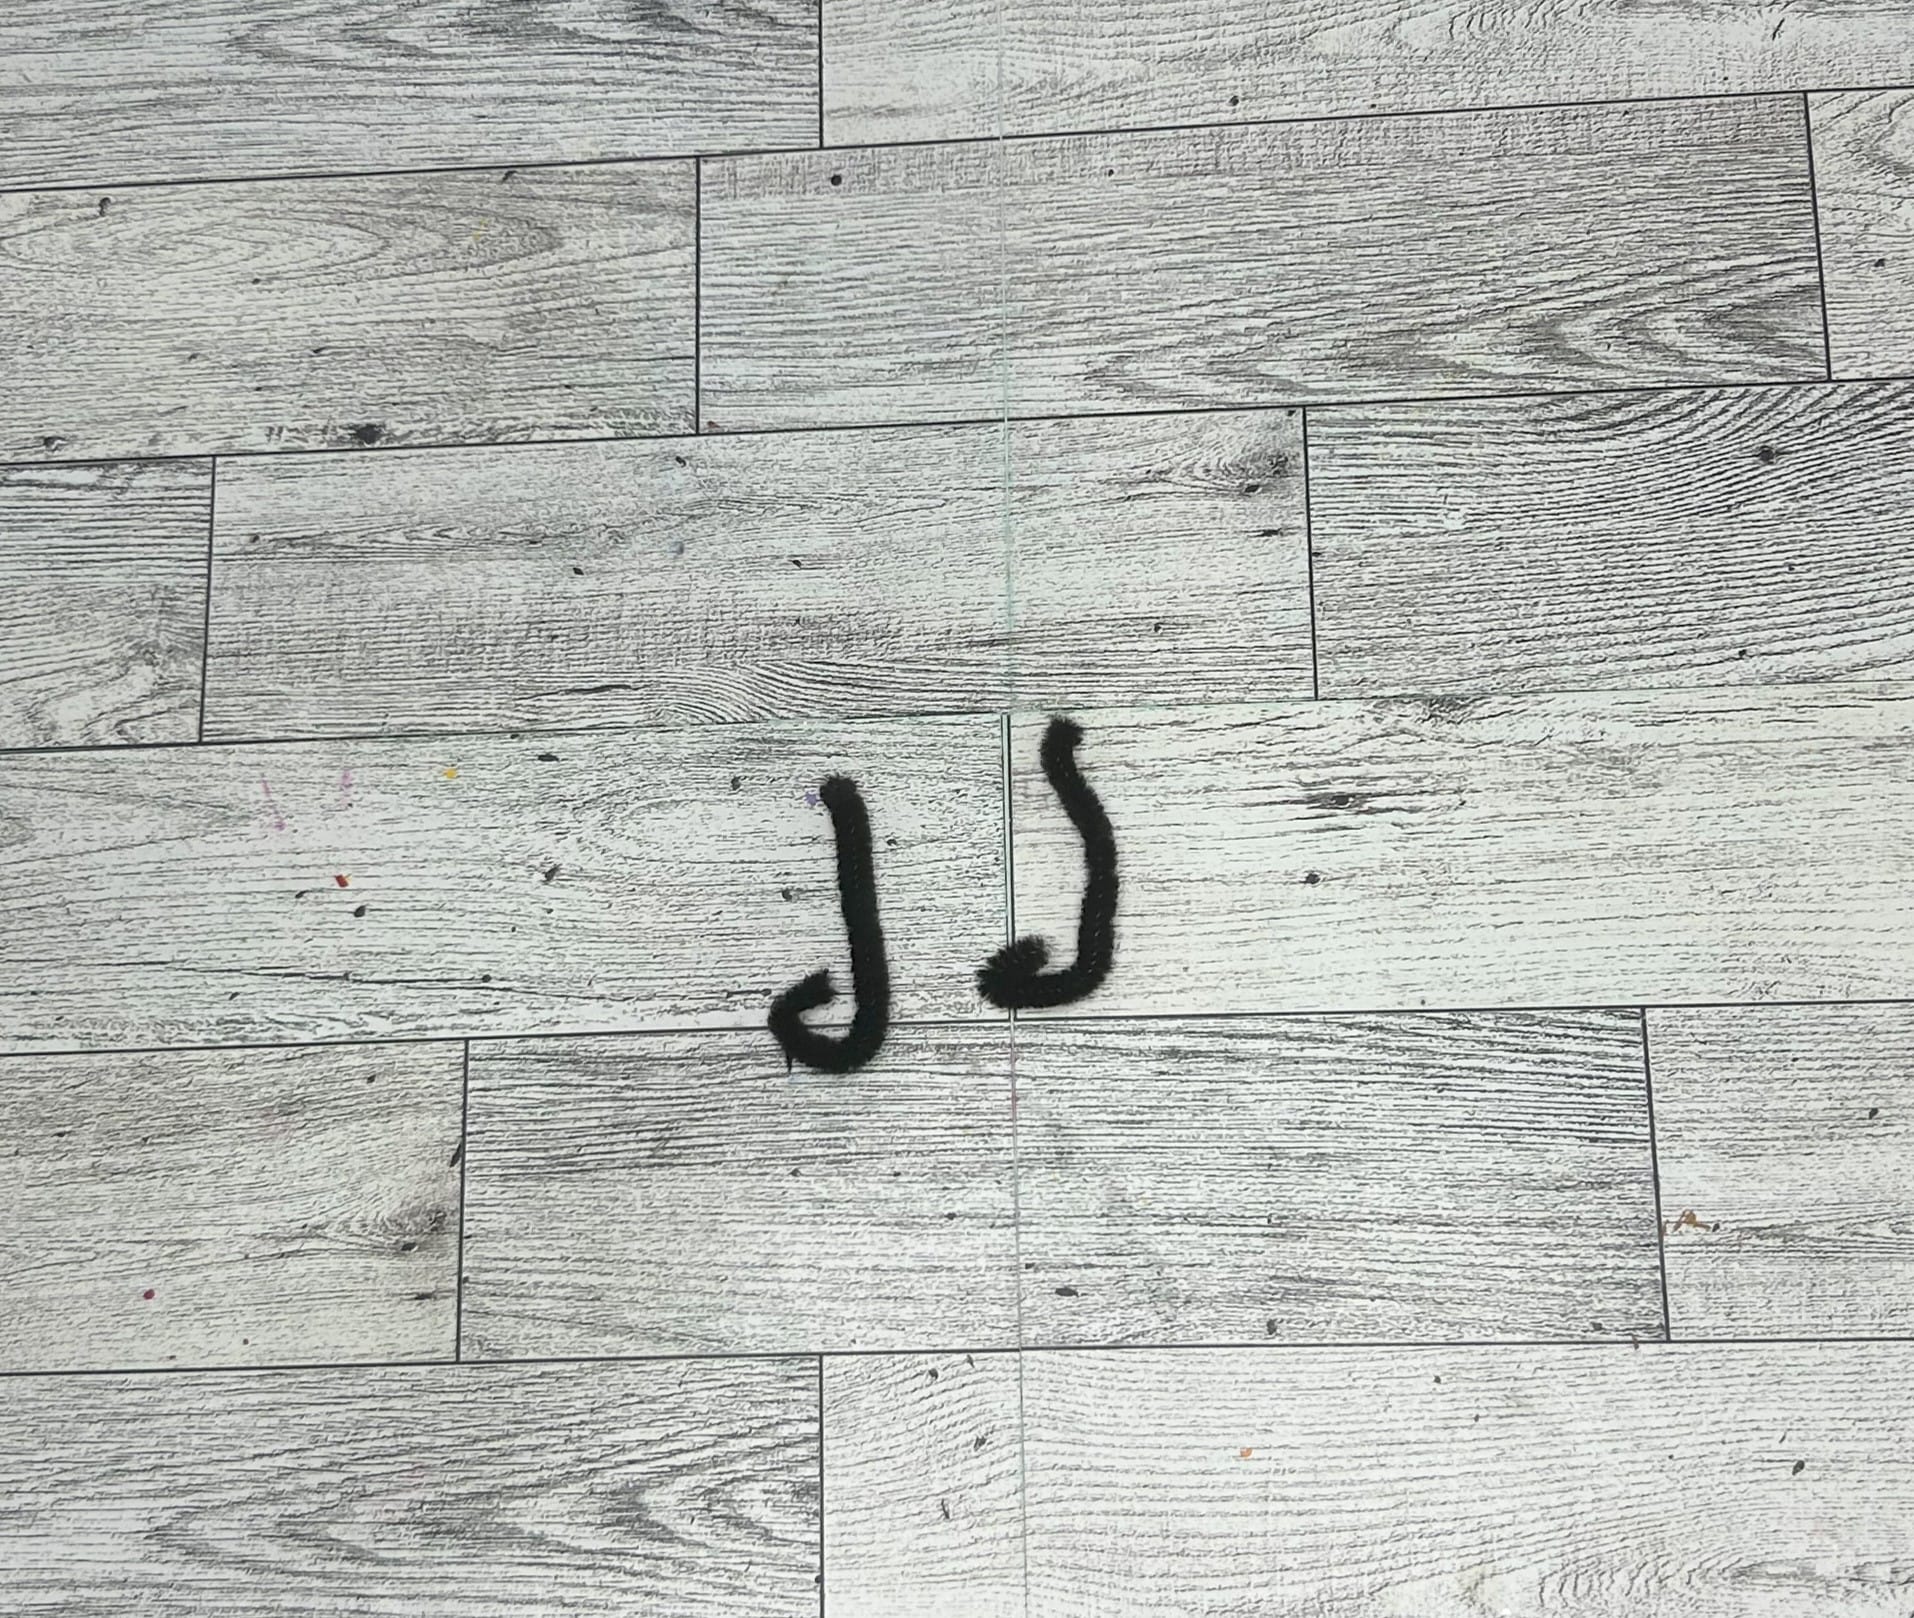
- Attach the birds legs to the bottom of the bird's body. I attached them with a piece of scotch tape.
- Finally, glue on the dried coffee filter. I cut mine in half and glued the bottom piece on first. I then attached the other half of the coffee filter on top of the first one. After, I cut the edge of the coffee filter into strips. Finally, I rolled the strips to create the wing feather effect.
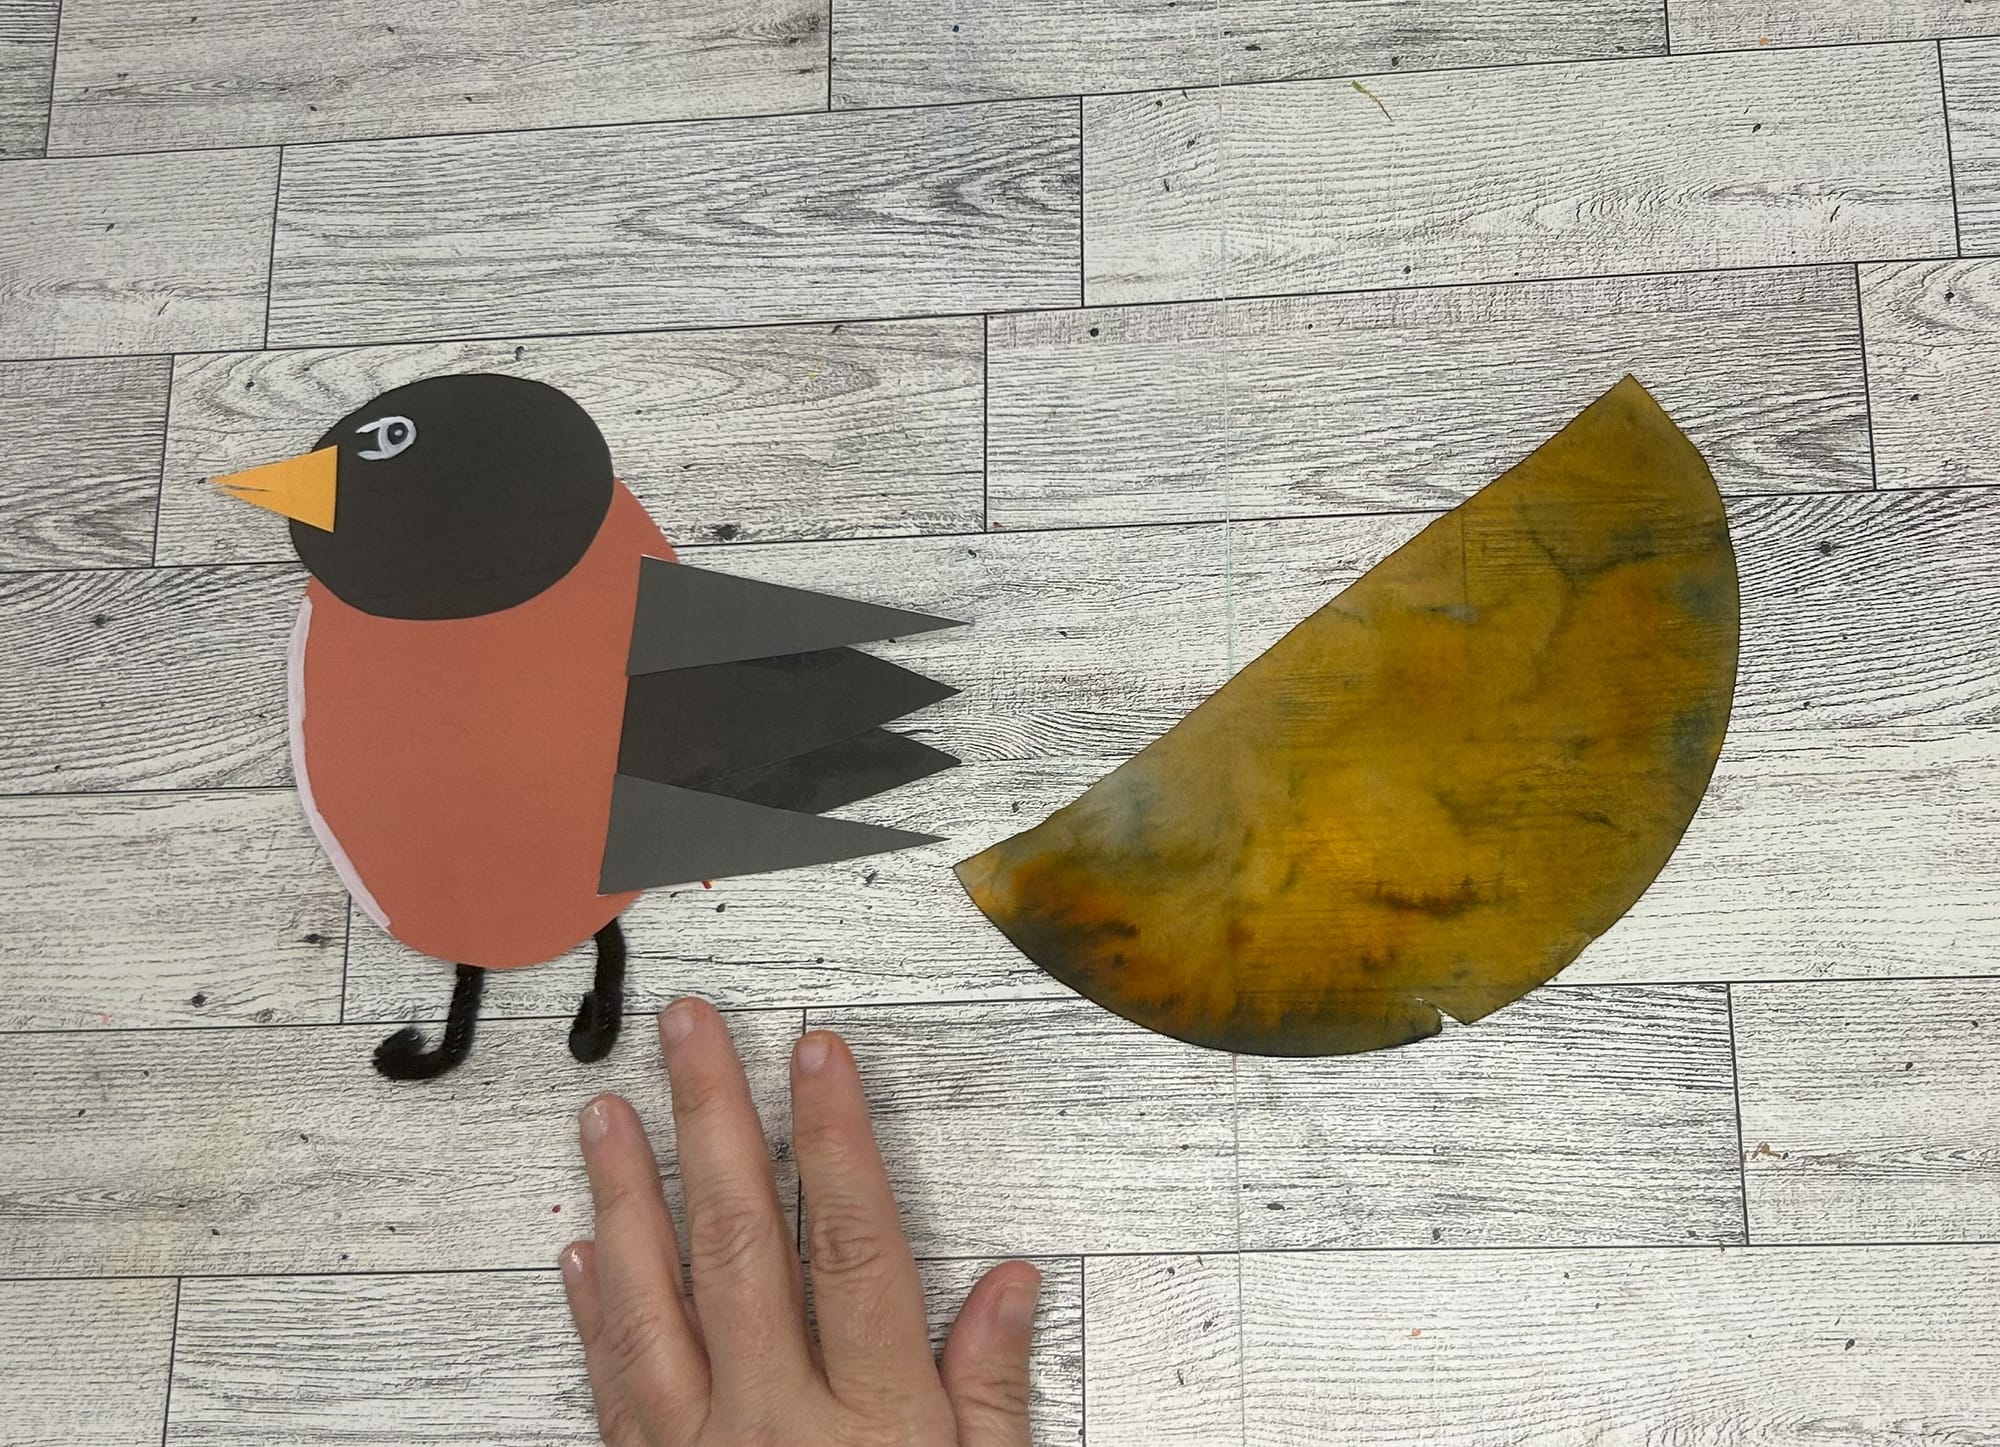
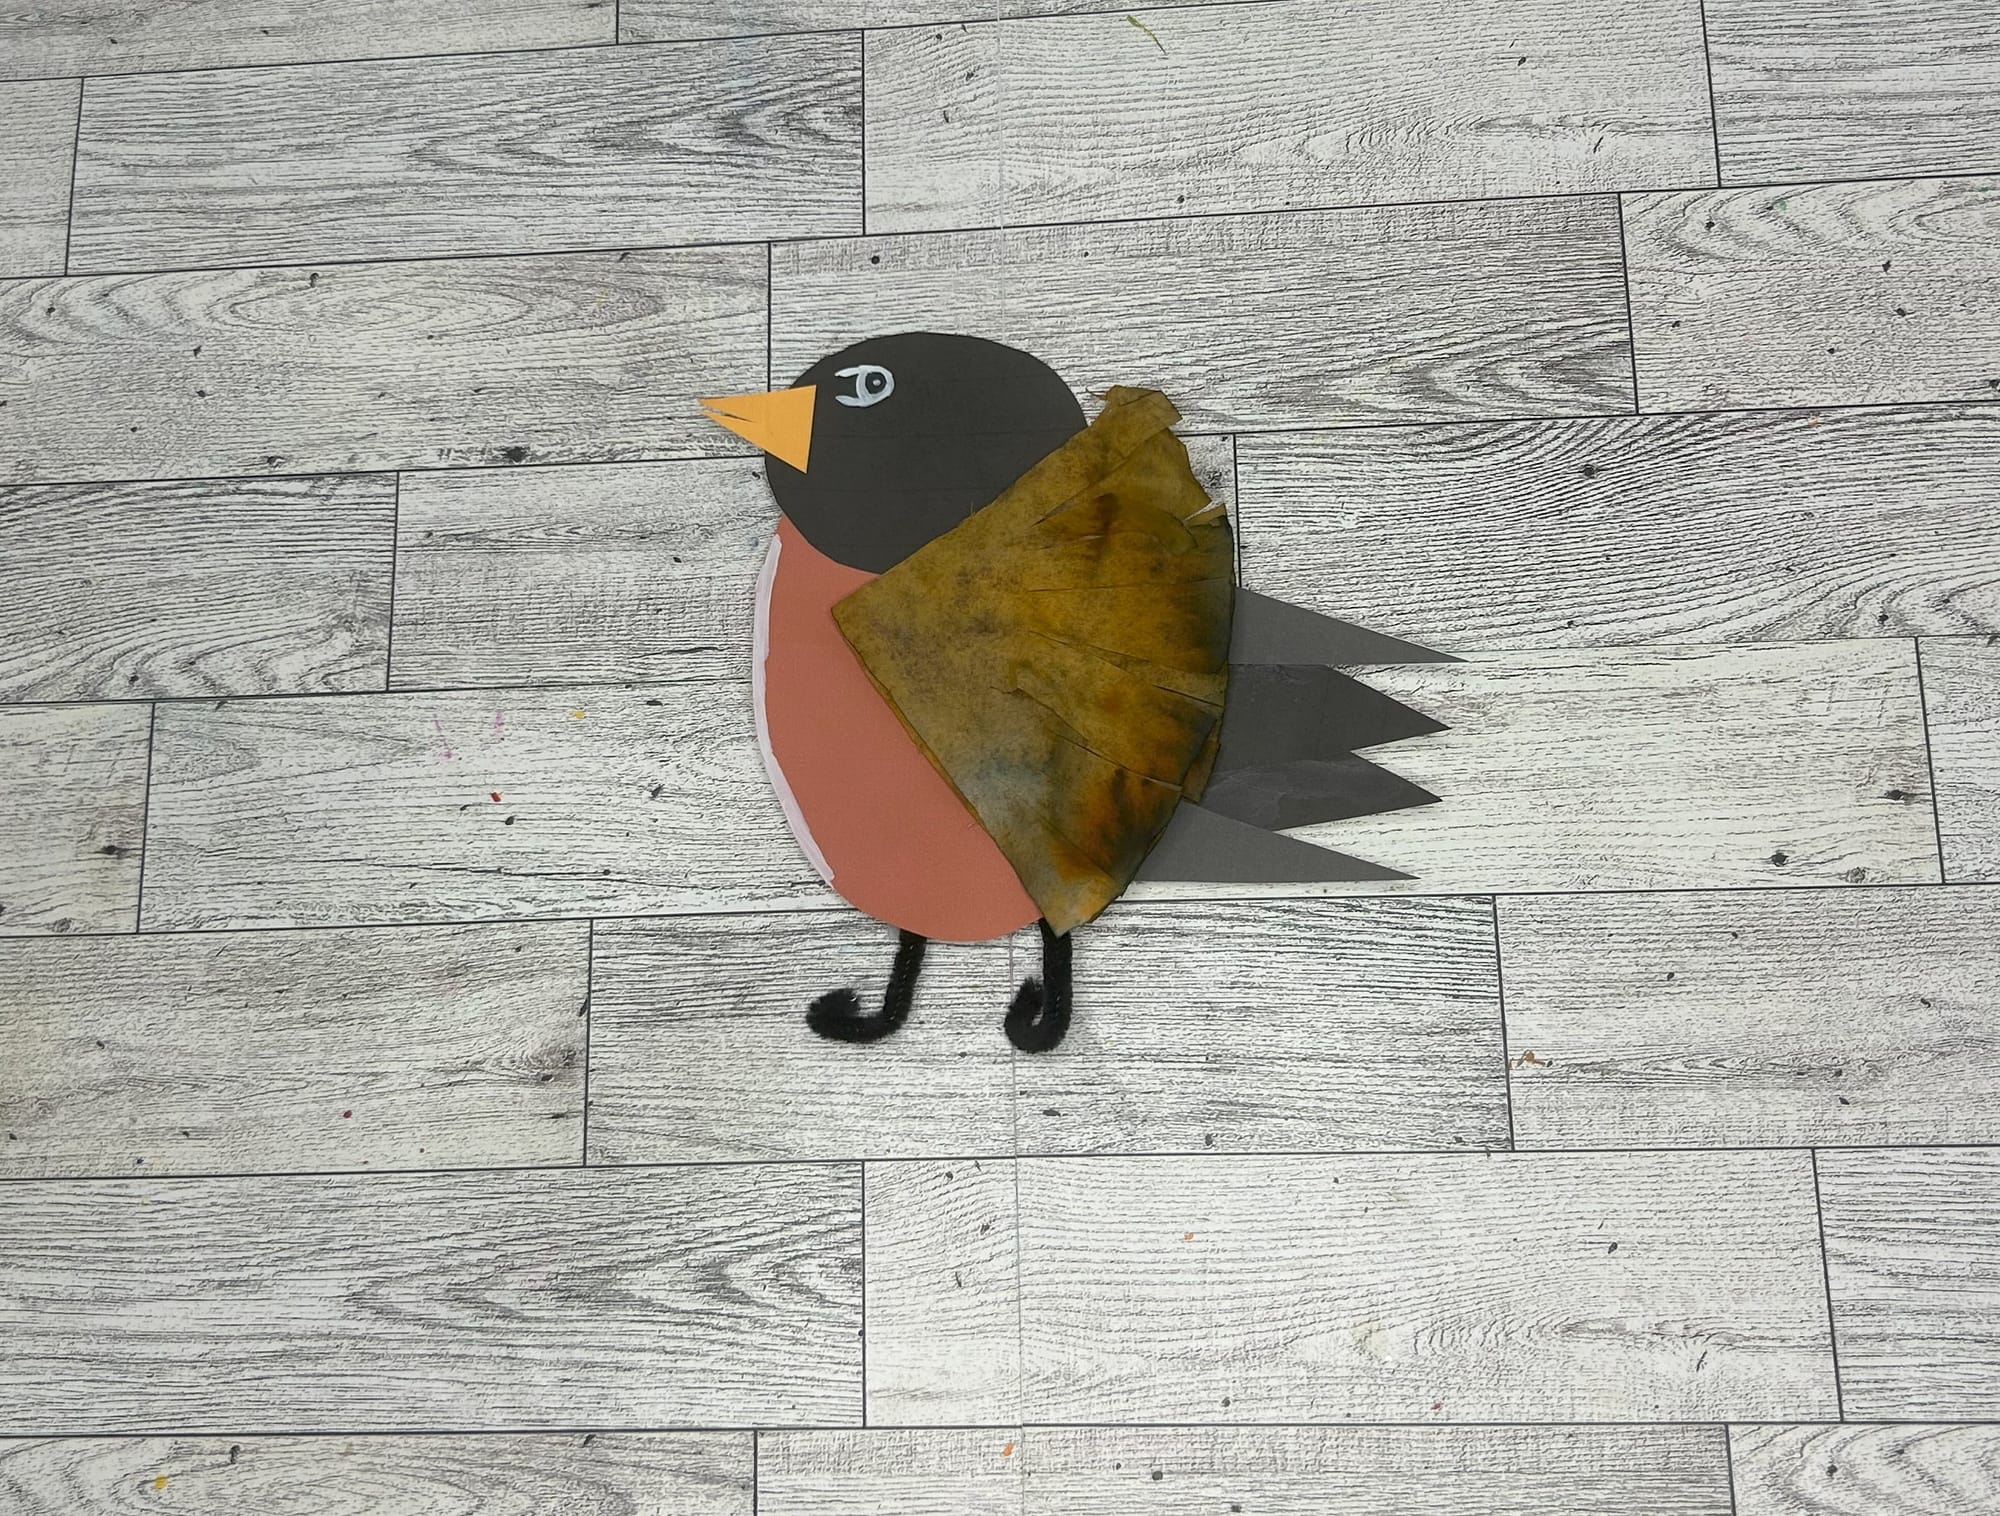
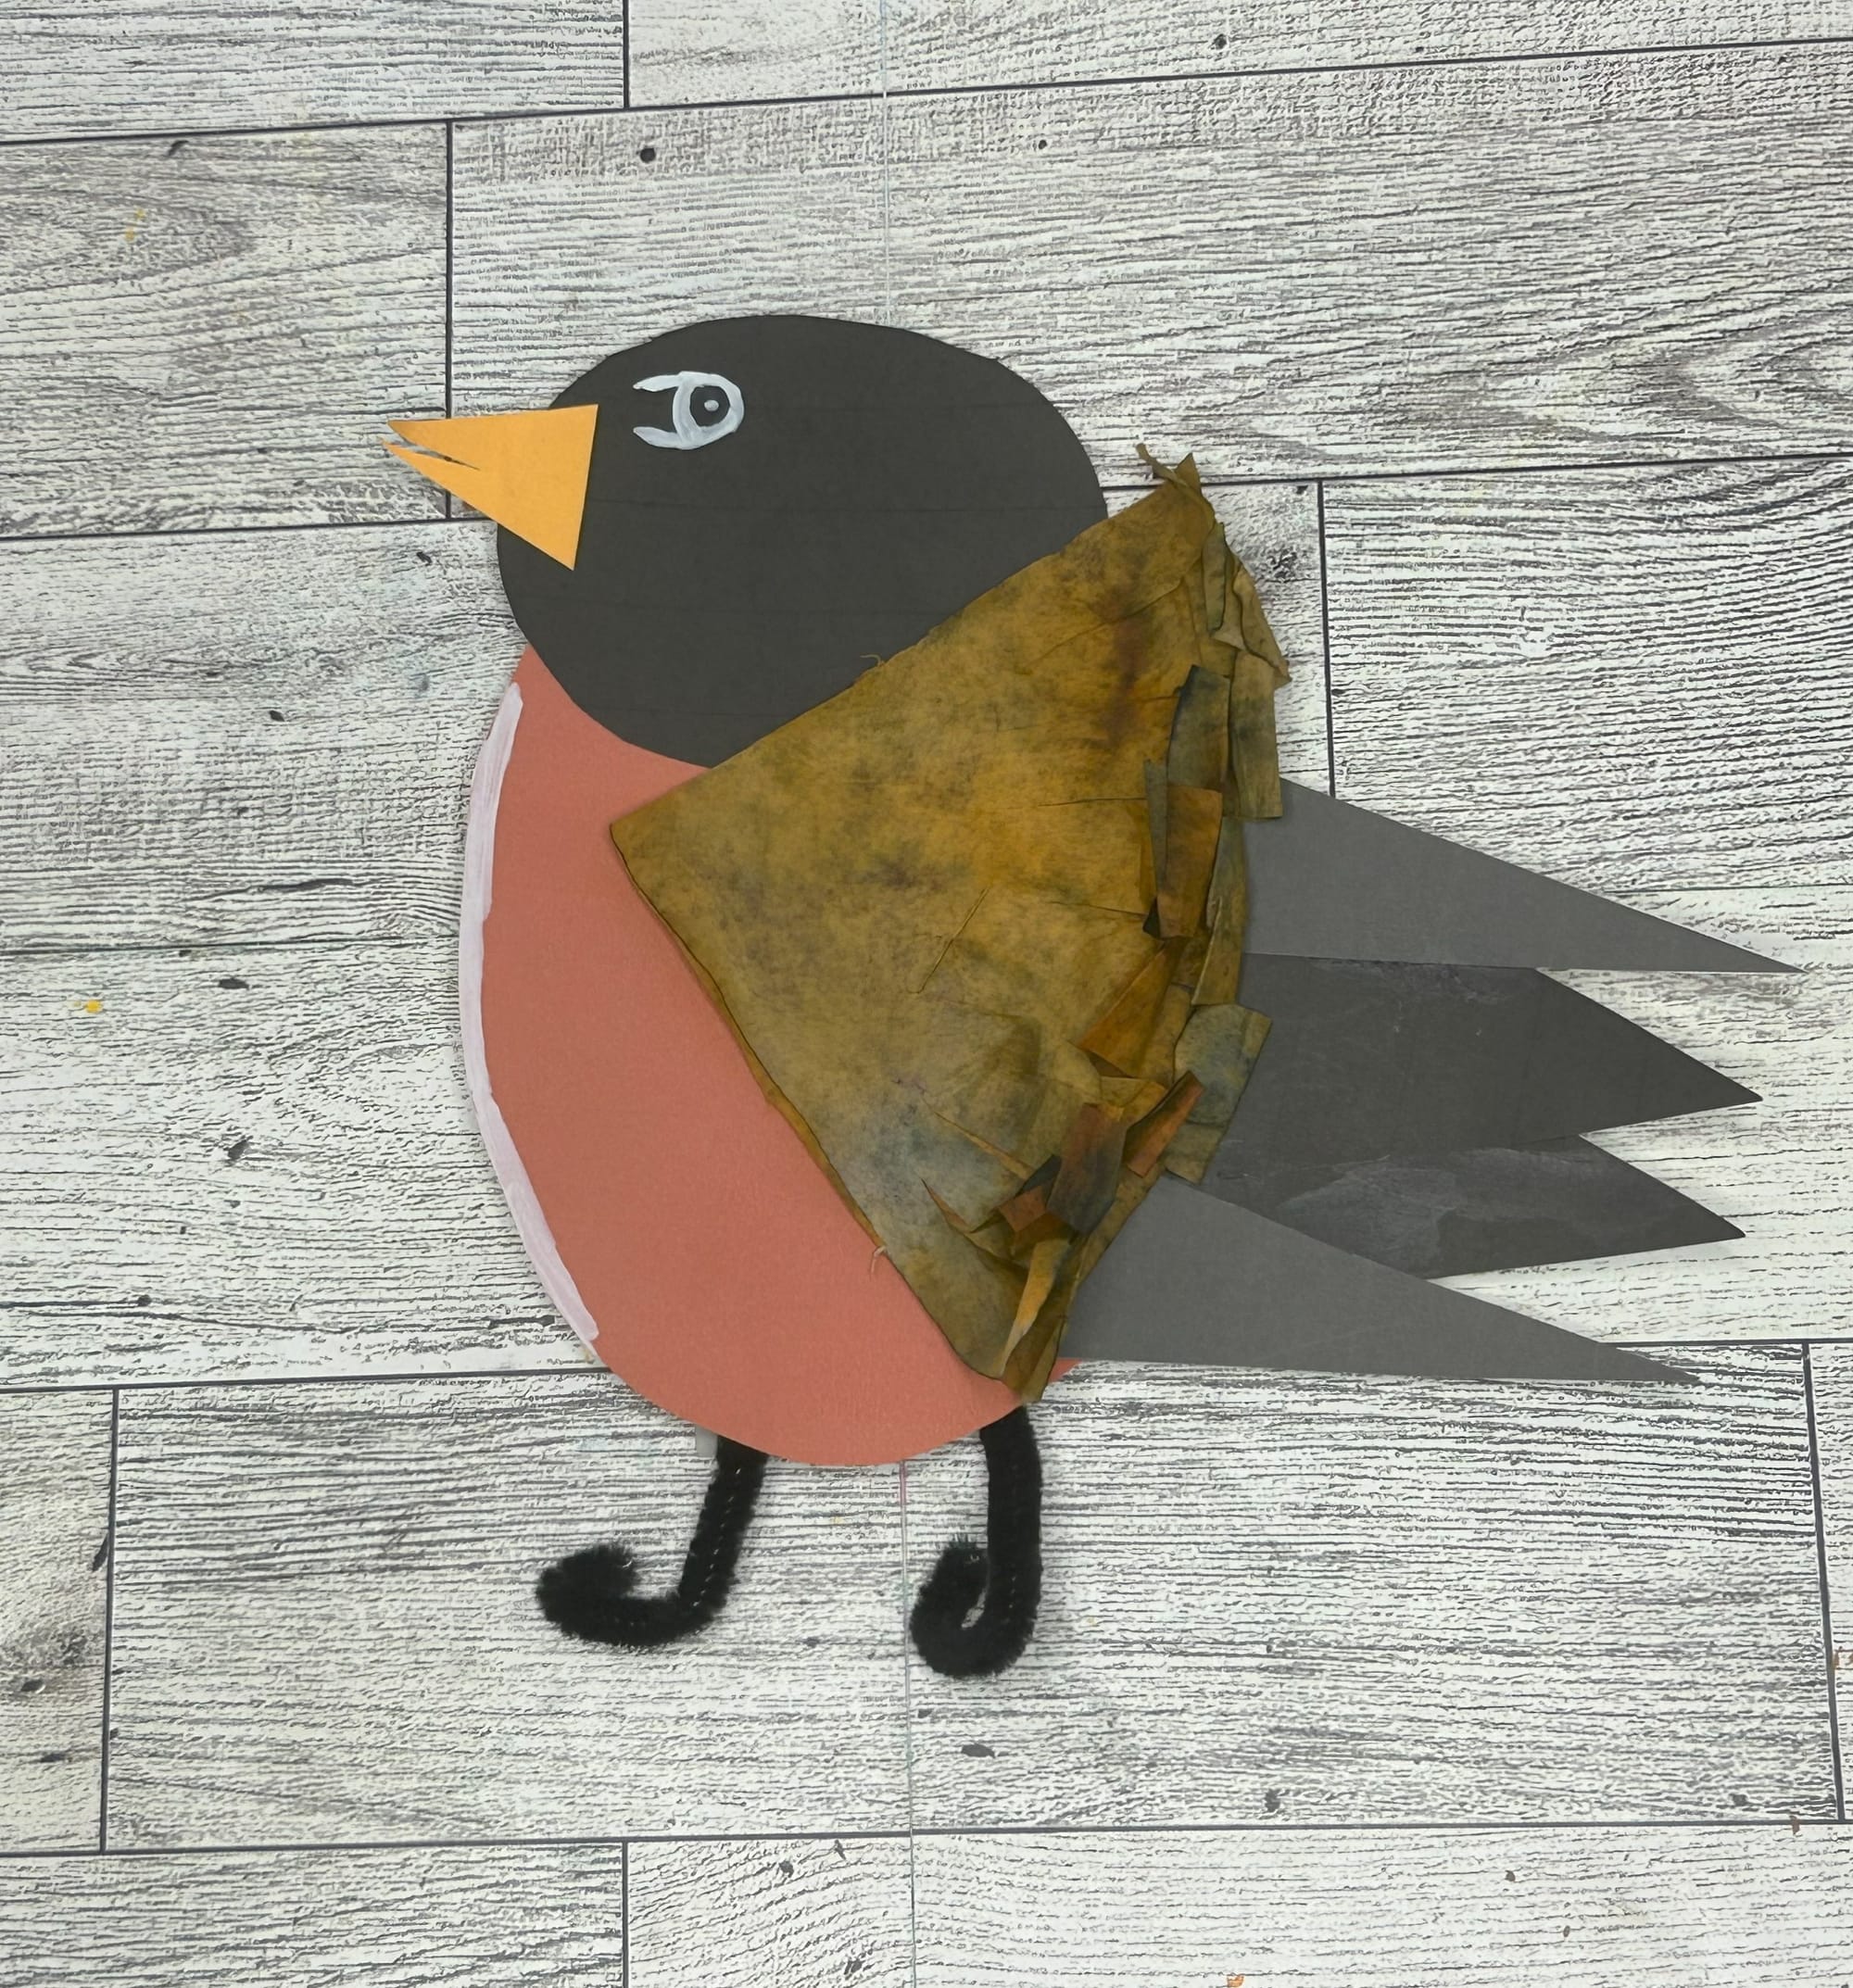
Add coffee filter to create wing feathers.