Paper Plate Turtles

Turtles are so cute and kids love them. This summer take some time to visit the library with your child to learn about turtles. There are over 350 species of turtles who live in fresh and salt water. Tortoises are a type of turtle that live on land. All turtles have a hard protective shell that covers their body. After reading and researching all about turtles, create a paper plate turtle with some basic supplies.
To begin I took a small paper plate I purchased from the Dollar Tree and cut it in half. You will need half of a plate to make a turtle.
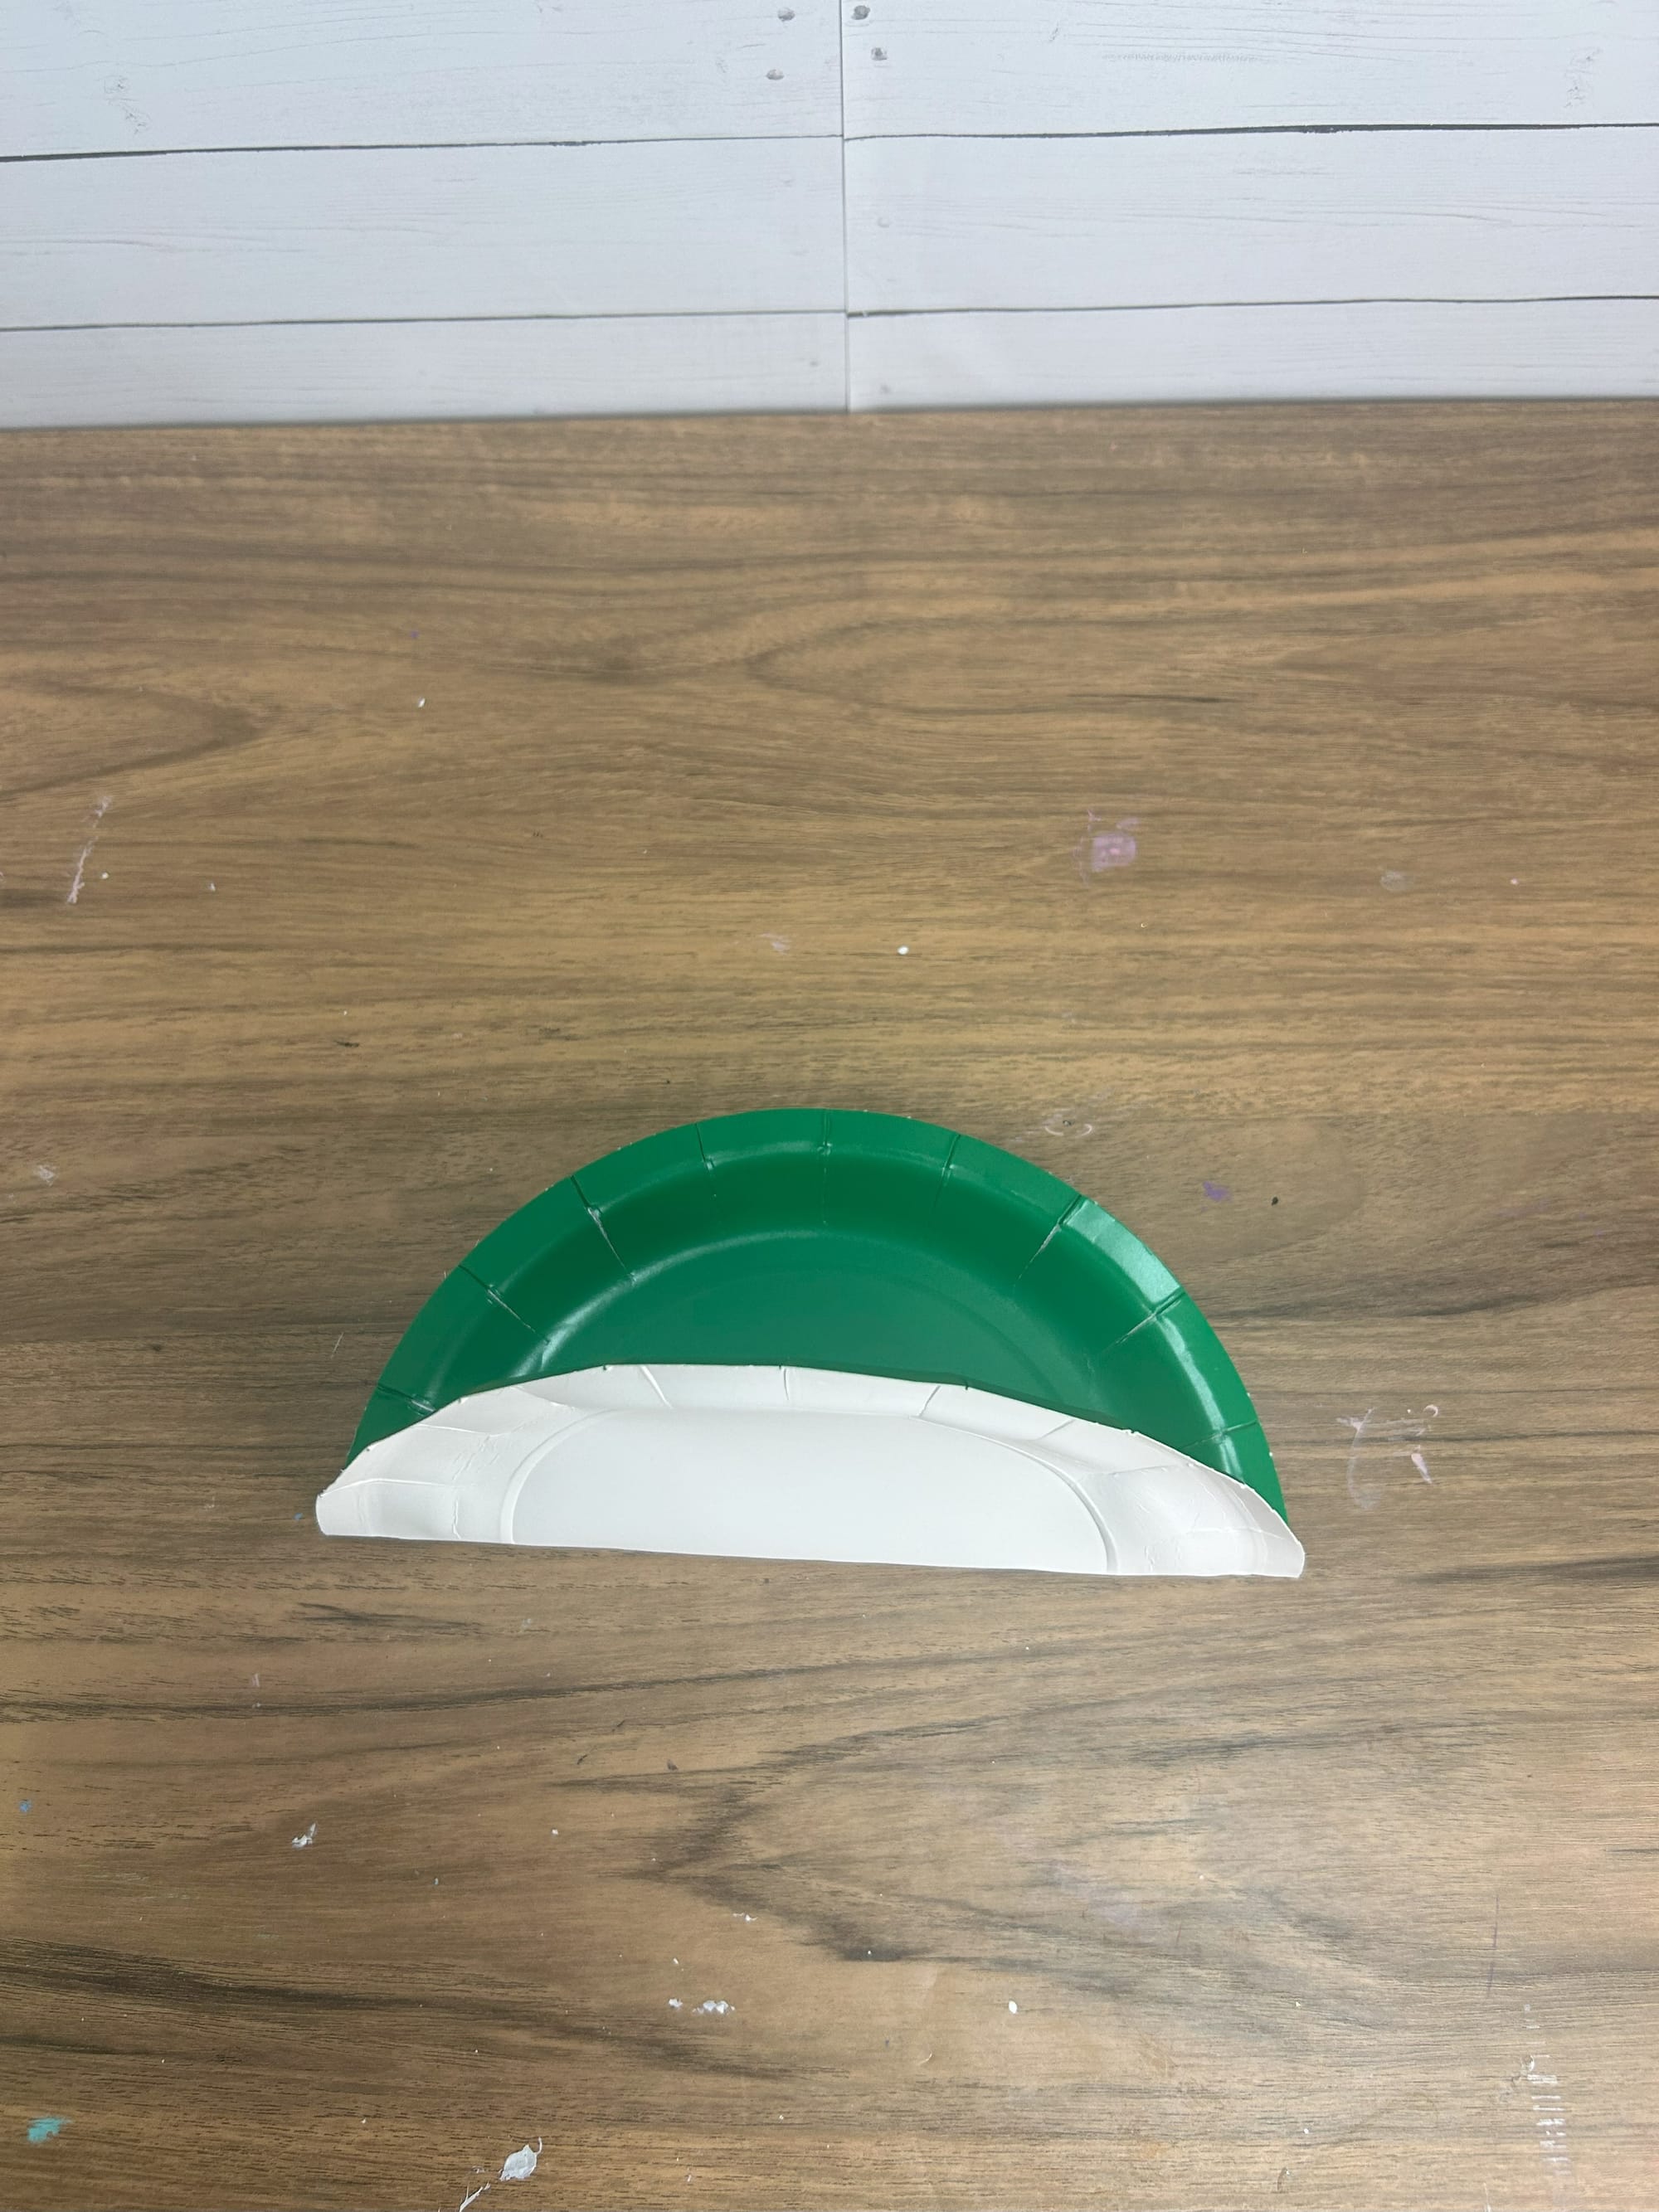
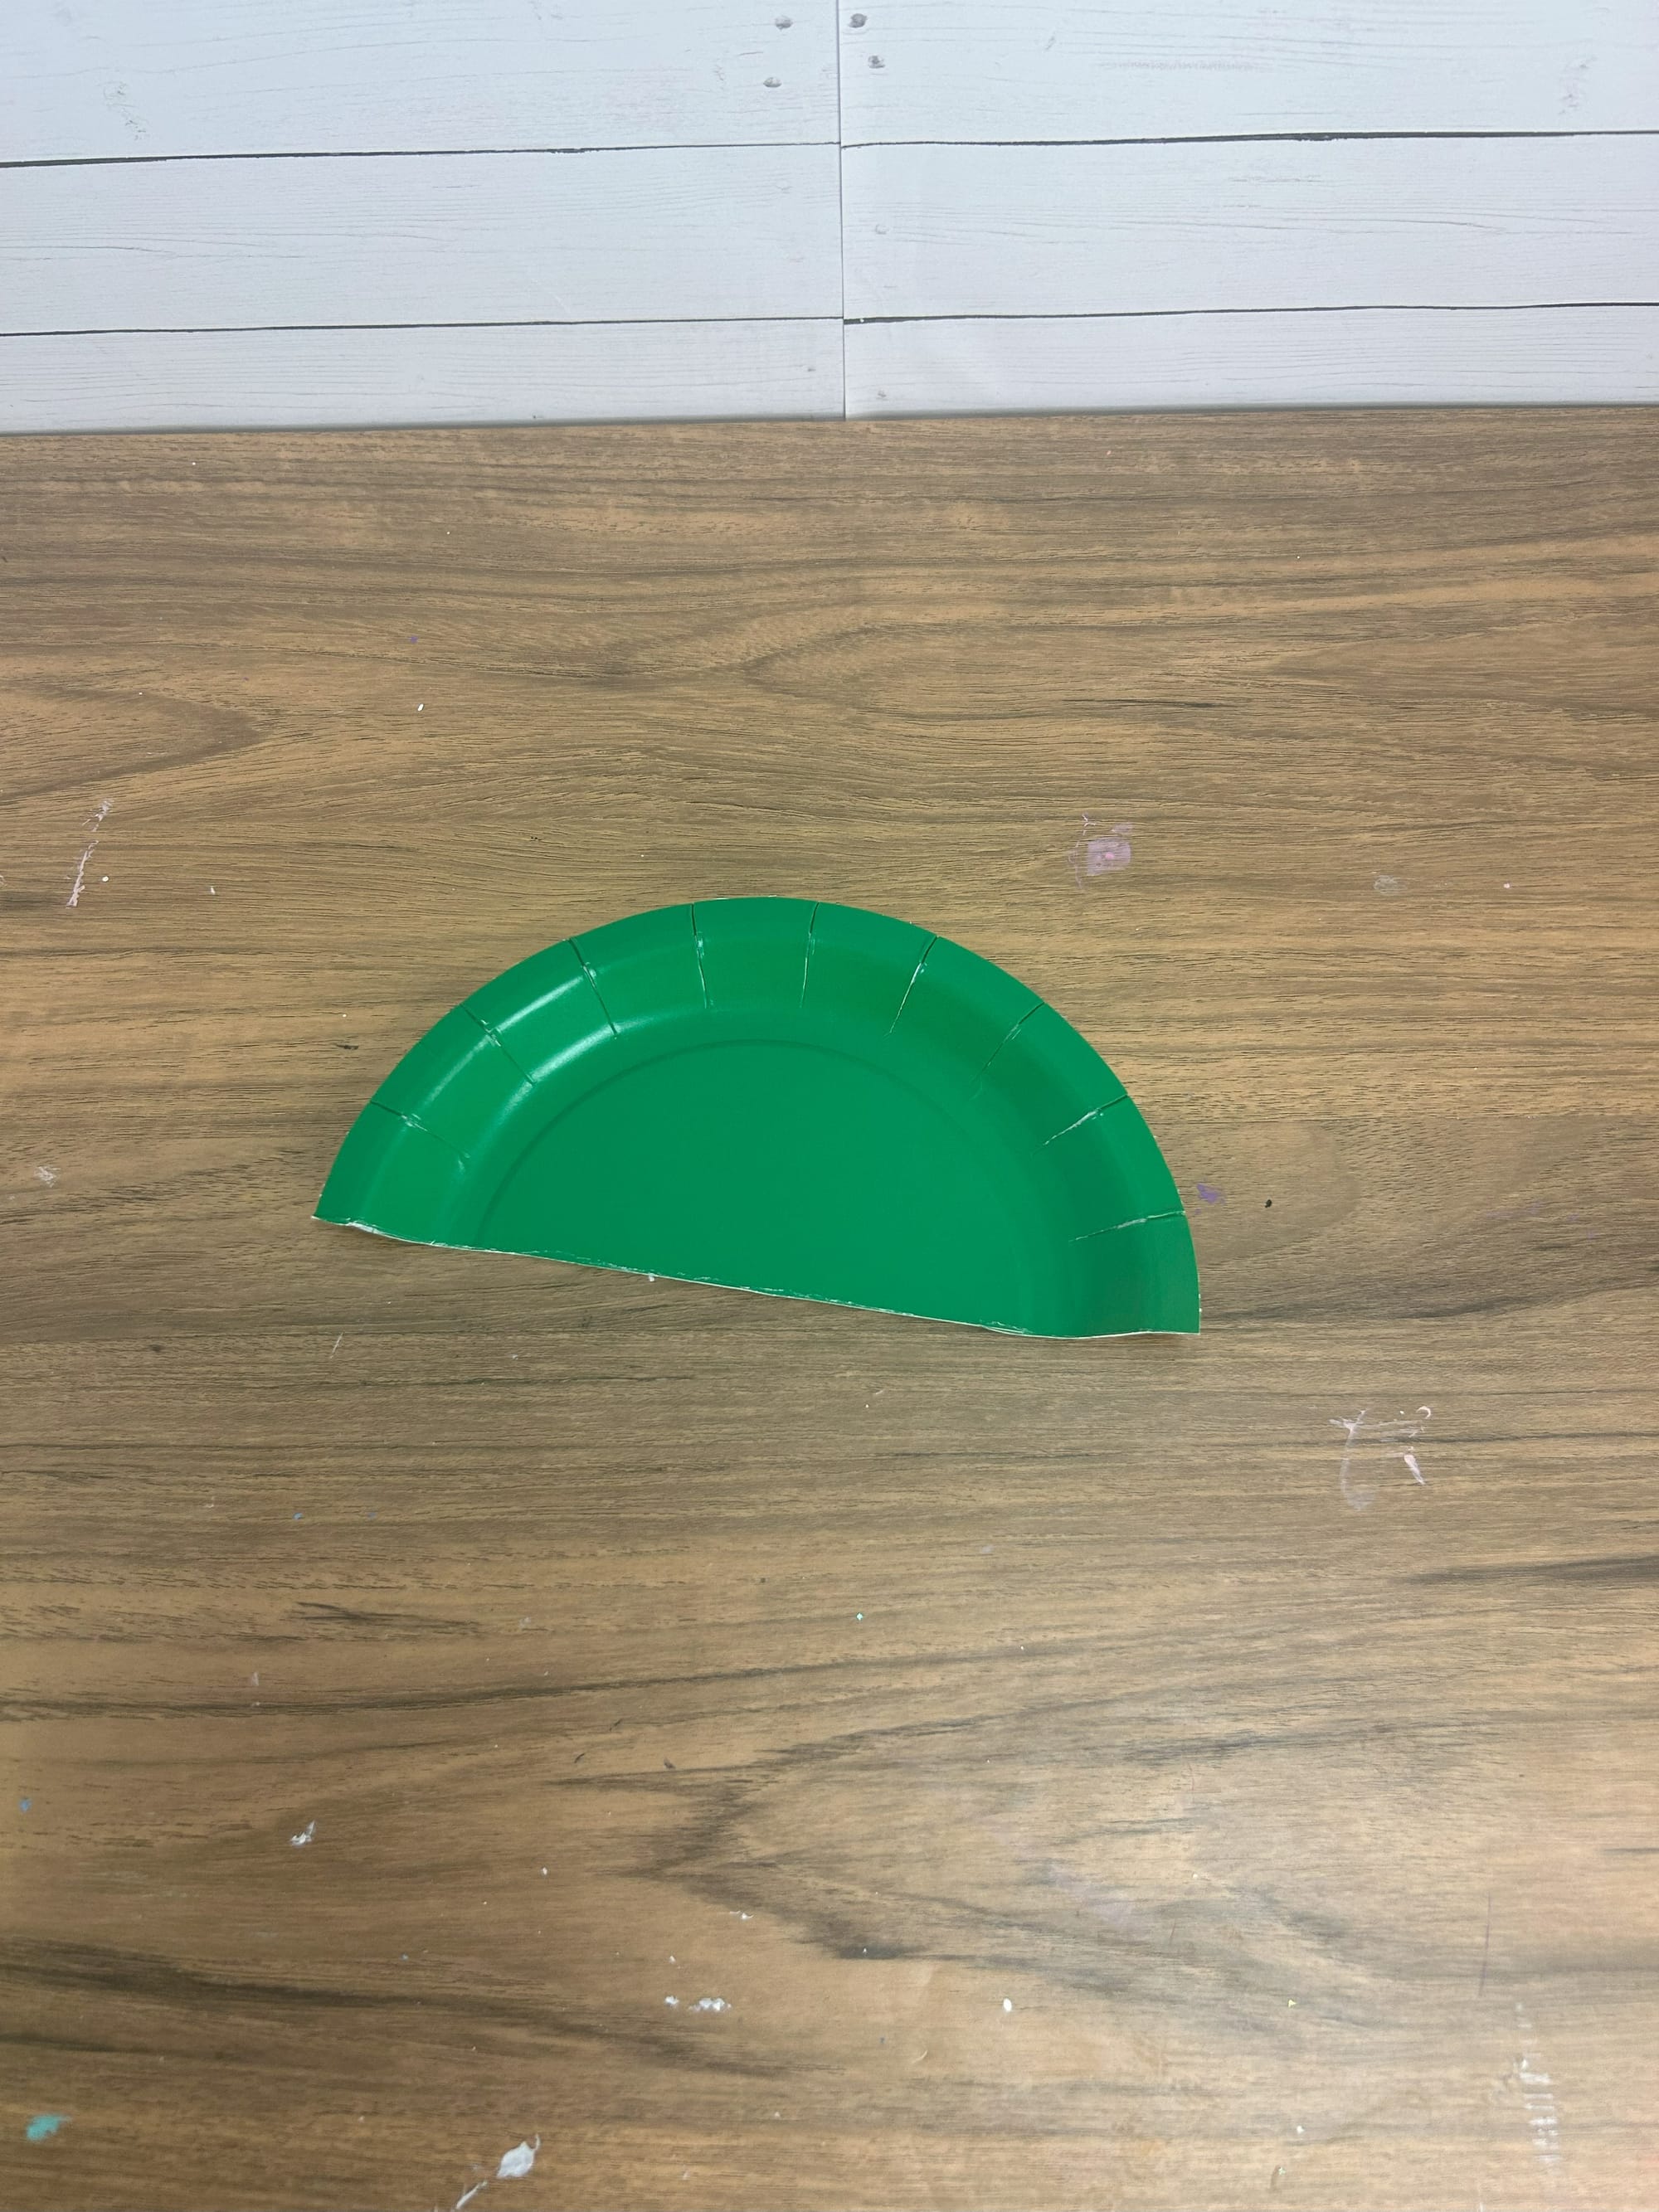
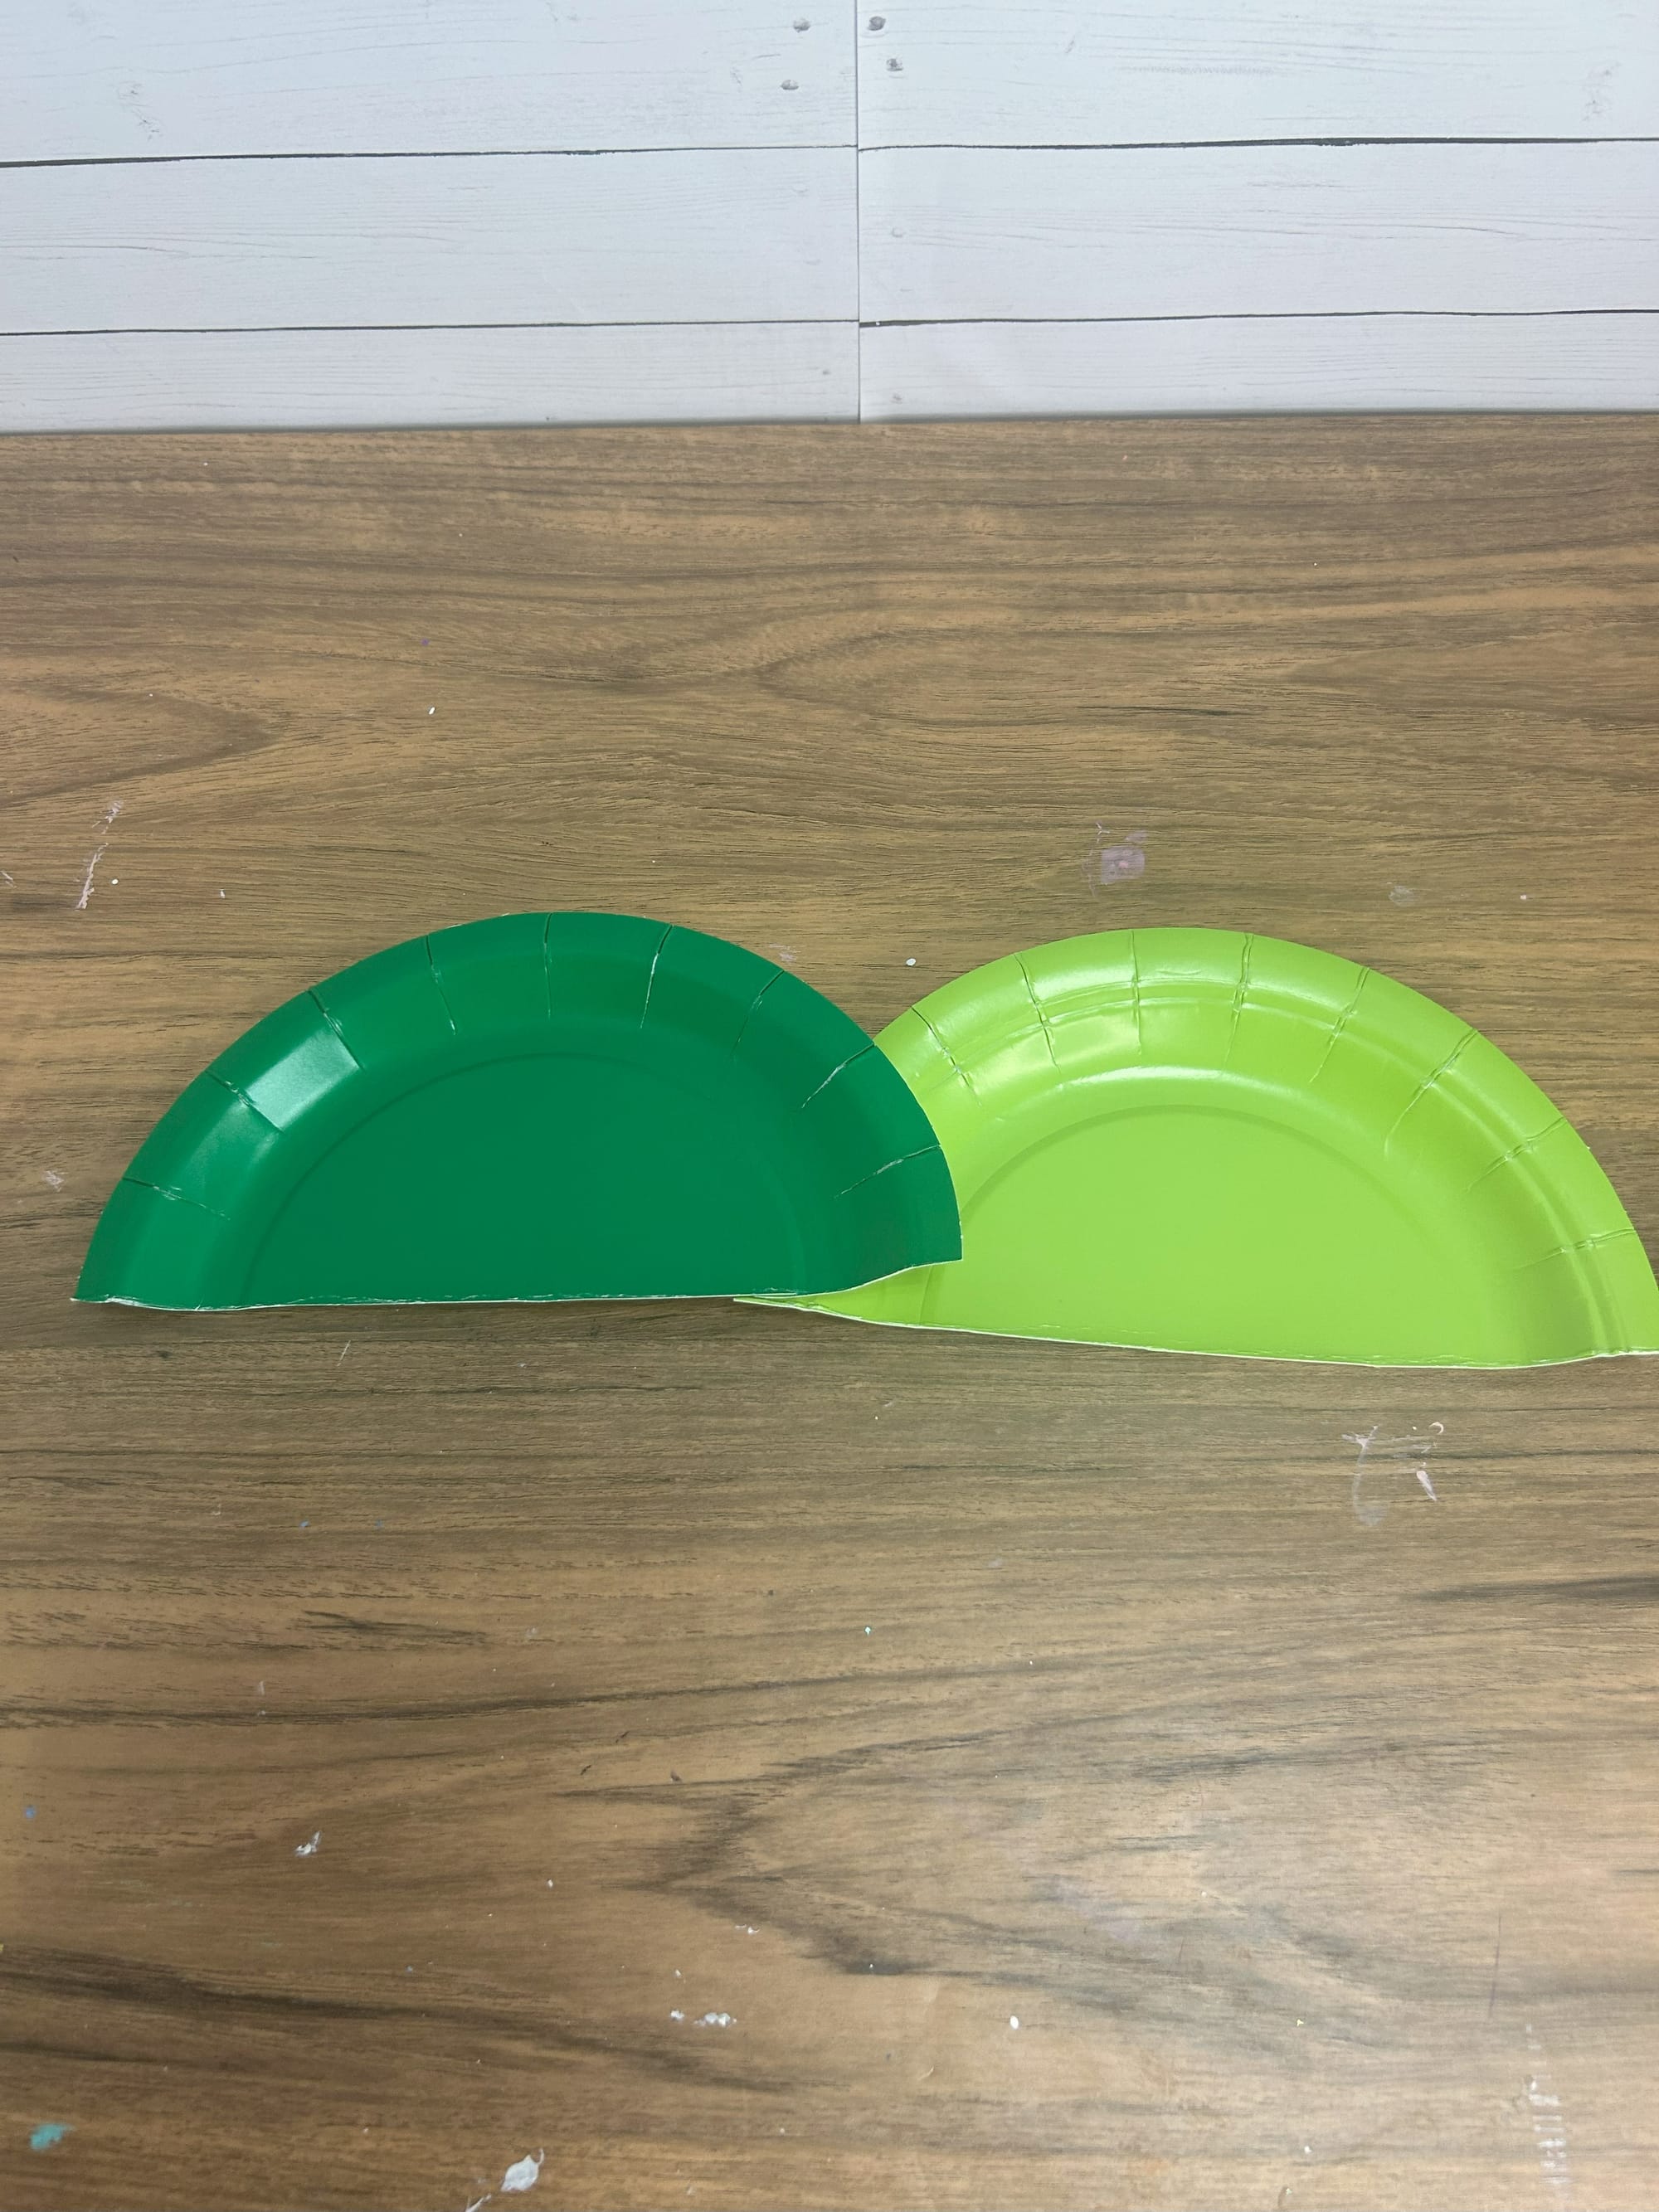
Fold and cut the paper plate in half to create the turtle's shell
Next, I decorated the paper plate to decorate the shell. You can add anything you have, I used a variety of green scrapbook paper I cut into squares on one of the turtles.
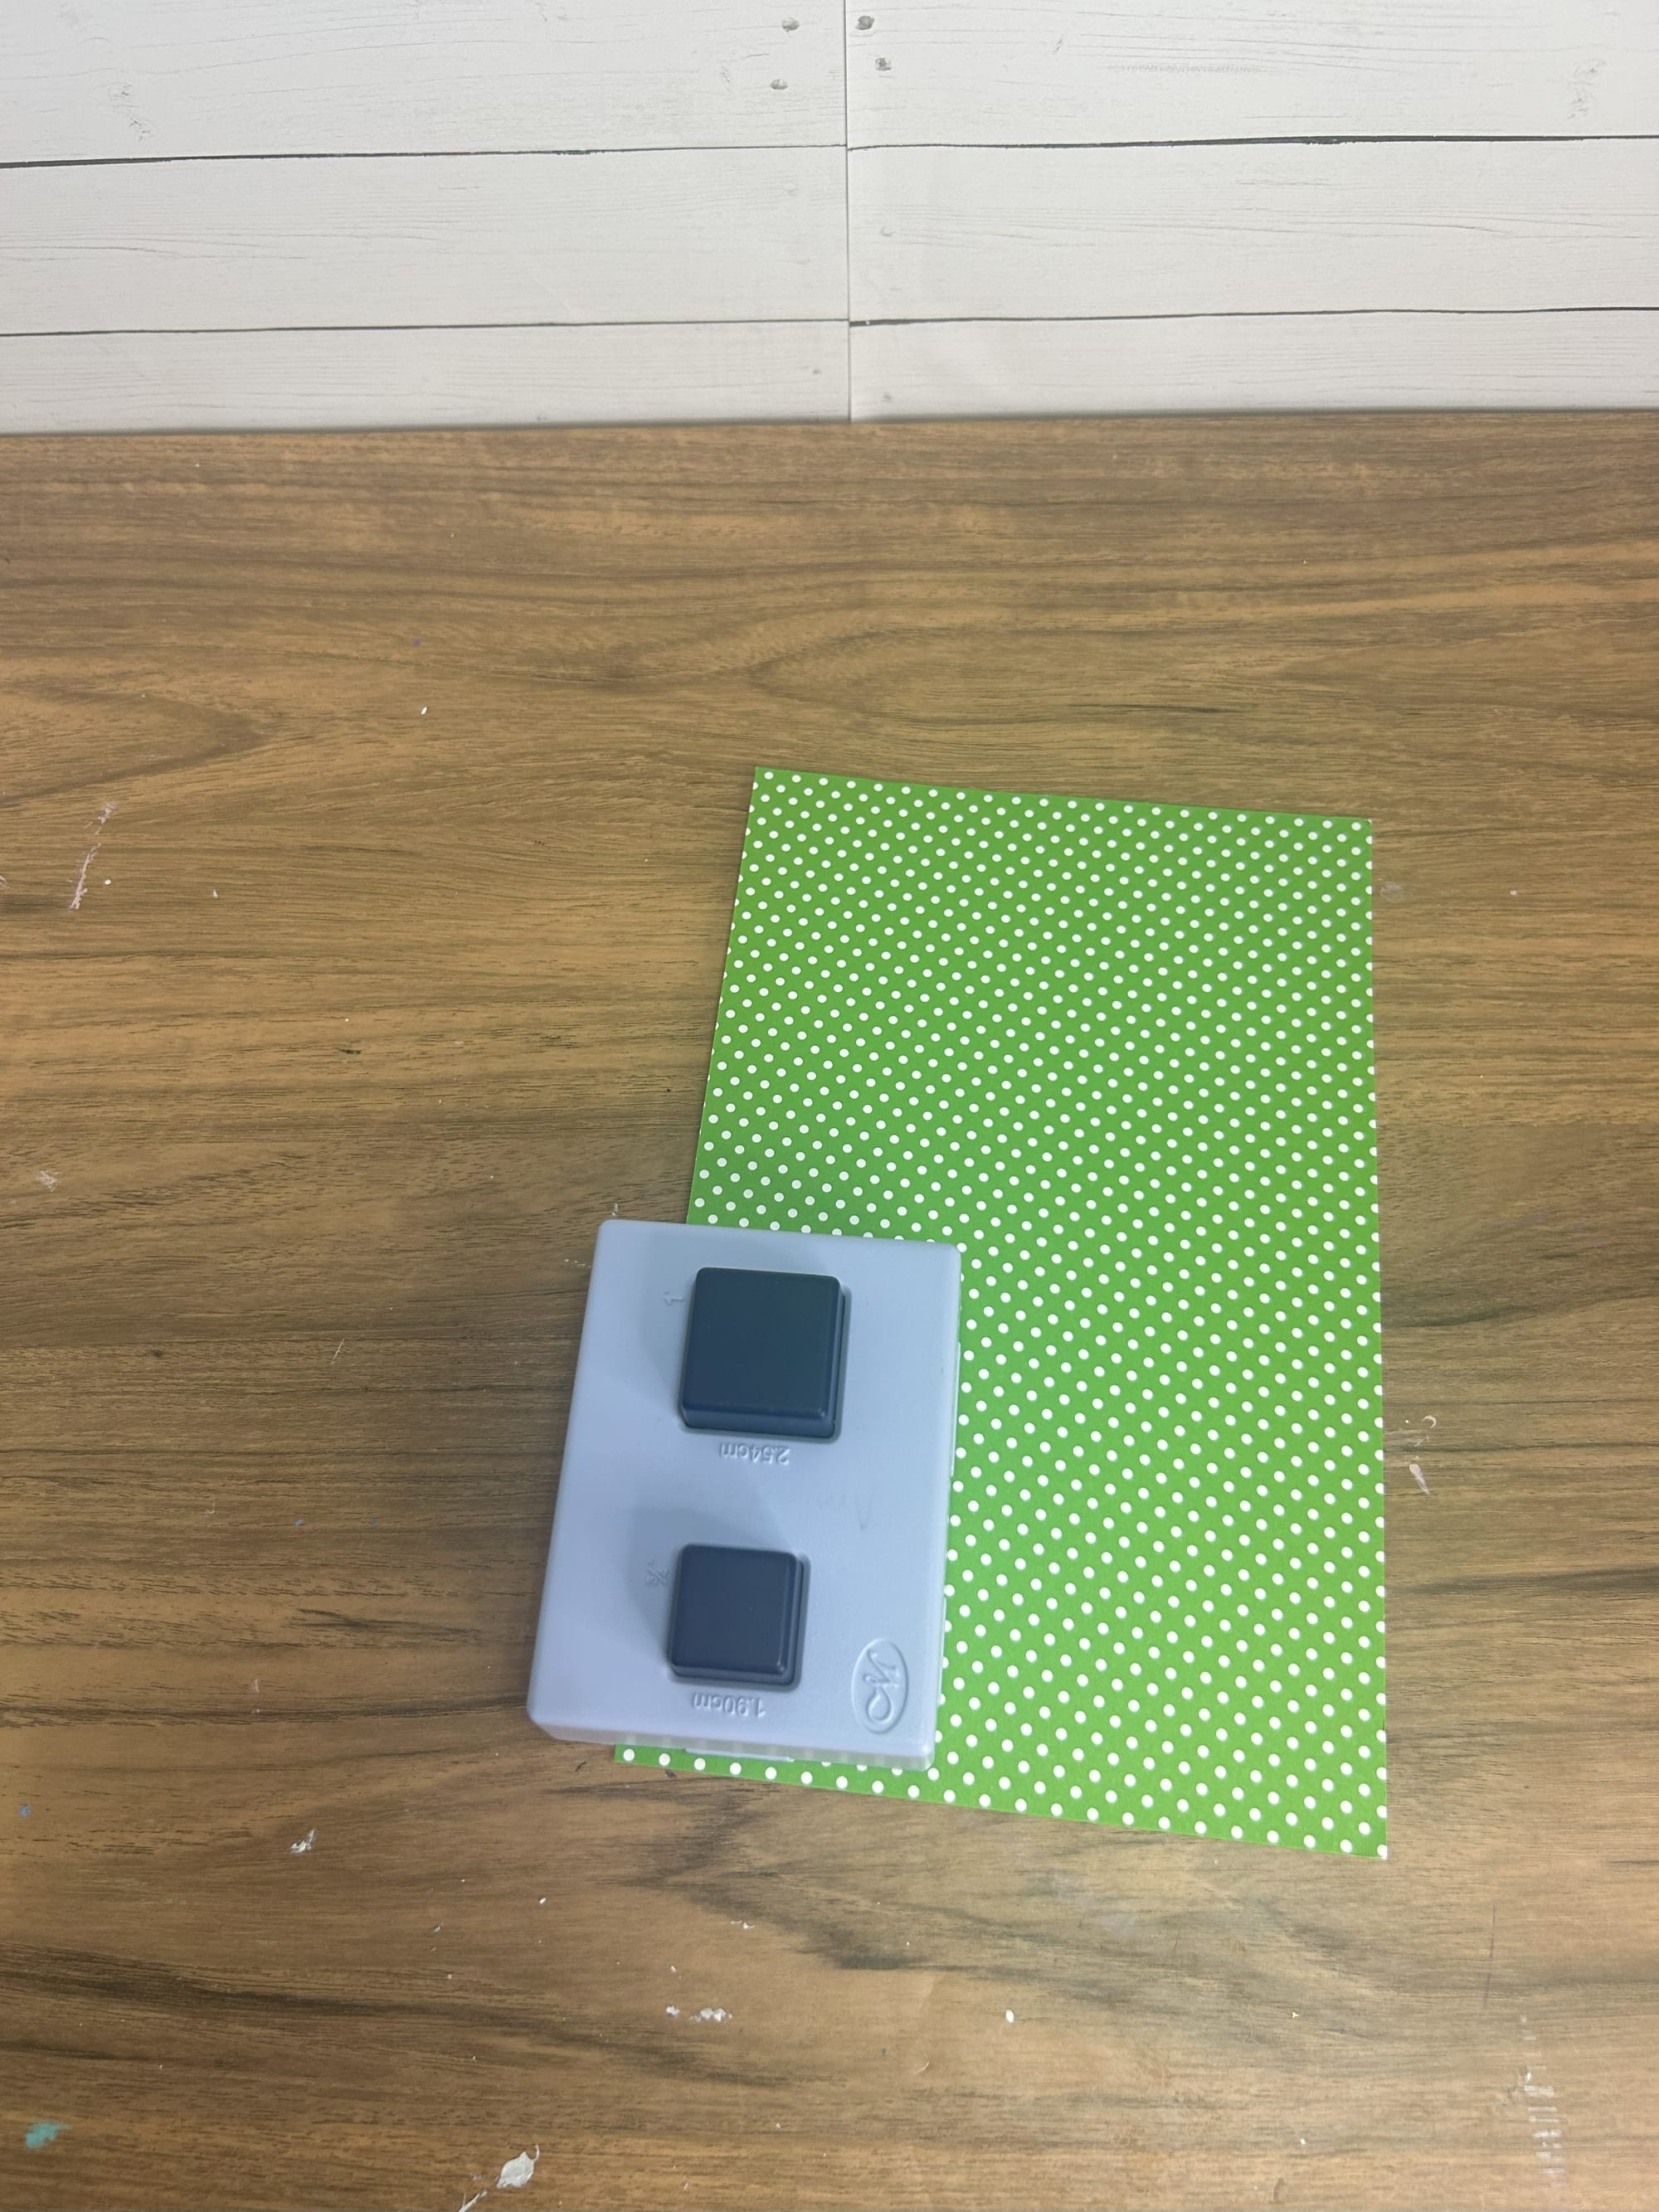
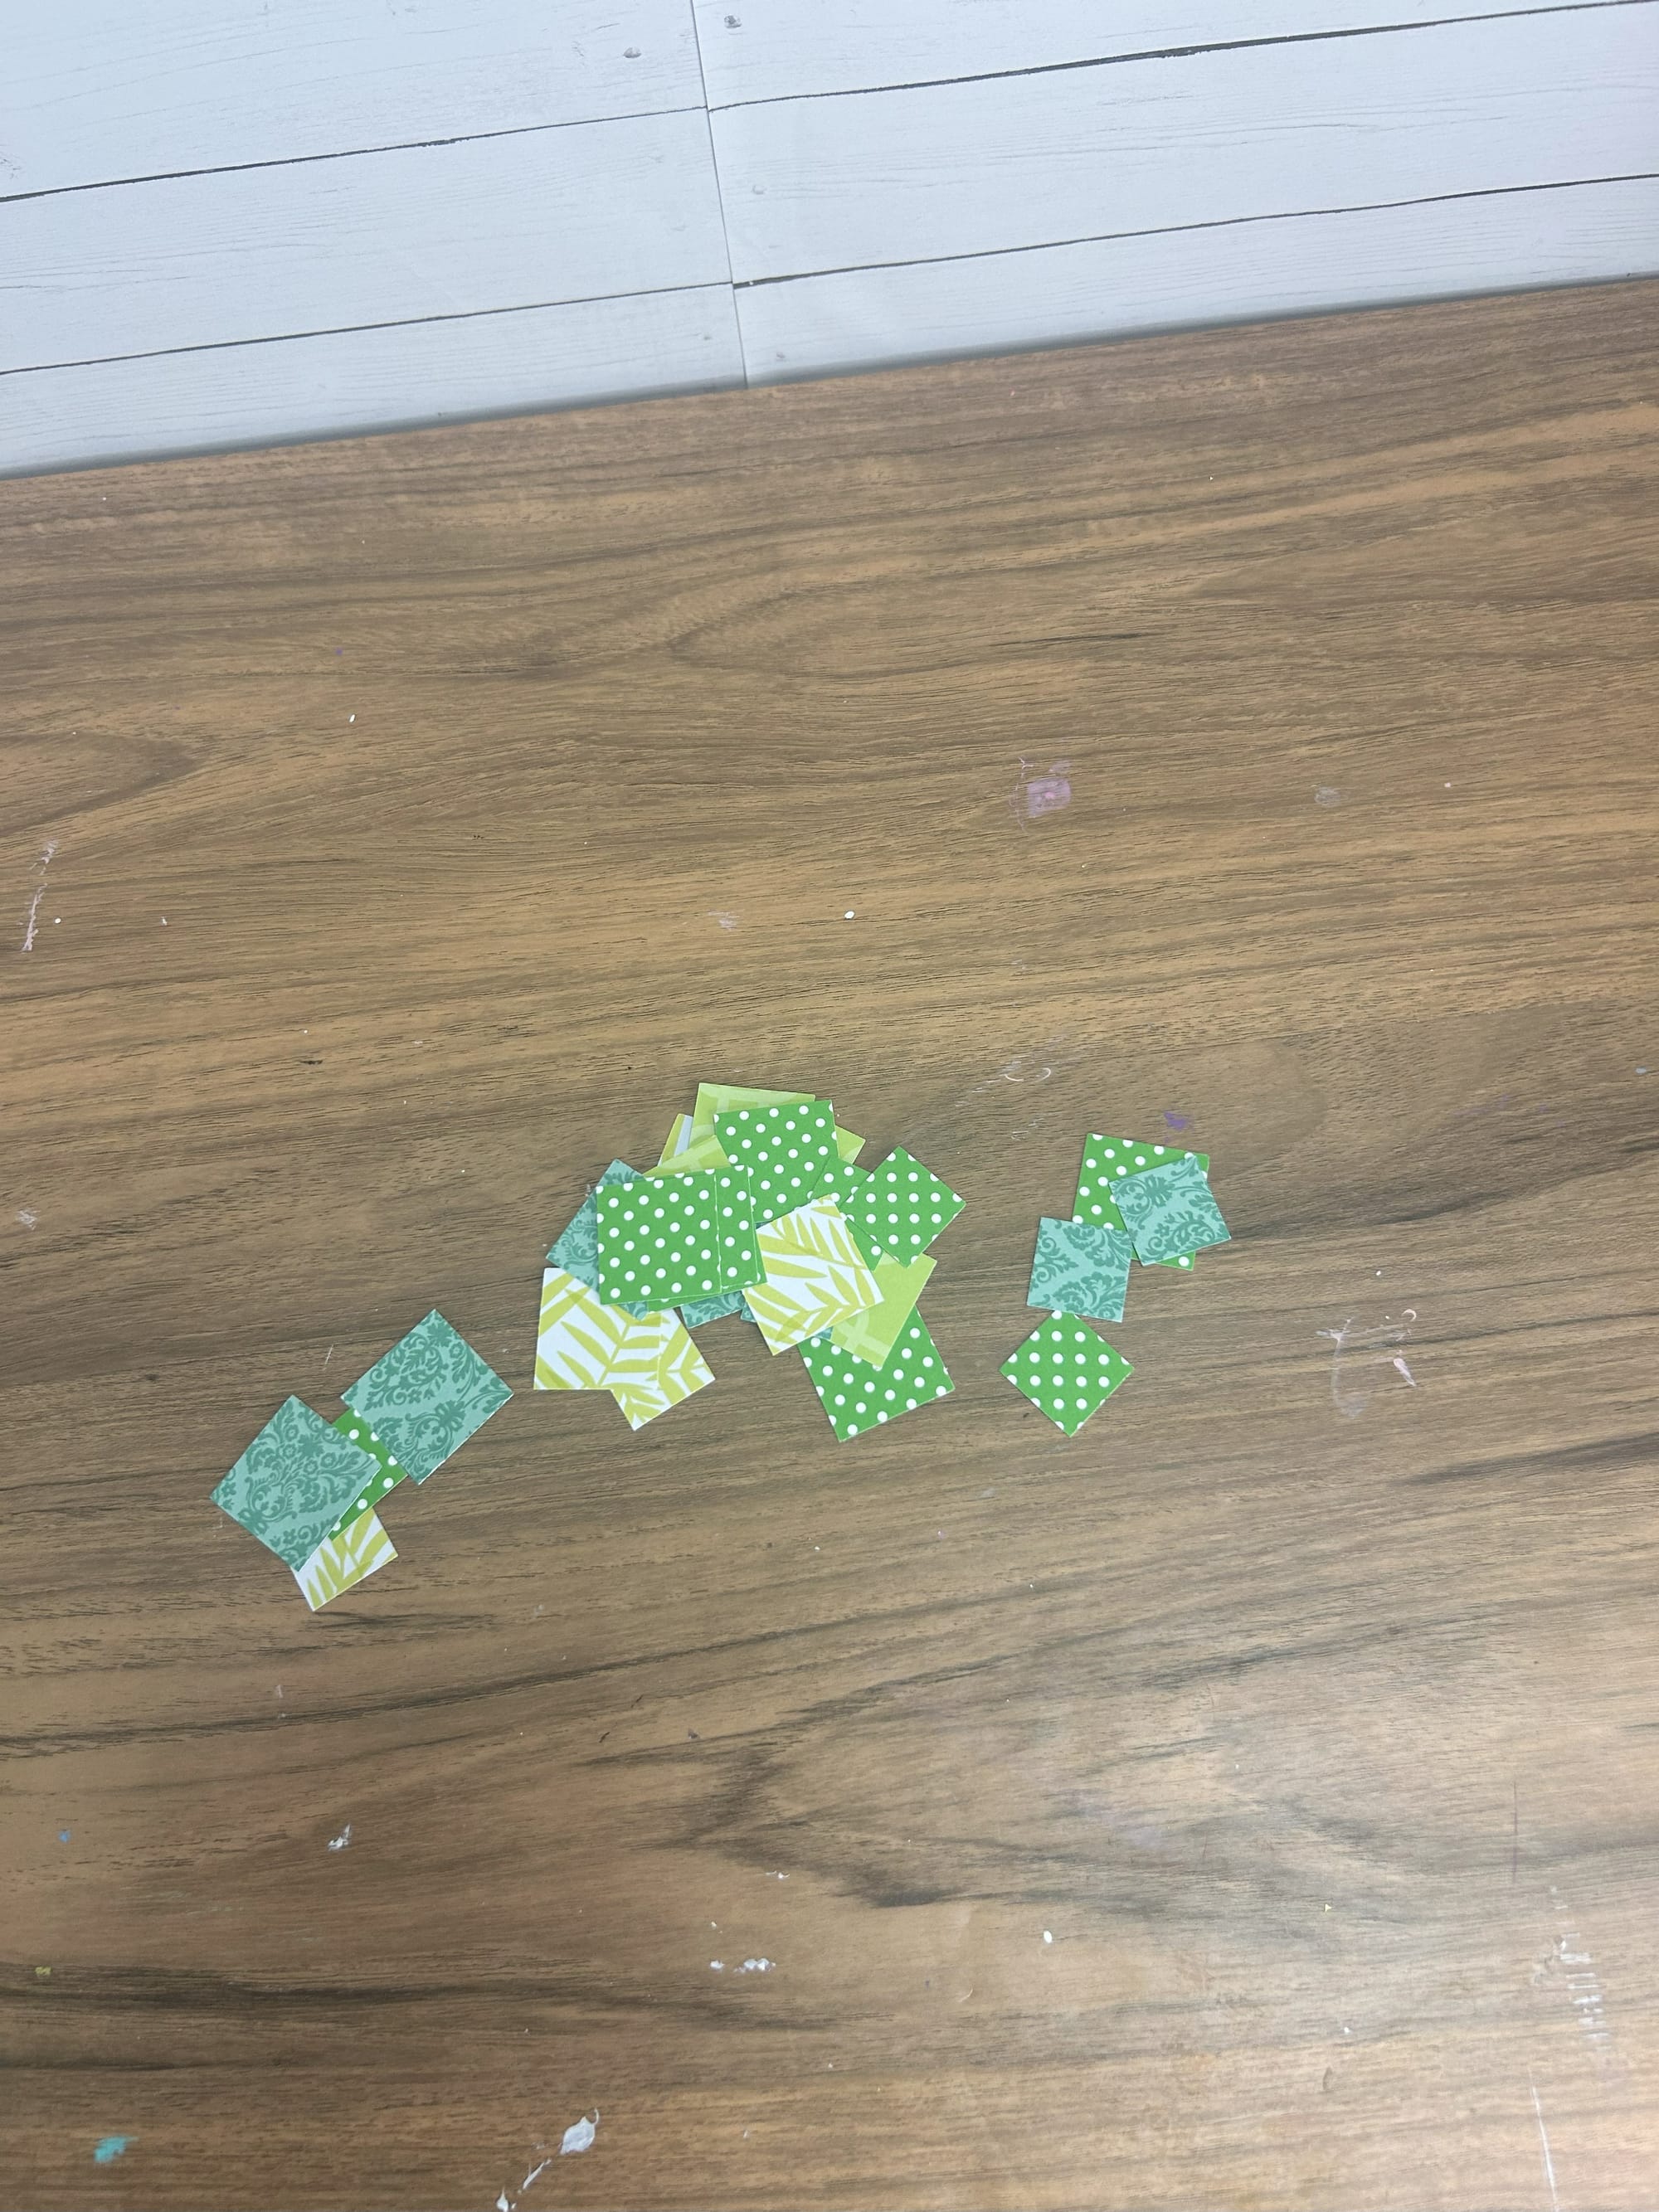
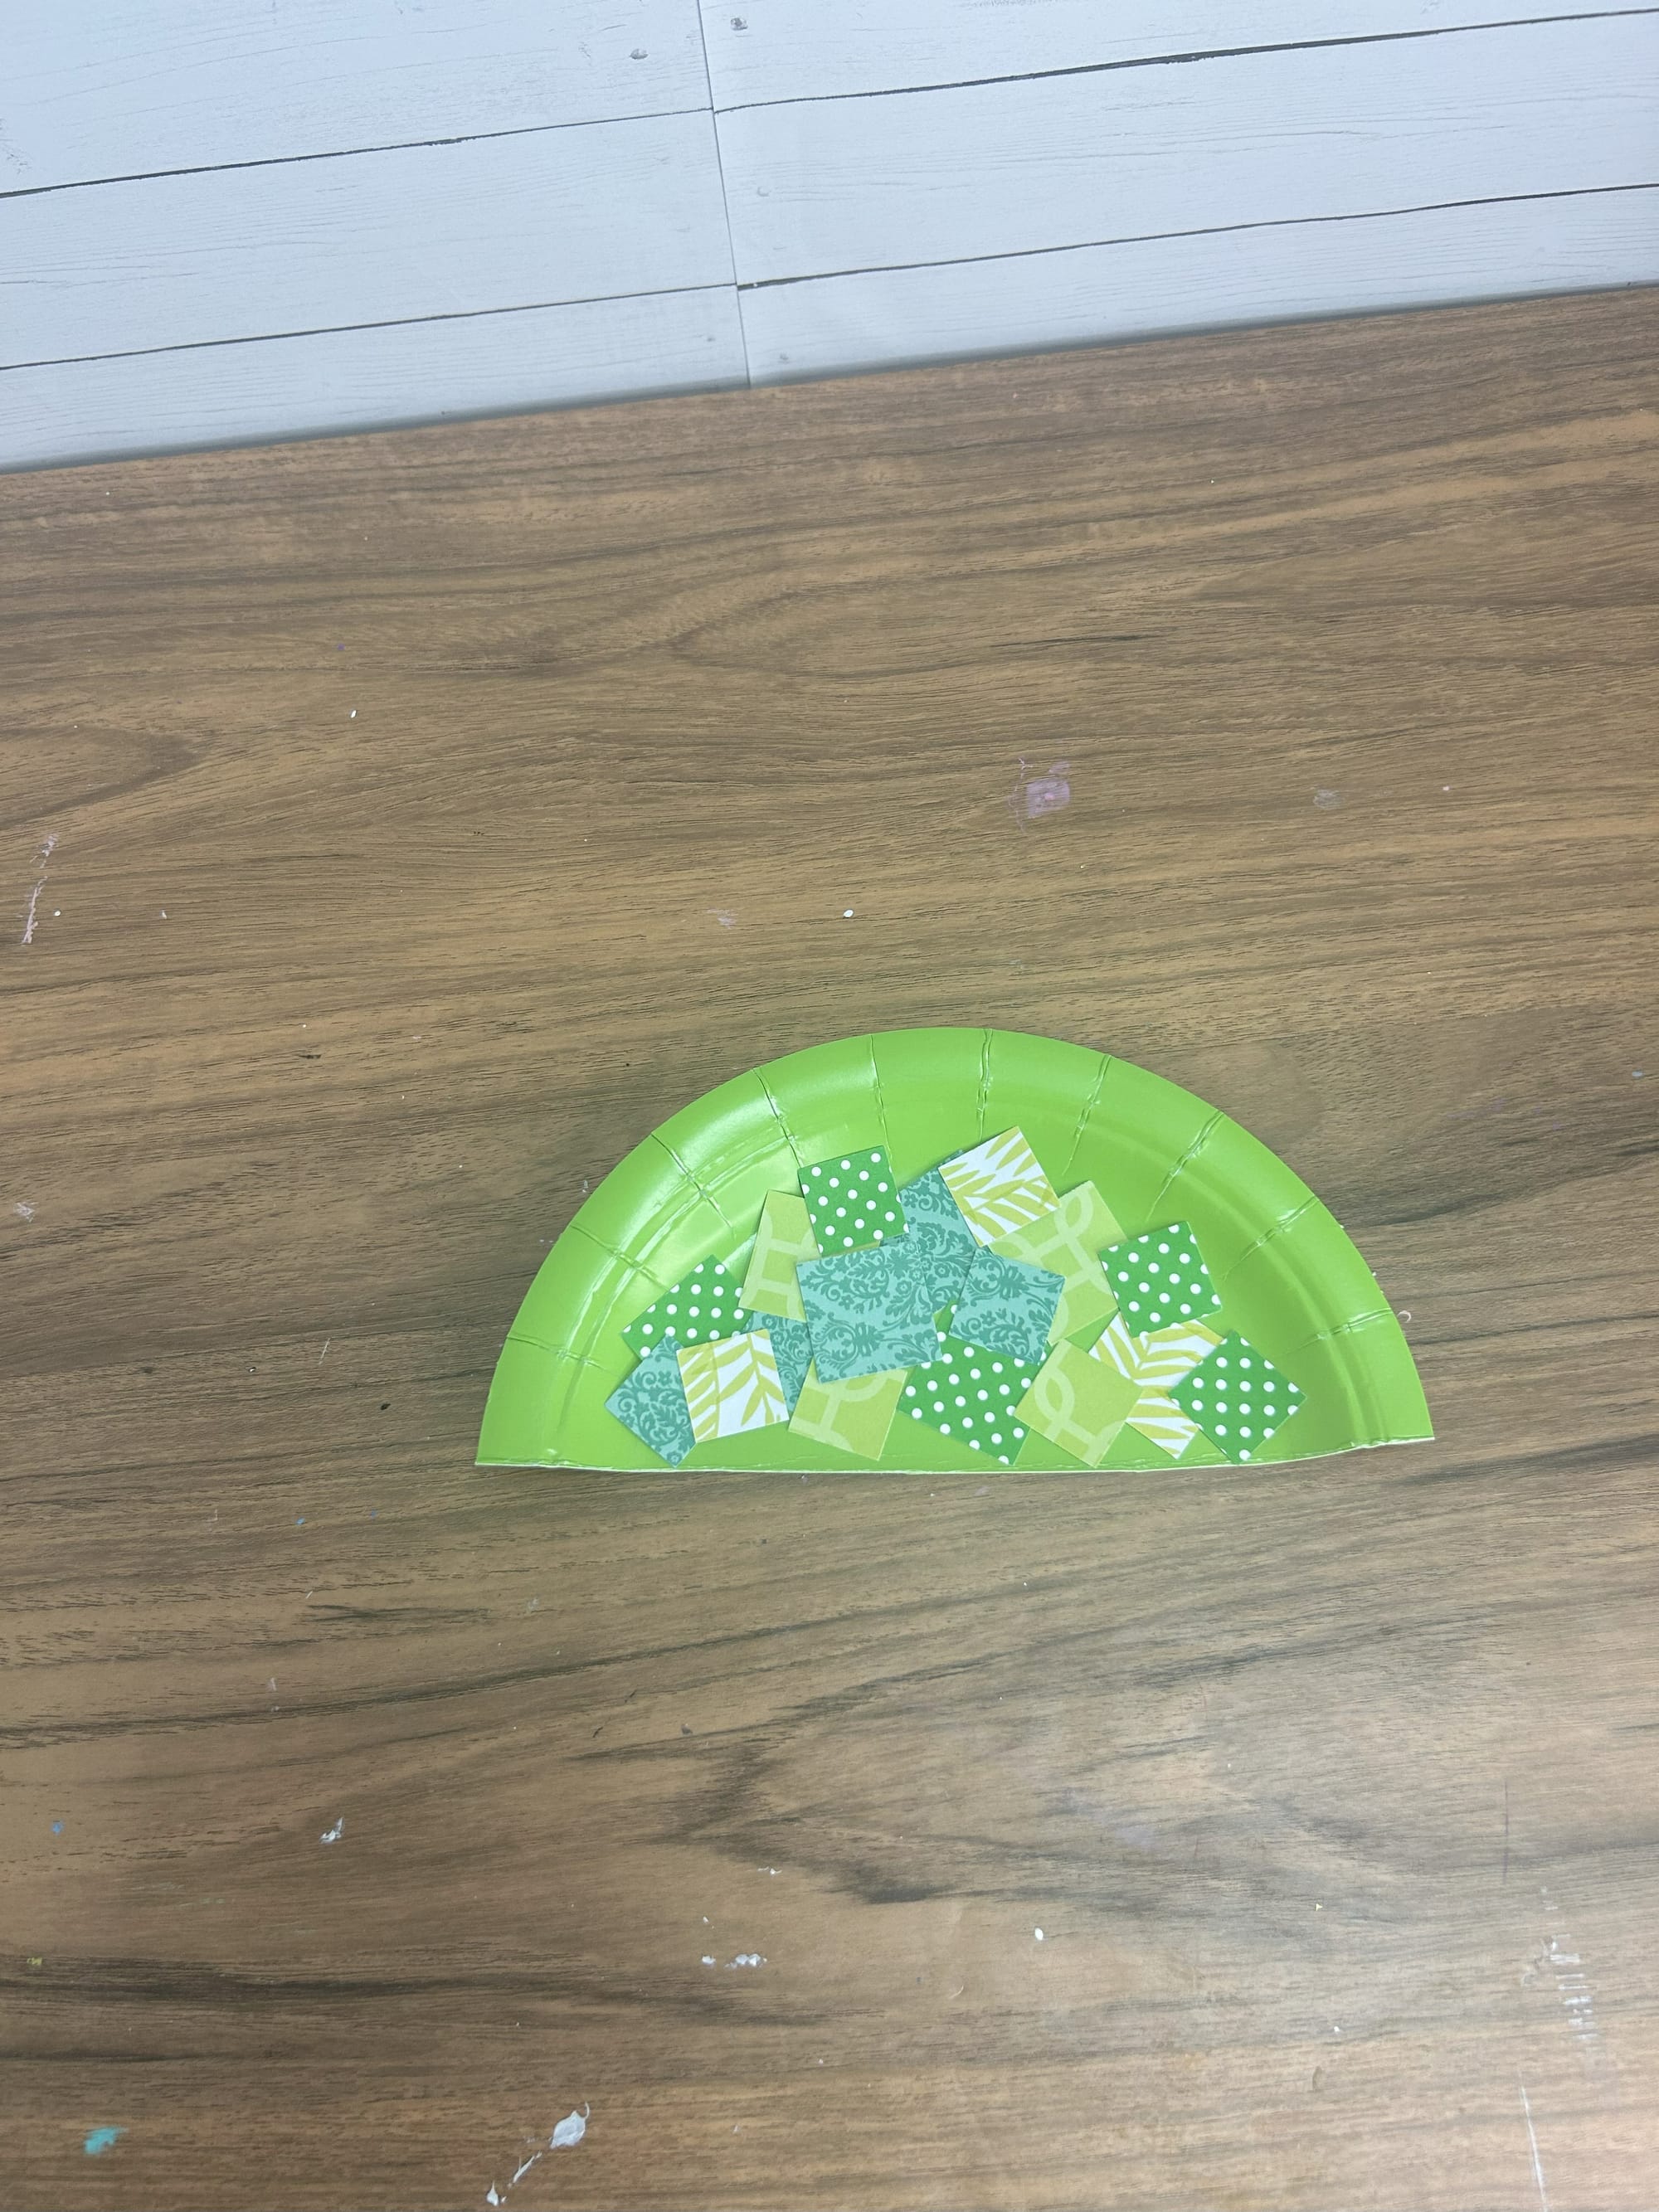
Cut paper into shapes to decorate the turtle shell.
One the other turtle, I glued on green sequin pieces.


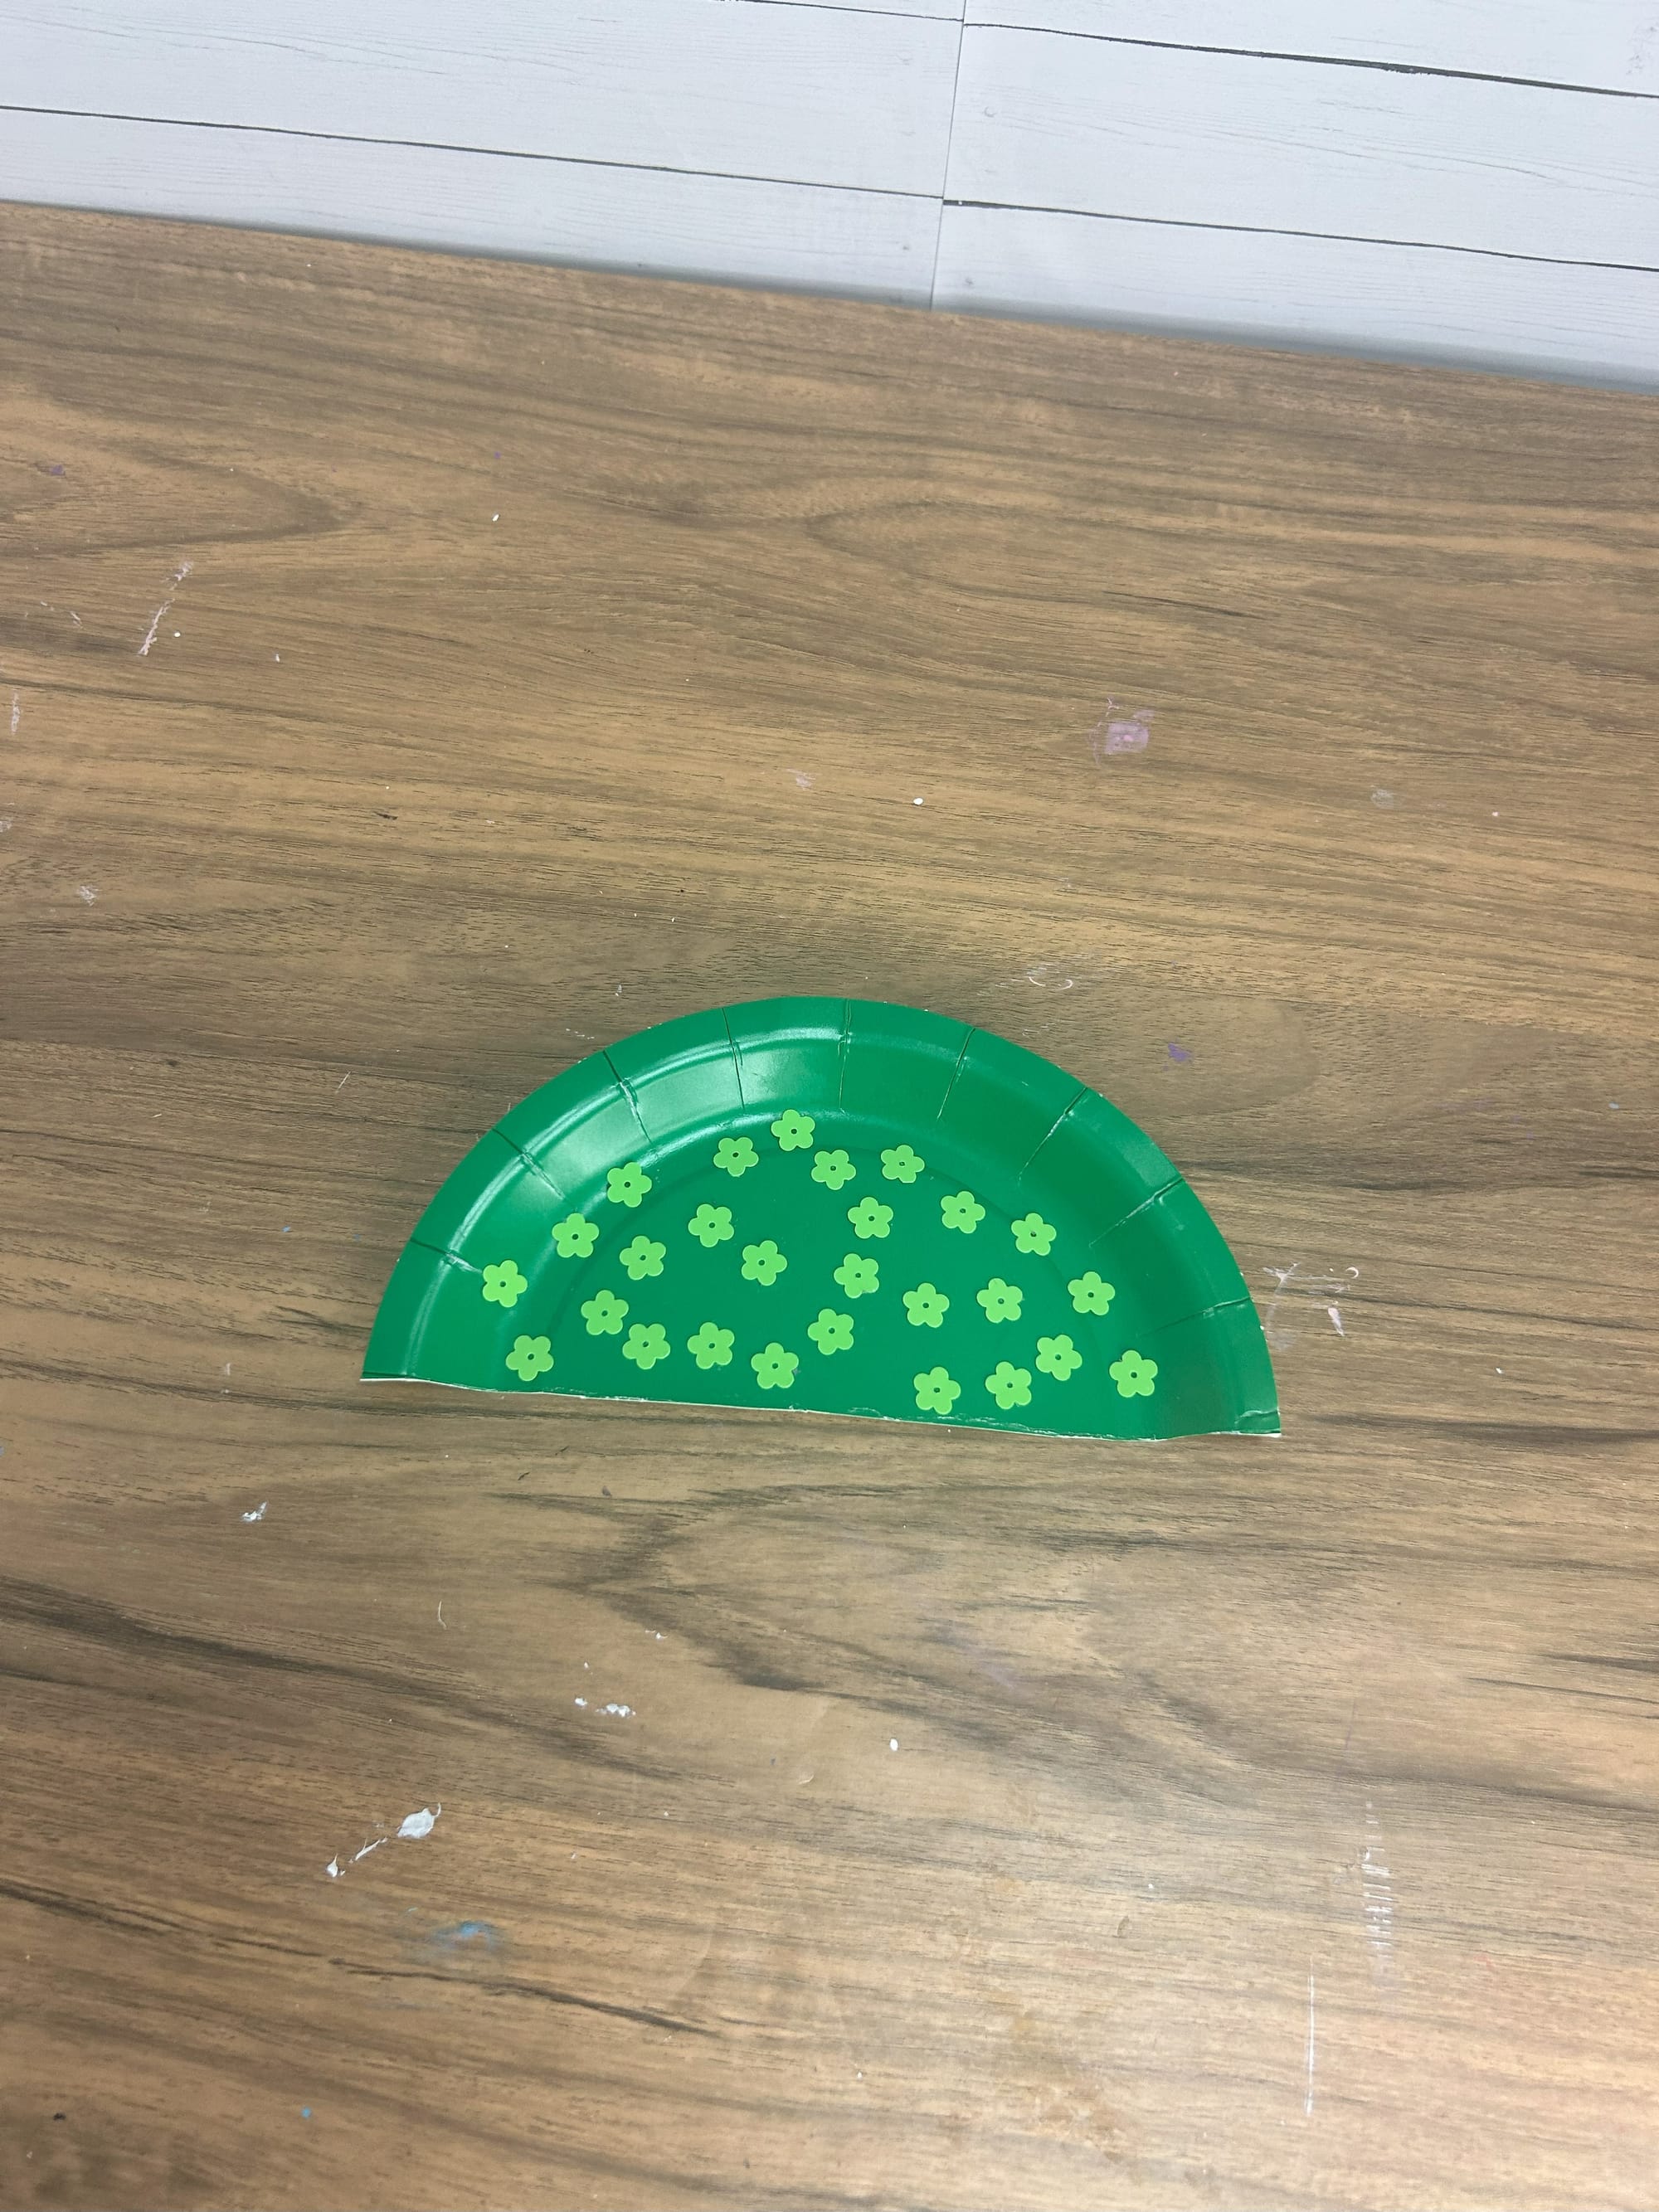
Another option is to add sequin onto the paper plate.
Next, you will need to print the pieces of the turtle head, feet and tail. You can print on green construction paper or cardstock. Cut out the pieces to prepare to glue them onto the paper plate.
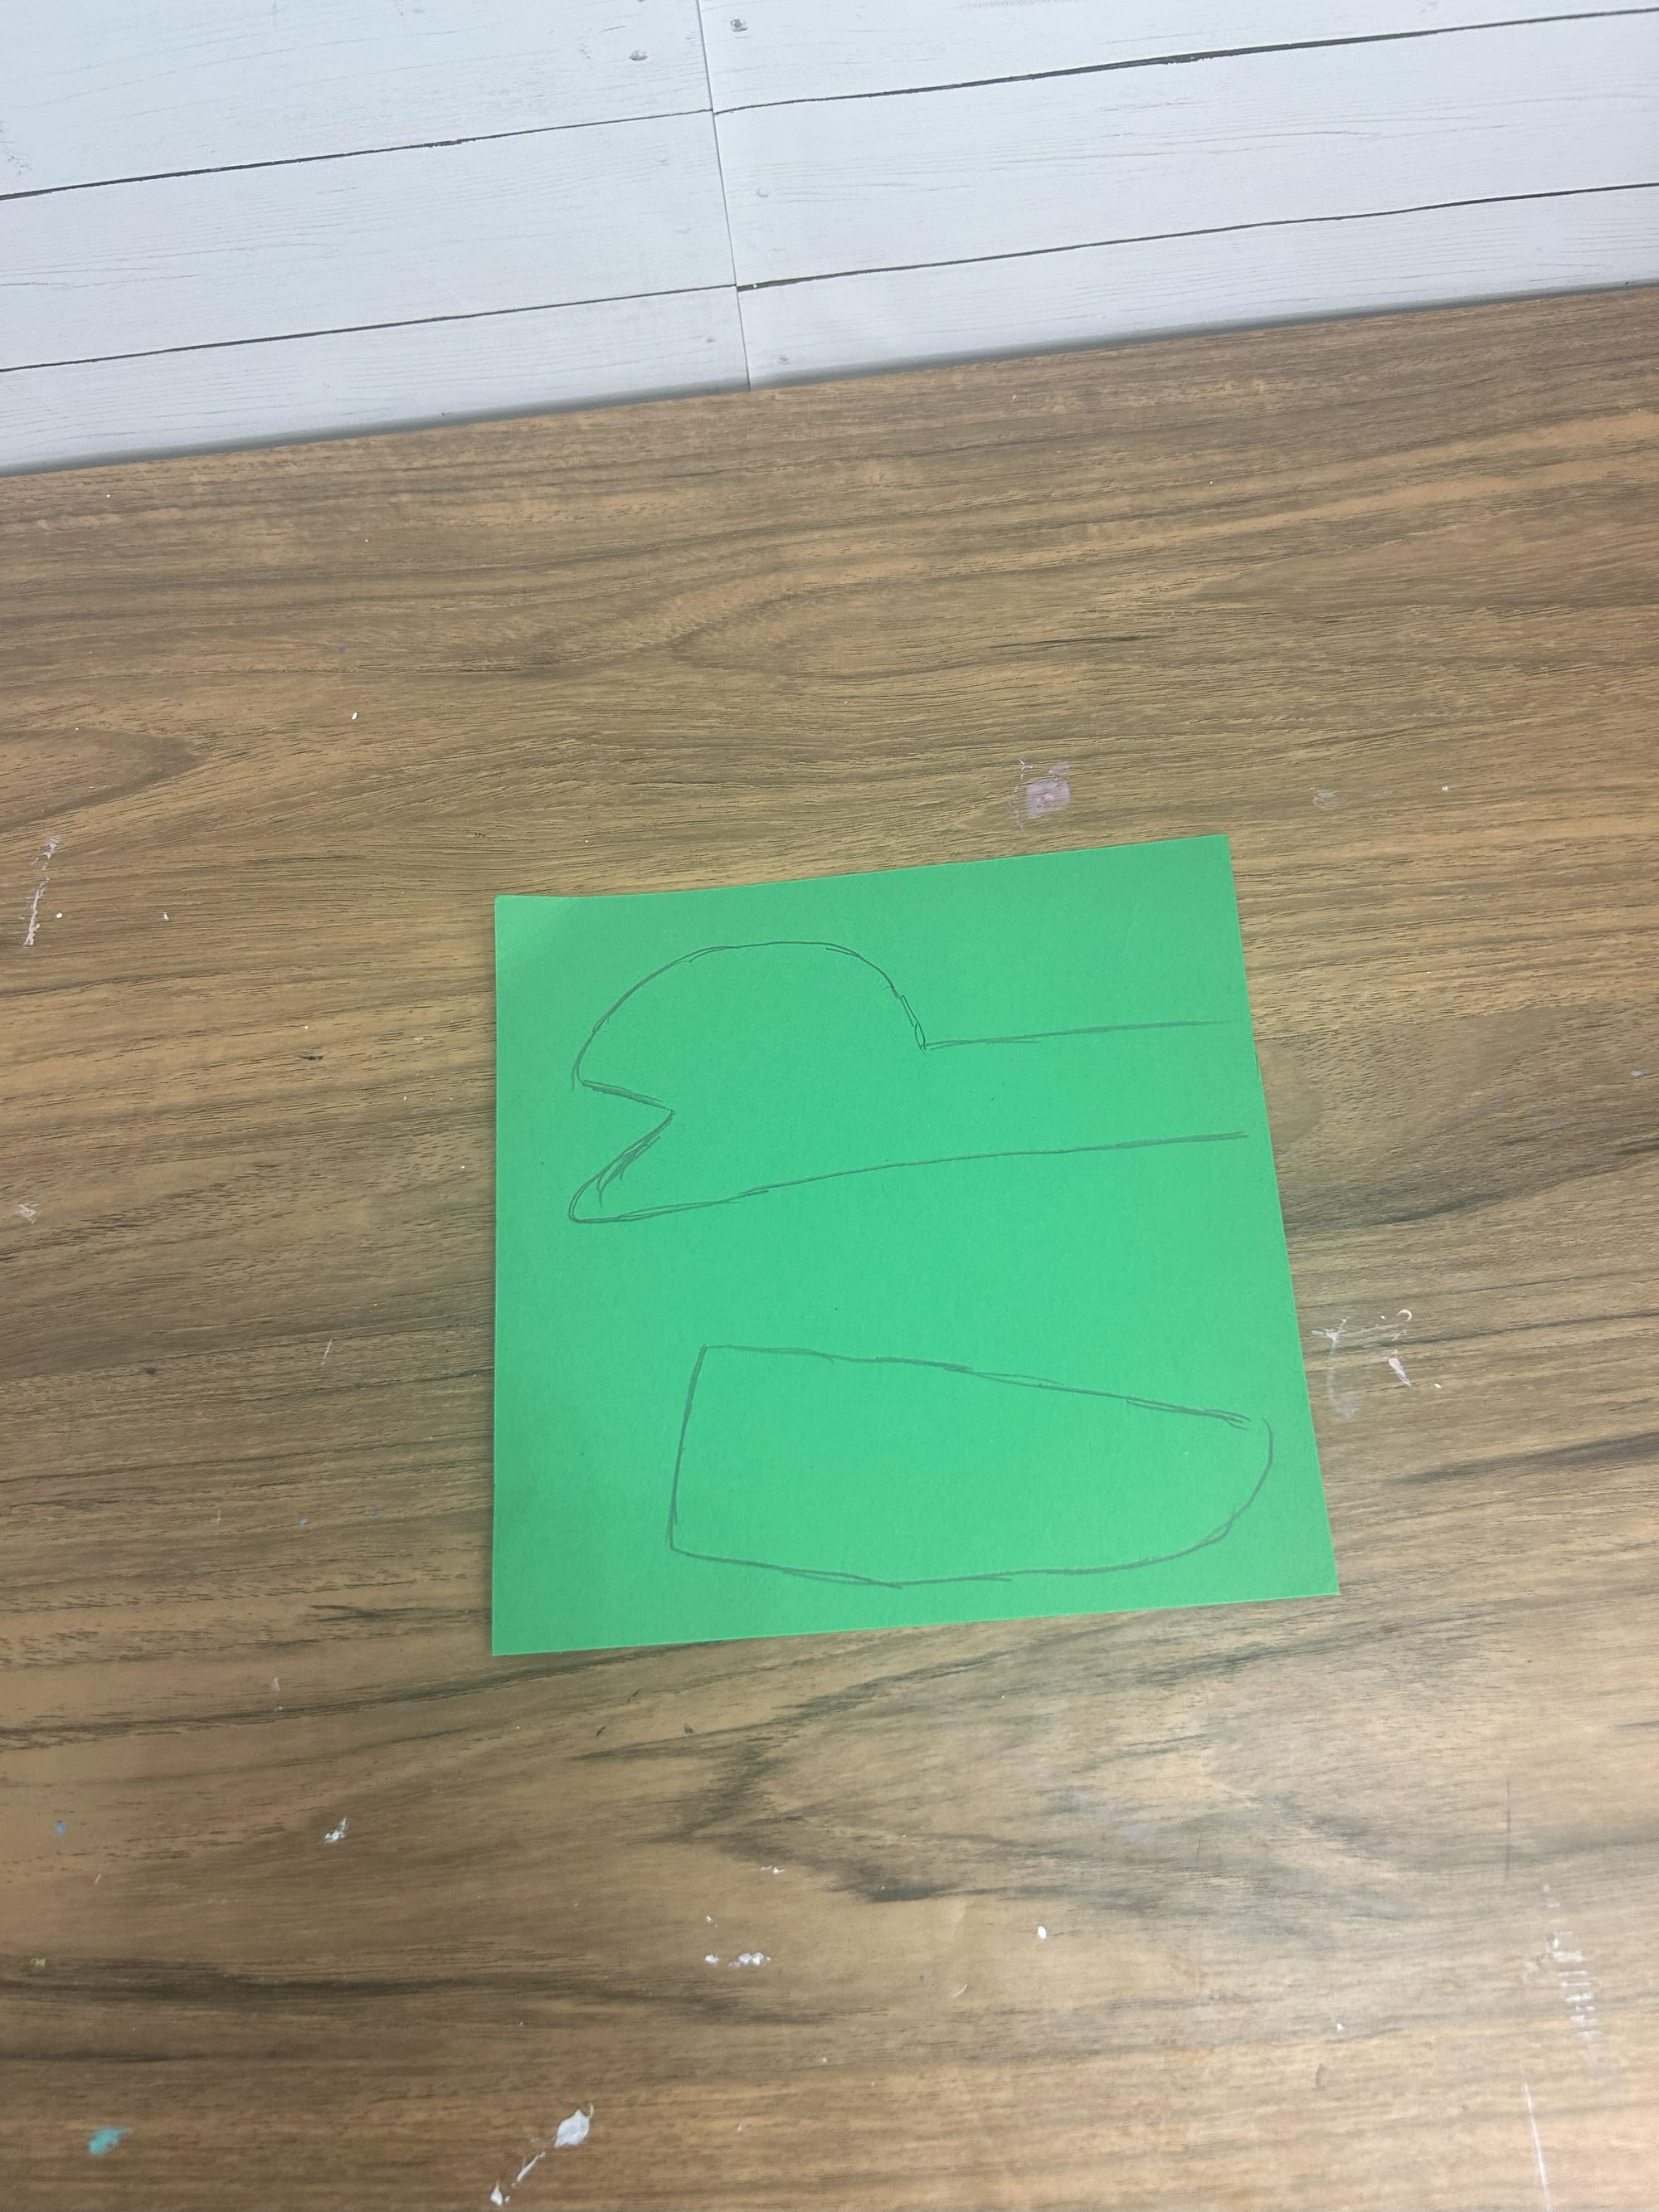
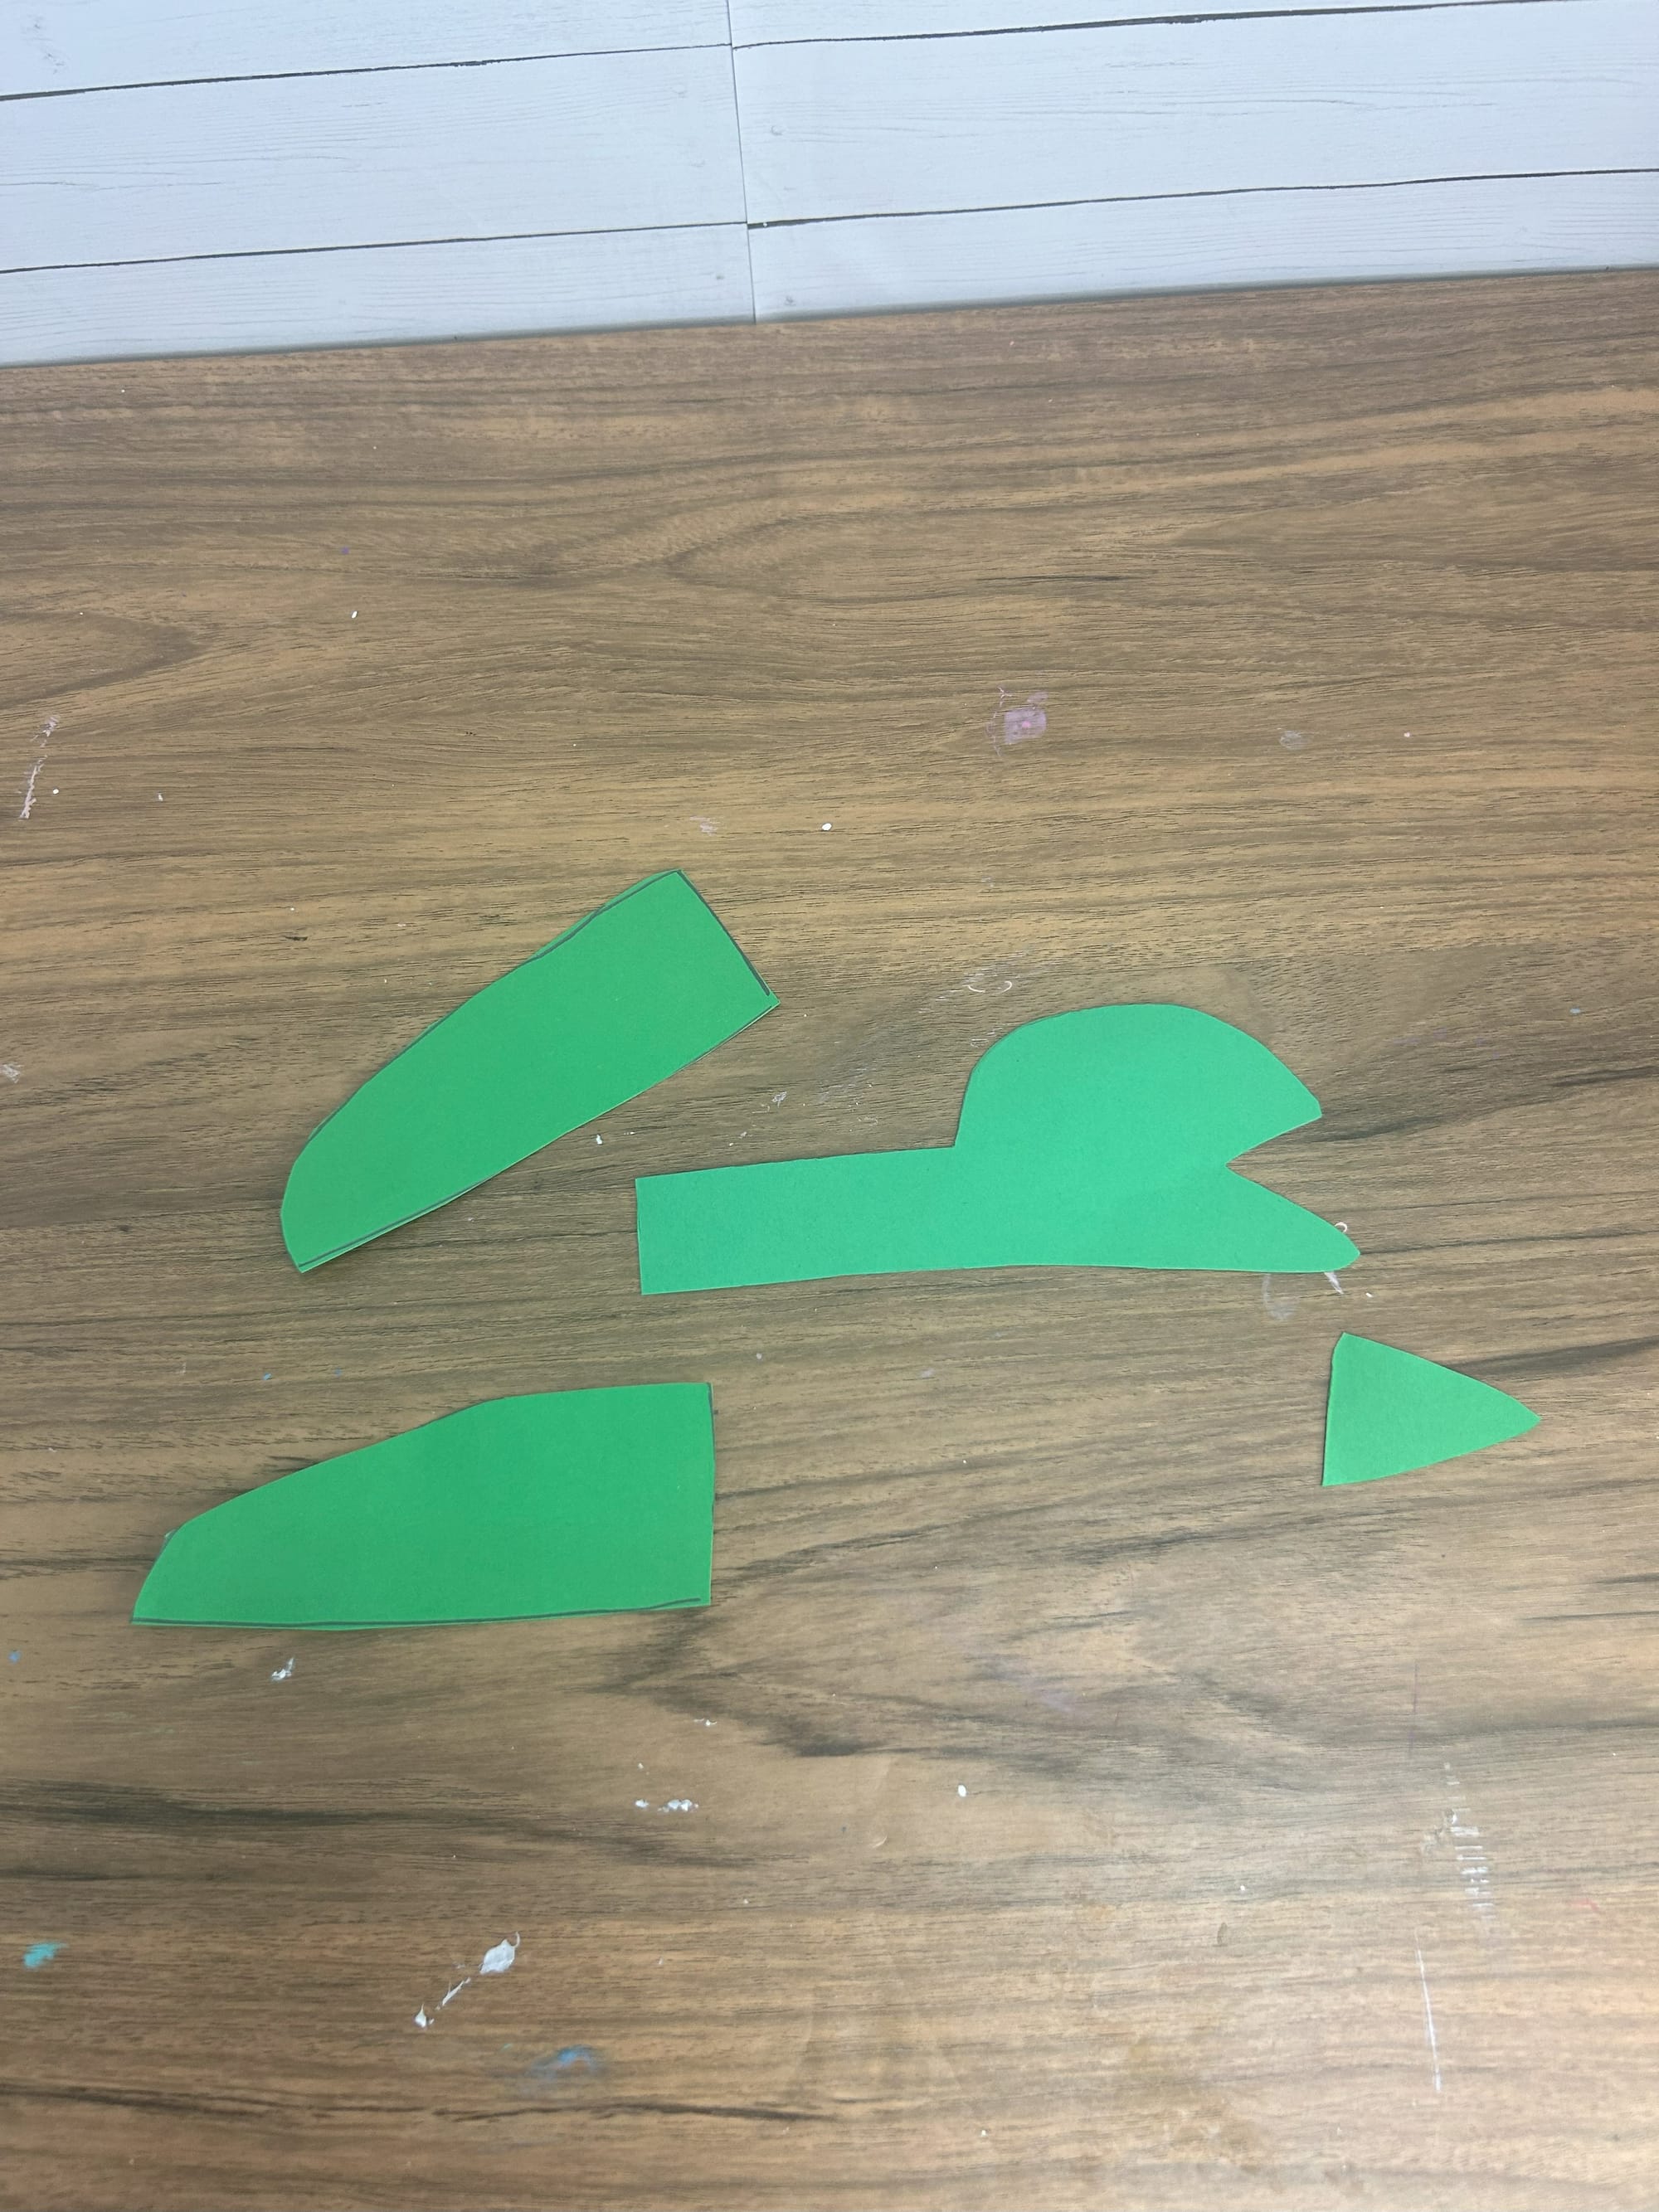
Print or trace the pieces on any shade of green paper you would like.
Finally glue the pieces onto the paper plate turtle shell. You can change the look of the turtle by gluing the pieces in different ways. Allow your child to play around with the pieces before gluing.
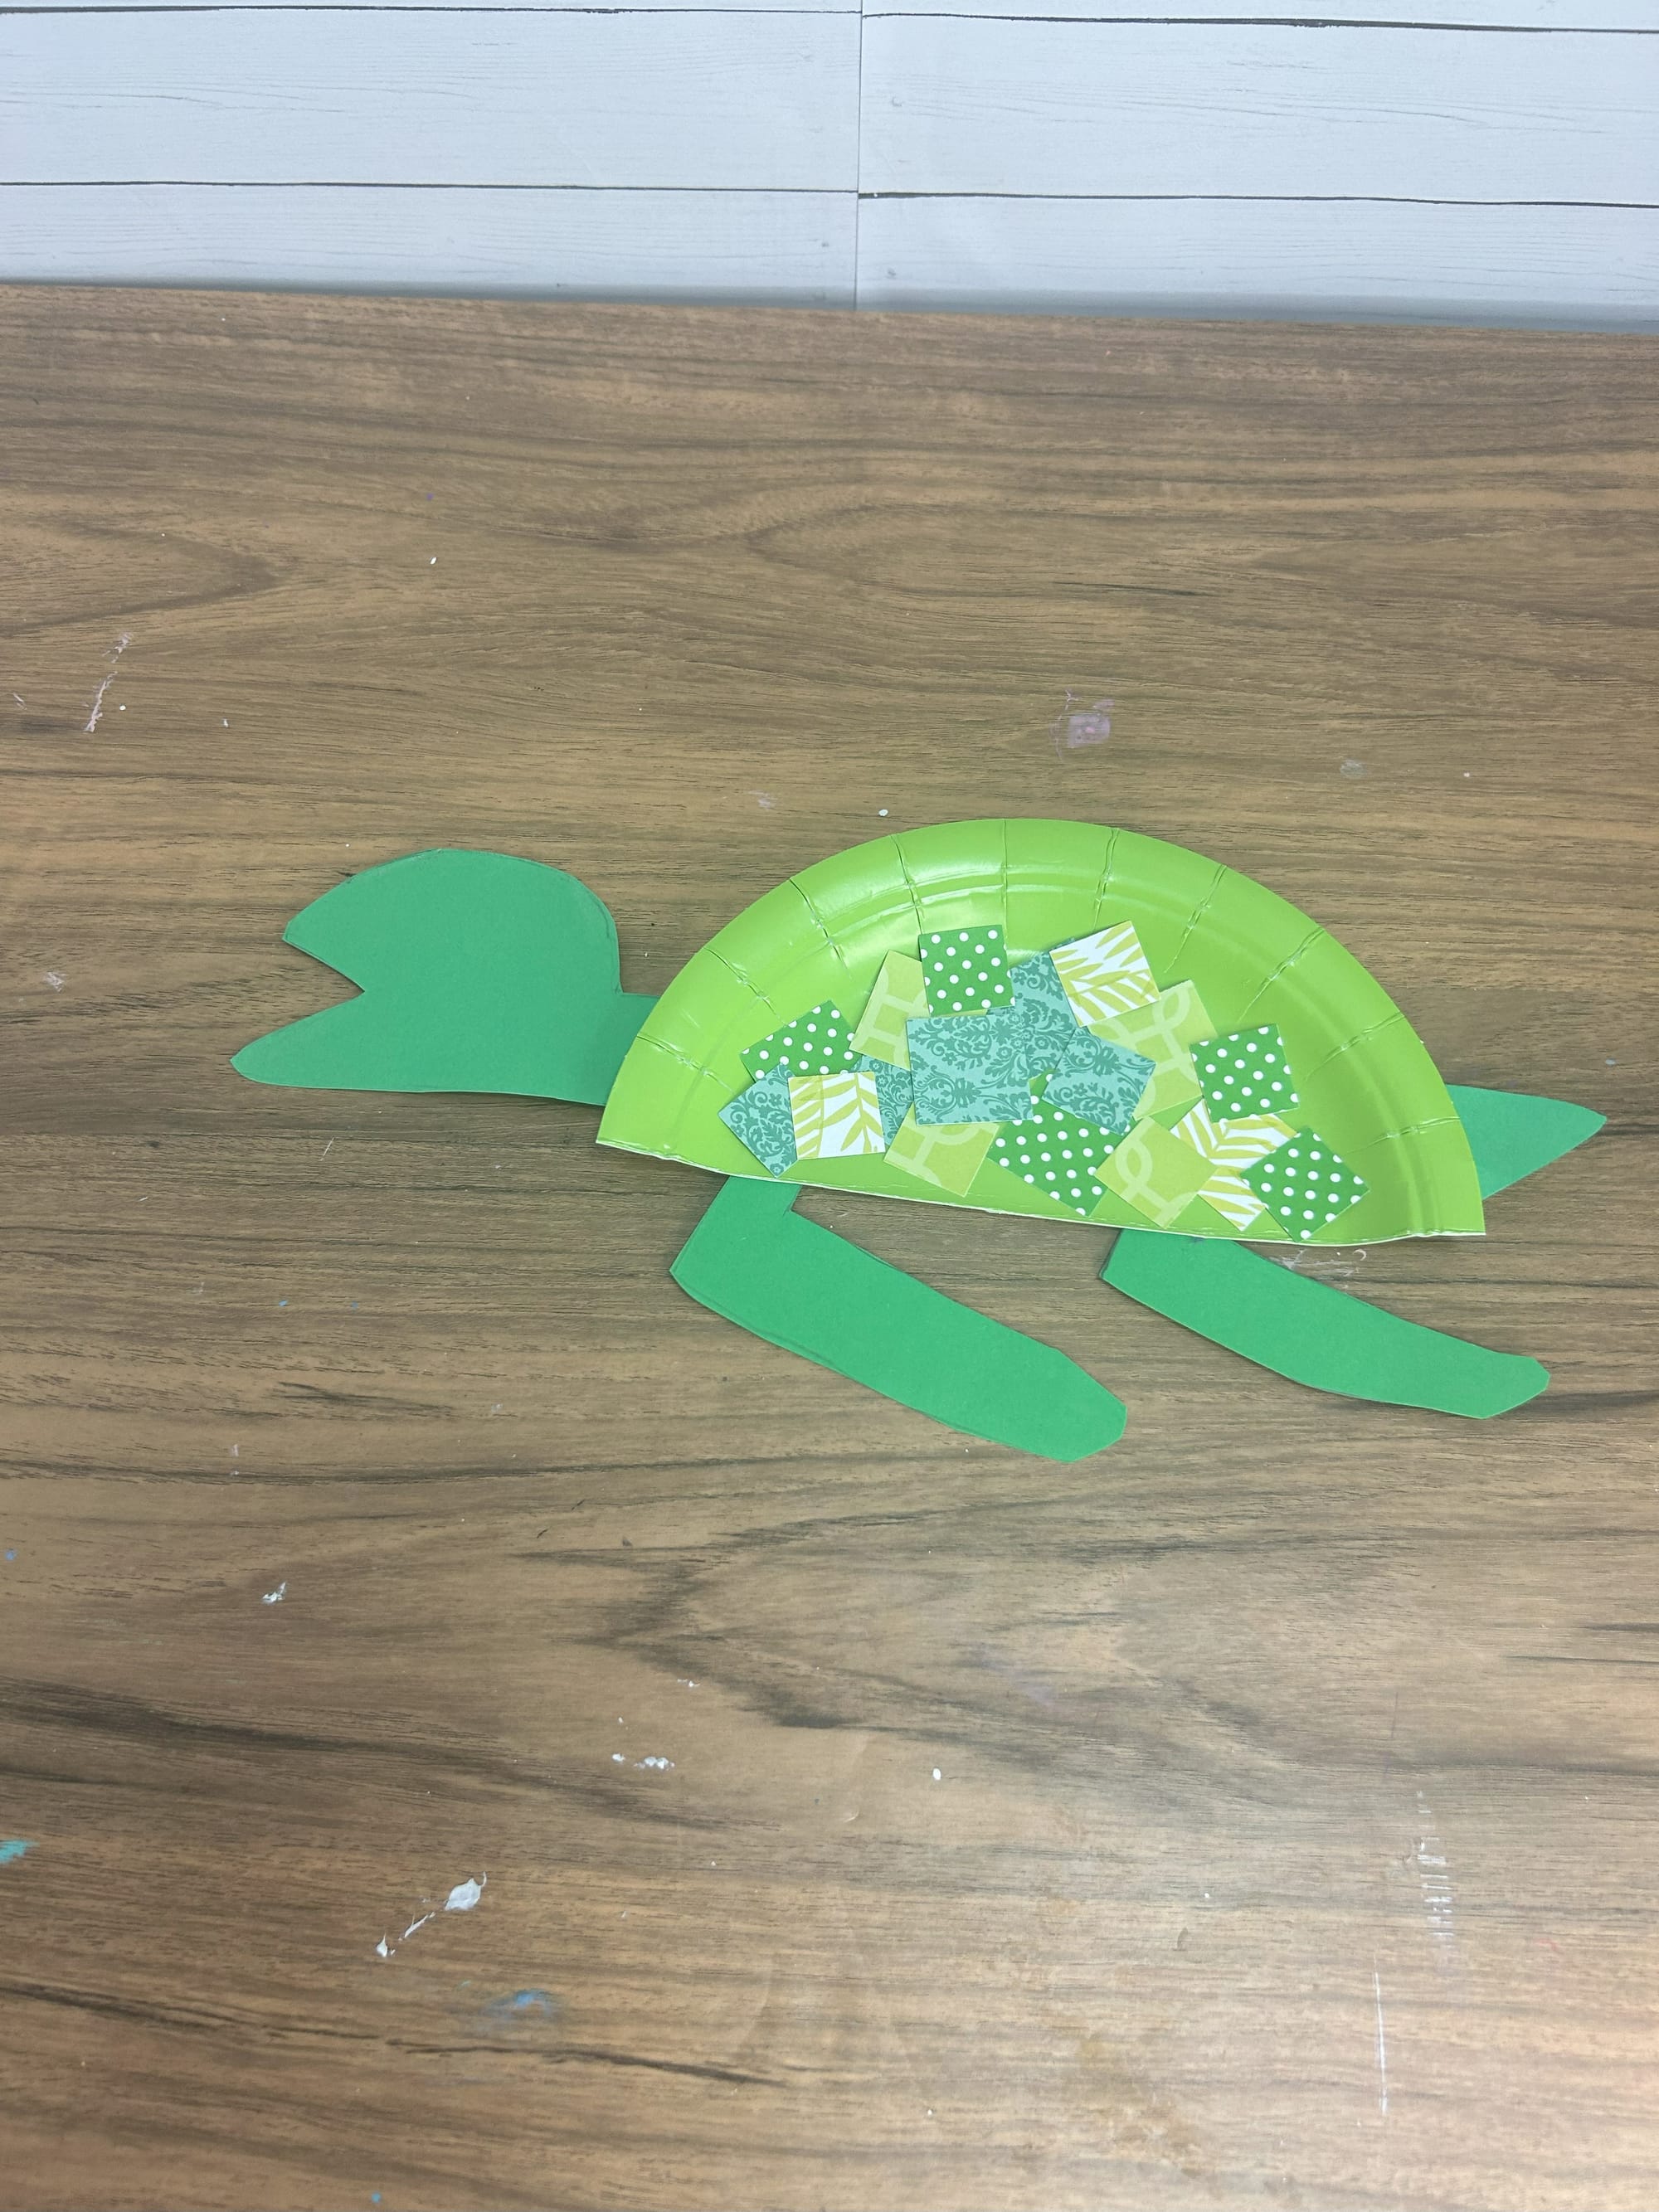
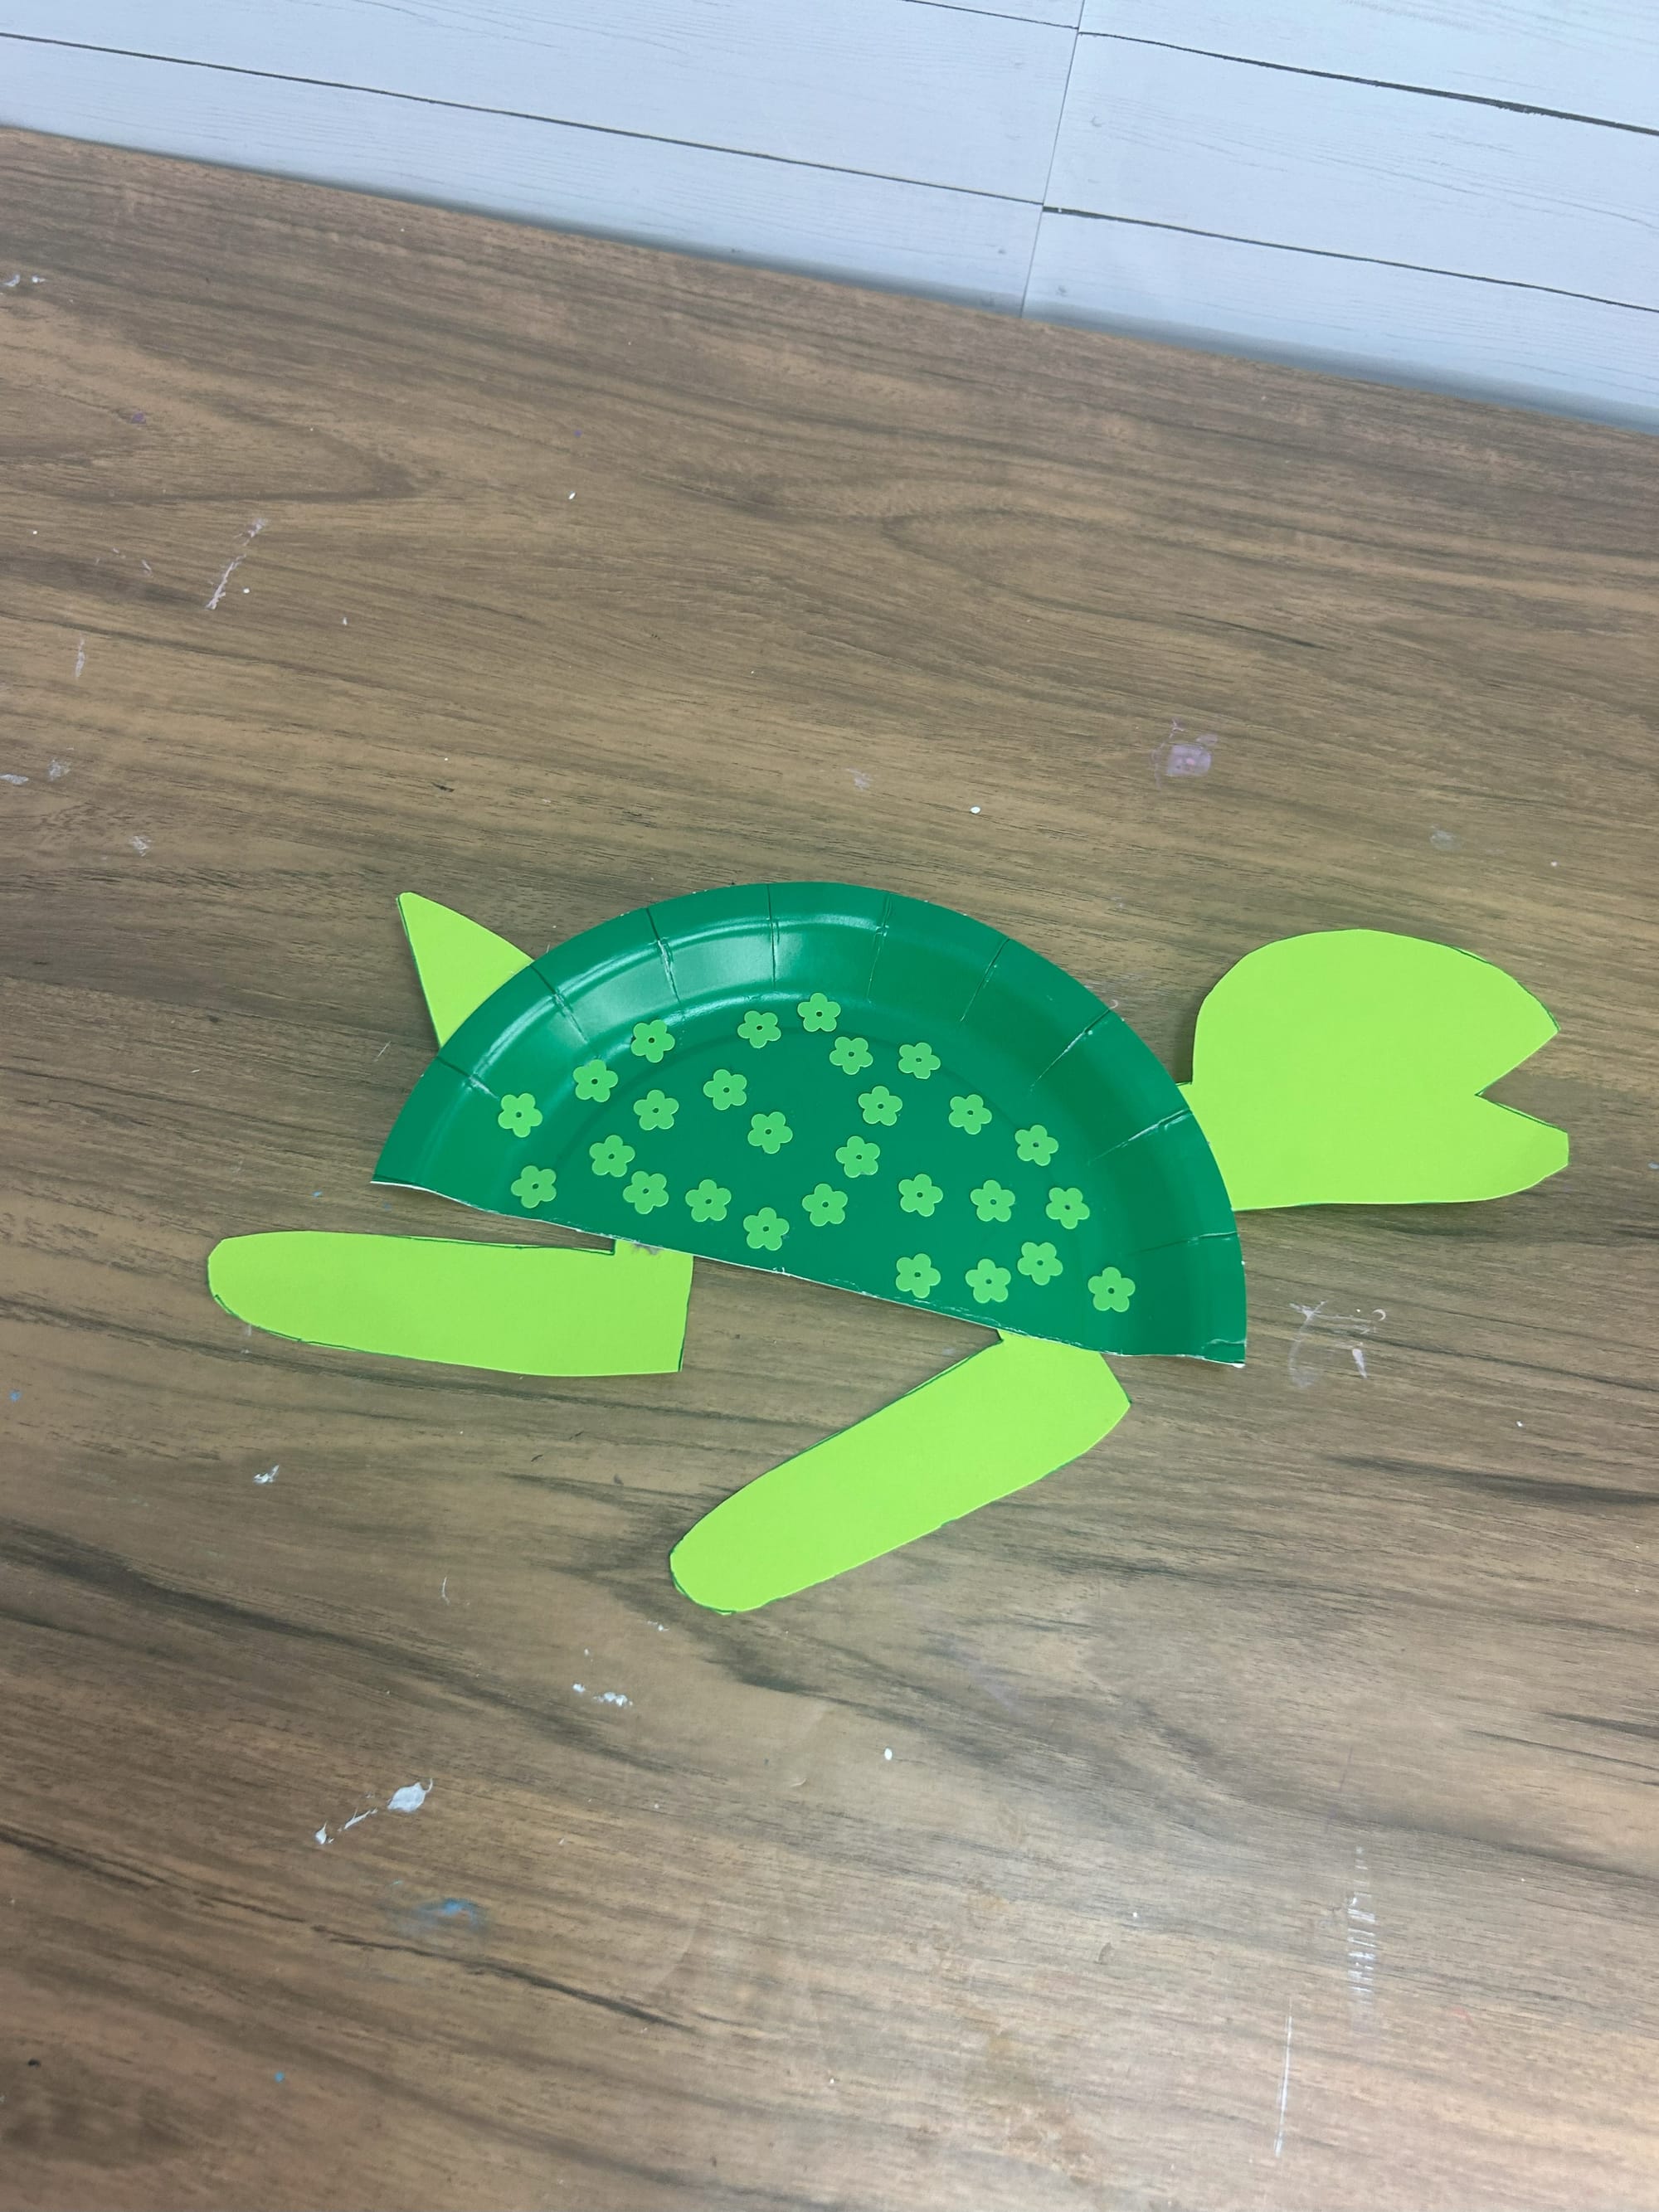
Add the legs, head and tail onto the turtle.
Lastly, use a black marker or add a googly eye to the turtle's head.
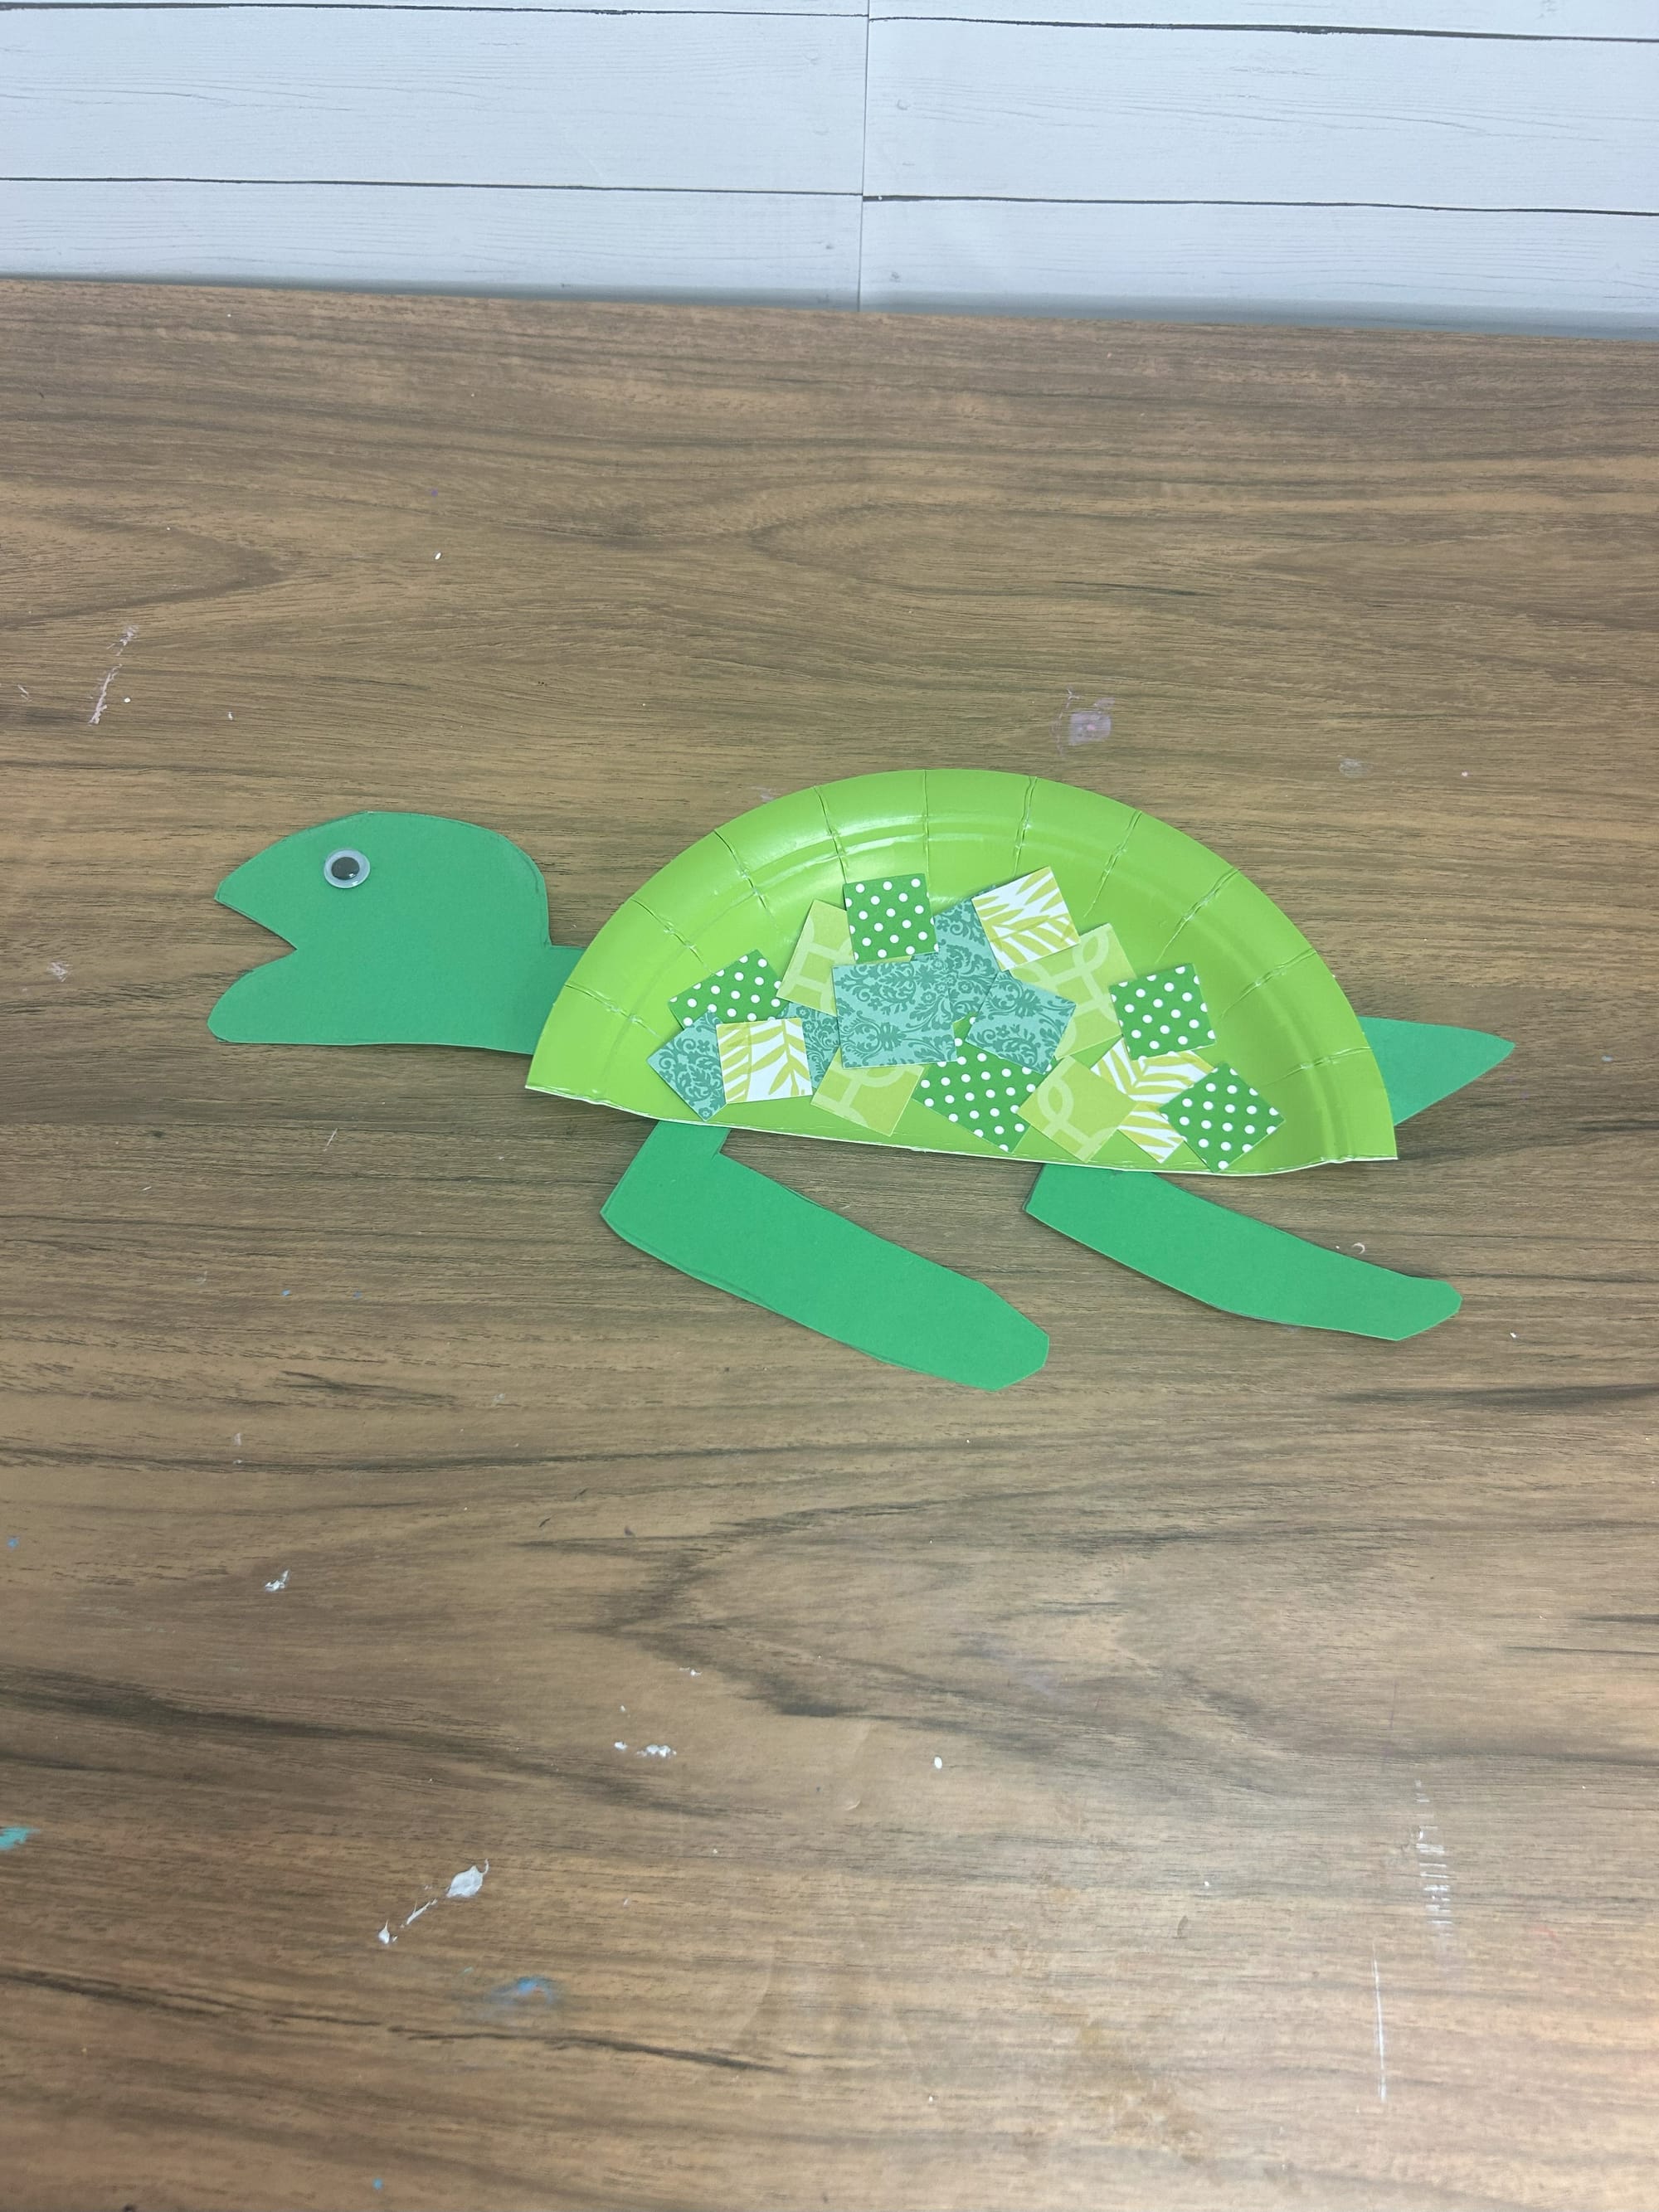
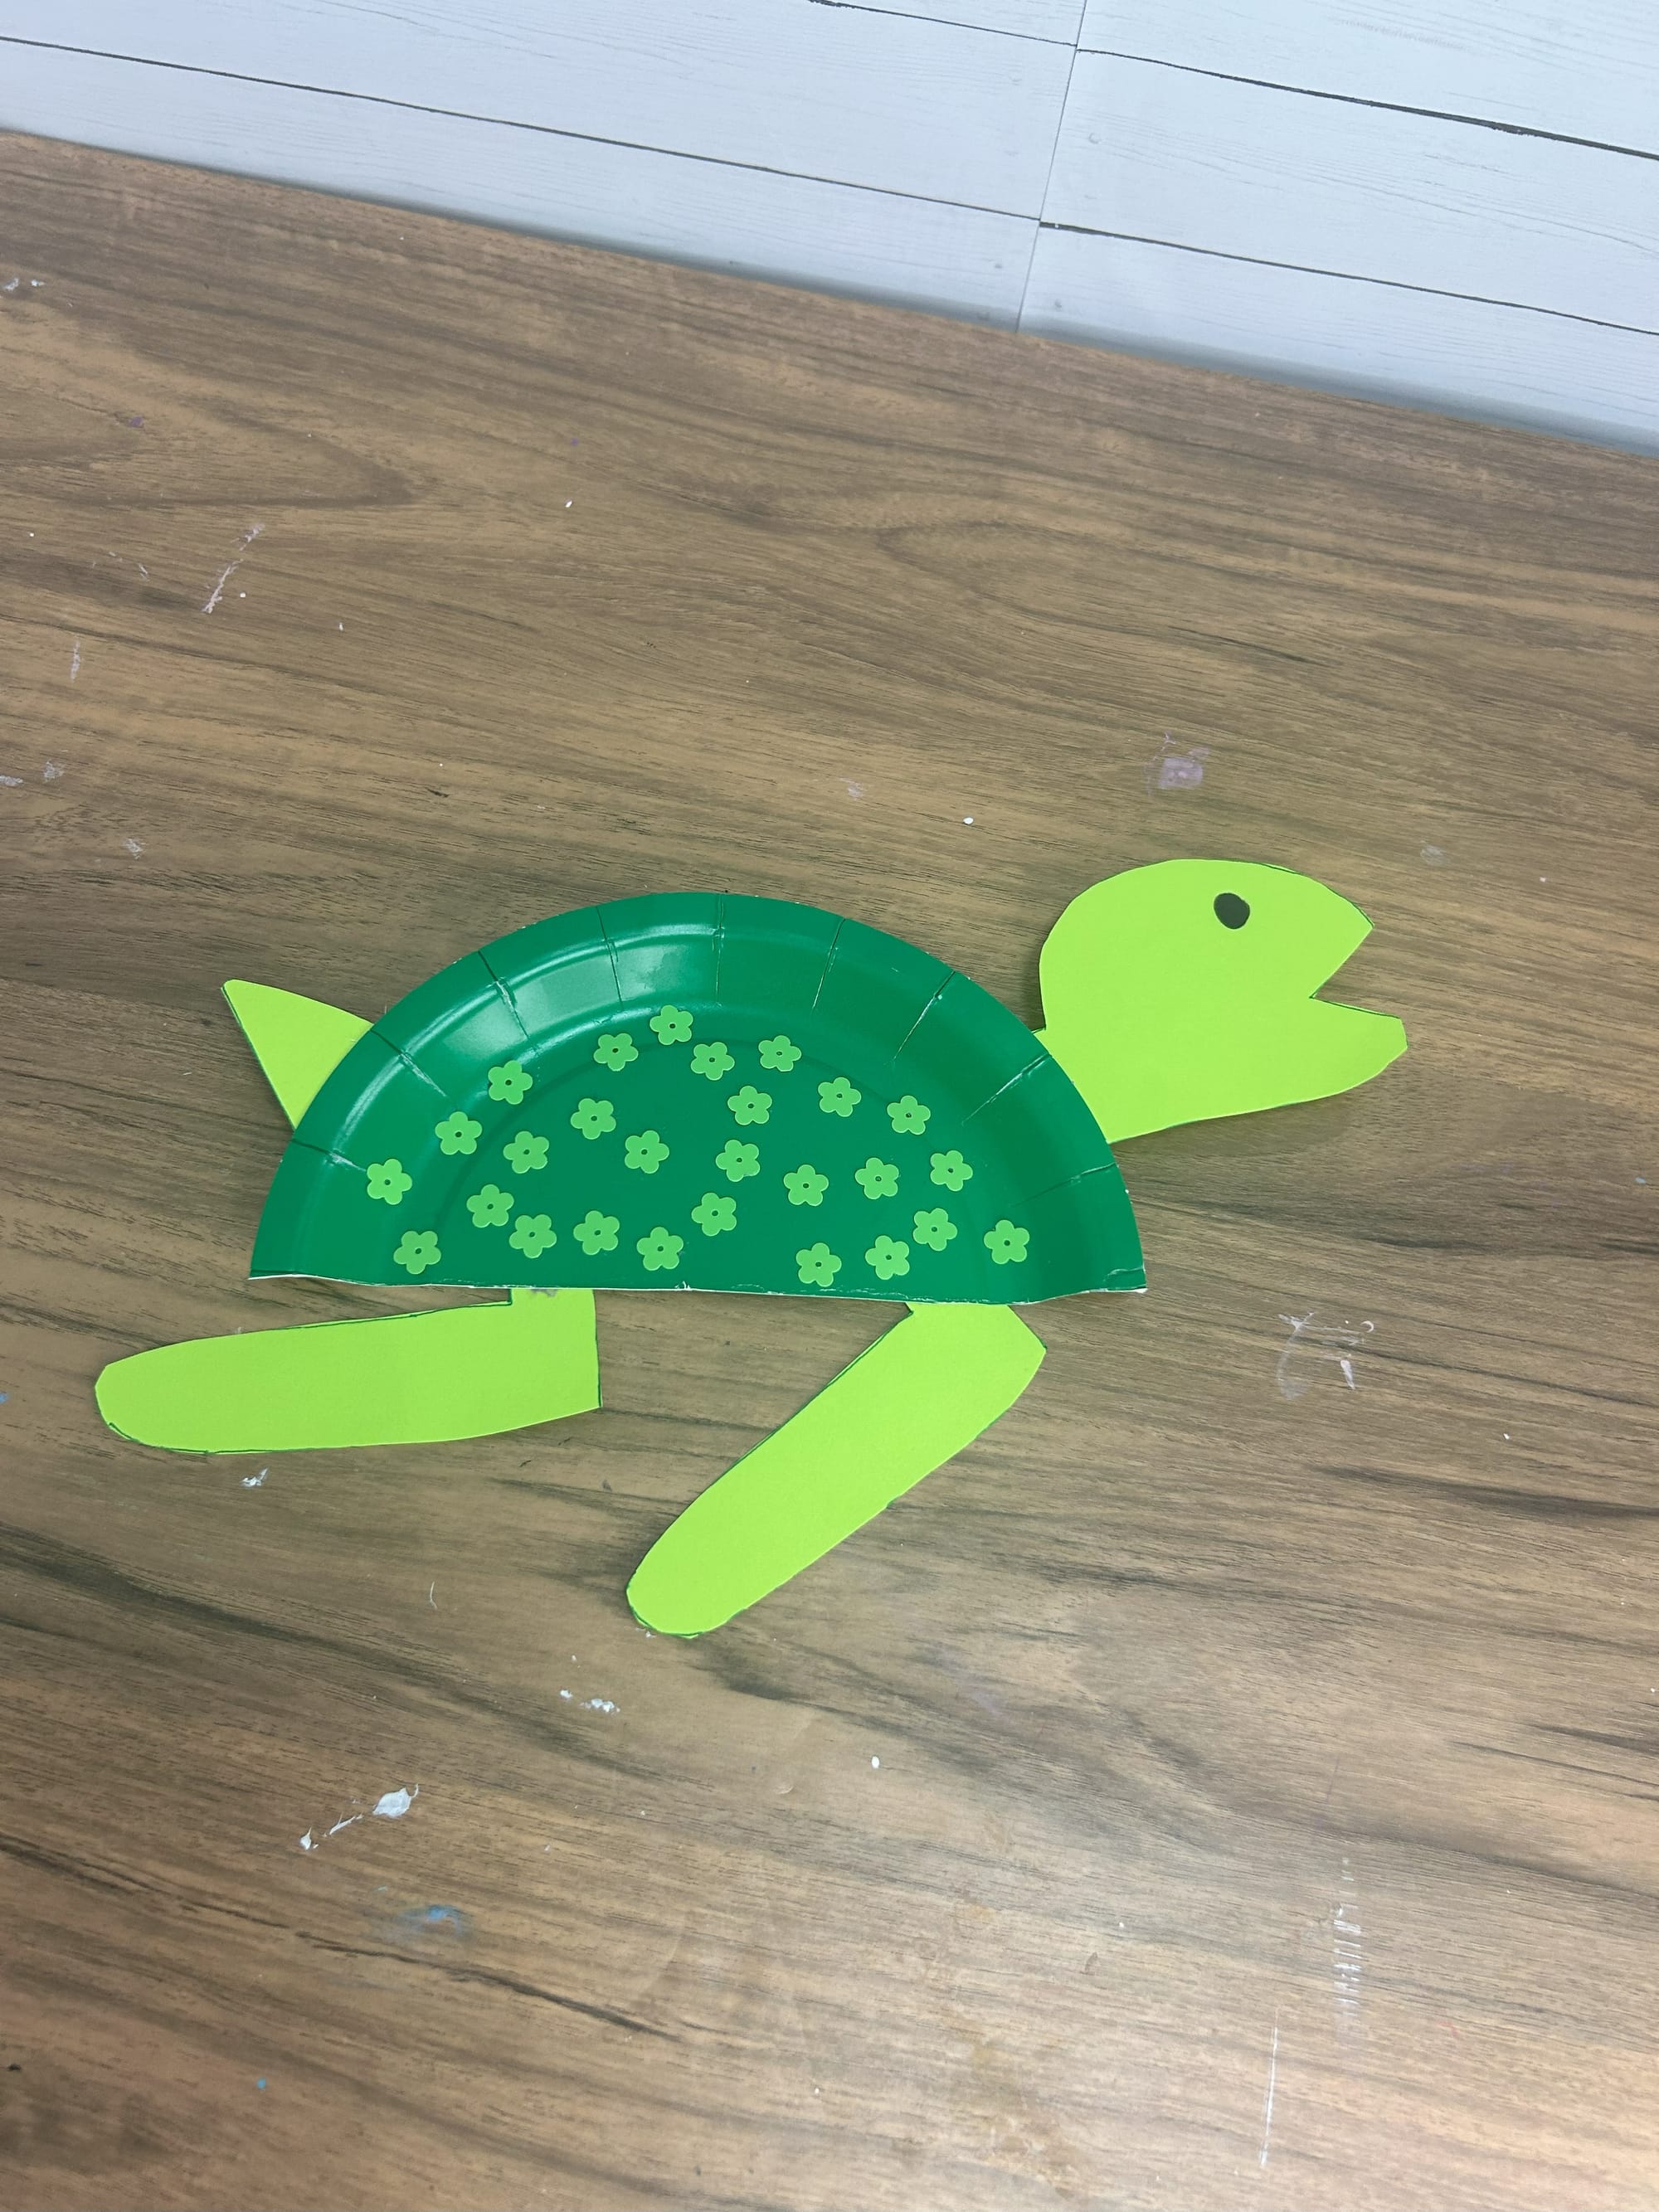
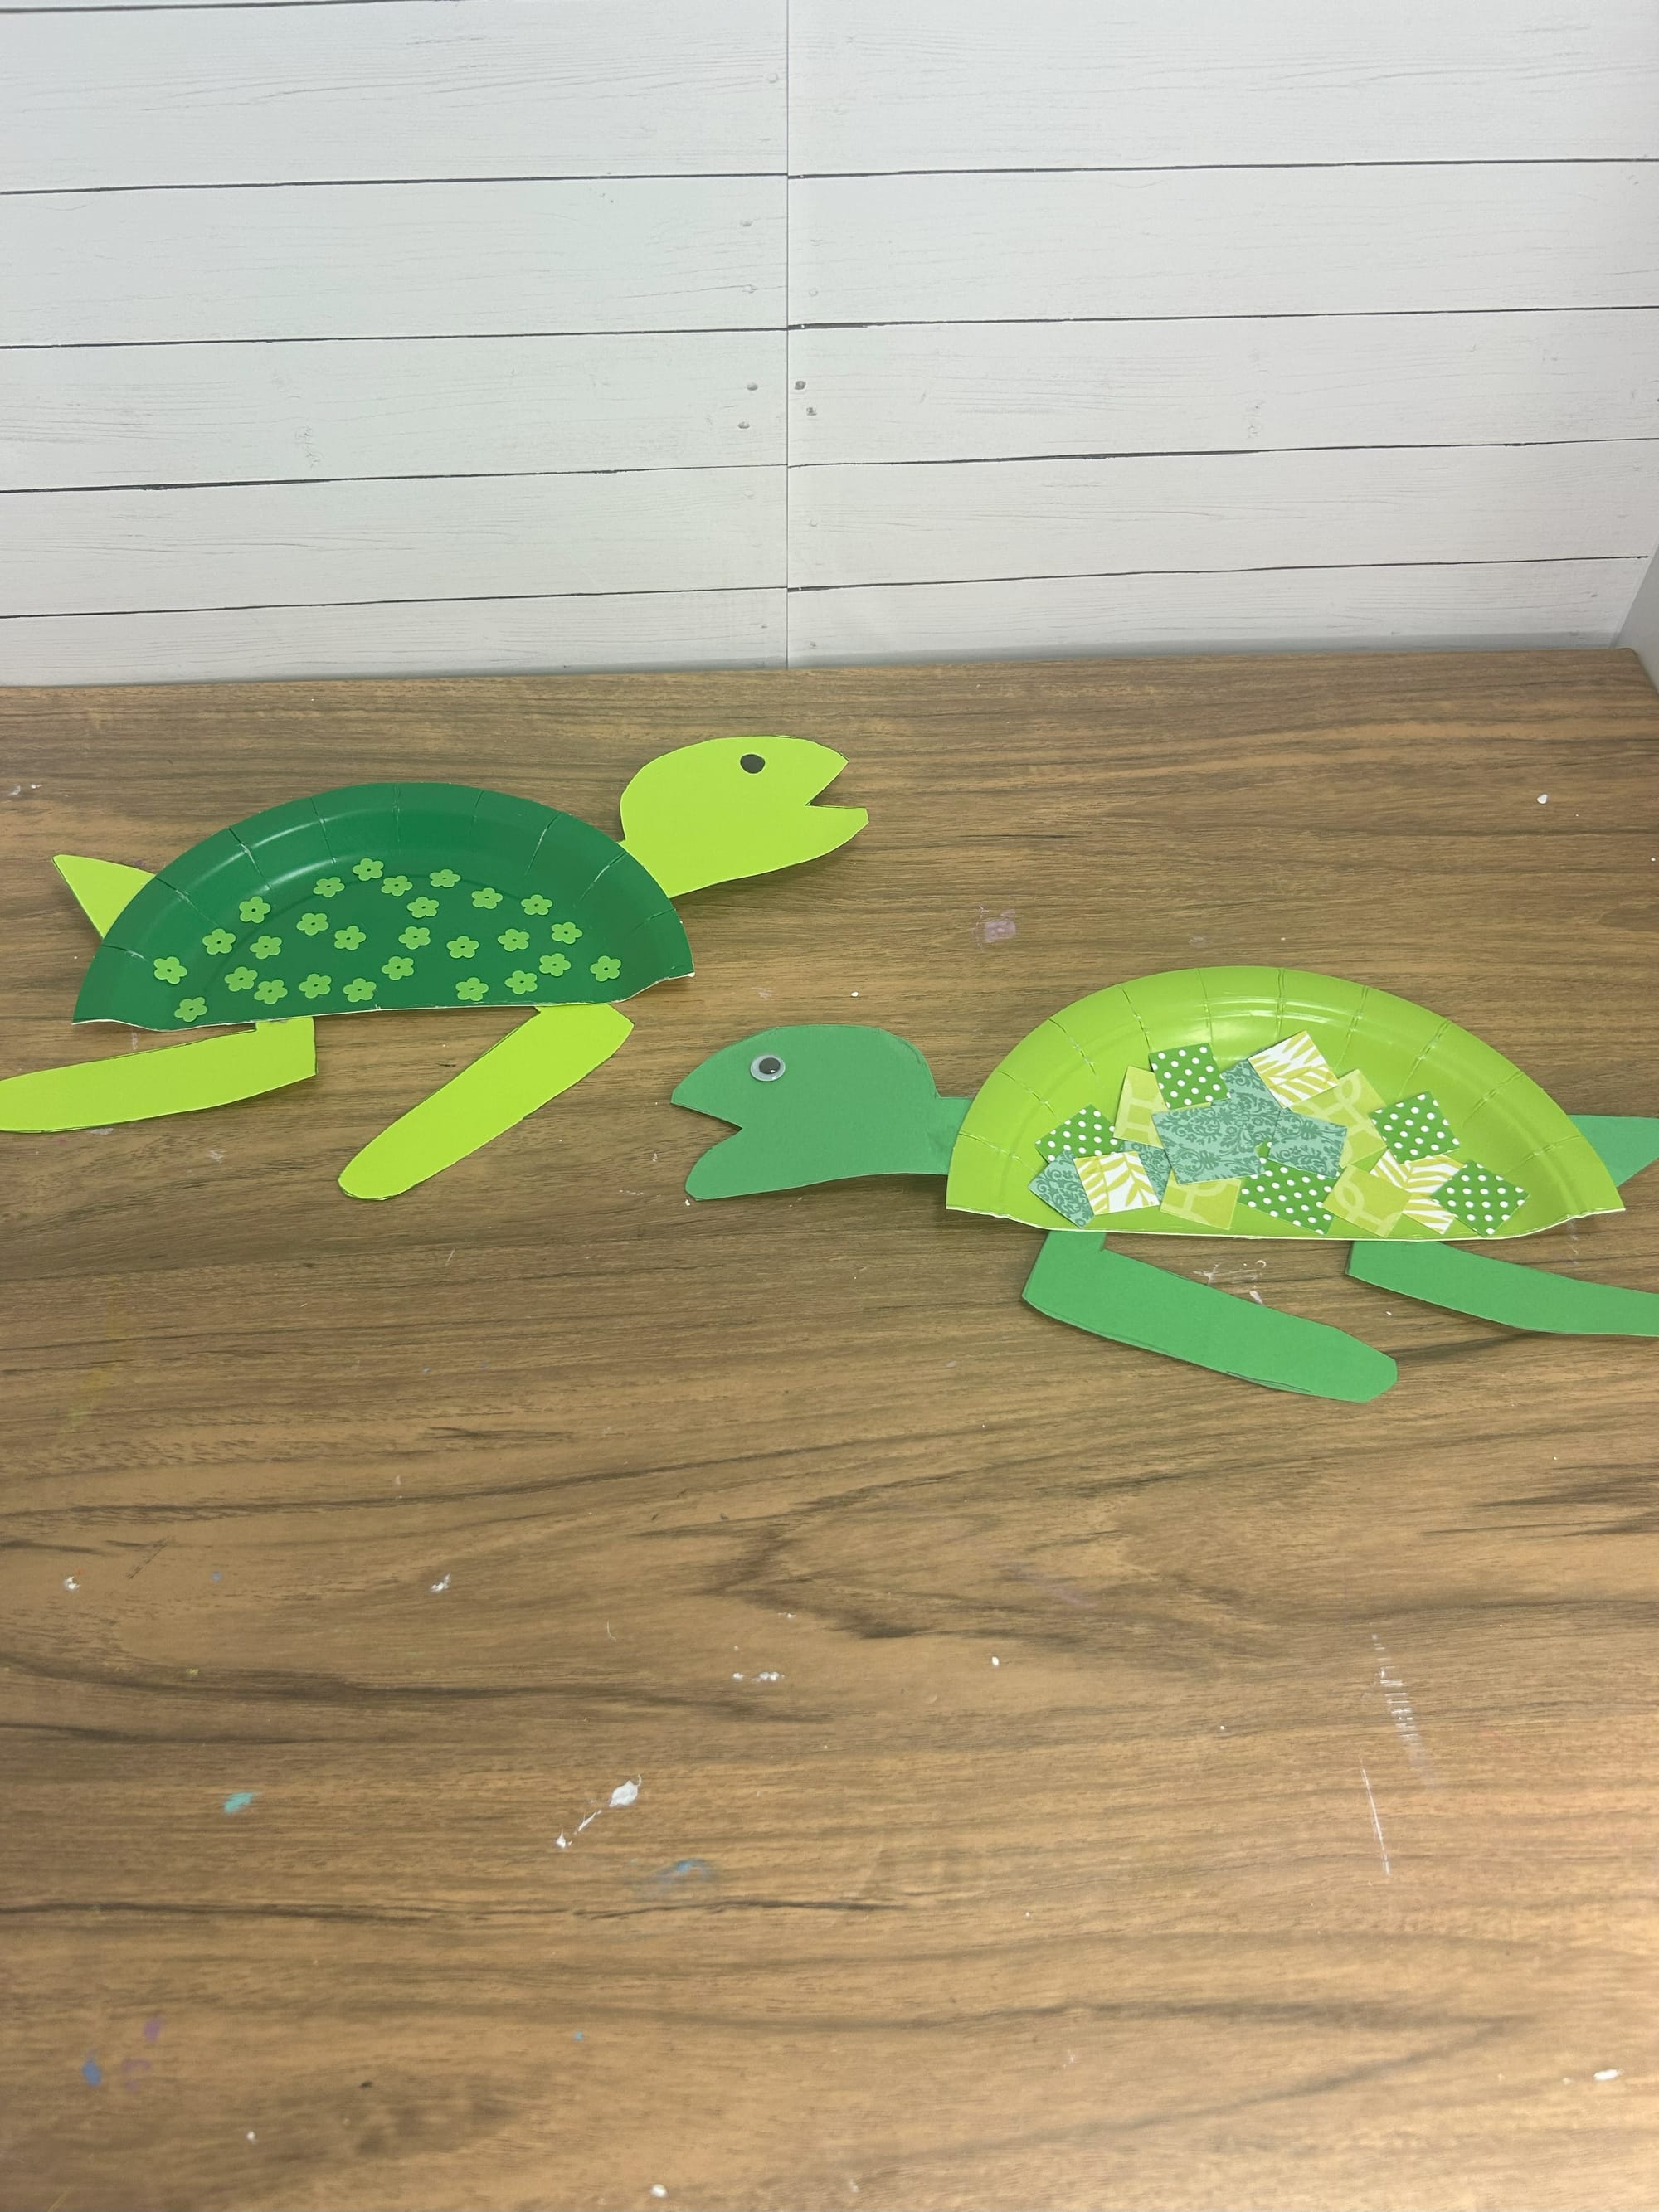
Draw or add a googly eye to the turtle.
You can also add the turtle to a blue piece of paper to create an ocean background.
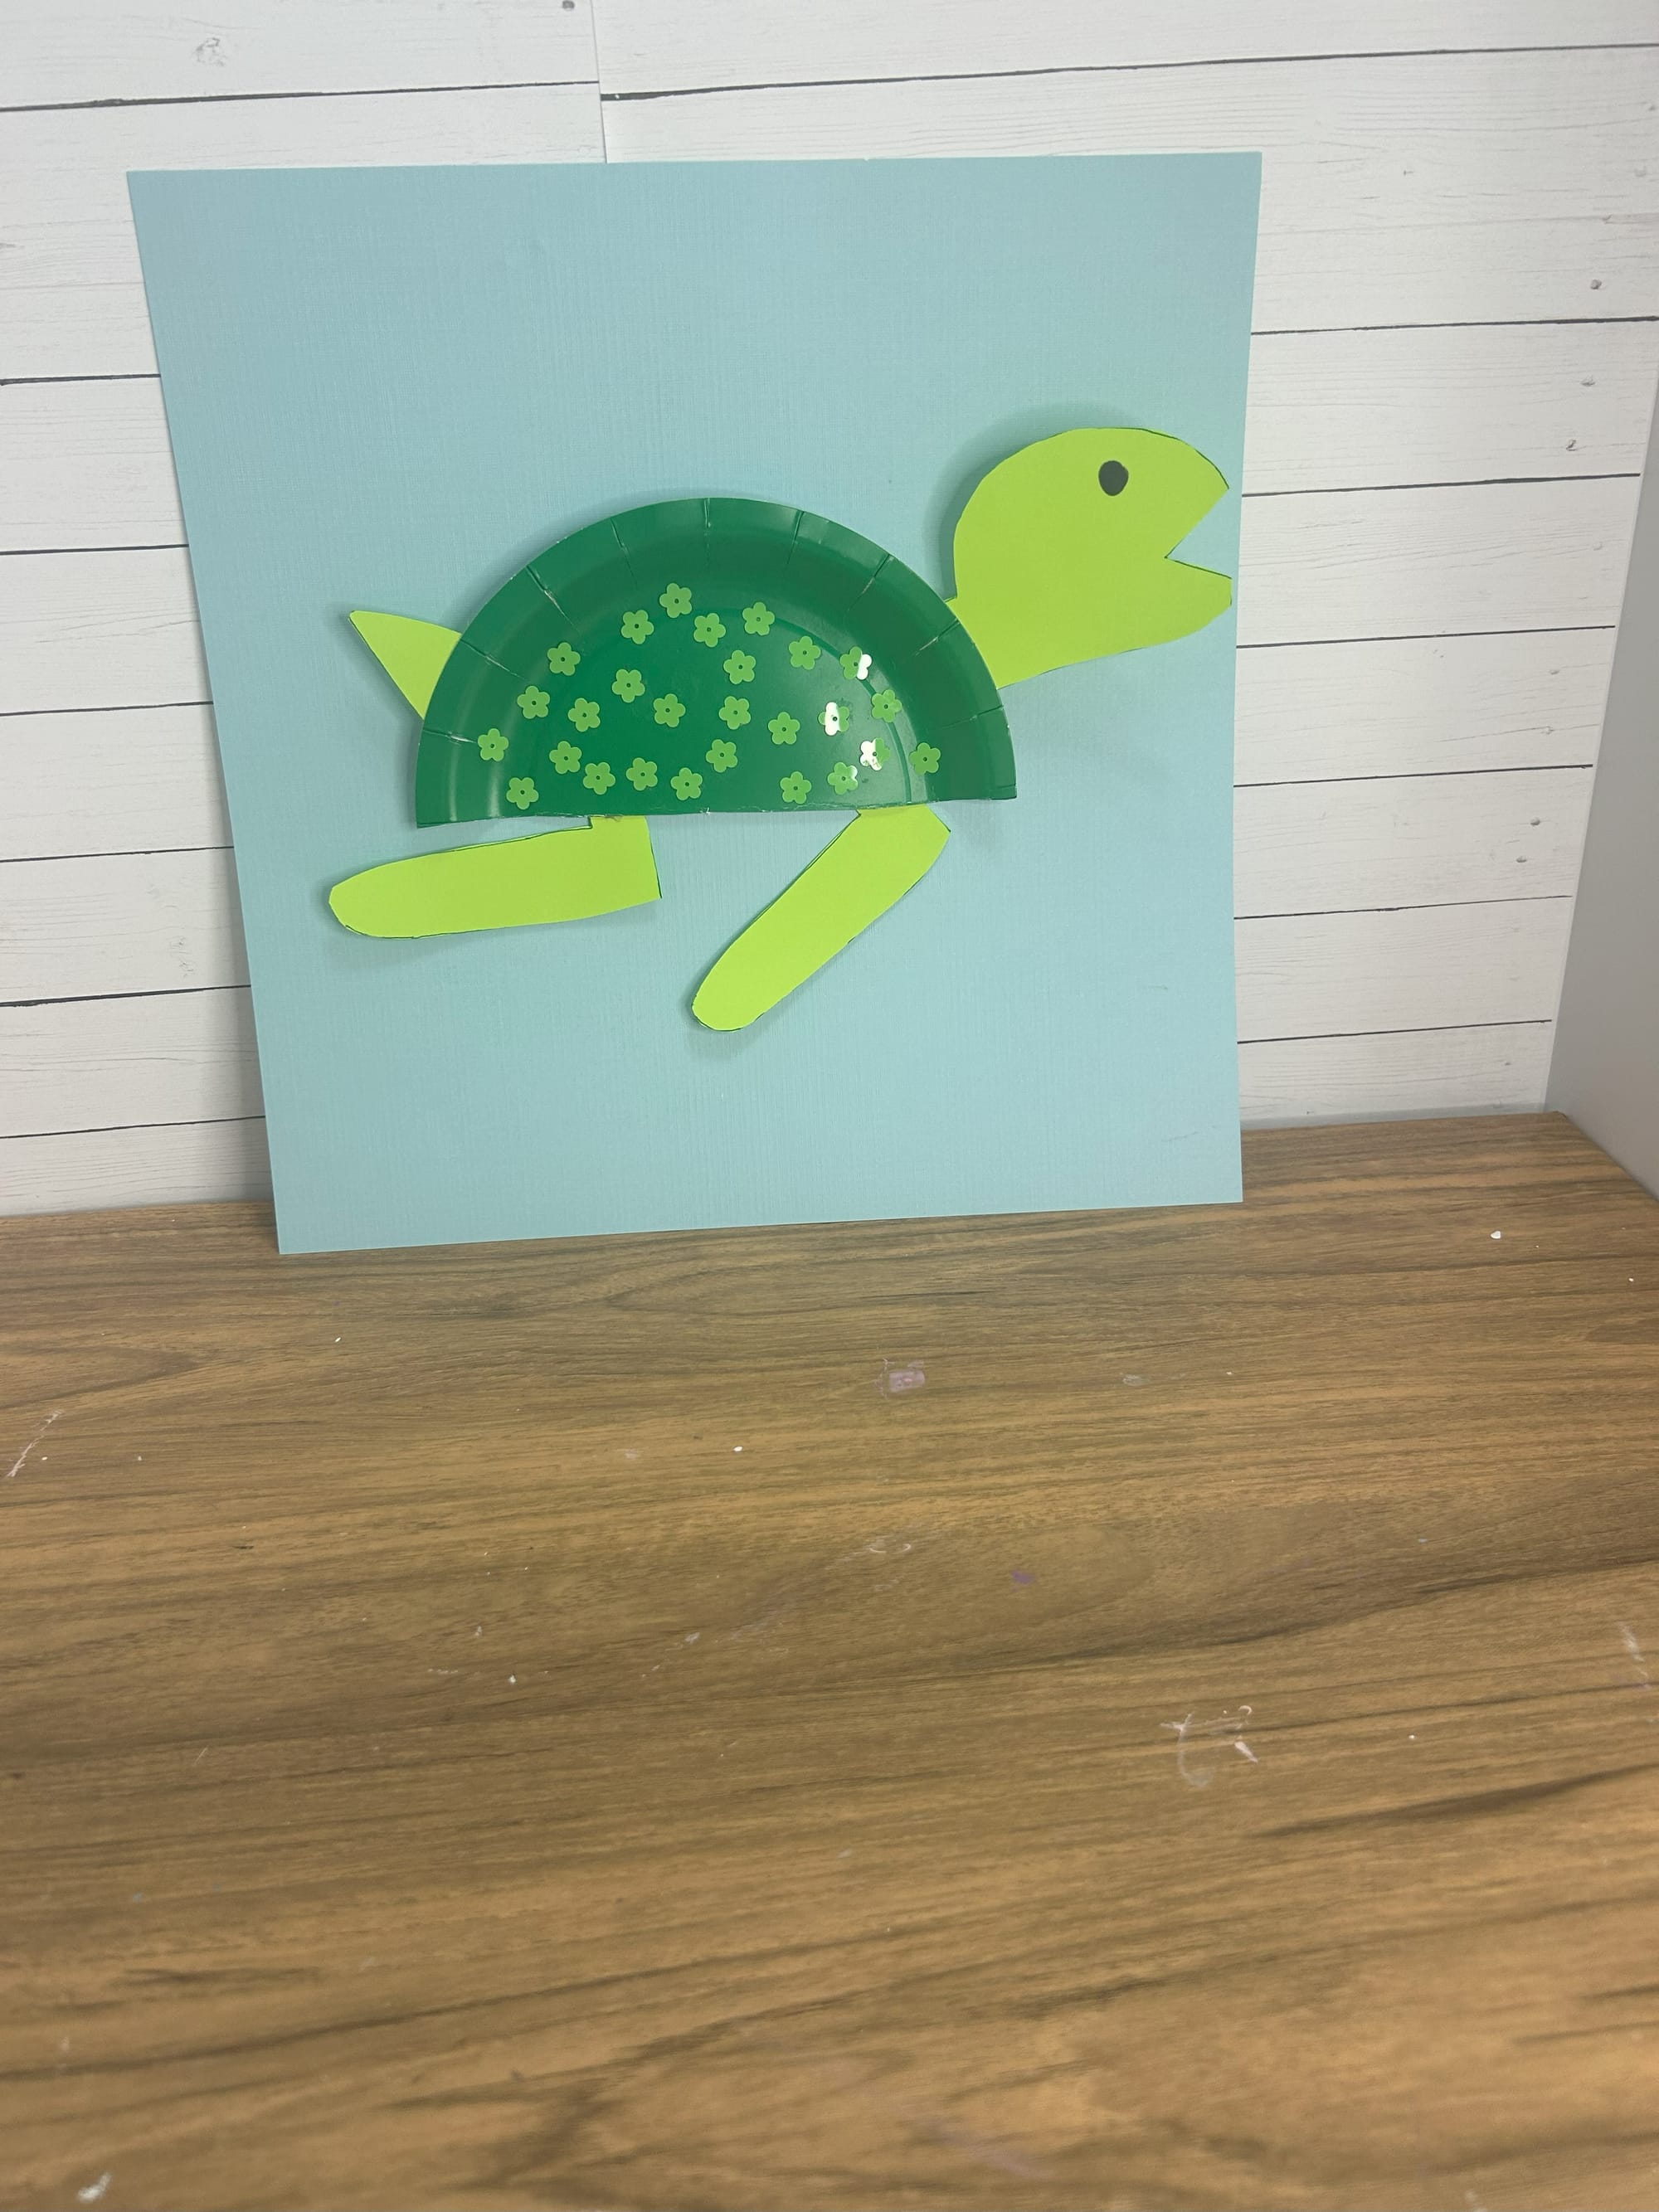
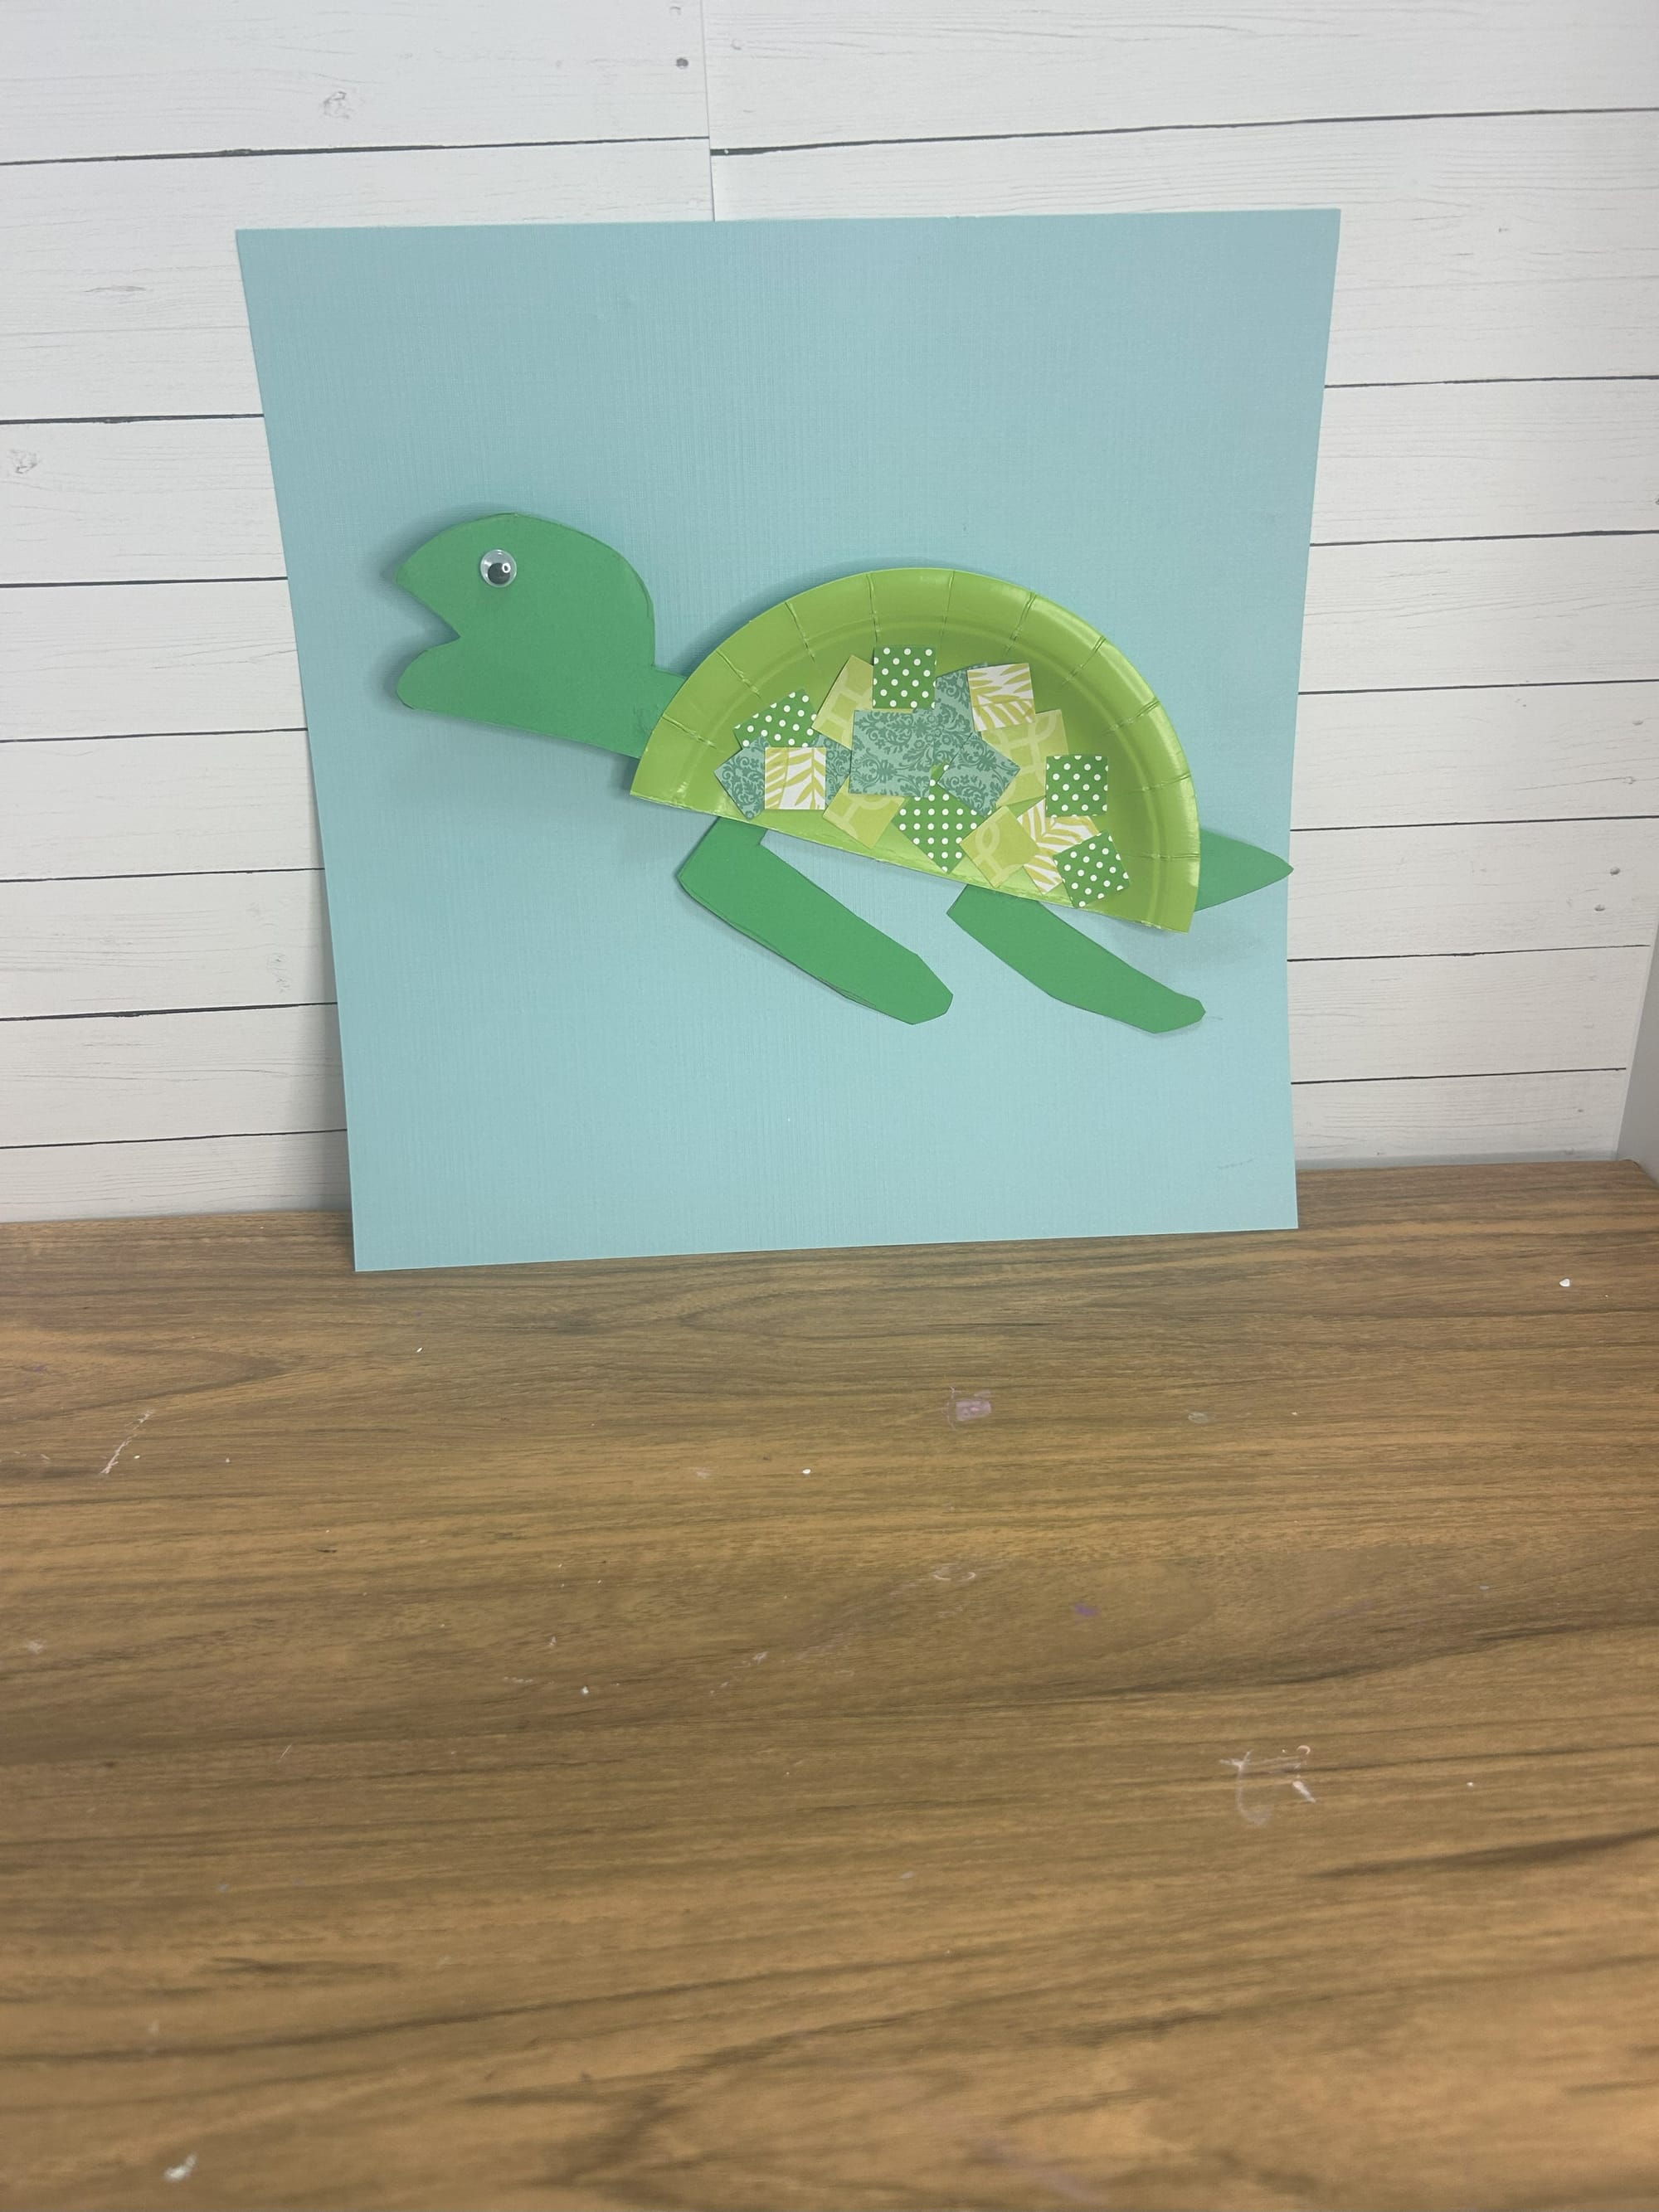
Encourage your child to add to the blue ocean background if they would like.