Paper Plate Peacock
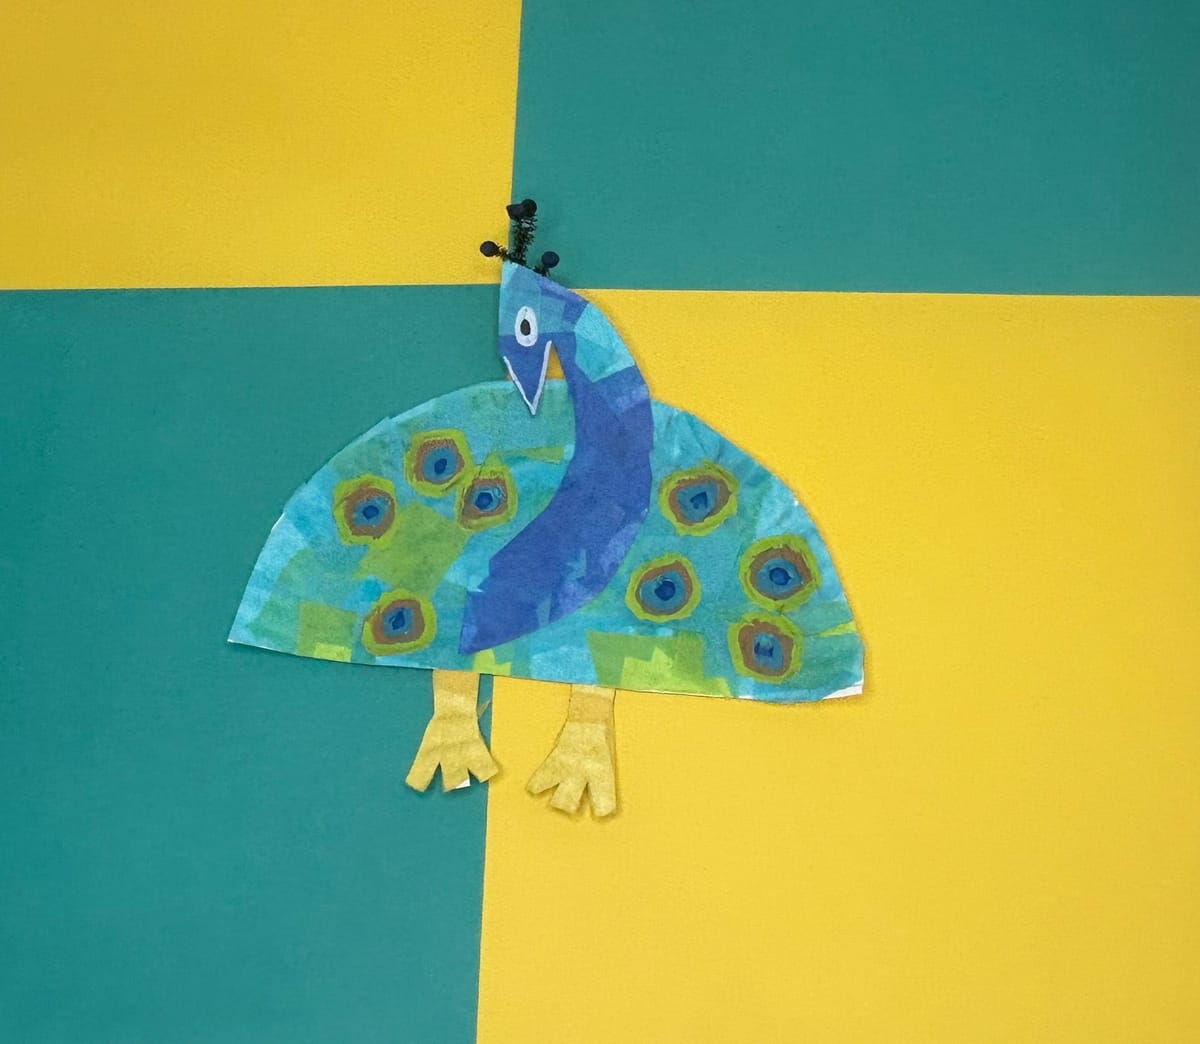
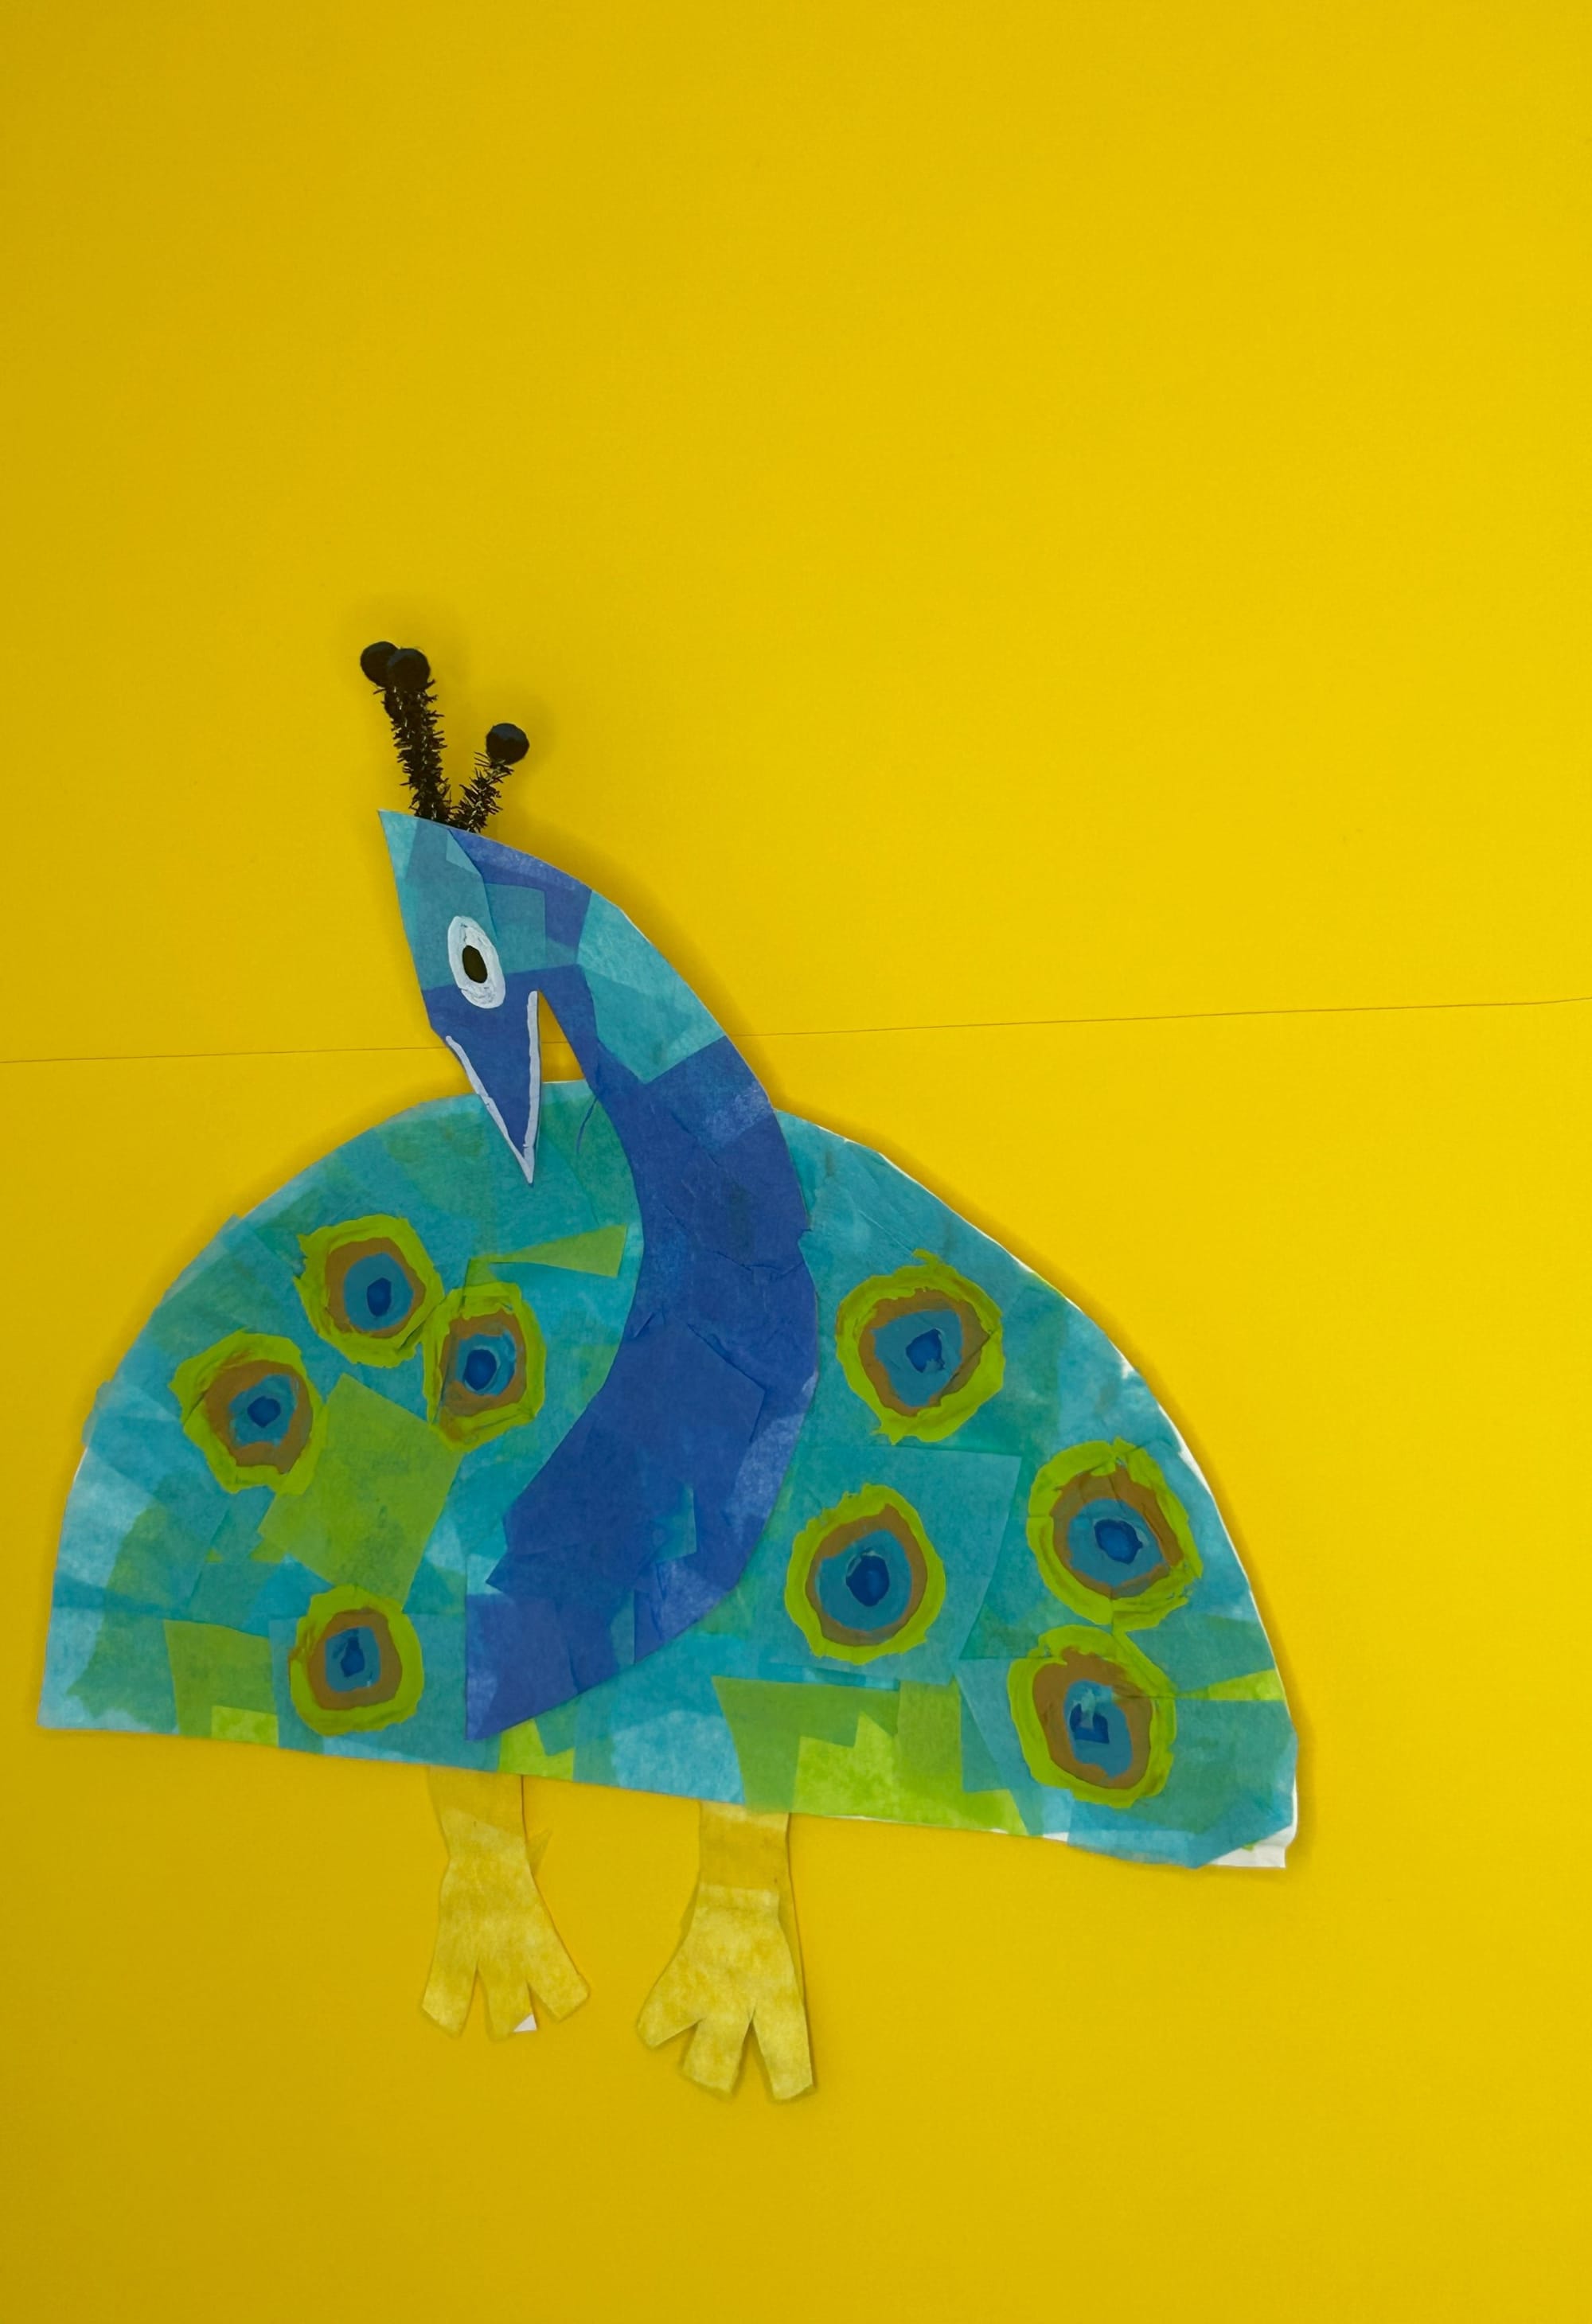
Create this adorable peacock from a paper plate. Simply add details with paint or markers to create this beautiful bird. Male peacocks have beautiful, colorful feathers. They are amazing to see in person with their large, impressive feathers.
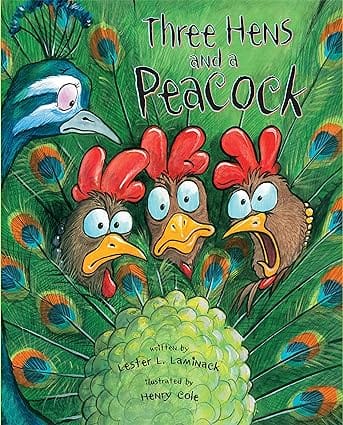
Reading is a great way to introduce a new activity. You can read the book "Three Hens and a Peacock" by Lester L. Laminack to your child. It is a great fiction book to read with your child about peacocks. This book is a great lesson in accepting our strengths and gifts in life. The 3 hens on the farm are so jealous of the new peacock, that they convince him to switch places for the day. Read to find out what happens. After reading discuss the problem and solution with your child. Helping your child think about the story and retell it aloud helps them with comprehension. Comprehension is their understanding of the text they read or heard read to them.
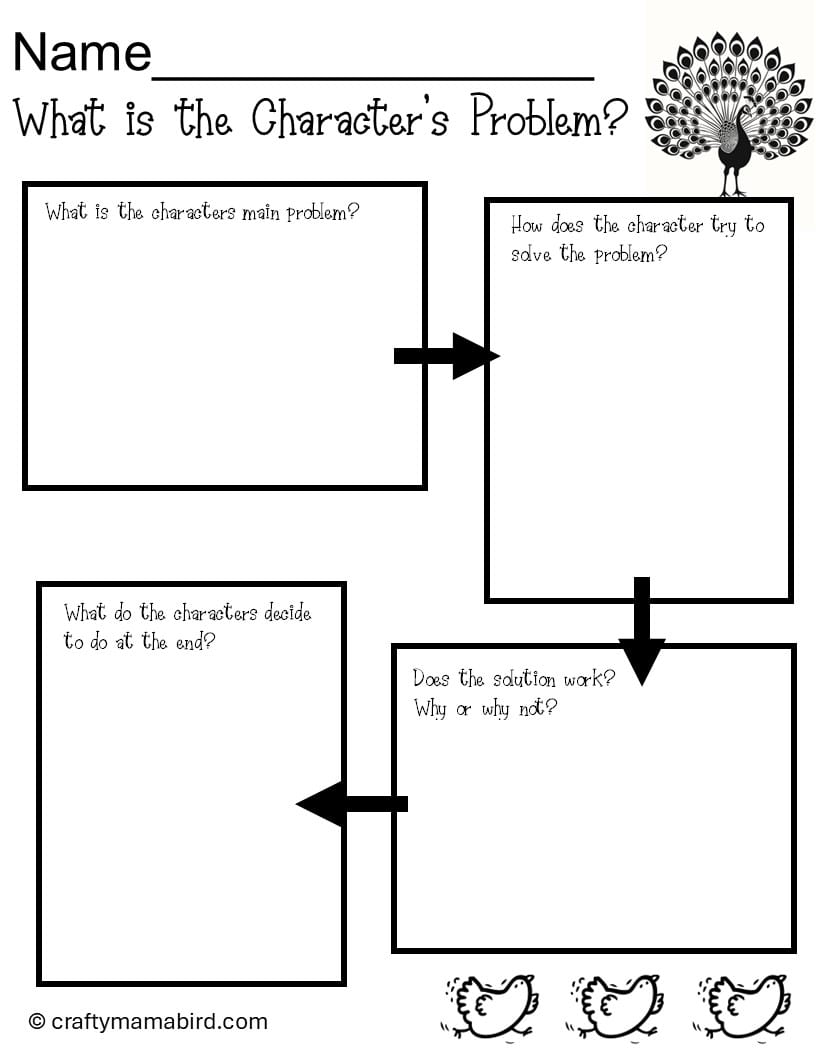
Here are some questions you can ask your child about problem and solution:
- What is the main problem in this story?
- Is there another problem?
- What do the character decide to do to solve this problem?
- How does the story end? Do the characters resolve the problem with their solution?
Another alternative is to have your child draw or write about the problem and solution.
After reading and discussing, have your child make this paper plate peacock. I have included a template to trace if you would like. However, I have found kids can be very creative. I would encourage your child to try to create their own head and feet for the peacock. I always find a real picture of the animal as an example can help them create their craft.
Supplies:
- Paper plate
- Tissue Paper
- Glue Stick
- Paint
- Q-Tips
- Markers
- Pipe cleaners
- Scissors
- Mini Pom poms
- Peacock tracer and comprehension sheet
Instructions:
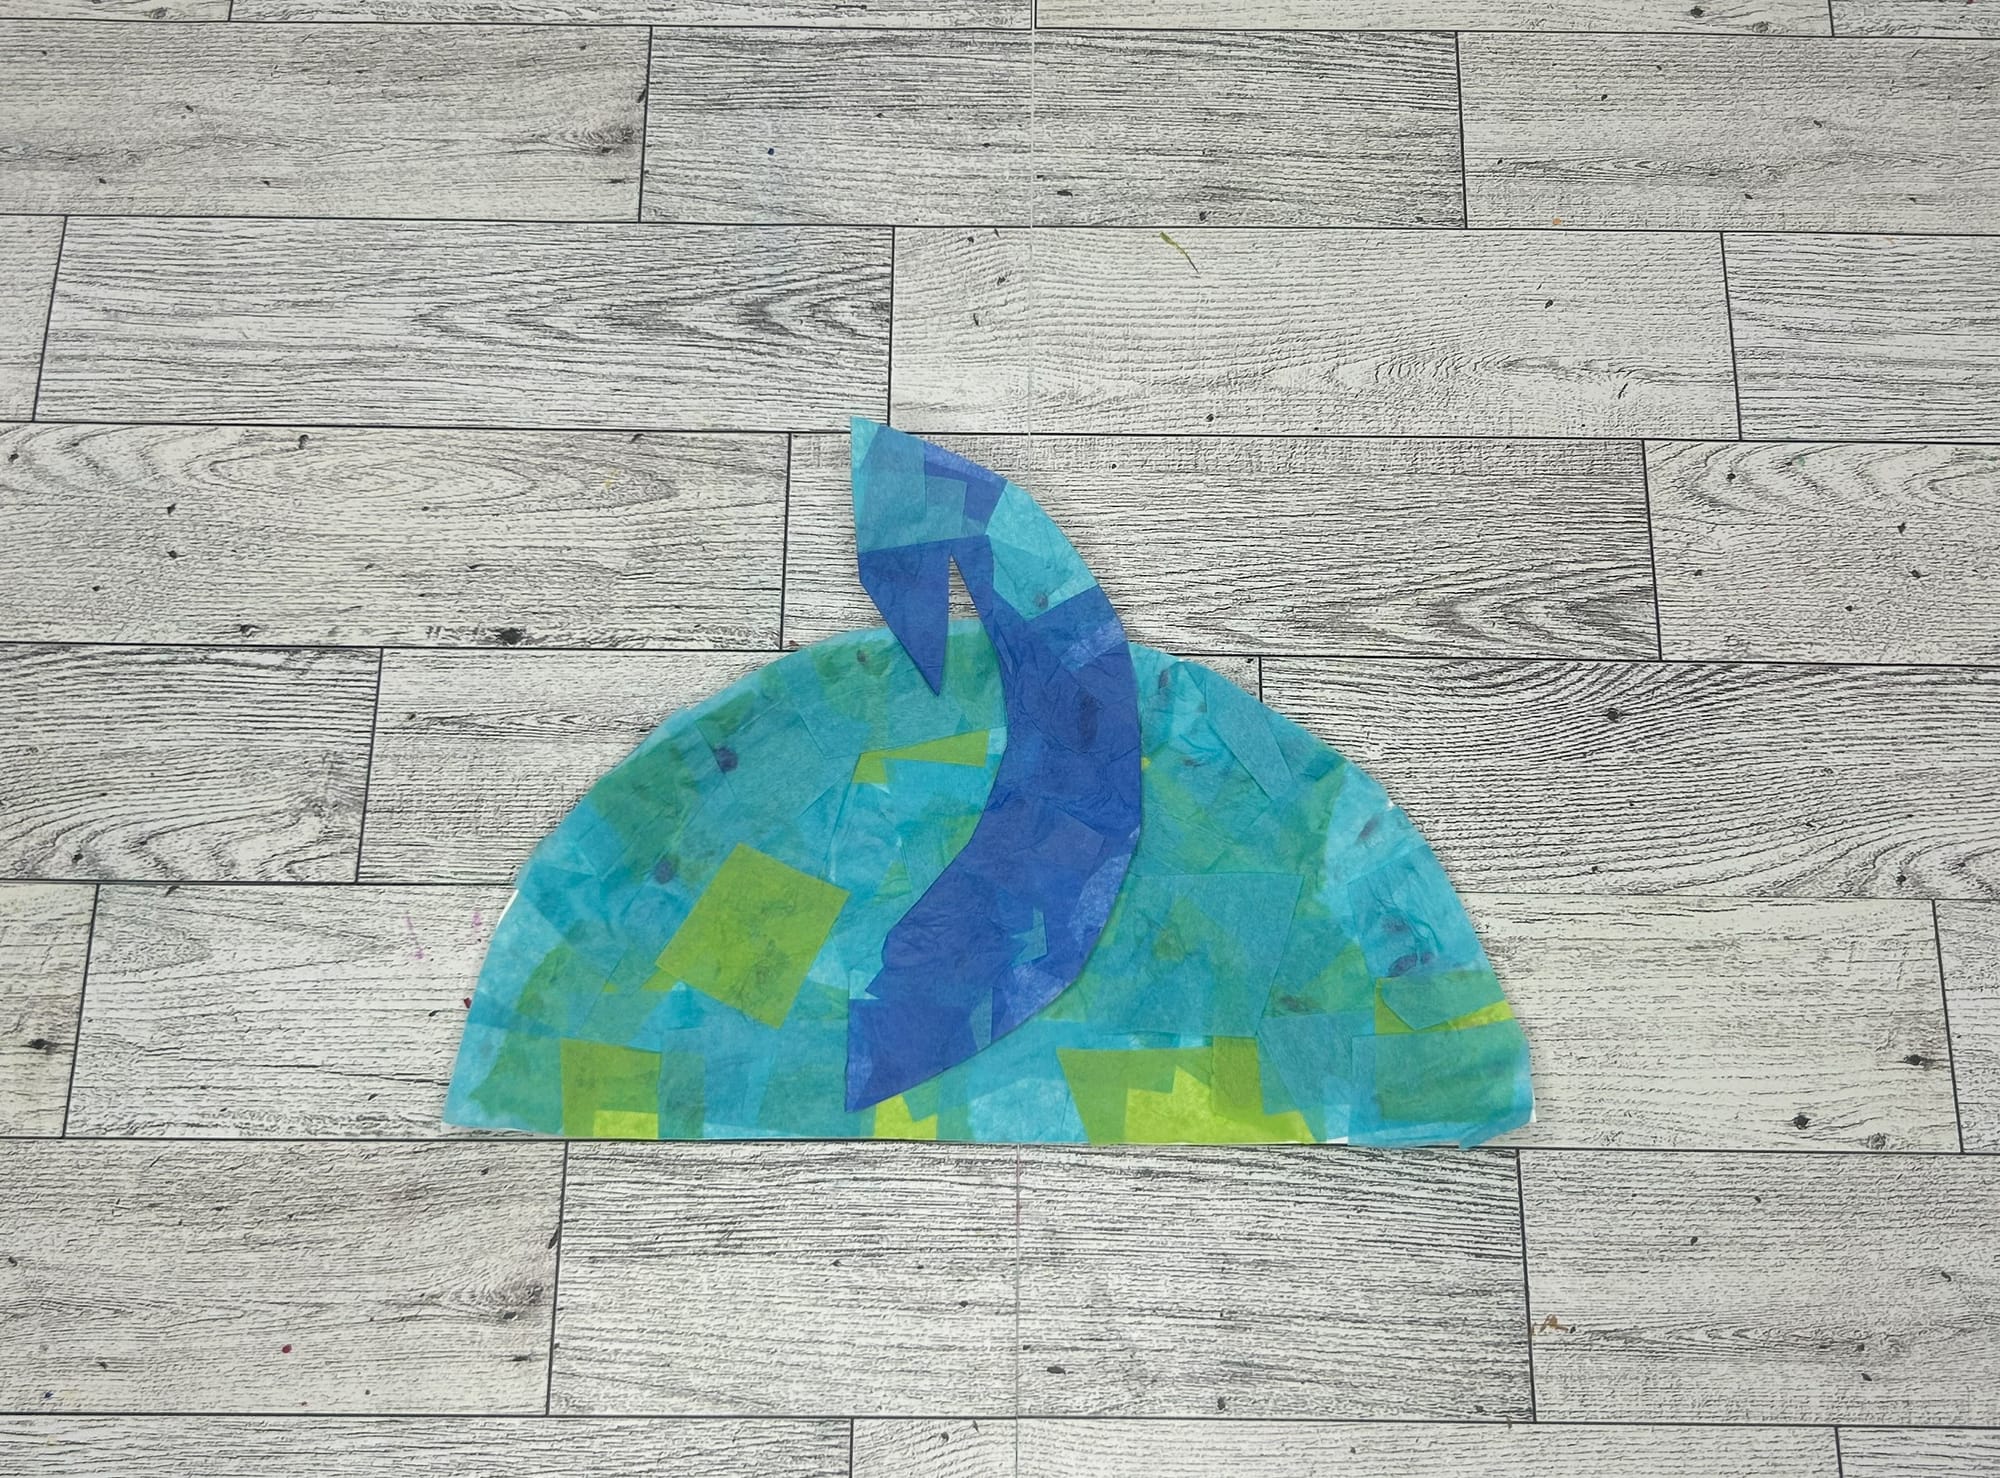
- Cut a paper plate in half. One half will be used for the body and the other half will be used to draw the head and feet.
- Glue pieces of tissue paper to cover half of the paper plate. I used a variety of colors including green, and two shades of blue.
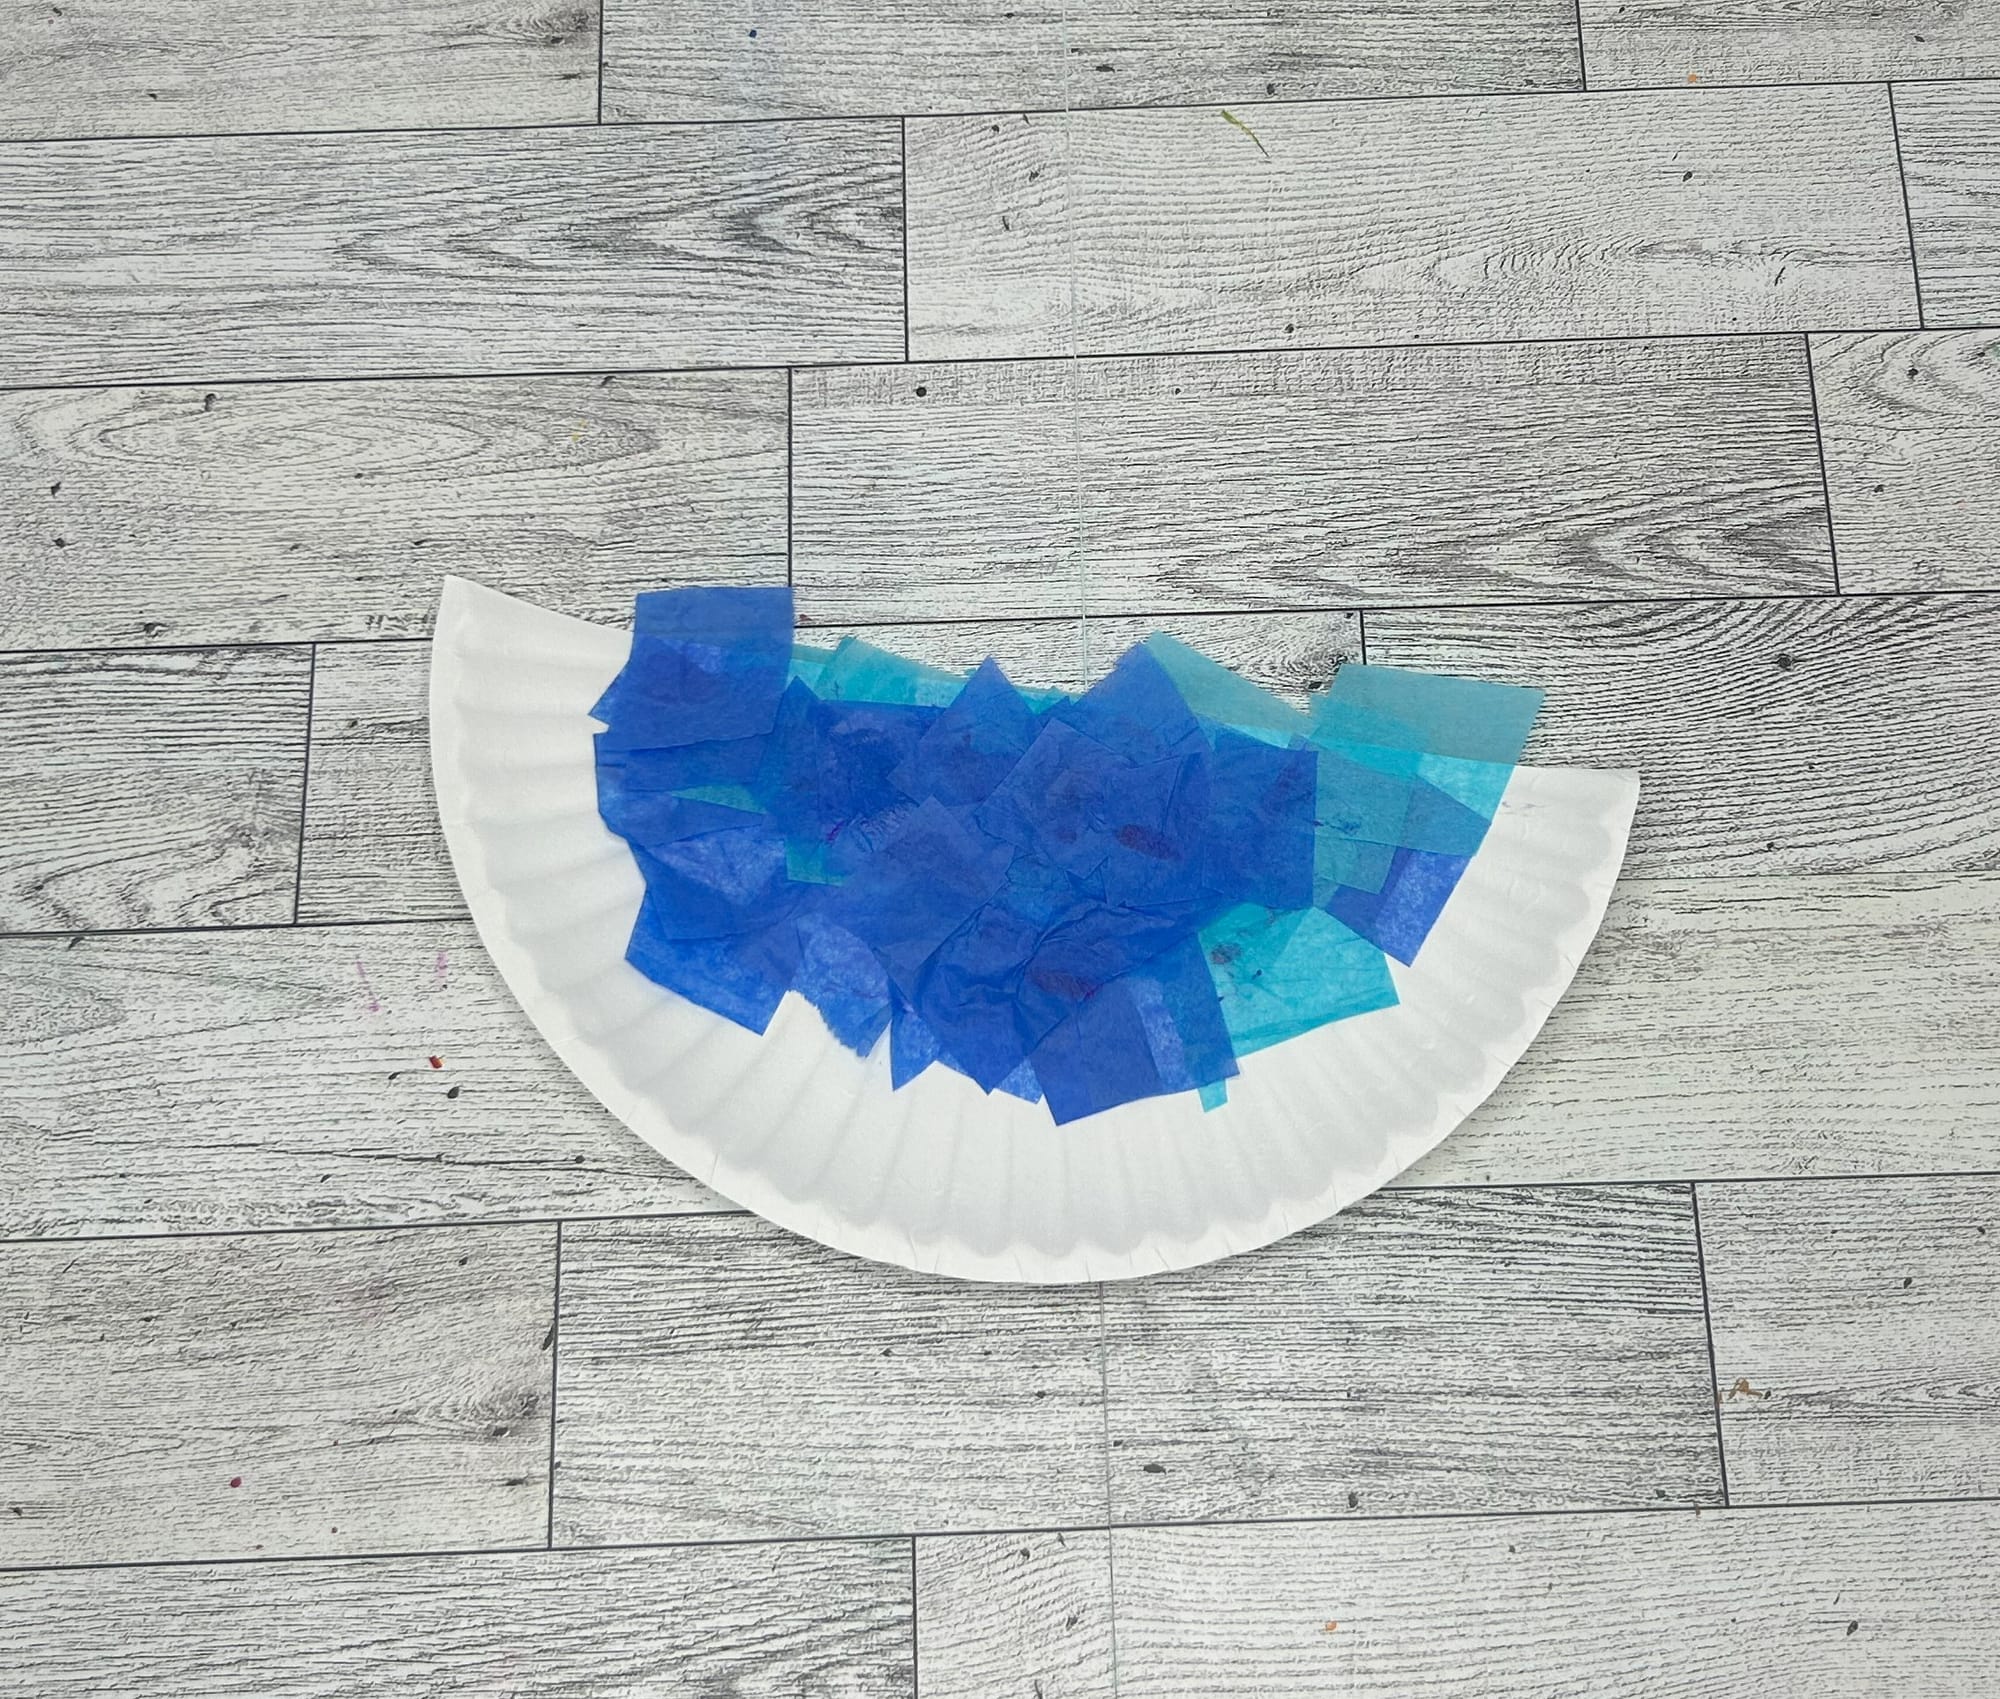
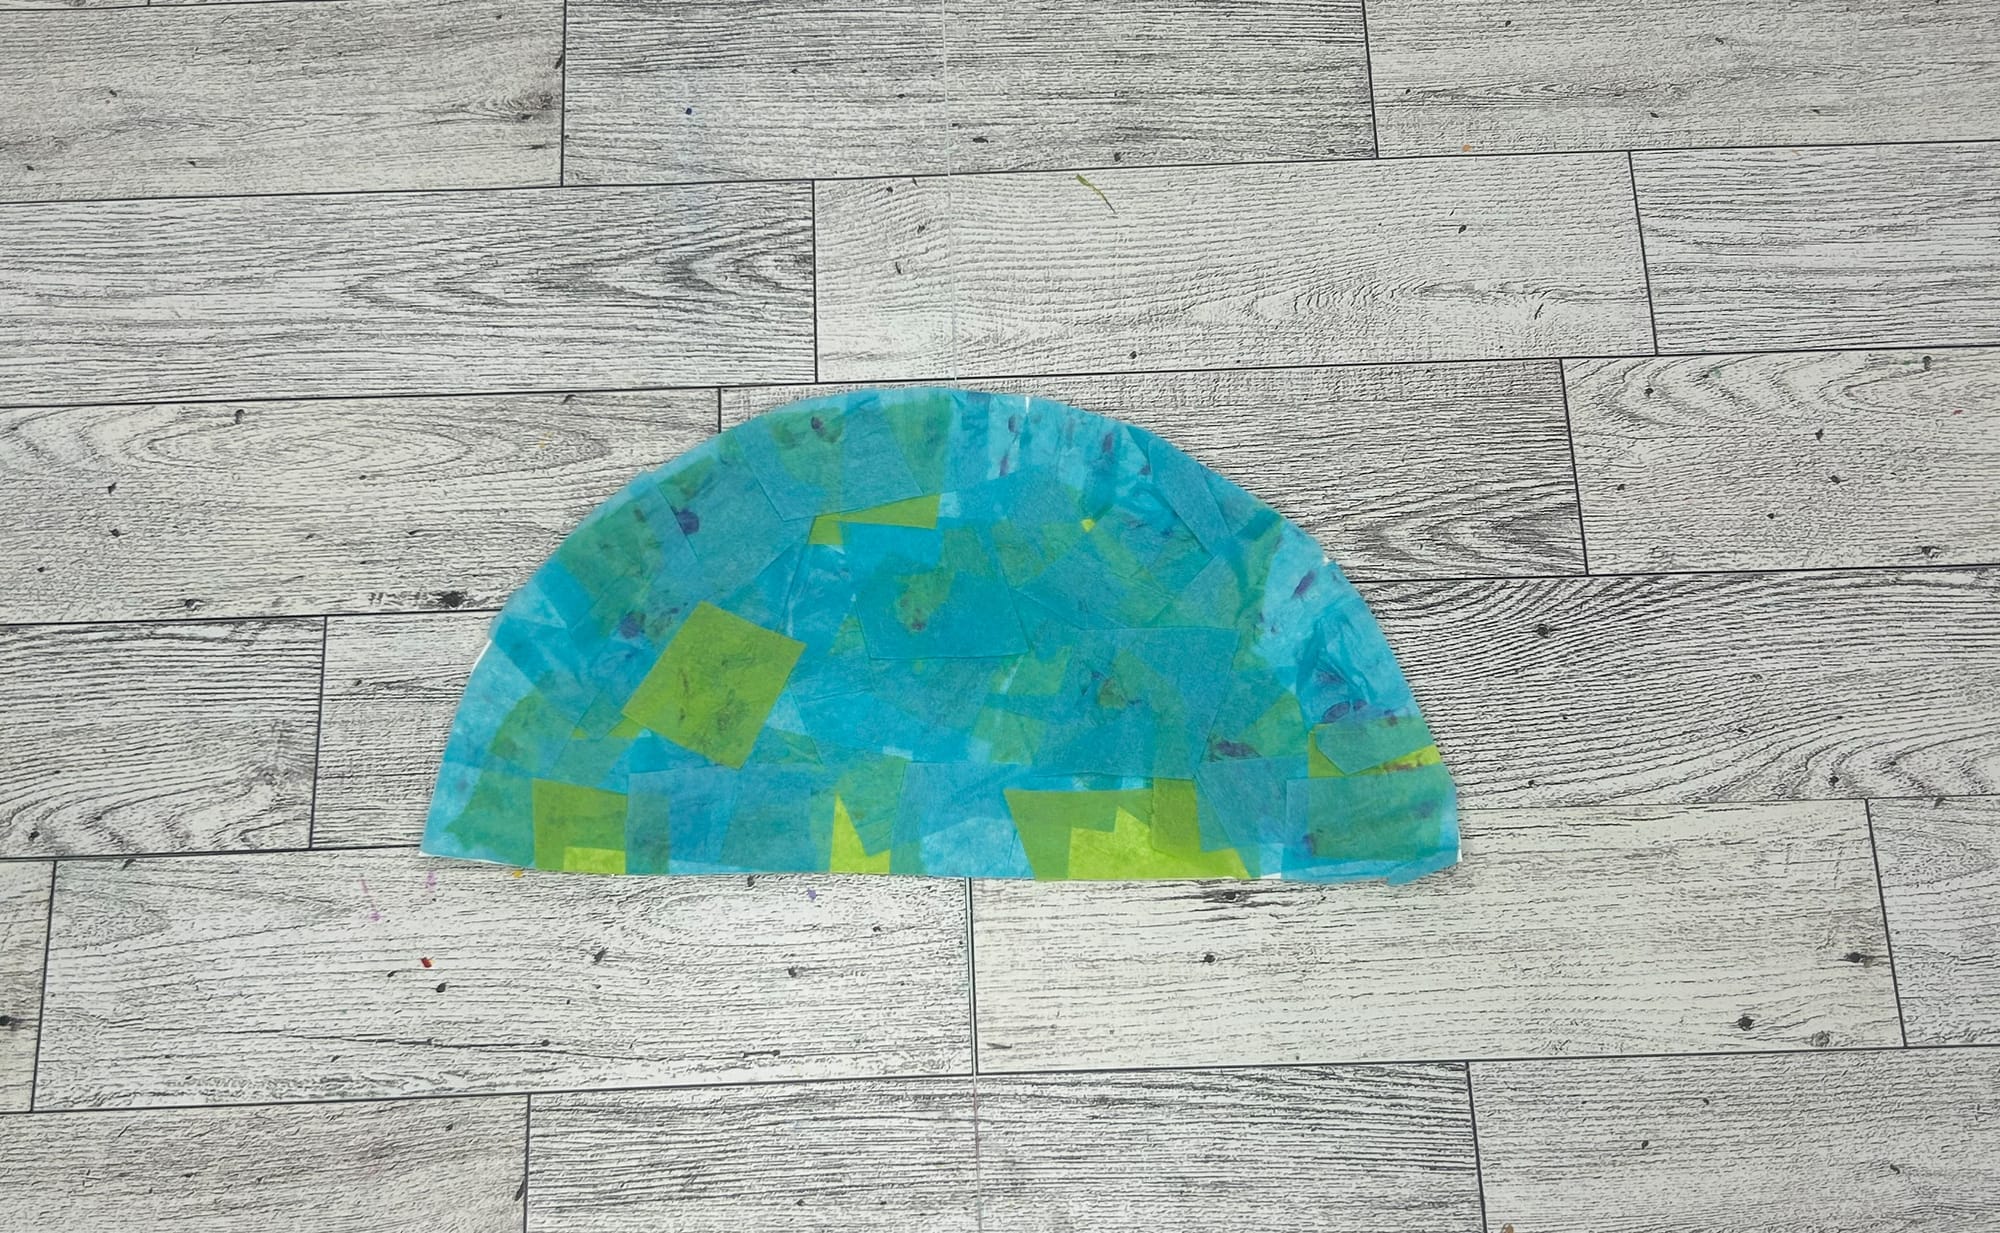
- Once the paper plate is covered, you can flip over and cut off the excess tissue paper.
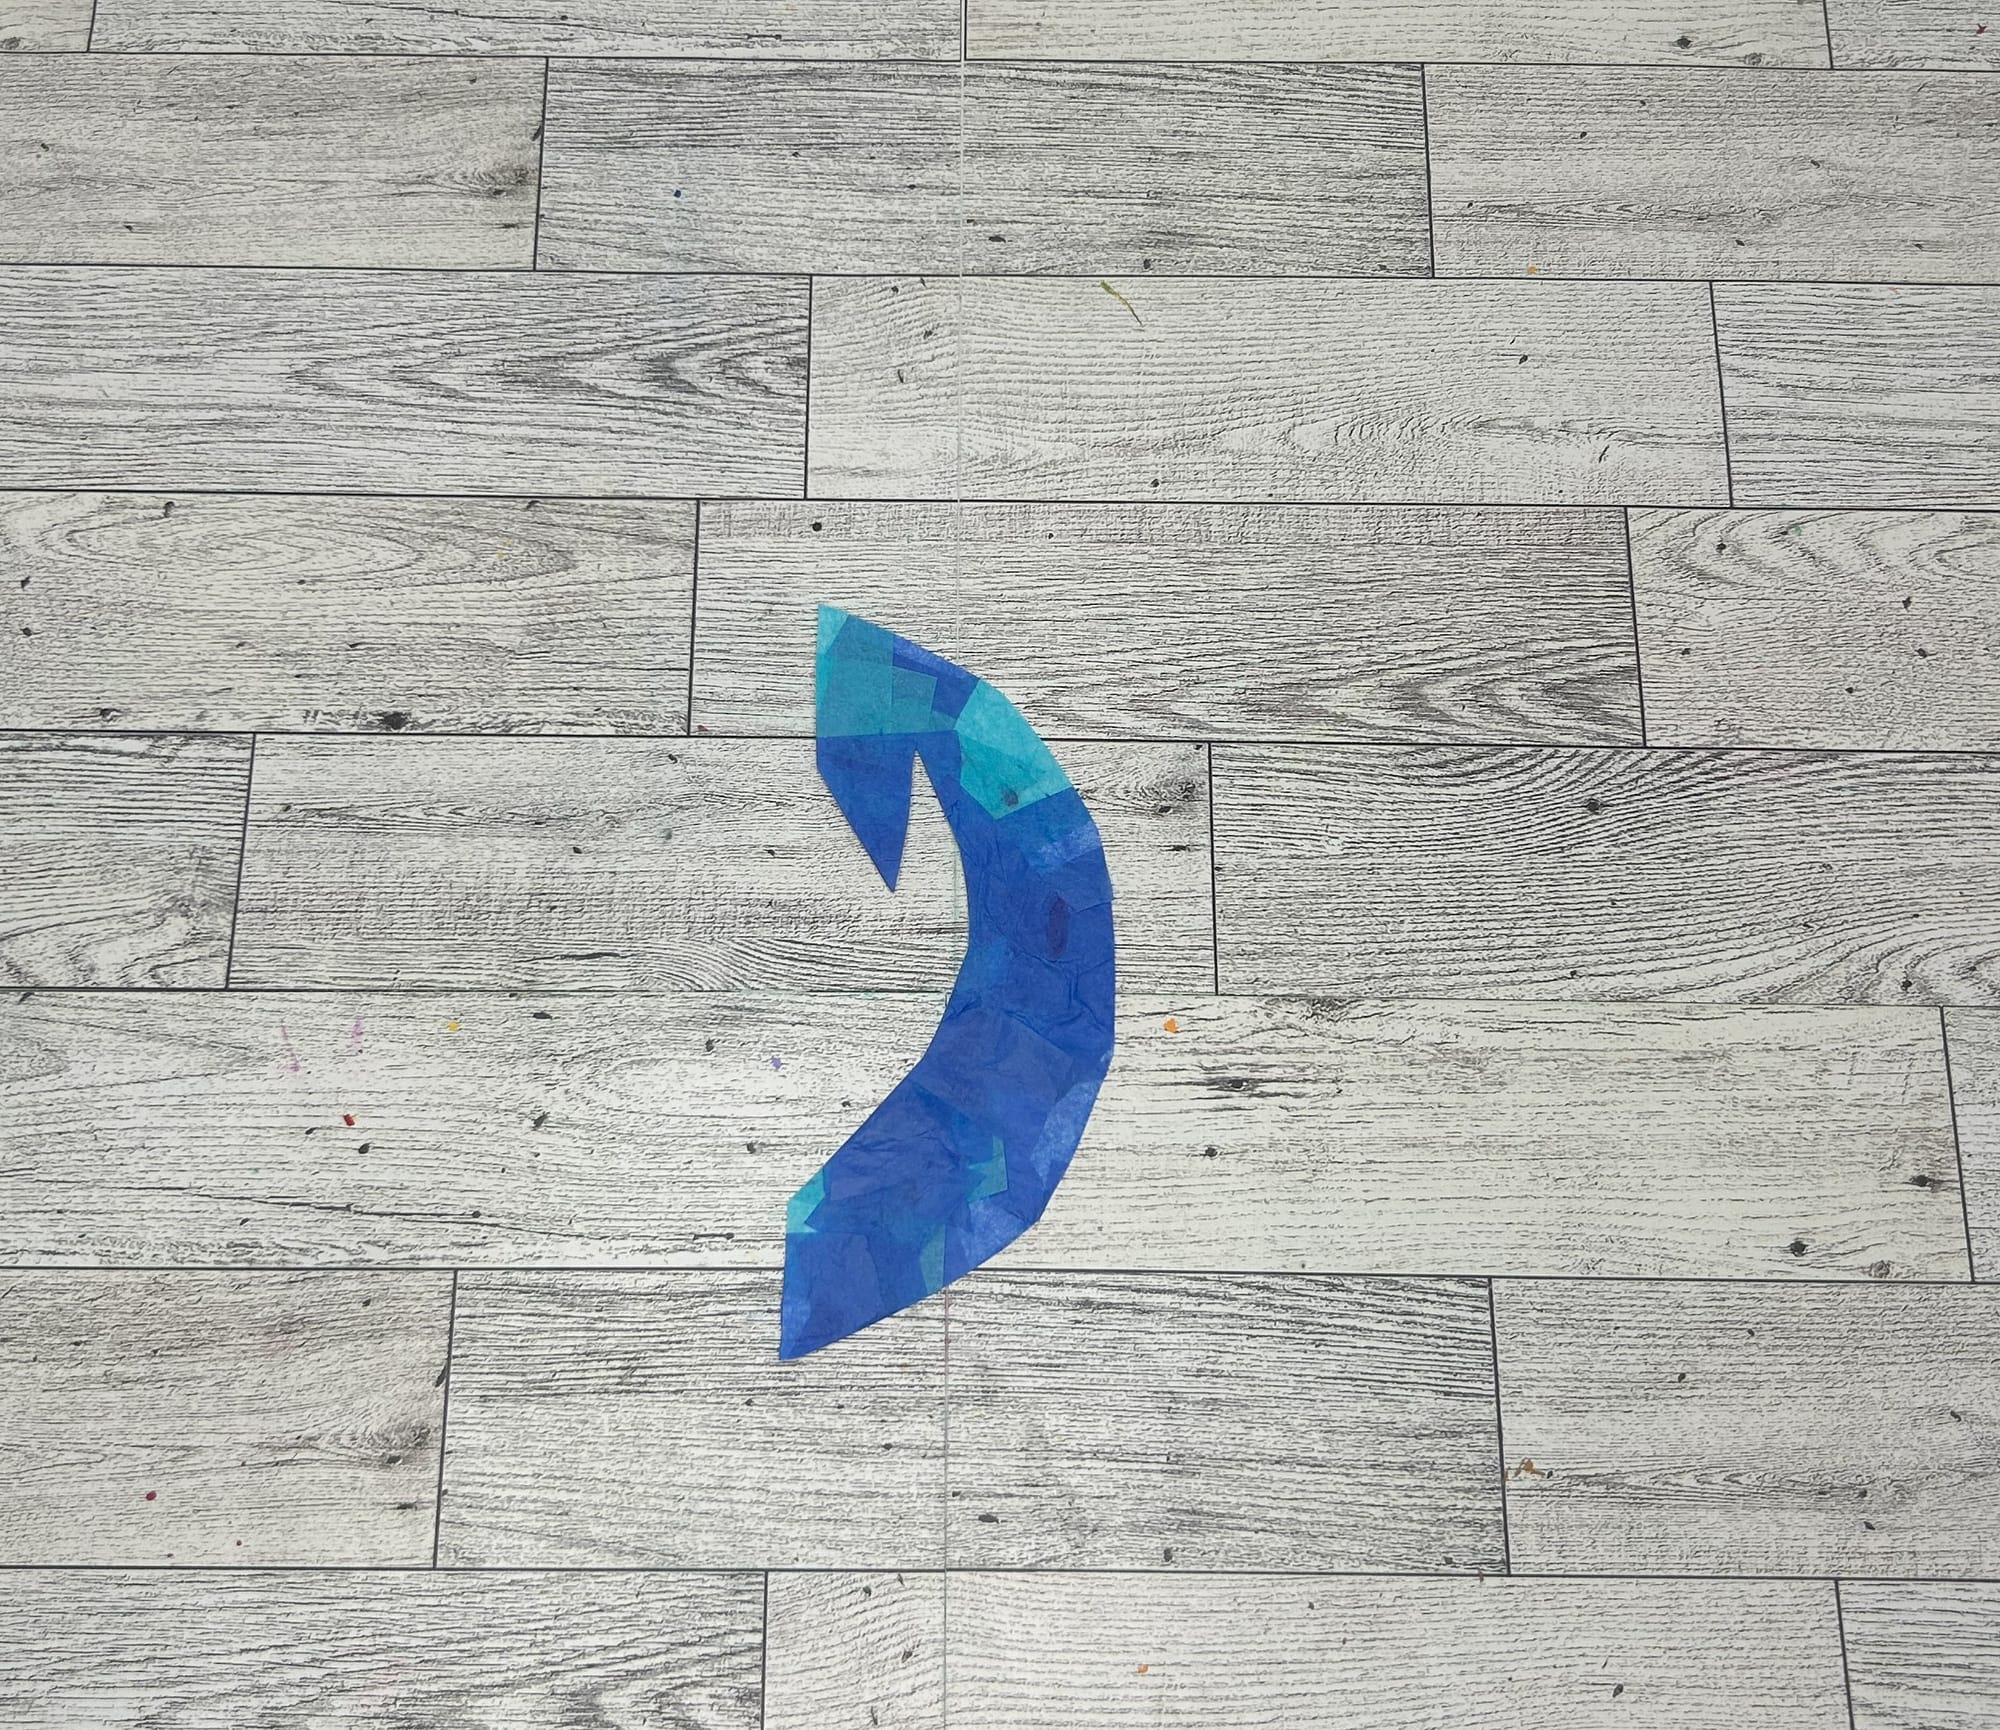
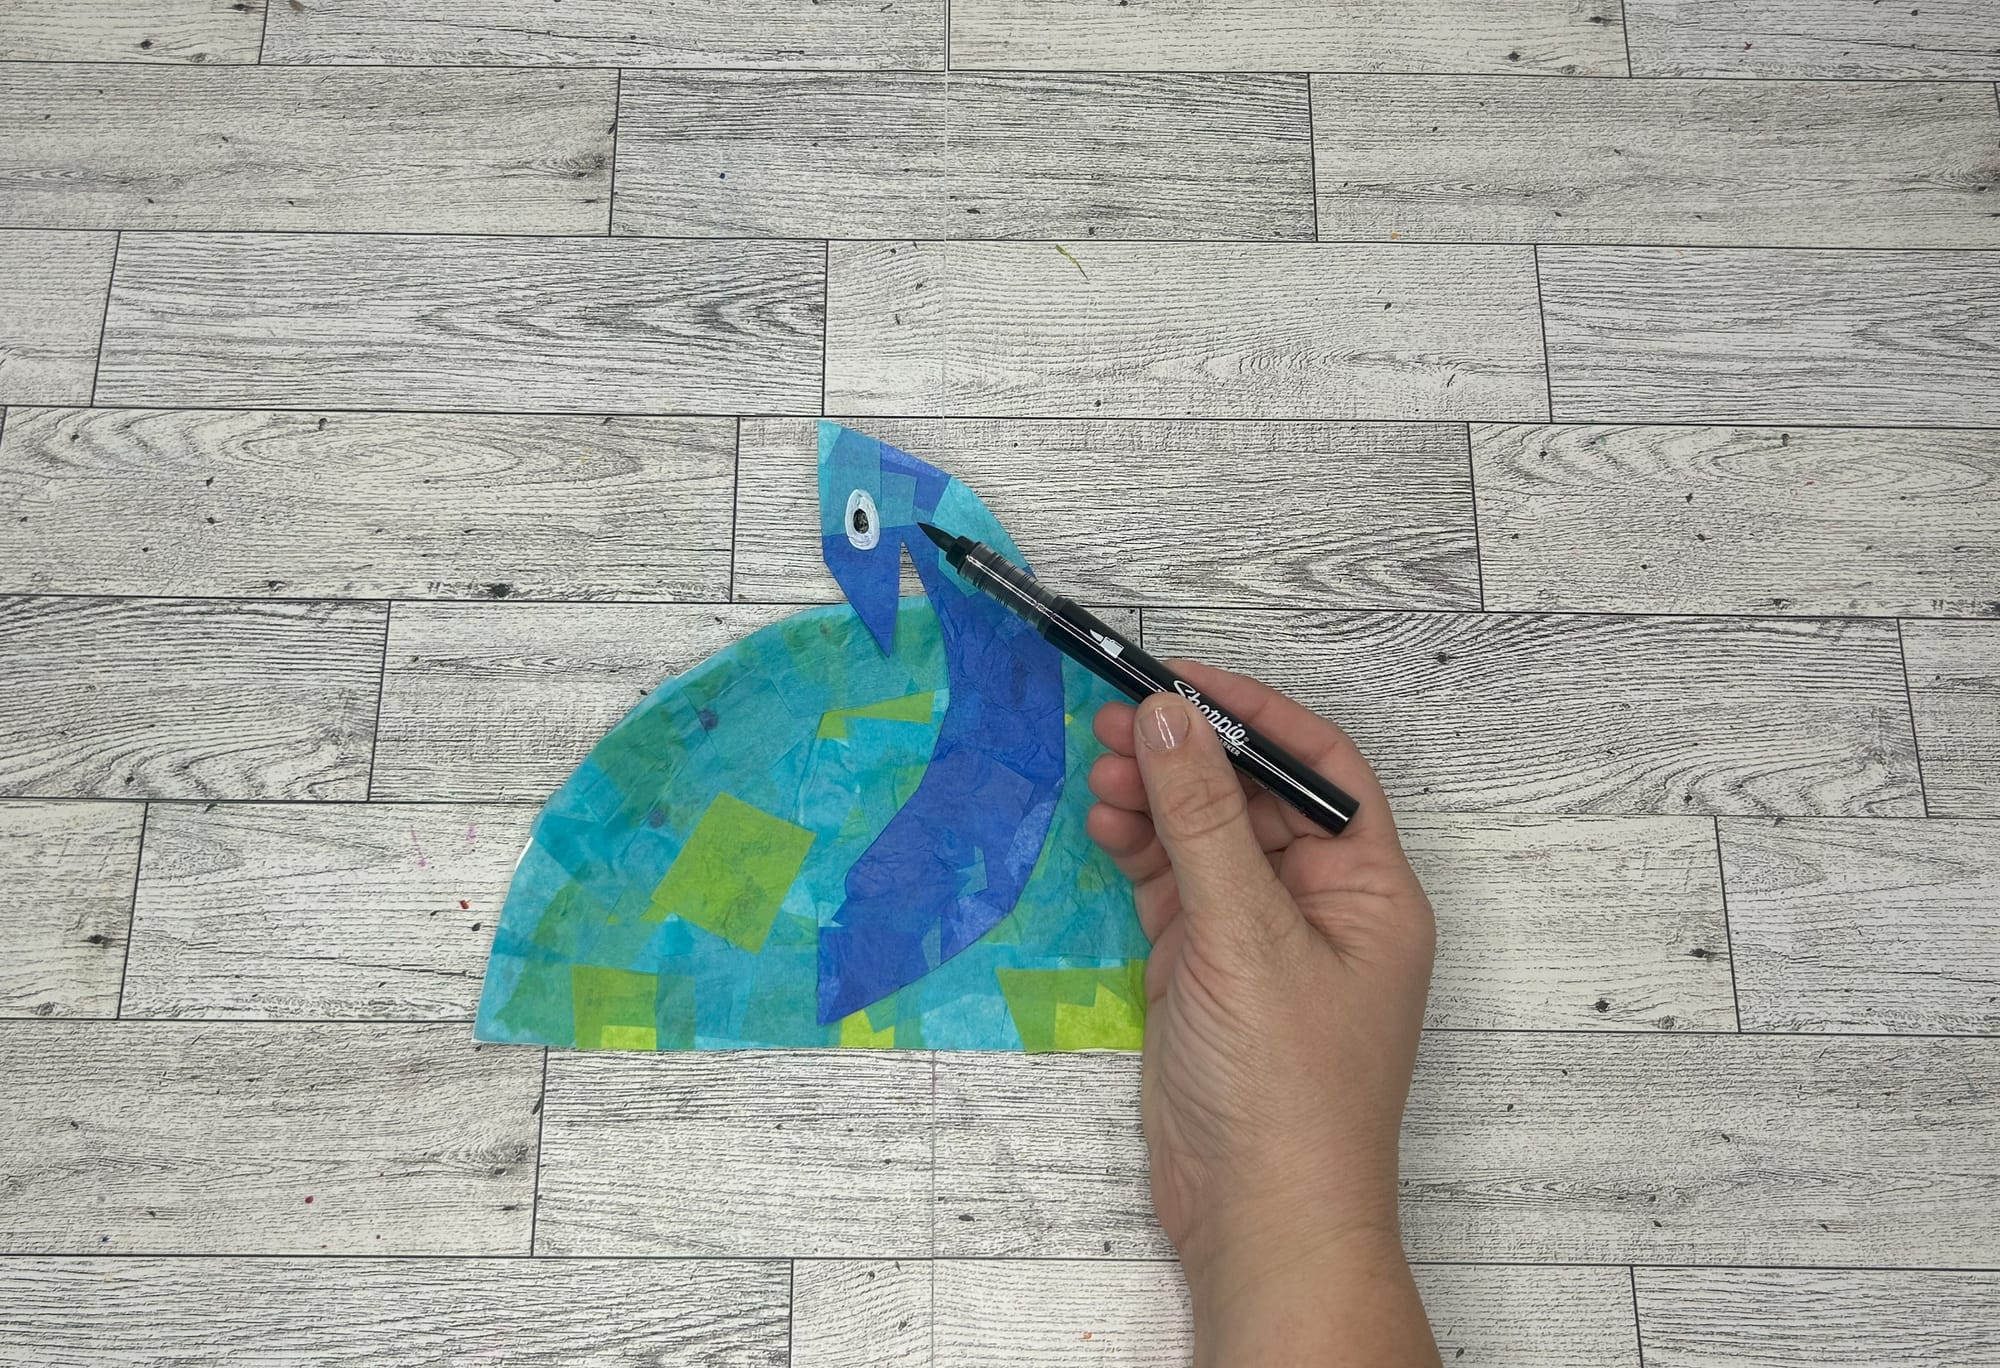
- Draw the peacock's head on the other side of the paper plate. I have provided a template of mine if you would like to use it. Glue tissue paper onto the head after cutting out.
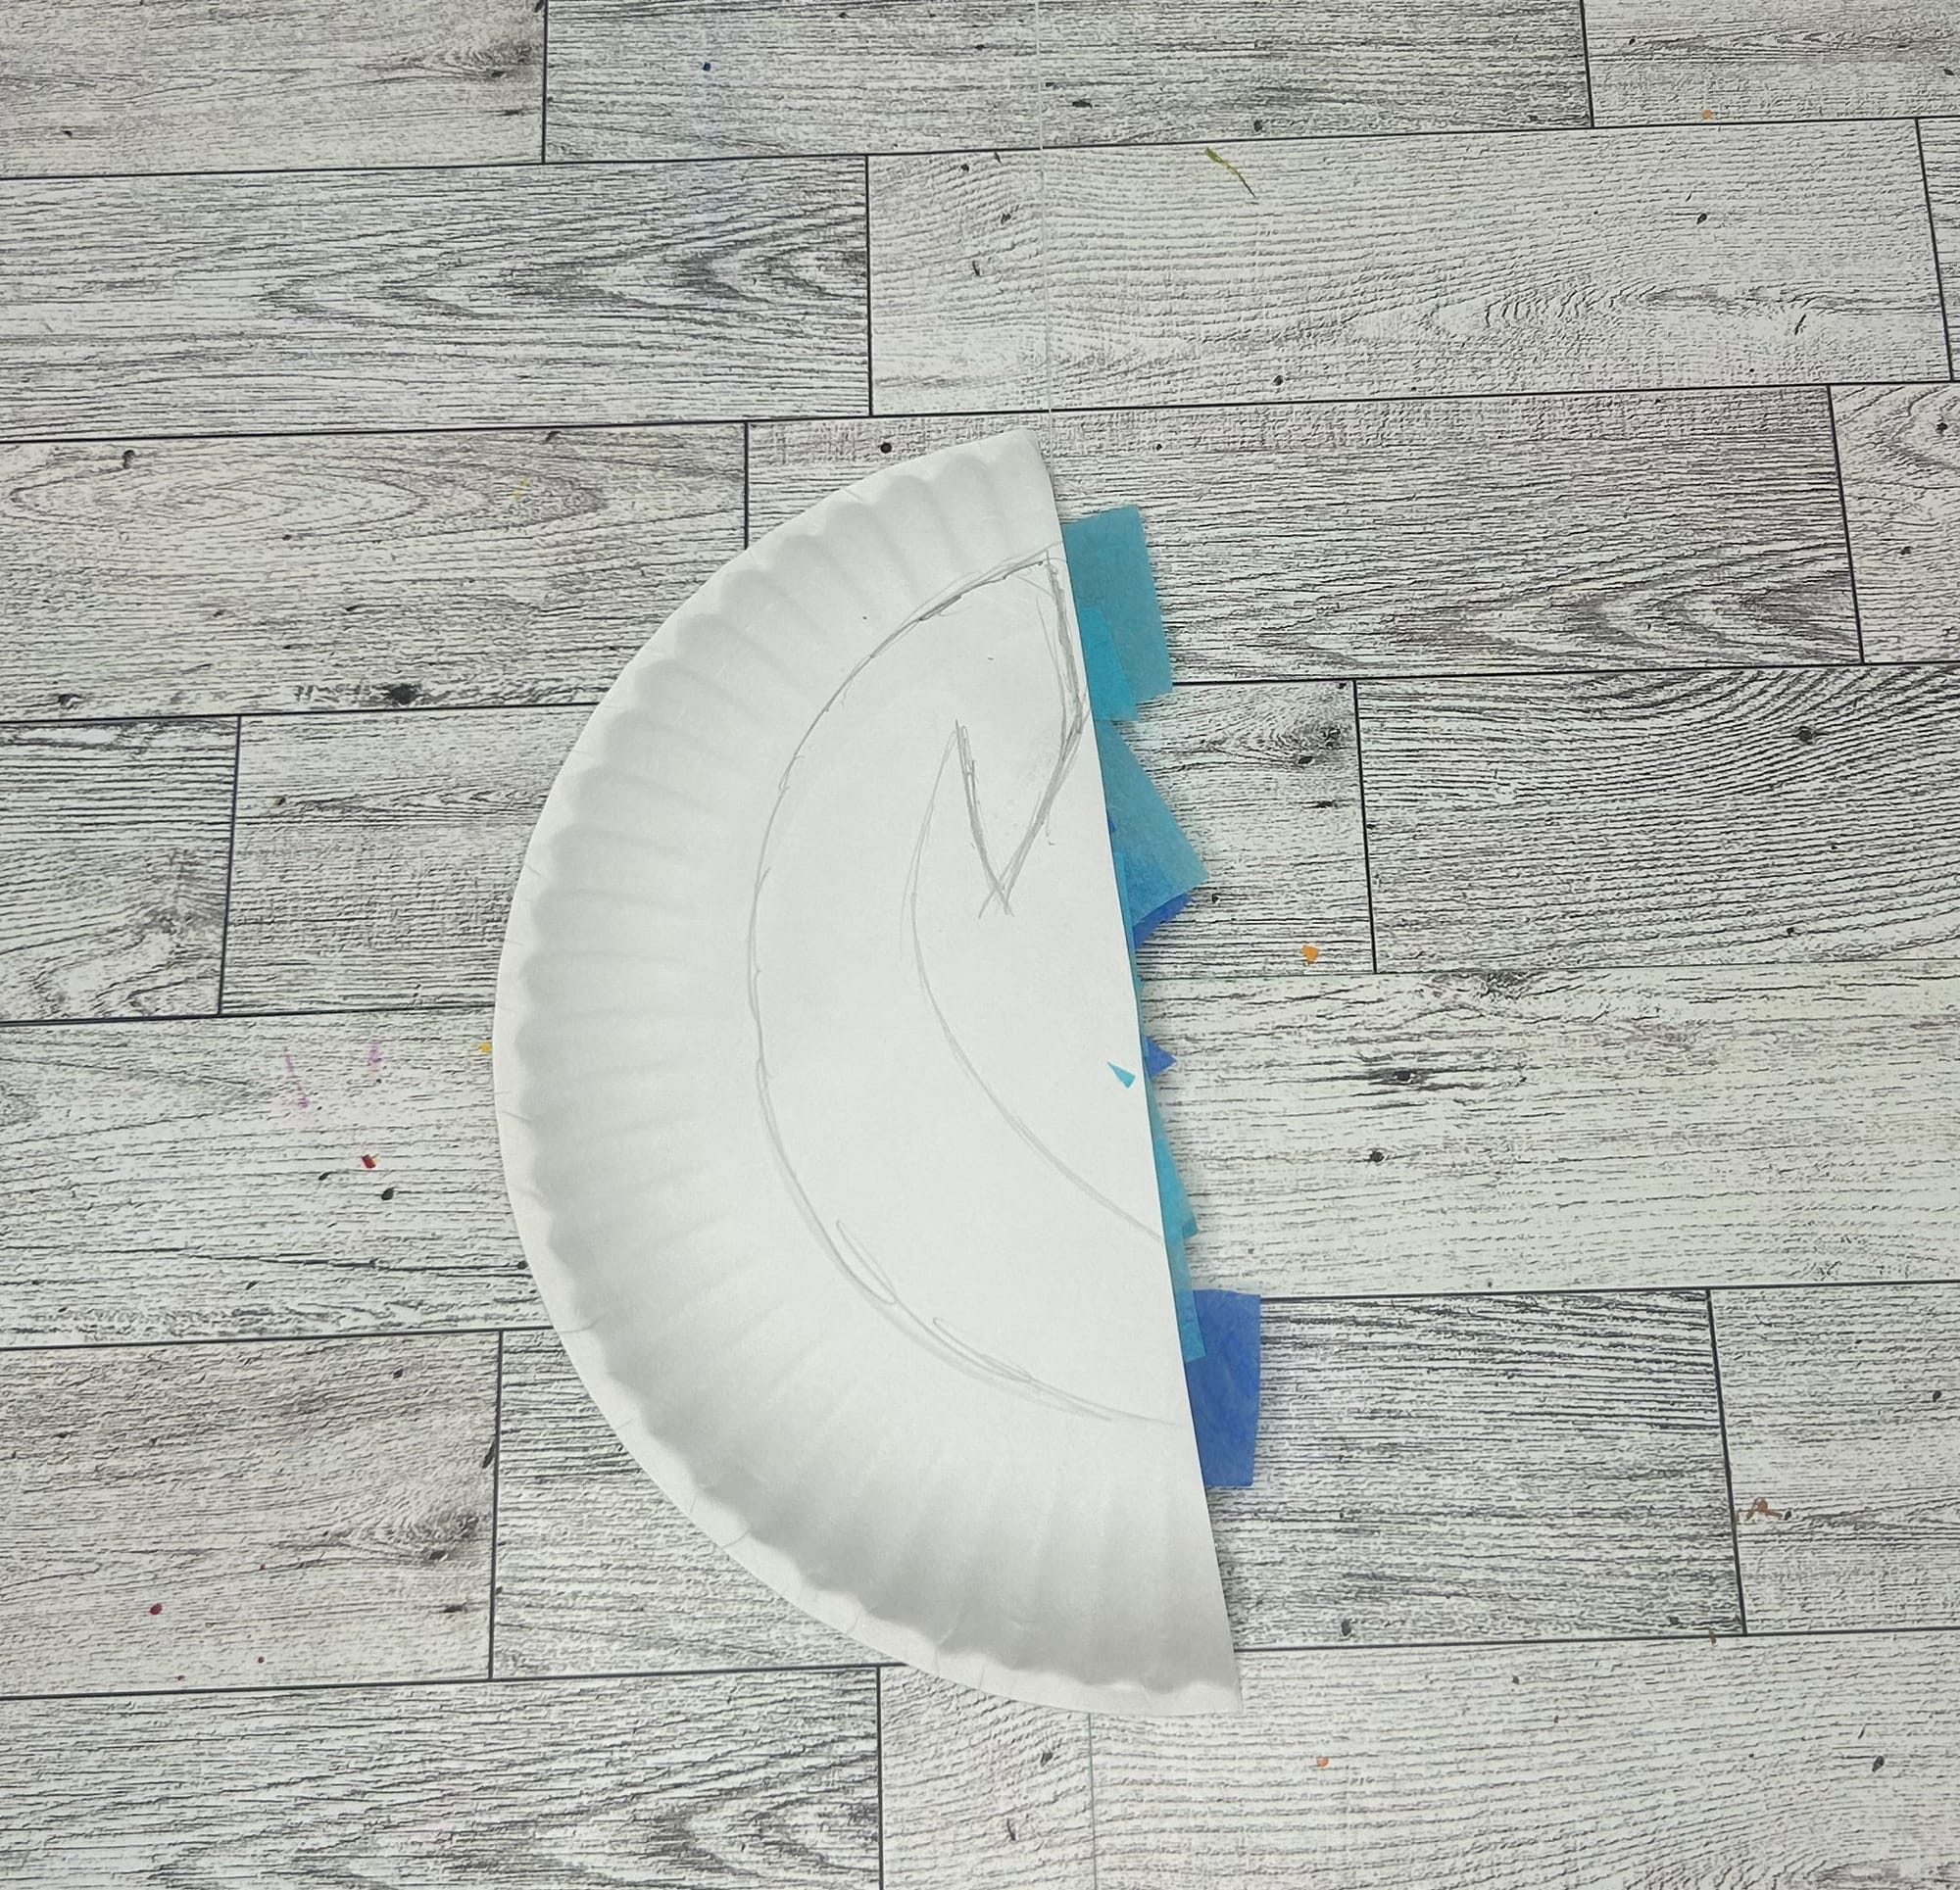
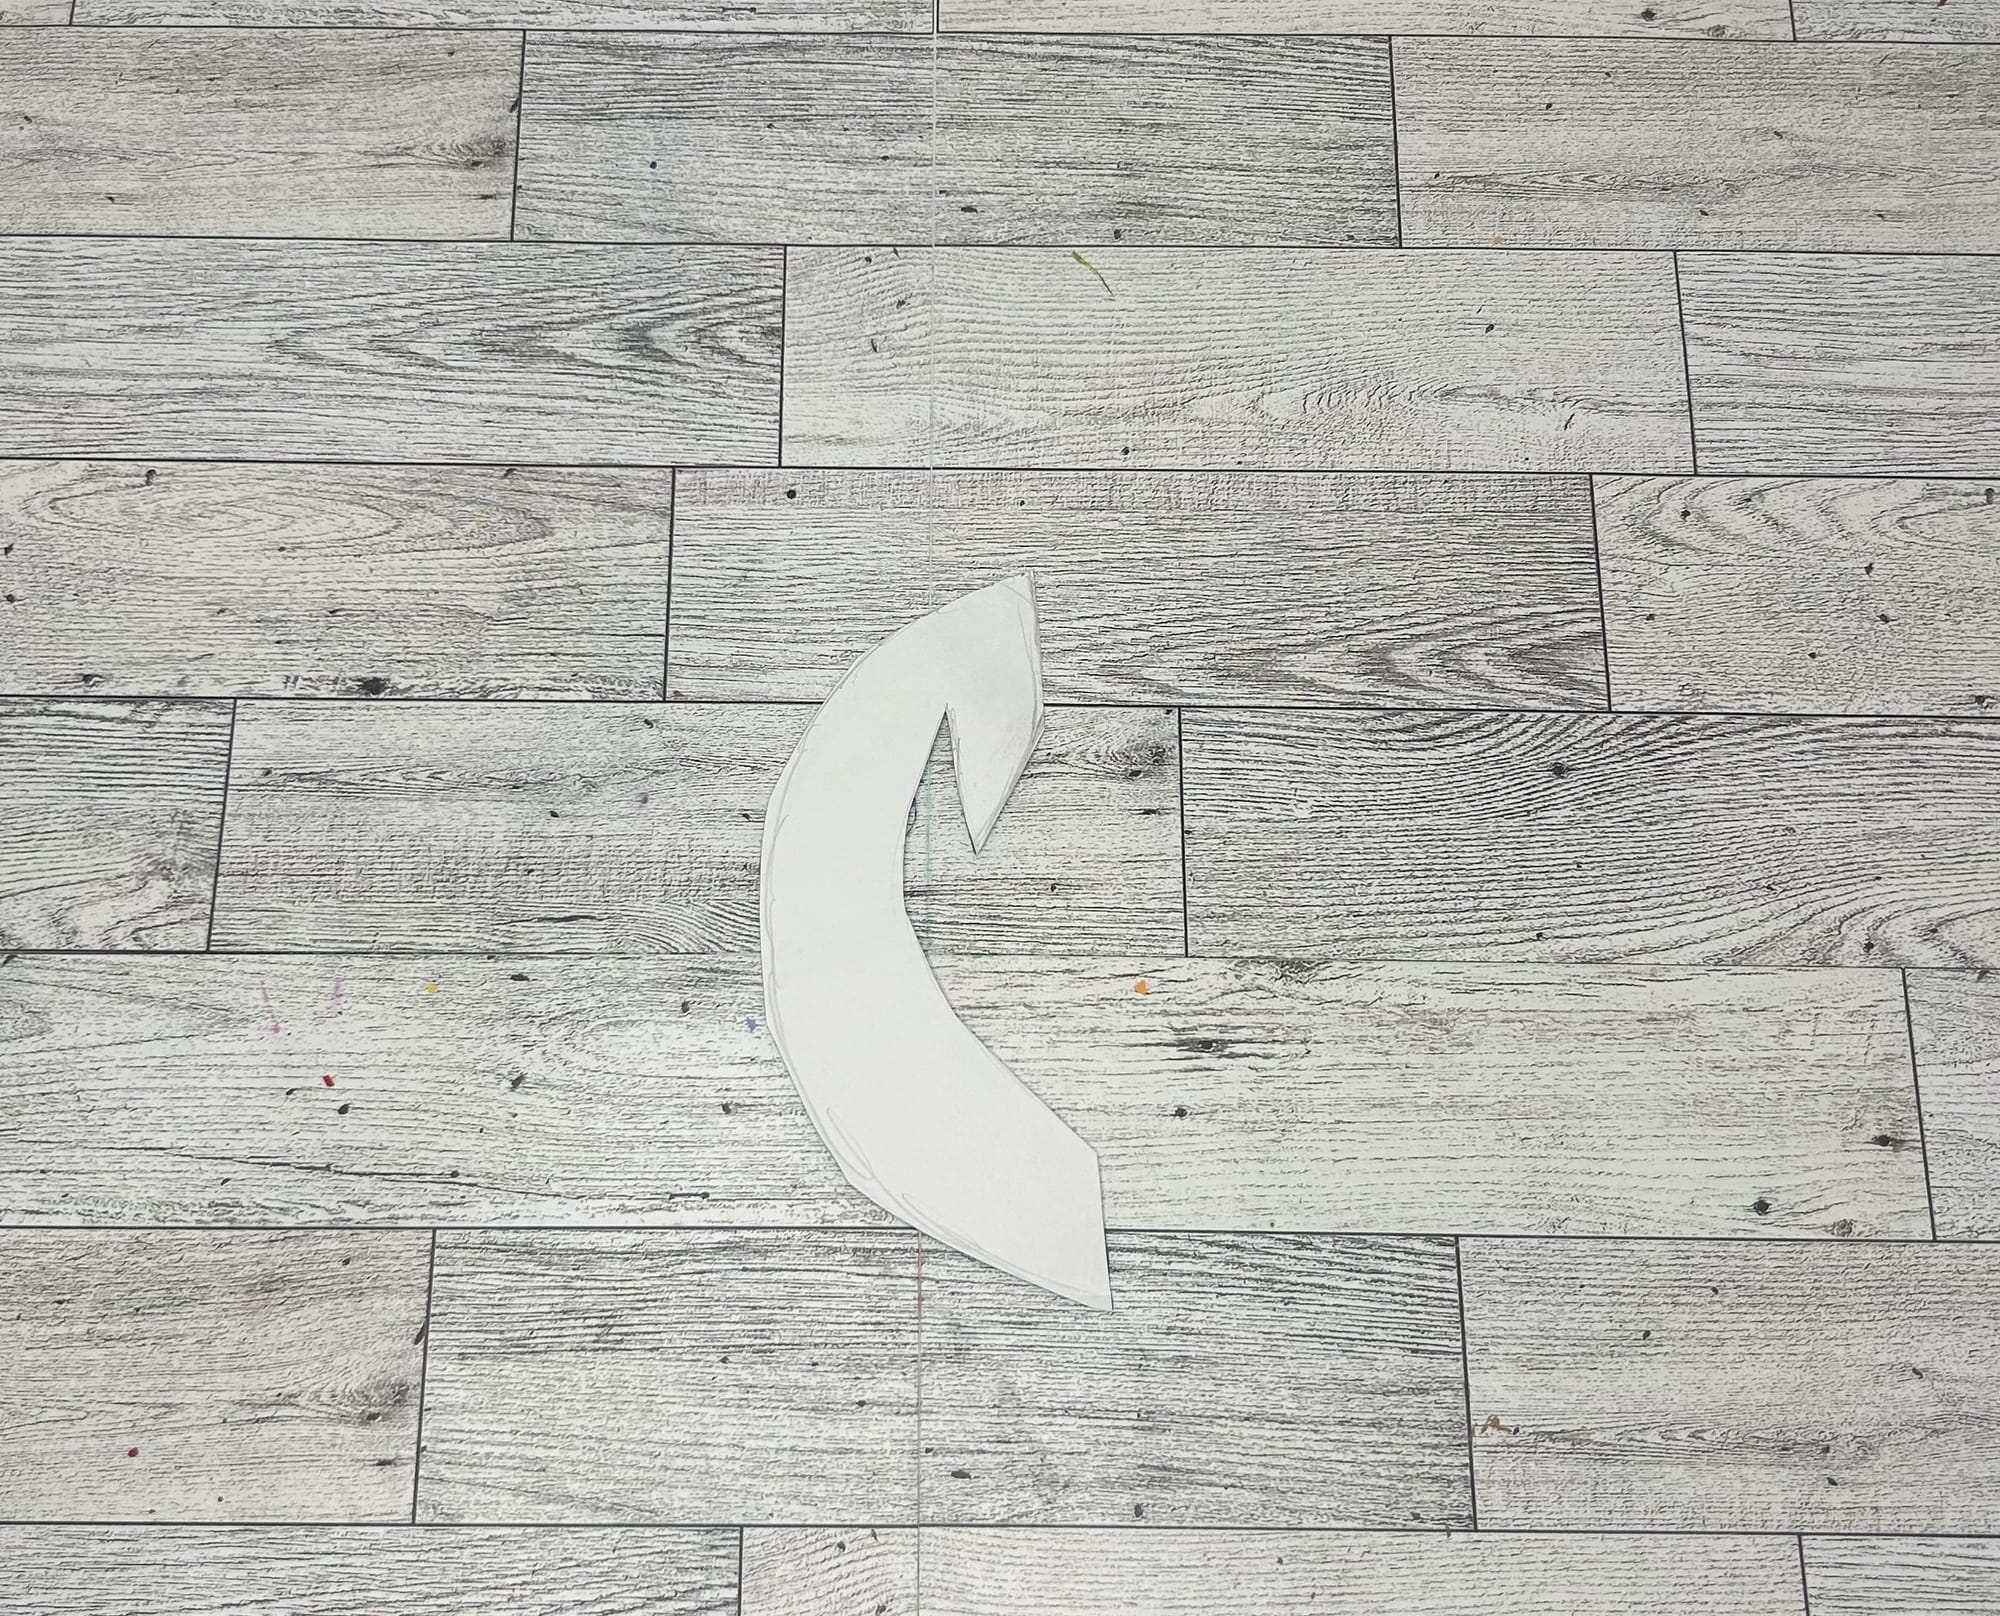
Draw a head shape to add to the peacock's body.
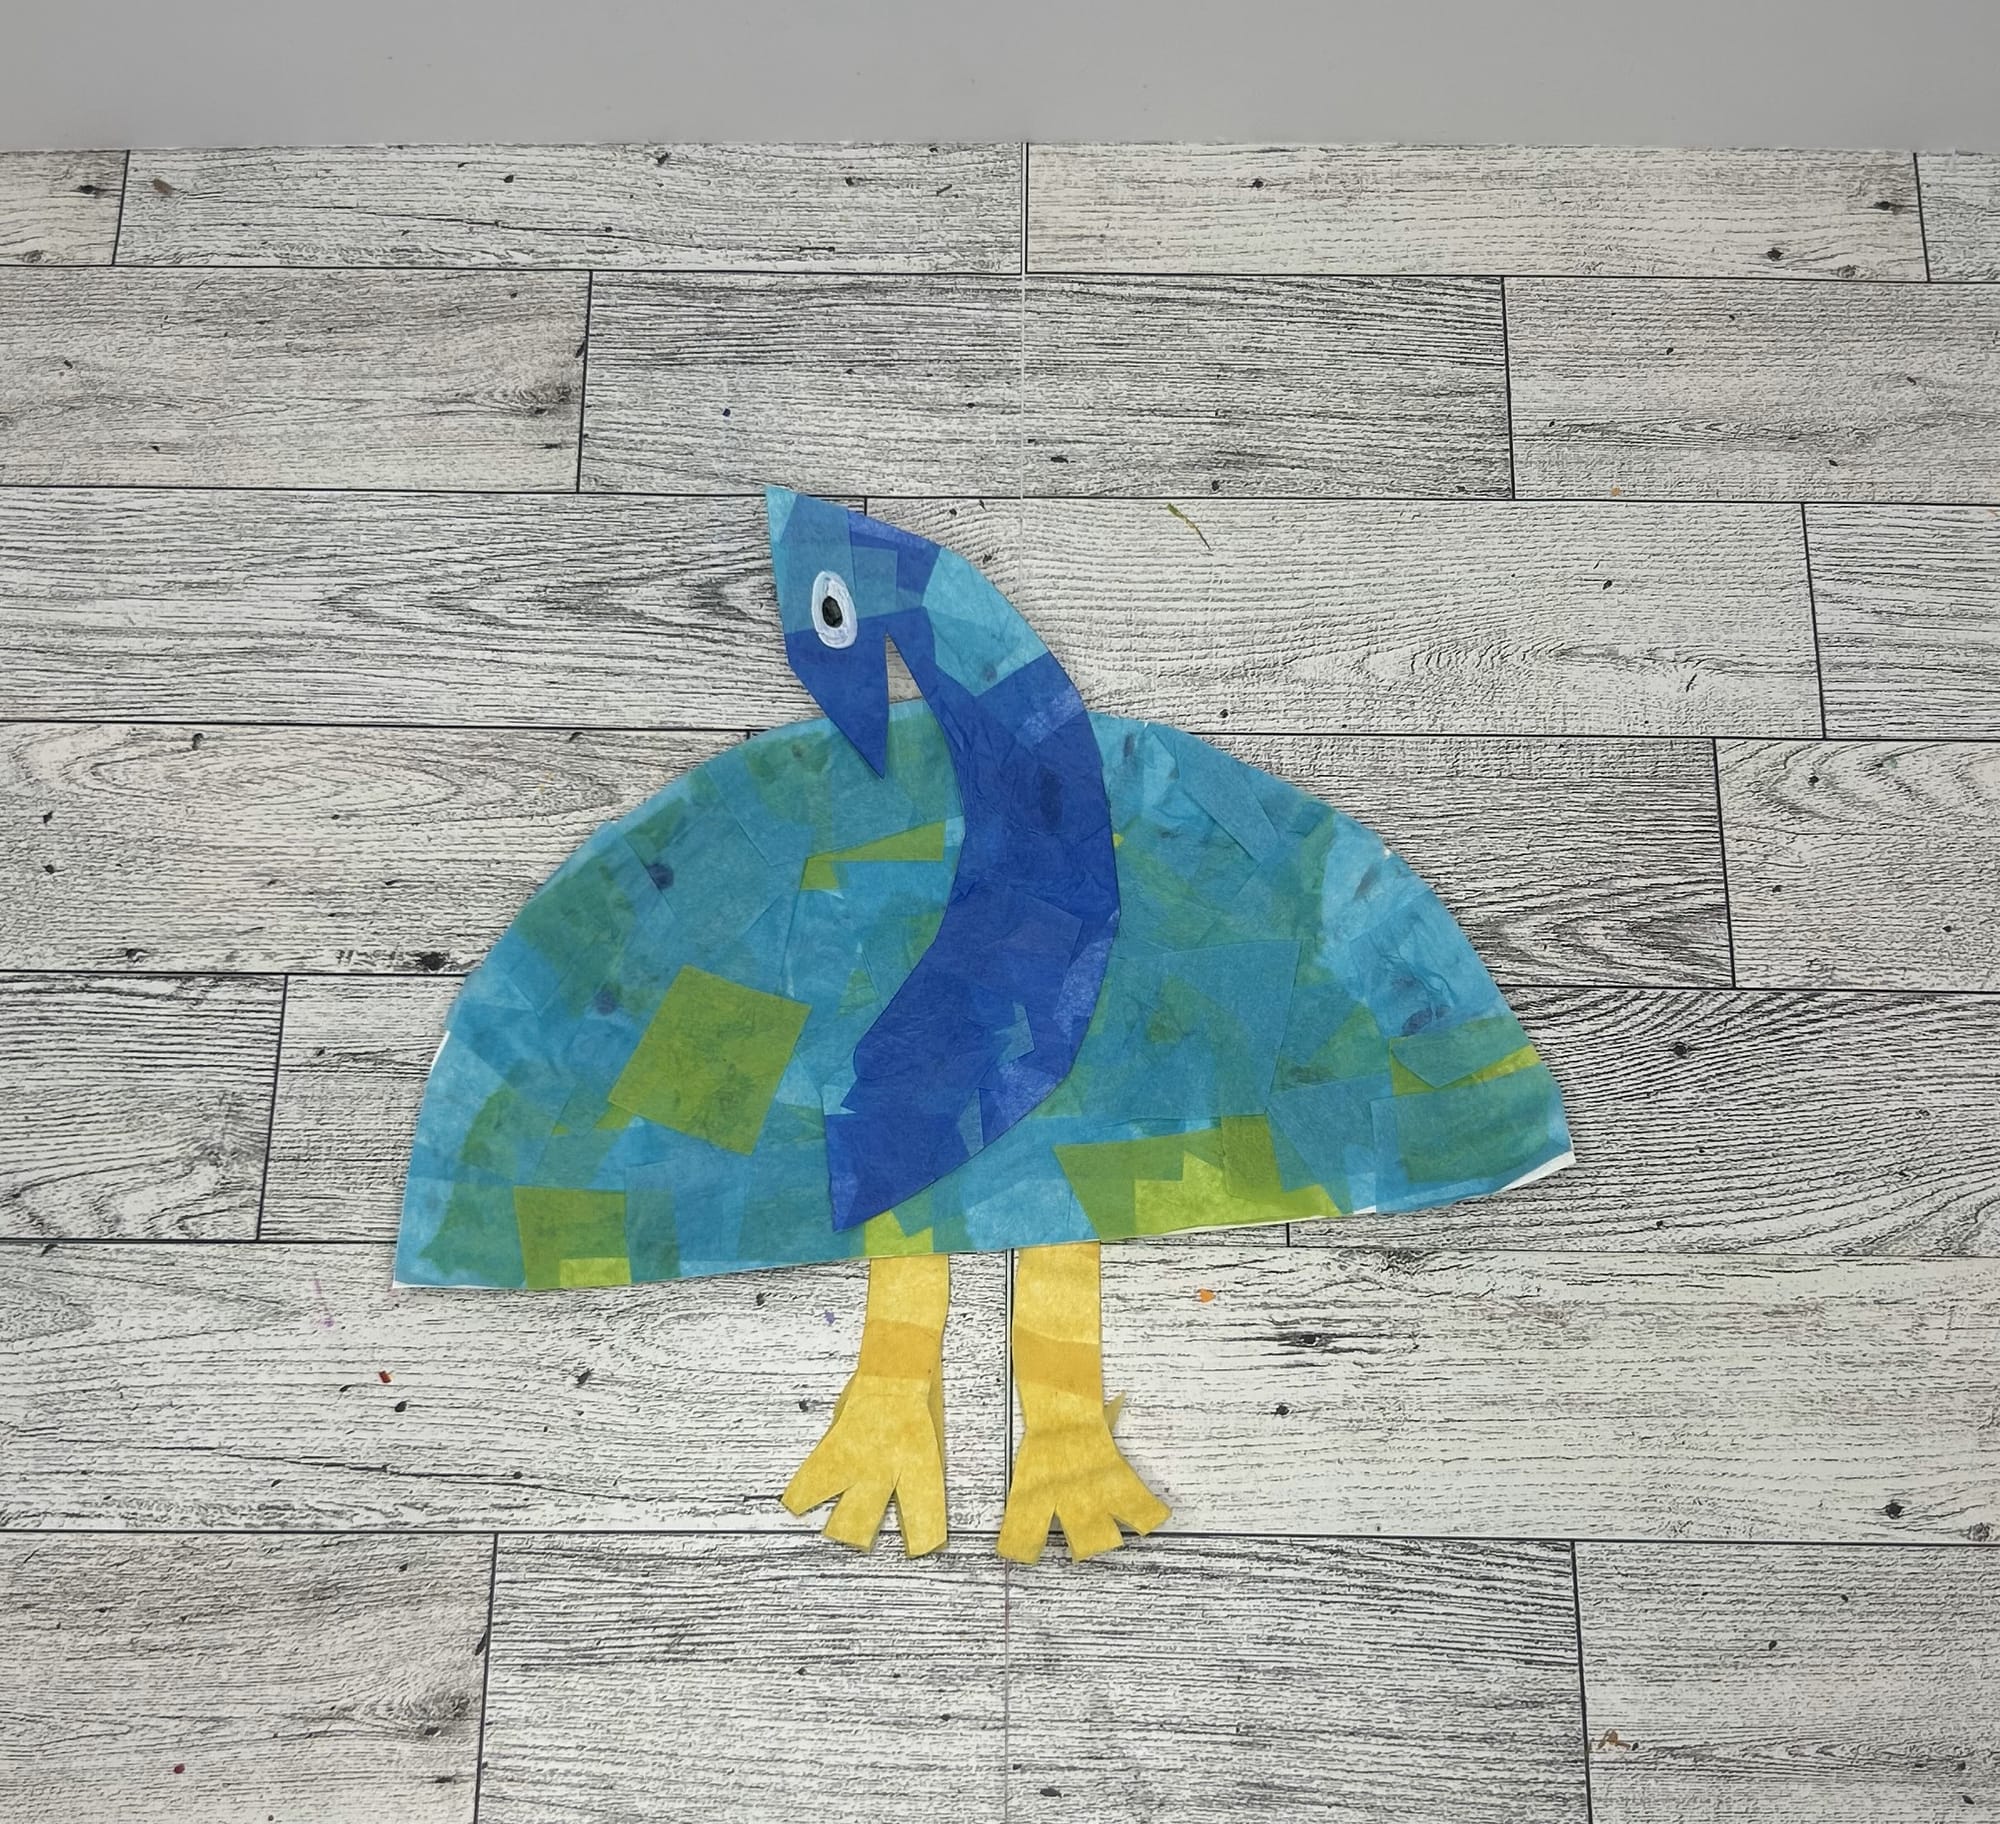
- Glue the peacock's head onto the body you have created.
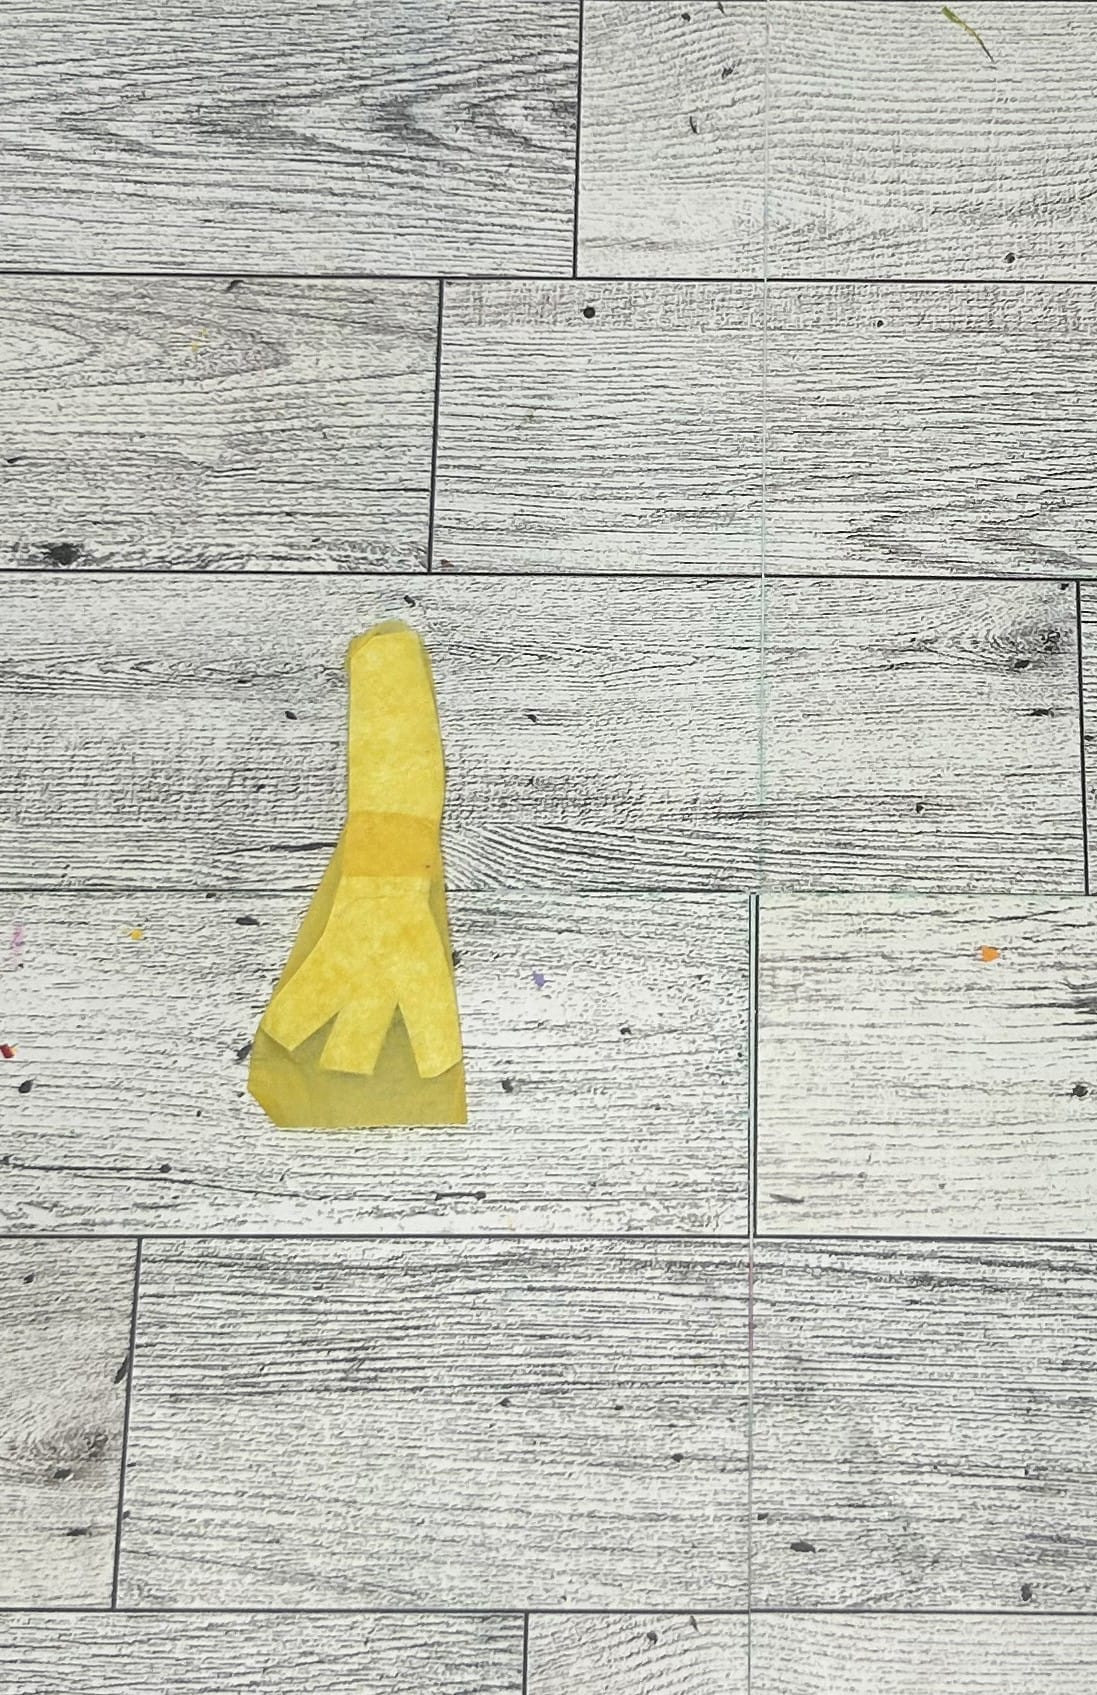
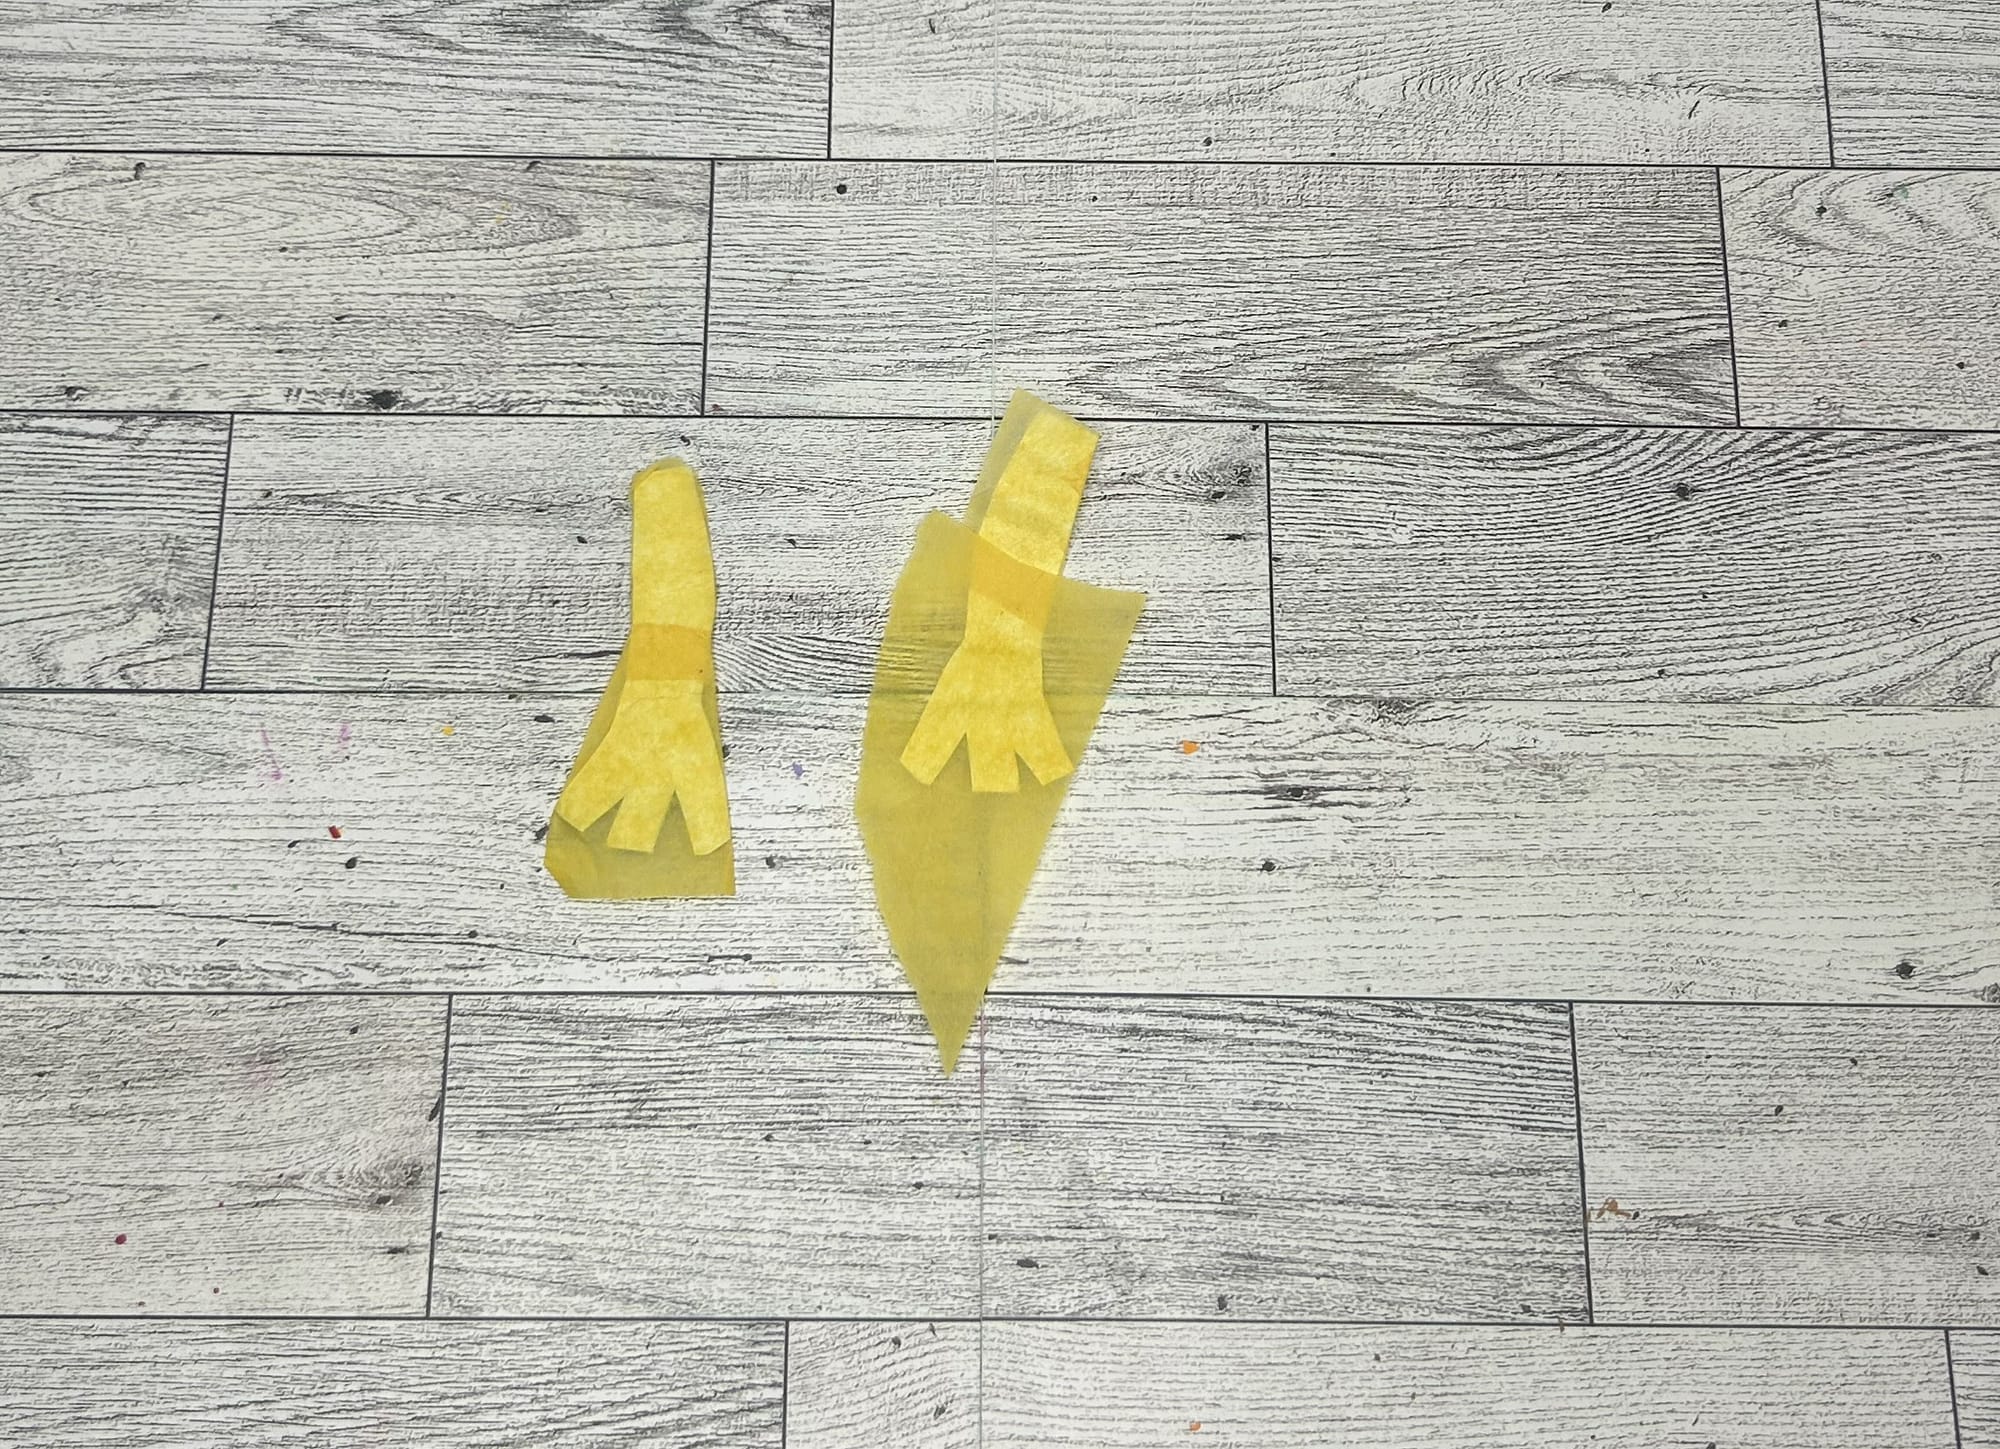
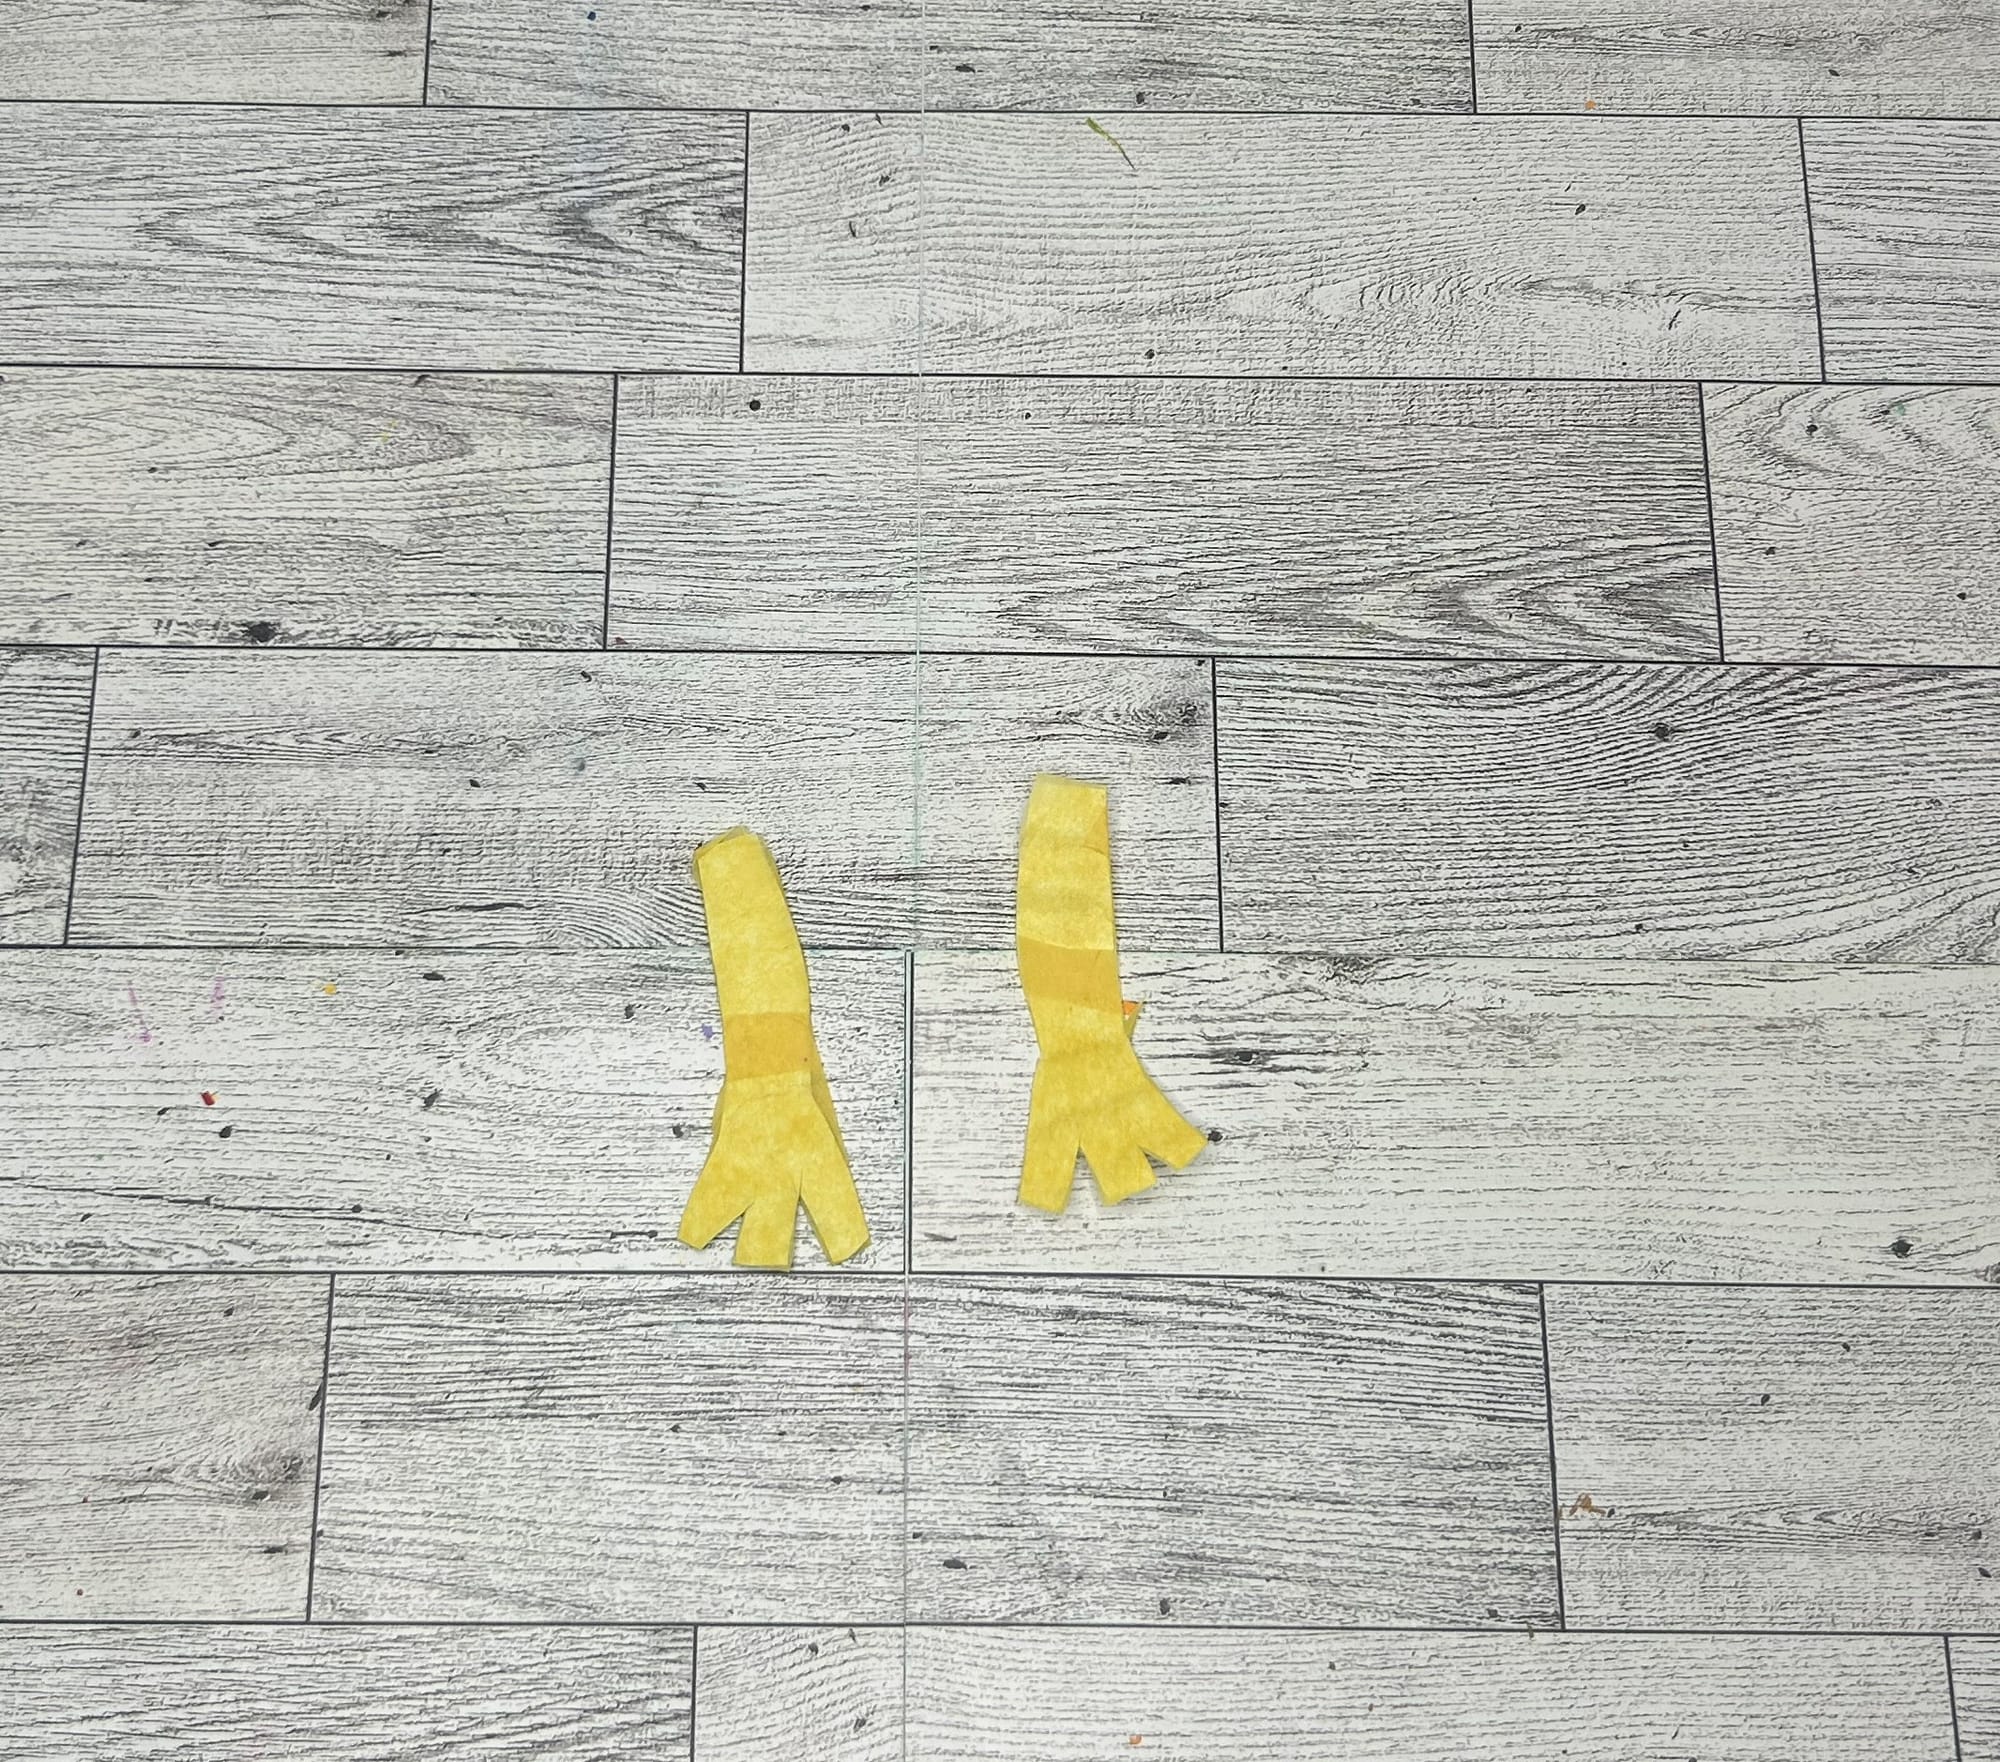
- Draw legs or copy from the template. I created mine for the excess paper plate. Cover in yellow tissue paper in the same way you had covered the body and head.
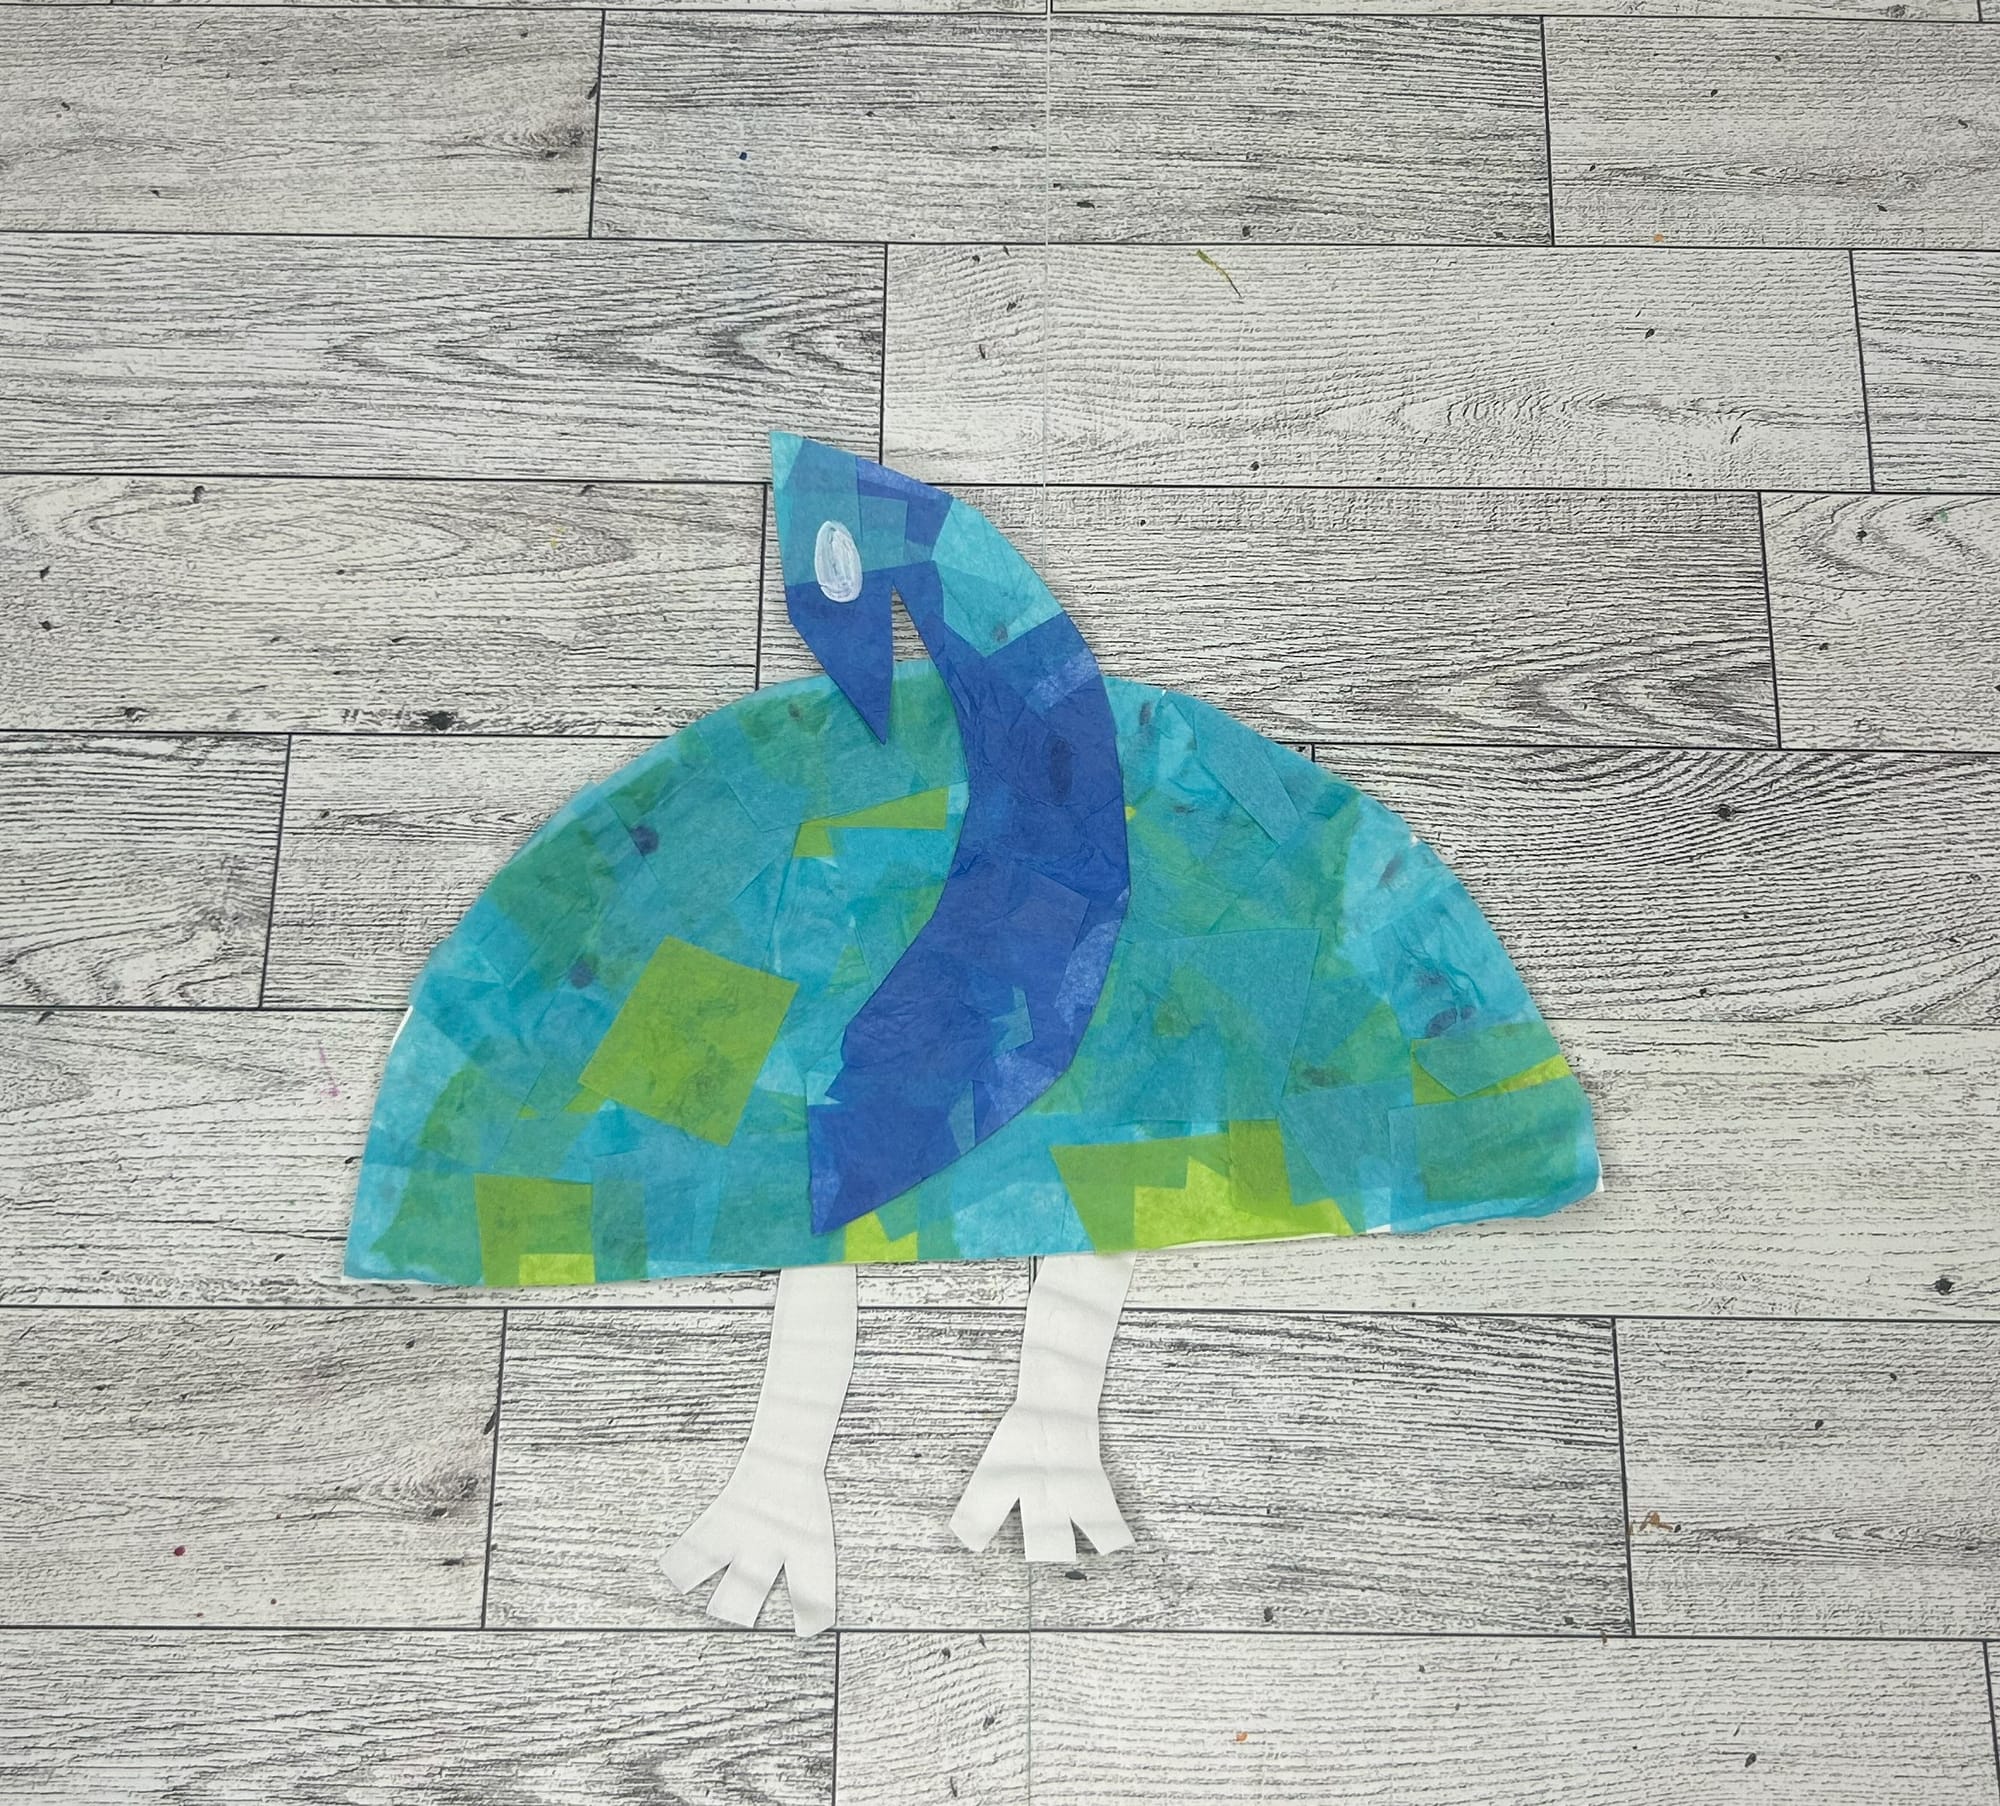
- Use marker and paint to add details to the peacock's face and feathers.
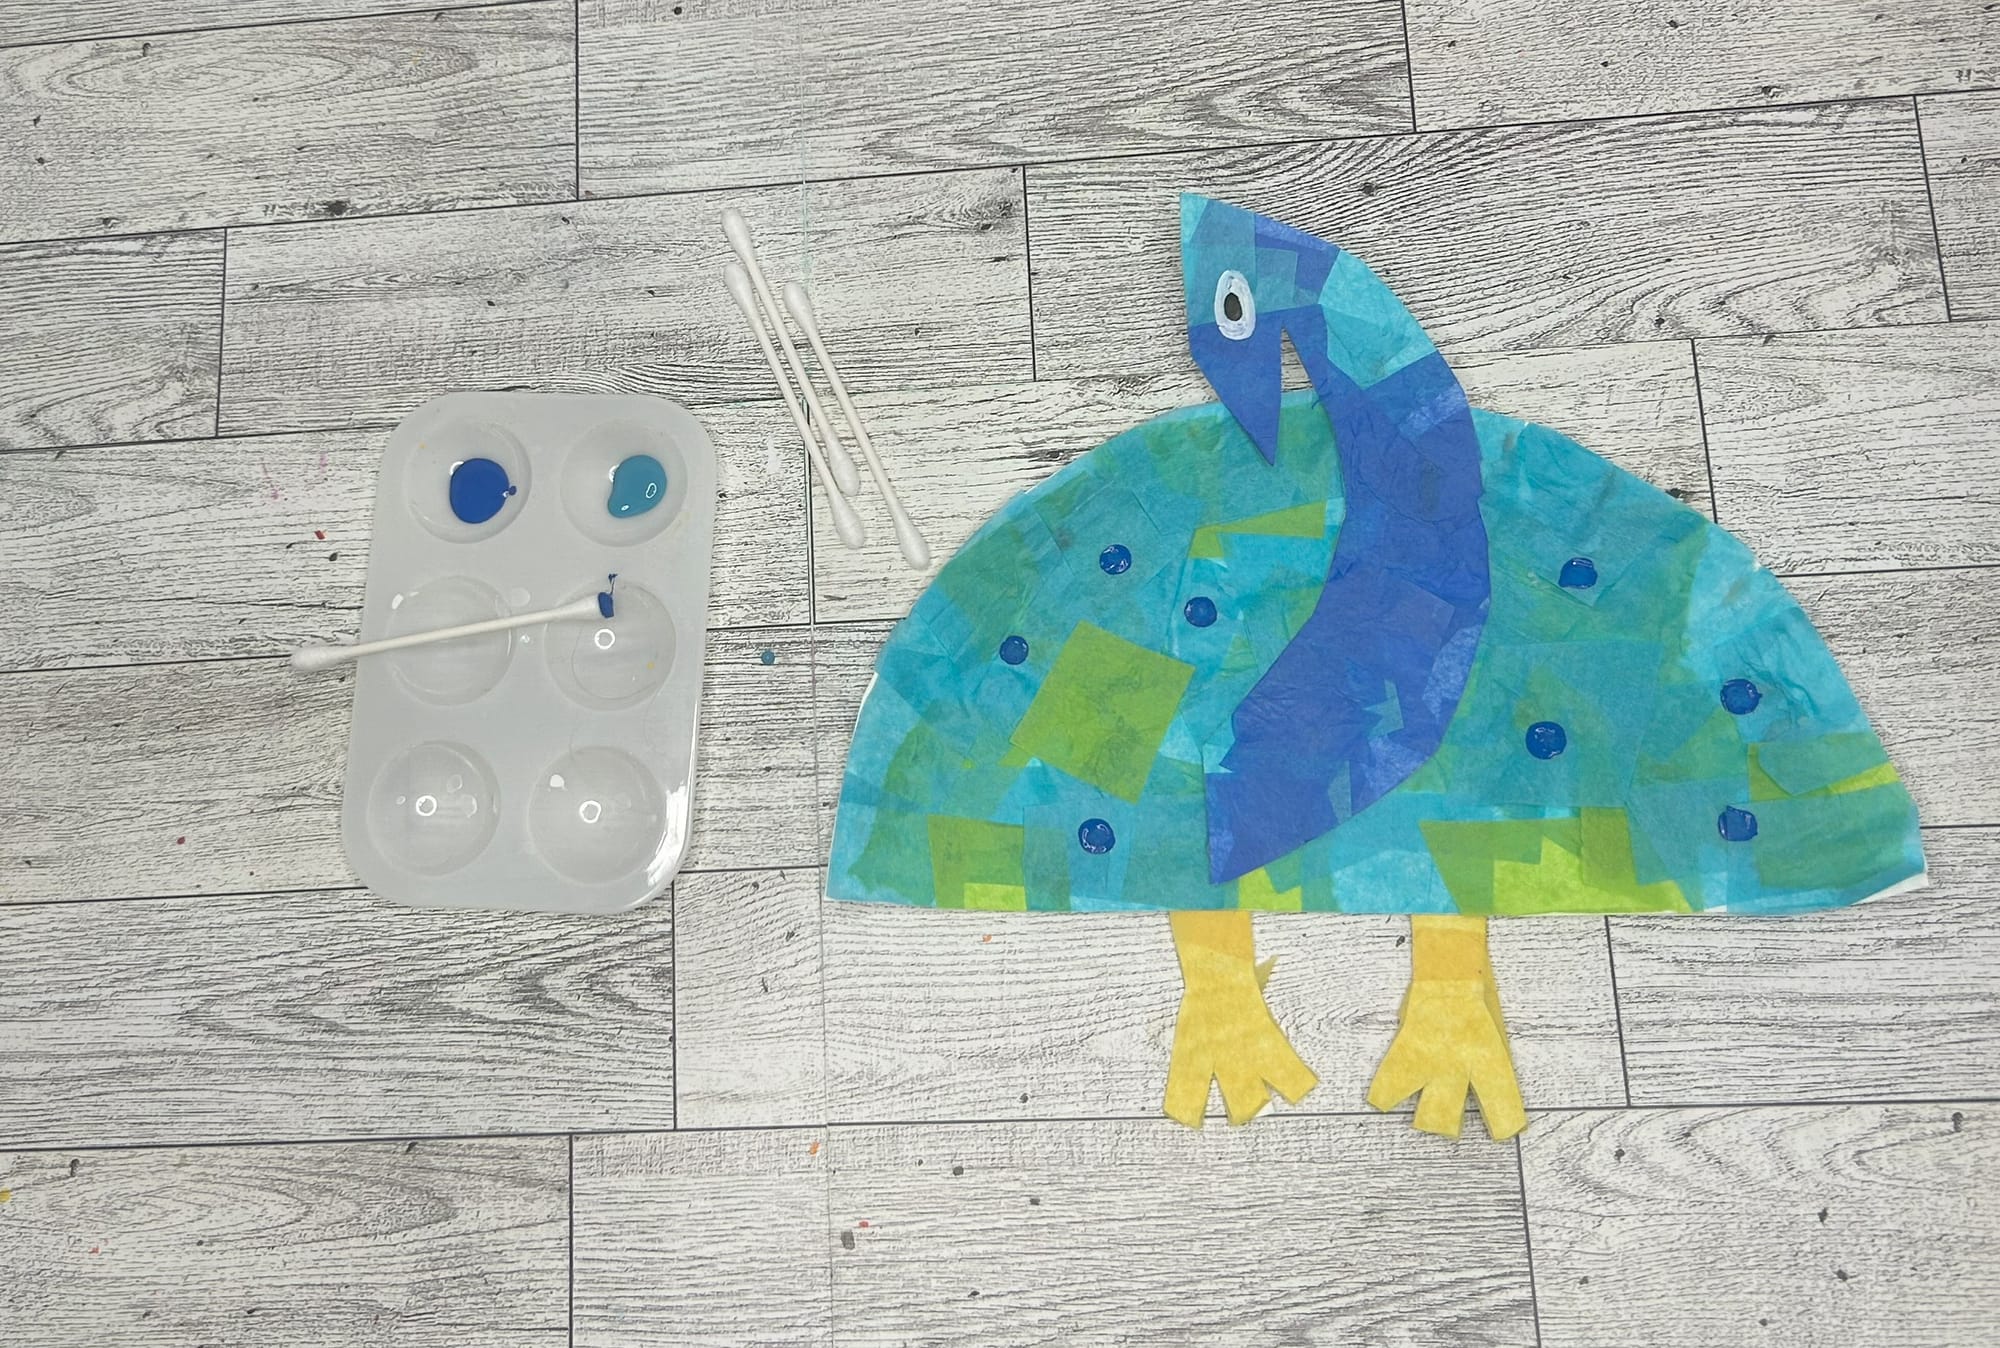
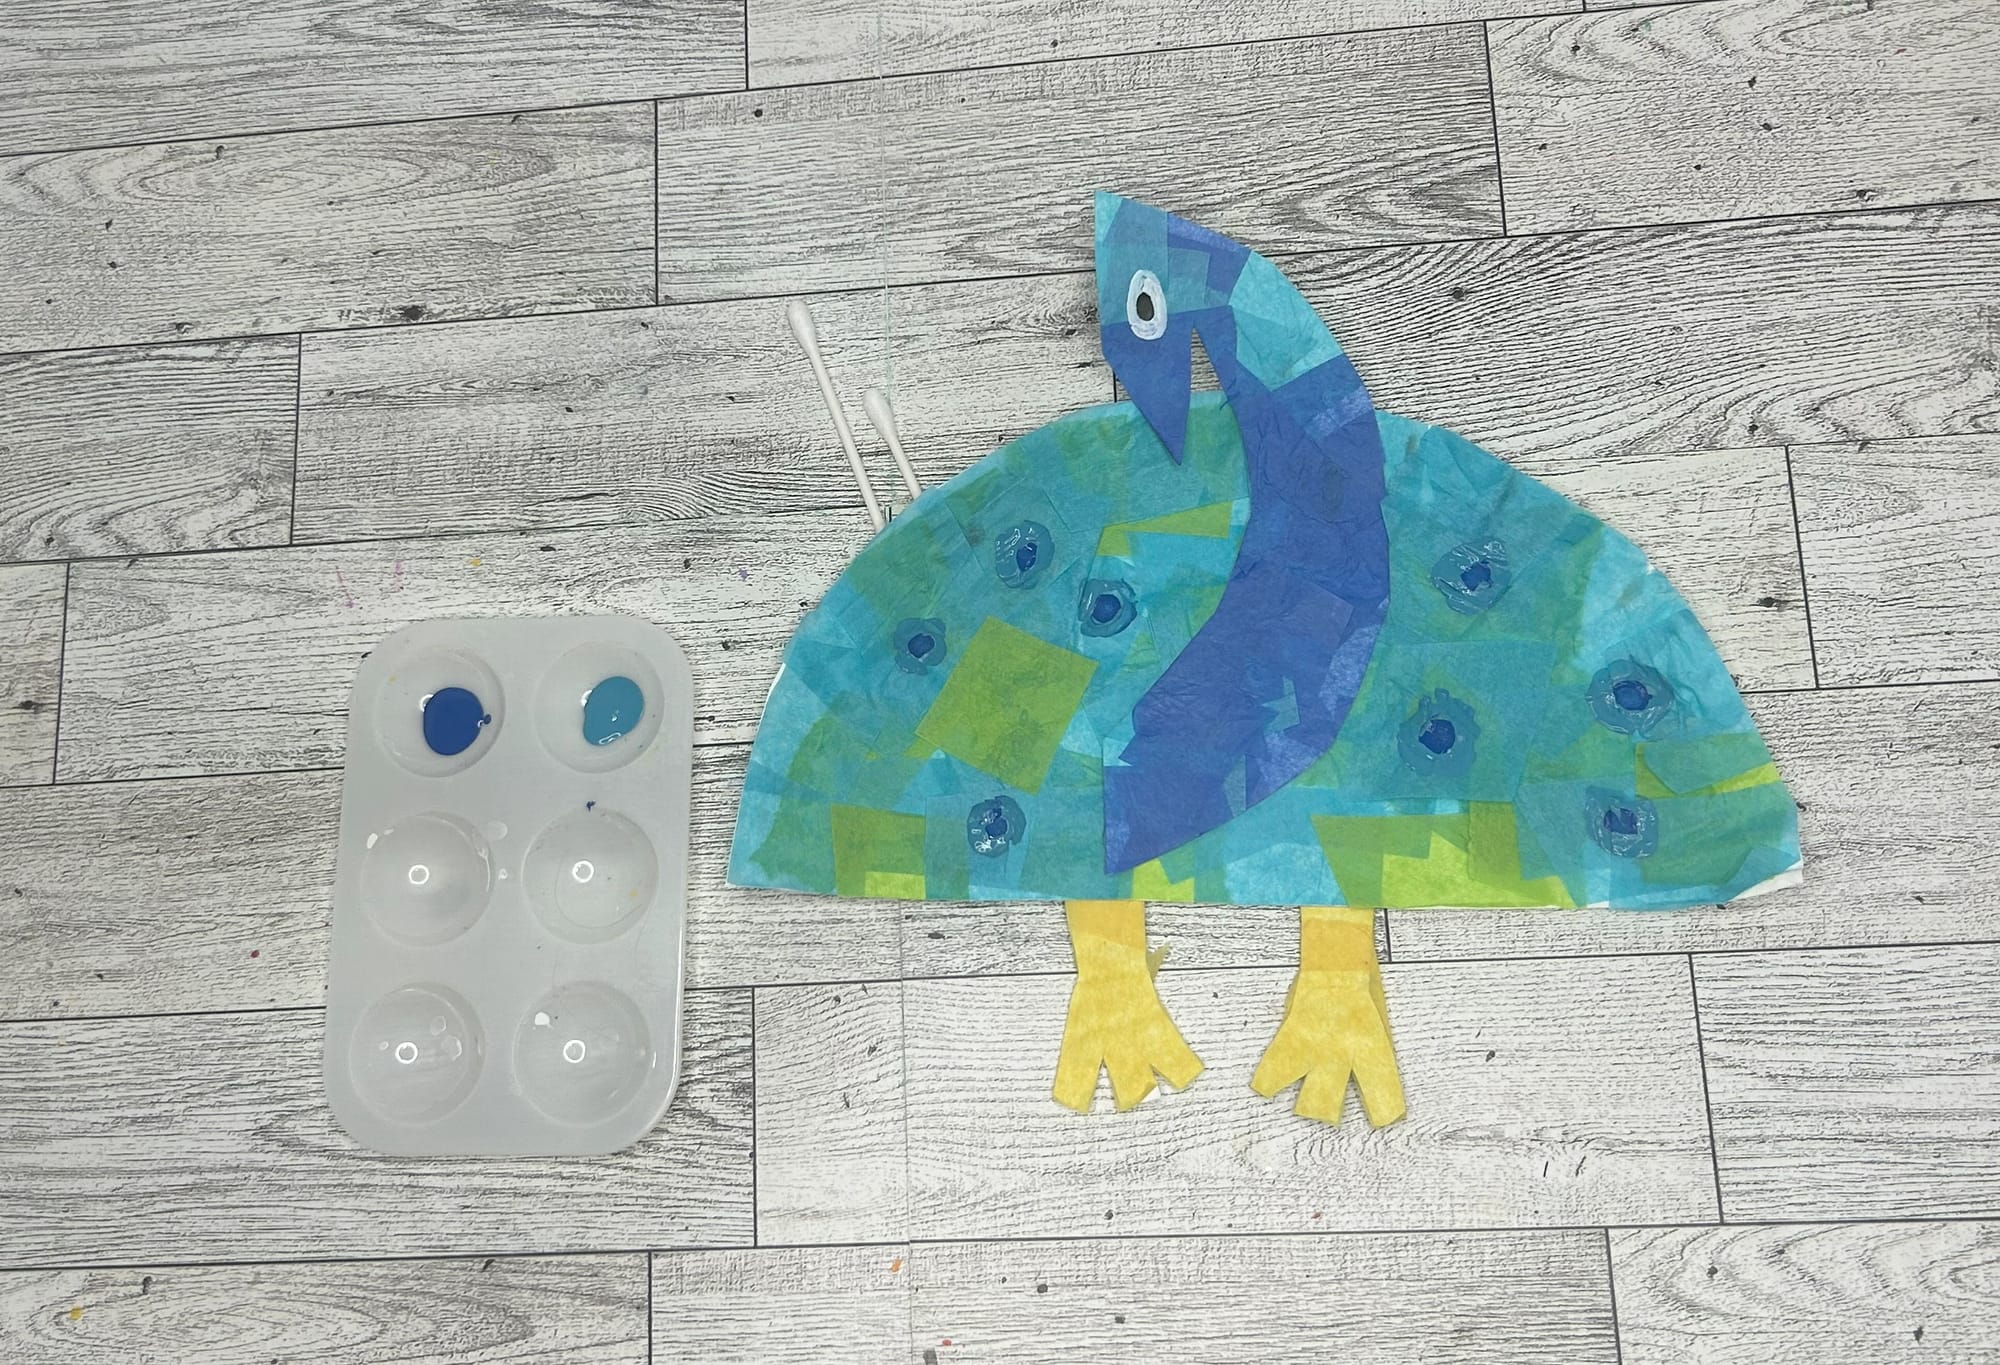
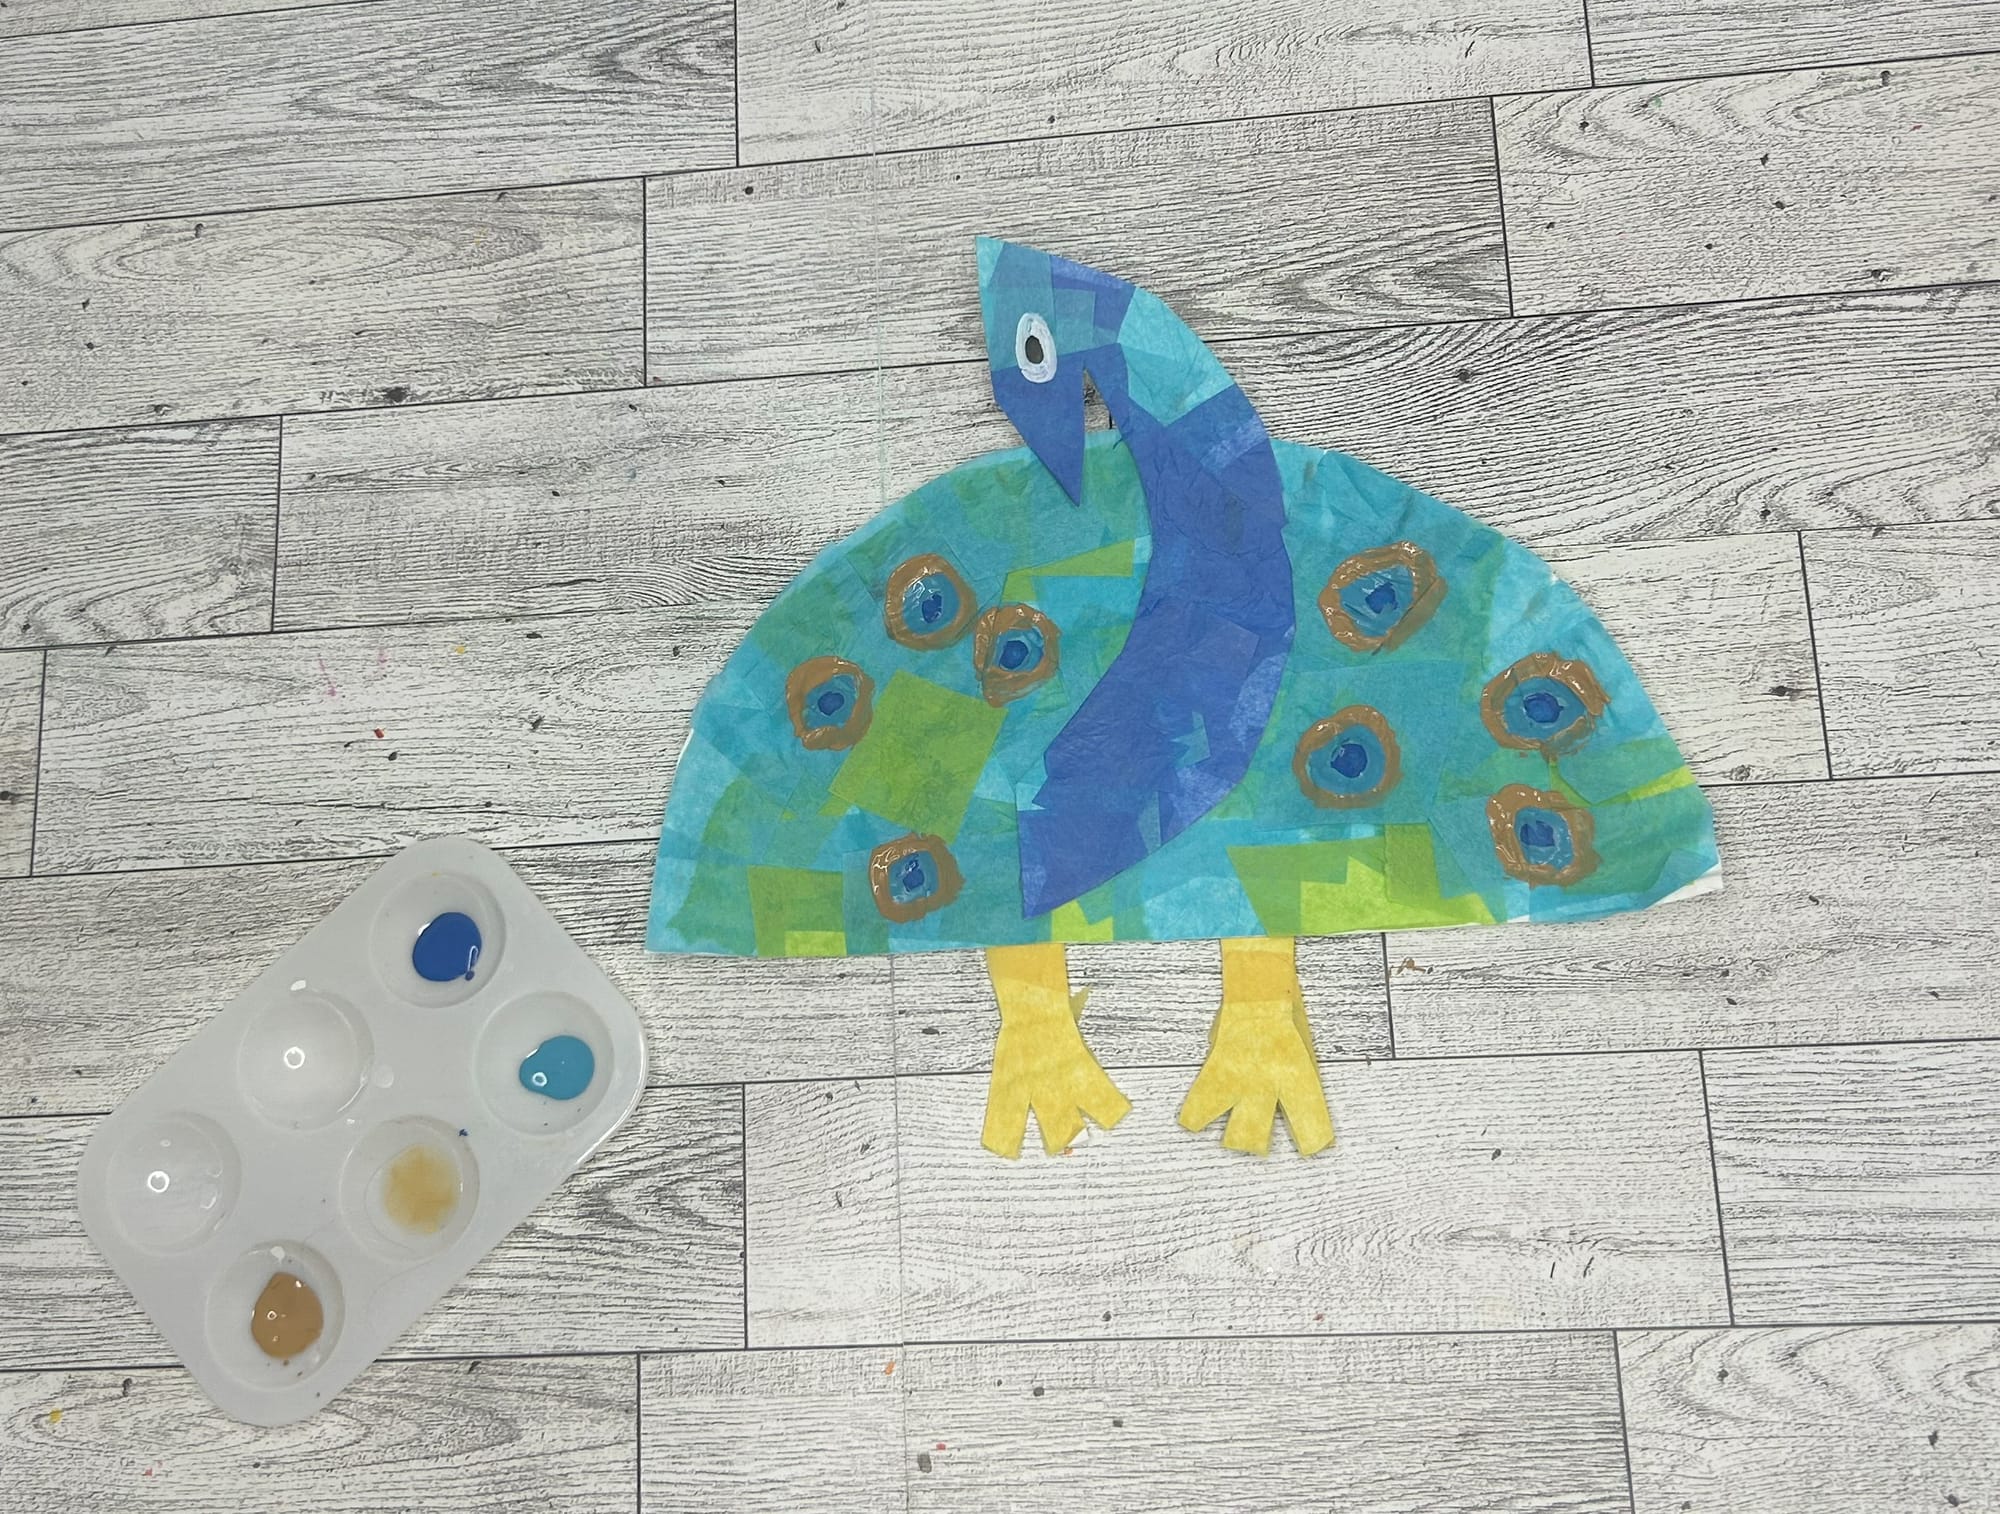
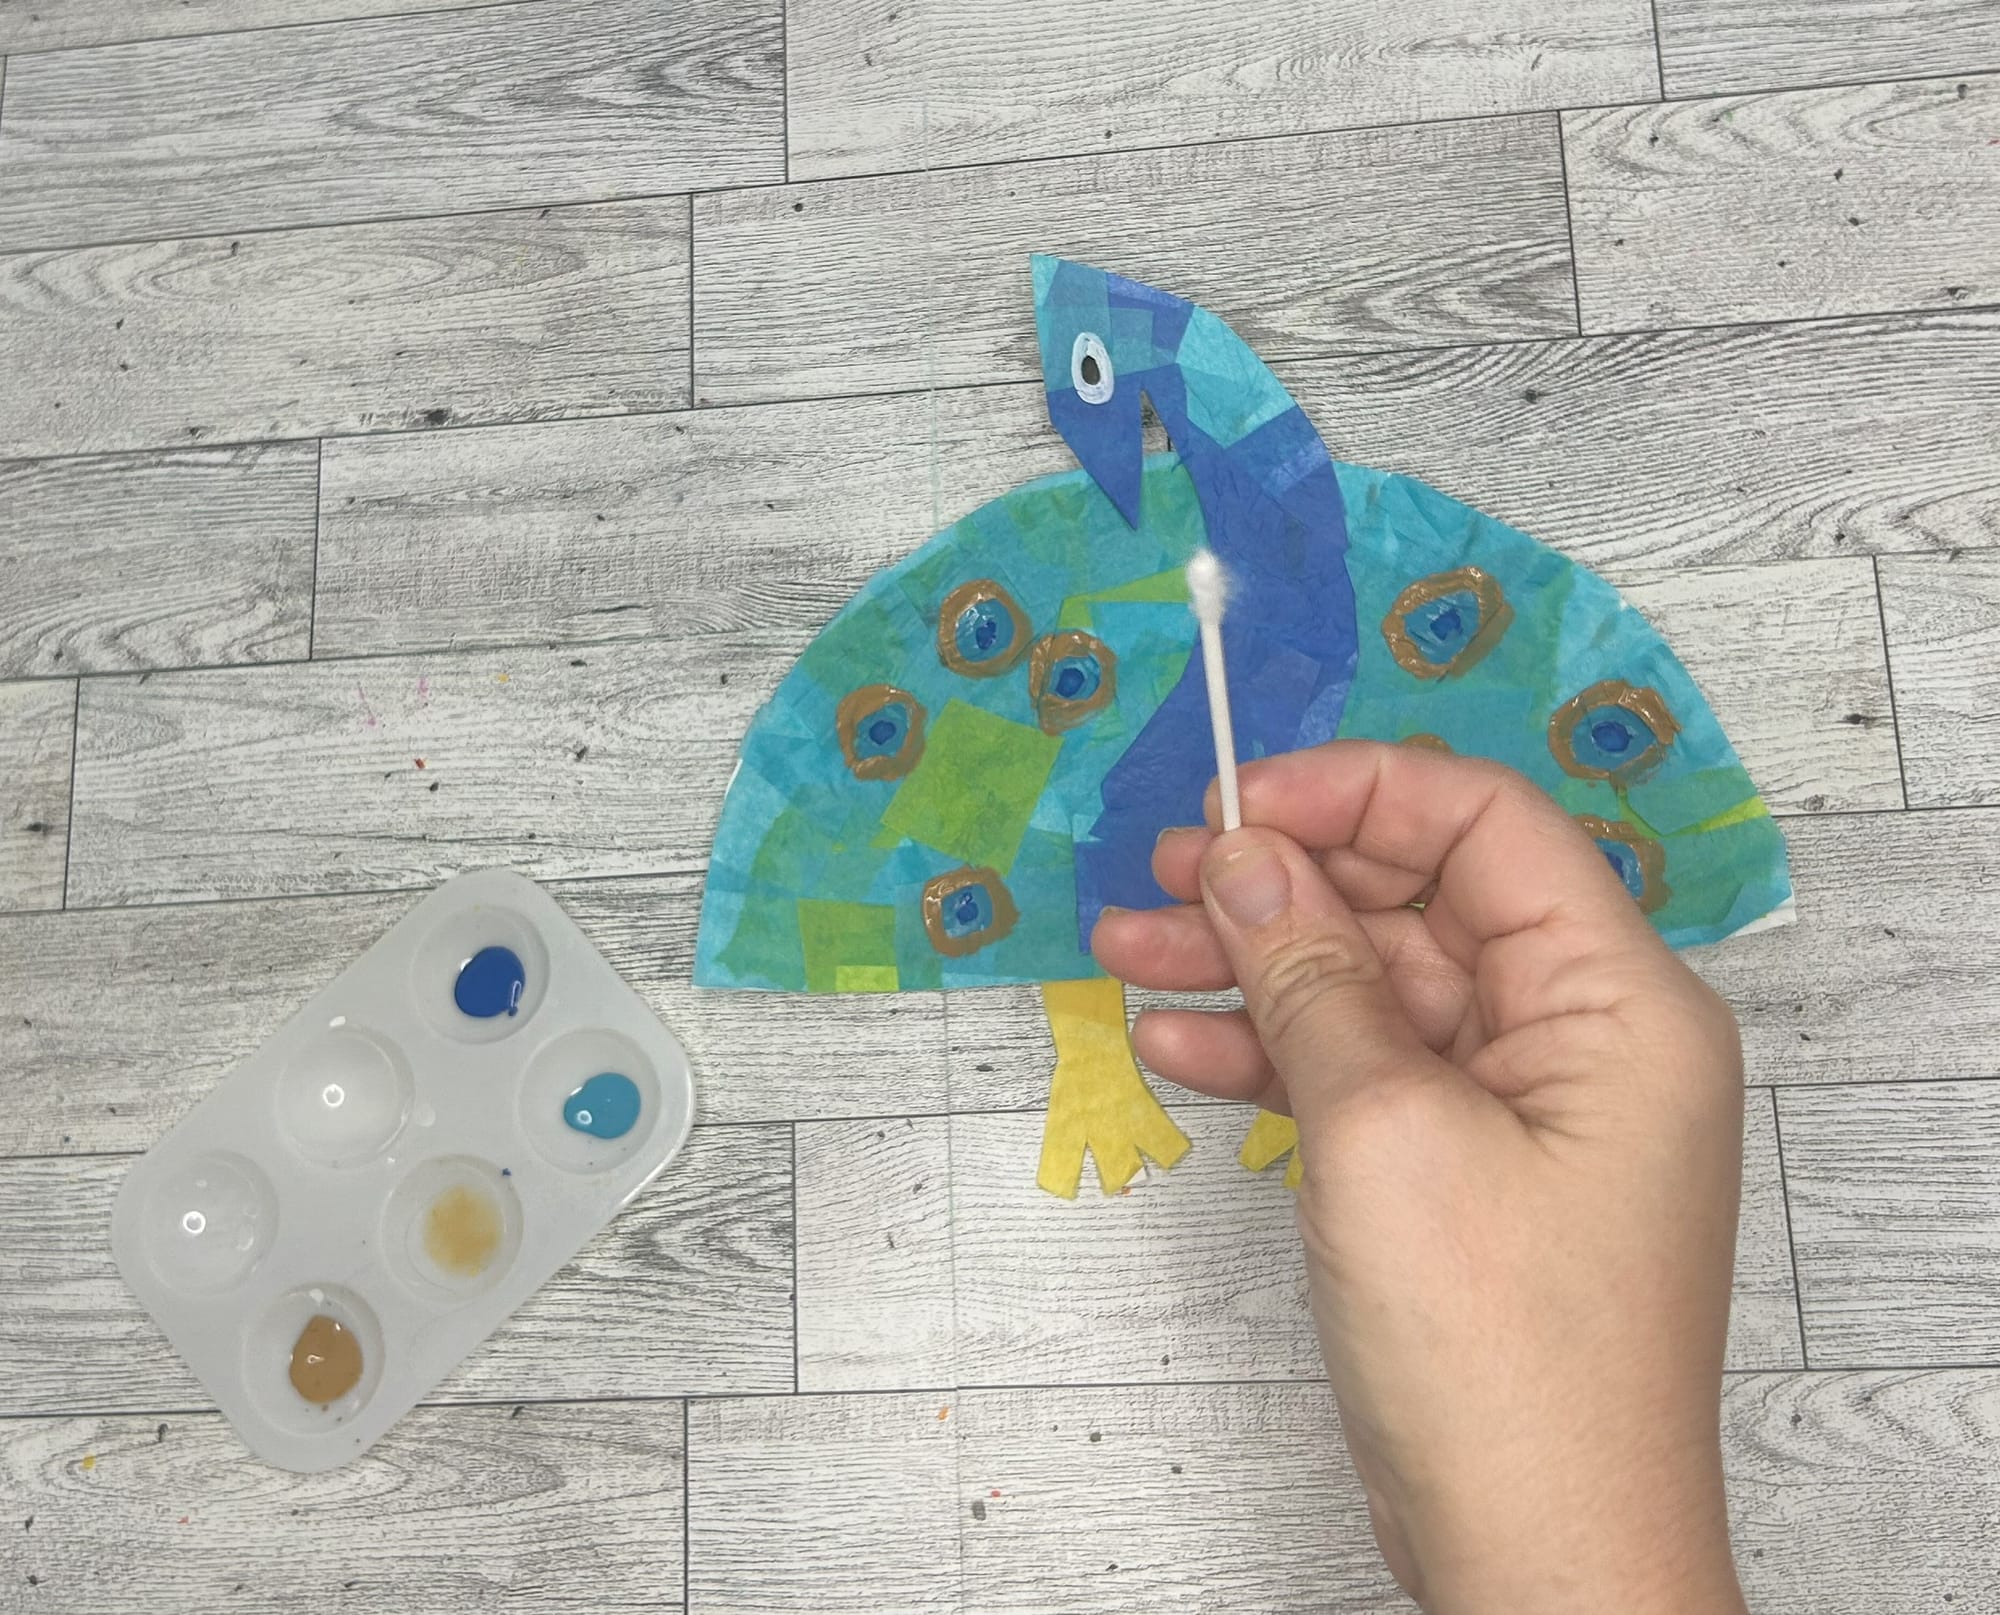
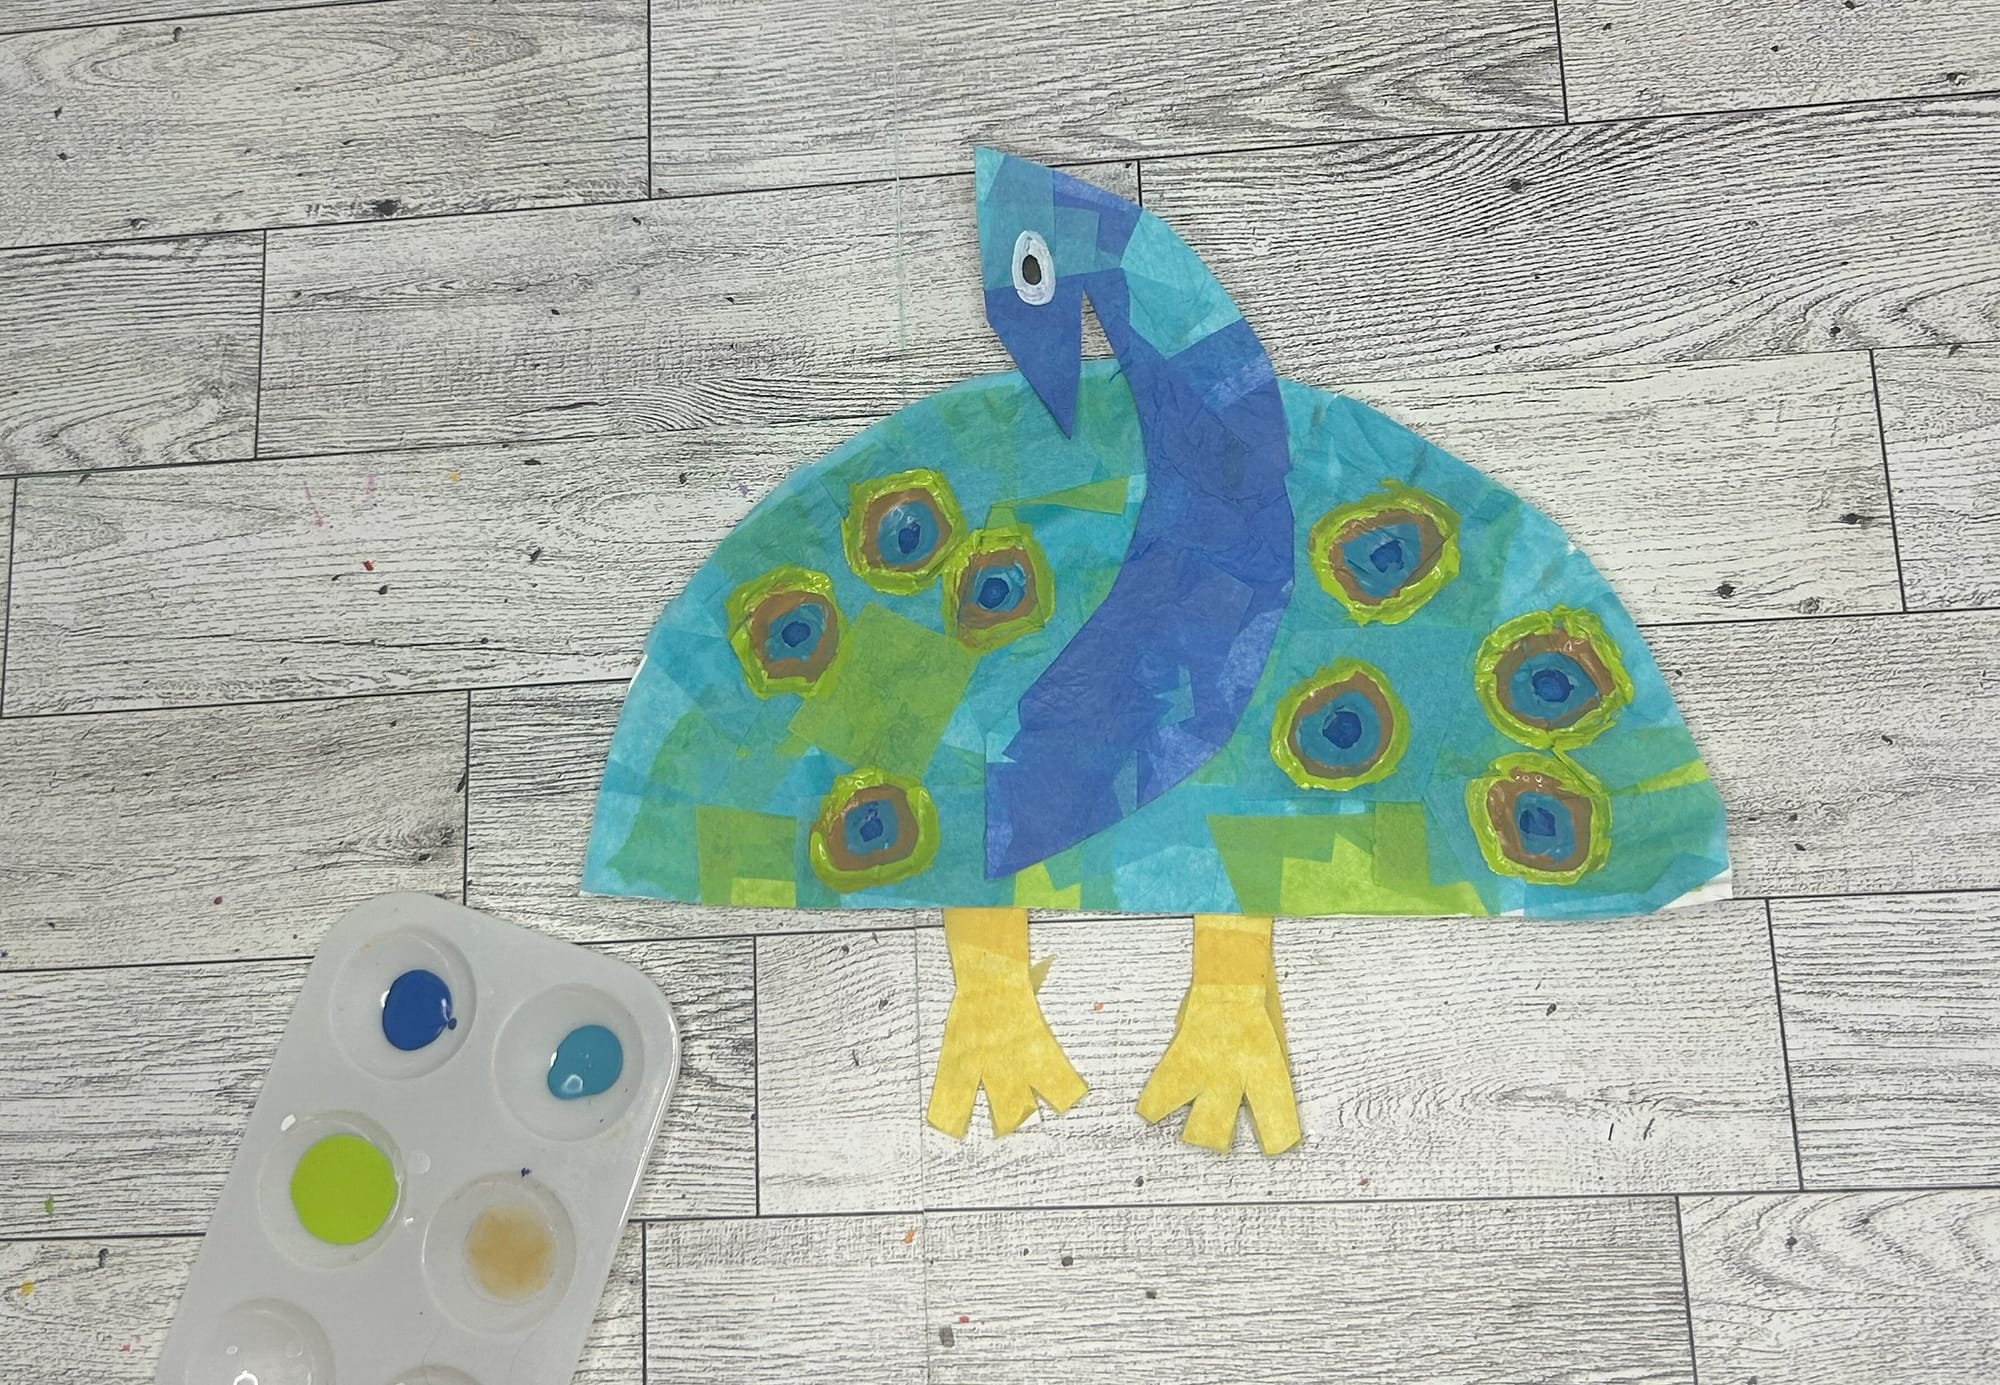
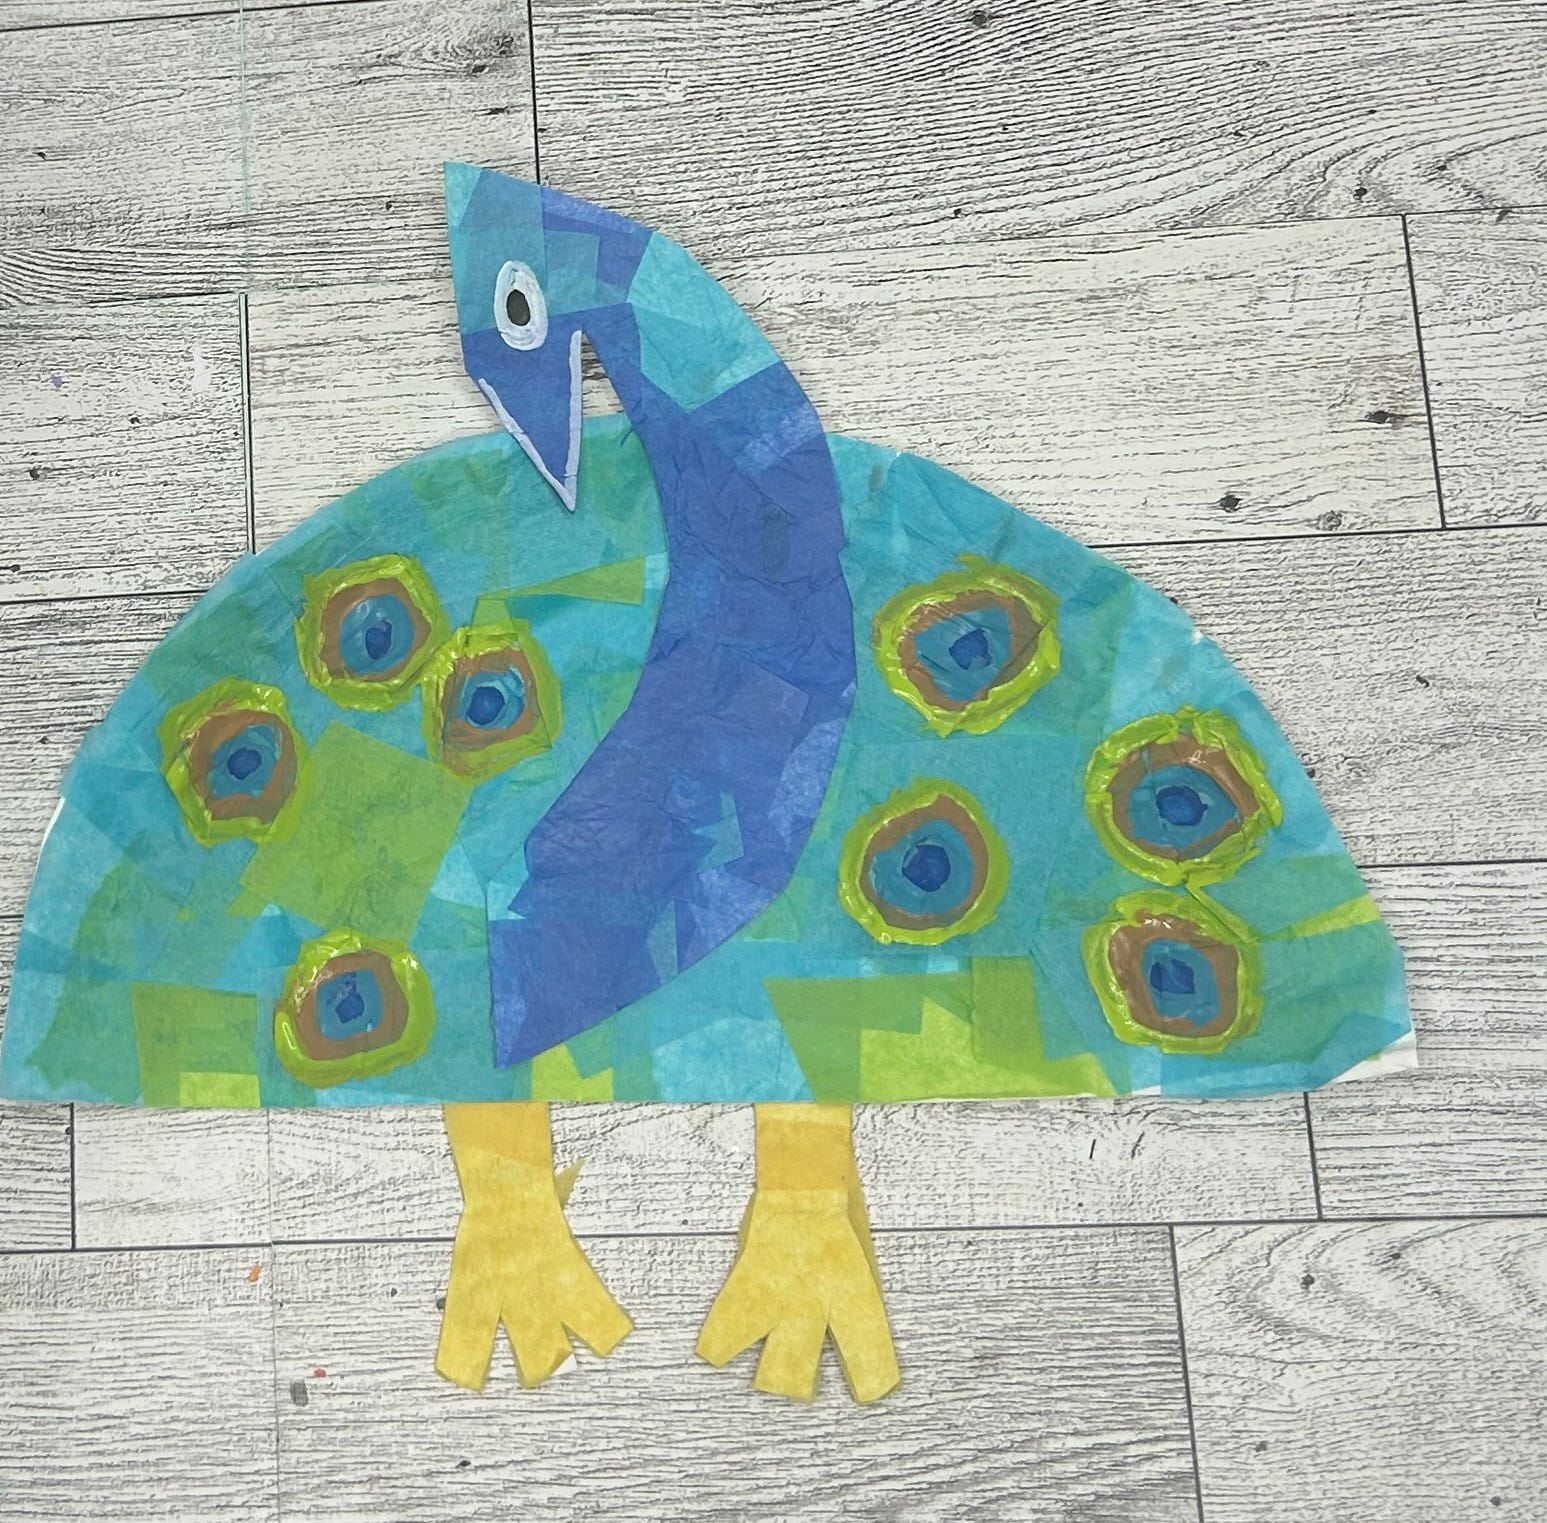
Use paint to create the beautiful details on the peacock's feathers
- Use a pipe cleaner and mini pom poms to create the crest on top of the peacock's head. Cut 3-4 equal, small pieces off the pipe cleaner. Glue the pom poms on top of the pipe cleaners.

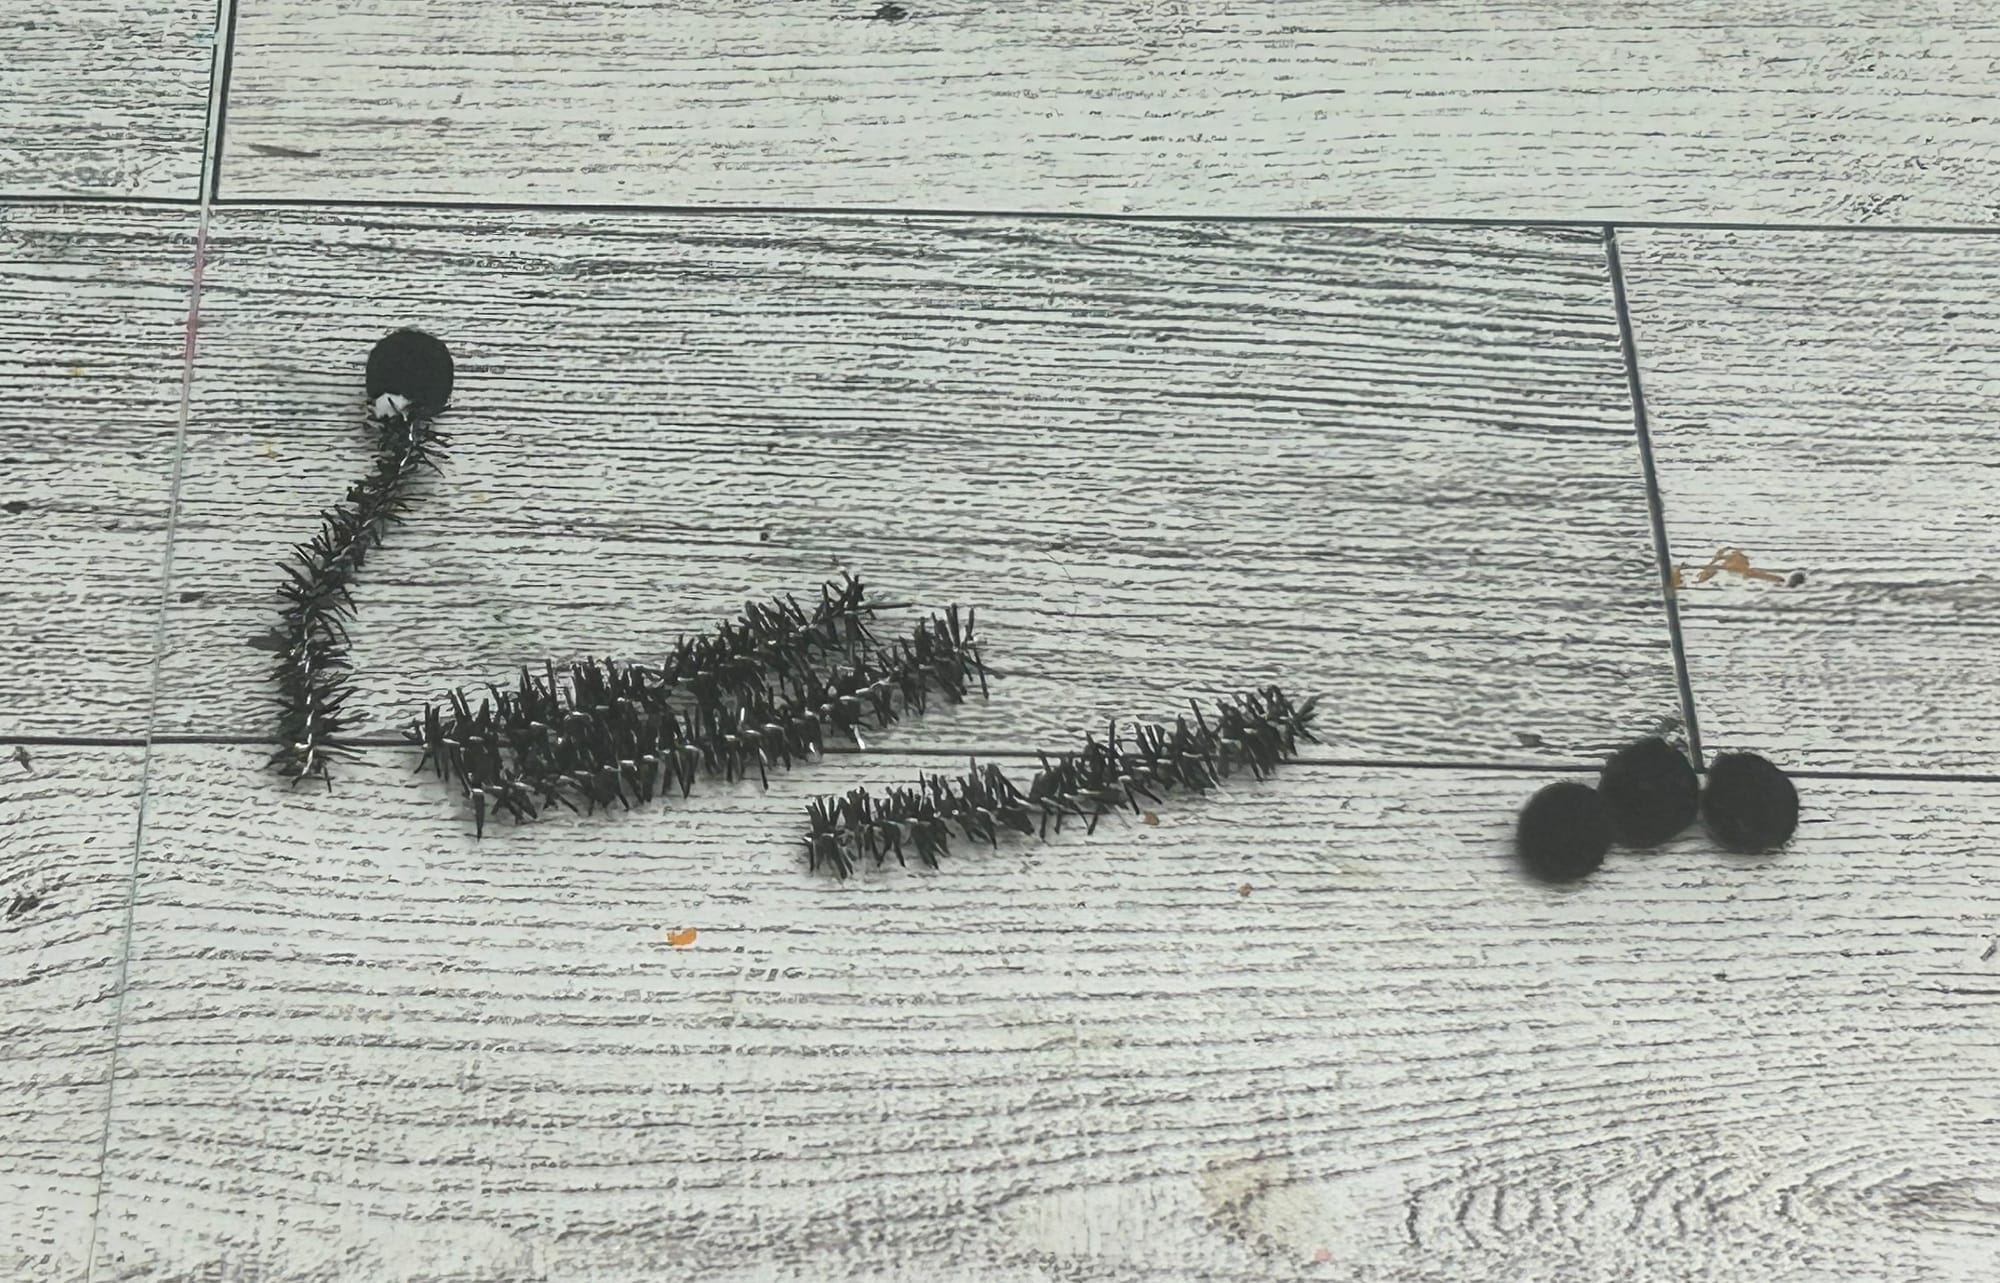
Glue small pom poms to the top of the pipe cleaners
- Dip the ends of the pom poms in blue paint. Lastly, tape or glue to the top of the head.
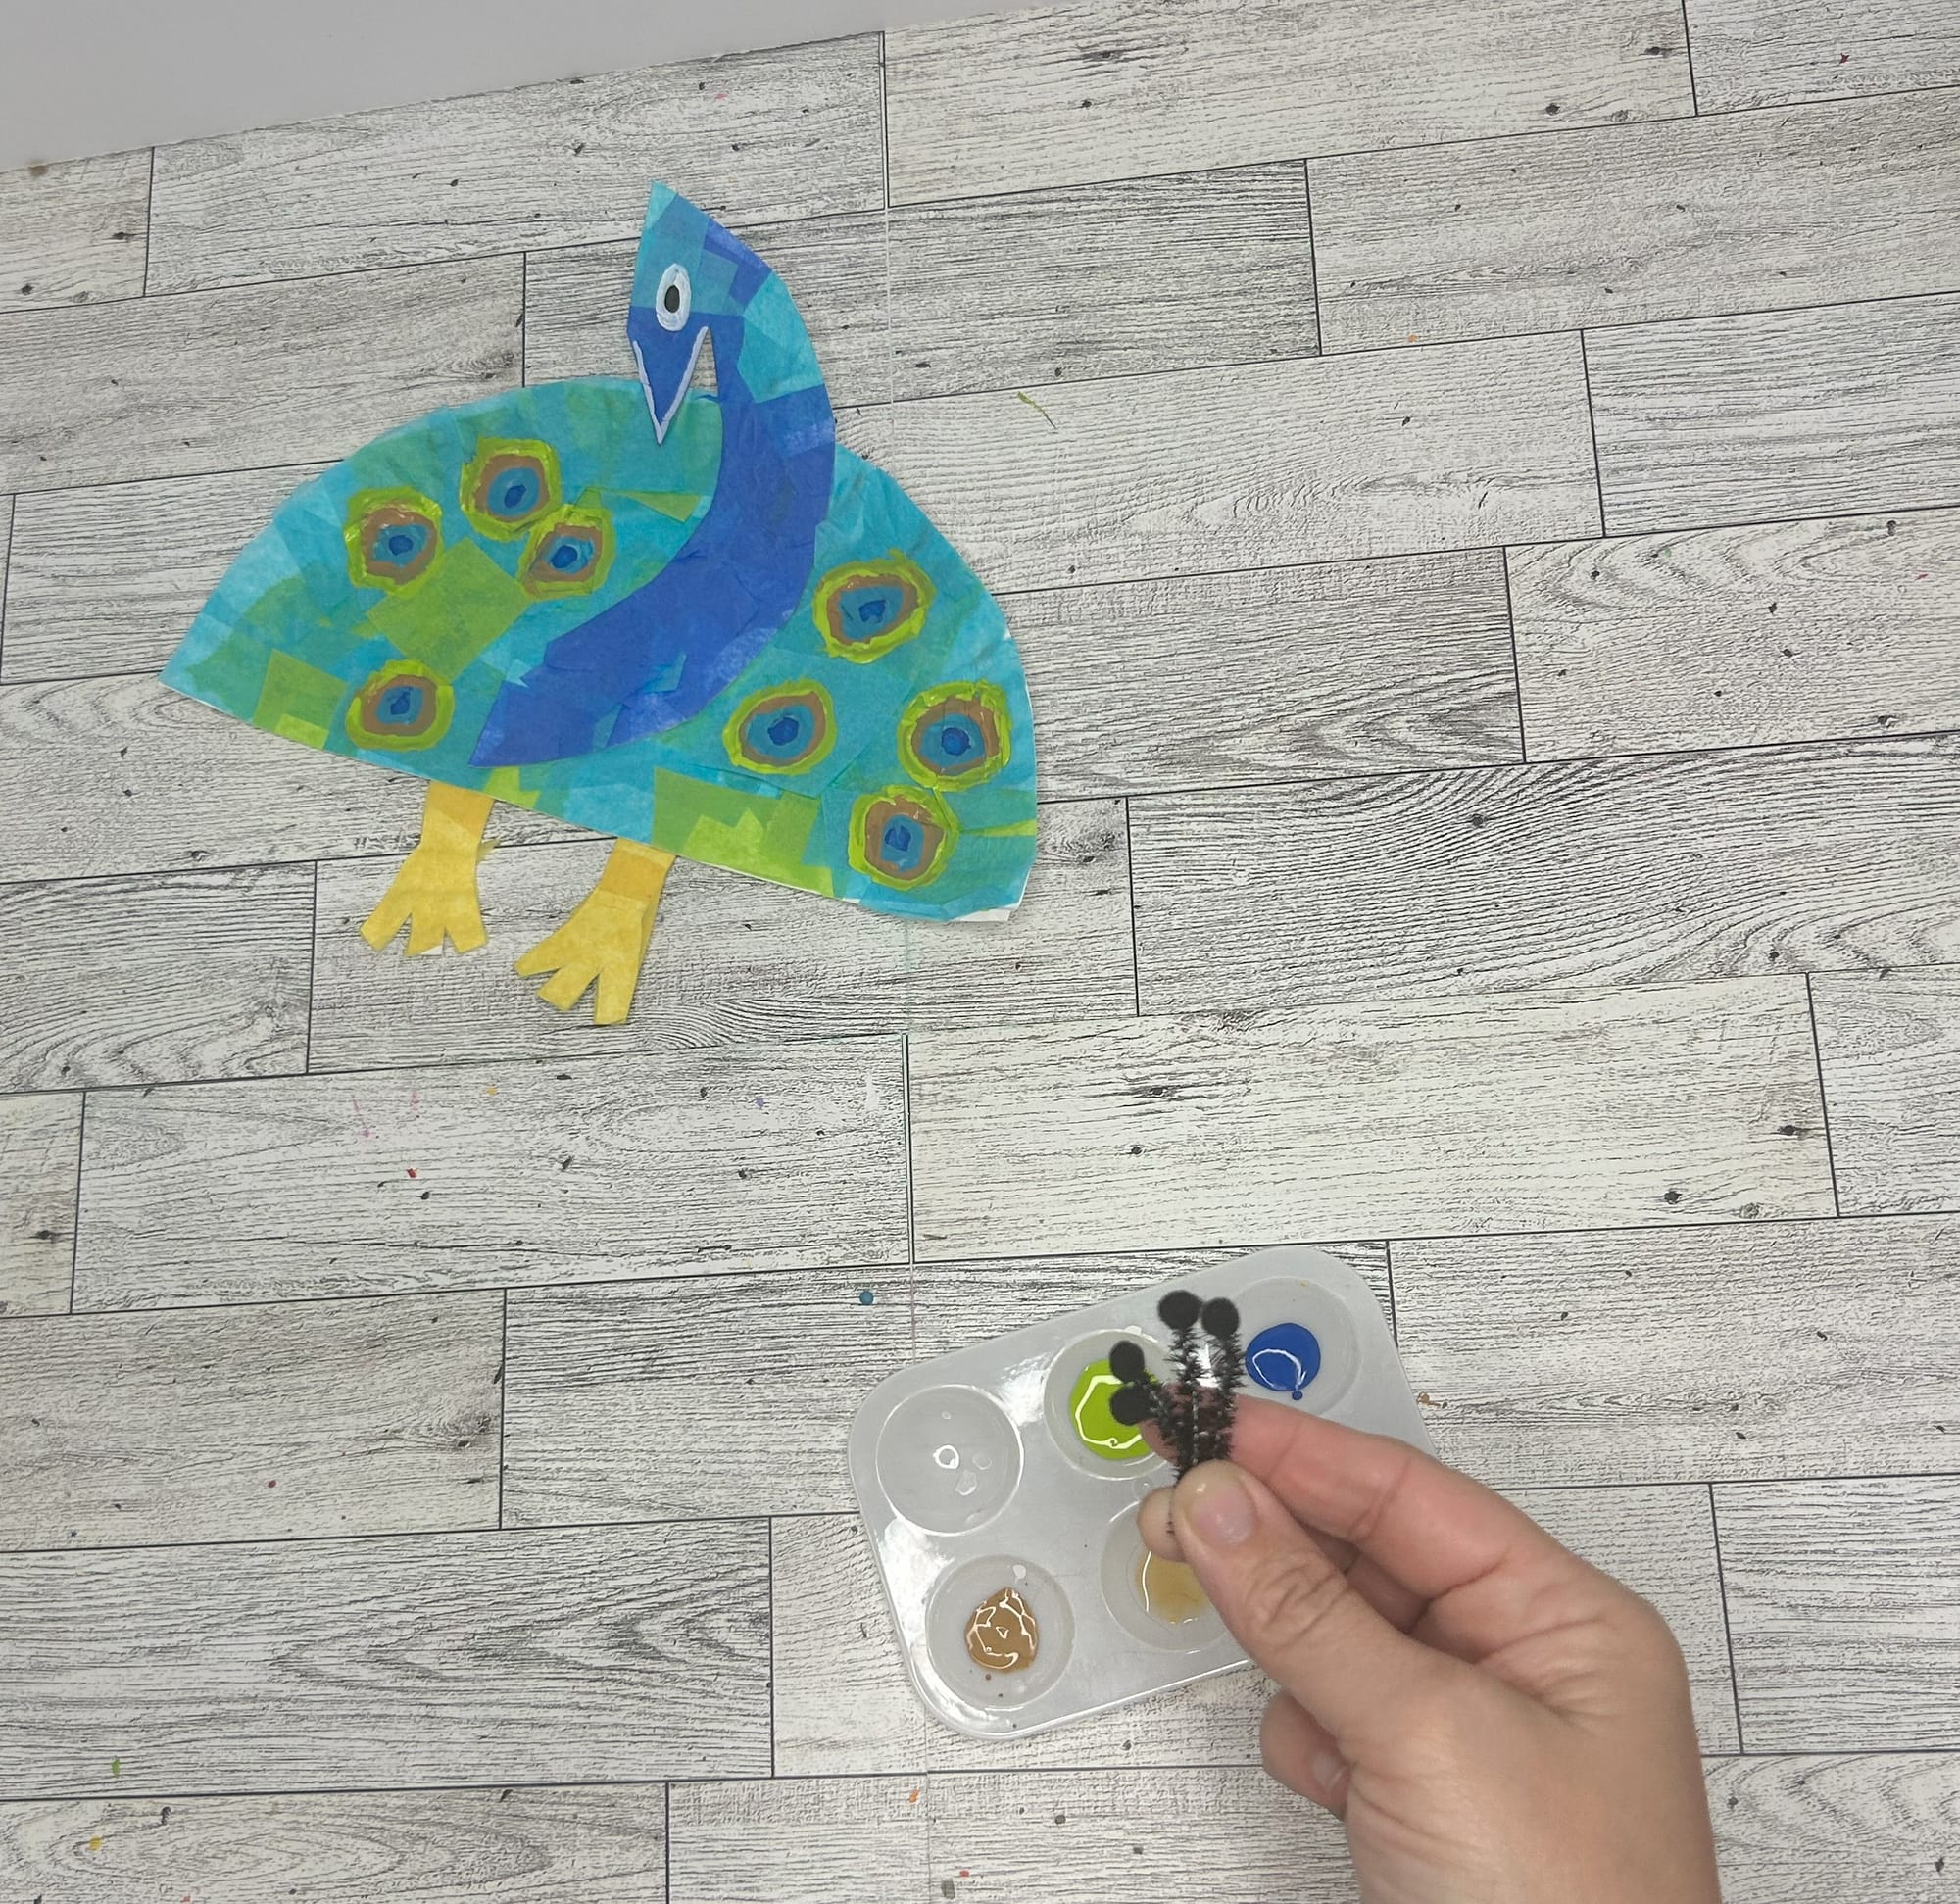
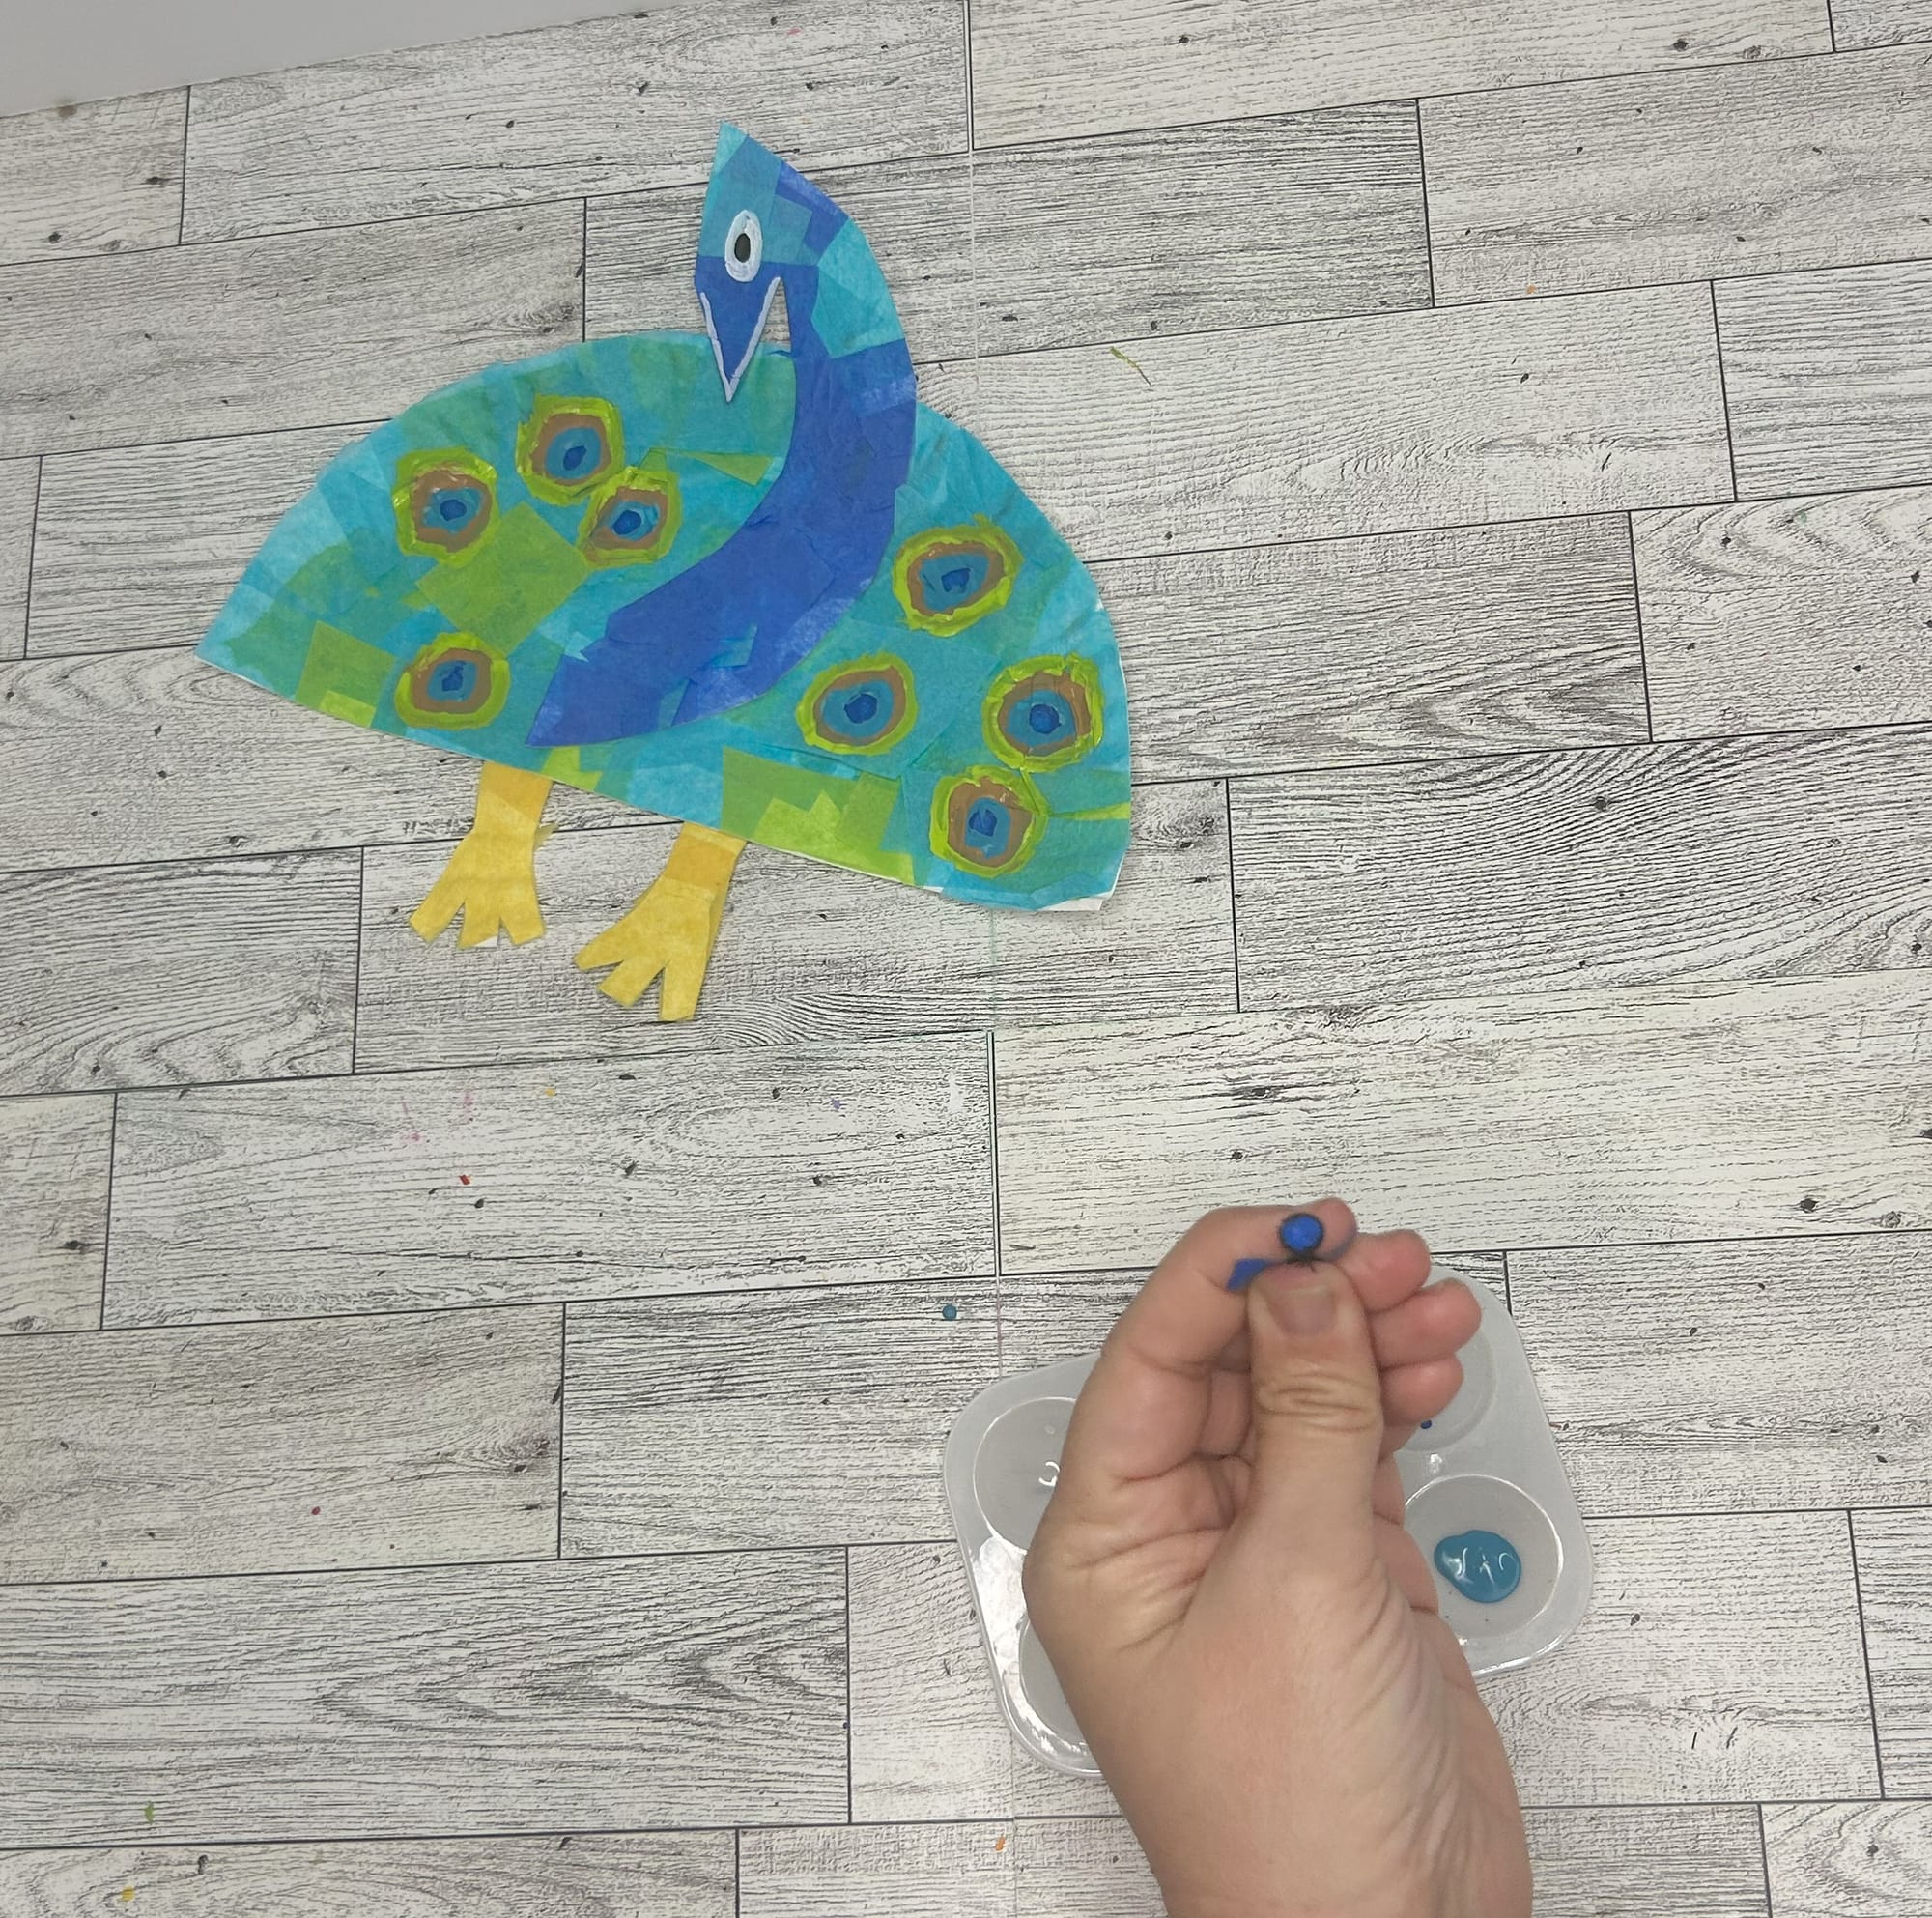
Add blue paint to the pom poms for the added crest detail.
This post contains affiliate links to the products mentioned. Crafty Mama Bird is a participant in the Amazon Services LLC Associates Program, an affiliate advertising program designed to provide a means for sites to earn advertising fees by advertising and linking to amazon.com.