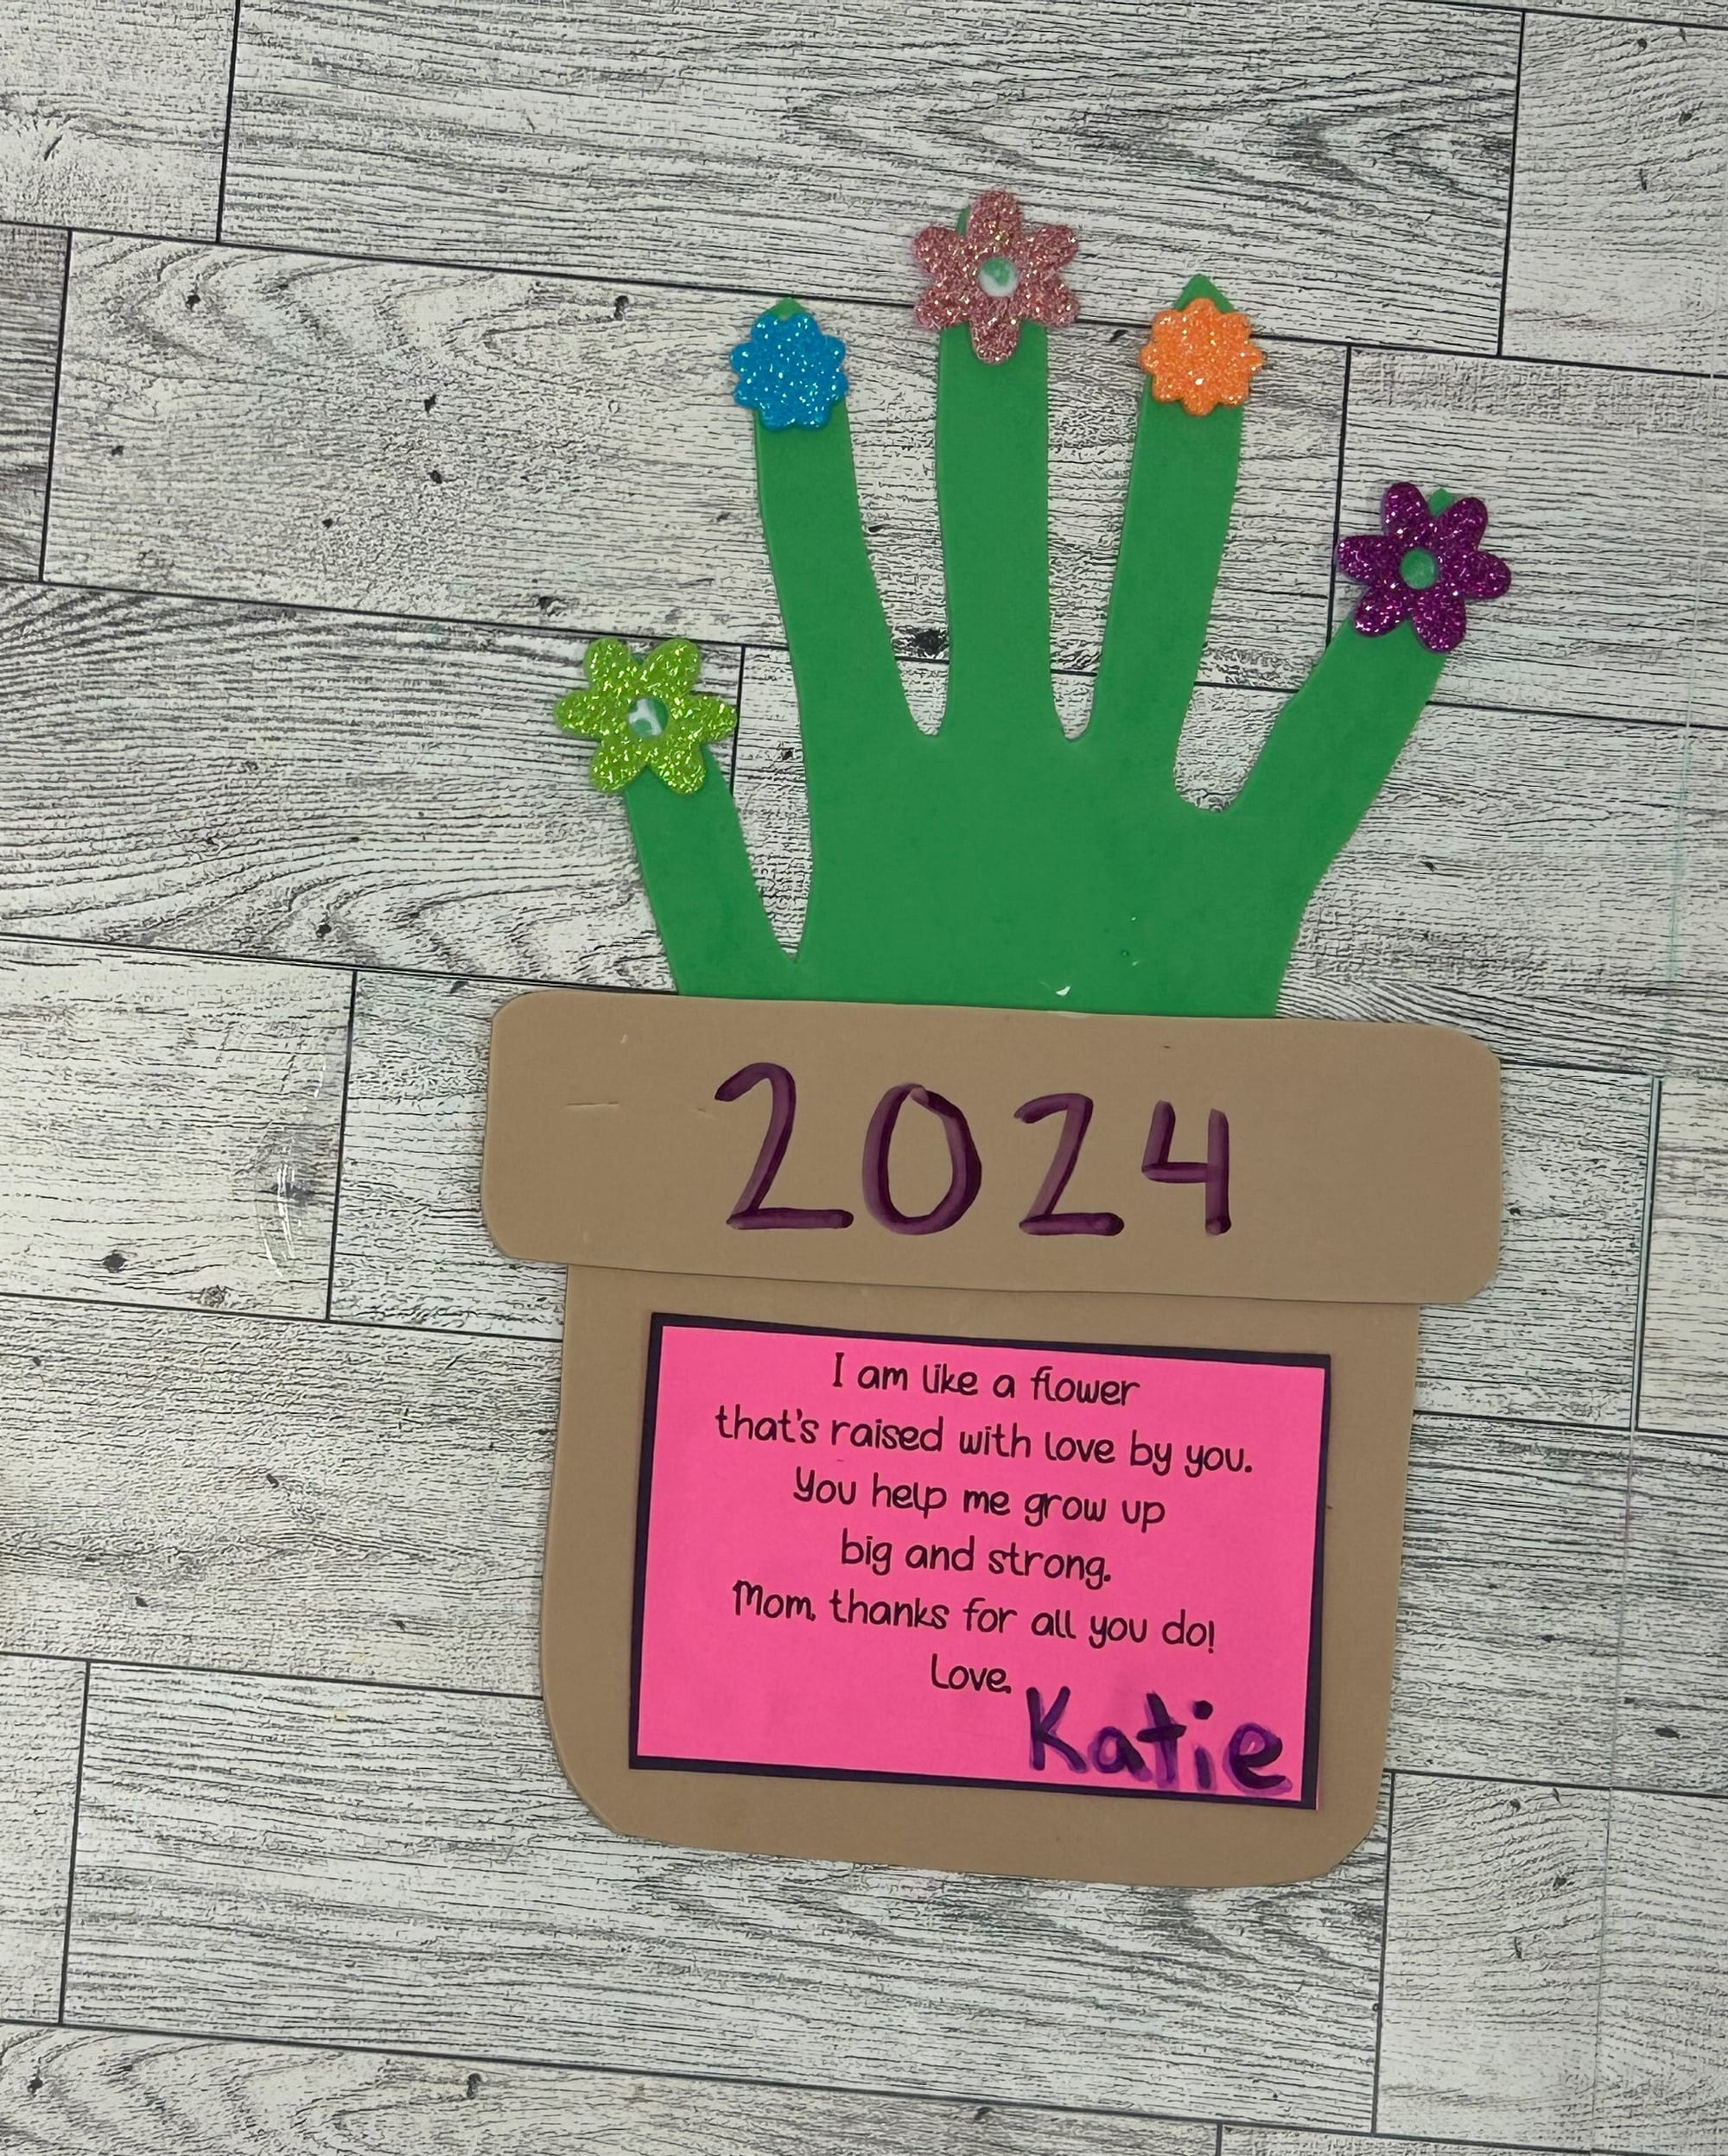
Mother's Day Handprint Flower Pot
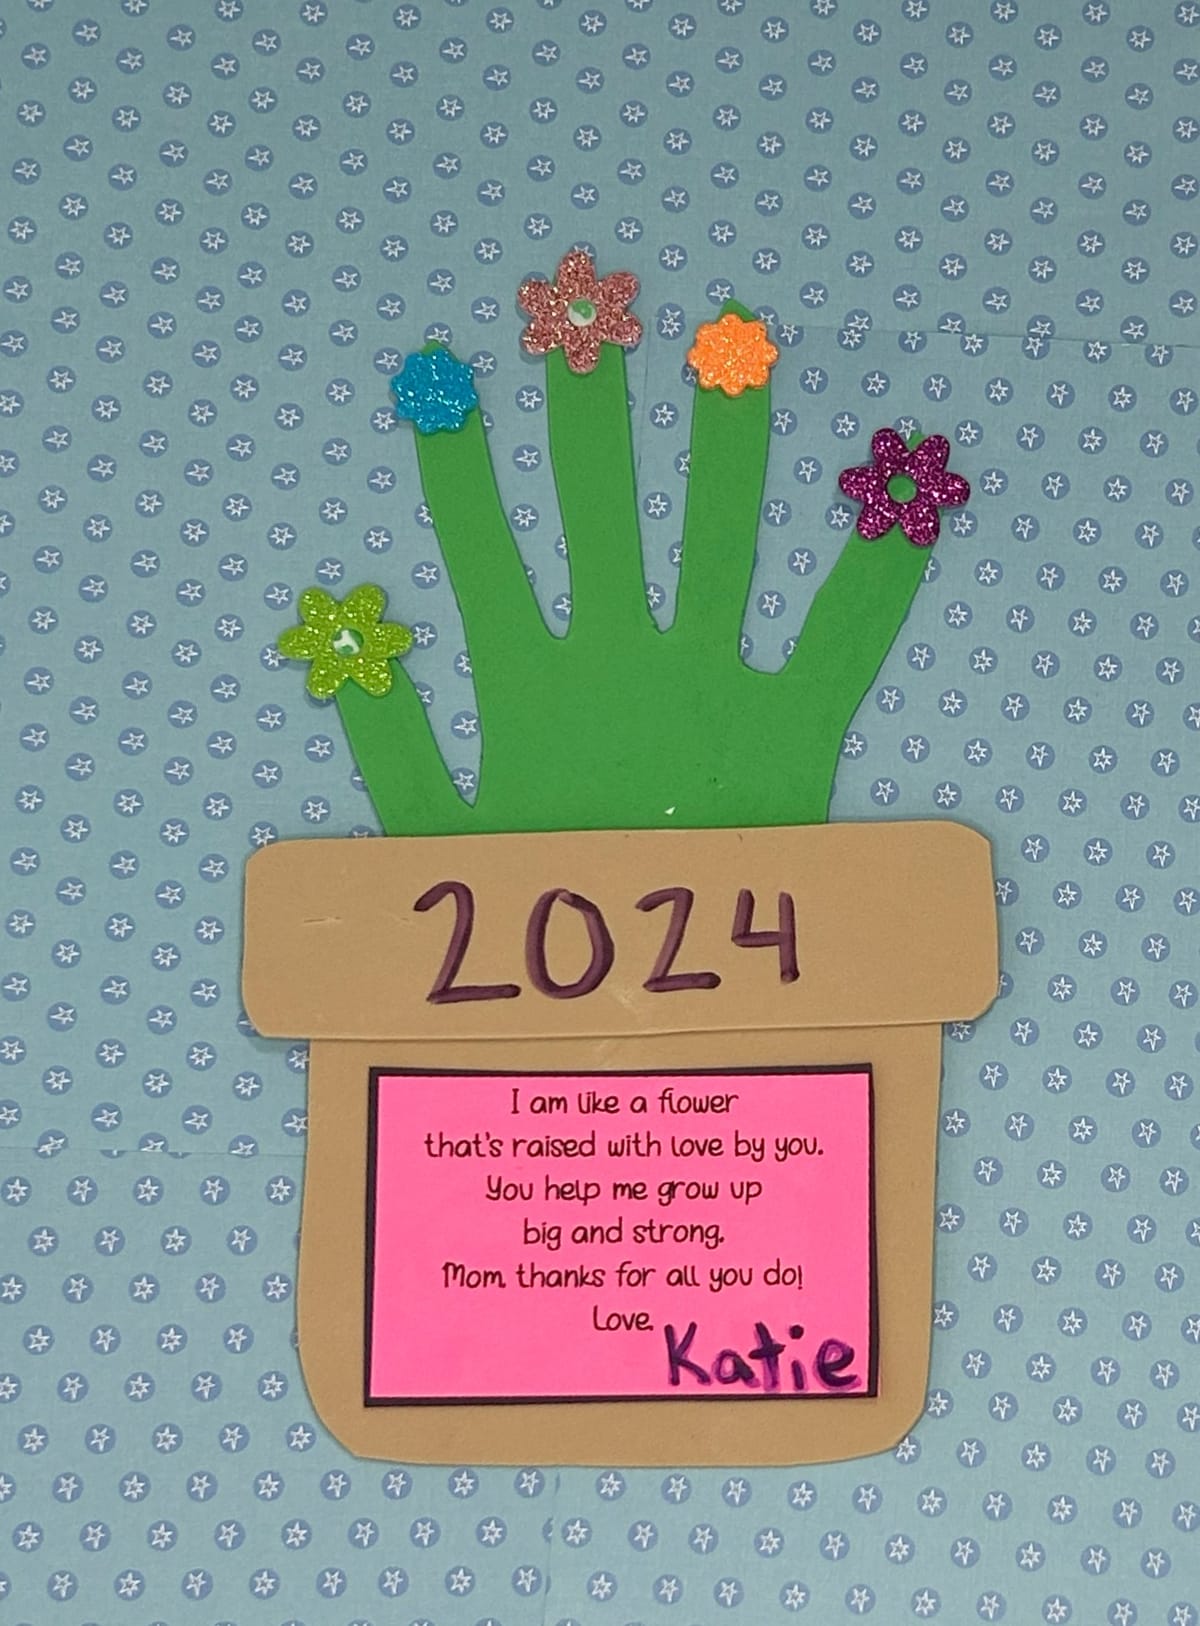
Looking for an easy and inexpensive Mother's Day Project? This project was a favorite activity when I taught 1st grade. It is a quick and easy project for kids to do and the supplies are minimum. To make it more personalized allow the children to do all of the cutting. It may not turn out perfect, however it will capture your child's ability and age to keep forever. As a parent, I also loved crafts that include my child's hand. As they have grown it is fun to compare how much they have grown and changed over the year.
This project is easily completed with a few items. You may even have a some at home. Add the free tracer template and poem and you have a quick project mom will treasure. I also love to place a magnet on the back so it can be hung on the refrigerator at home or on a filing cabinet in the office. If you are looking to include something else, consider purchasing a book for you child to read along with mom. Include their signature or handprint inside the cover of the book for a special gift. Here are 10 books I recommend for Mother's Day.
Supplies:
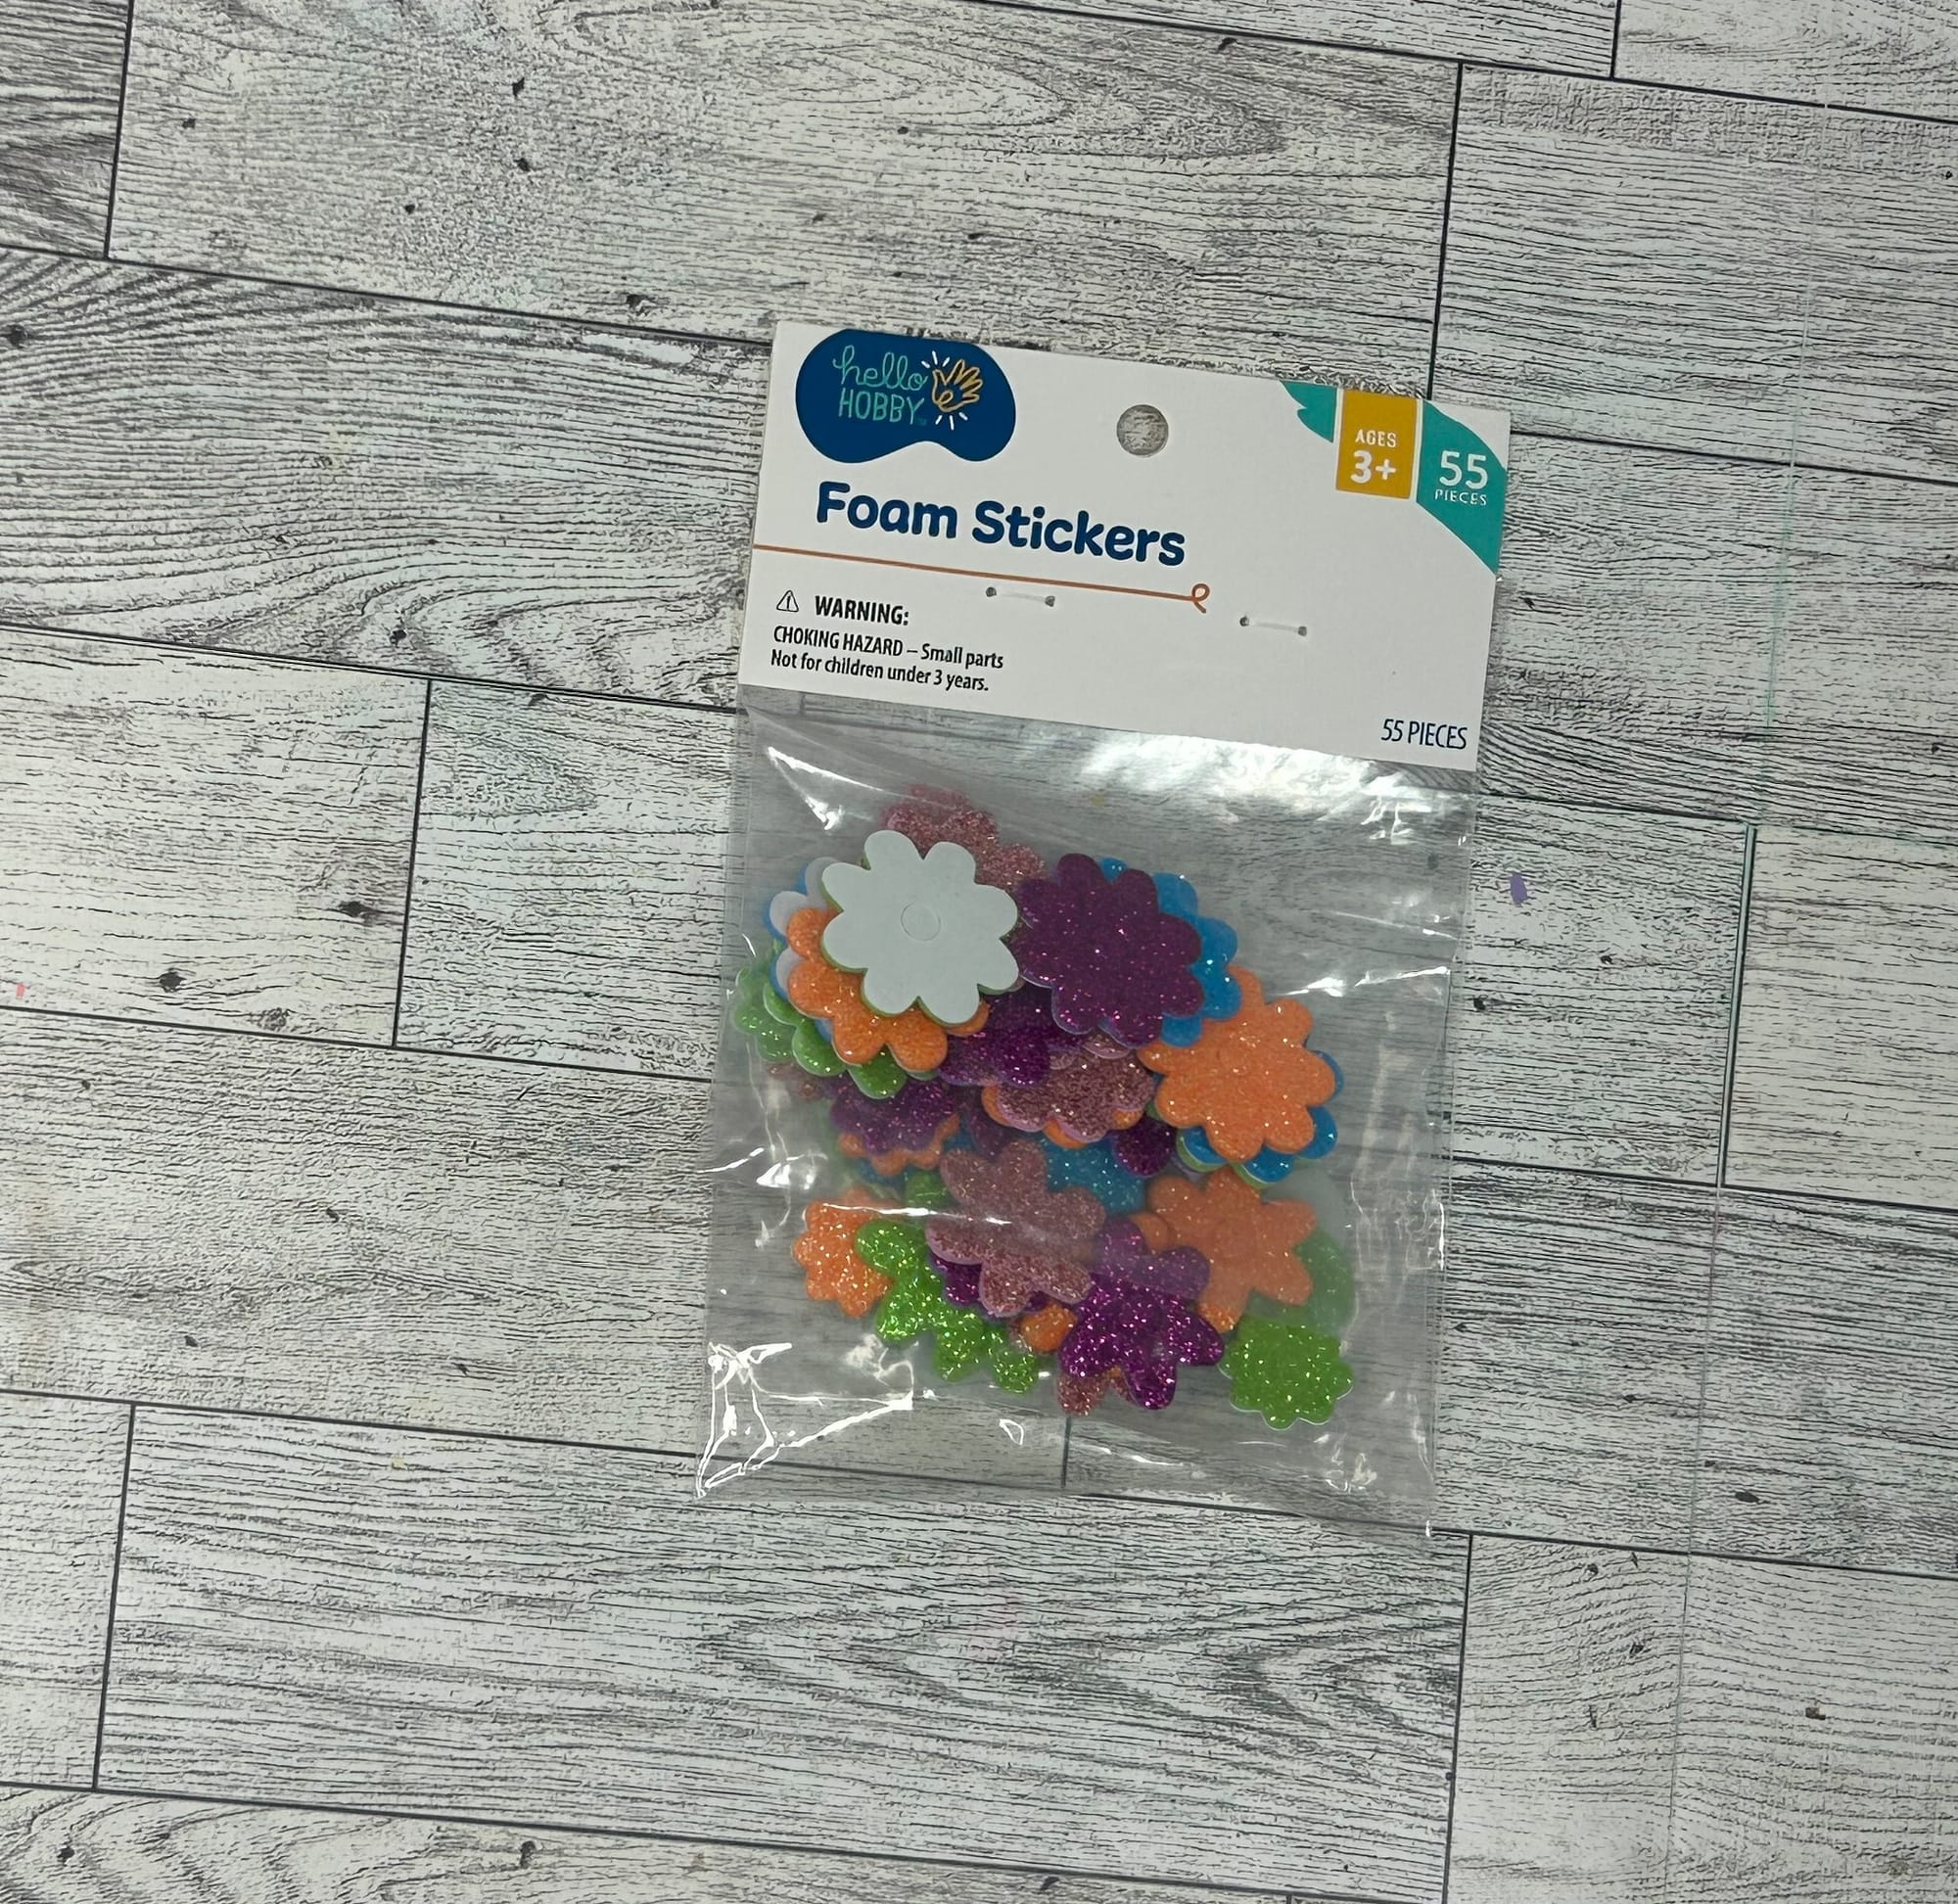
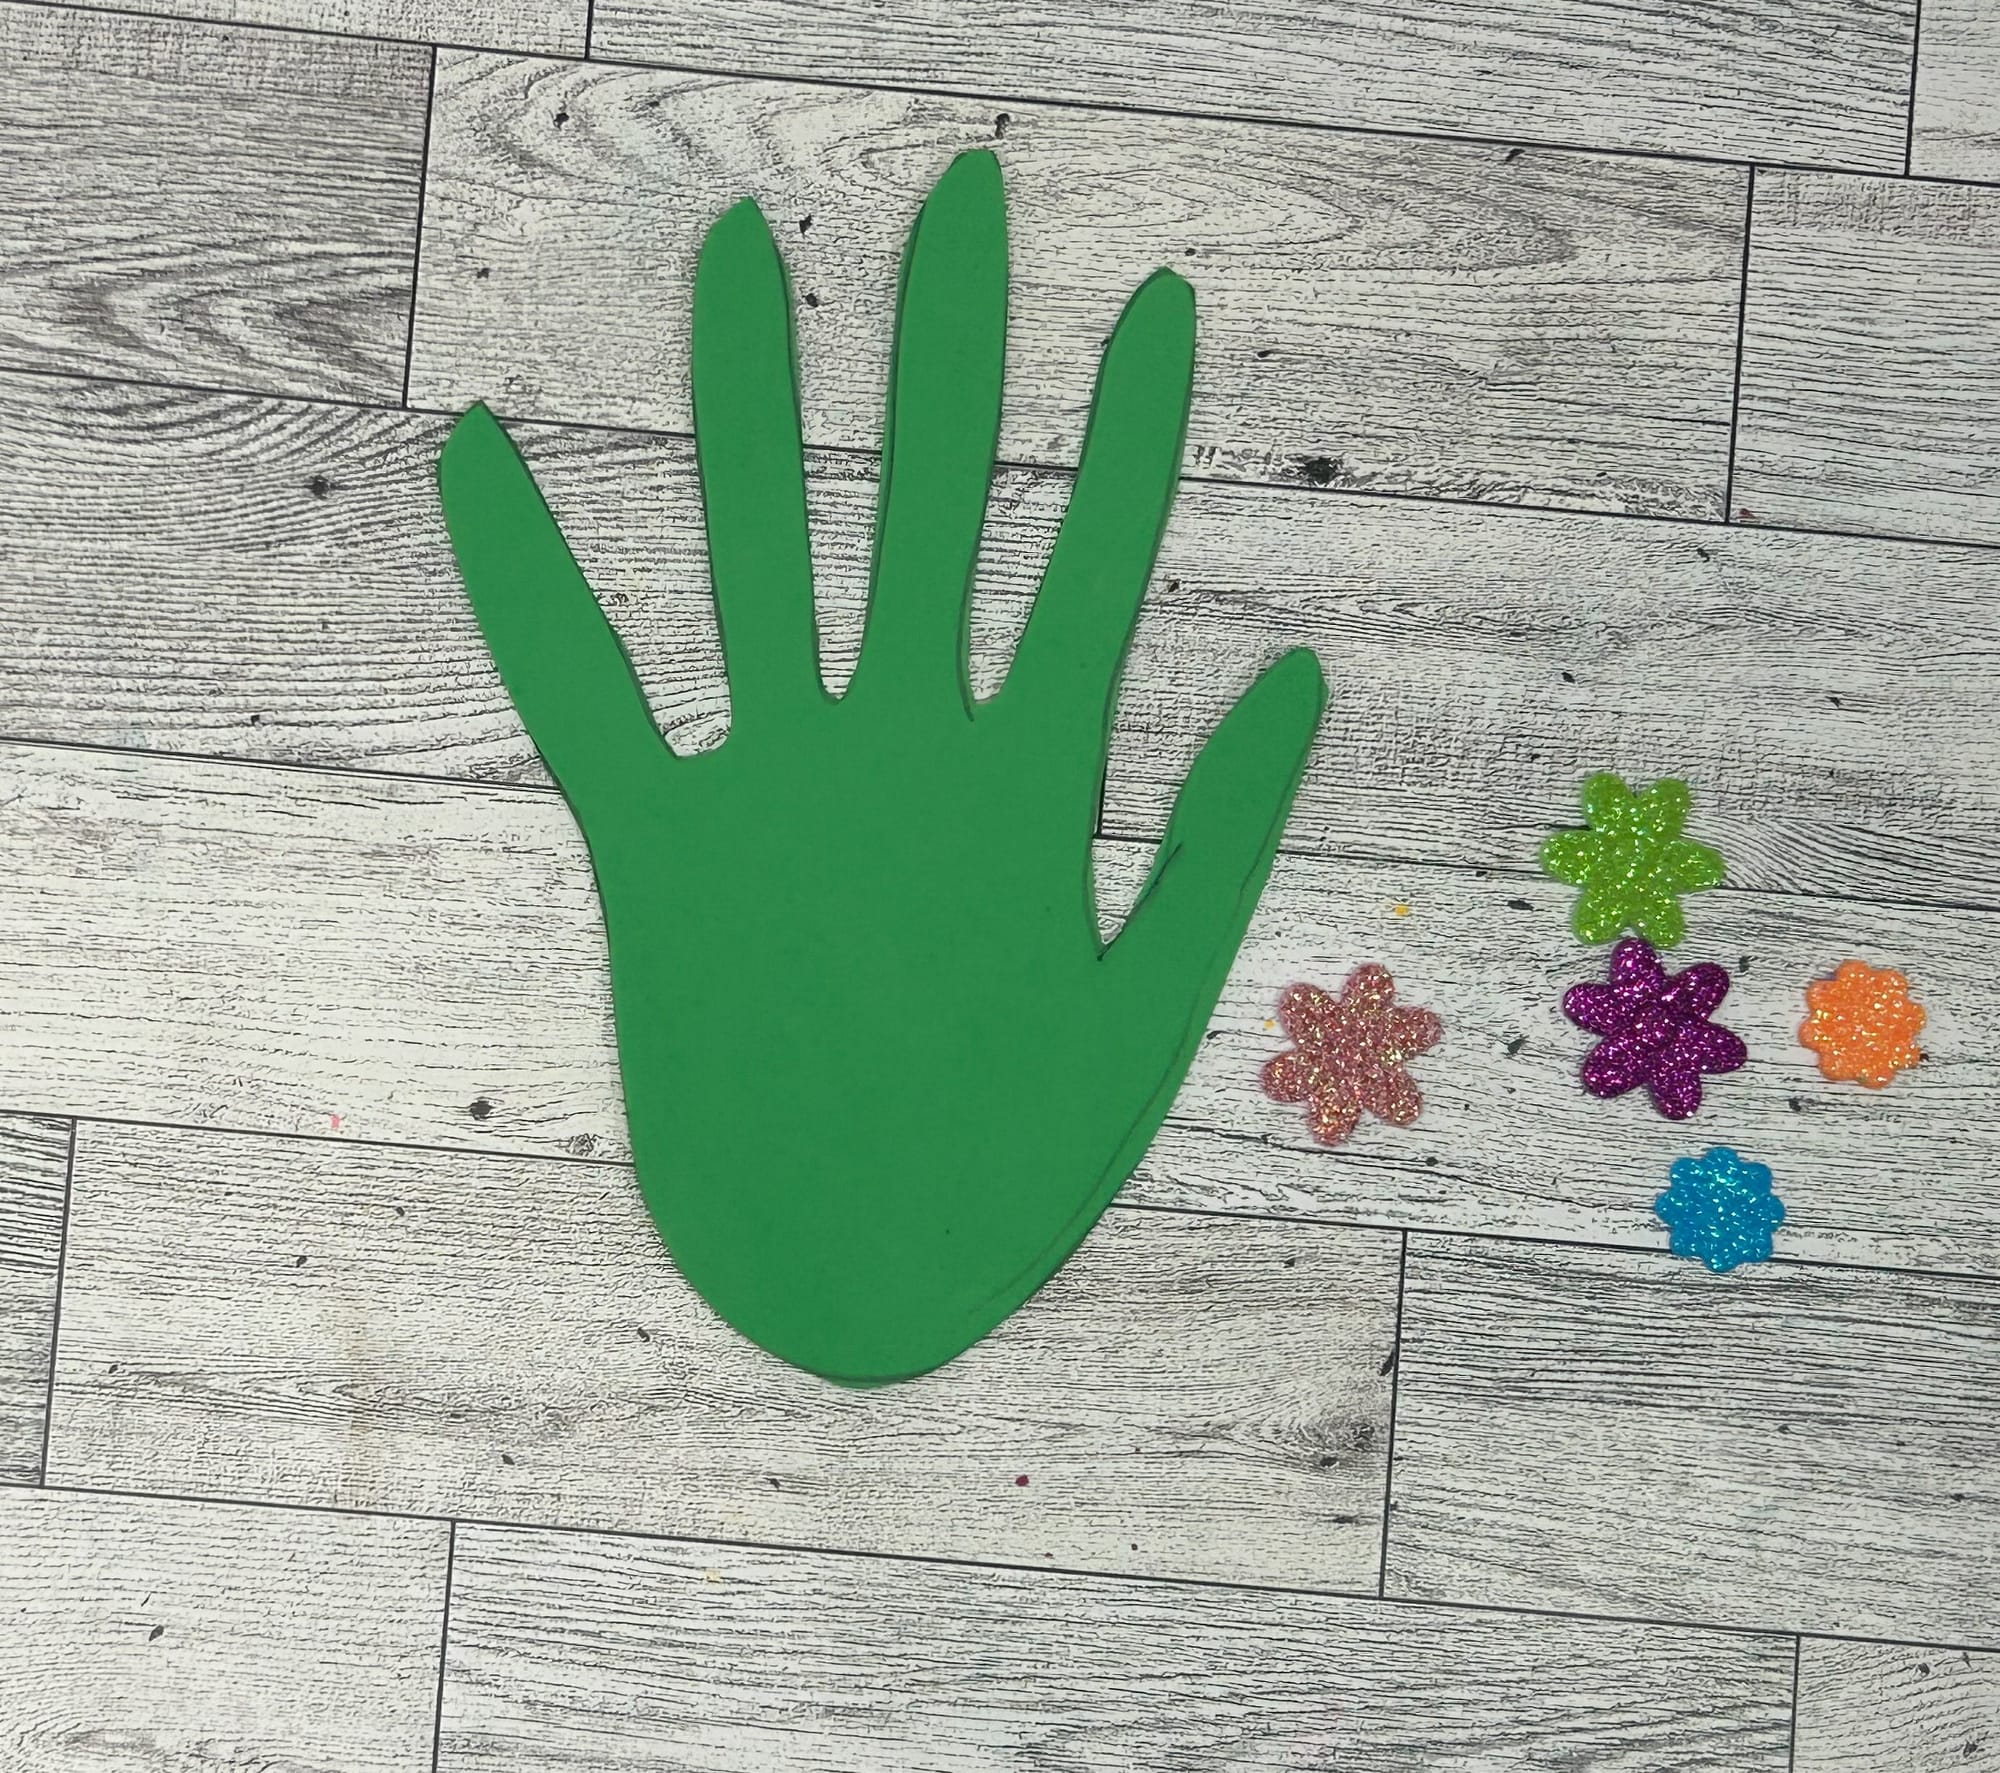
- Craft foam ( green and brown)
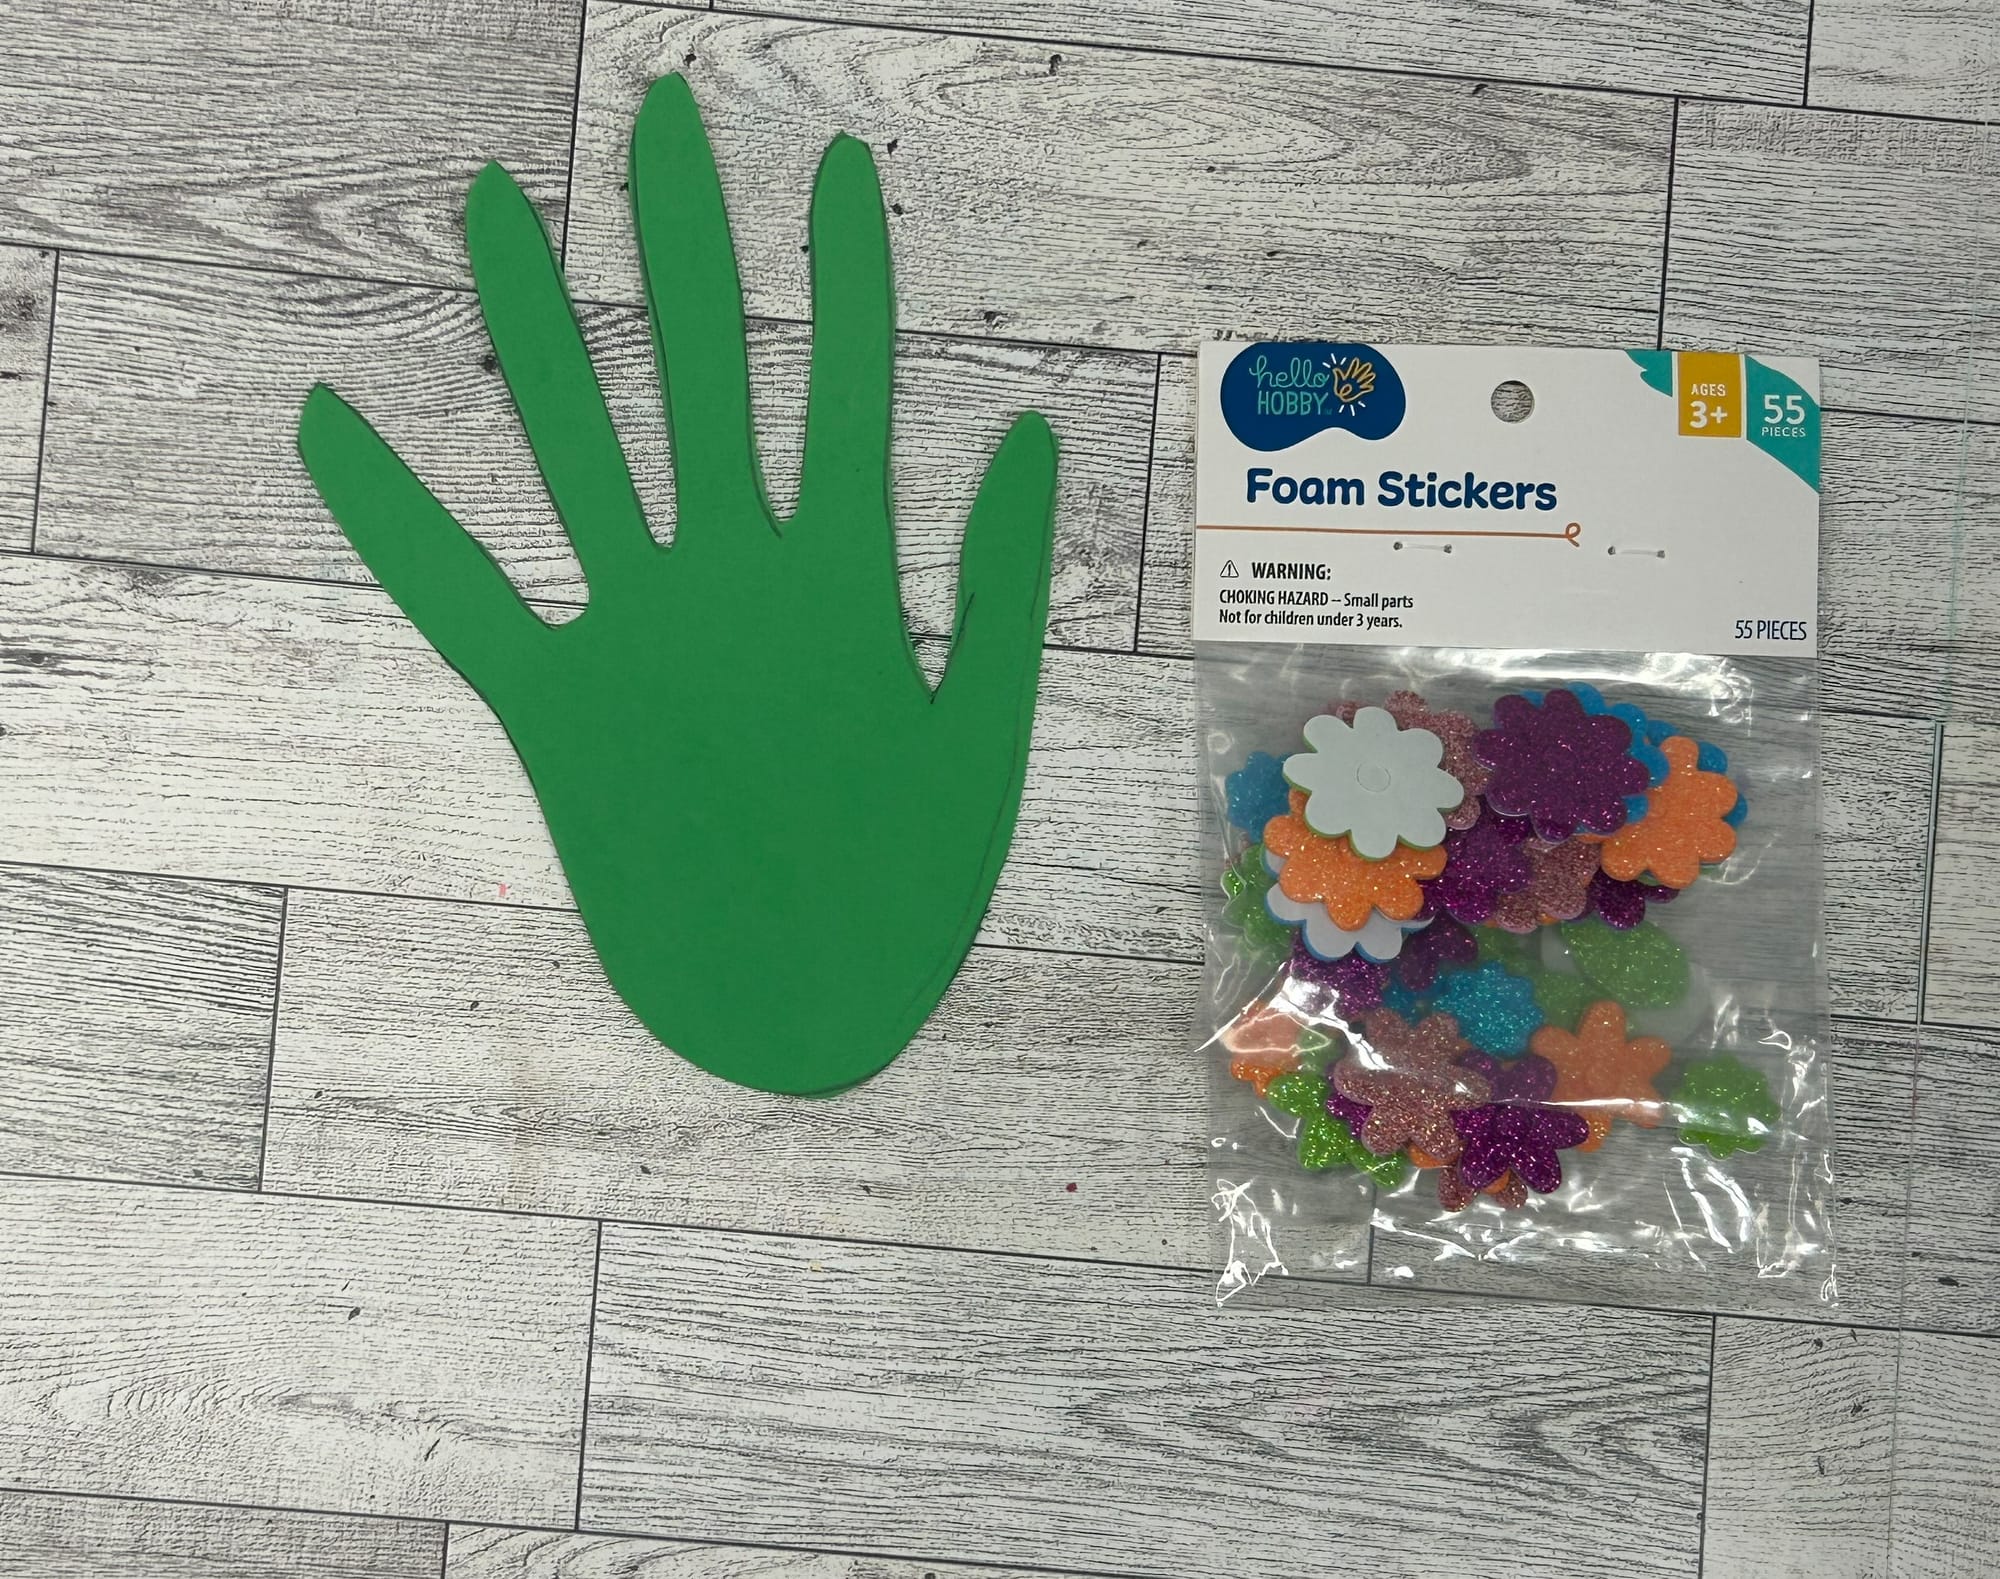
- Craft foam flower sticker or create your own ( I purchased mine at Walmart)
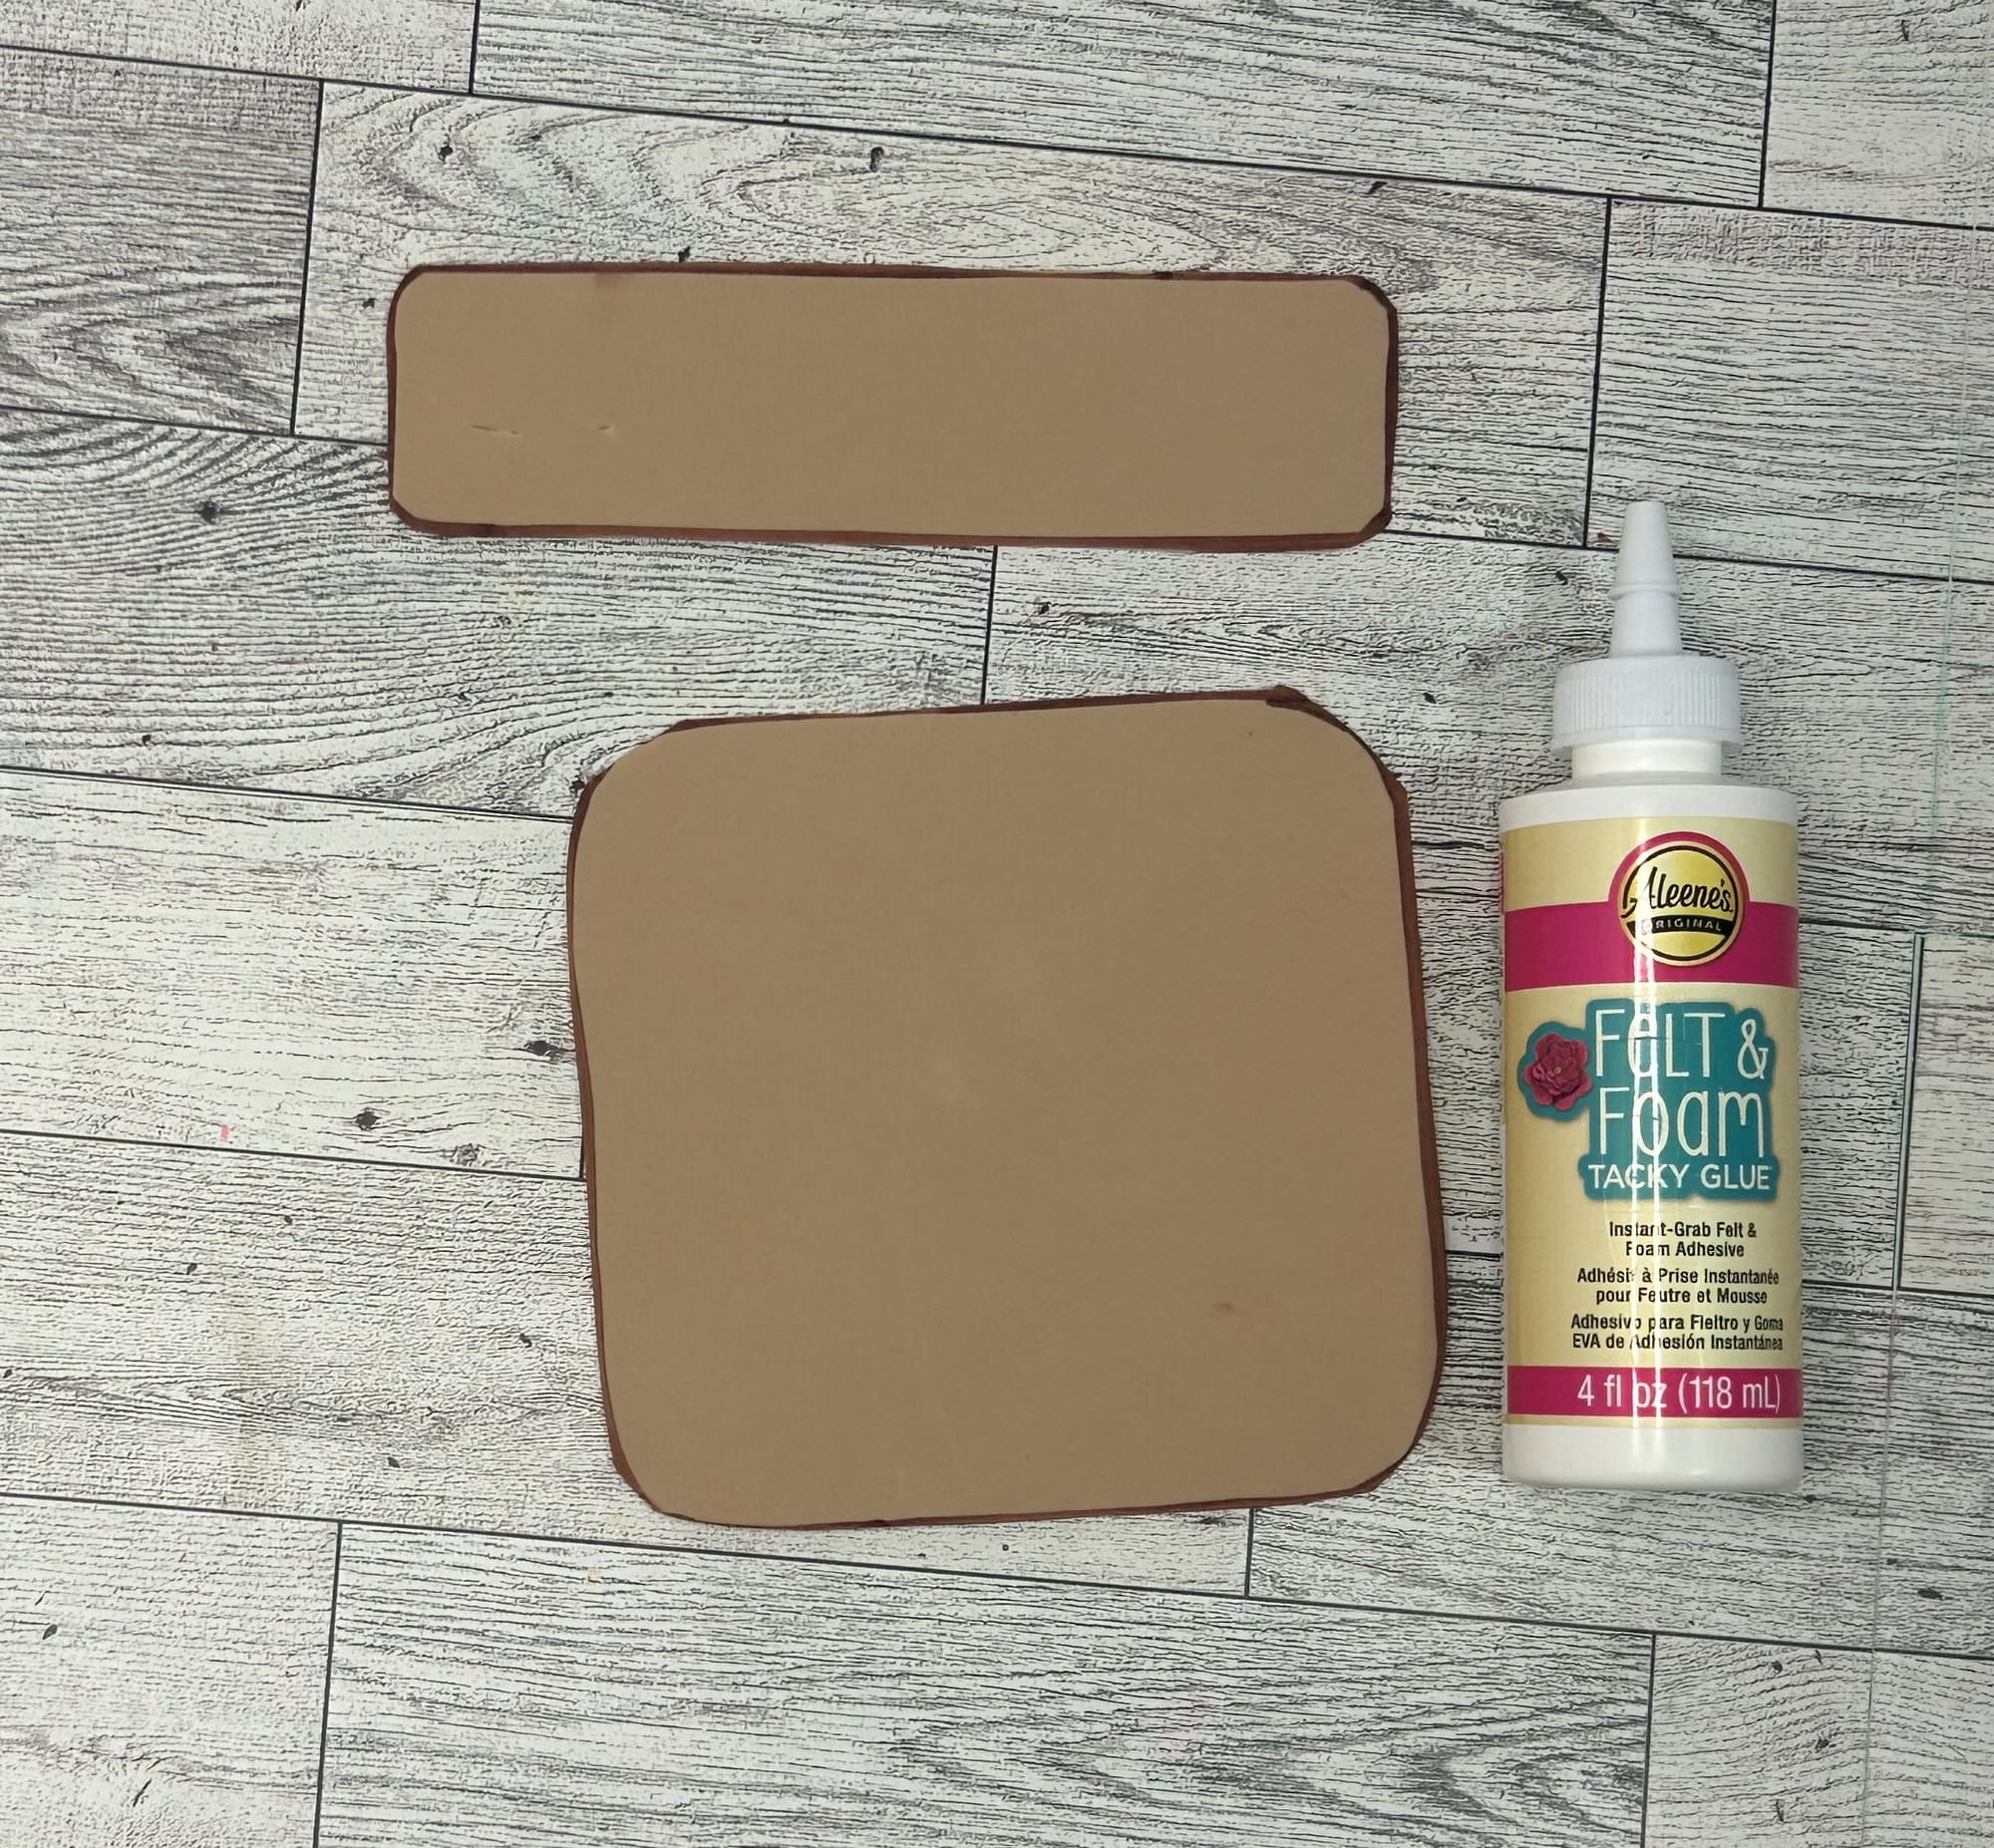
- Felt and Foam Tacky Glue
- Sharpie markers or pencil for tracing
- Scissors
- Magnet
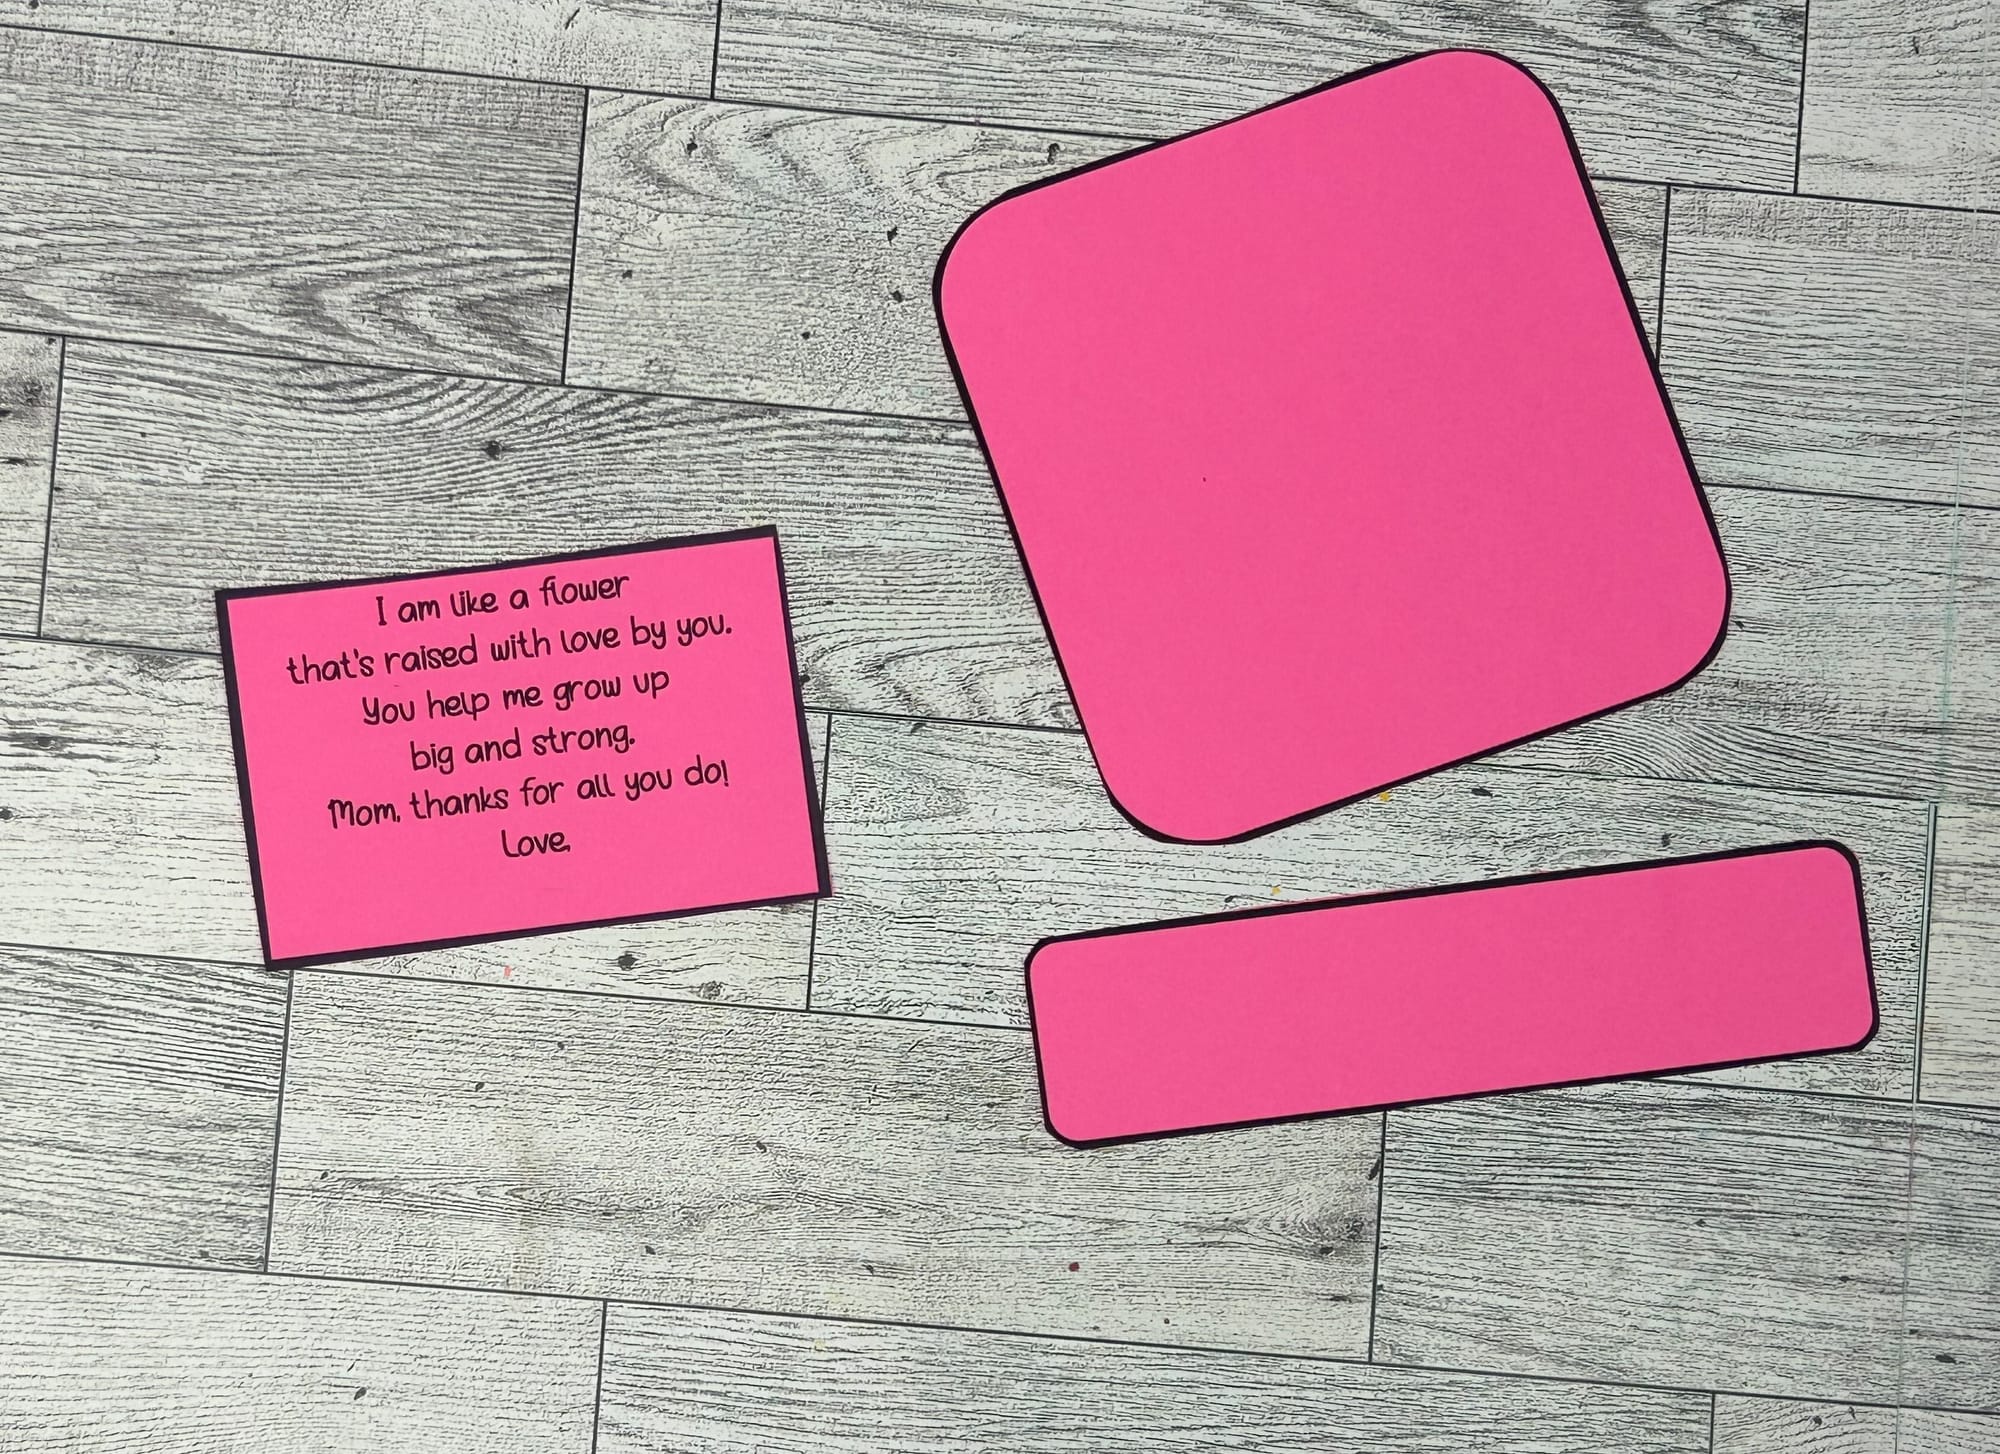
- Flower Pot Tracer and Poem

Instructions:
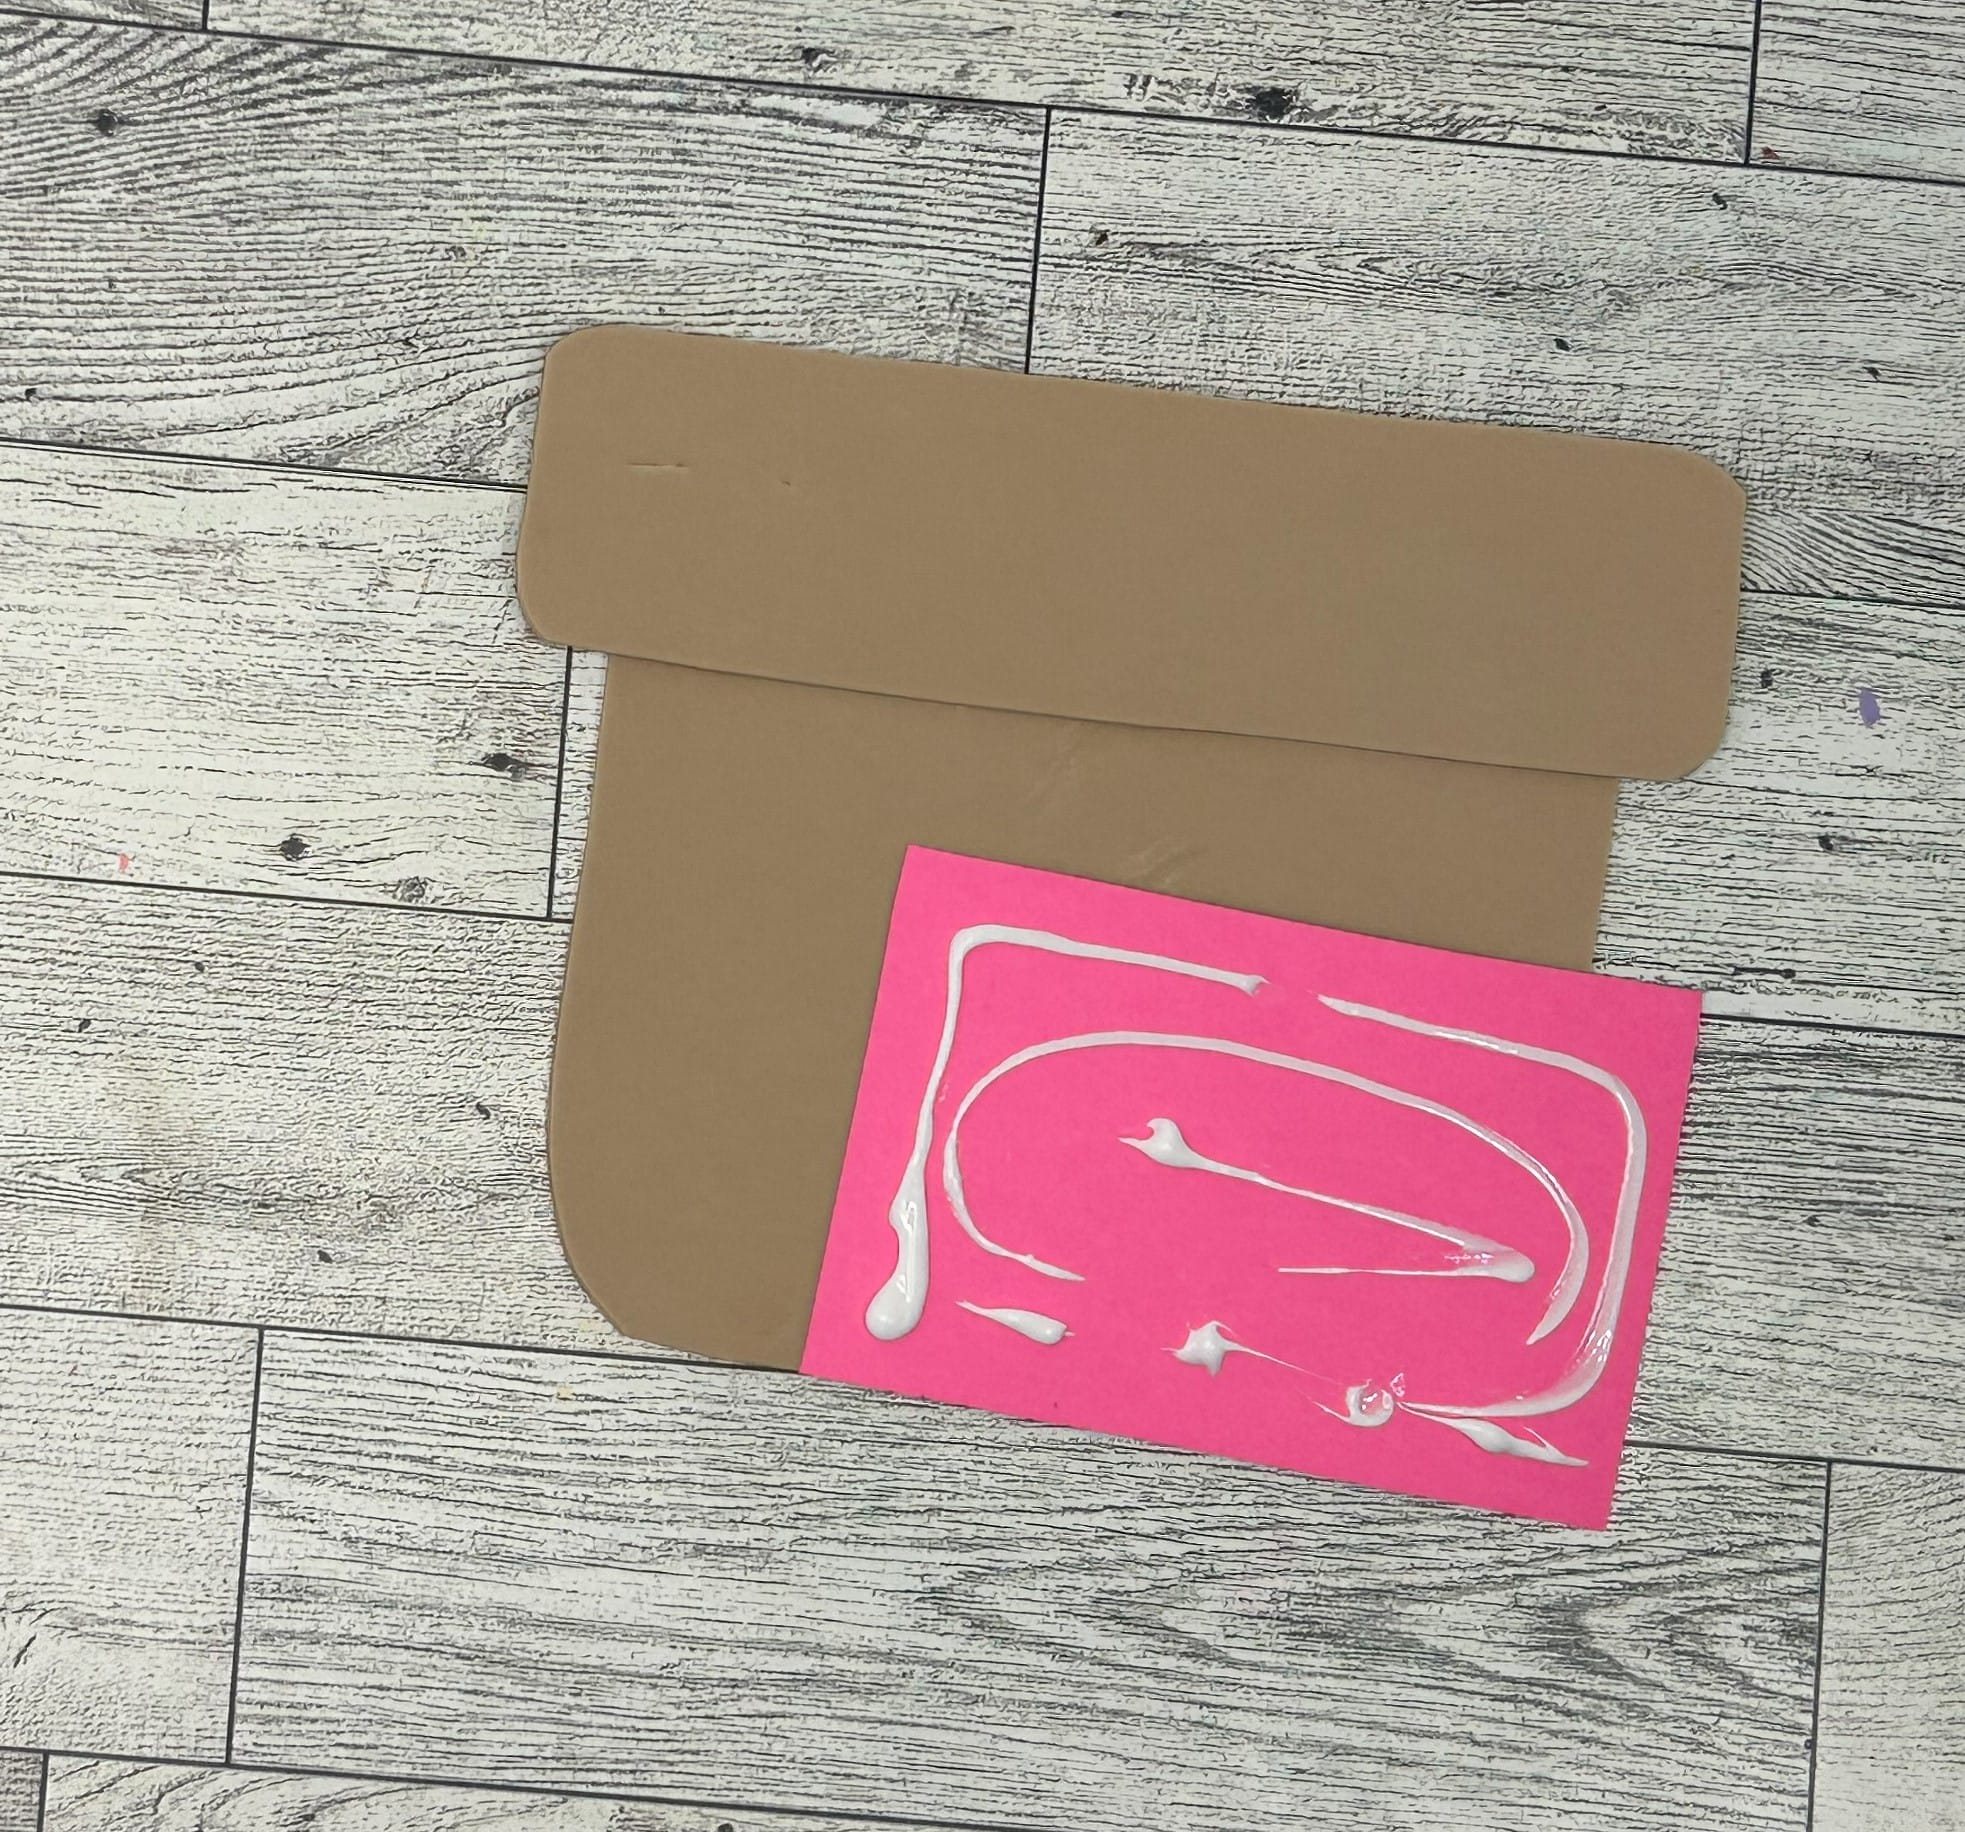
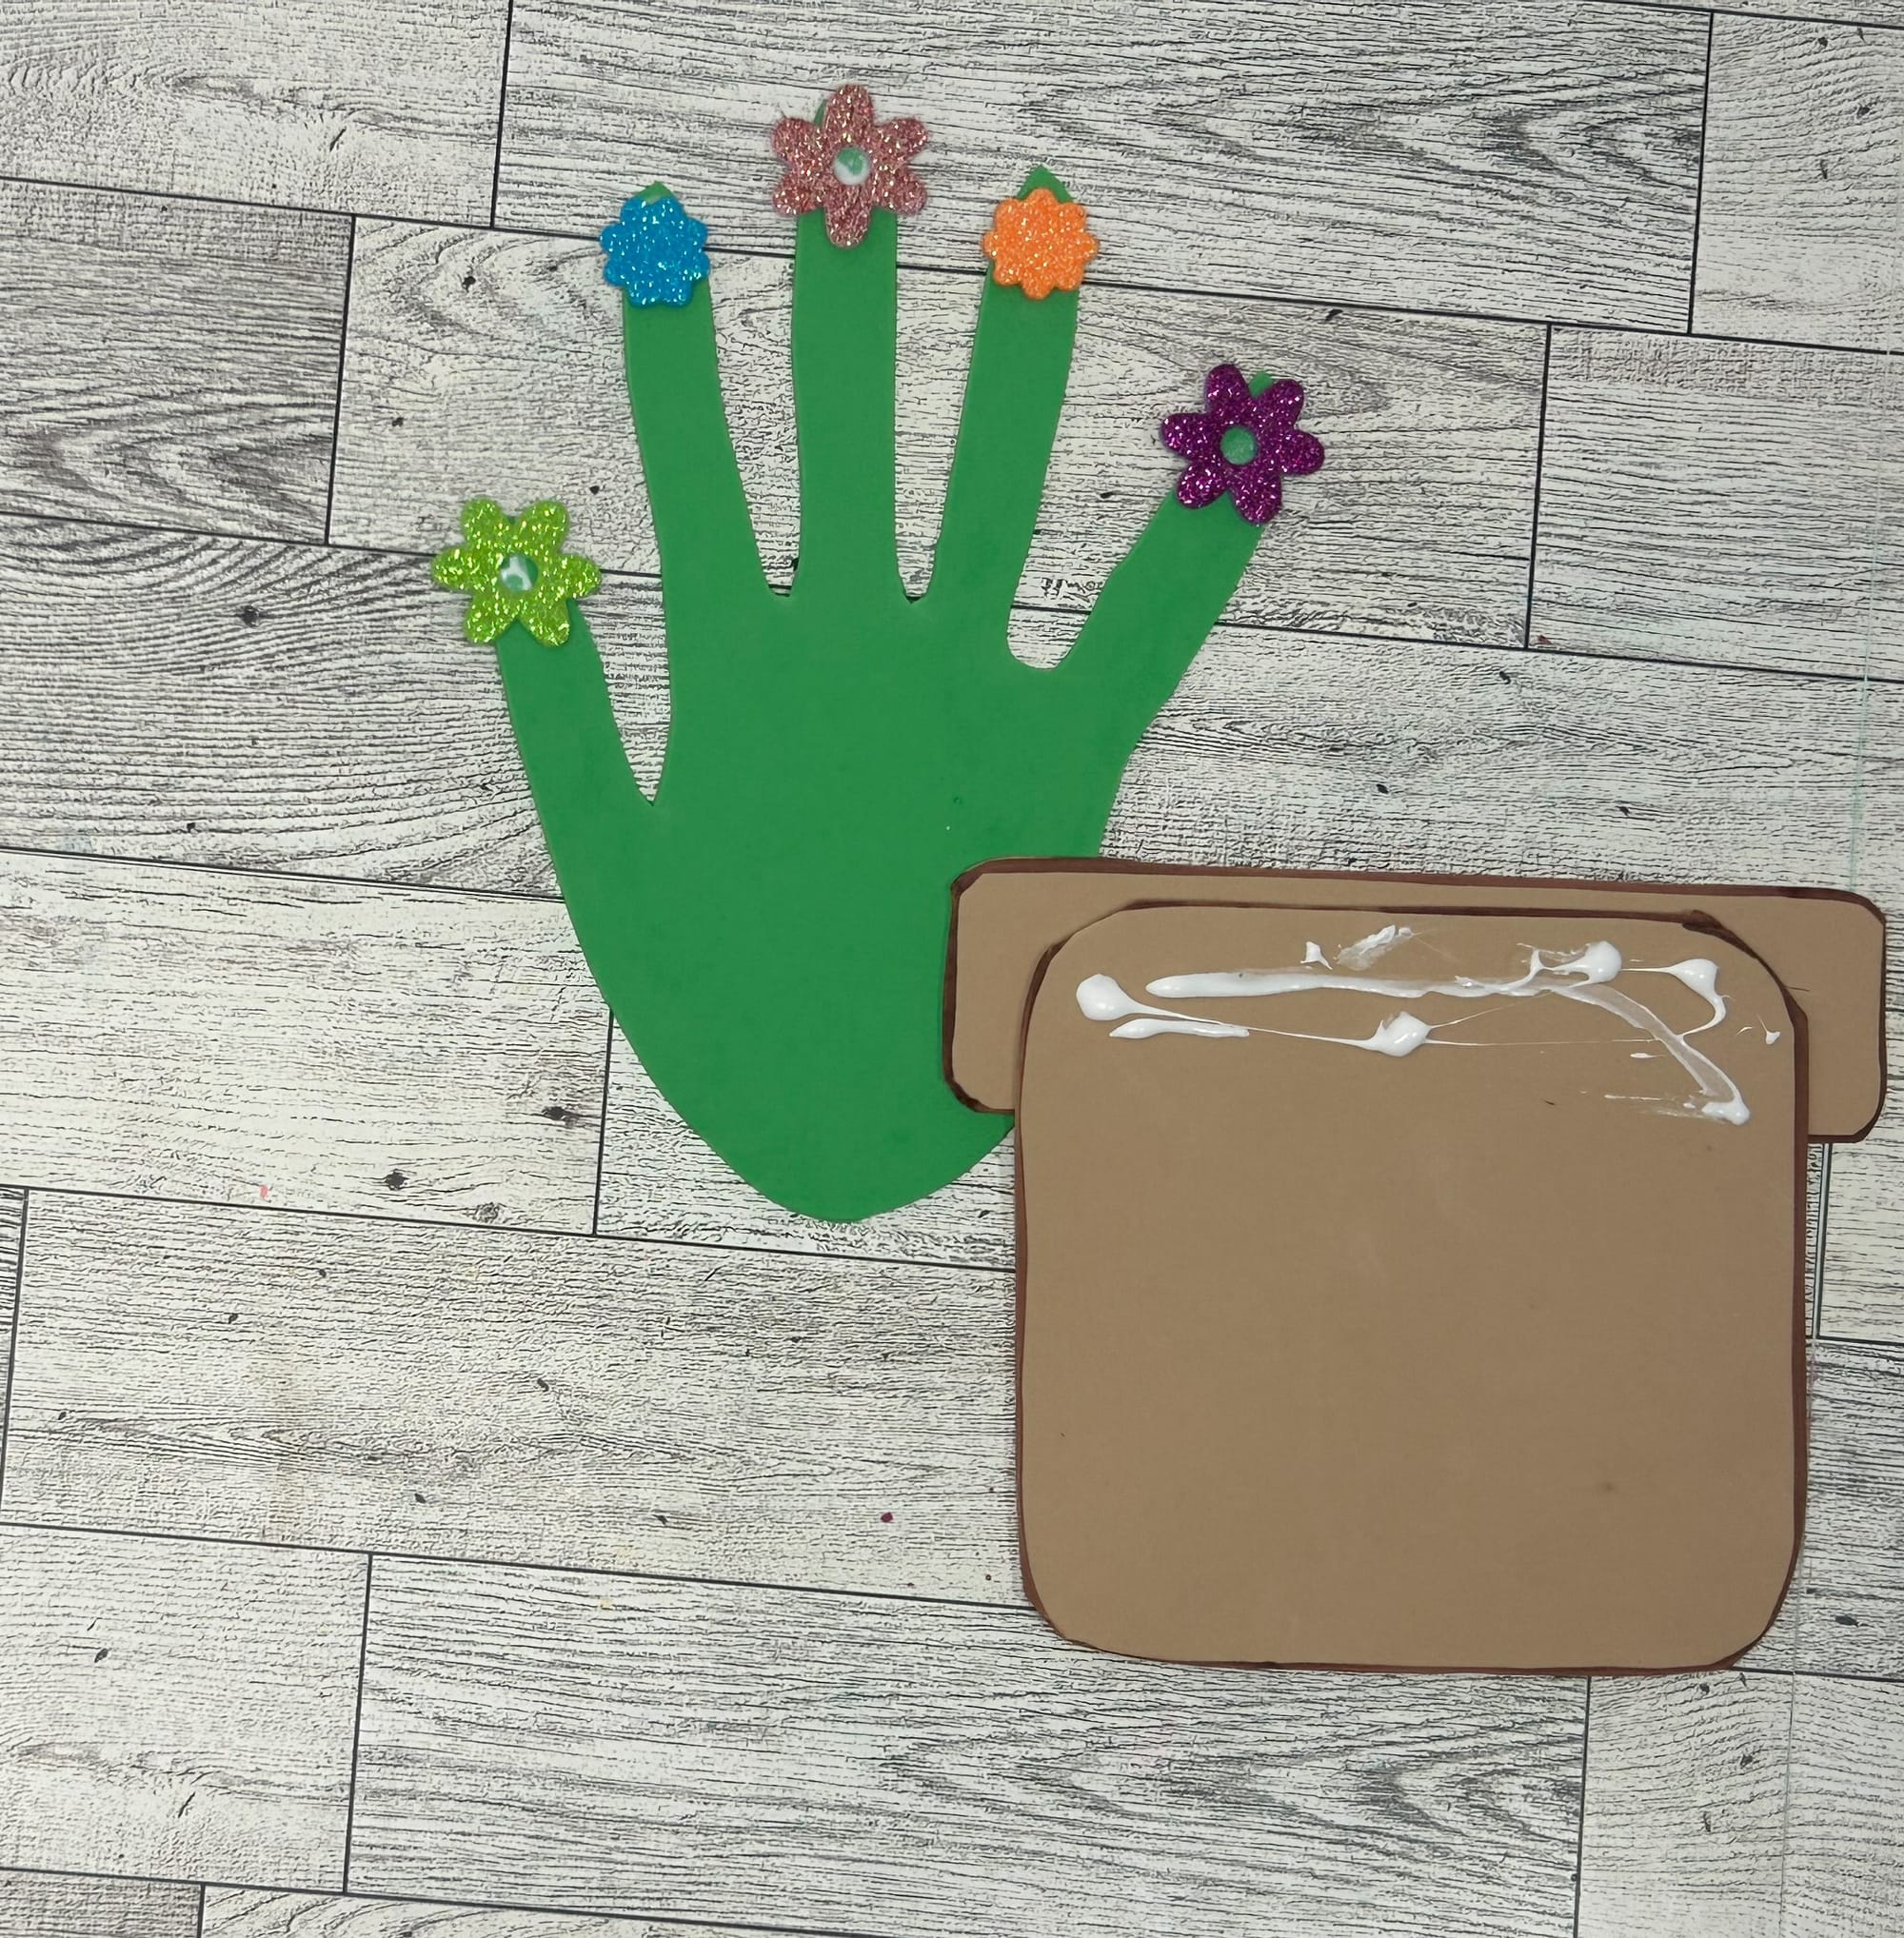
- Print out Flower Pot tracer and poem on colored cardstock. Cut out all pieces and set aside.
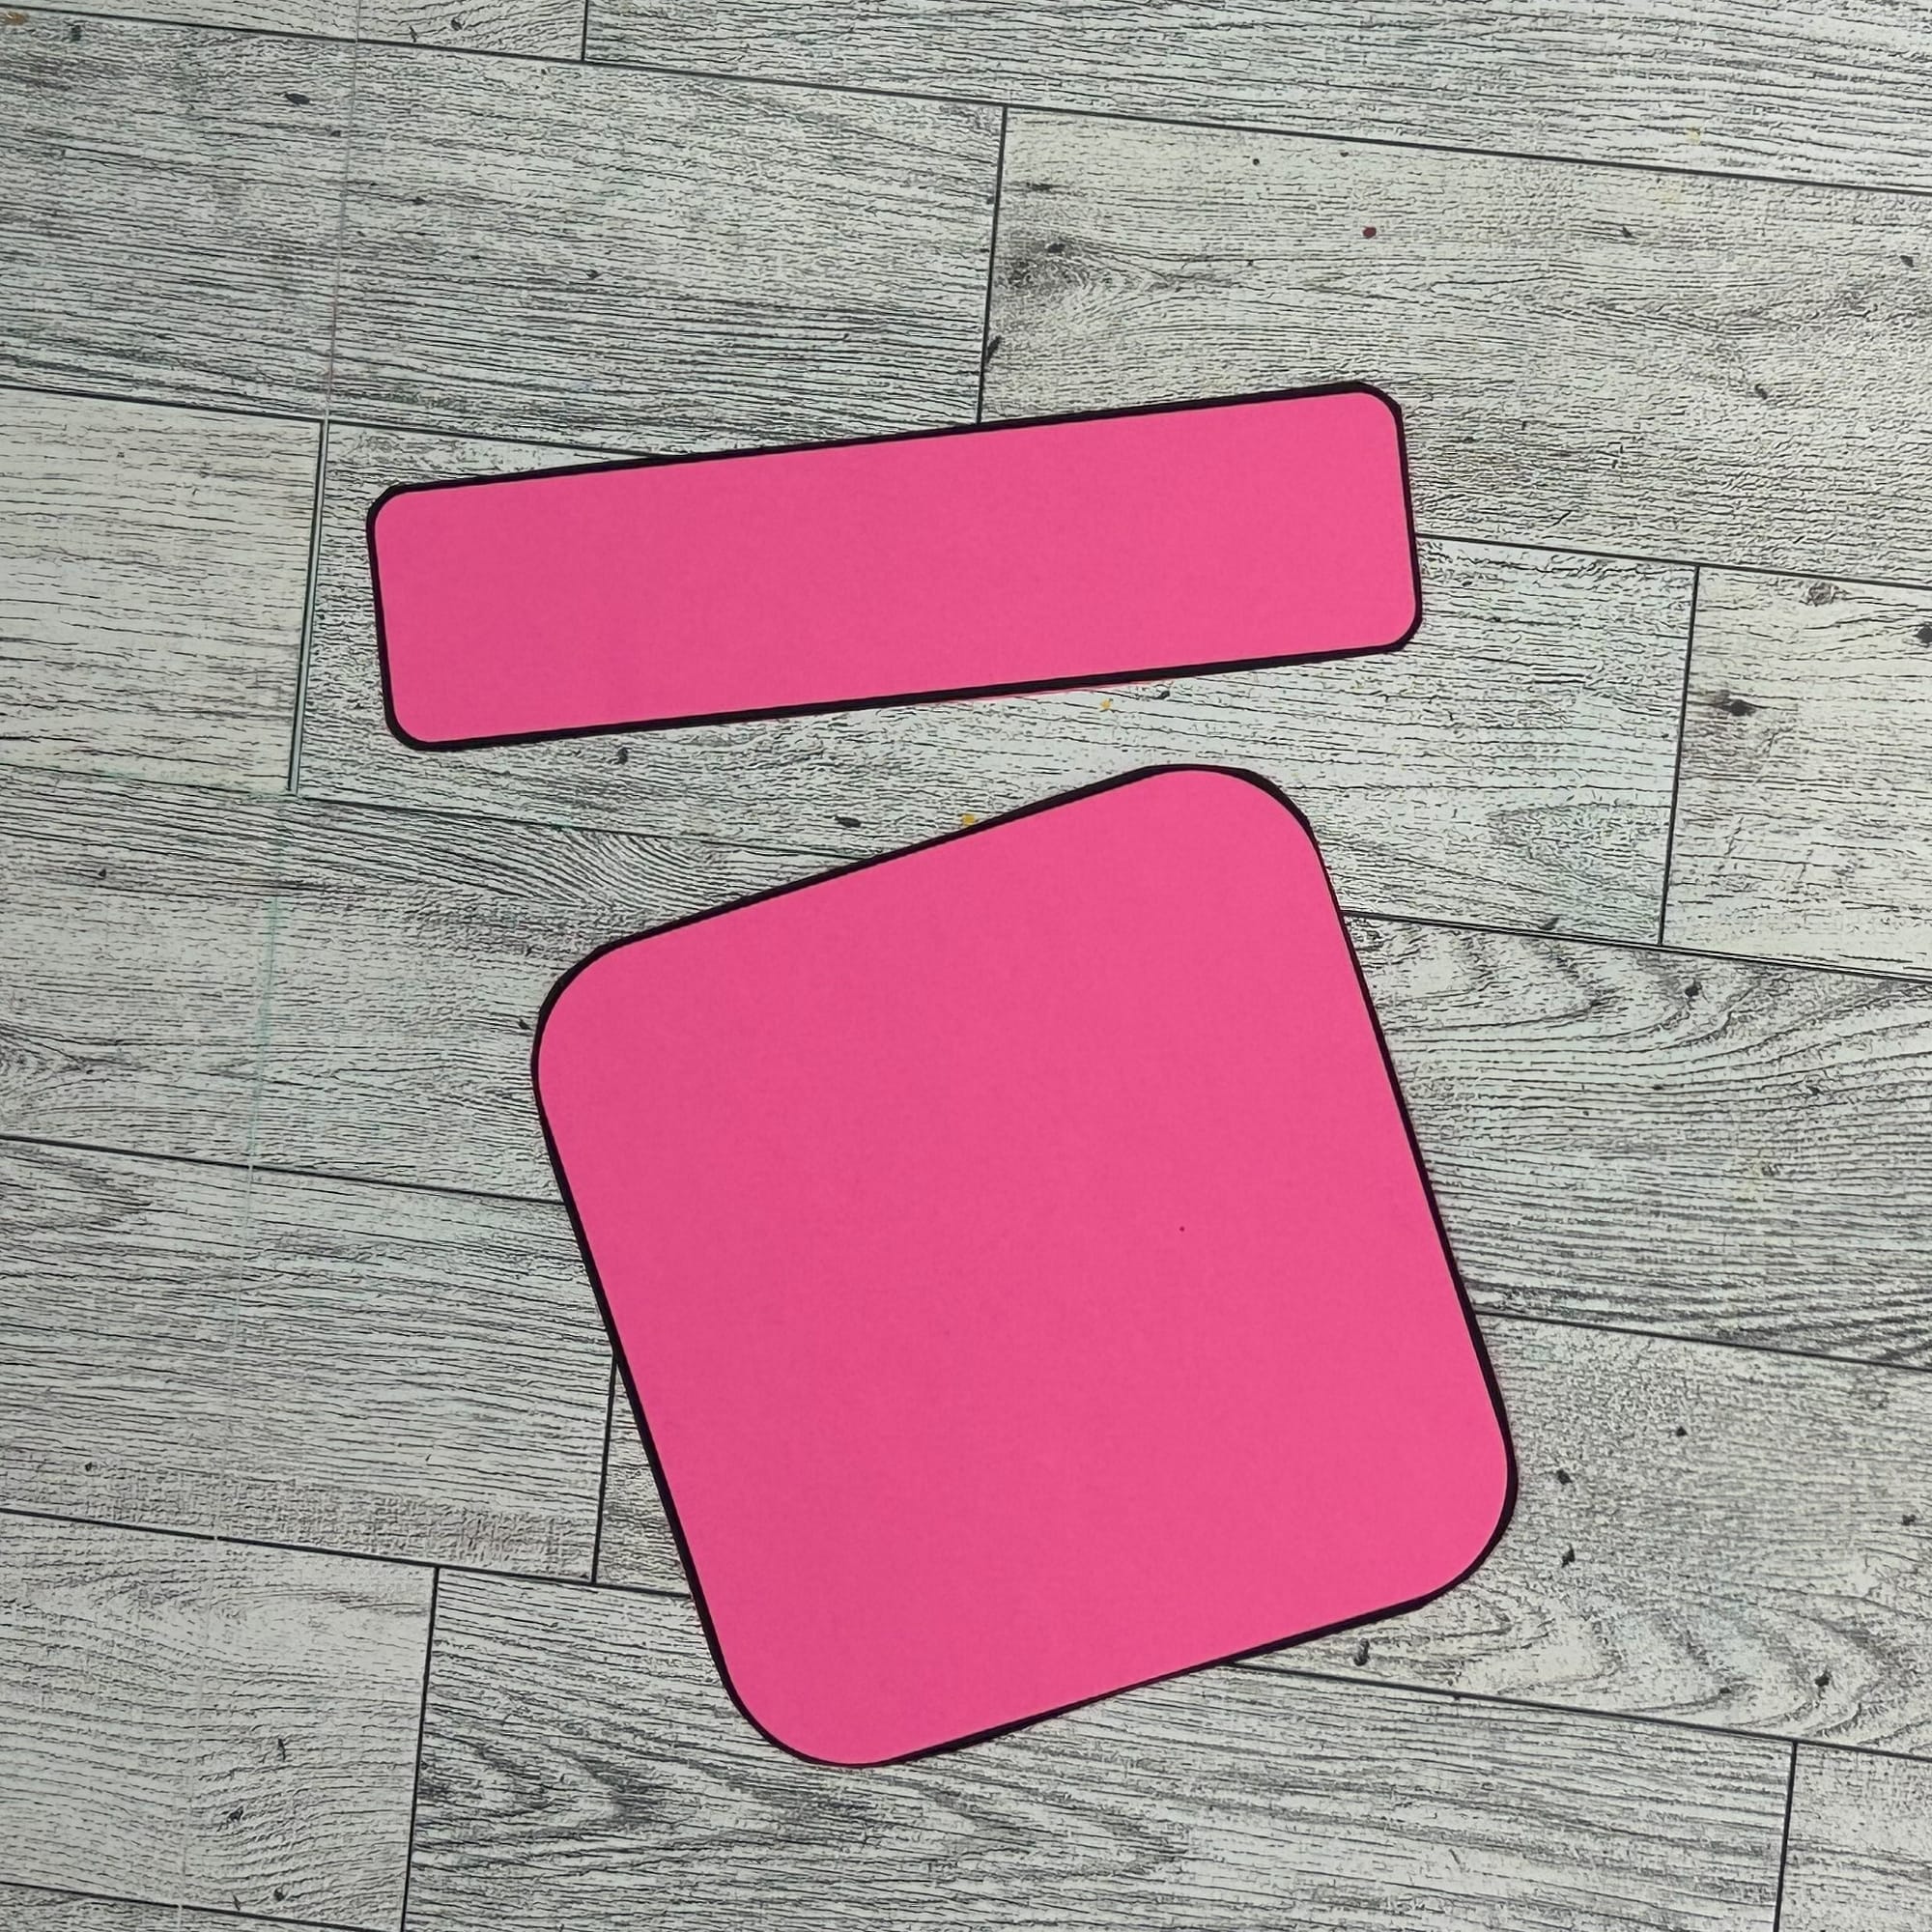
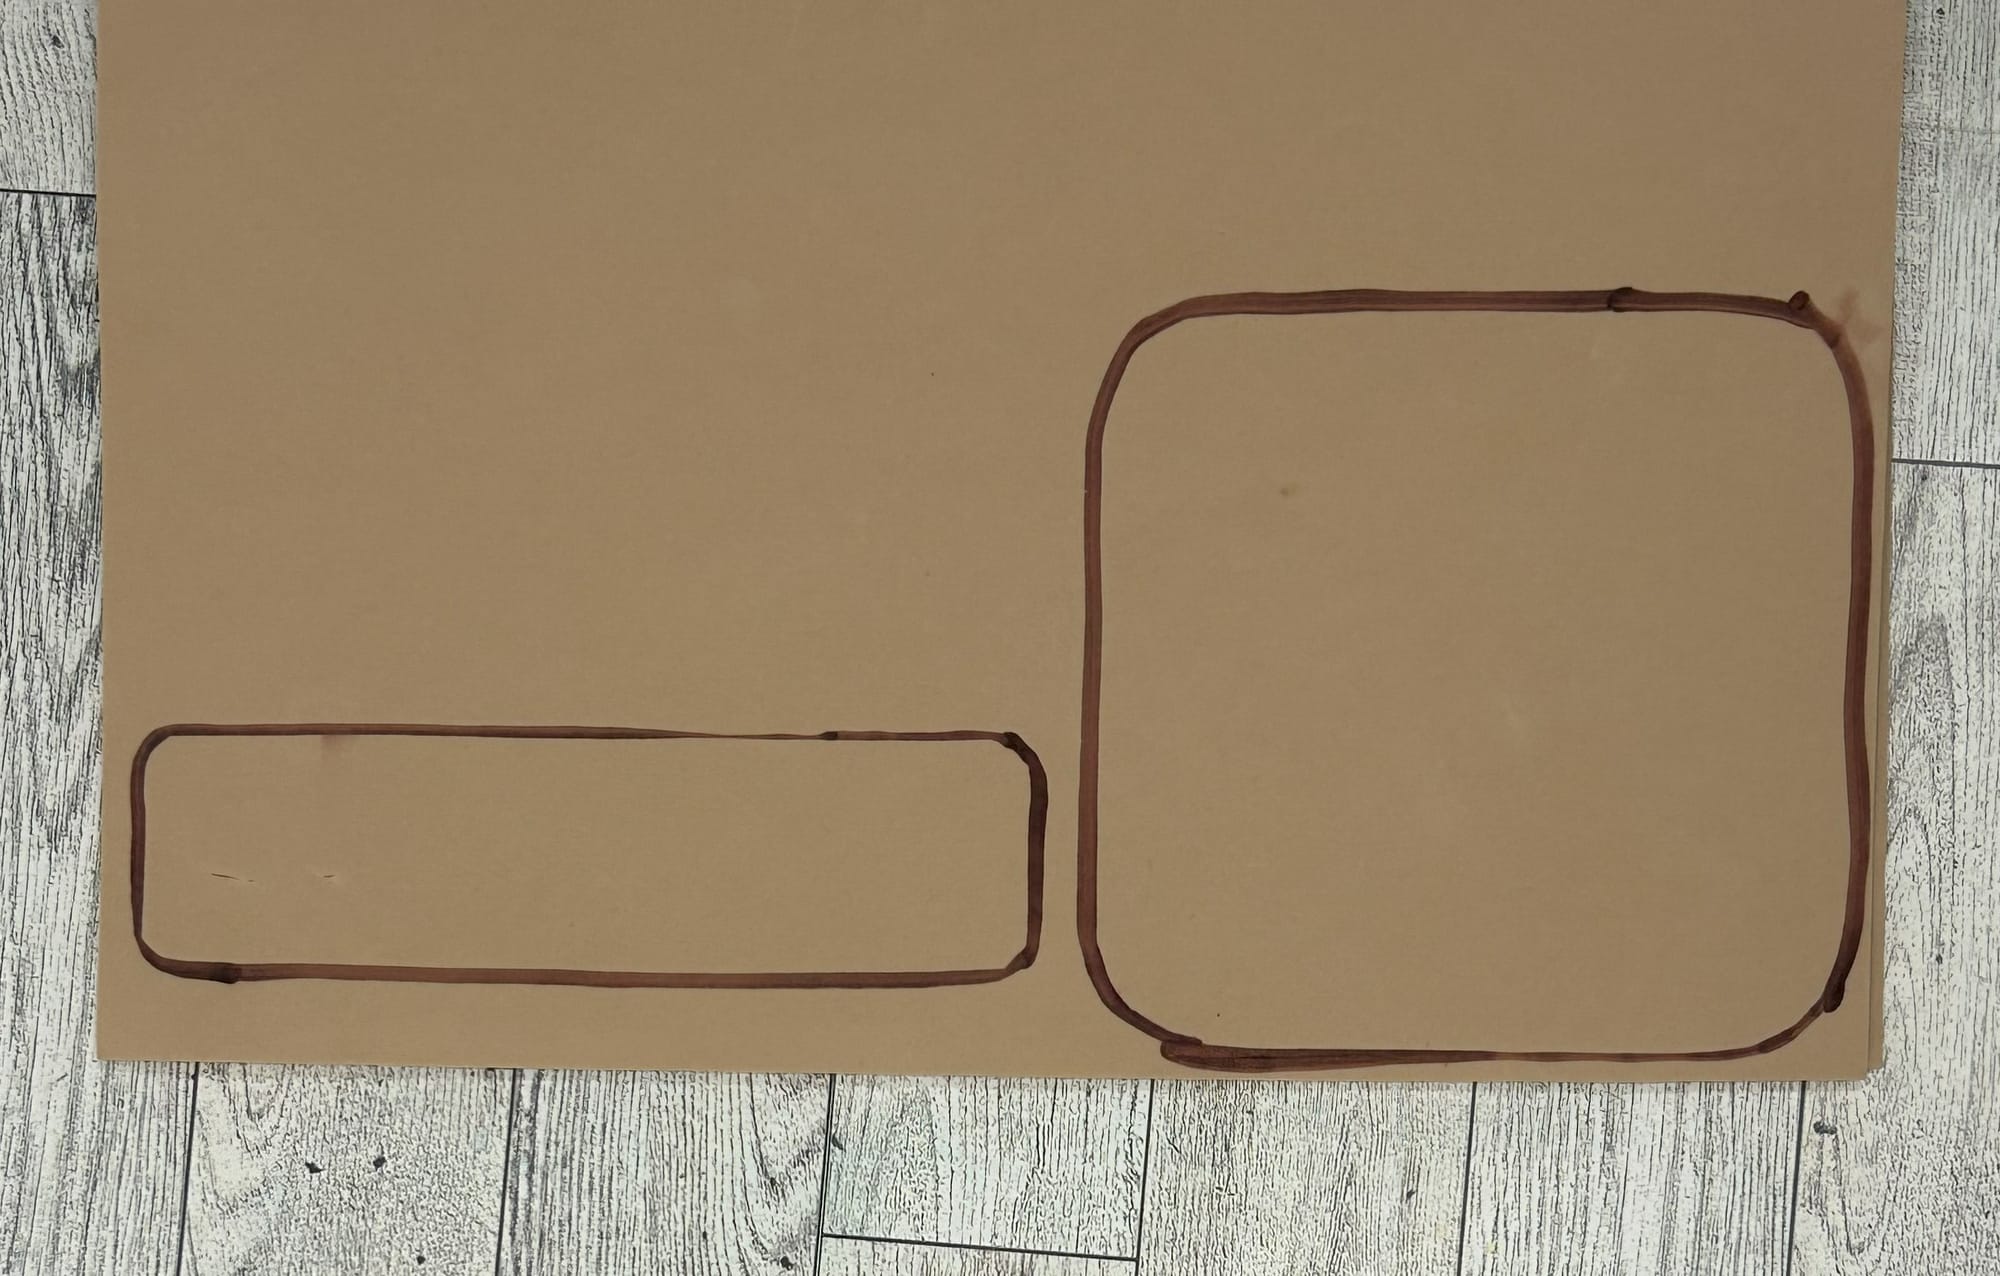
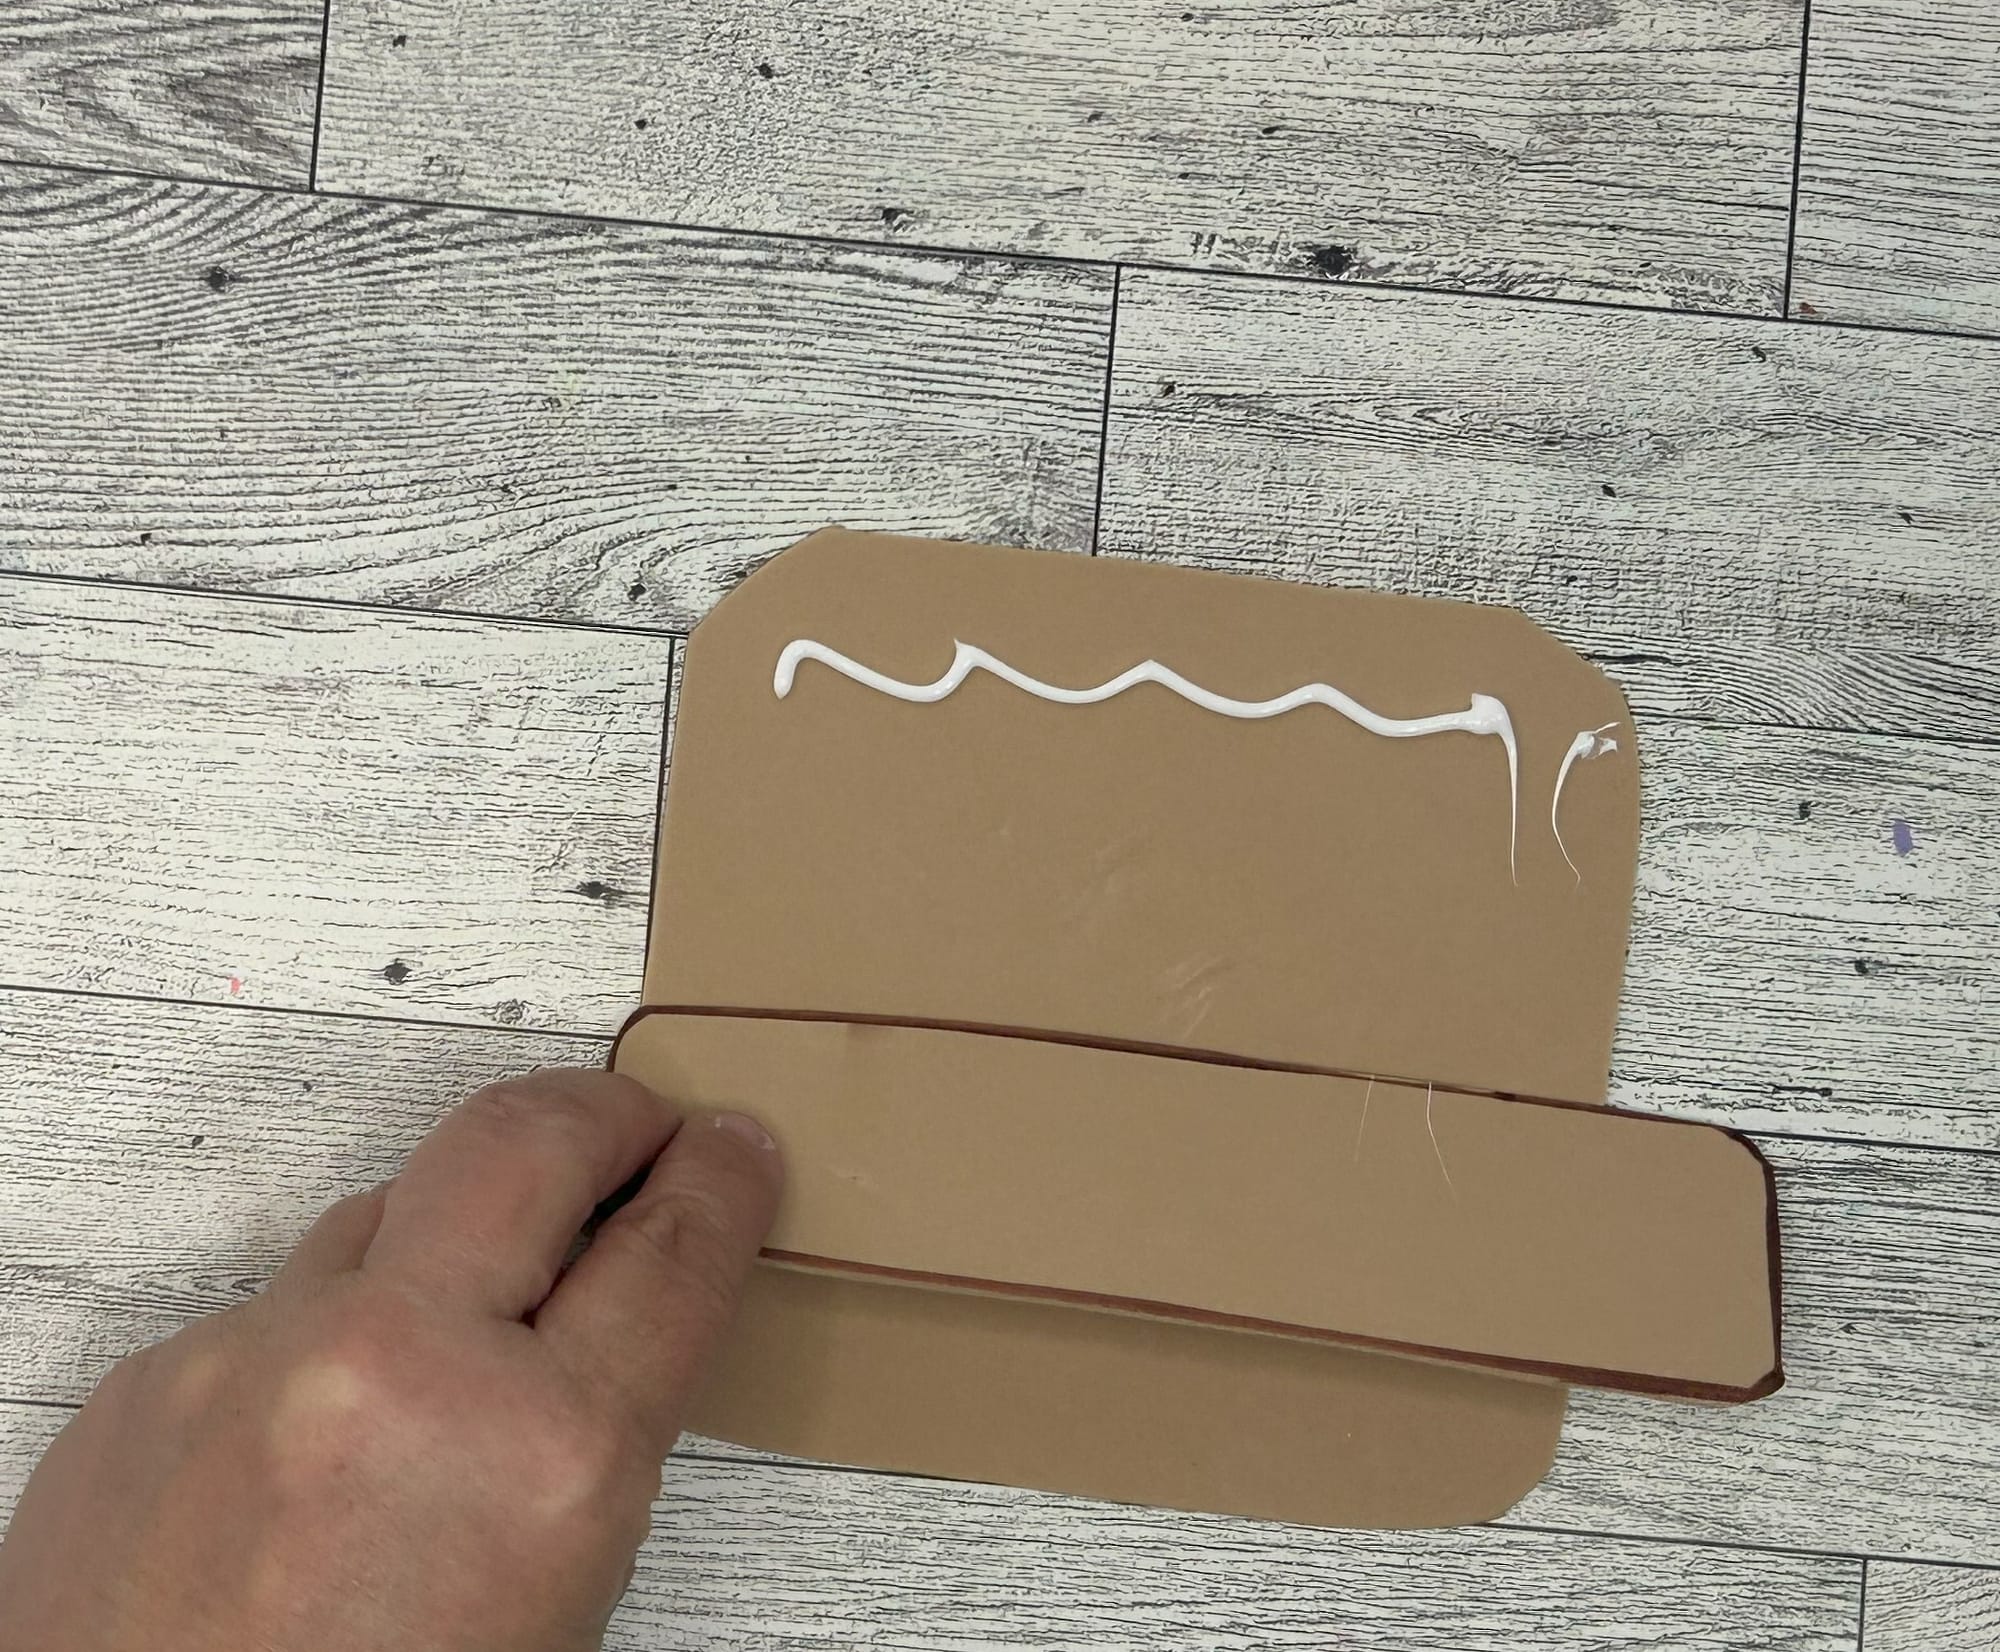
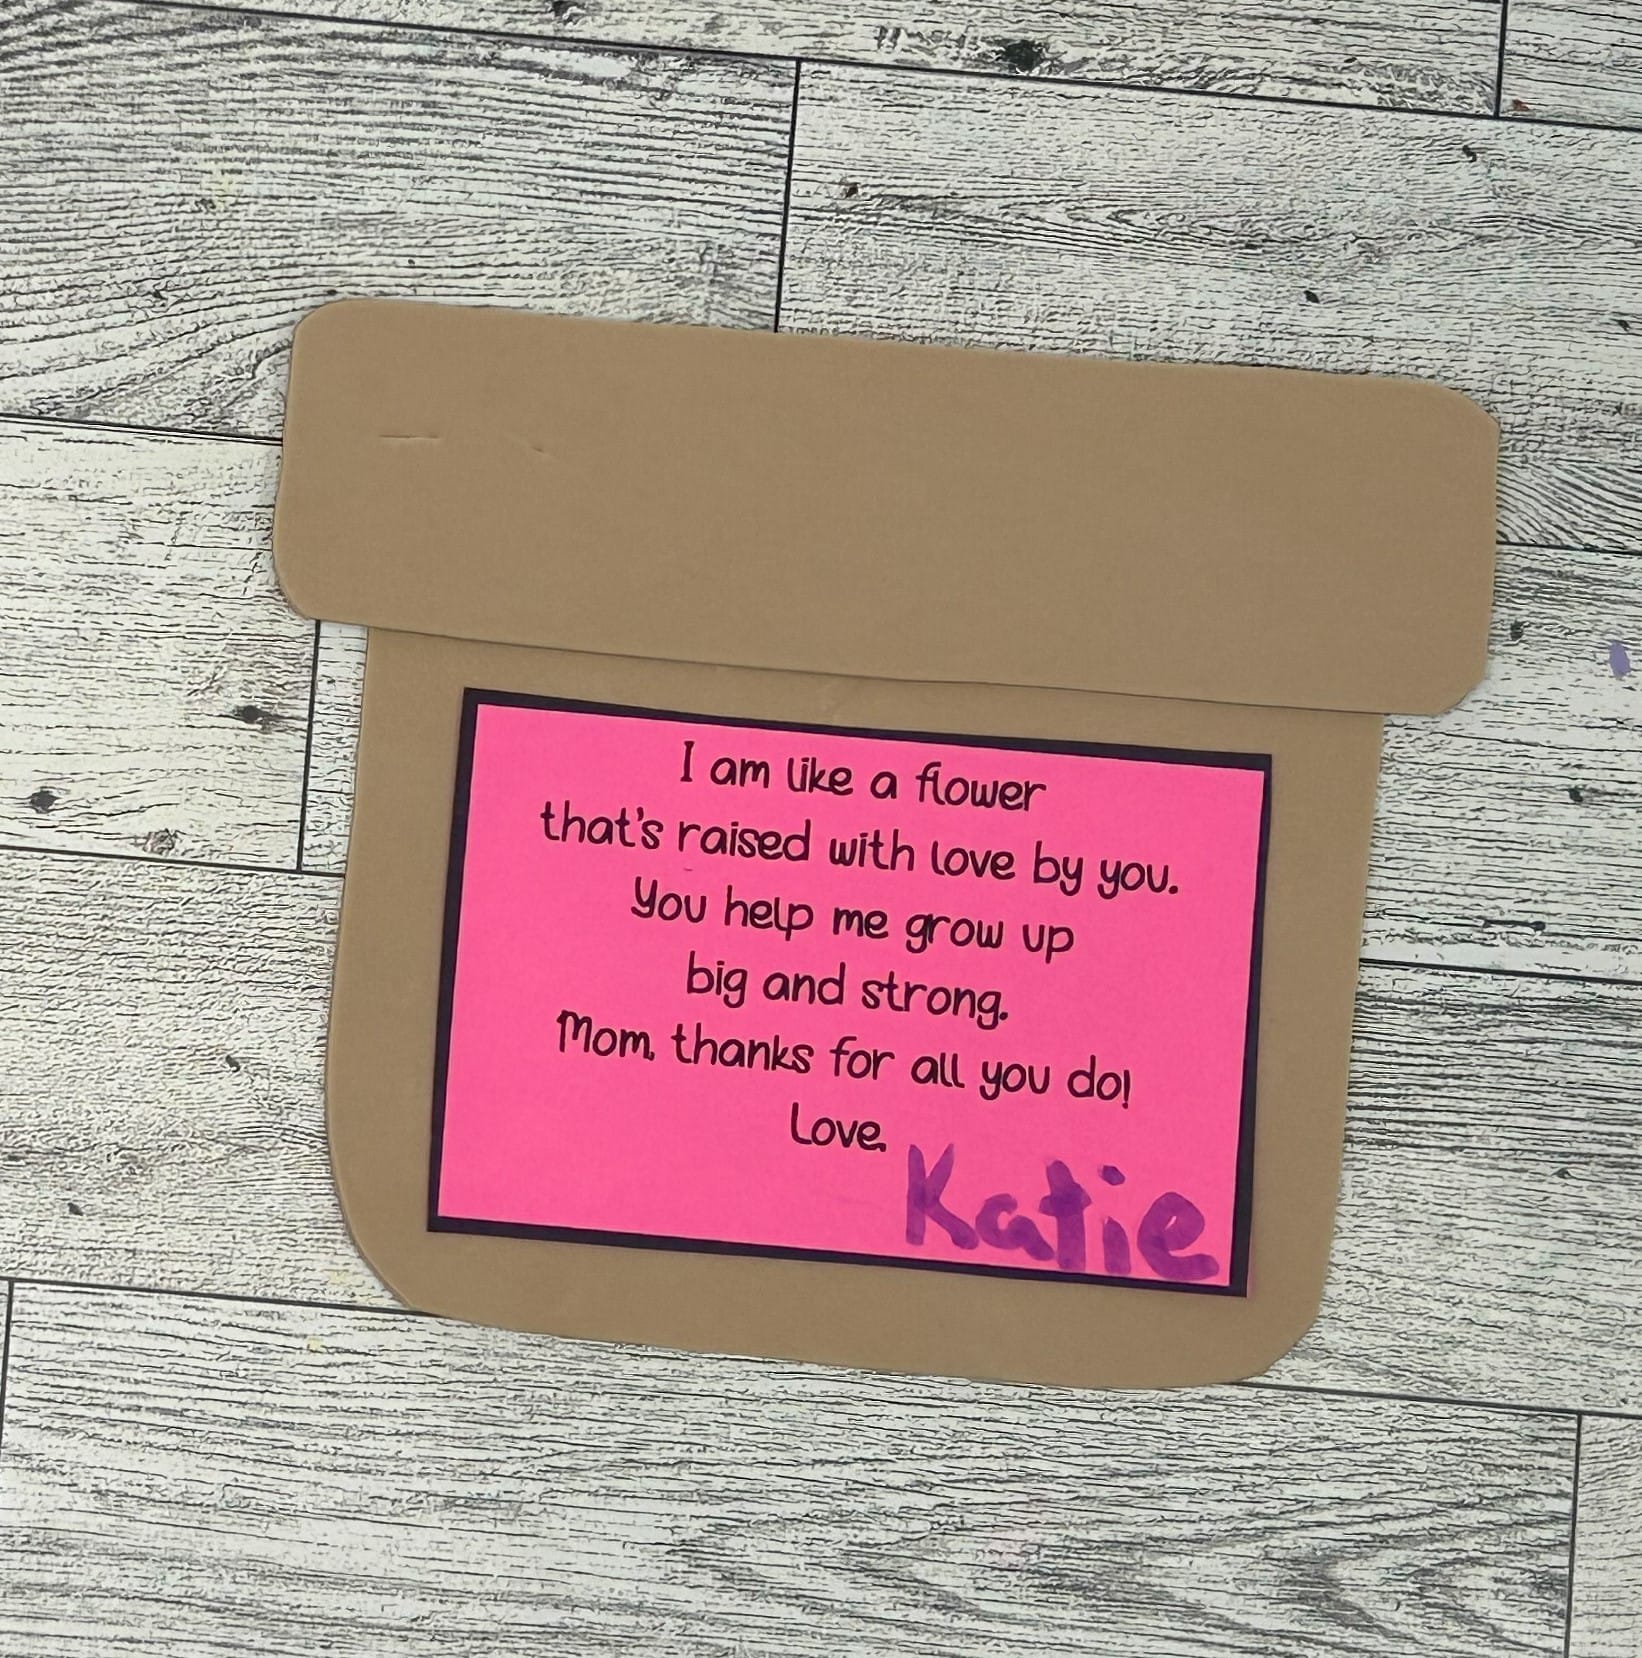
- Trace the flower pot pieces on brown (or any color you wish) craft foam. I suggest tracing with a sharpie or pencil.
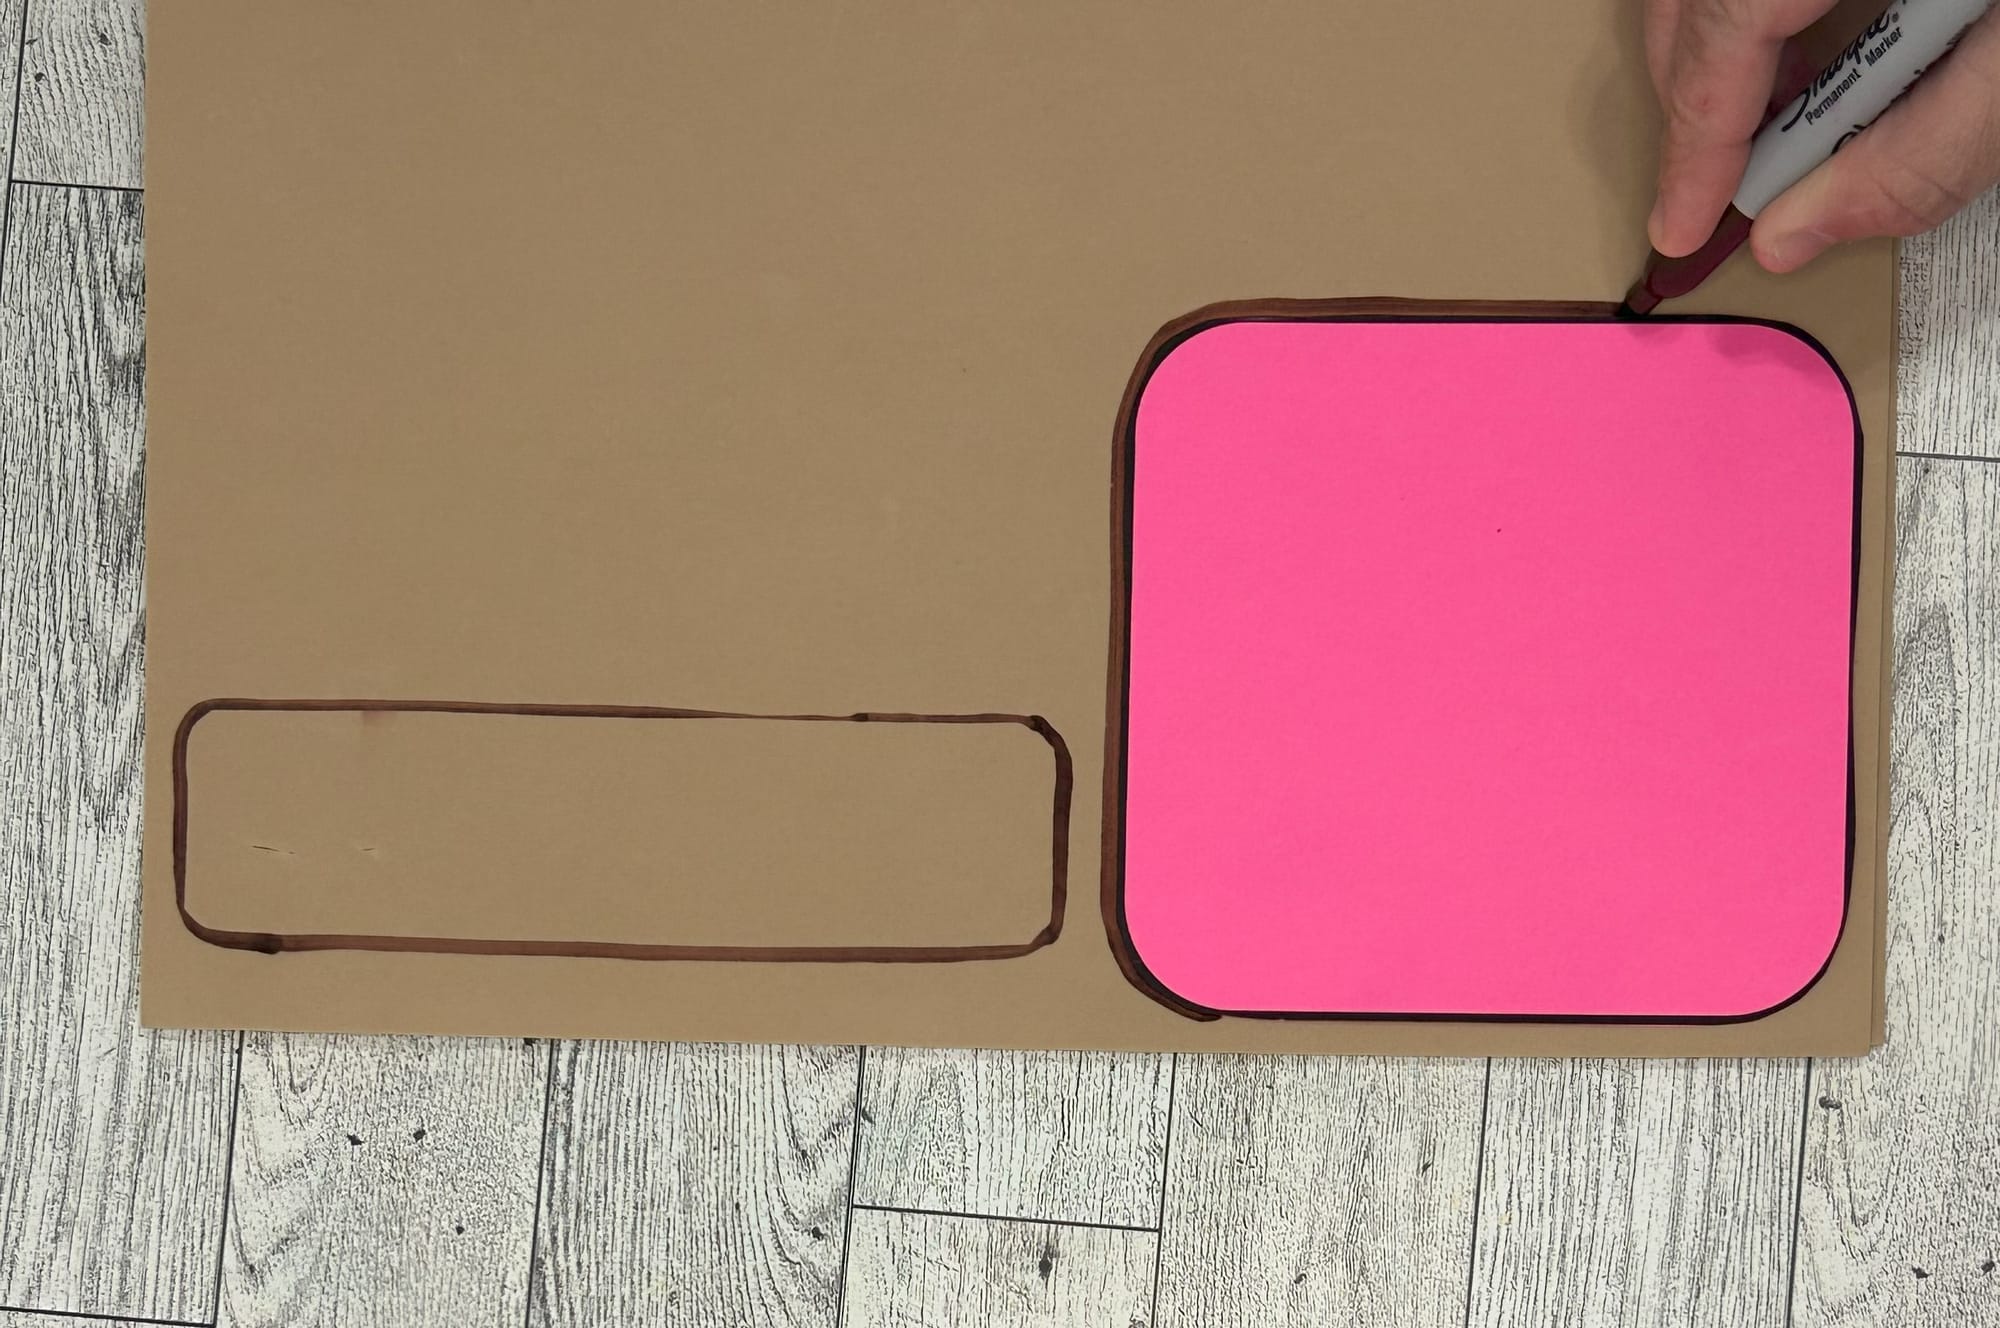

Depending on your child's age, allow them to cut out the pieces or complete this step on your own.
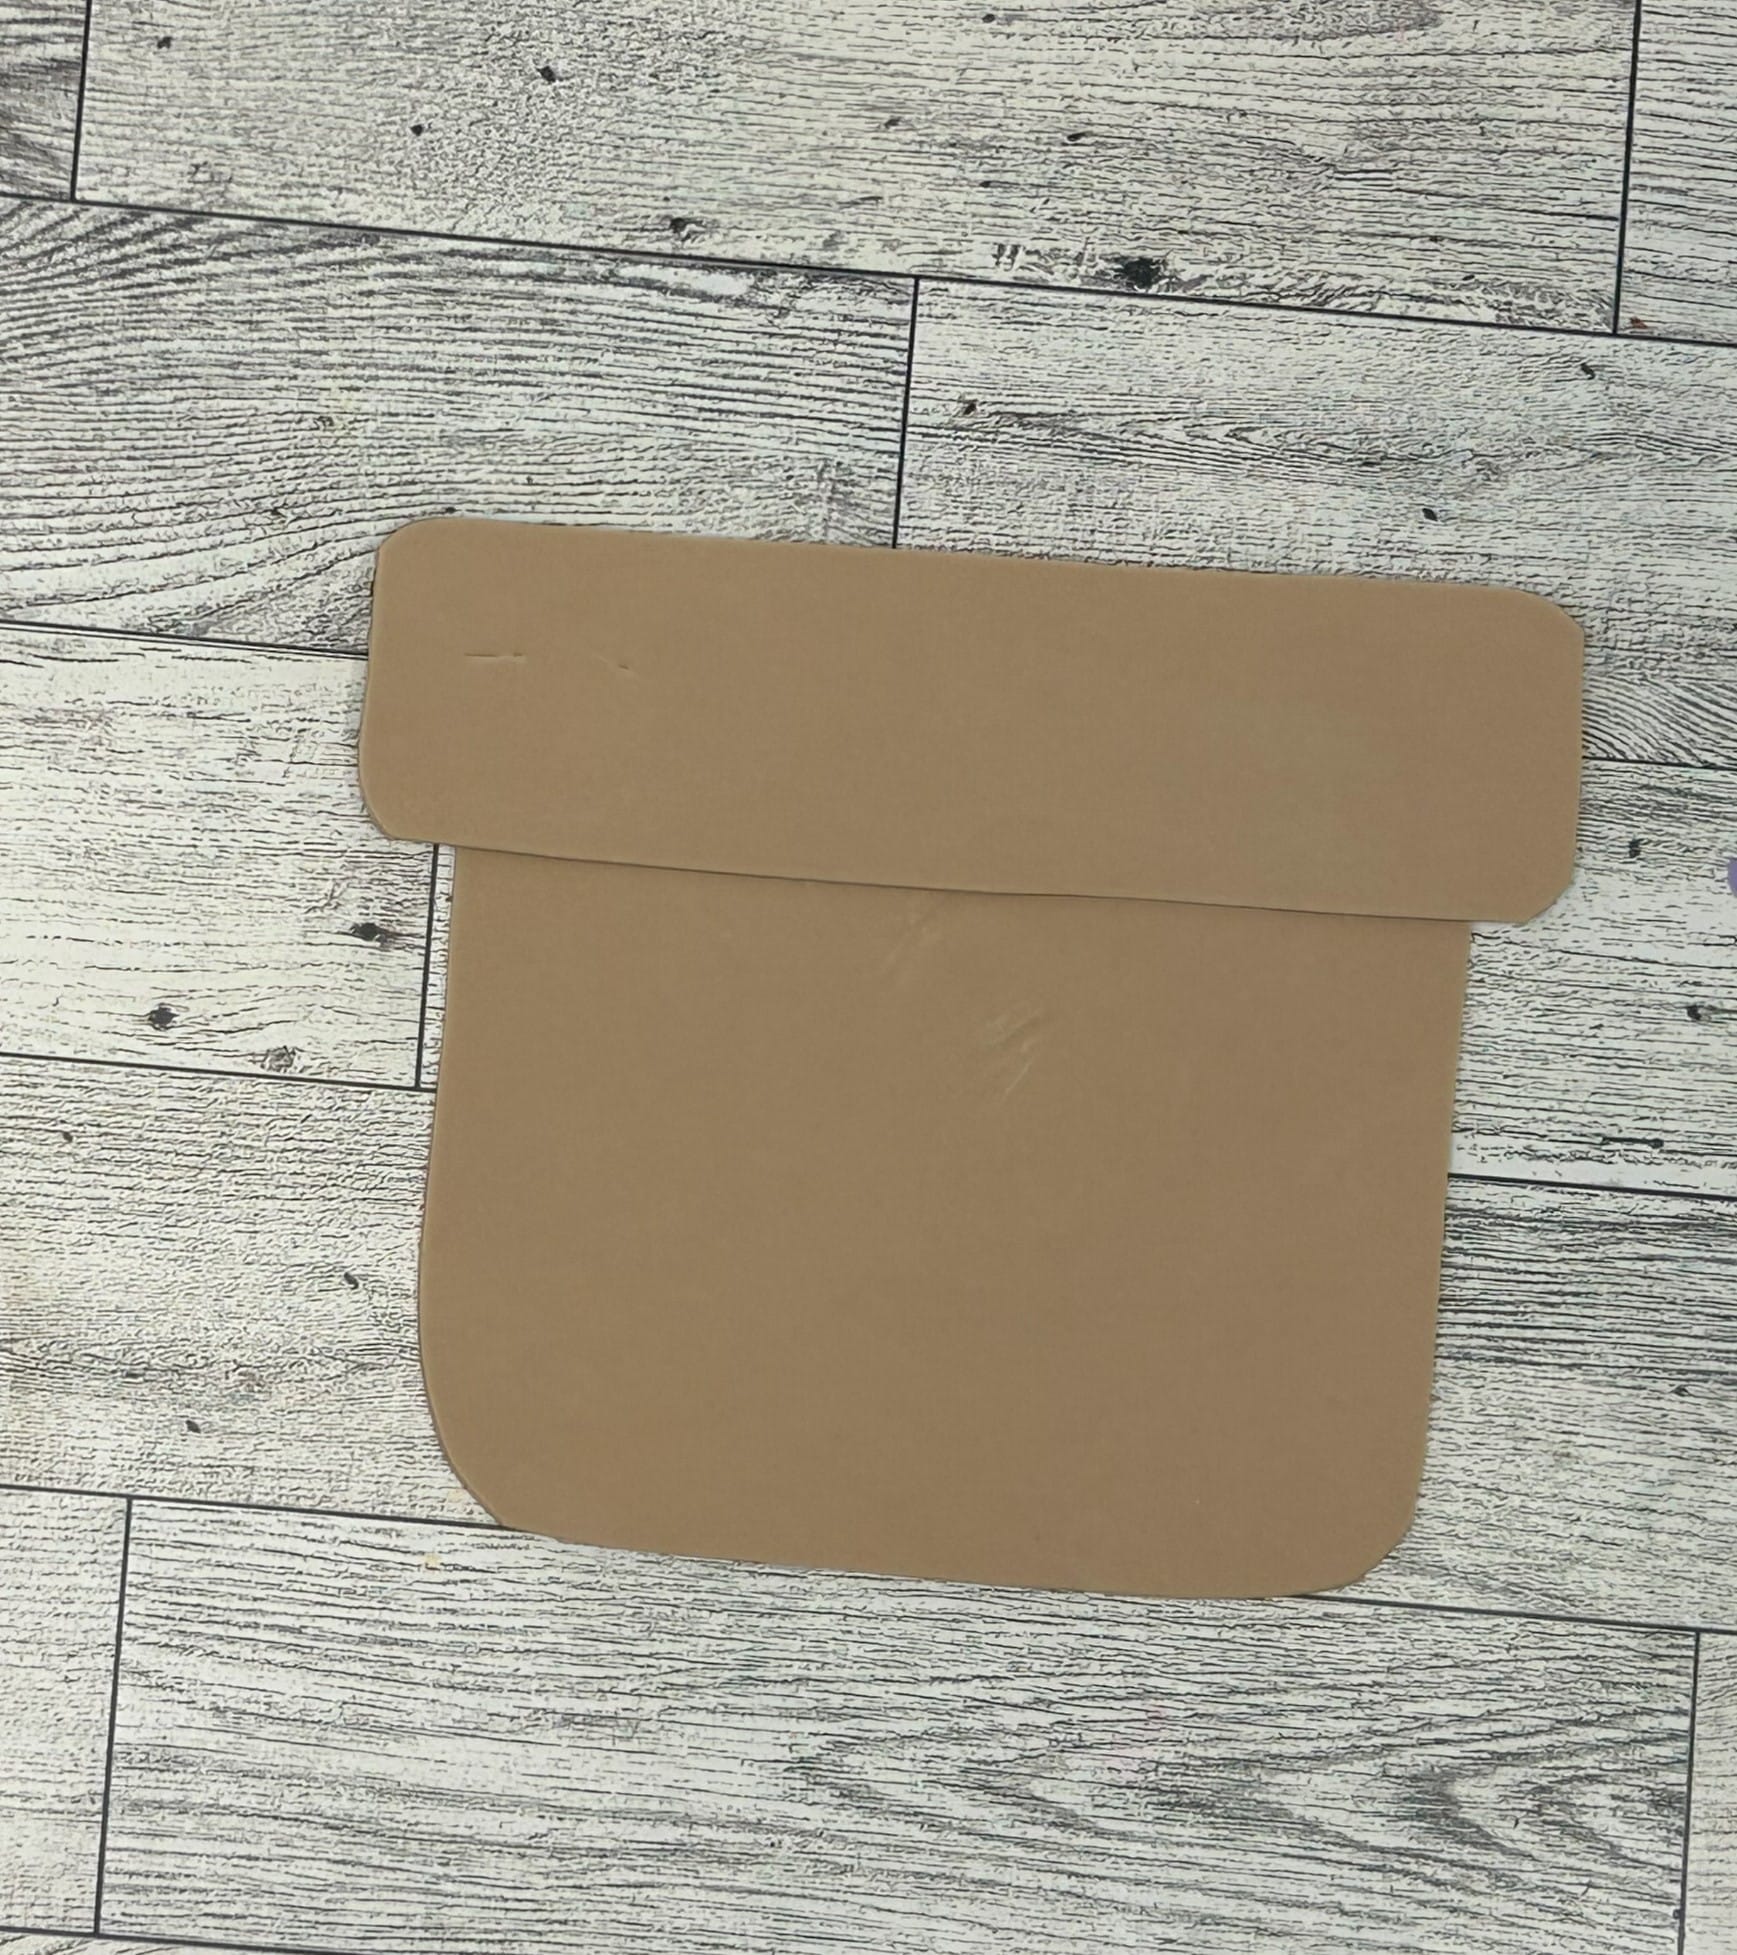
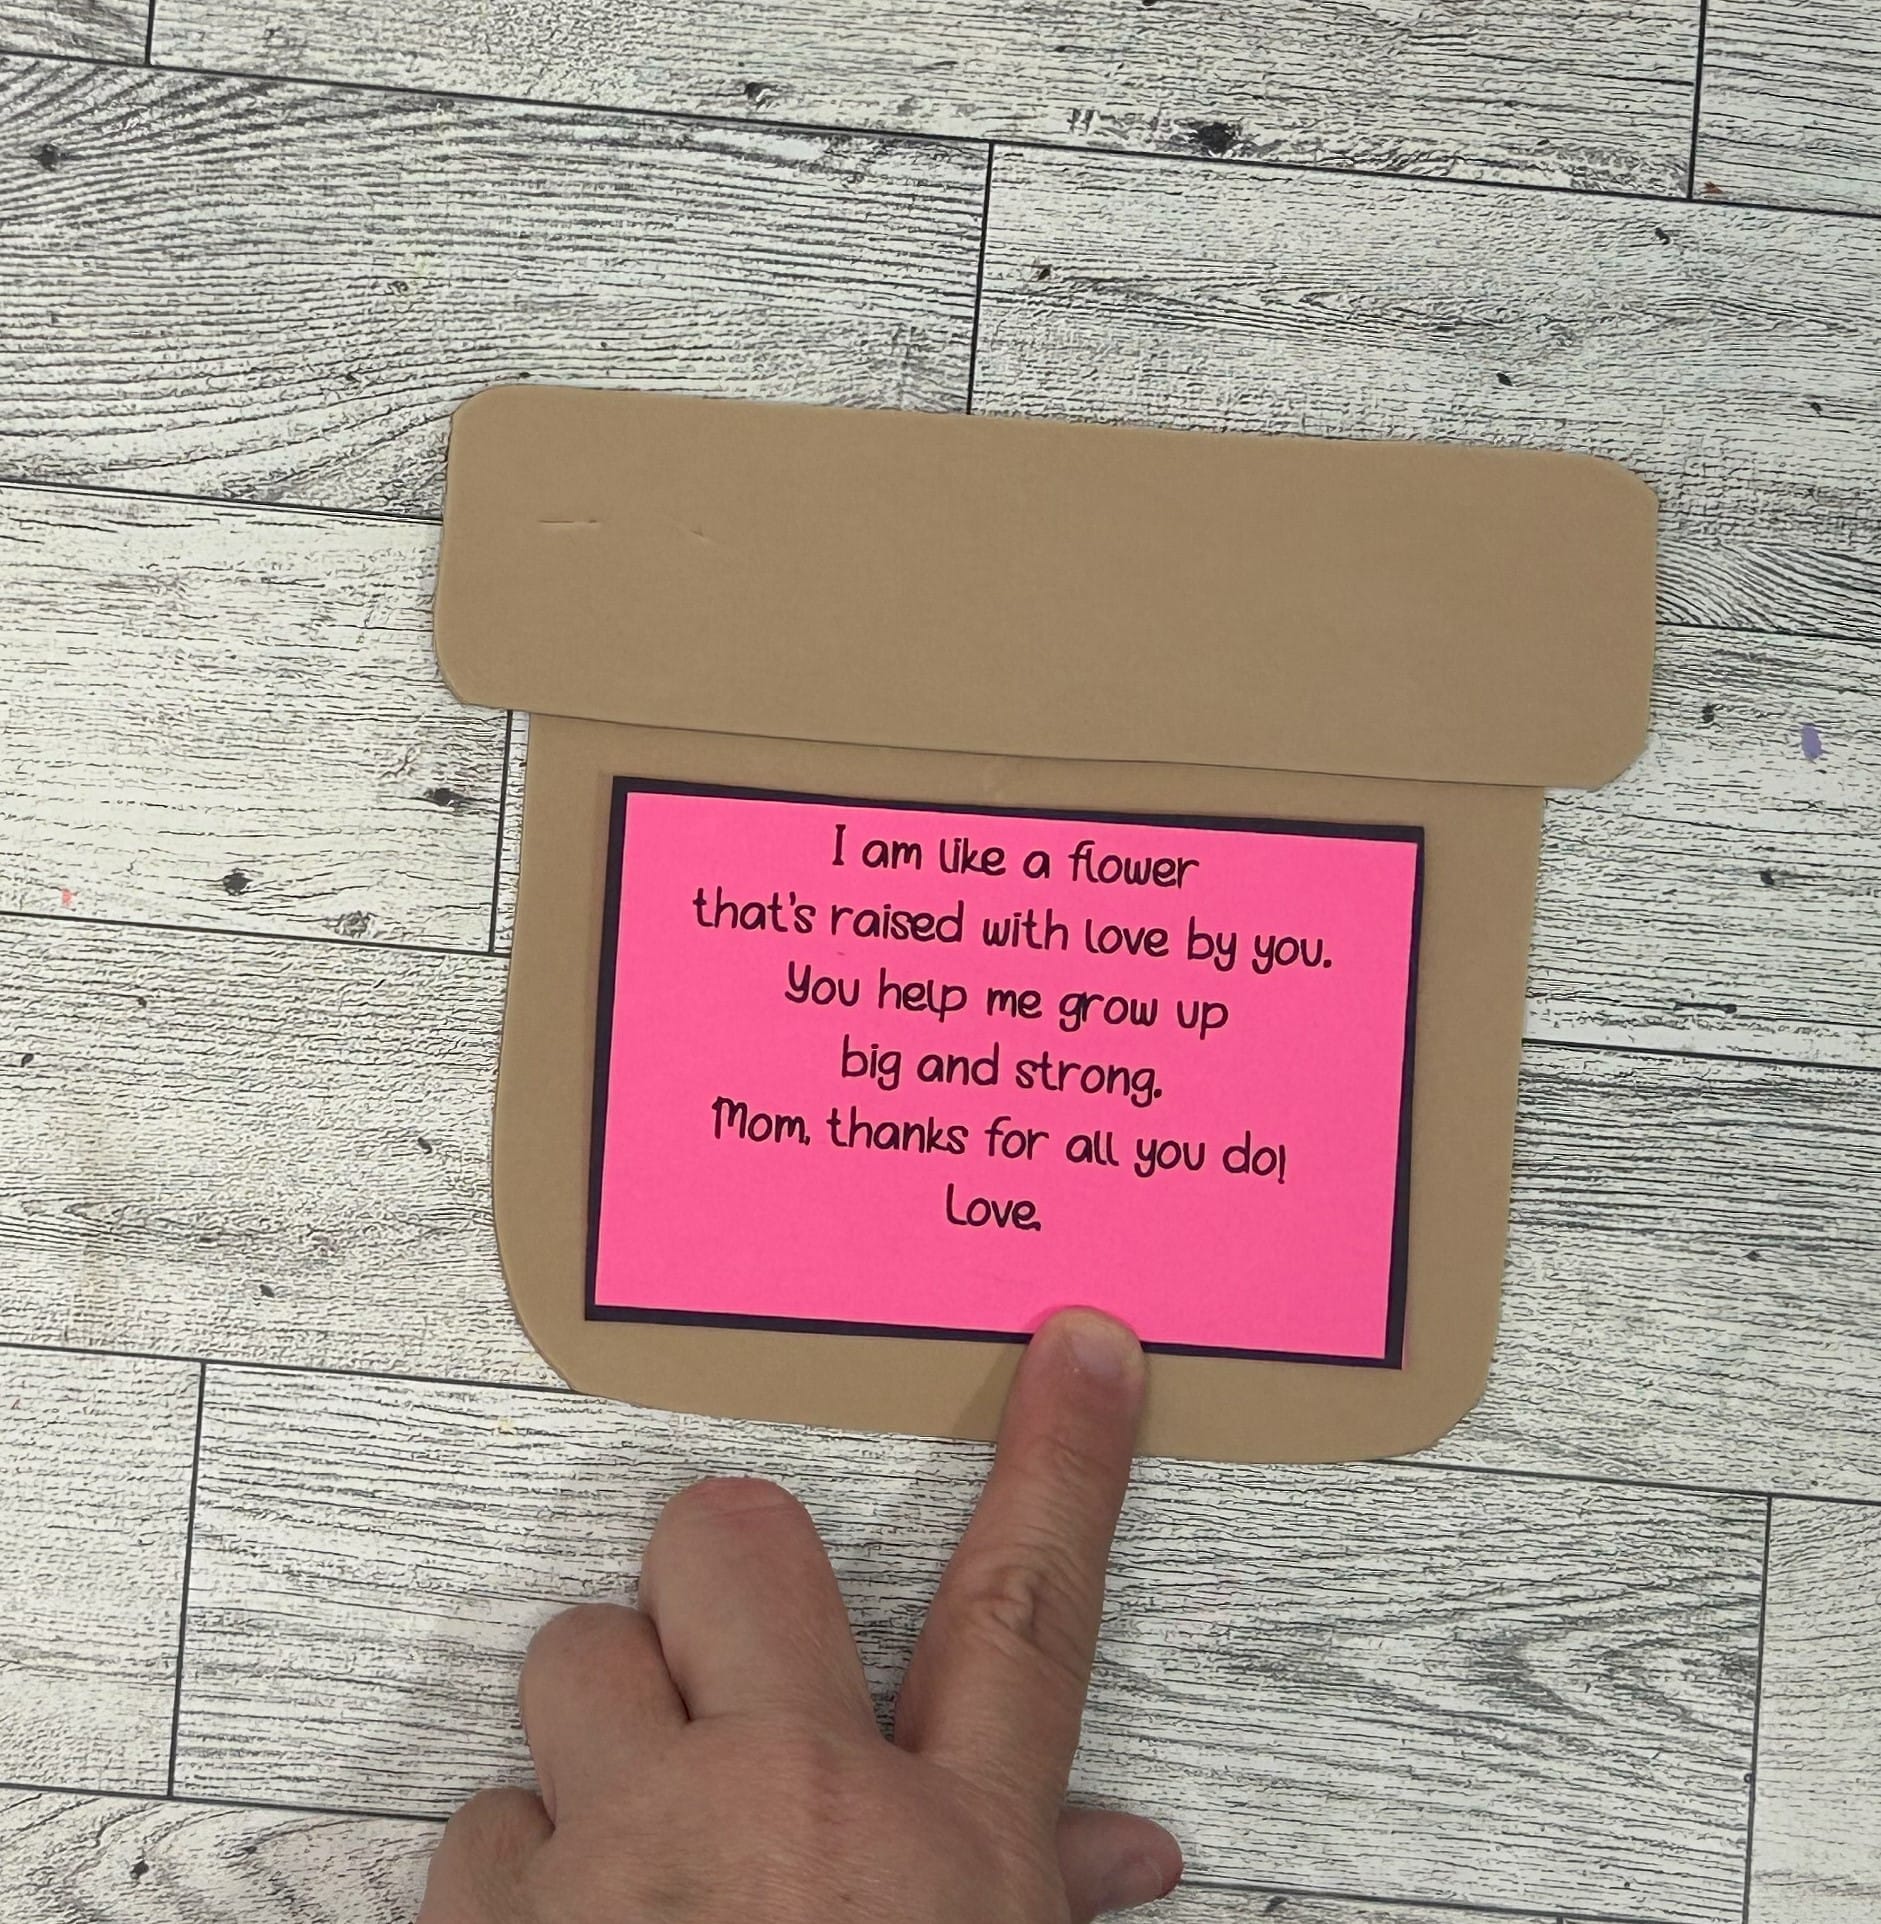
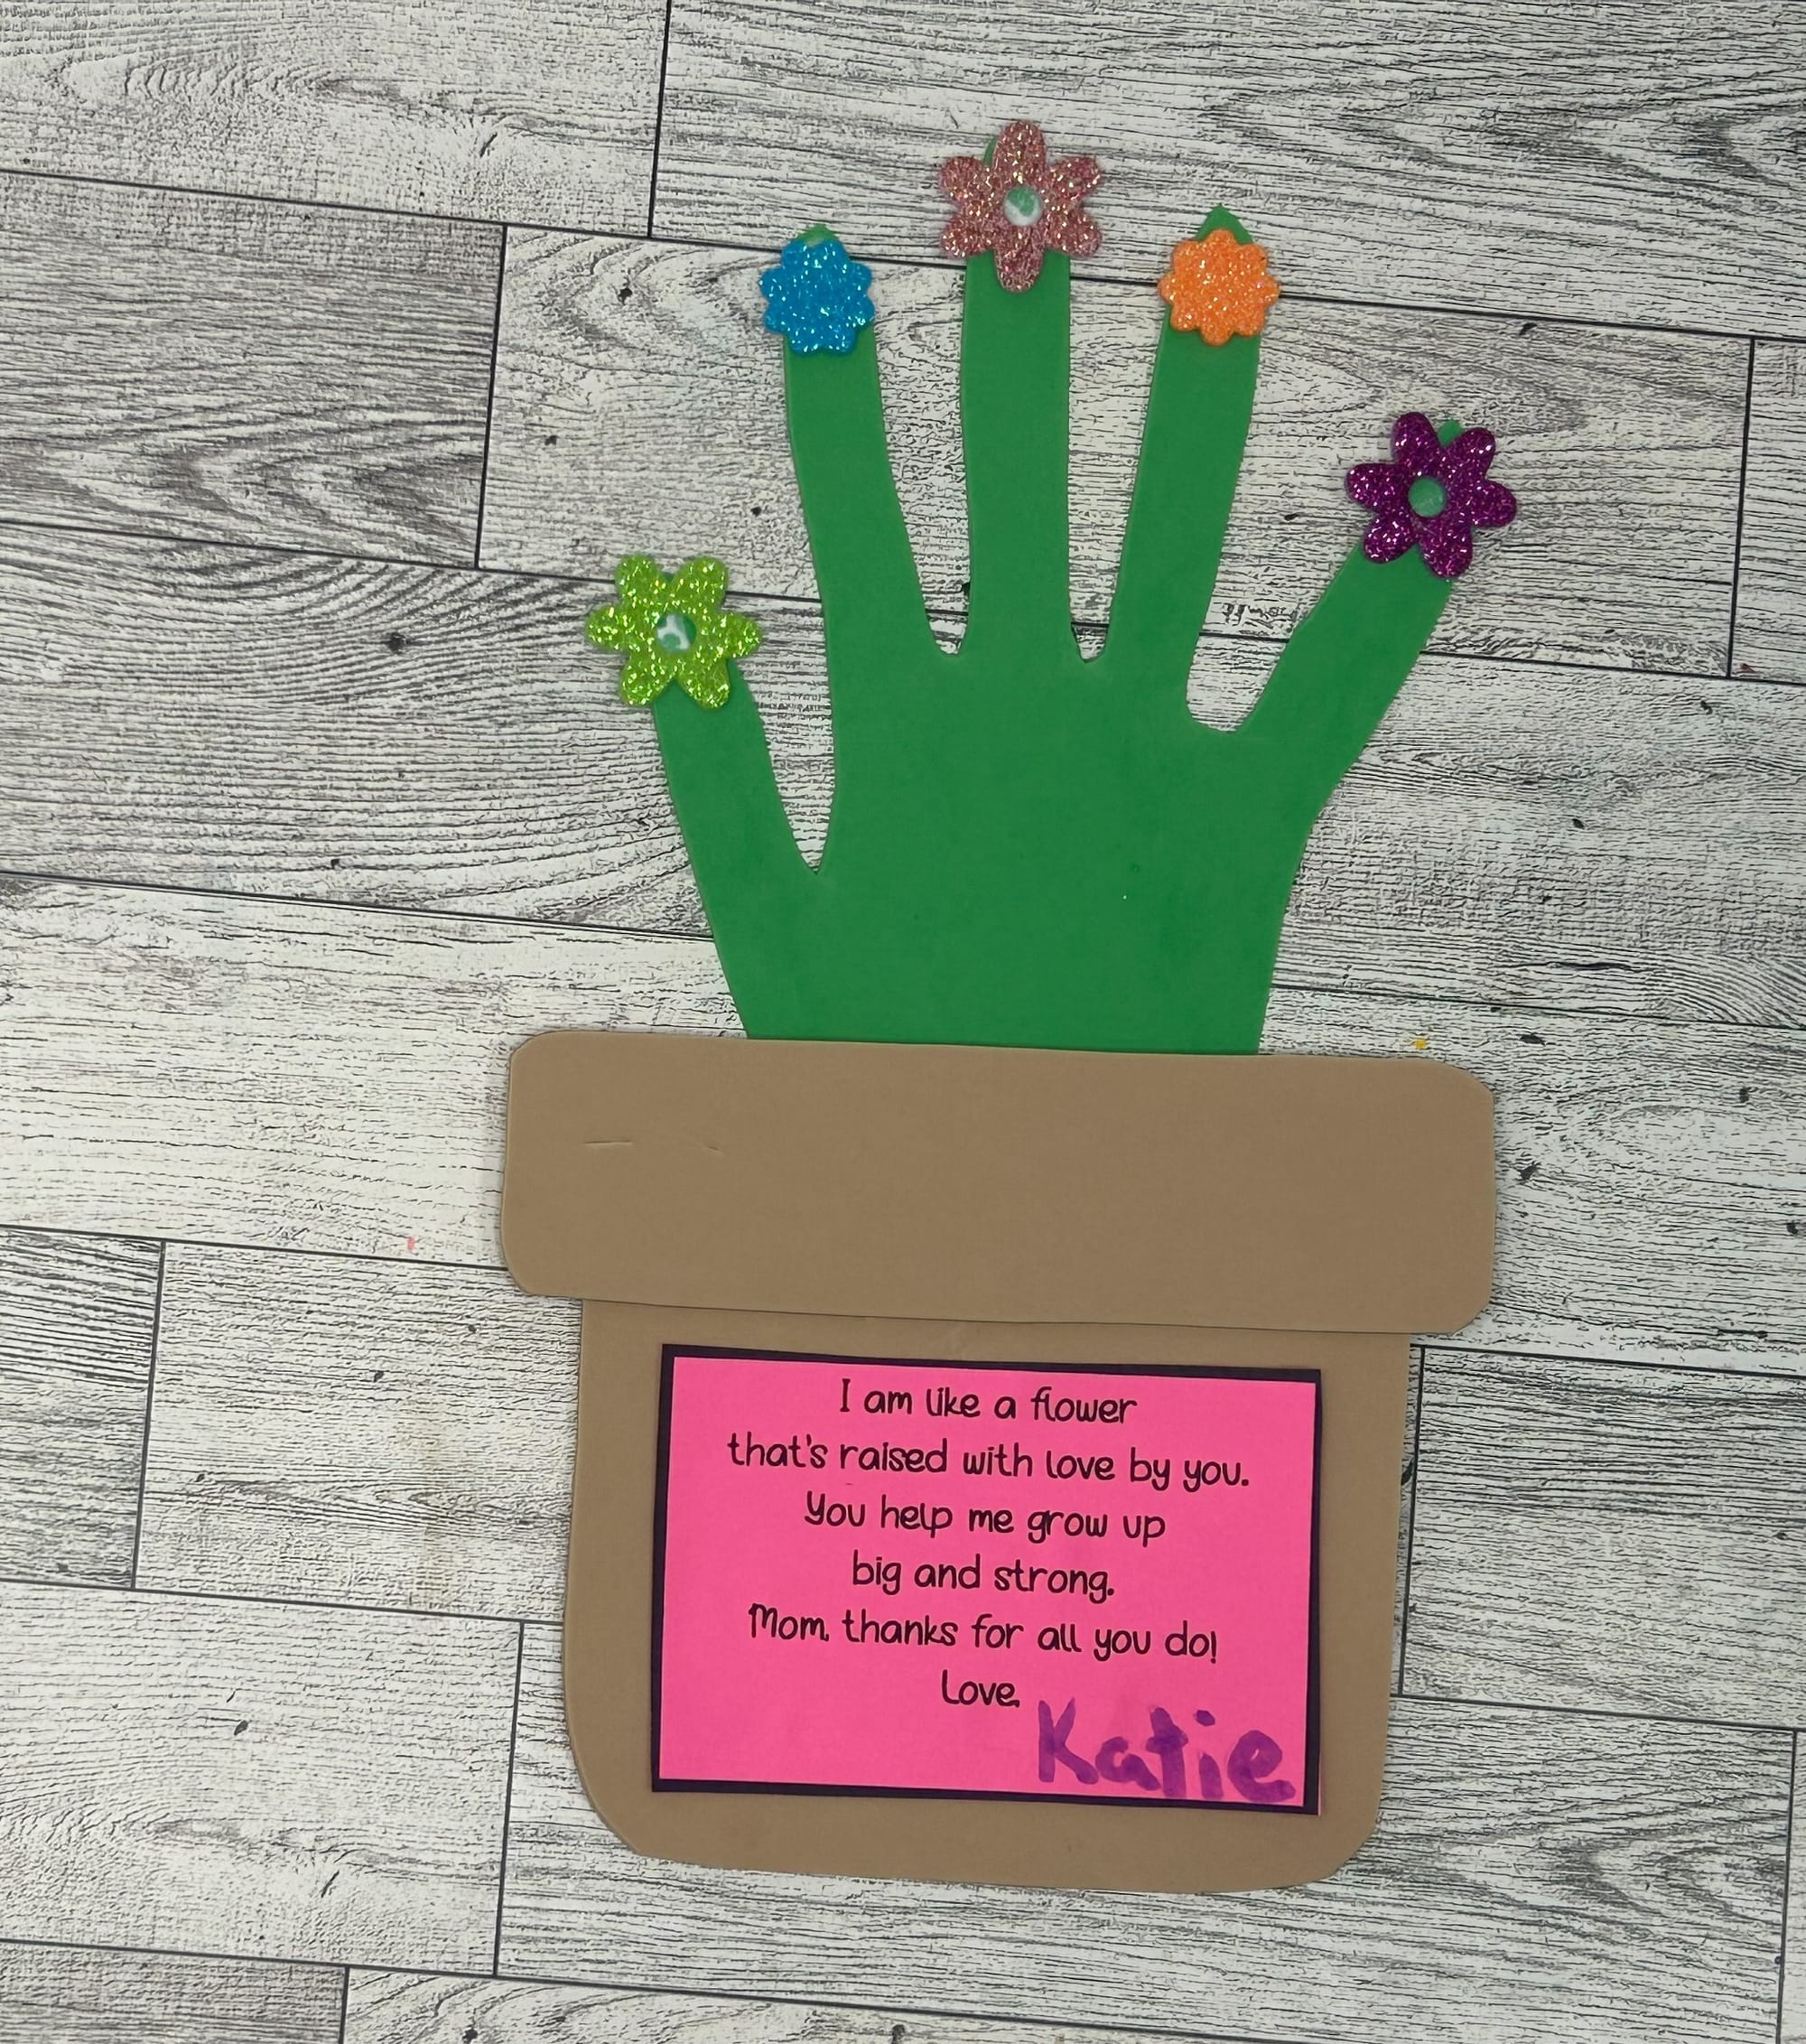
- Glue to flower pot together and glue the poem to the bottom part of the pot. Have your child add their name at the bottom of the poem with a marker or pen. Be sure to flip over so the side you traced on is in the back.

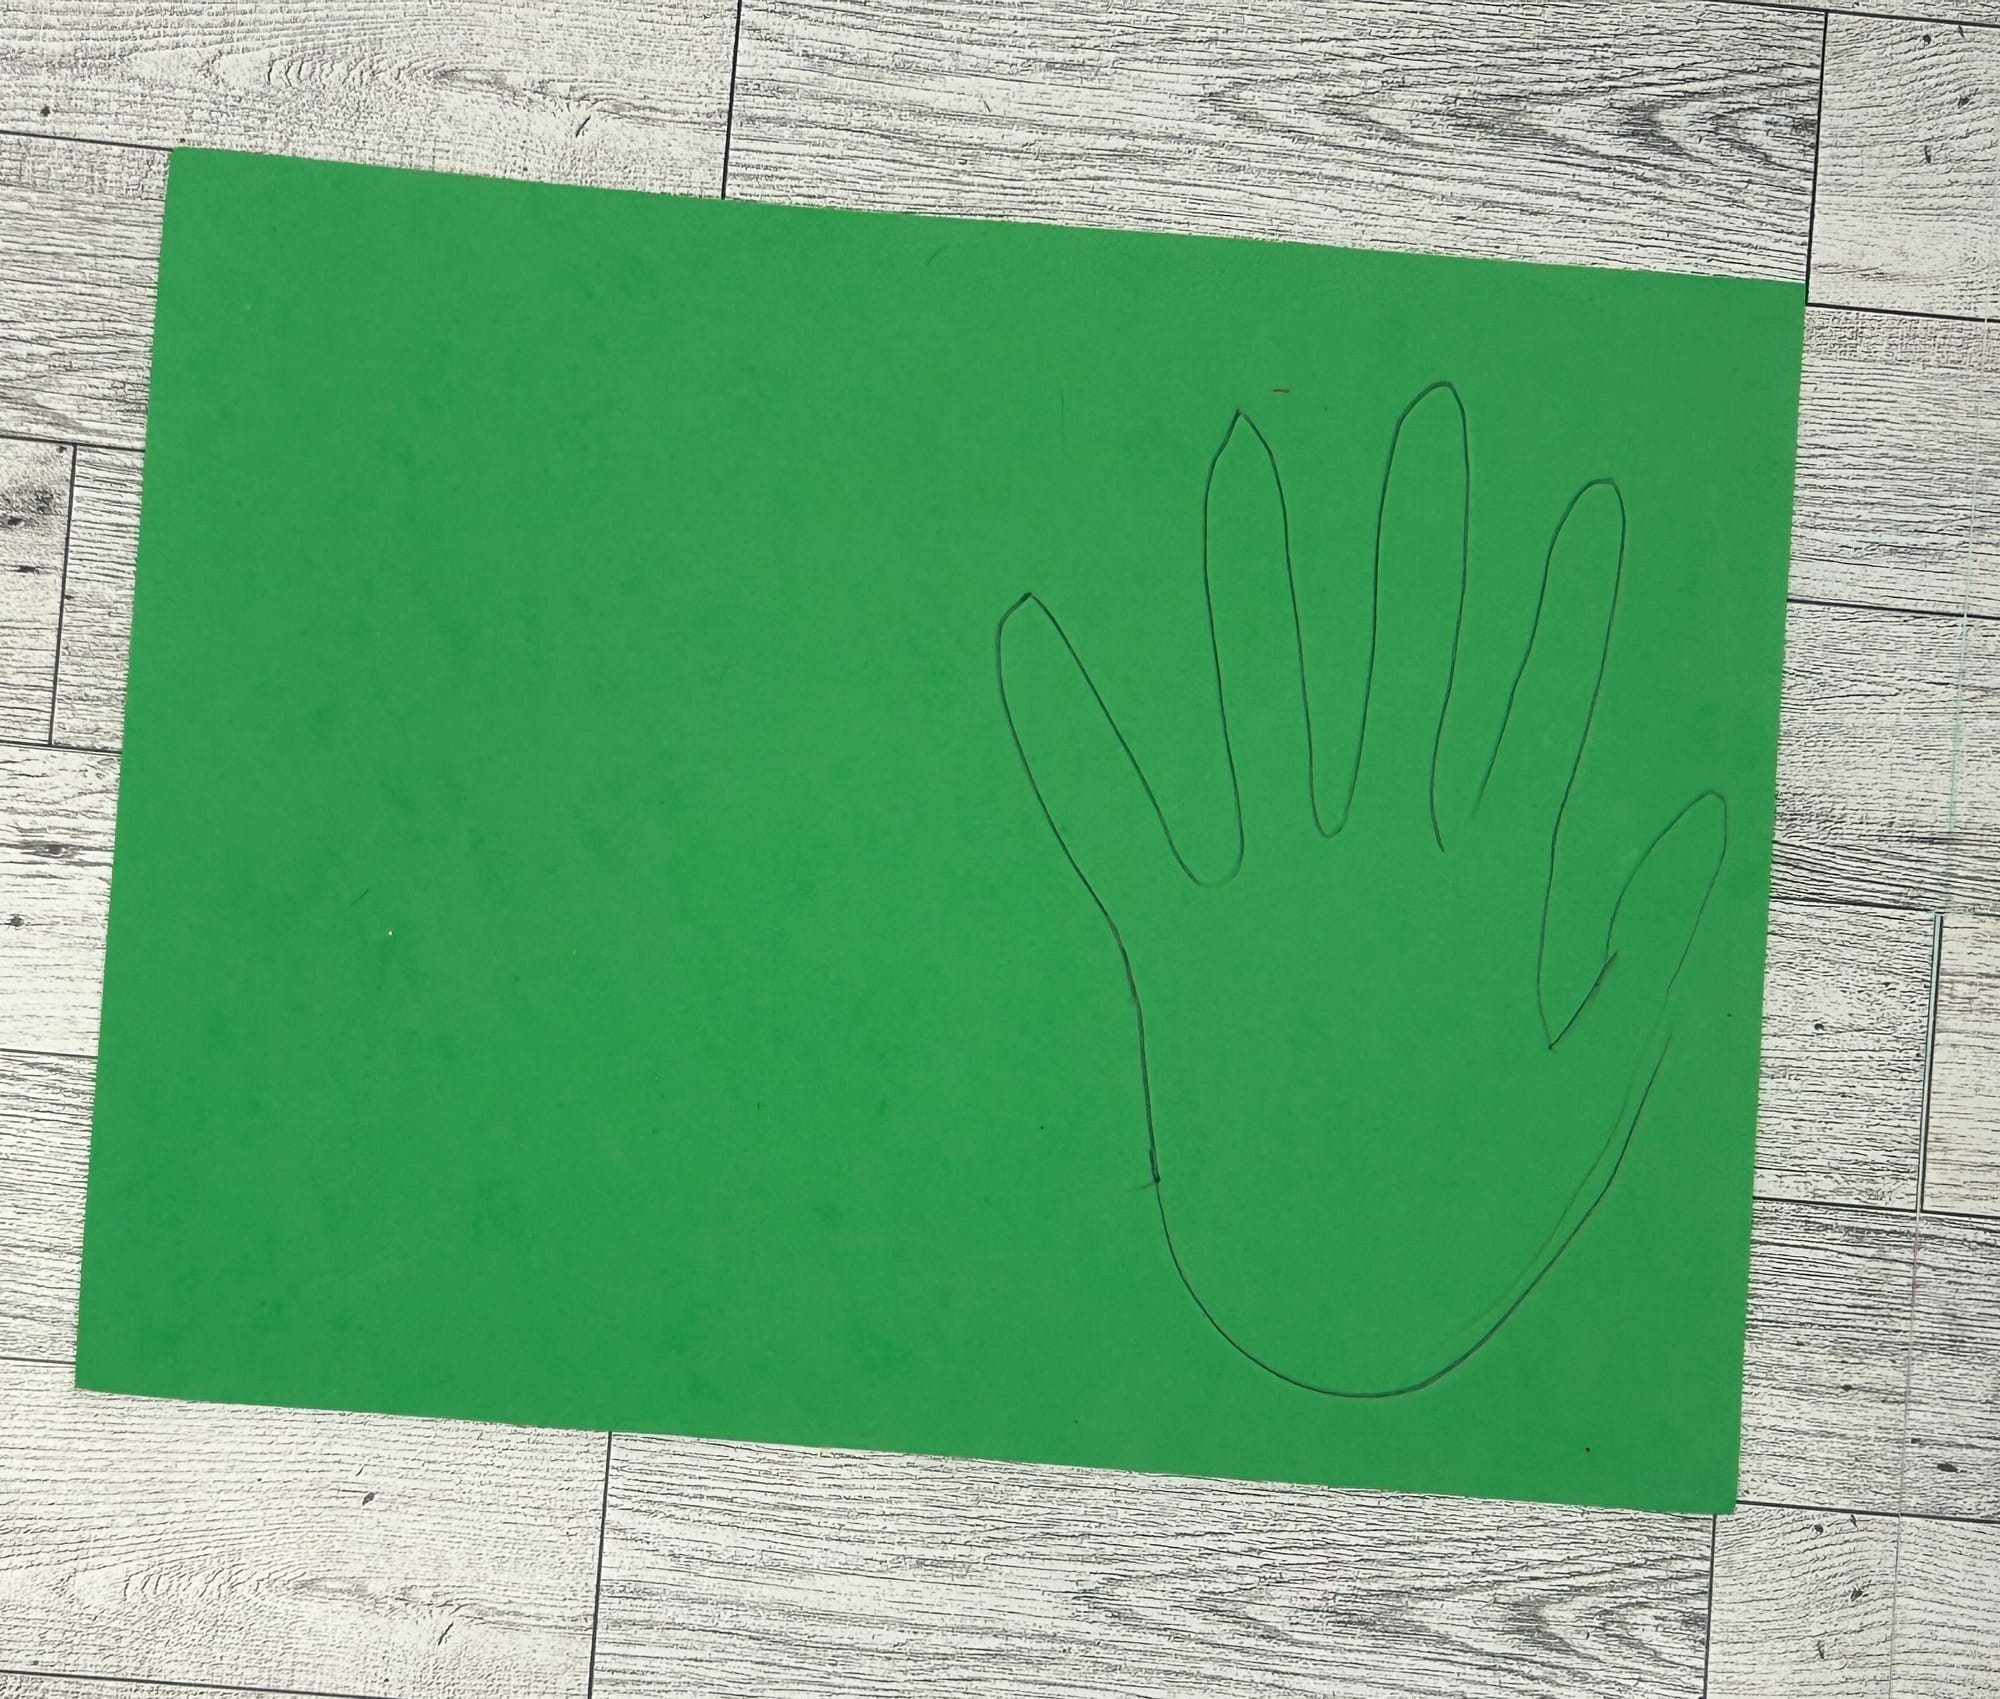
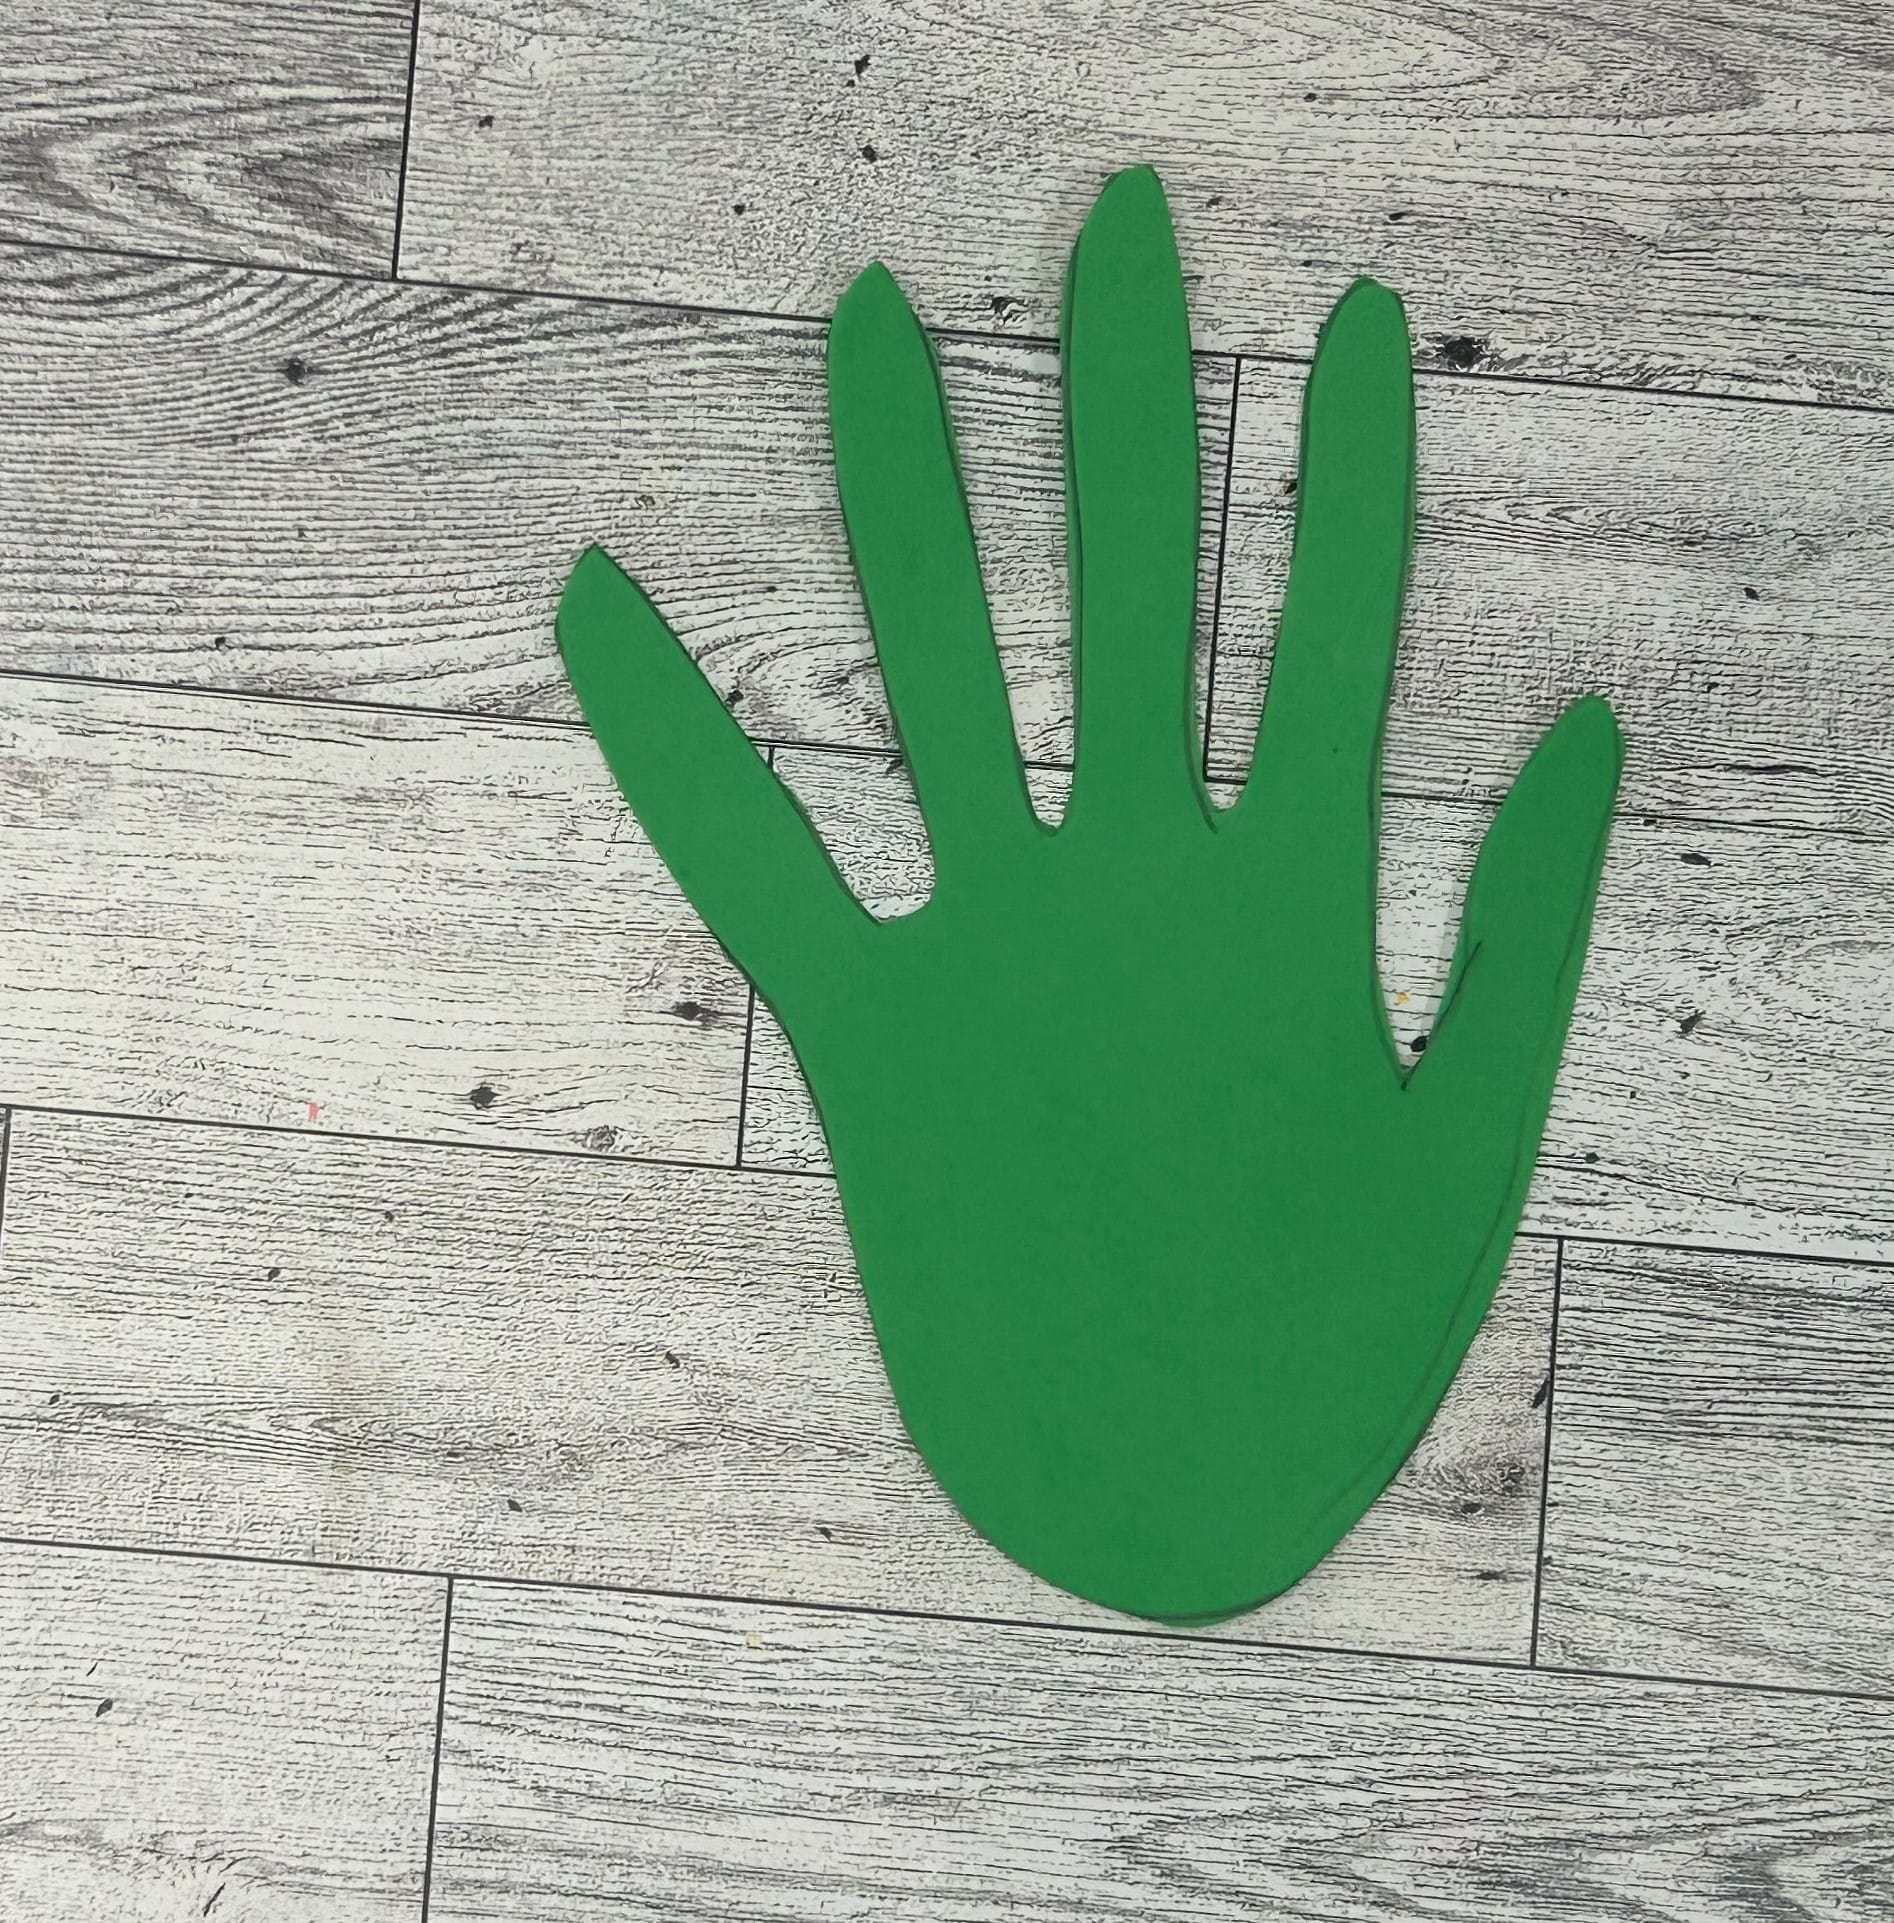
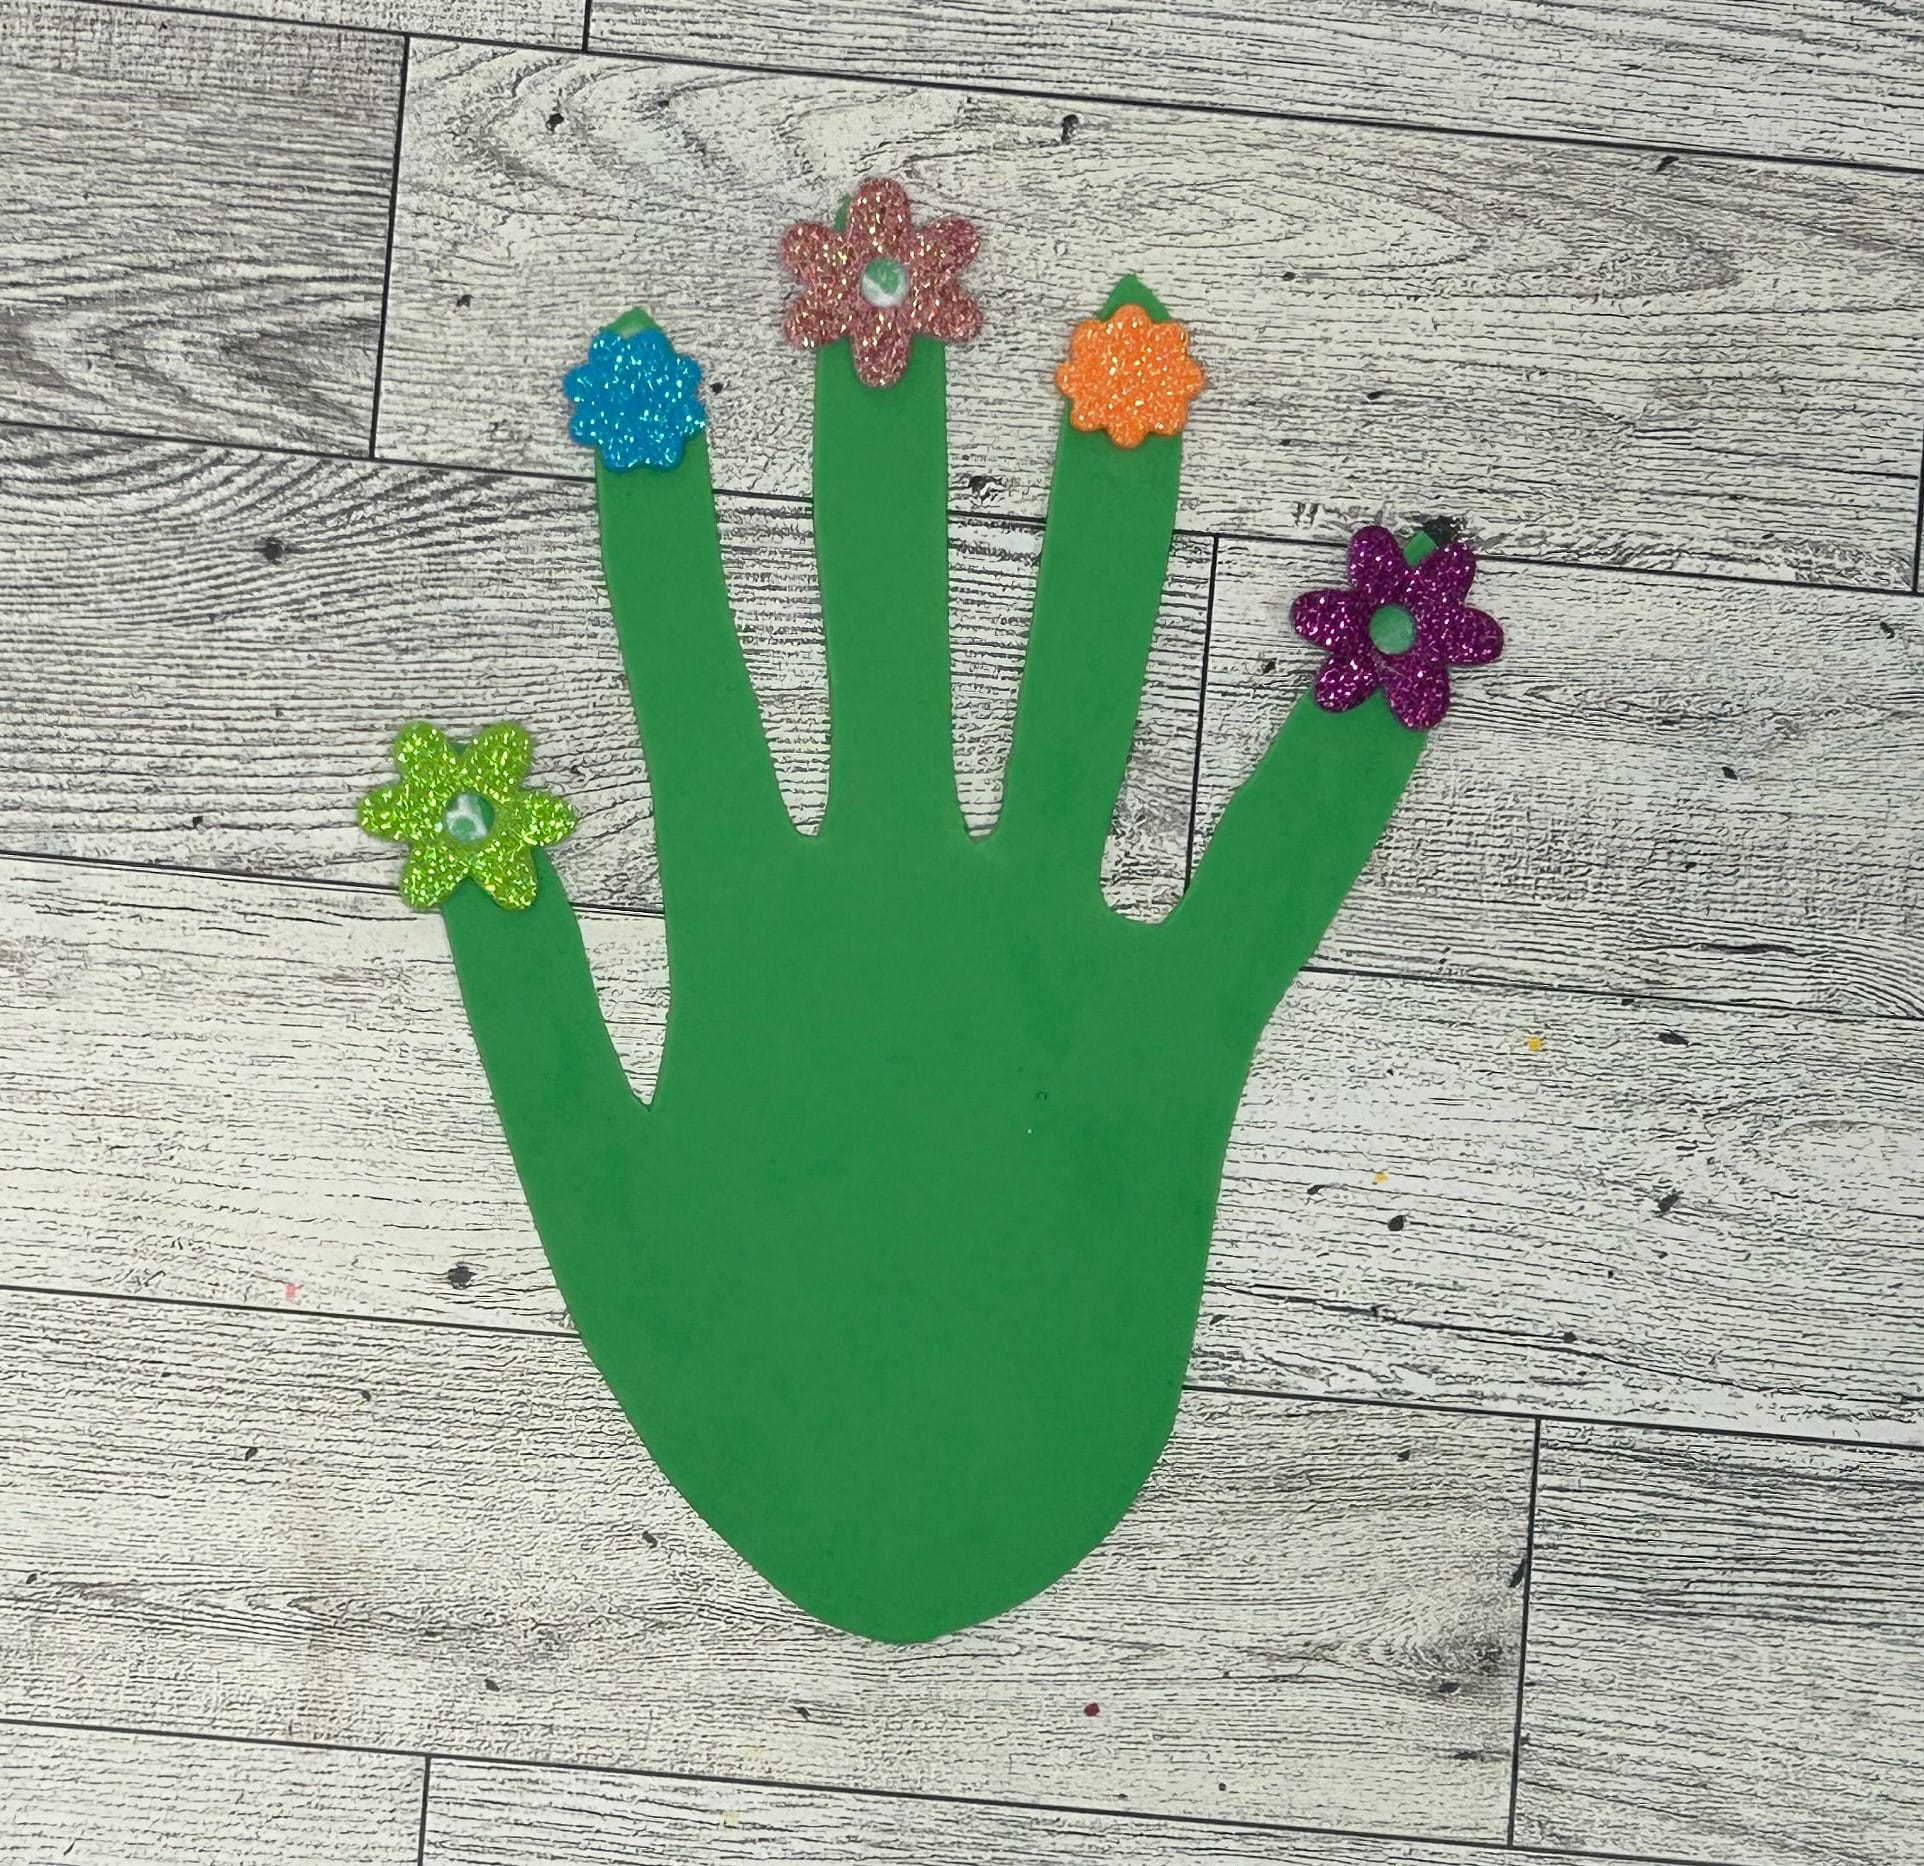
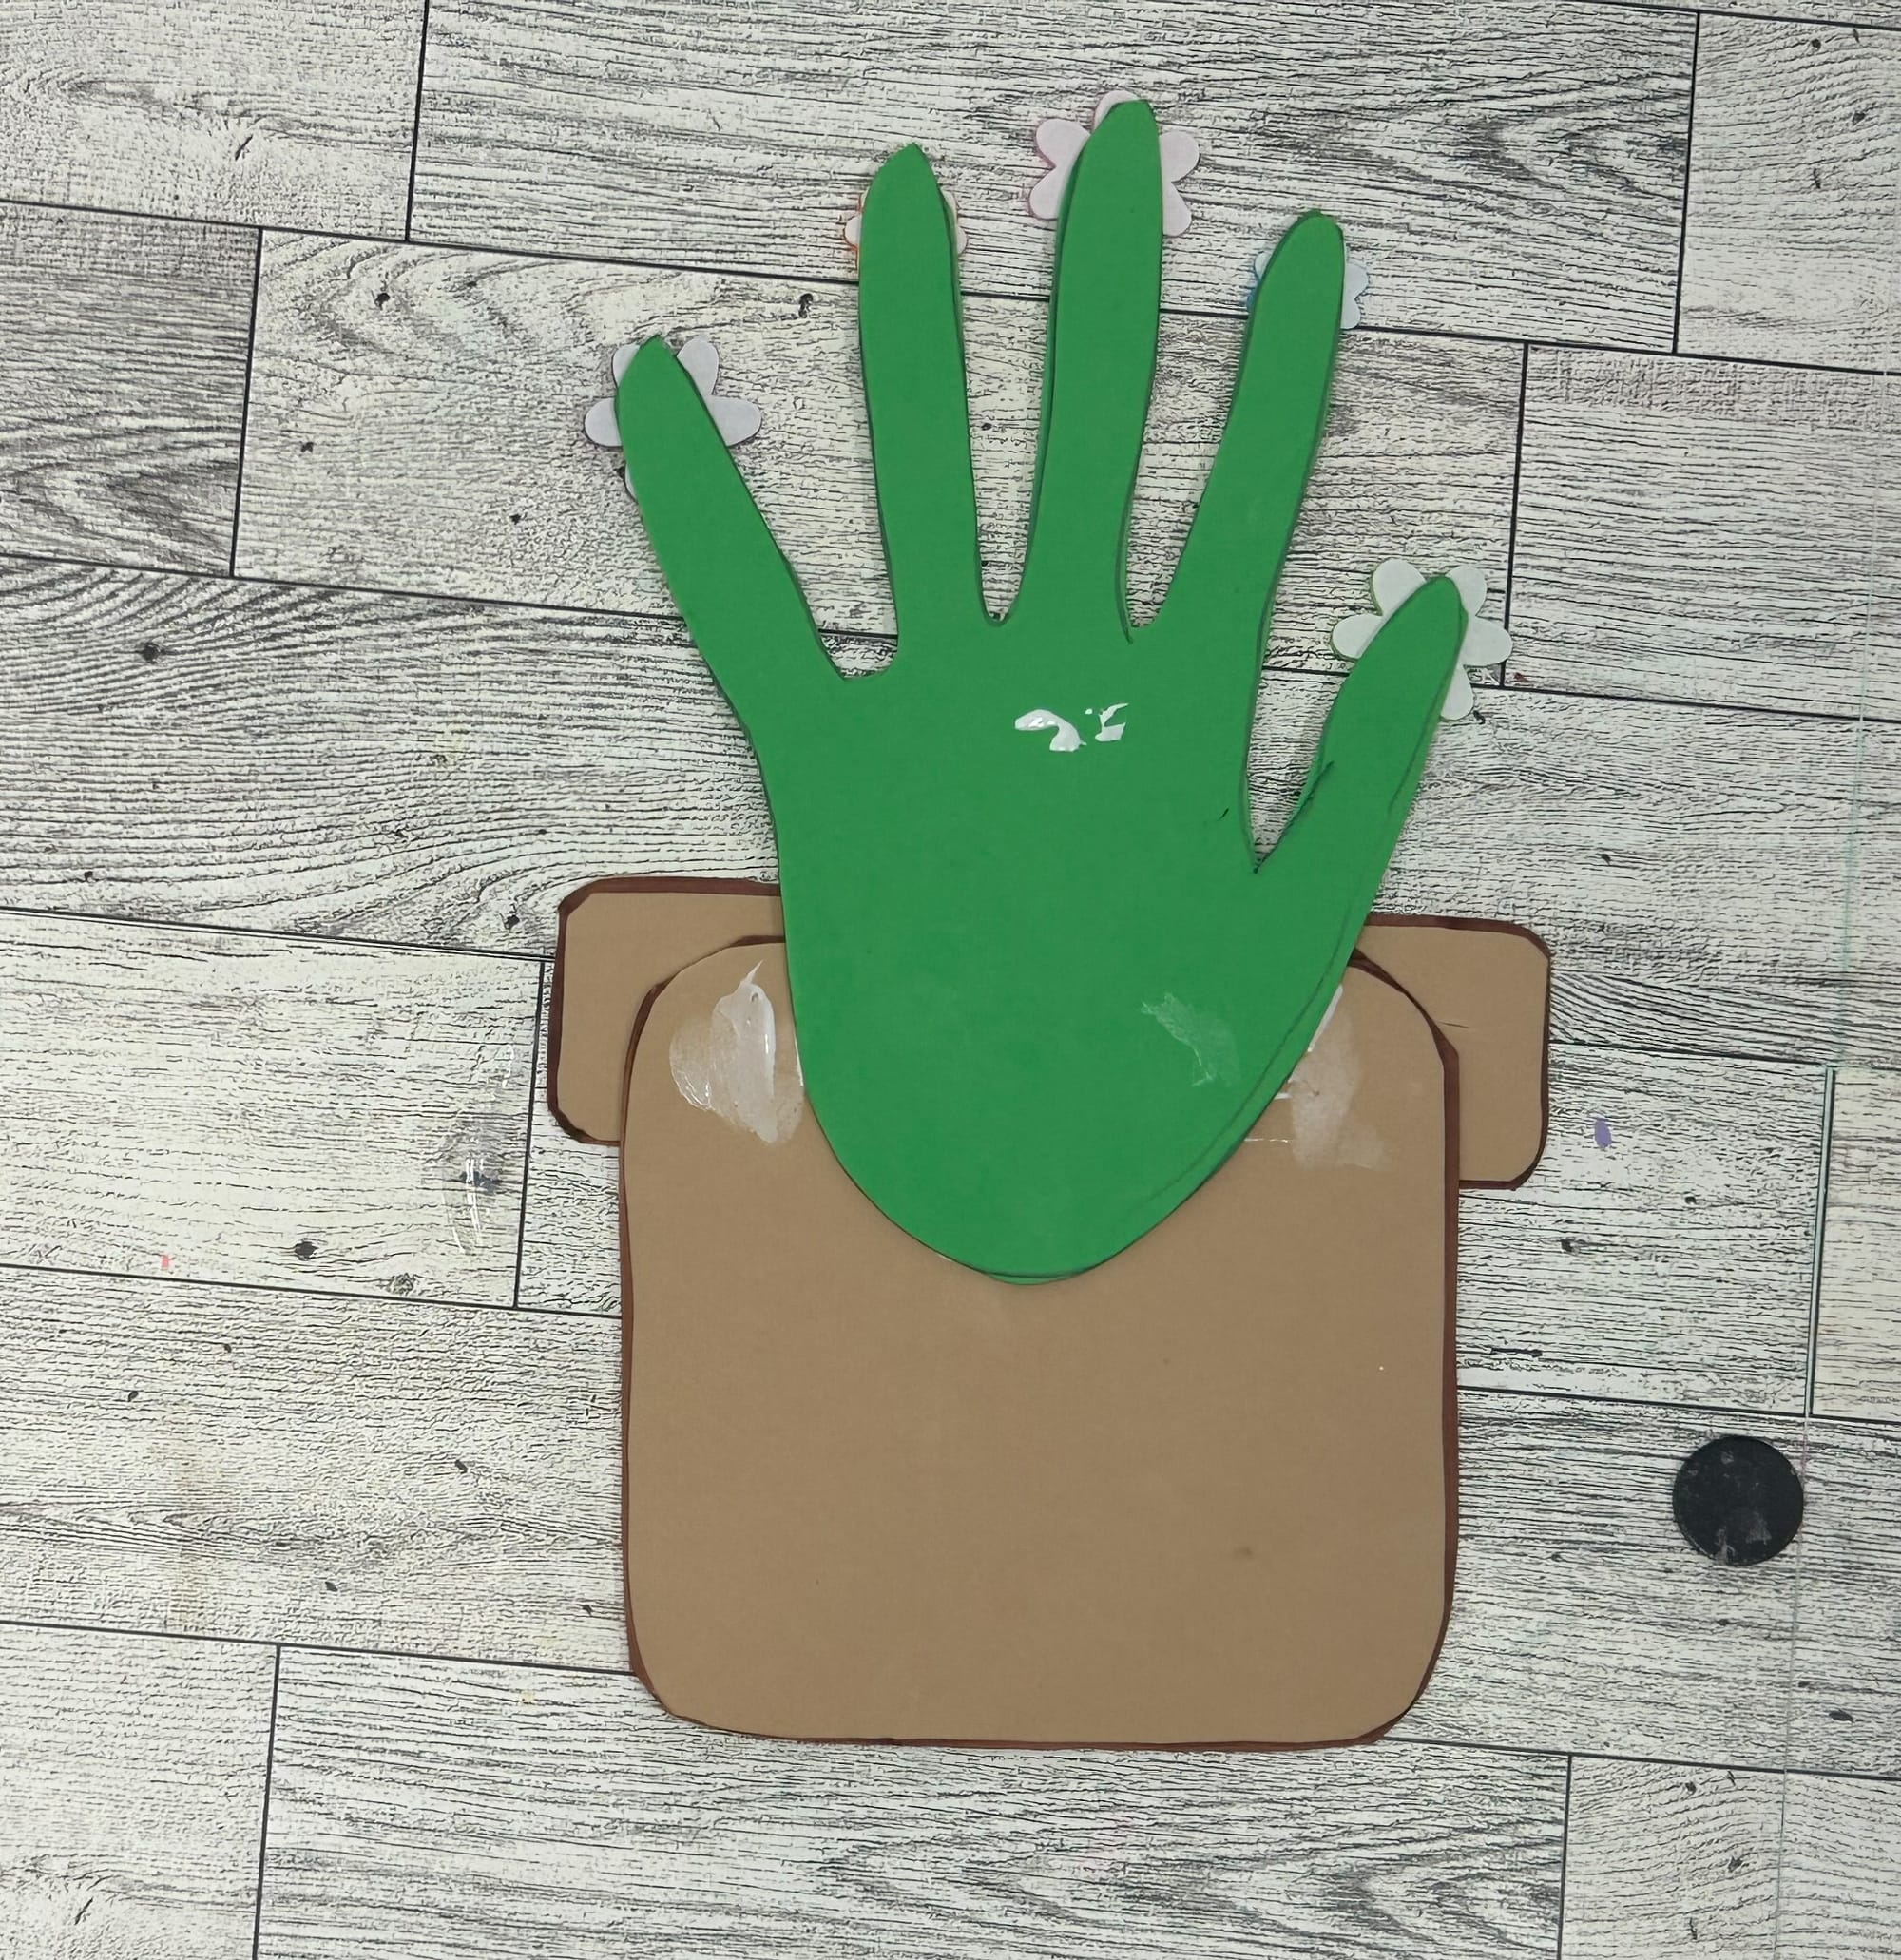
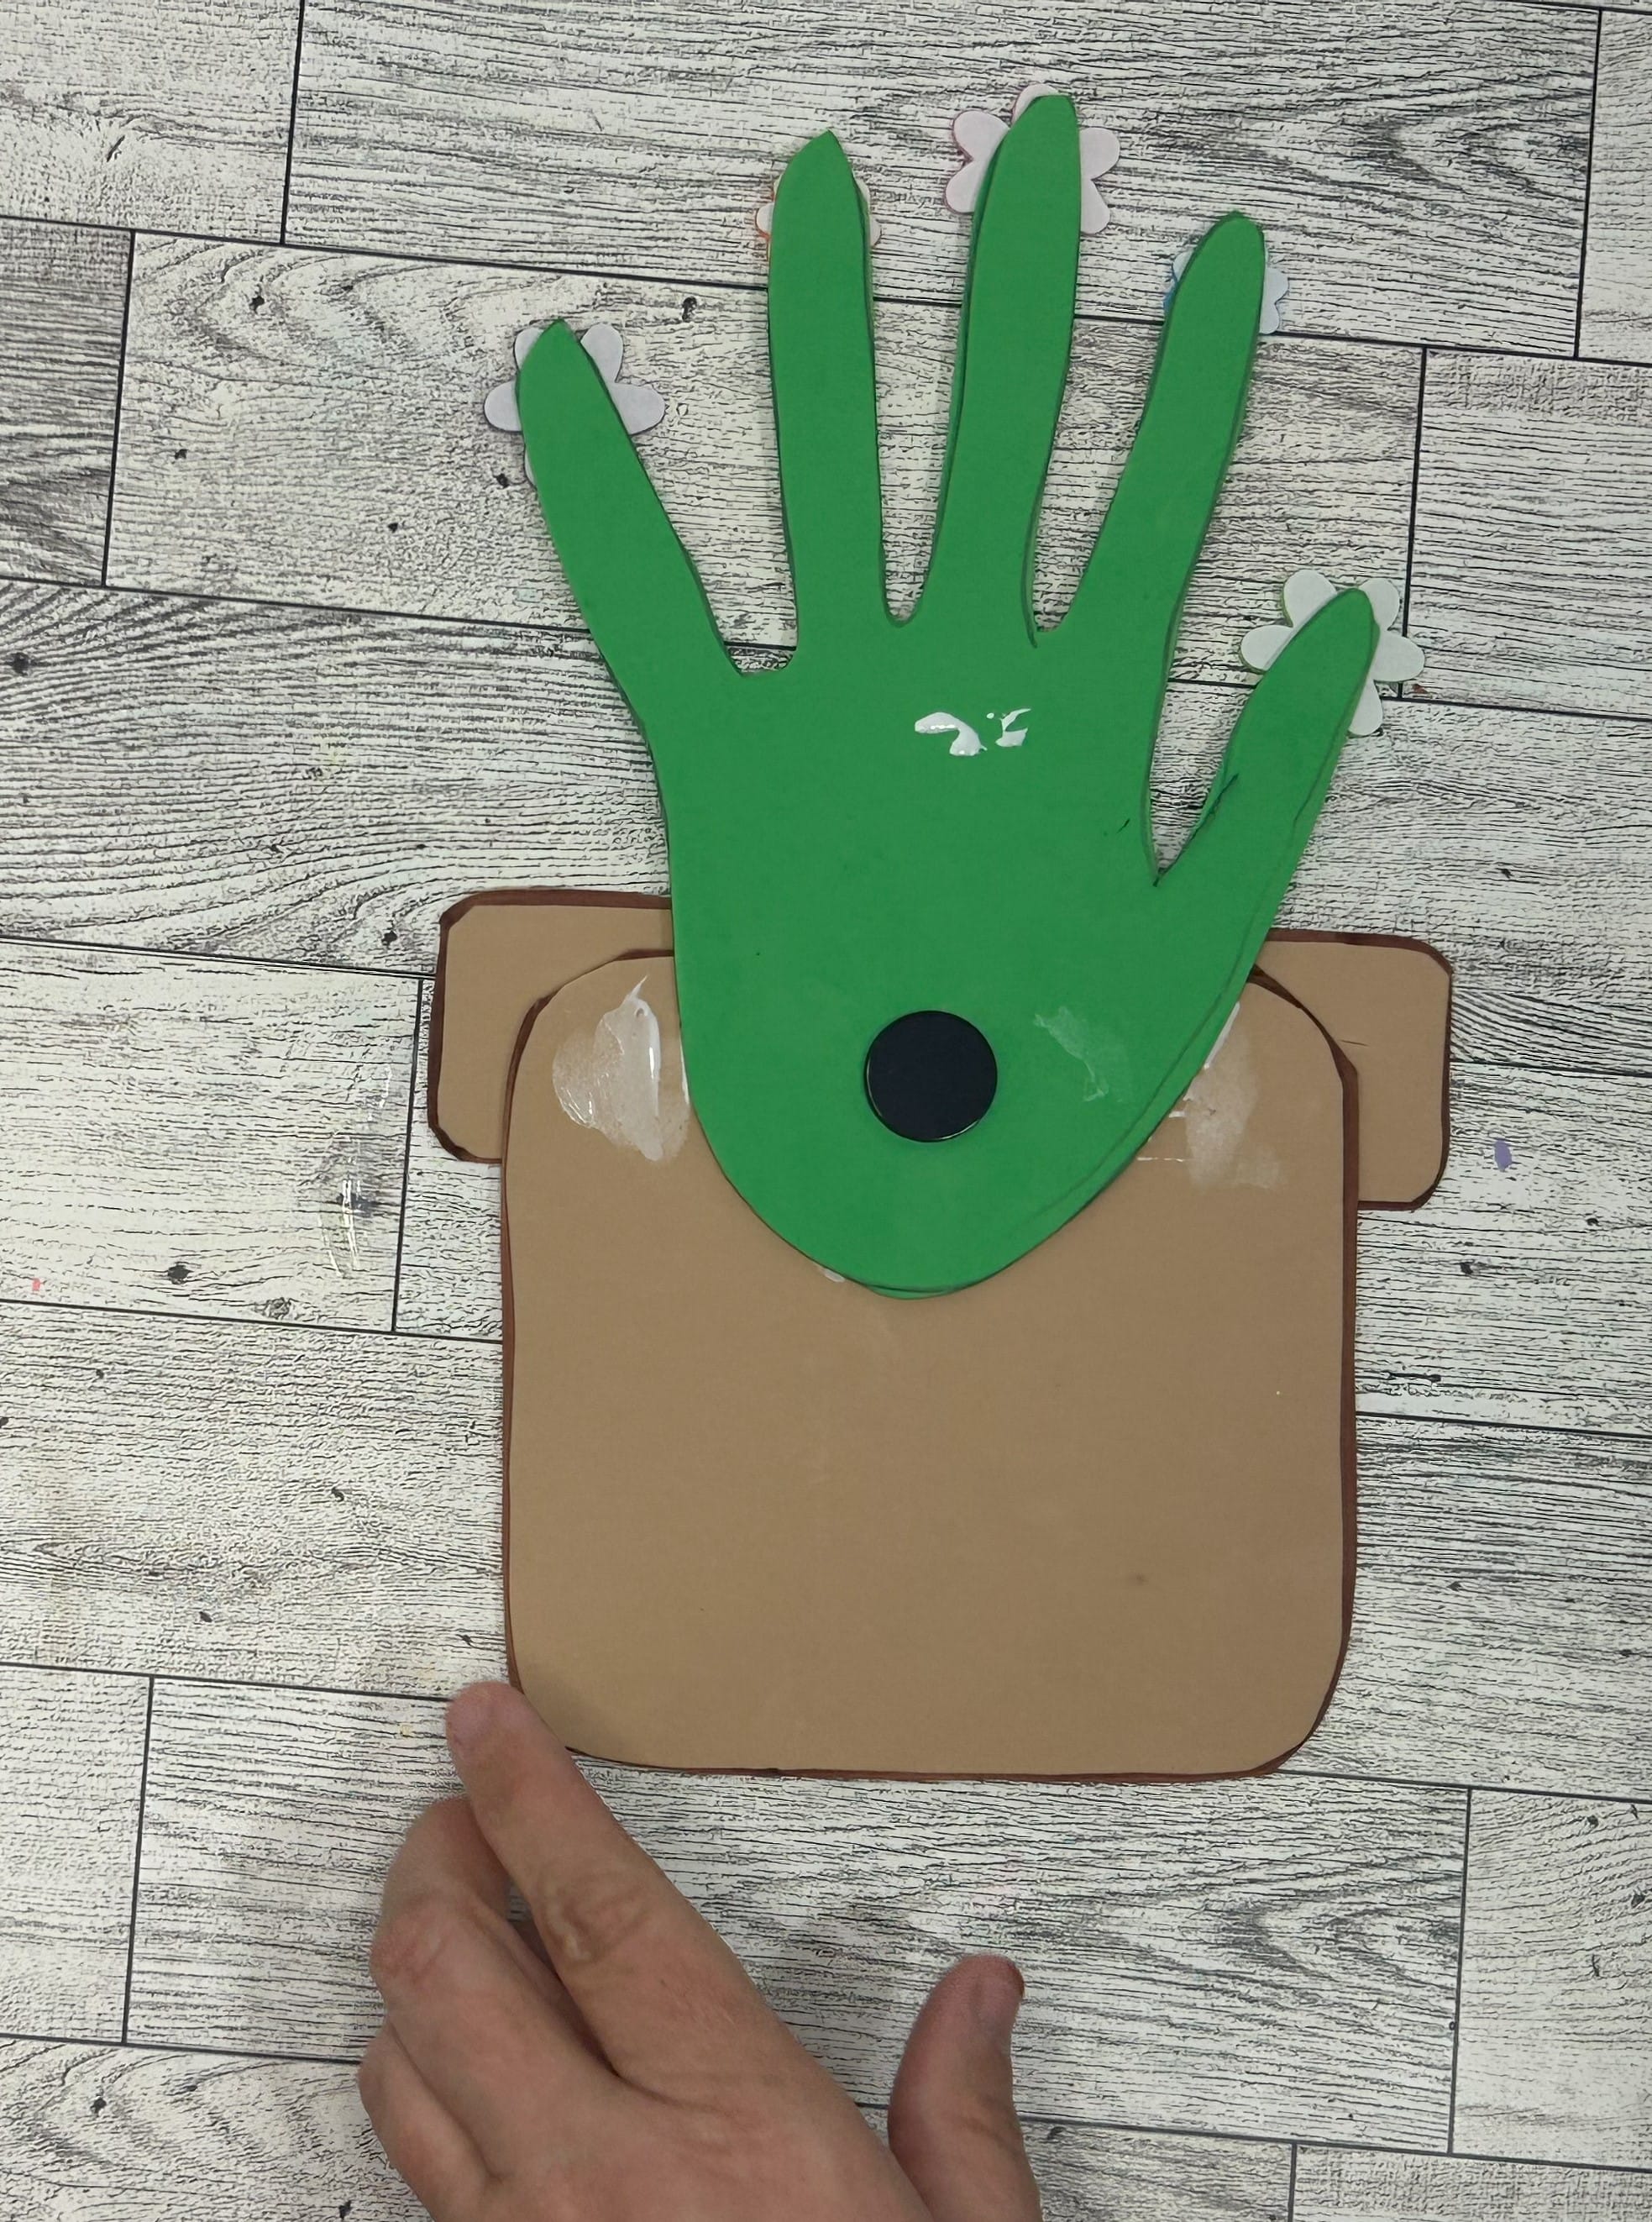
- Trace you child's hand on green craft foam. Have your child cut out if they are able.
- Glue on craft foam flowers onto the green hands. Mine were stickers, however I choose to leave the backs on and glue them to the fingers. Be sure to flip so the traced edge is not shown.
- Next, glue the flower hand to the back of the flower pot.
- Add a magnet to the back of the pot, if you wish.
- Use a sharpie to write the date on the top of the flower pot. You can also choose to write the date on the back as well.