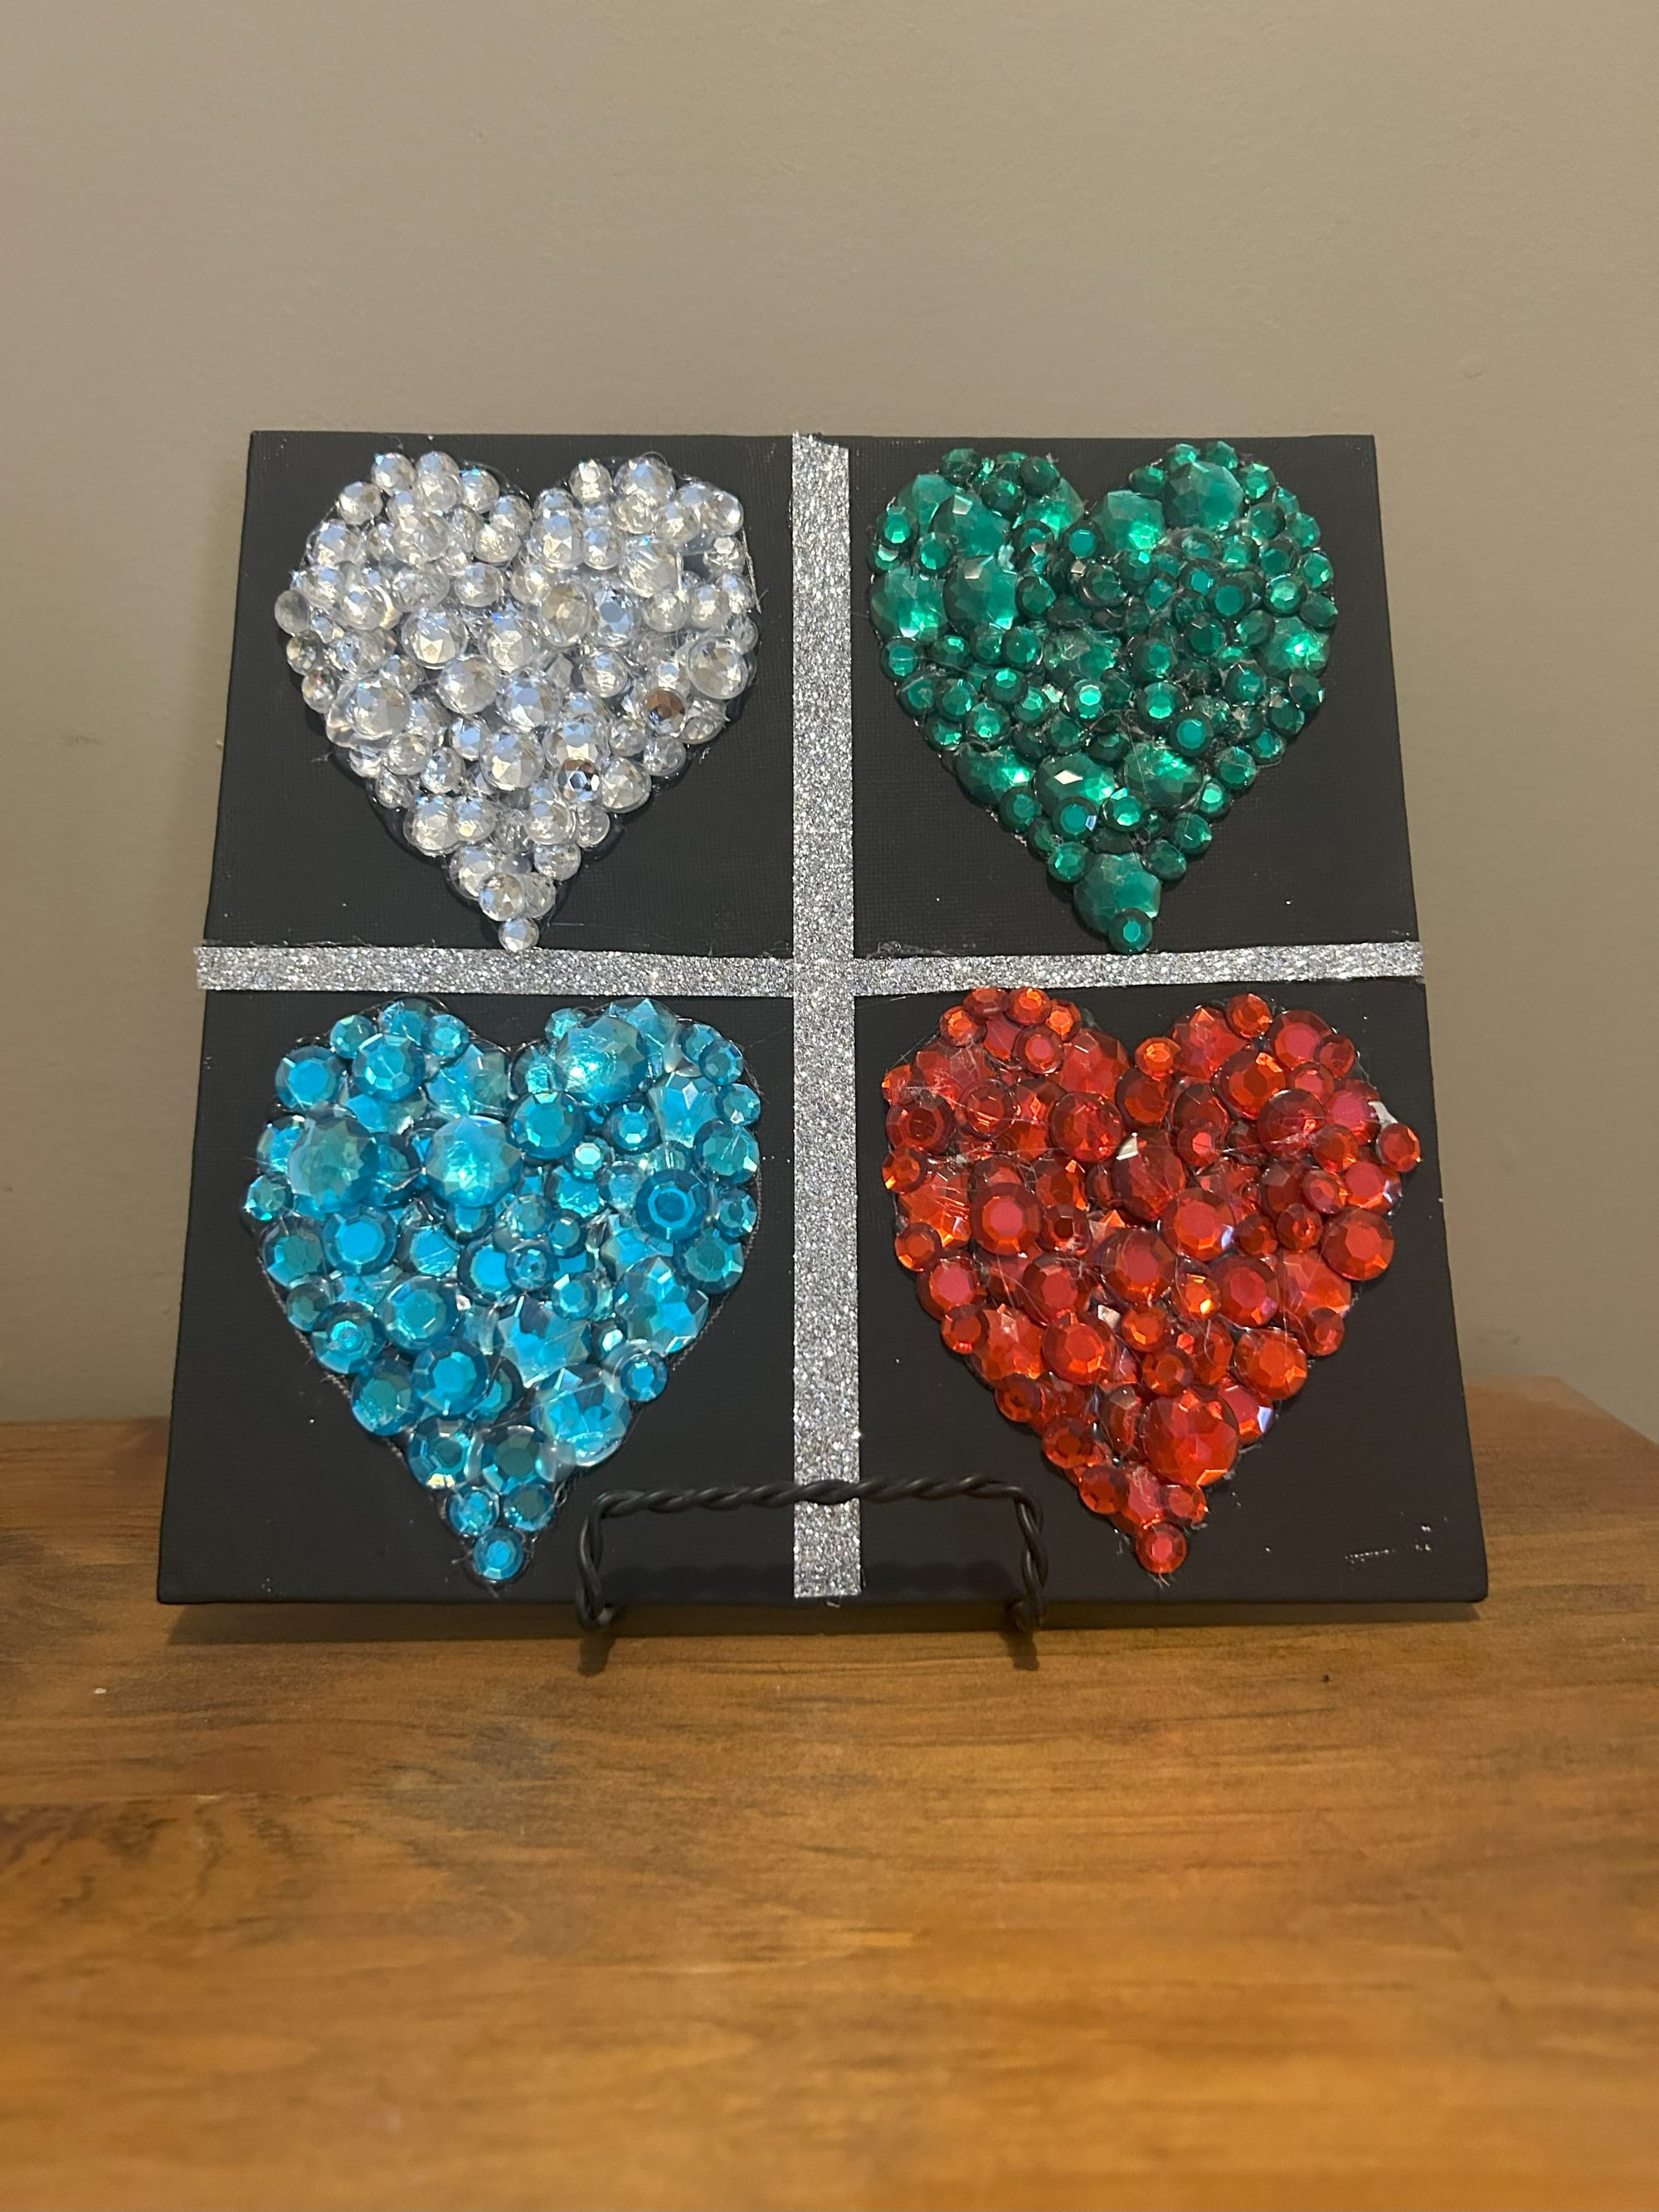
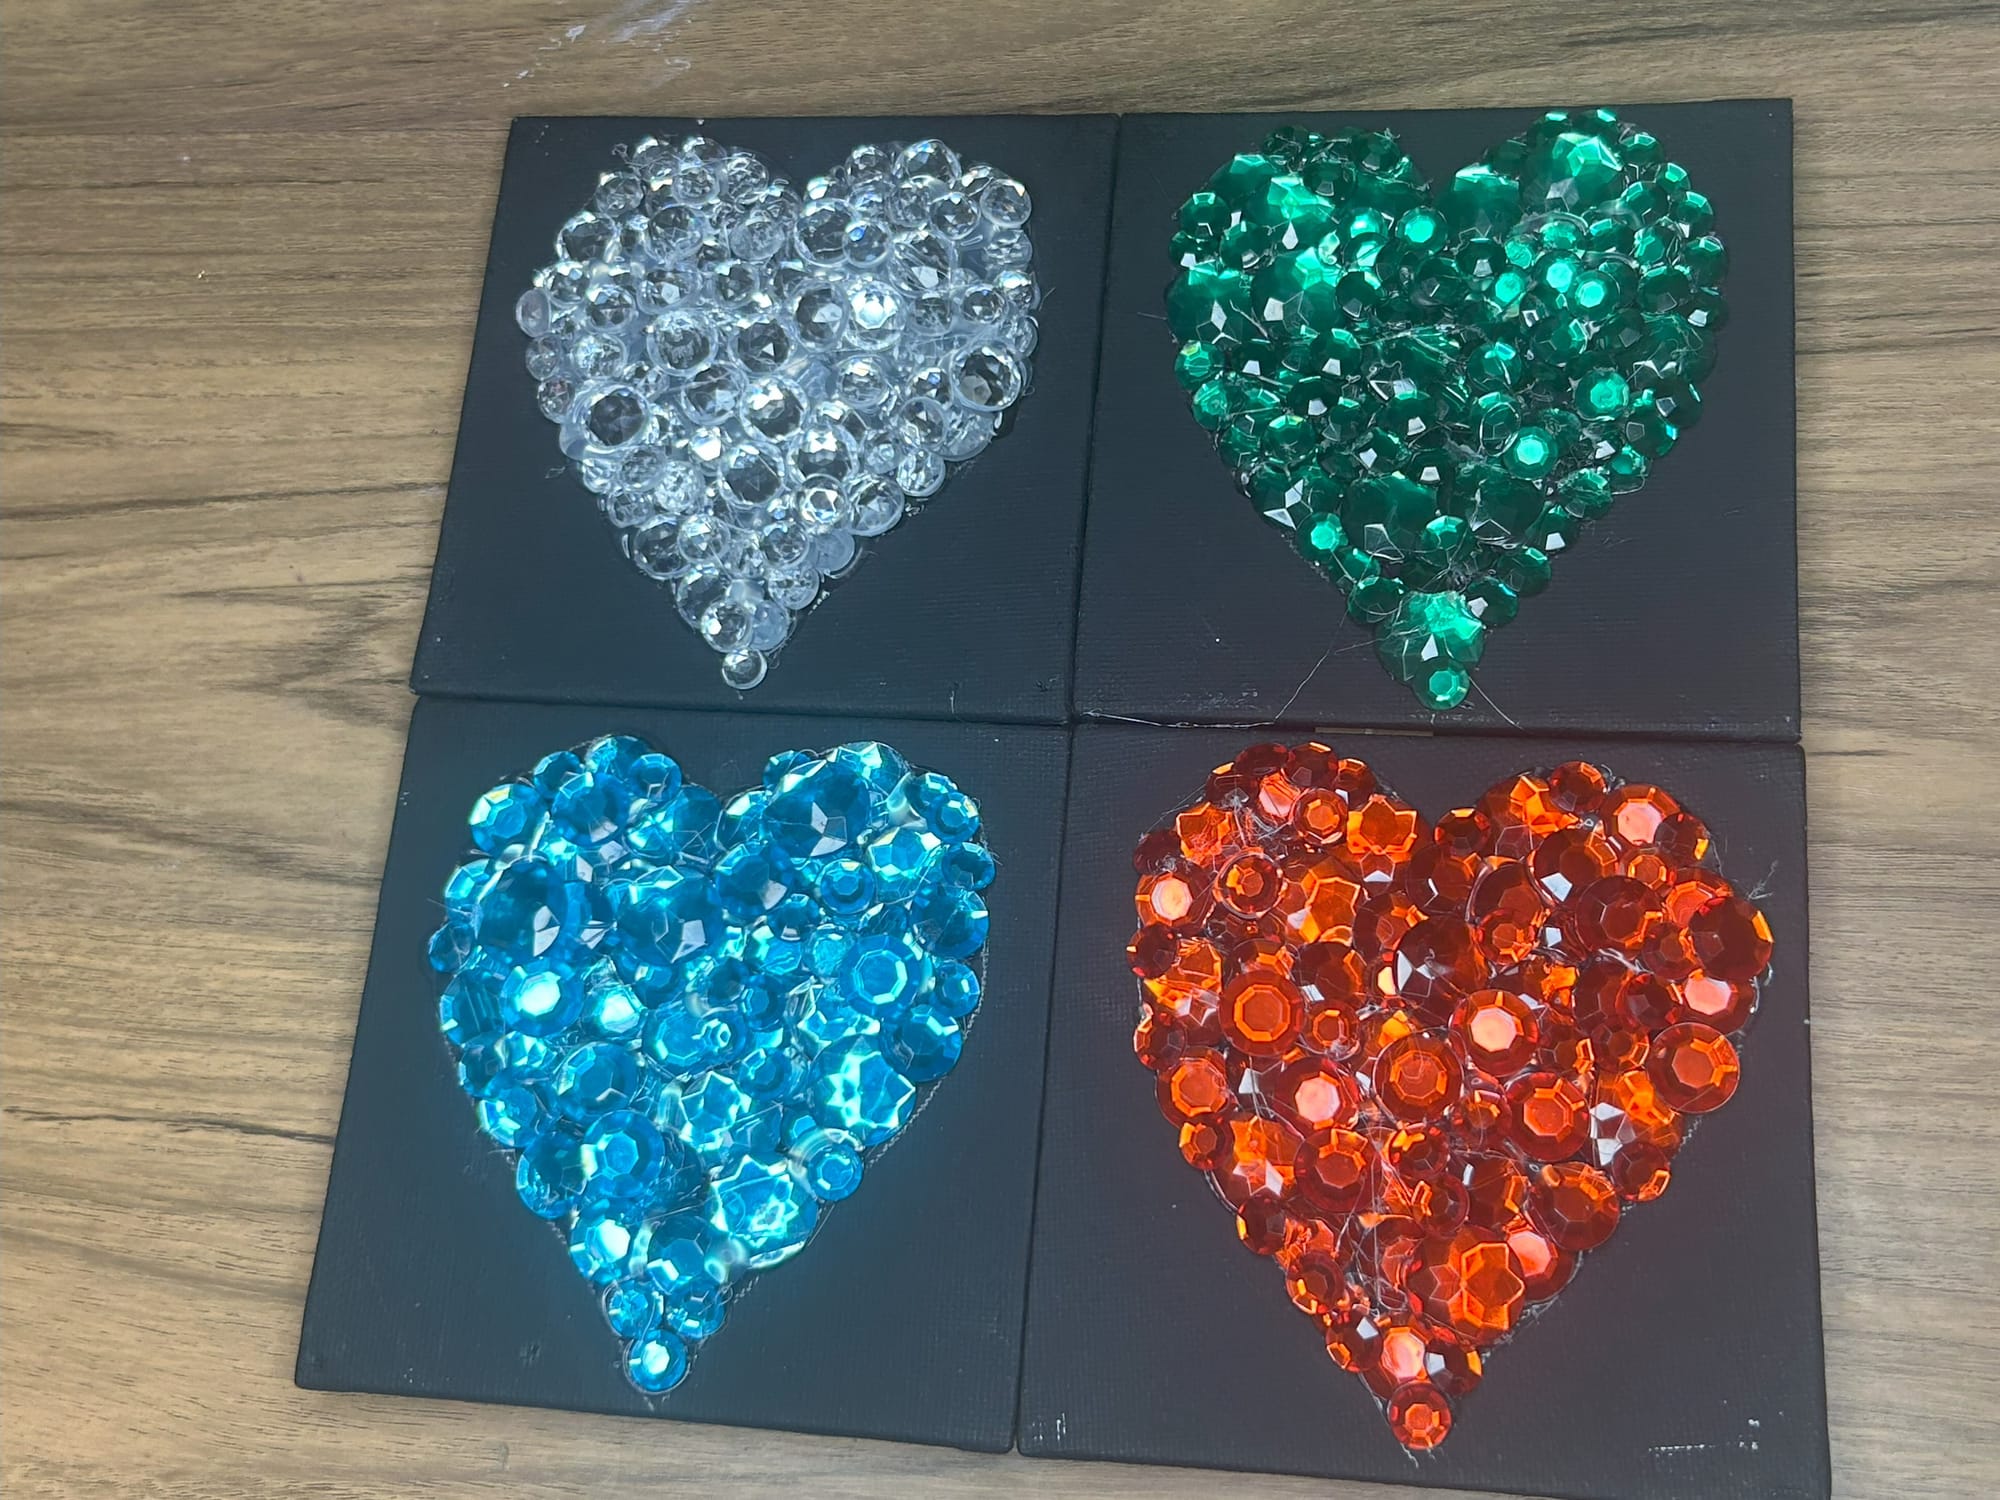
Heart Rhinestone Art

Create this rhinestone art piece using small 4inch by 4 inch canvases and rhinestones. It is so easy to make this using a hot glue gun and a heart tracer.
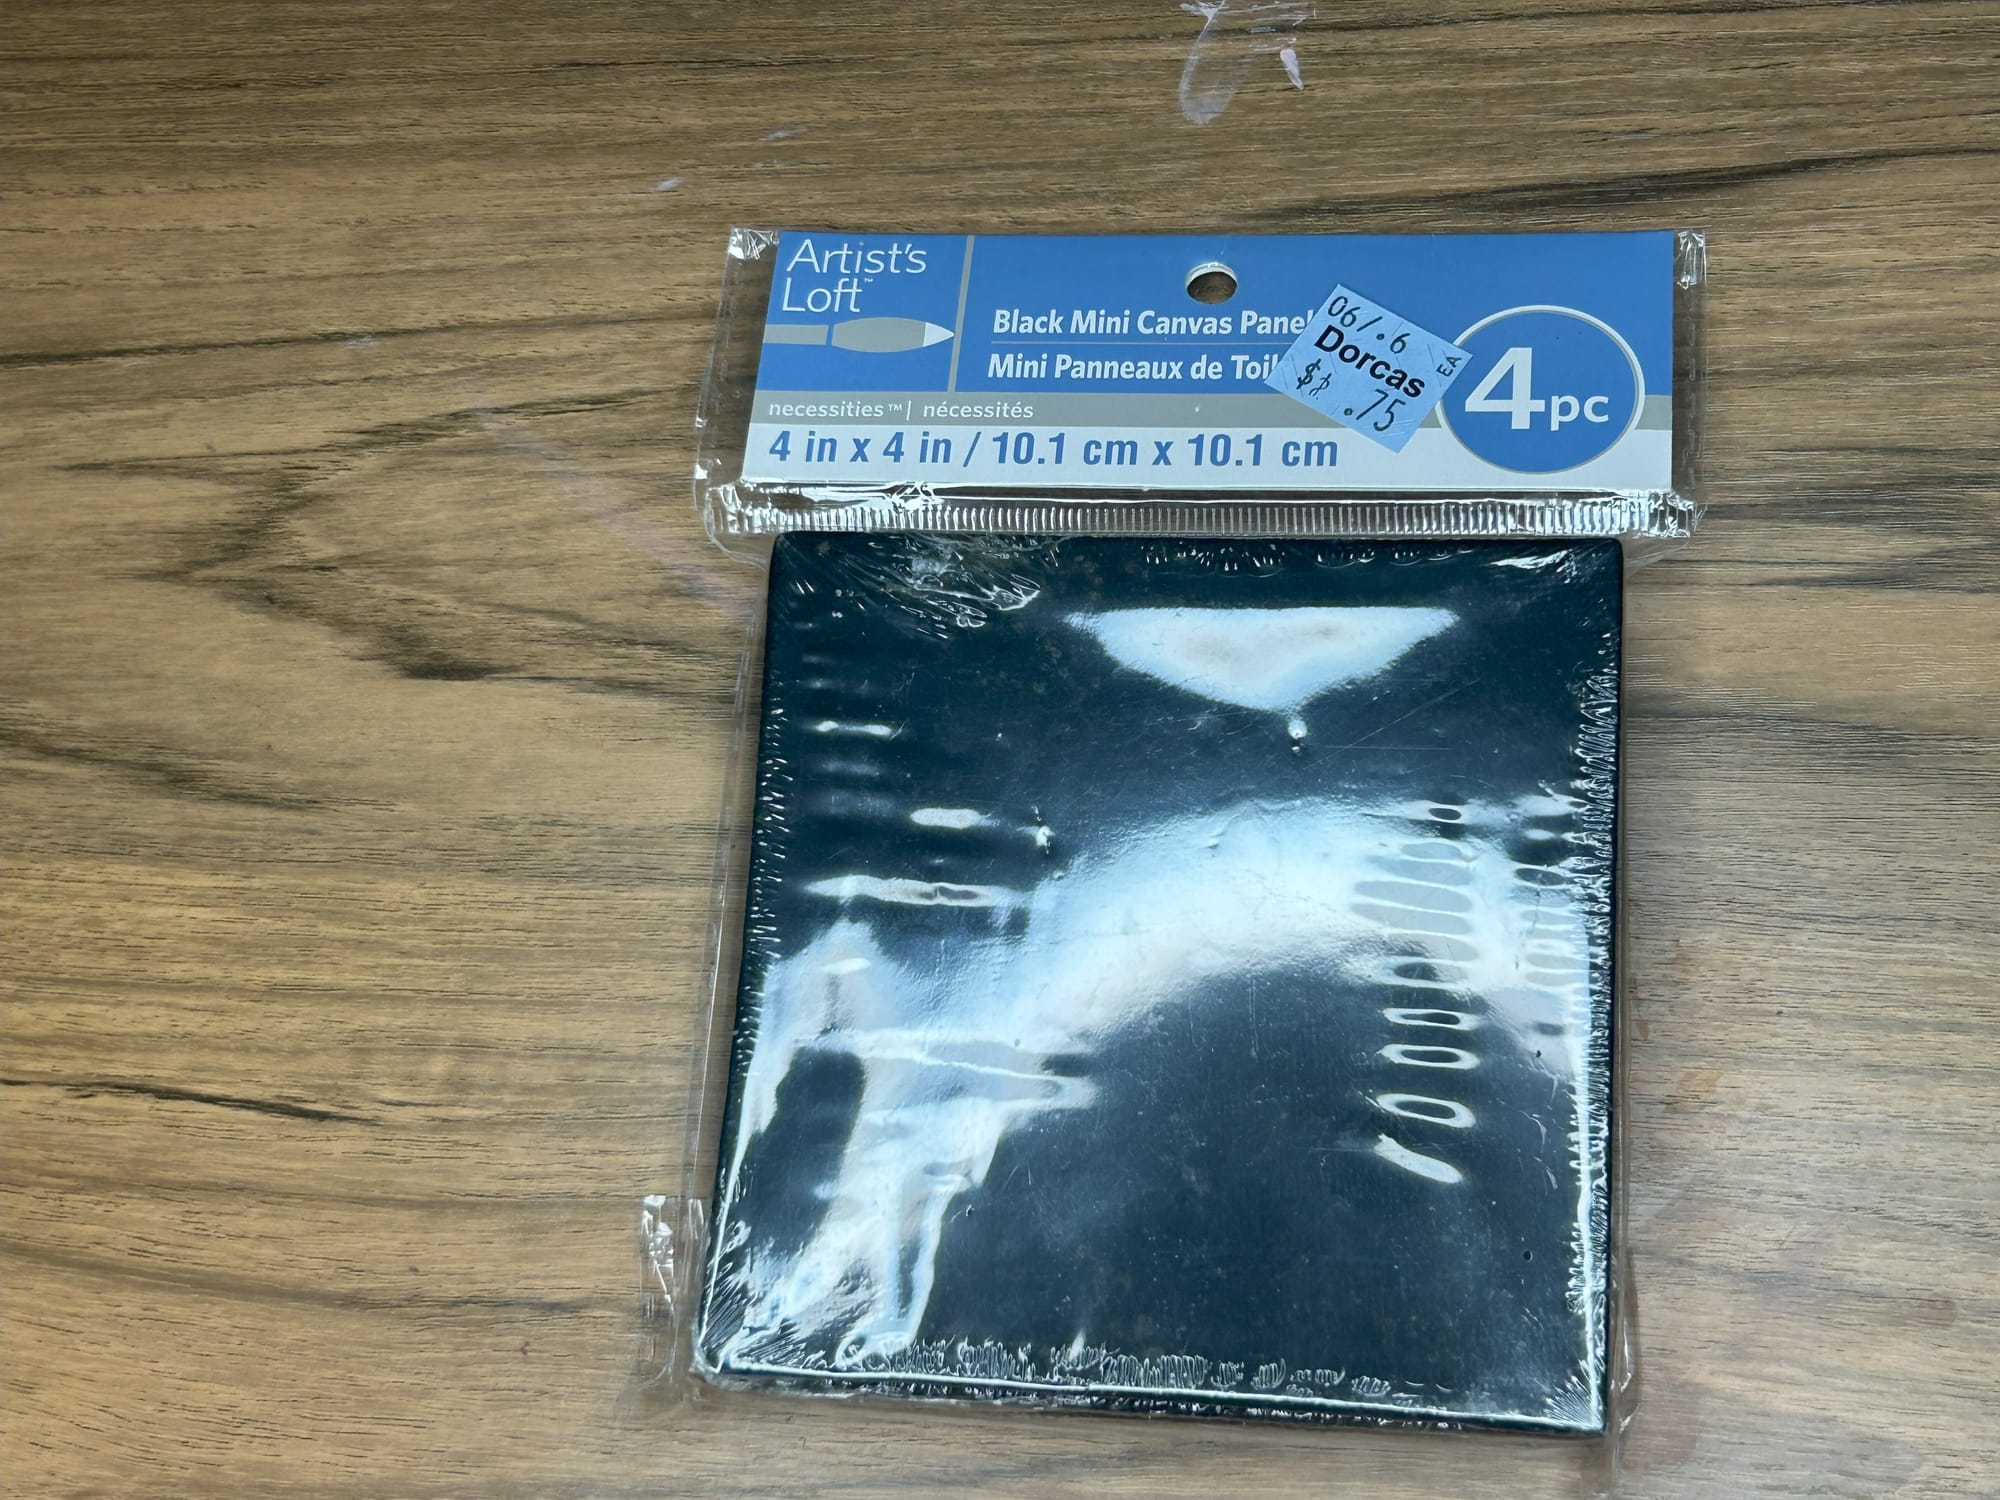
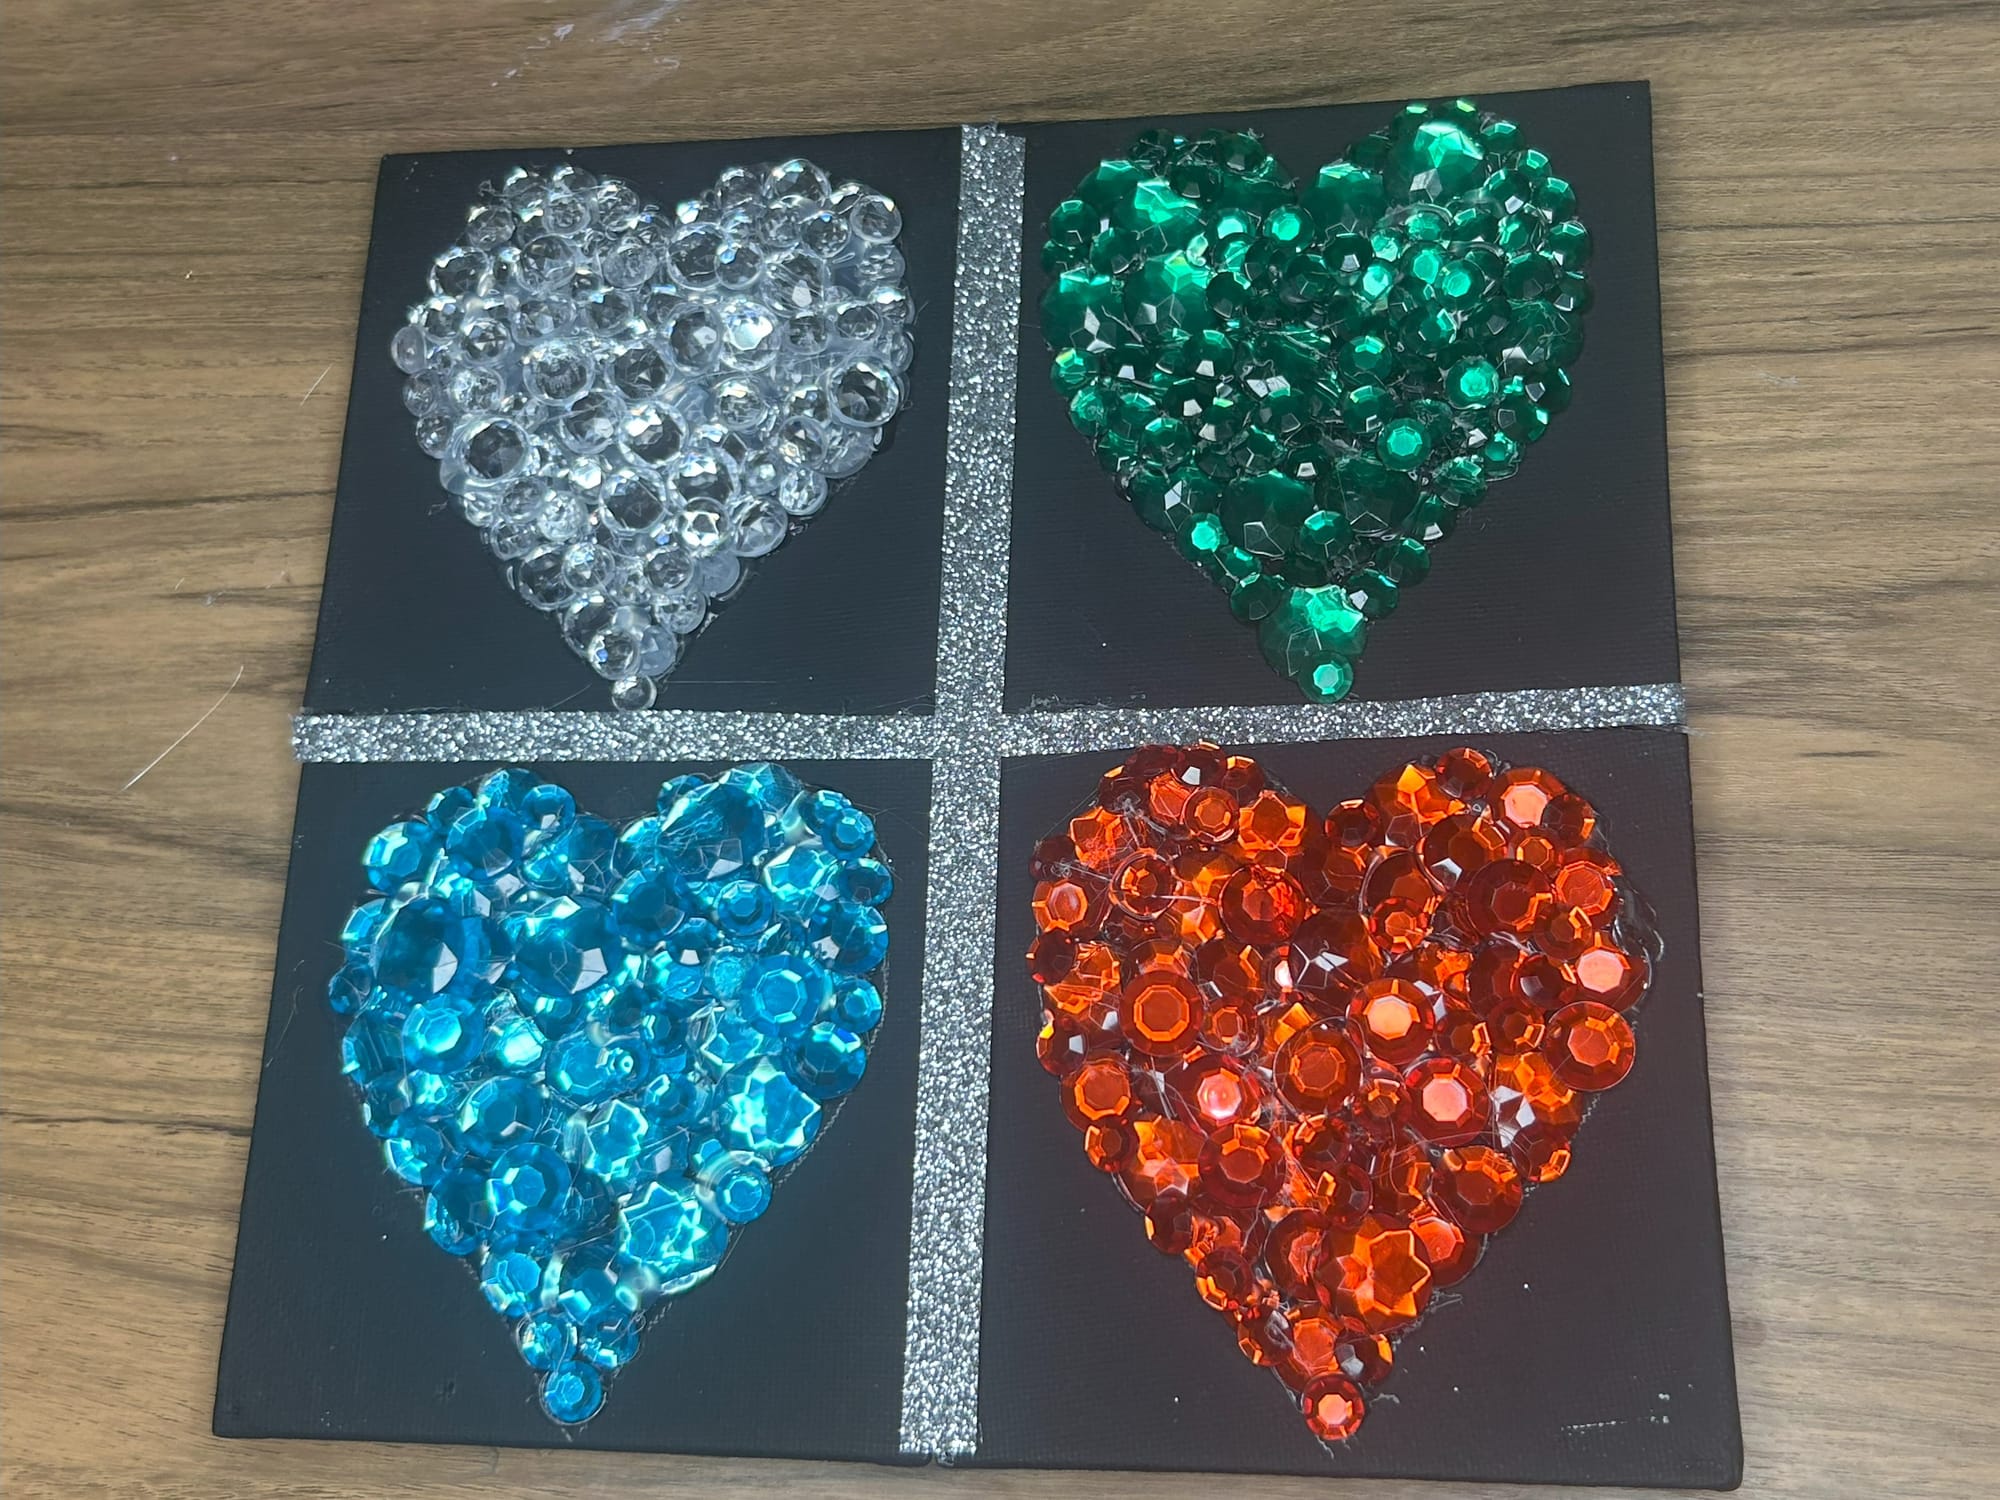
First you will need a pack of 4 small canvases. I purchased my set from a thrift store for only 75 cents! These can be found at Michaels in black or white.
Next, I printed out a heart shape. I found one that fit on the canvas. Then, I traced the heart onto the canvas with a pencil.
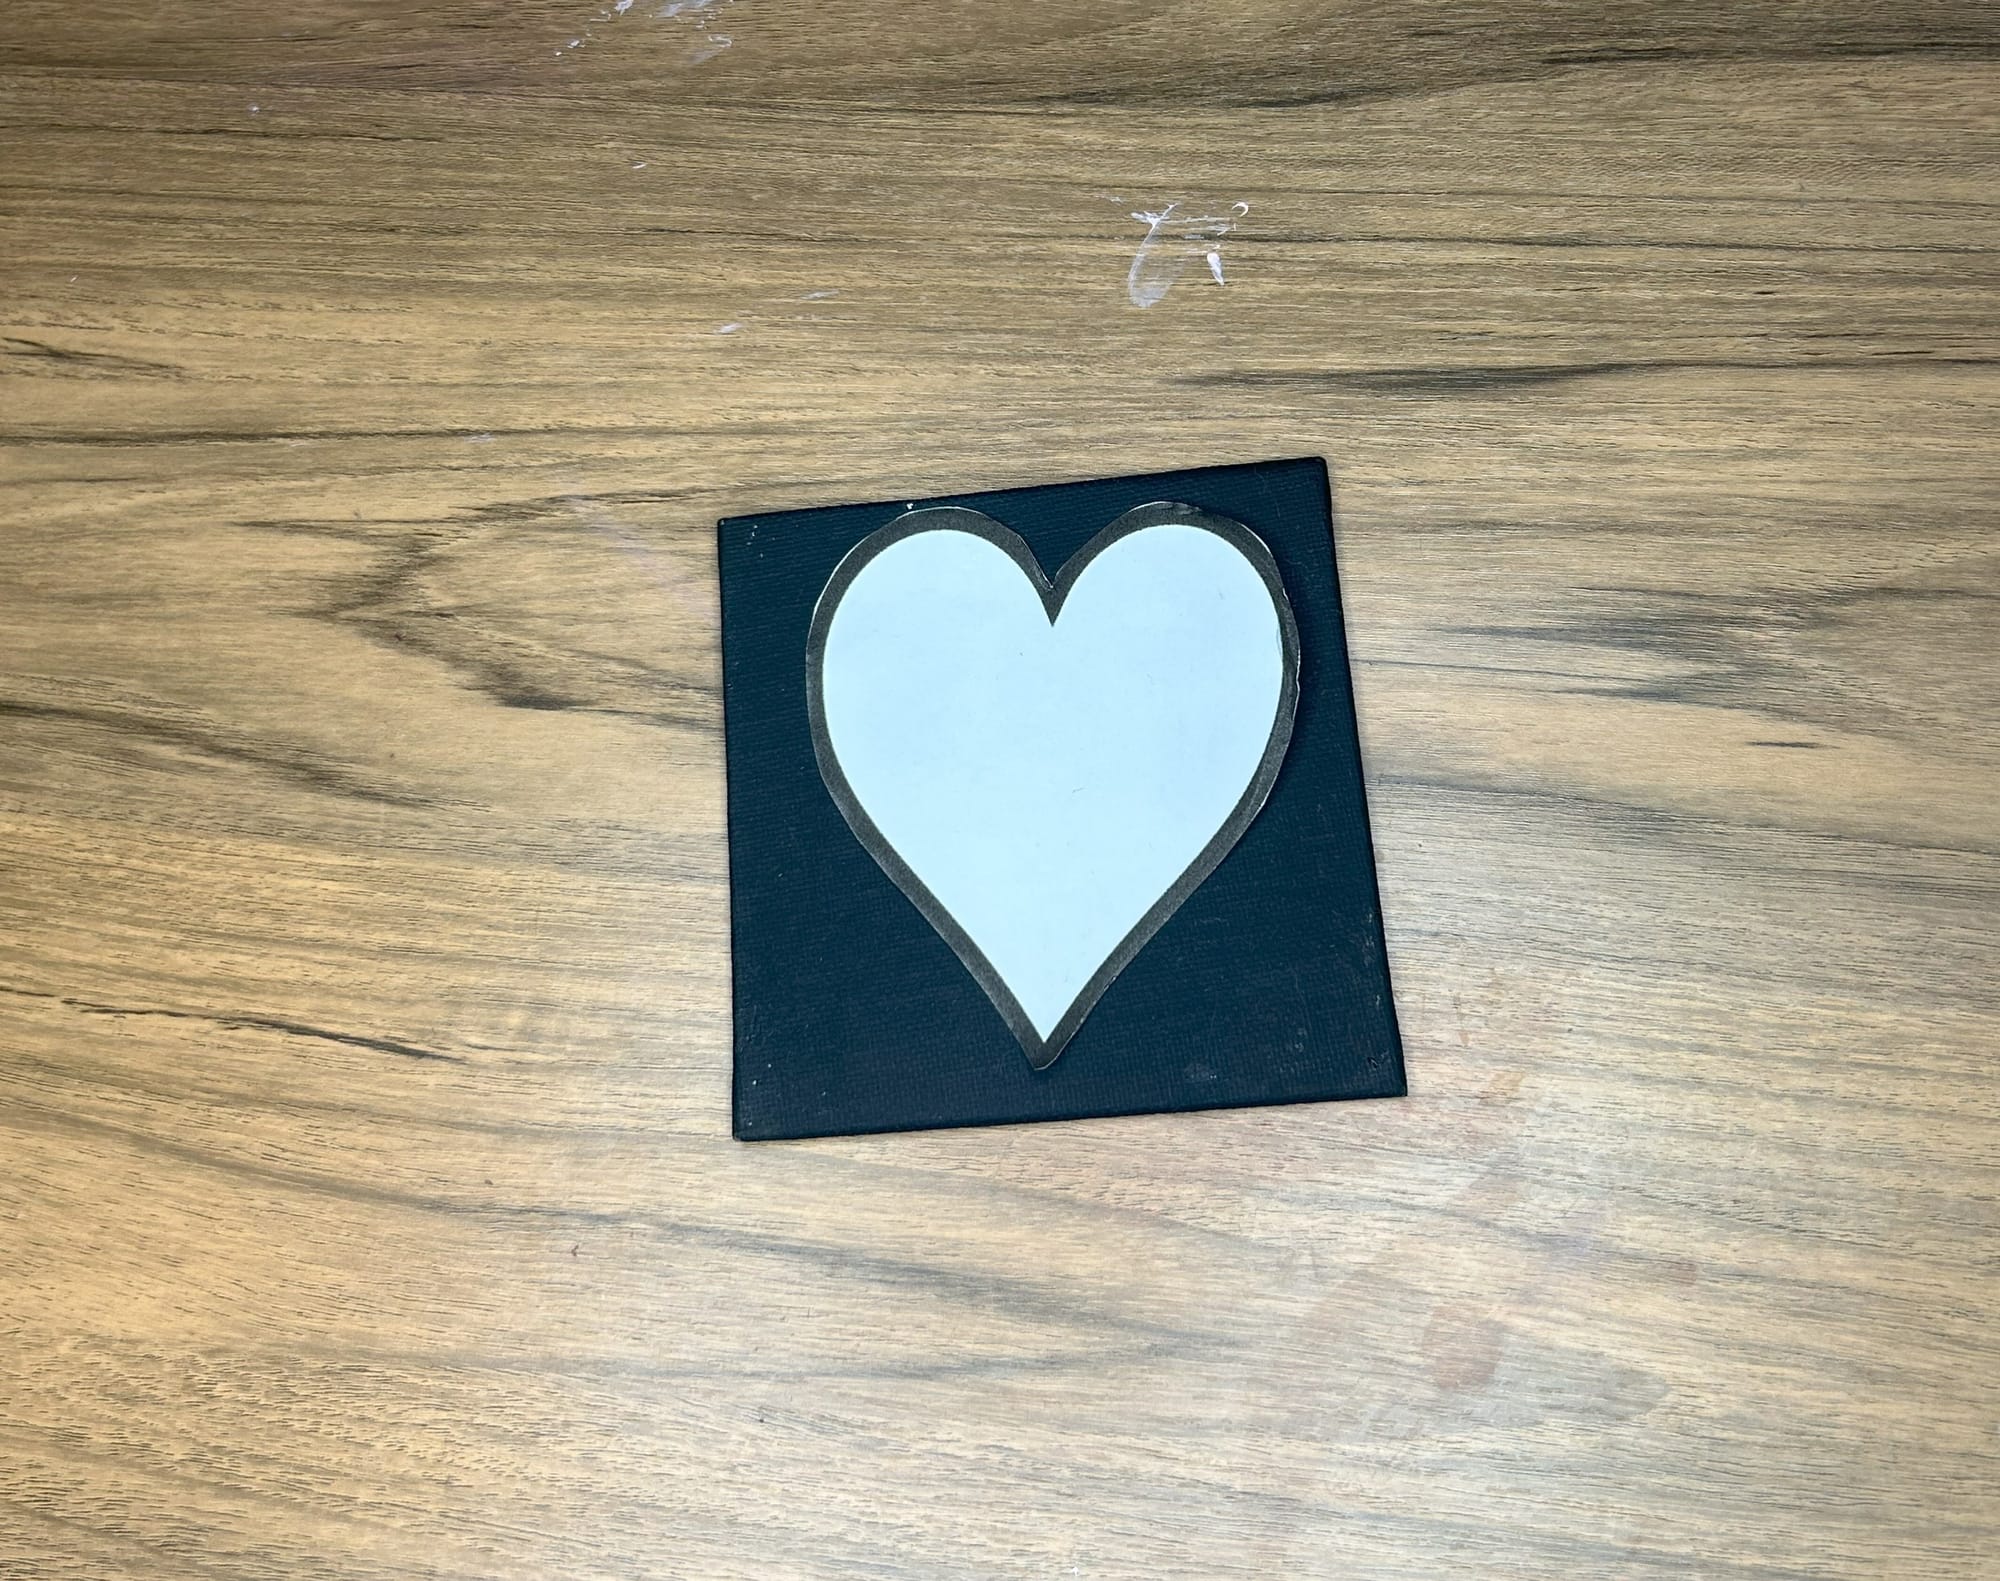
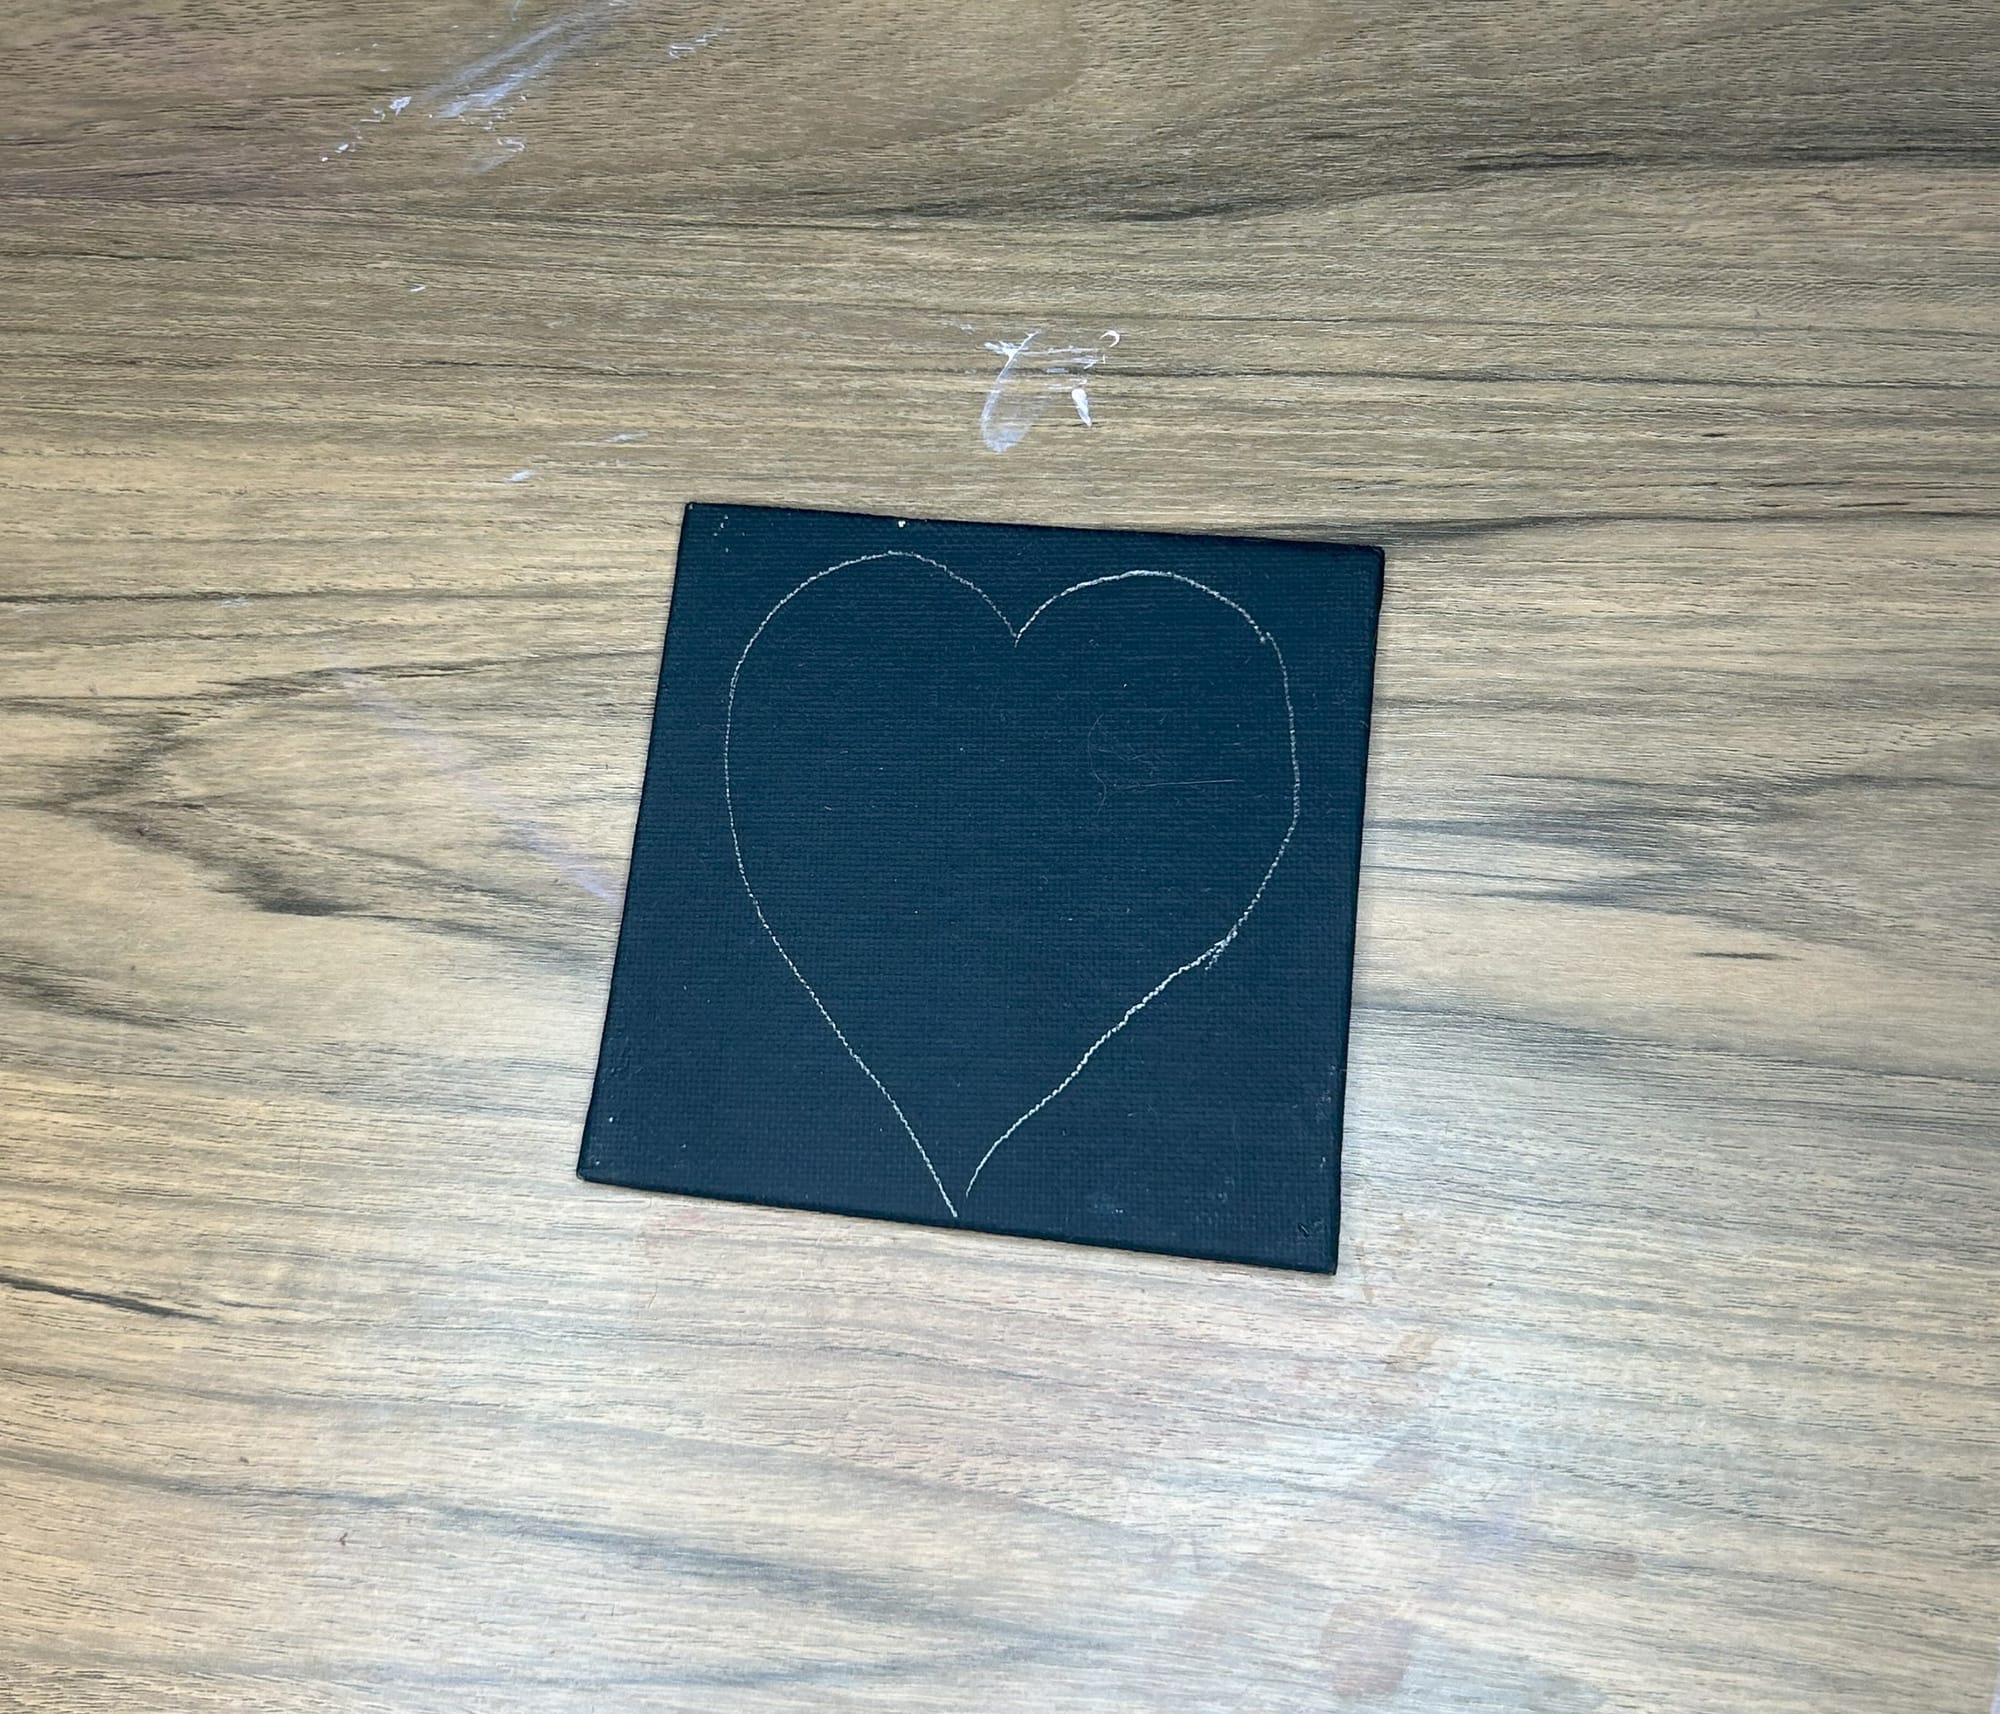
Use any heart shape you would like that fits the canvas
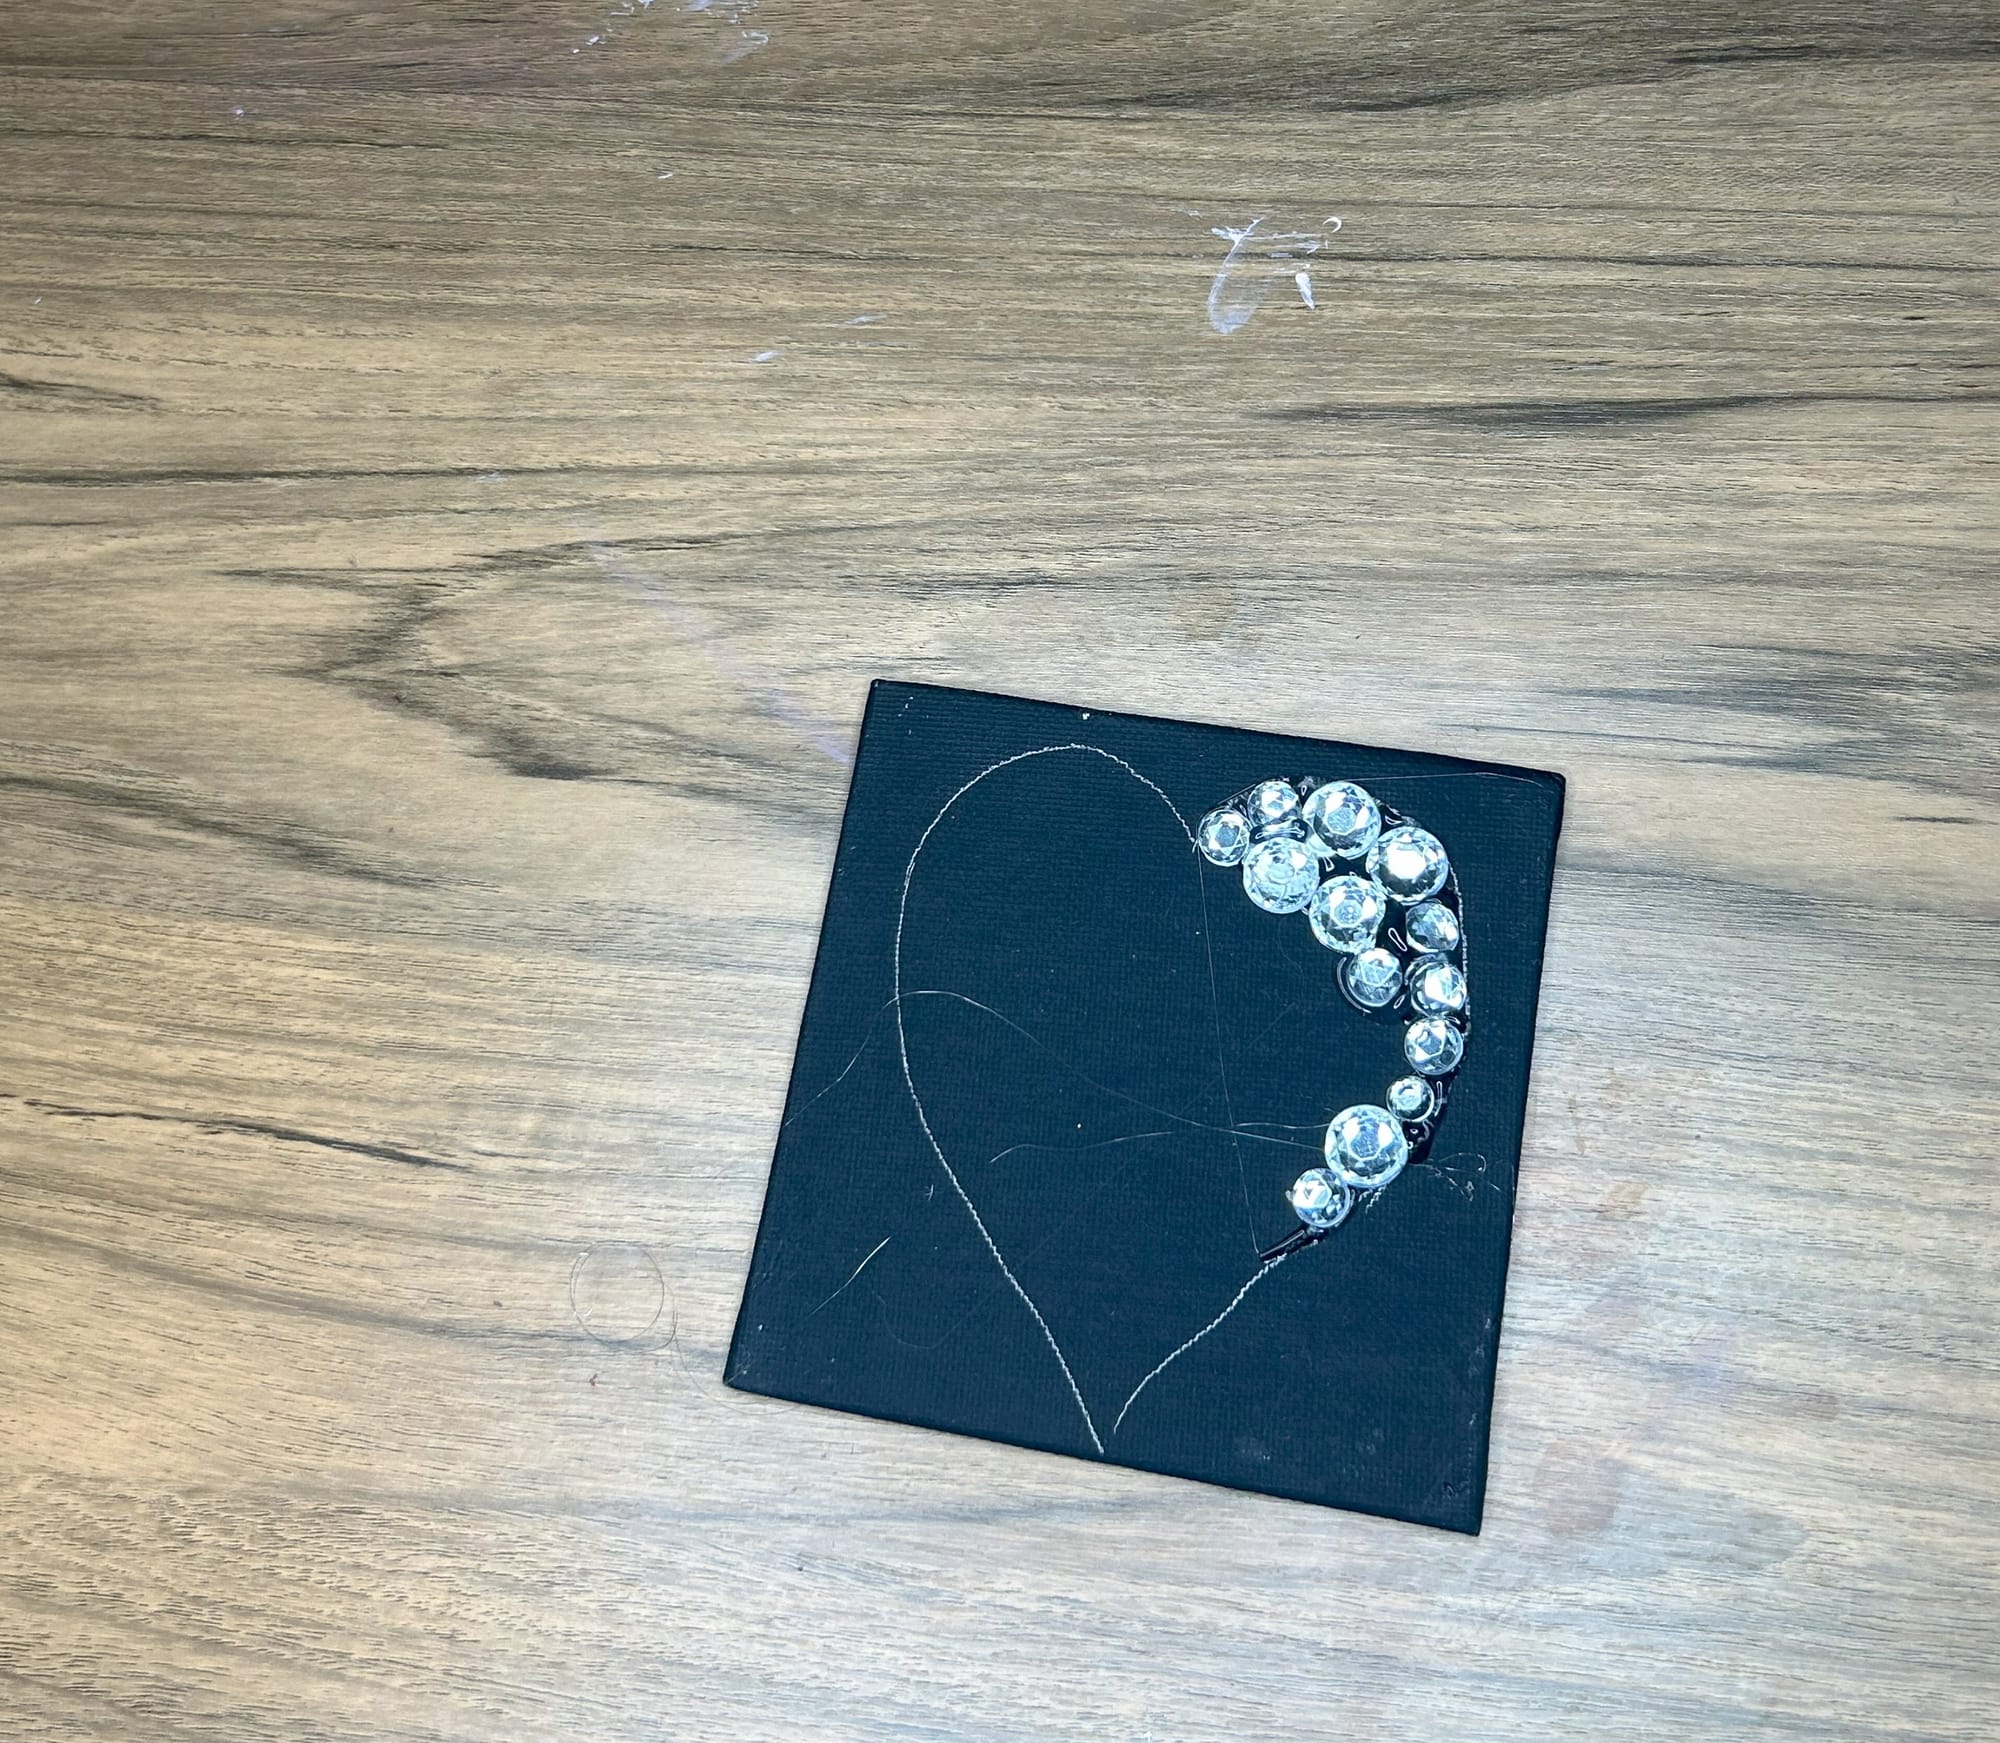
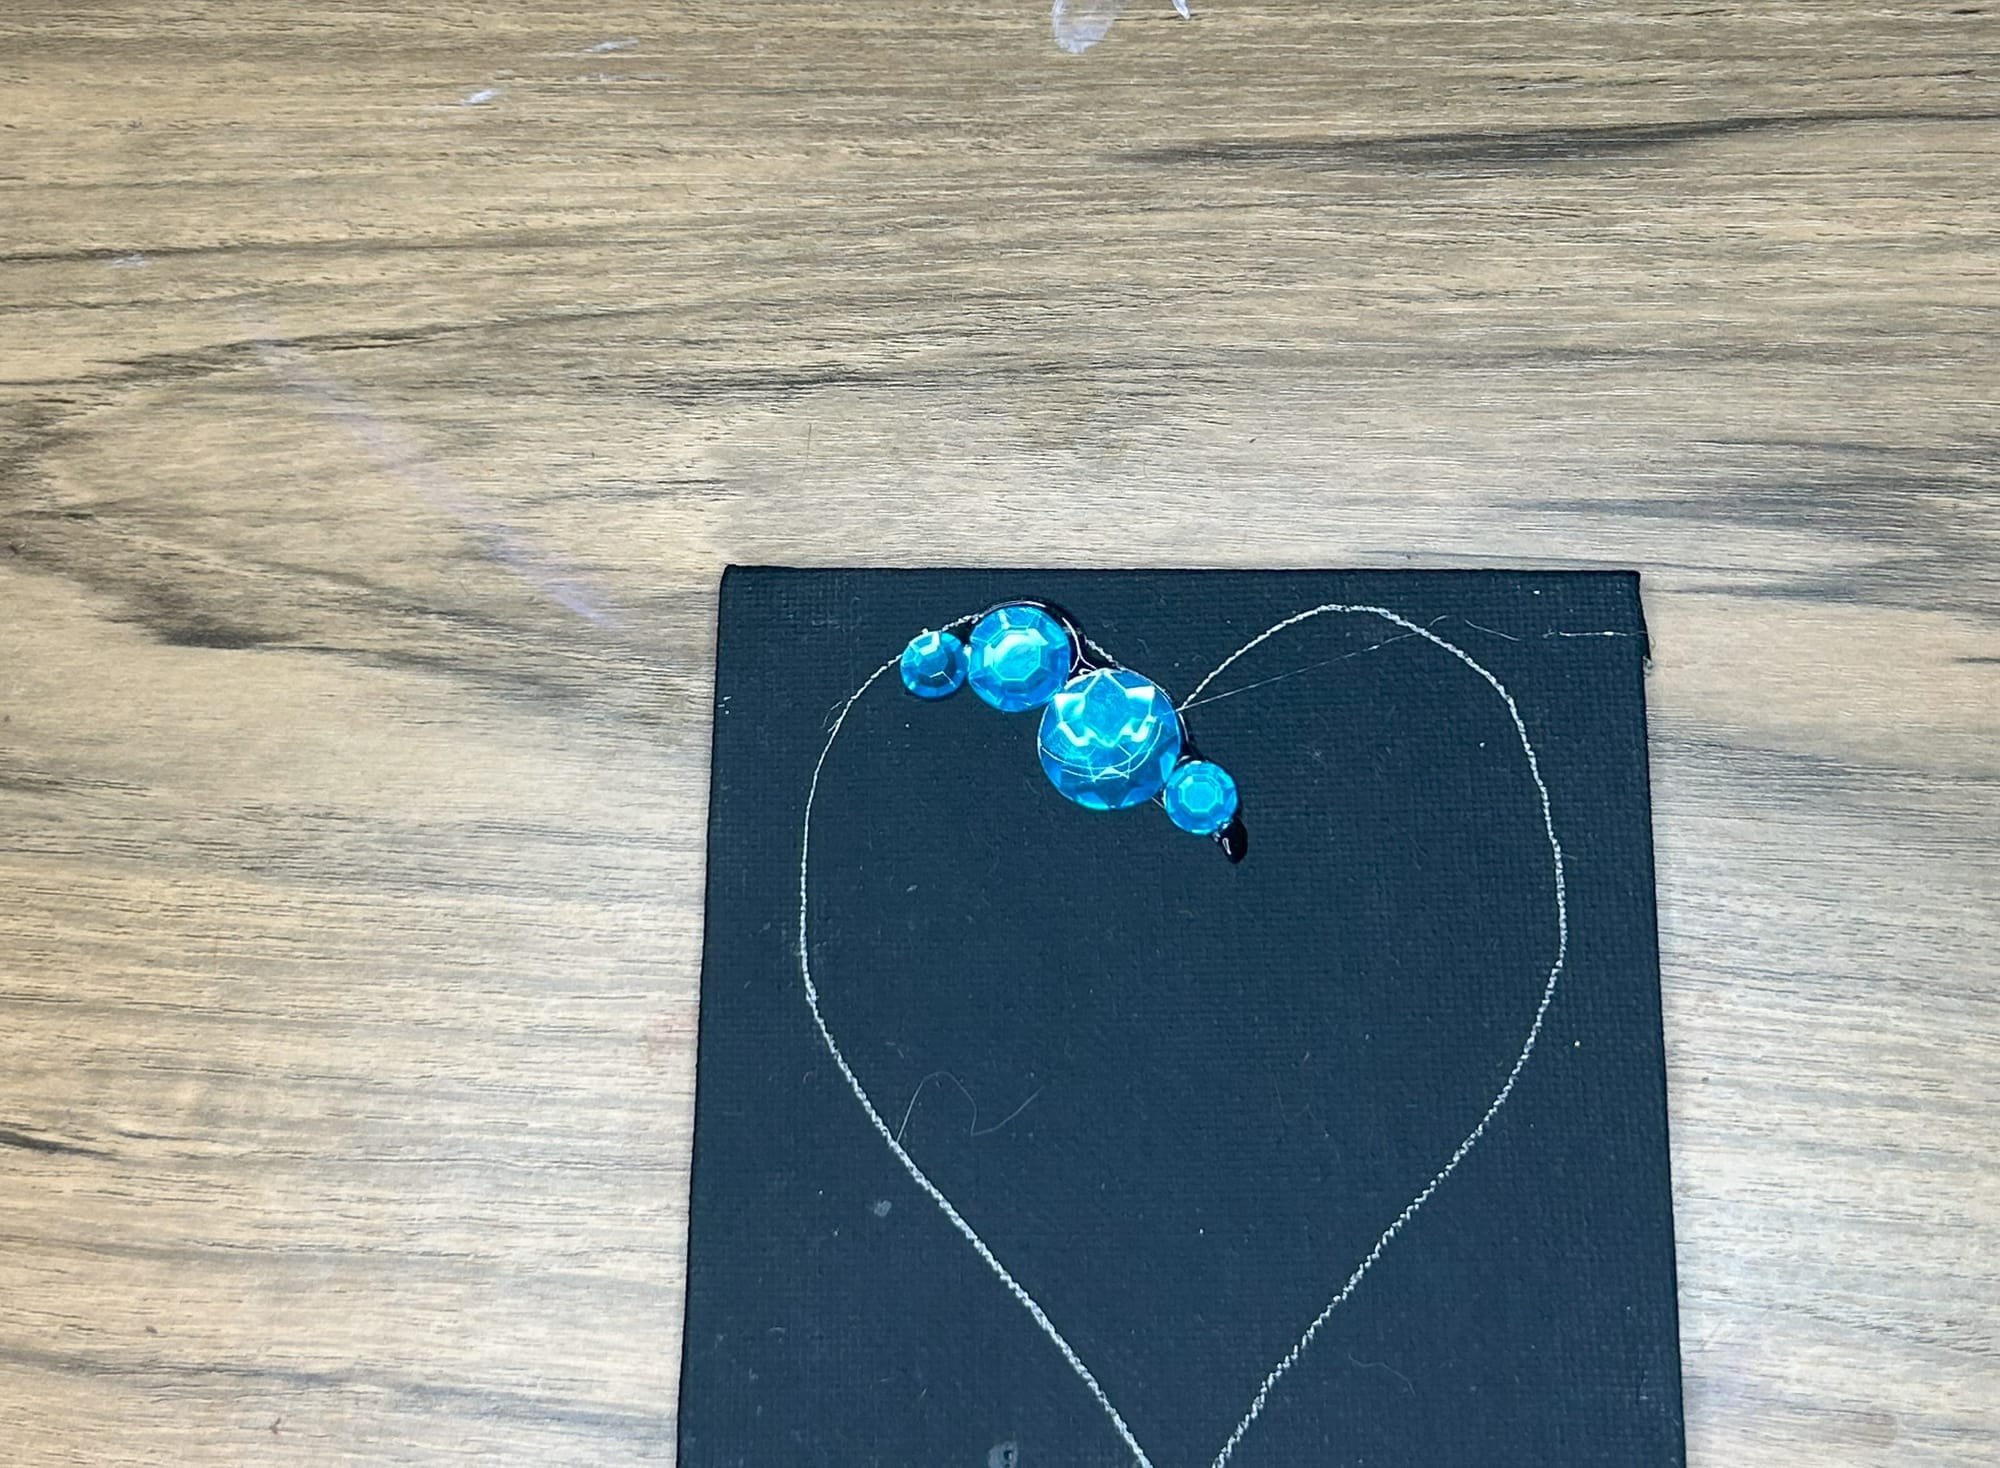
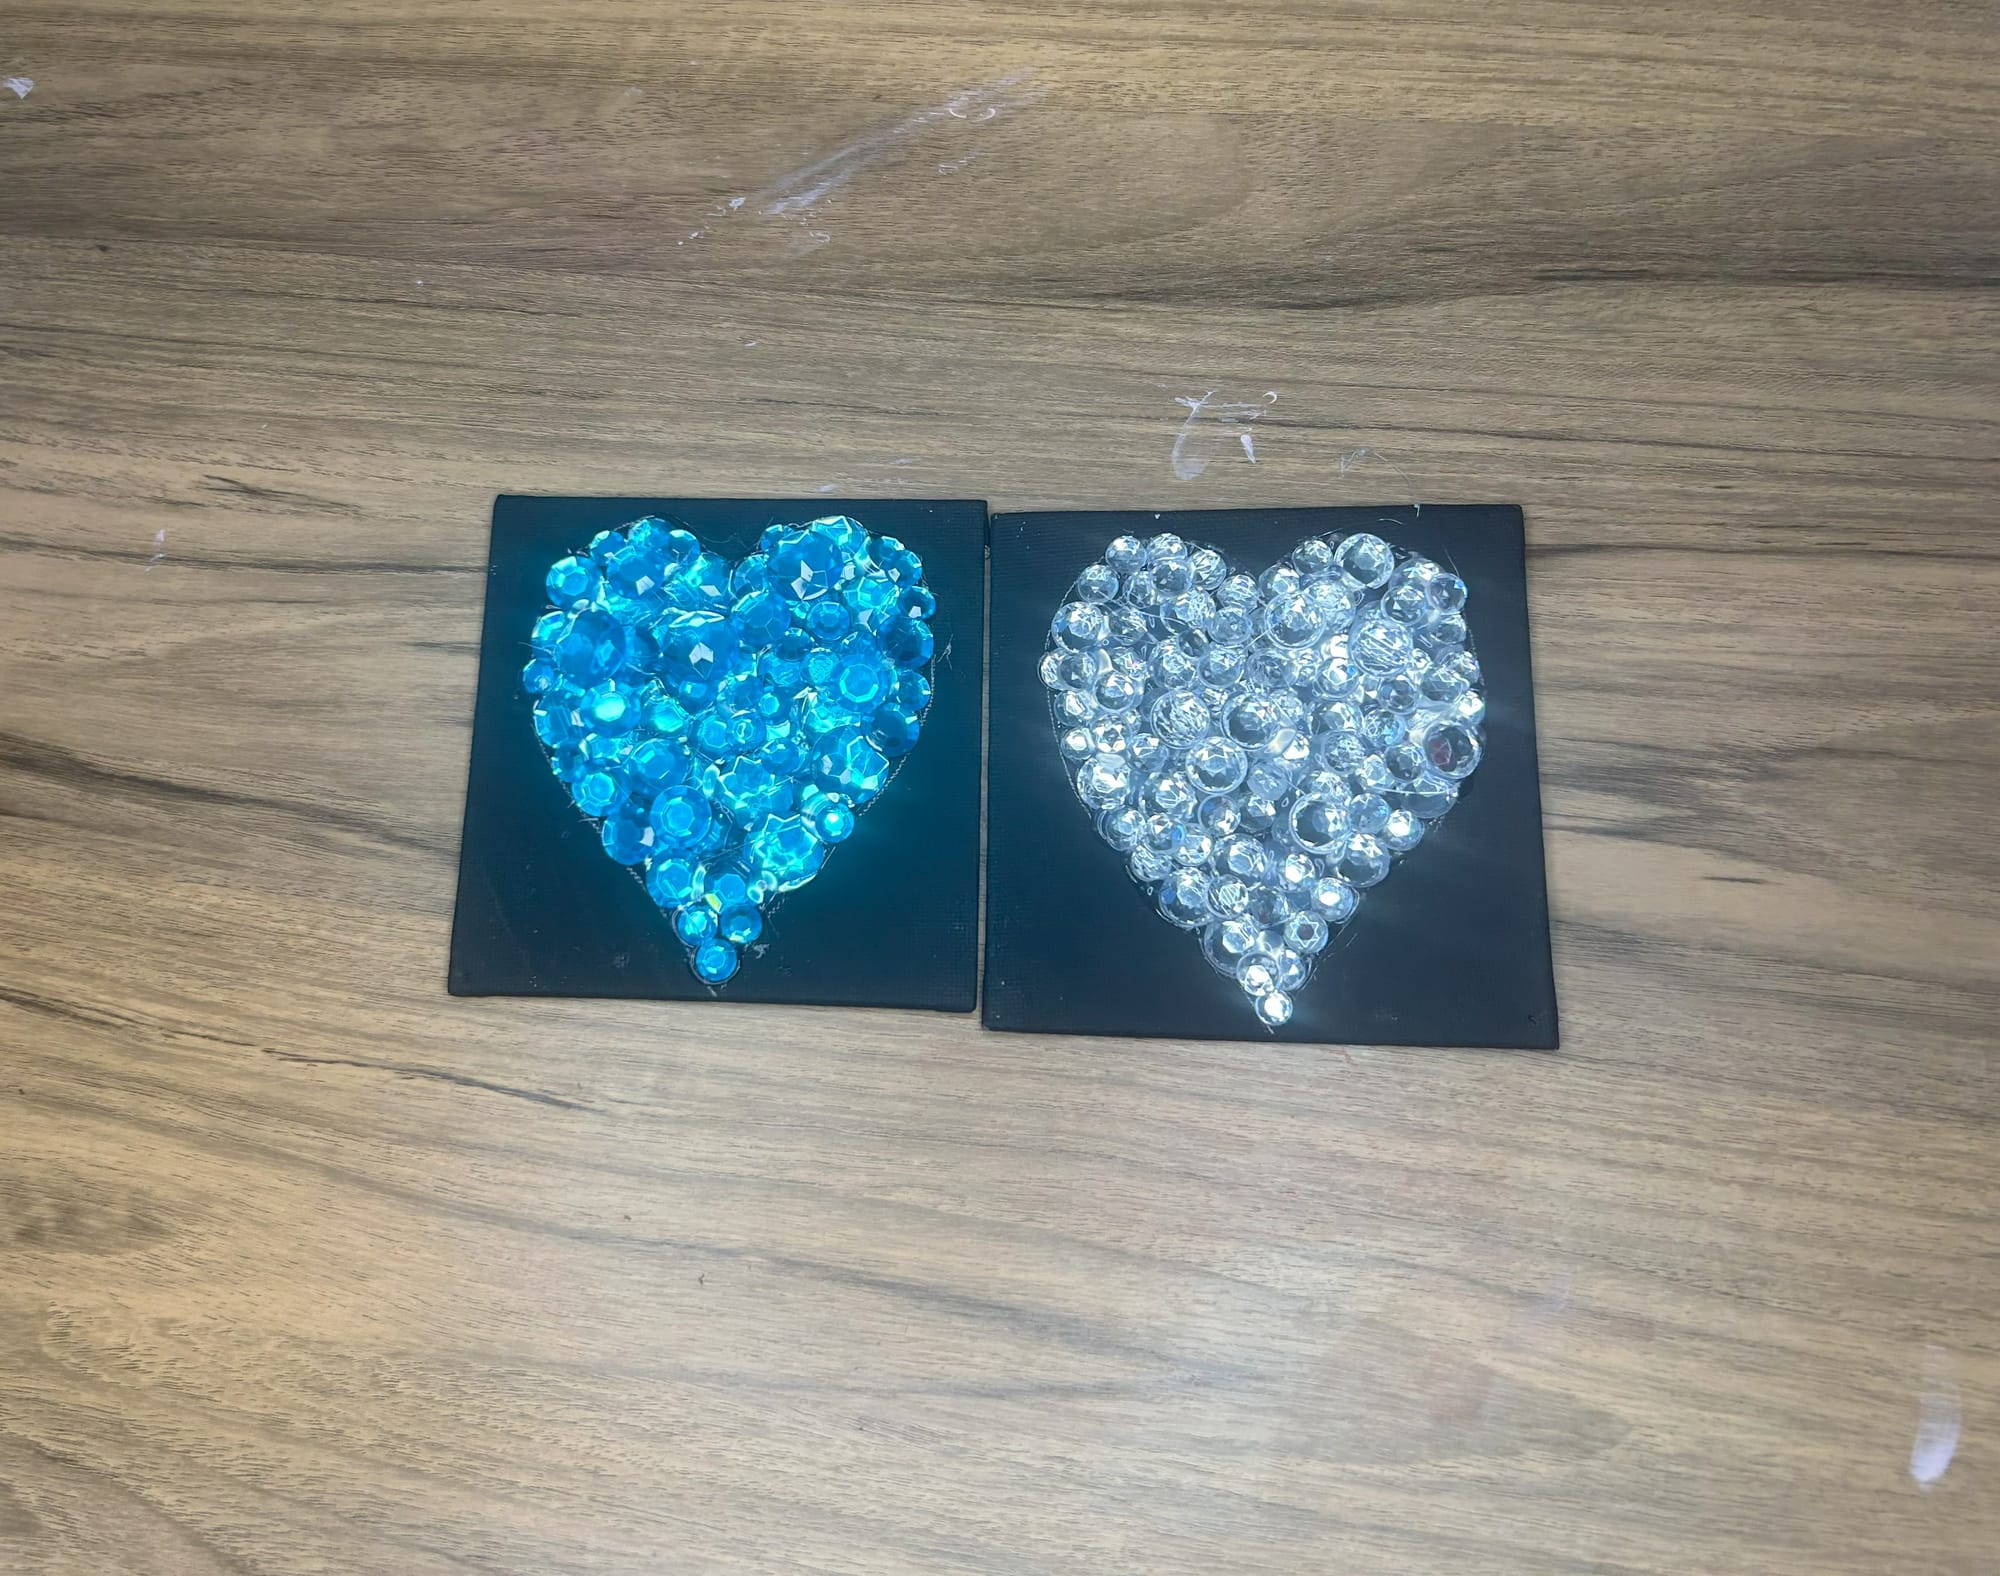
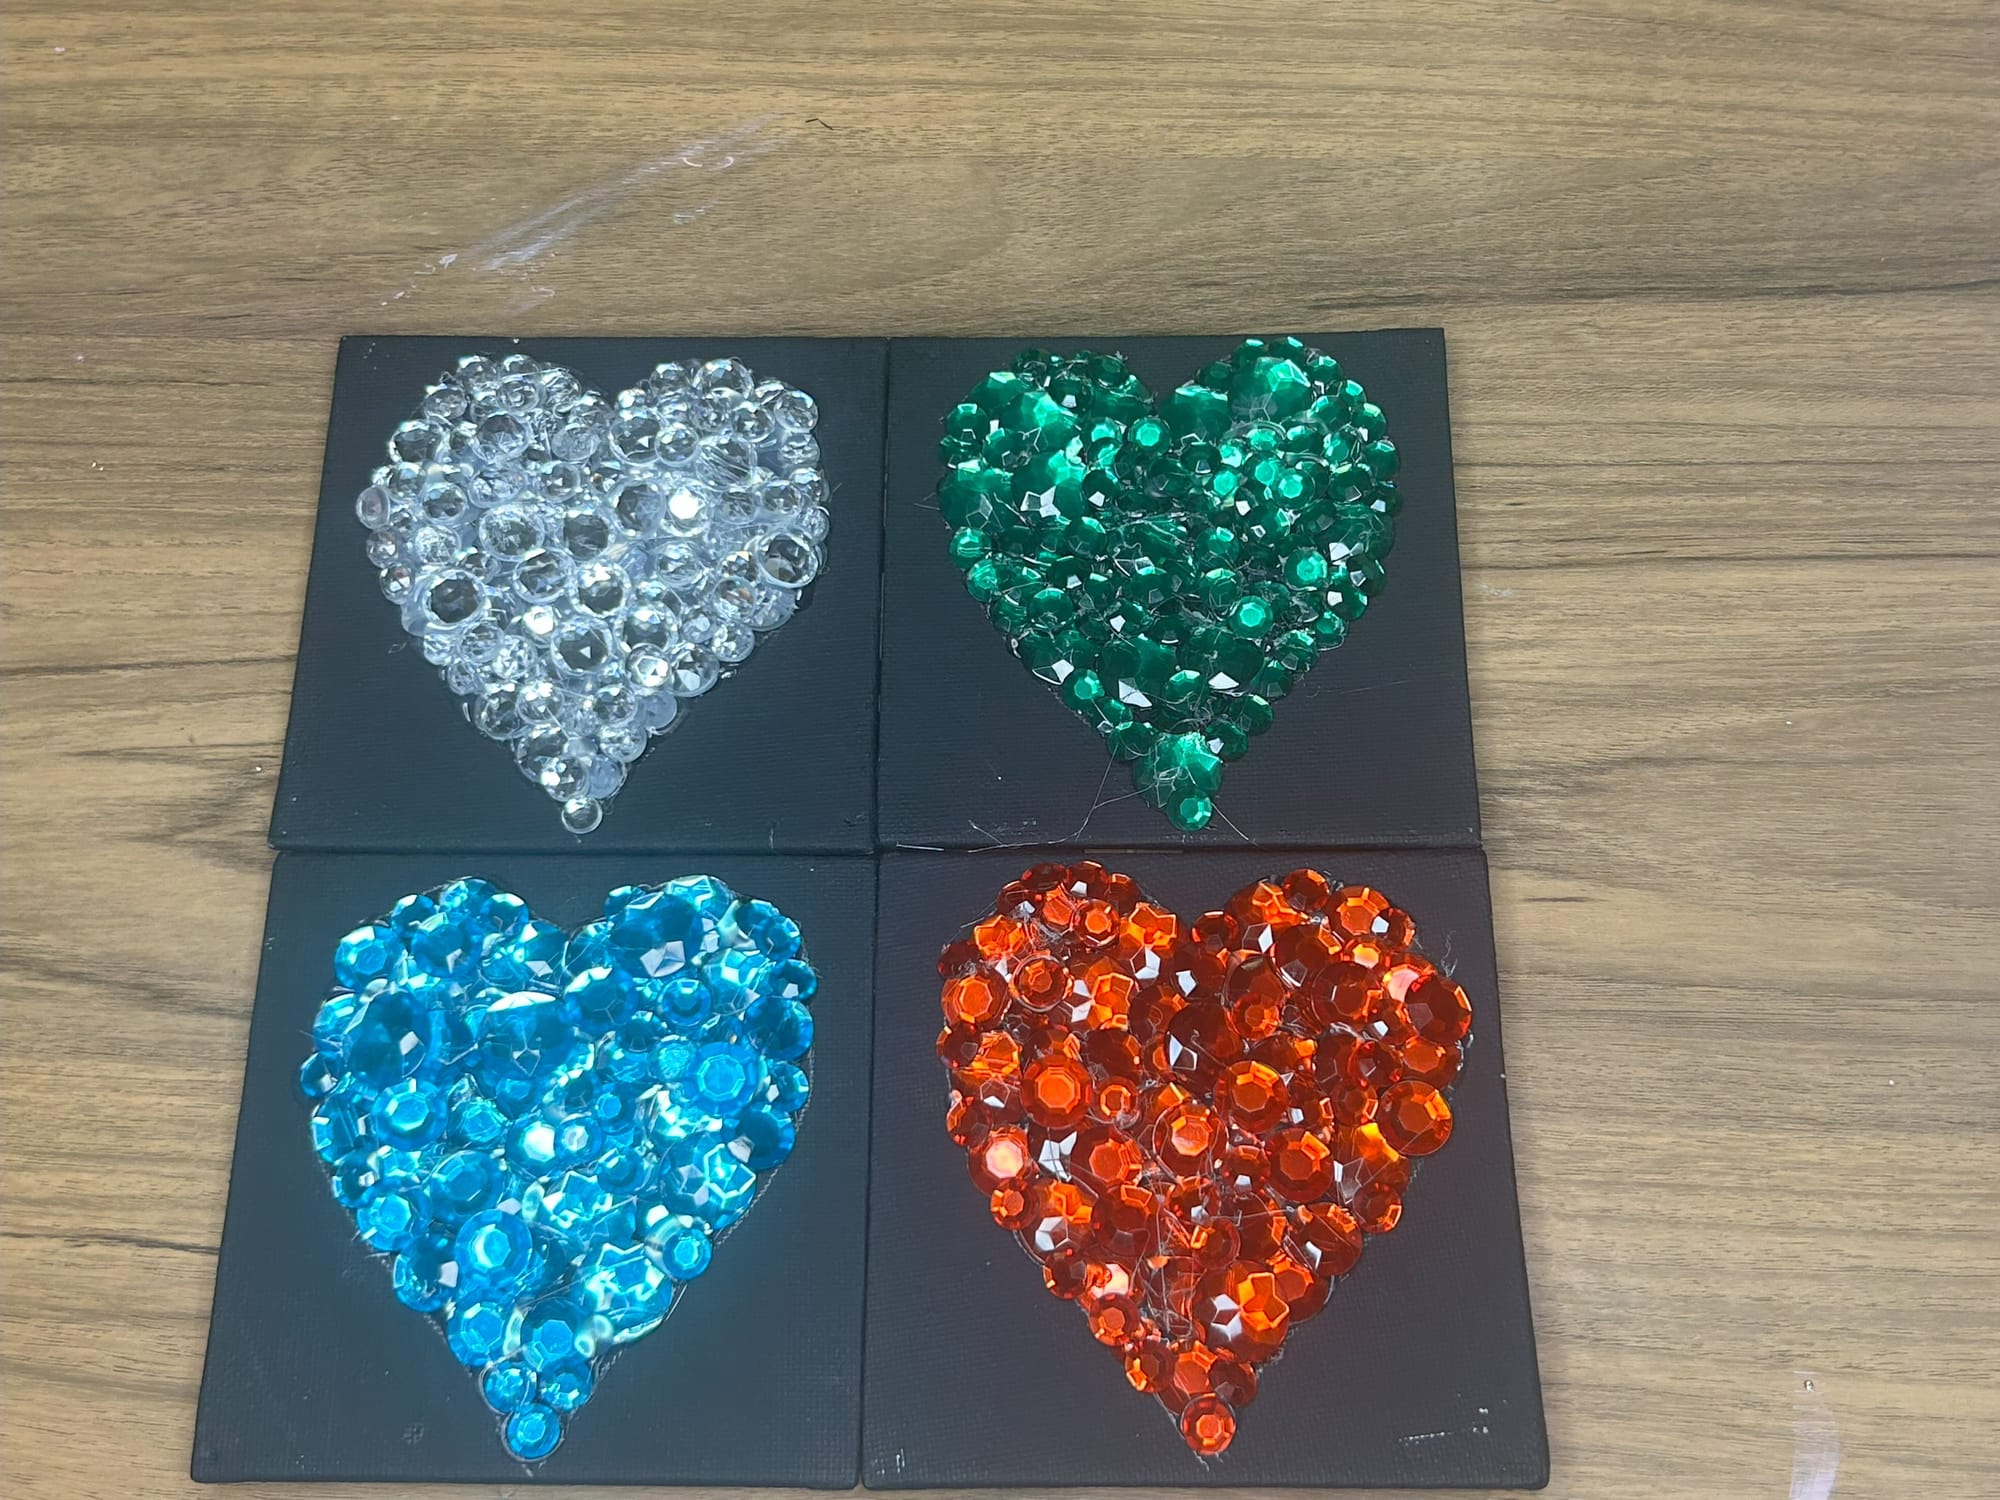
Use your hot glue gun to attach rhinestones. I used rhinestones of various sizes in this project. Some rhinestones were glue on top of others to fill in all the black spaces within the heart.
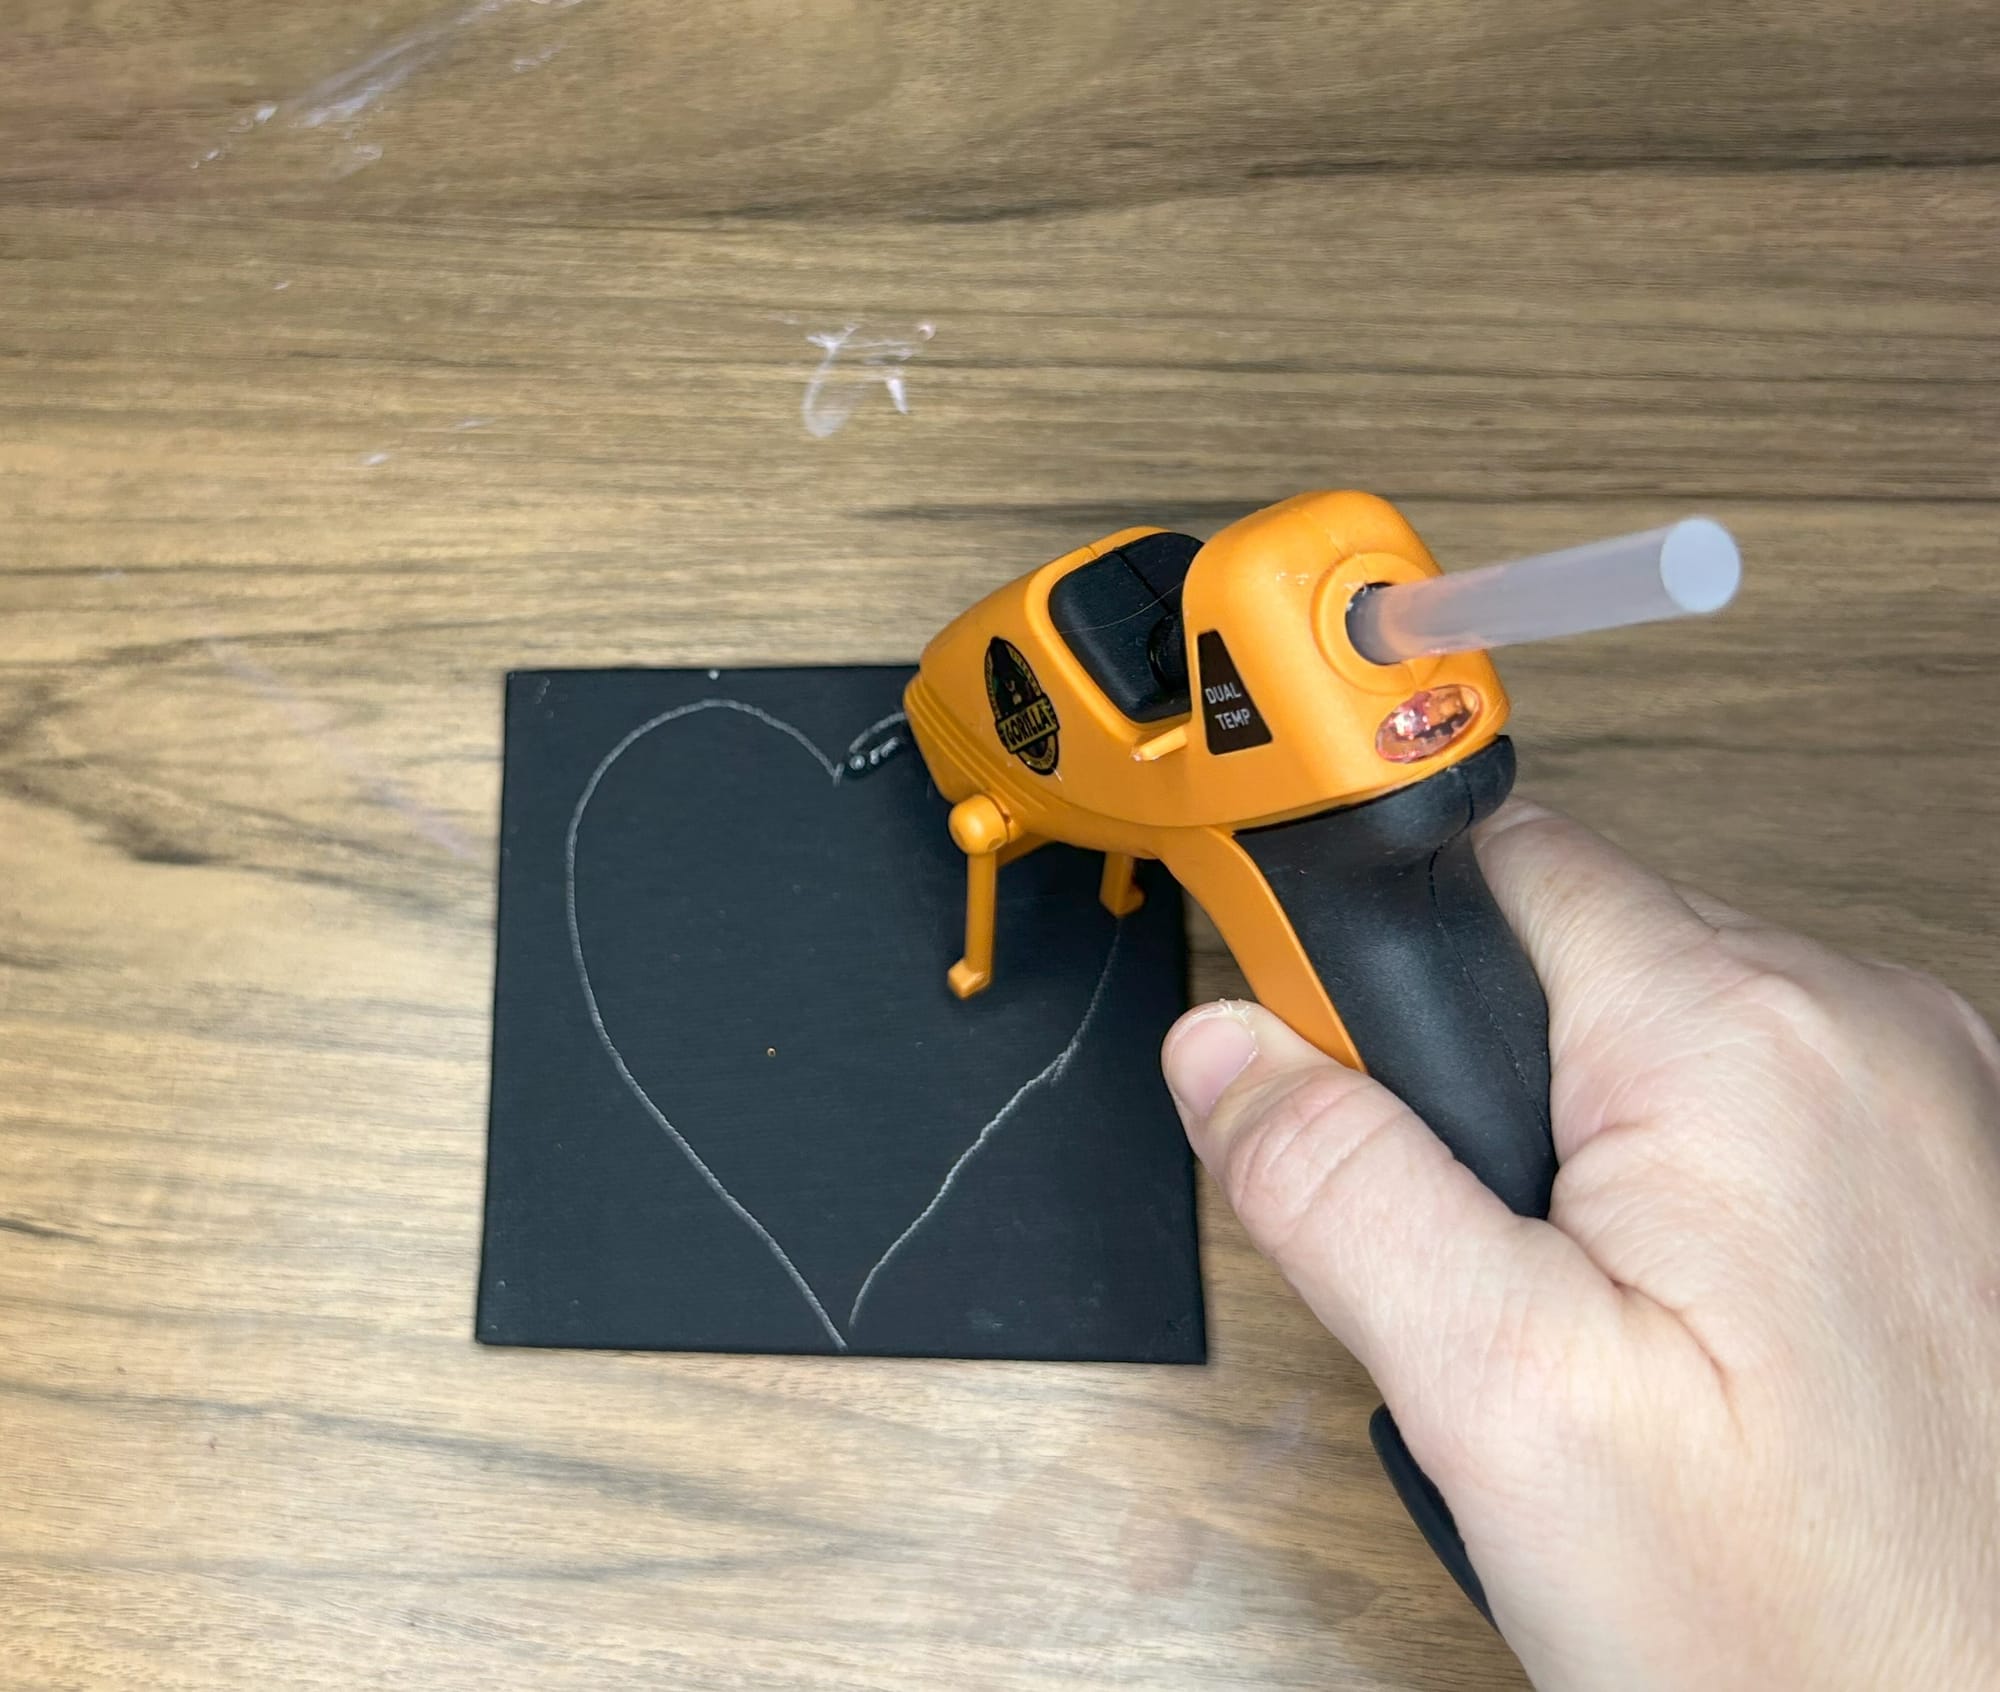

Hot glue rhinestones to the canvas.
For the other canvases I used different colored rhinestones. I chose this project because I had a surplus of rhinestones in my craft supplies. You can certainly choose to use any color of rhinestone you would like.
Continue hot gluing to create each different canvas
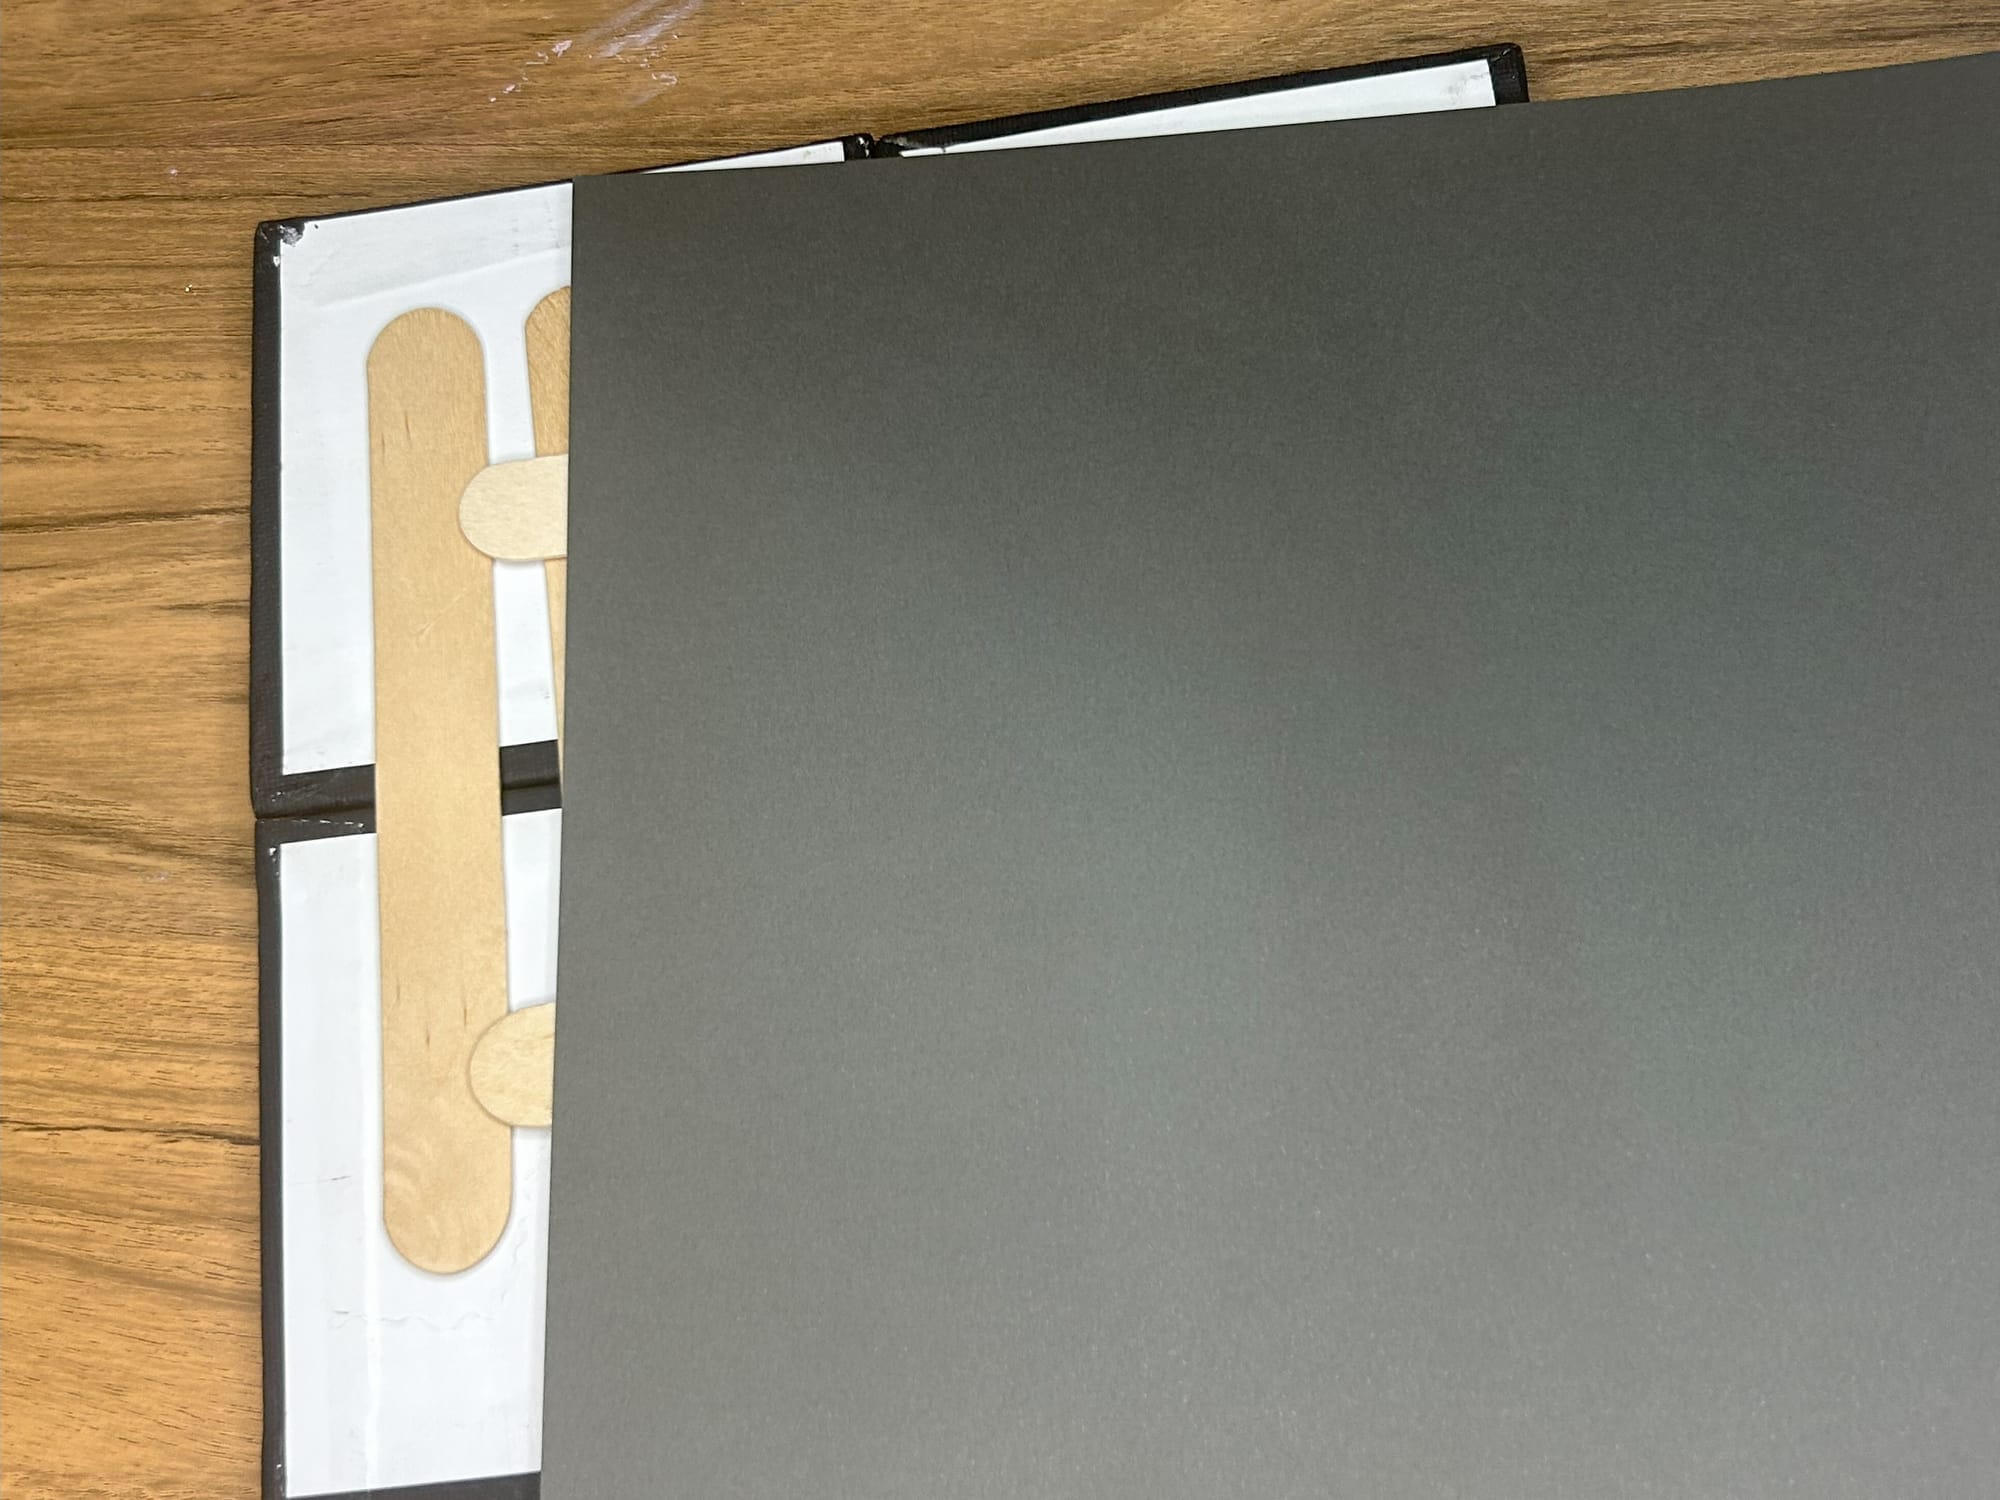
When I completed all for canvas hearts, I hot glued large popsicle sticks to the back of the canvases to secure them together.
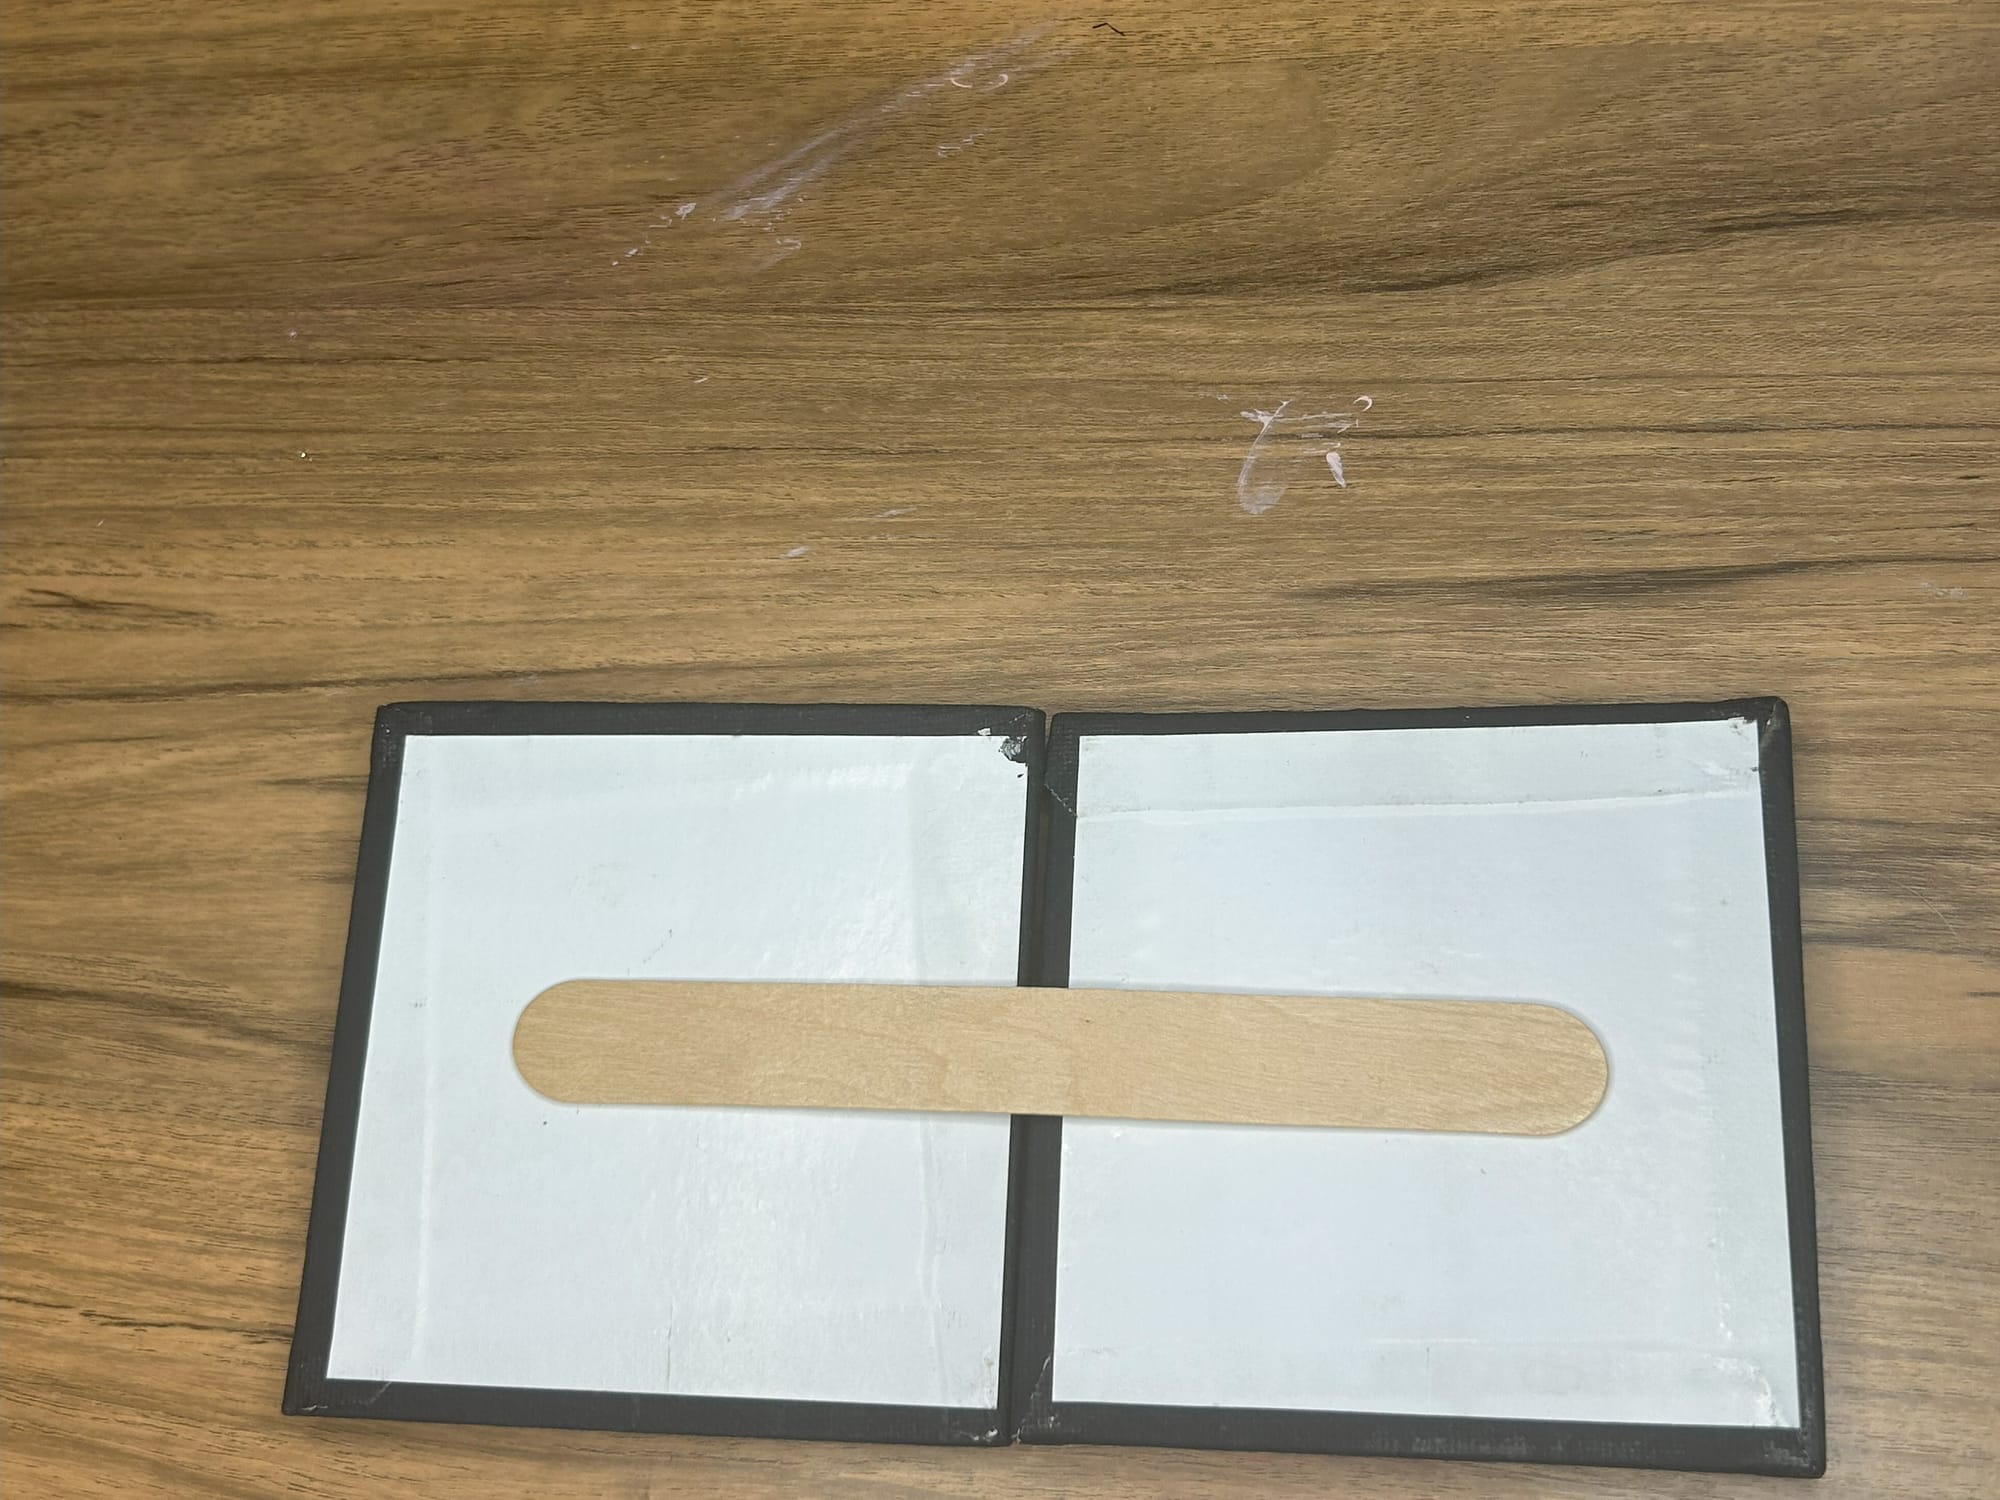
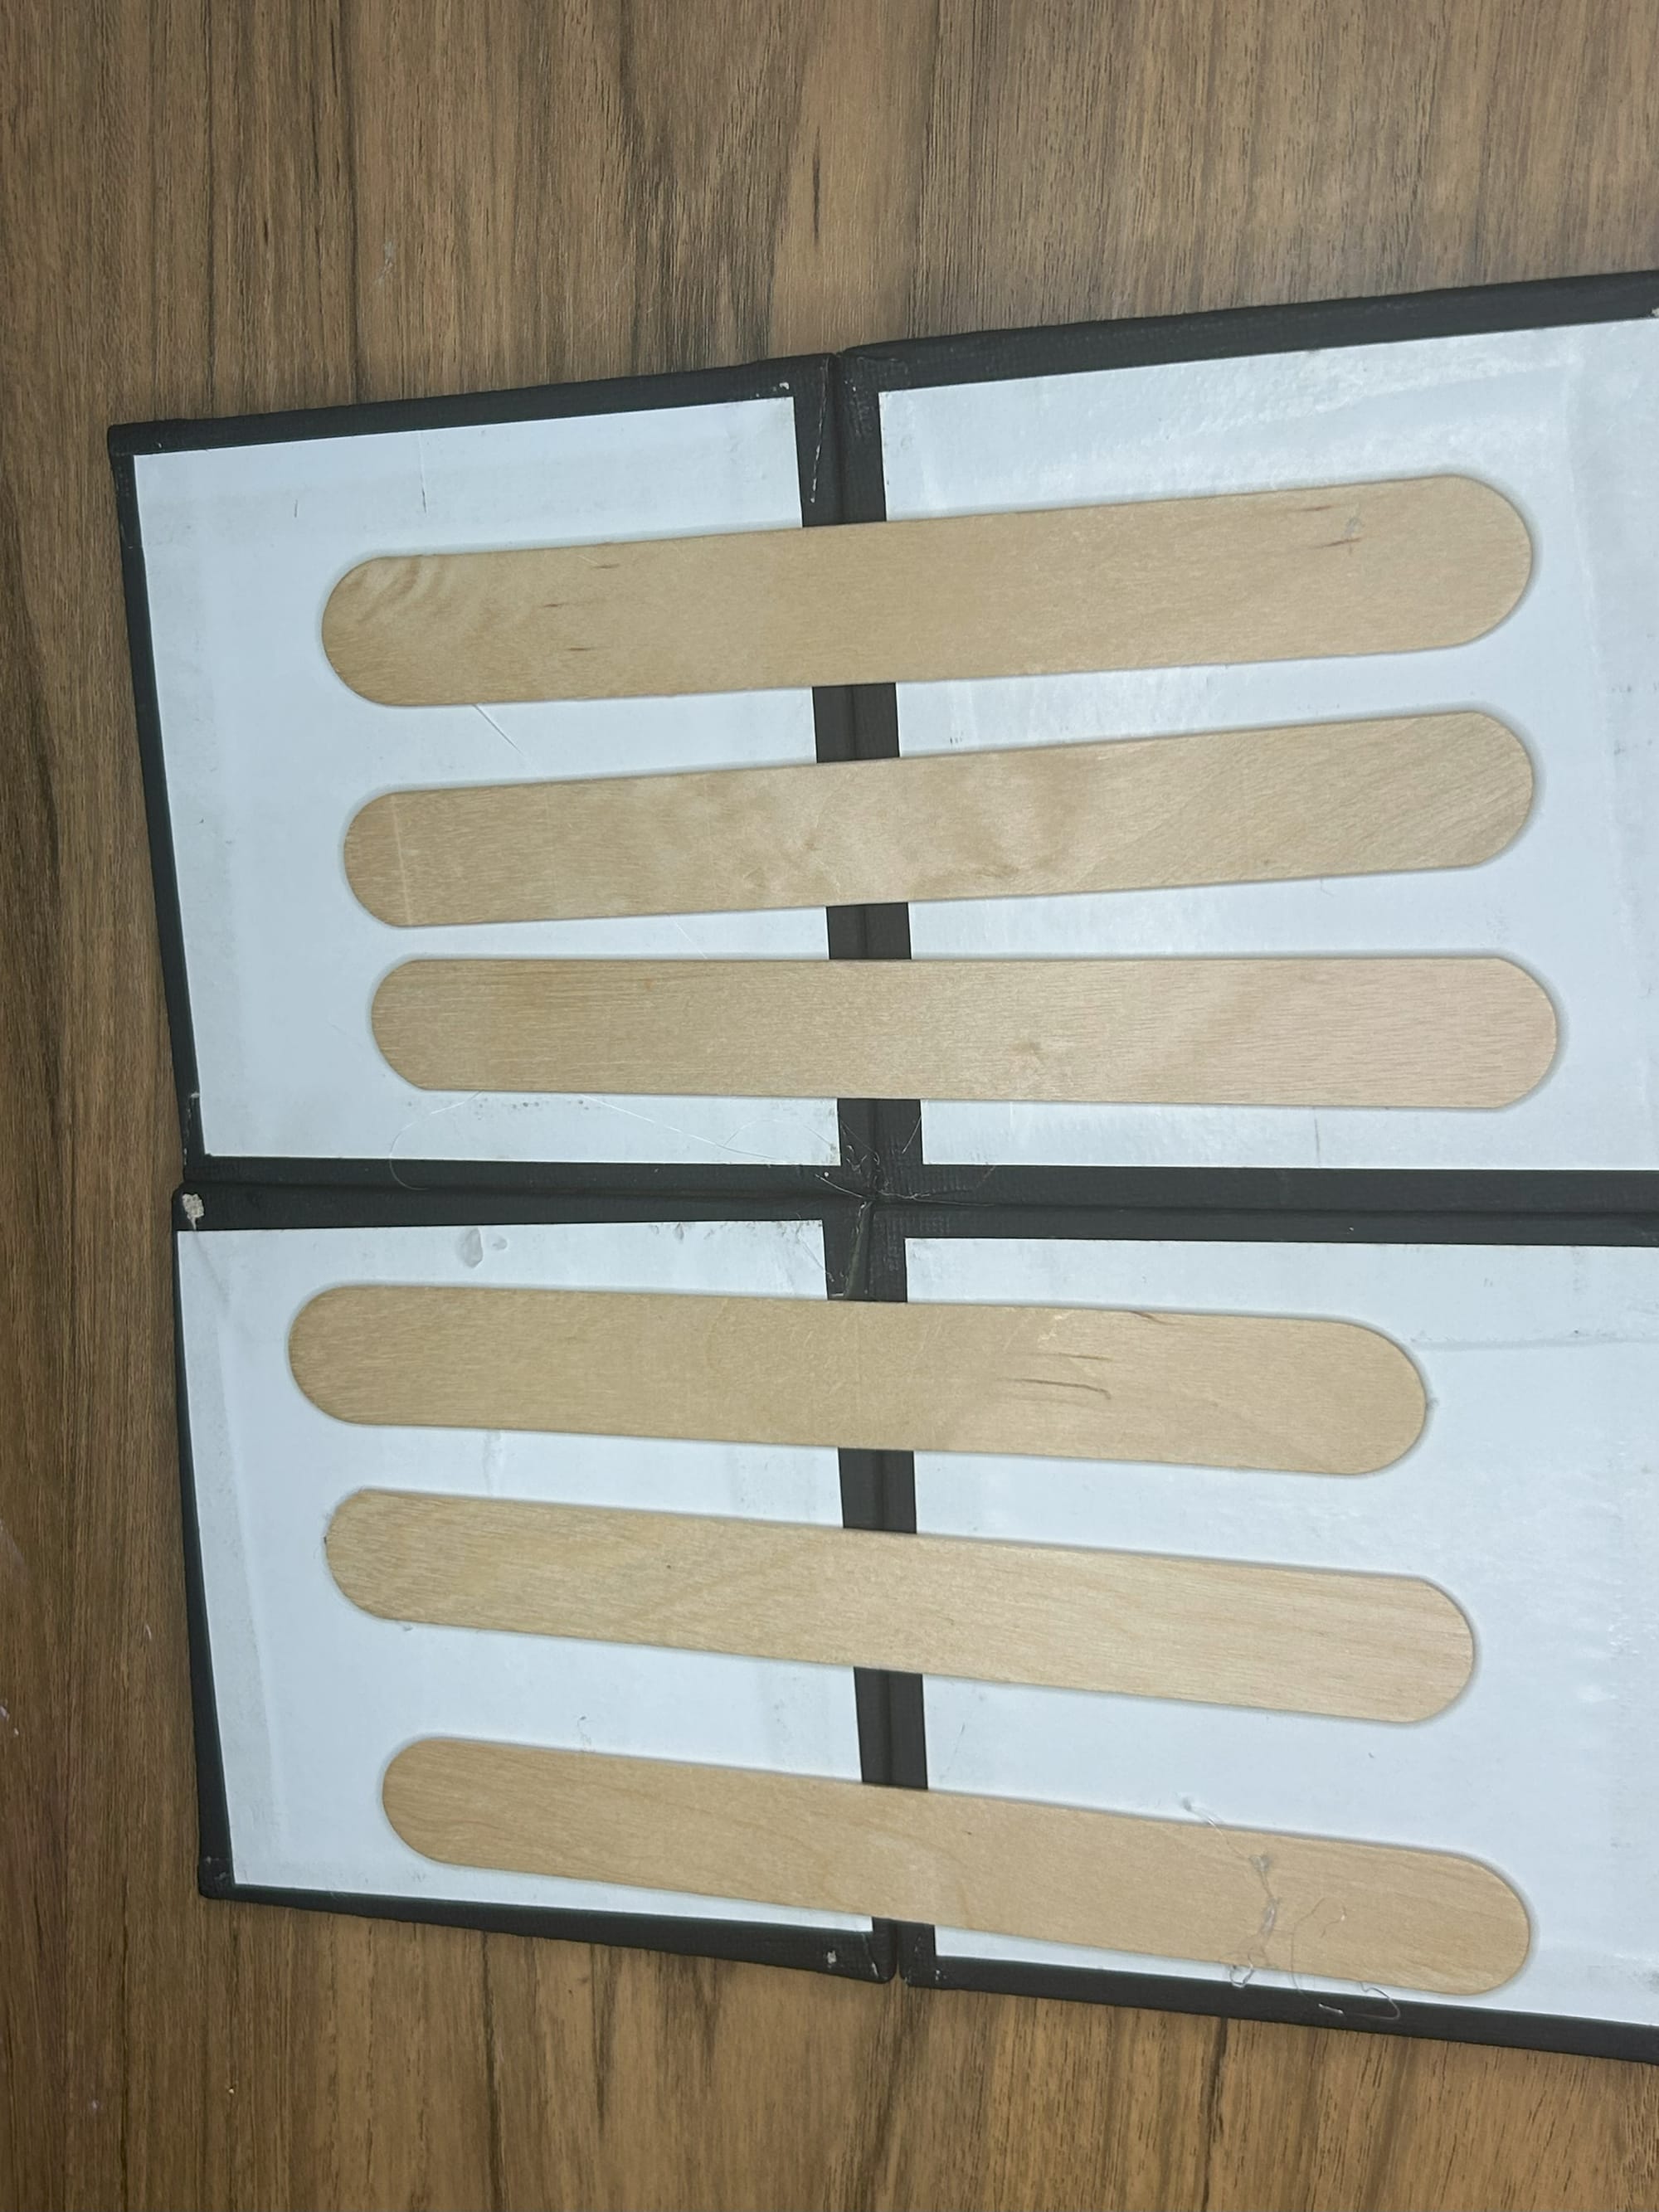
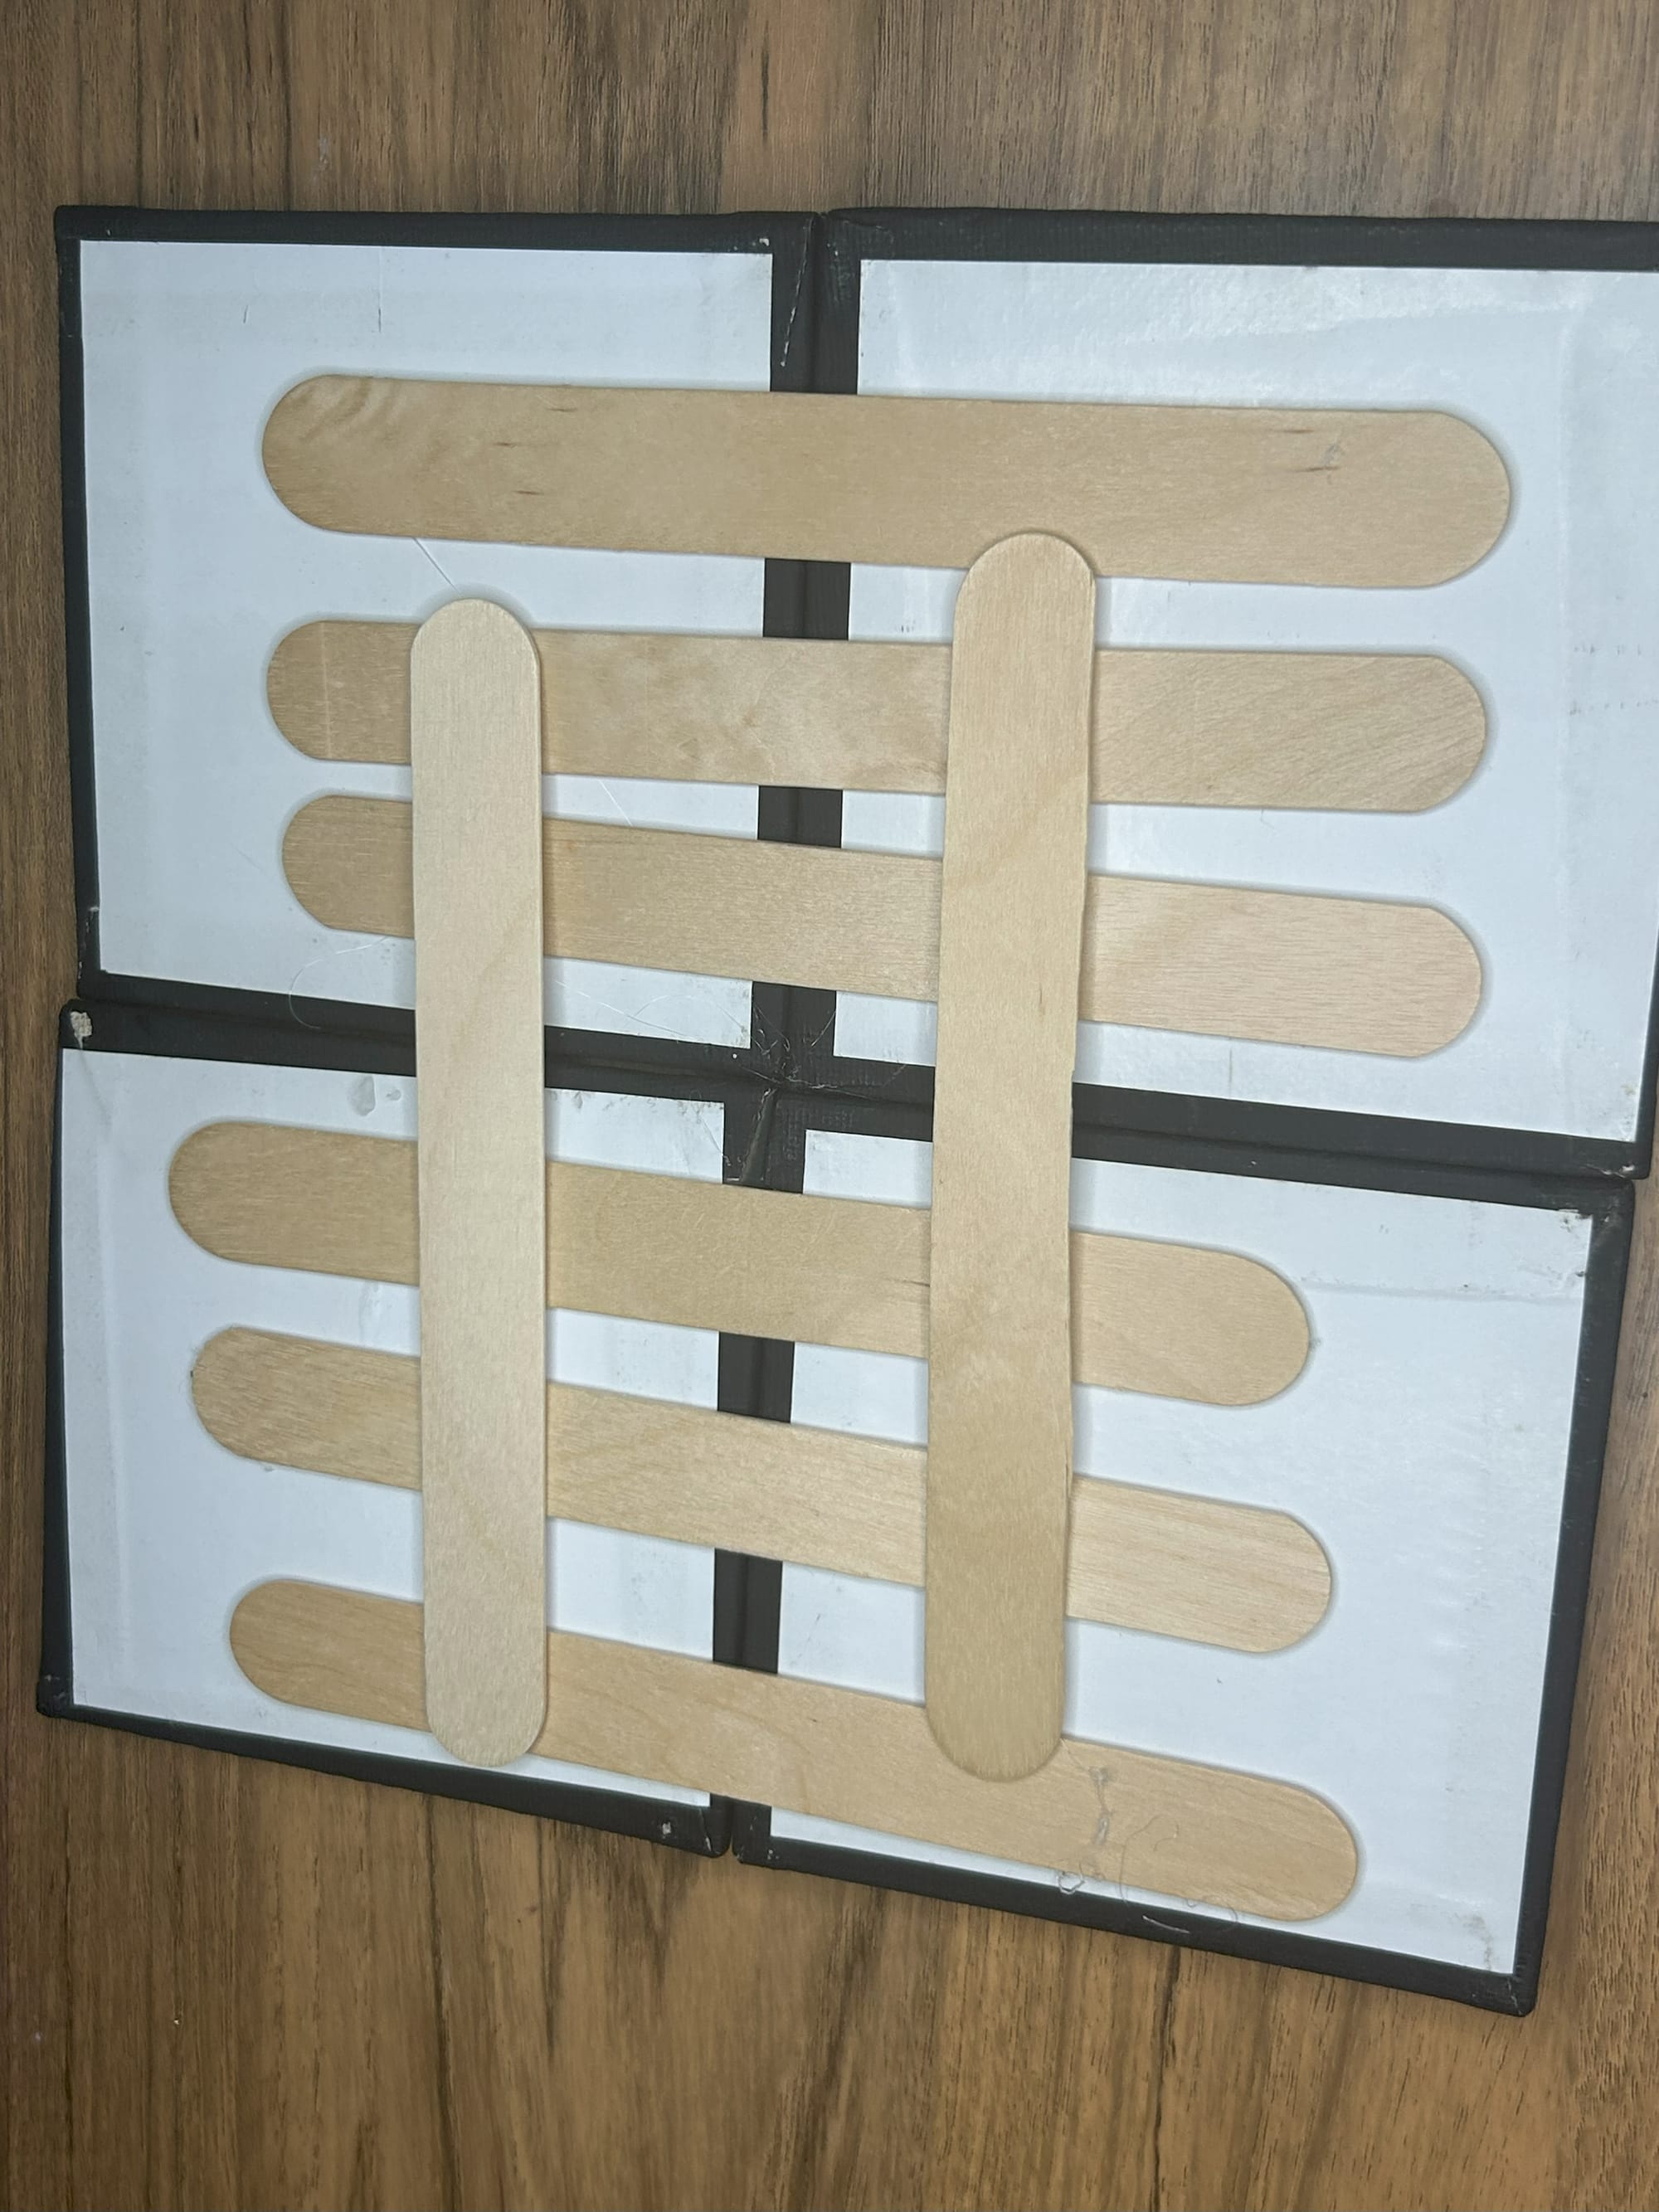
Hot glue popsicle sticks to the back of the canvases to attach them together.
Then, I cut a piece of black cardstock to glue to the back. I think this created a clean look.
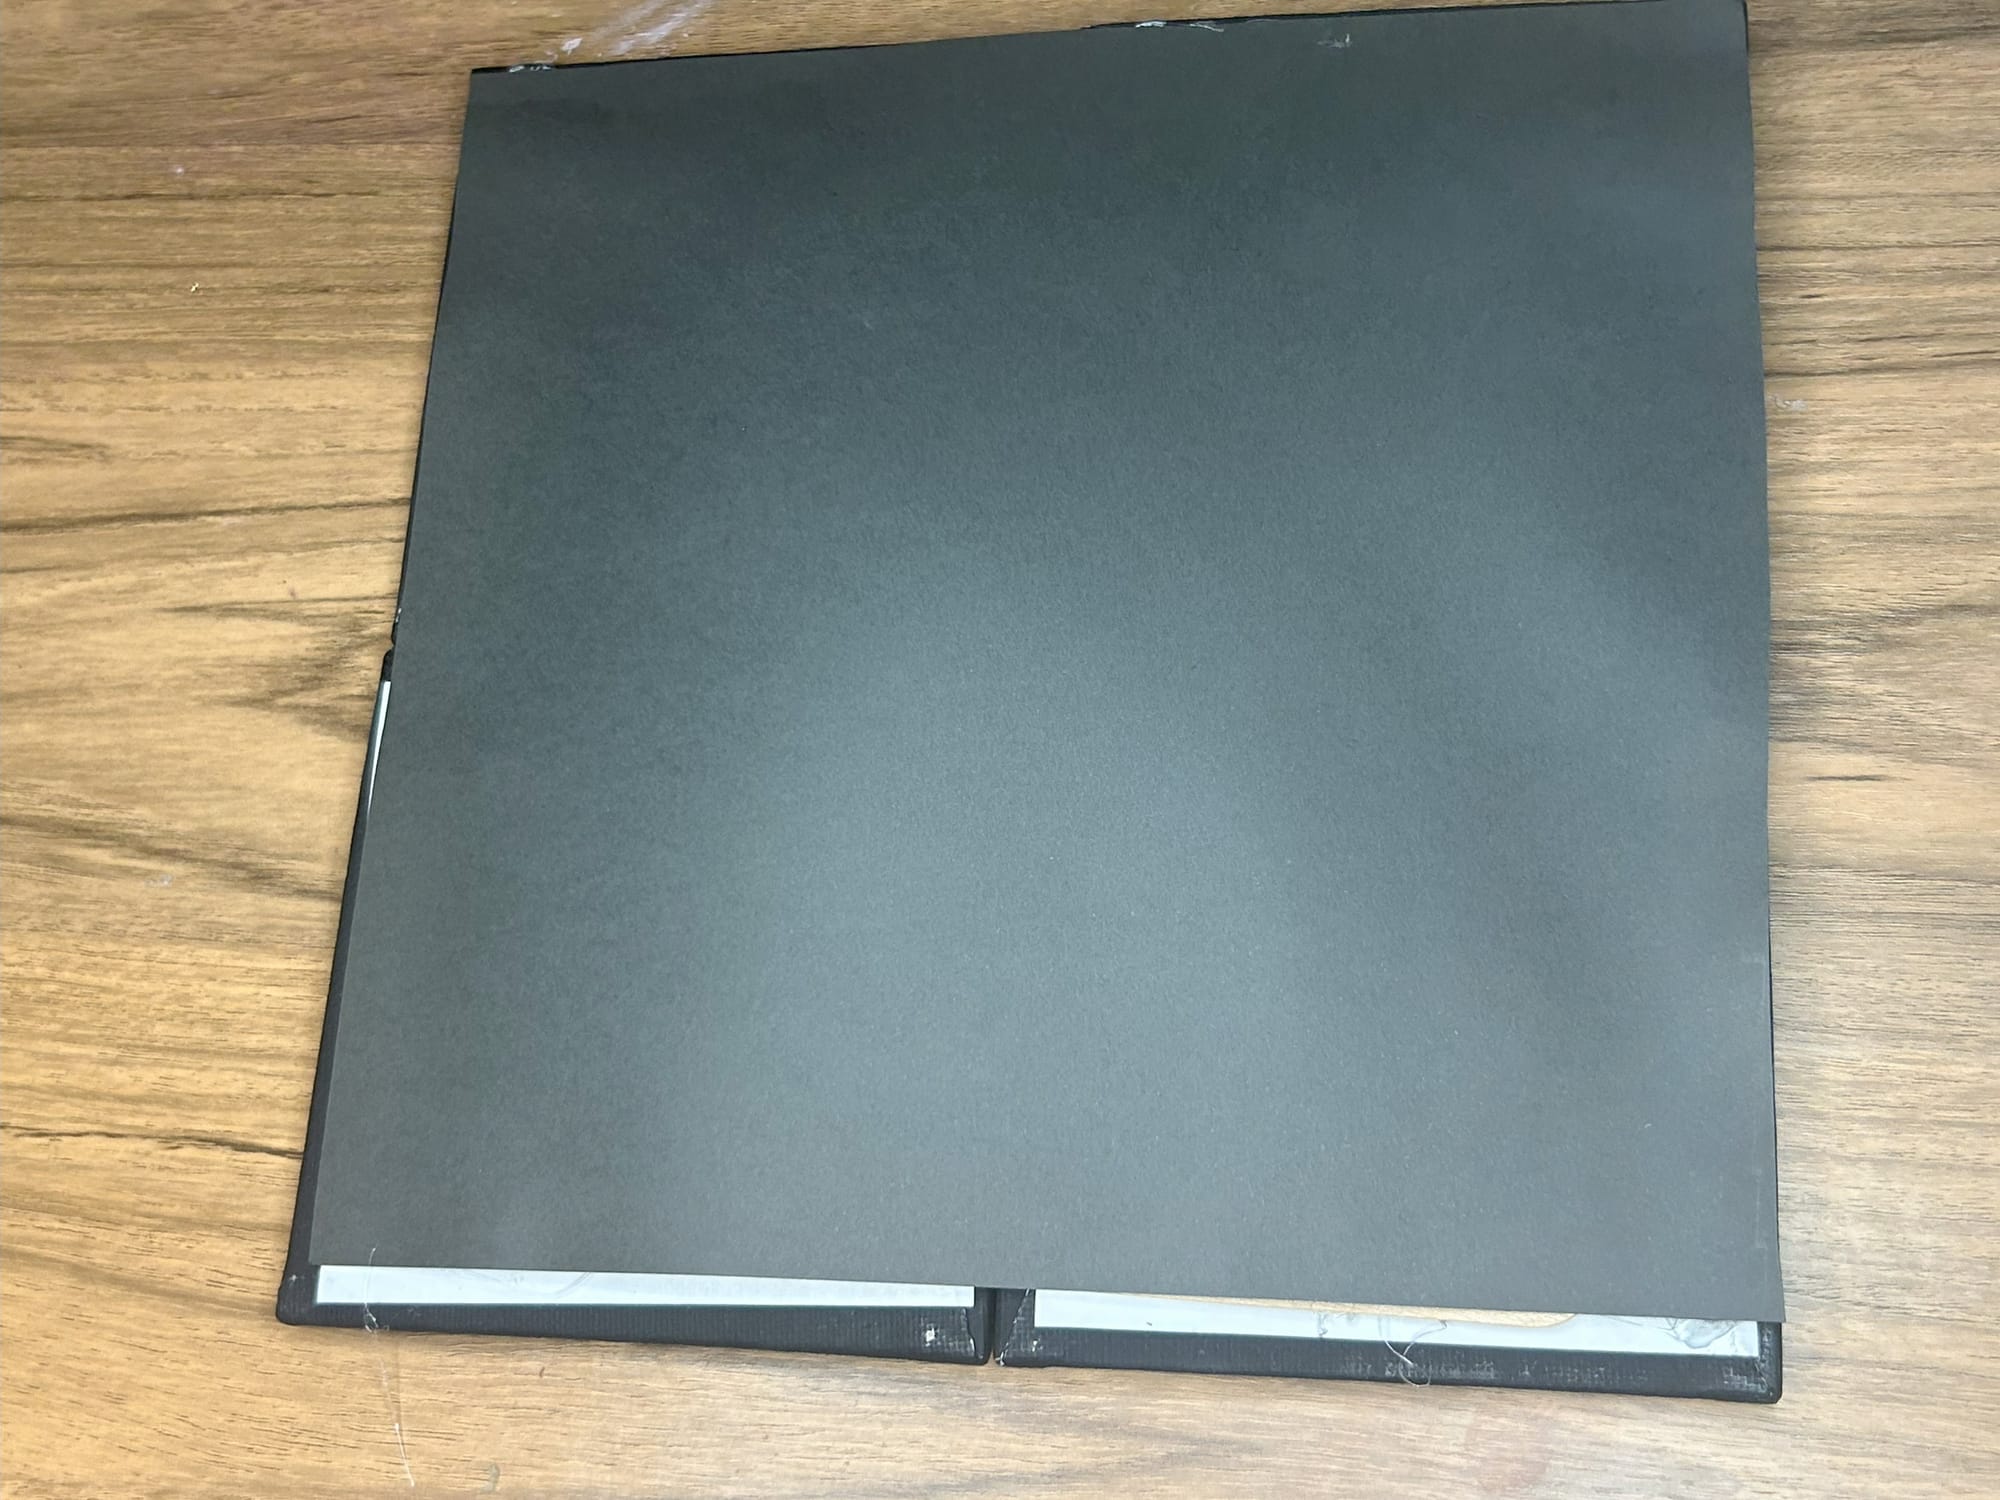
I hot glued a piece of black cardstock the the back of the canvases.
To create a finished look, I hot glued some ribbon over the seams in between the canvases.
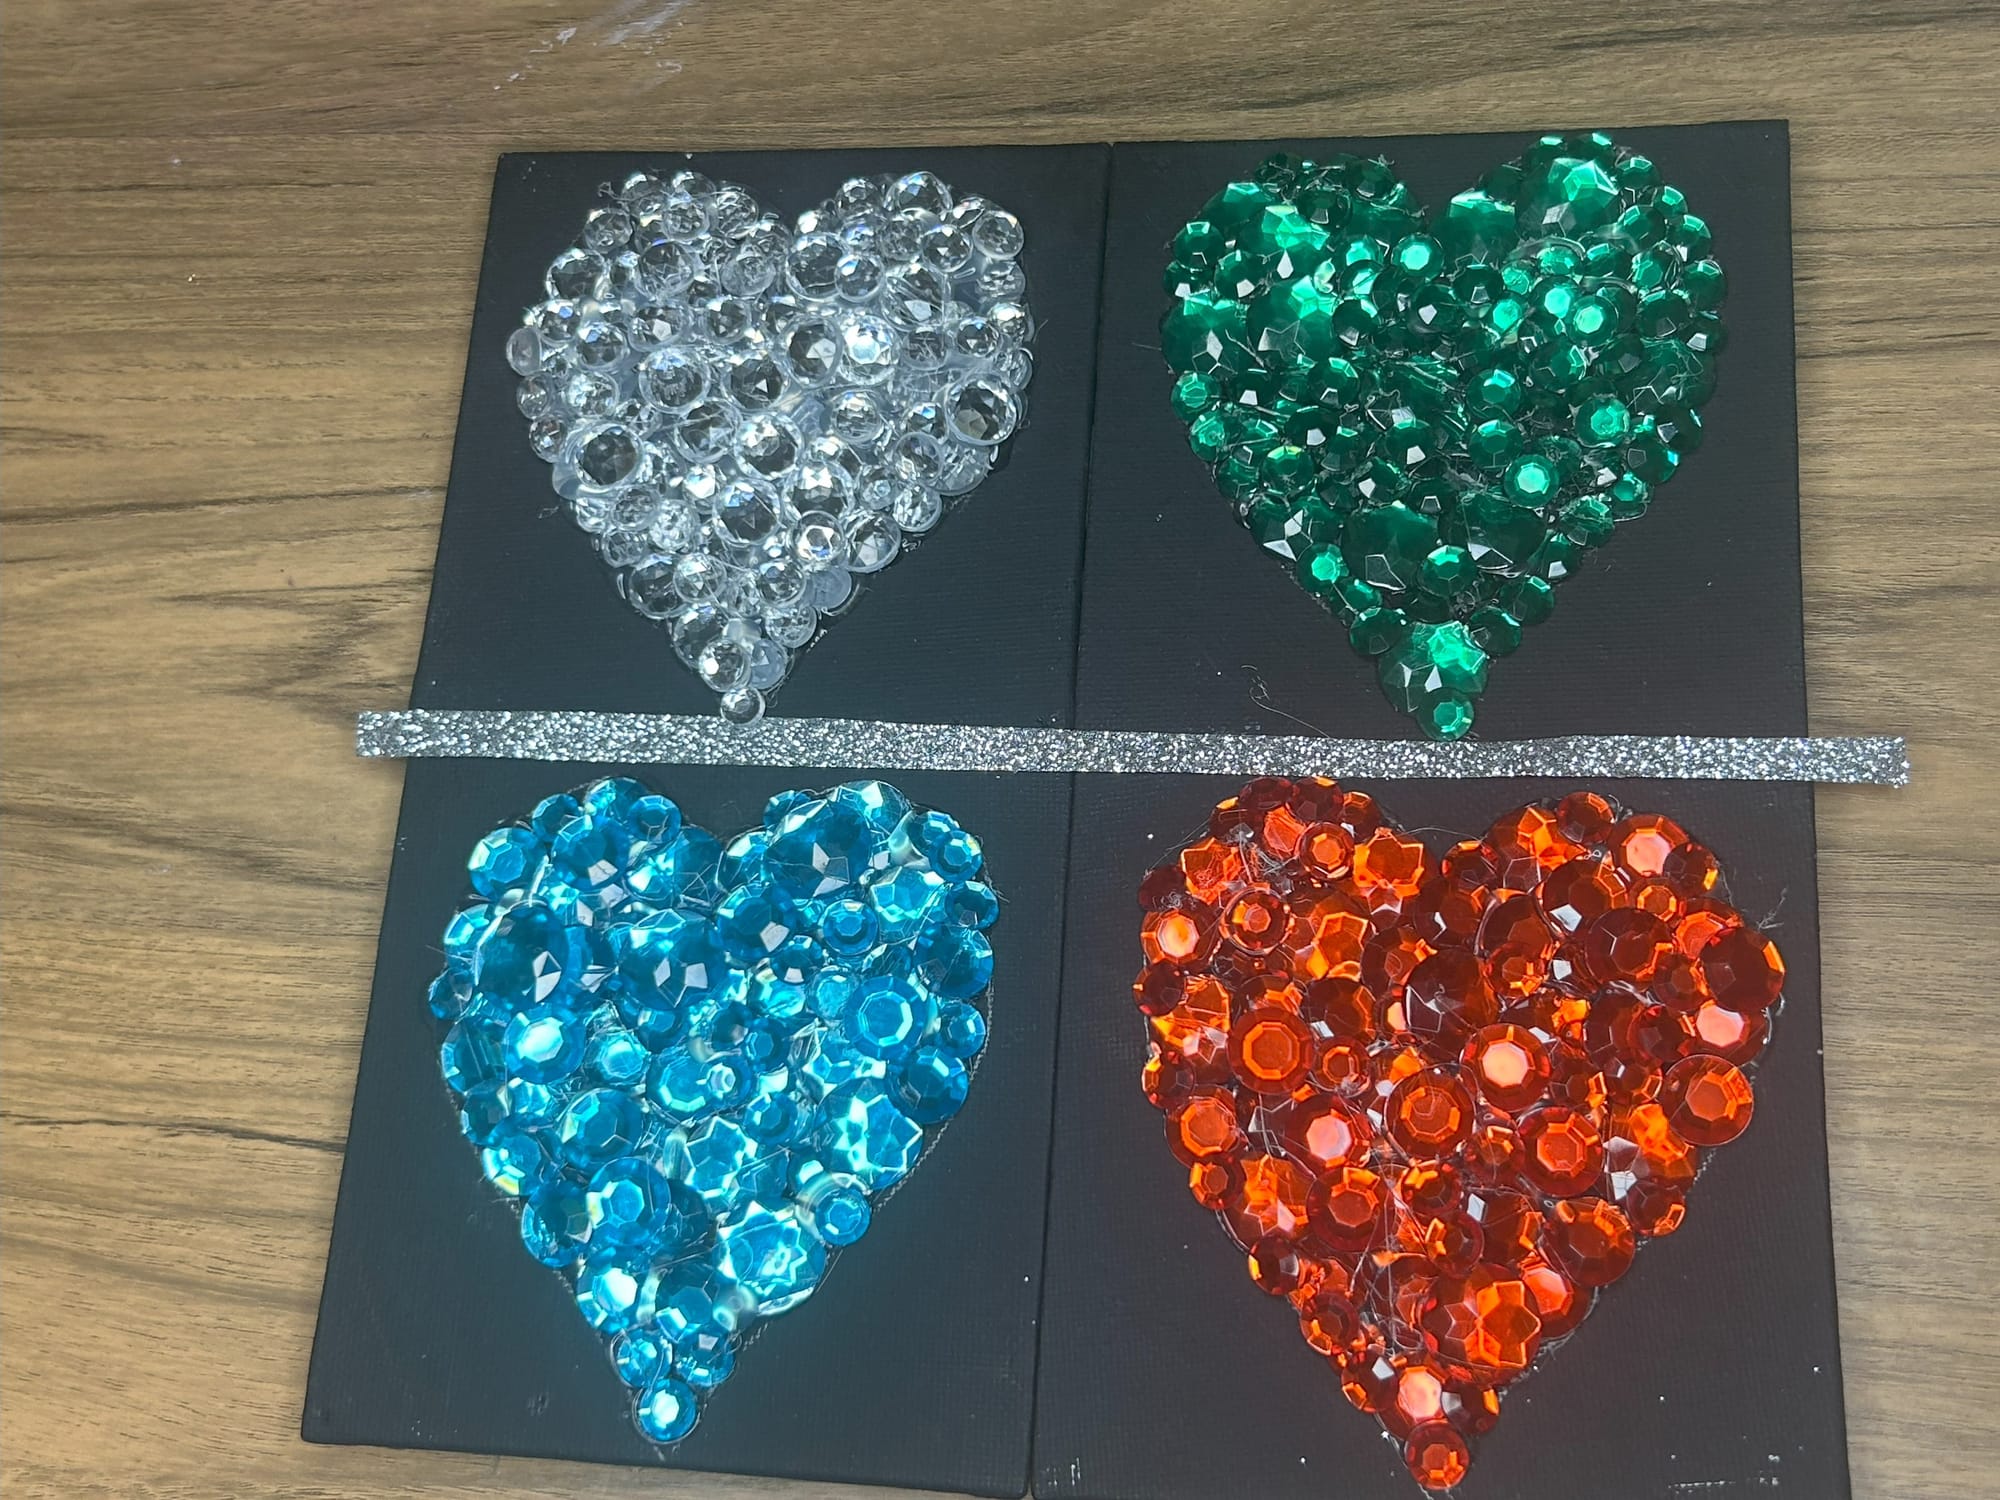
Add ribbon to finish the look.
I displayed this finished piece on a plate stand. However, you could certainly add string or ribbon the the back to hang on the wall.