Ghost Family Portraits
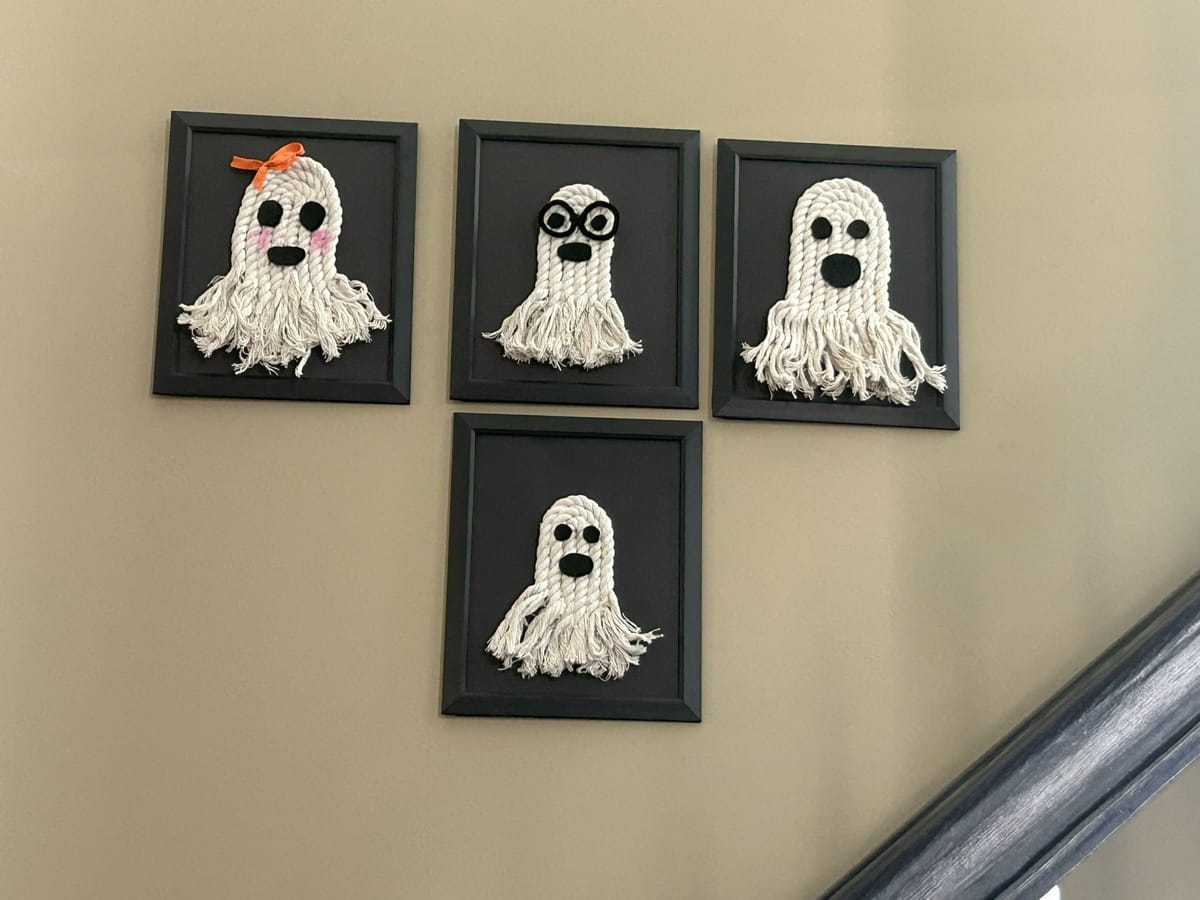
Fall is upon us and I love to decorate for all the holidays. I am always trying to come up with great ideas to decorate my home. I created these ghost family portraits to look like my family. The best part is I did it with products from the Dollar Tree!
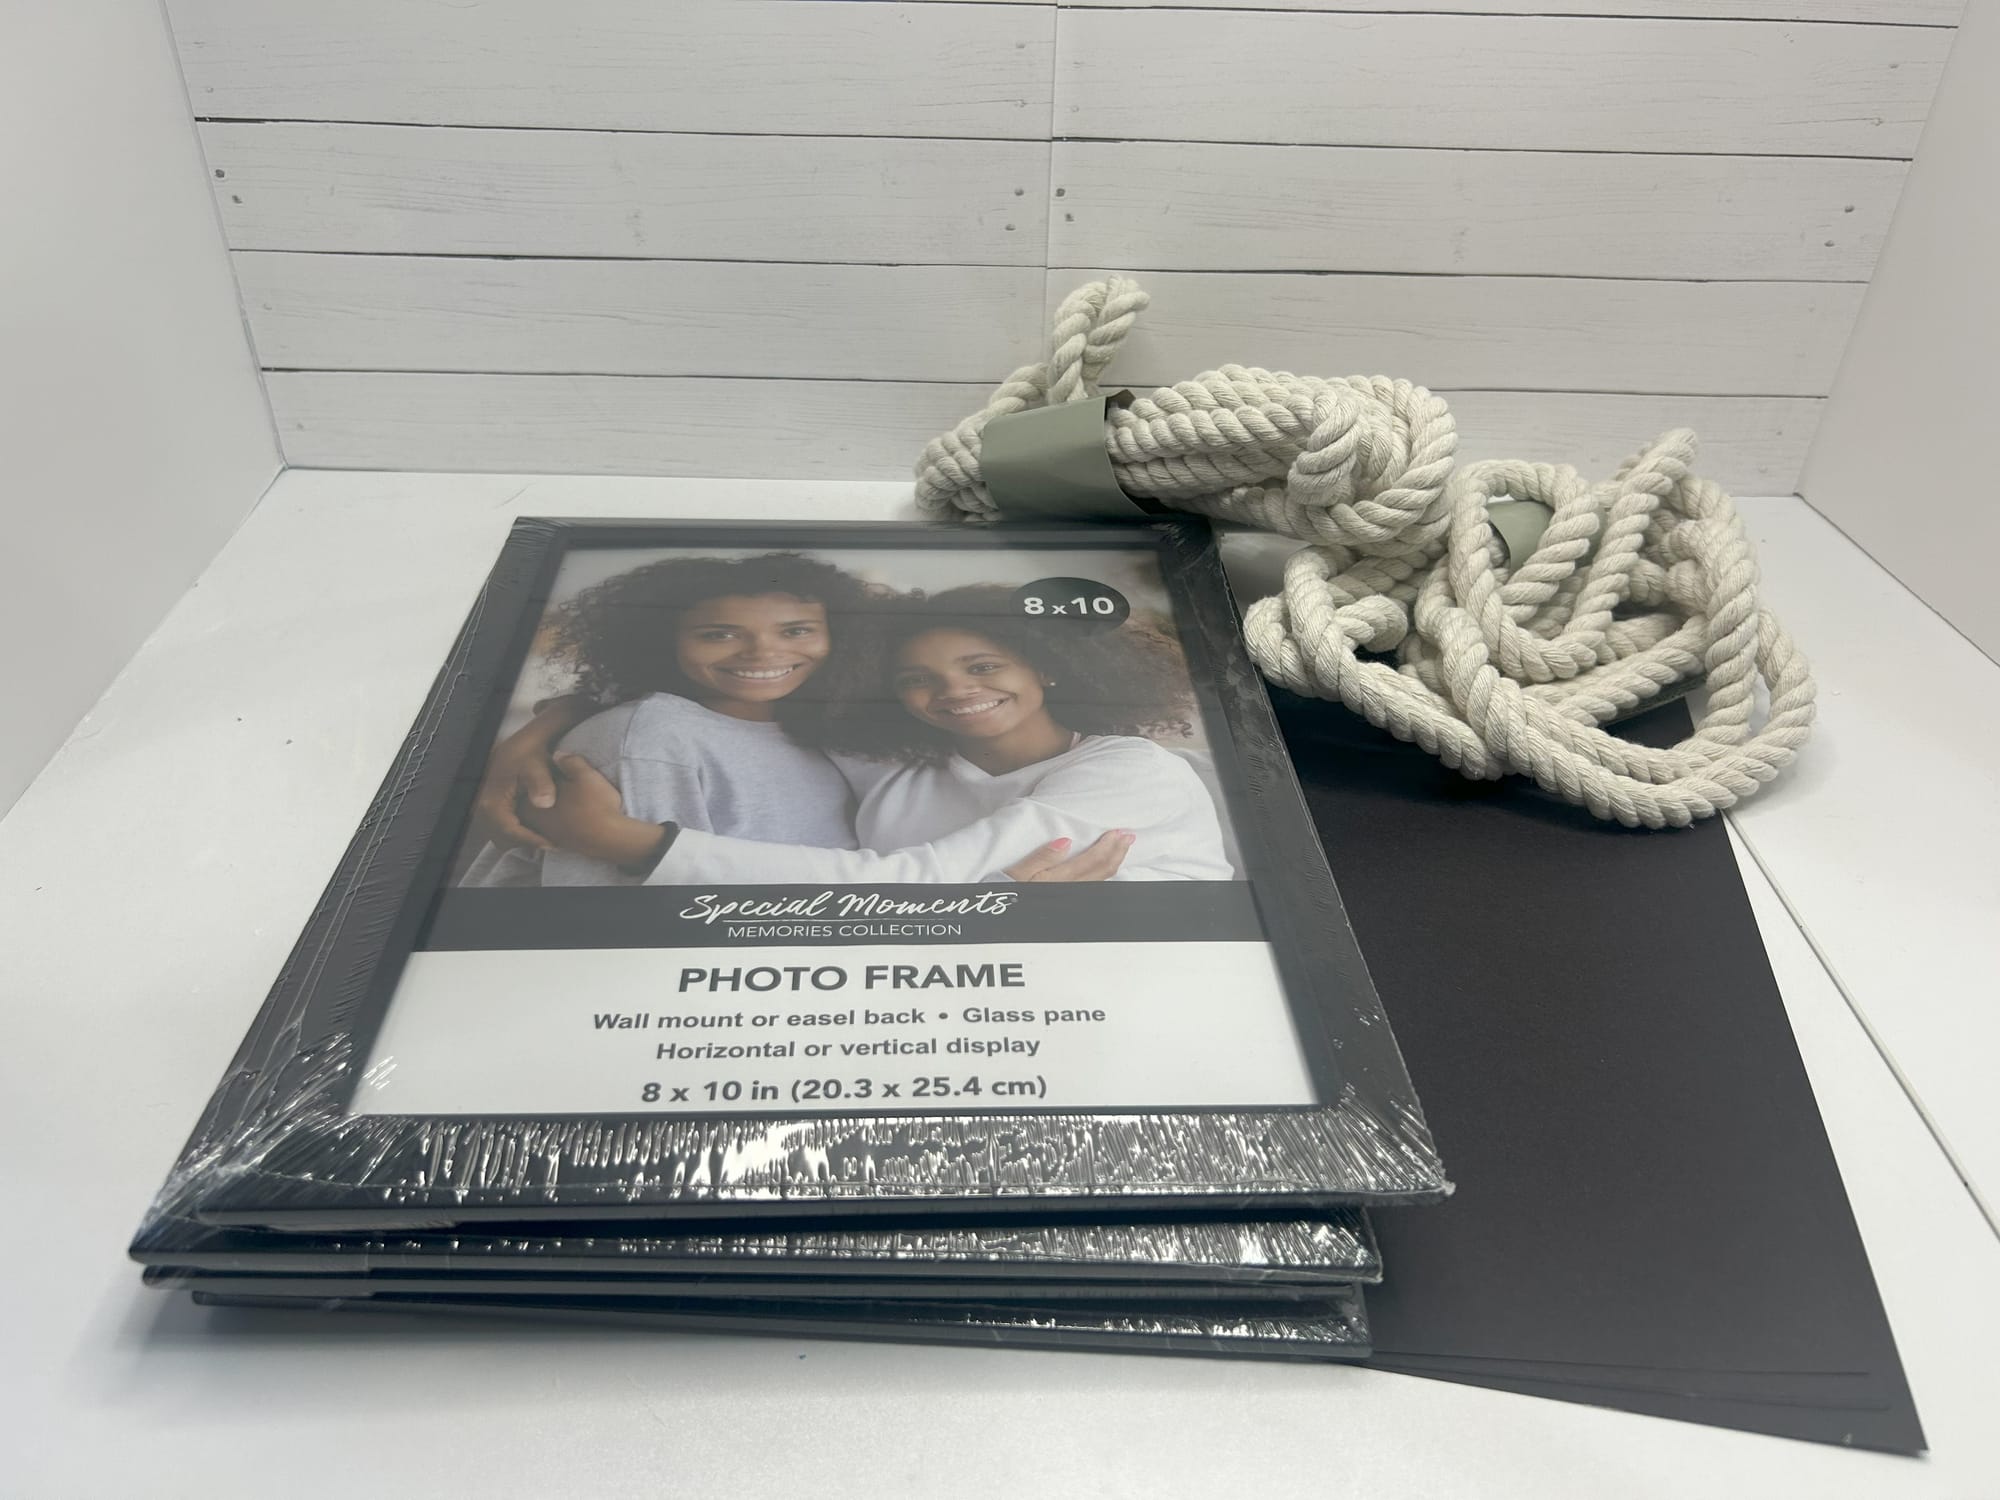
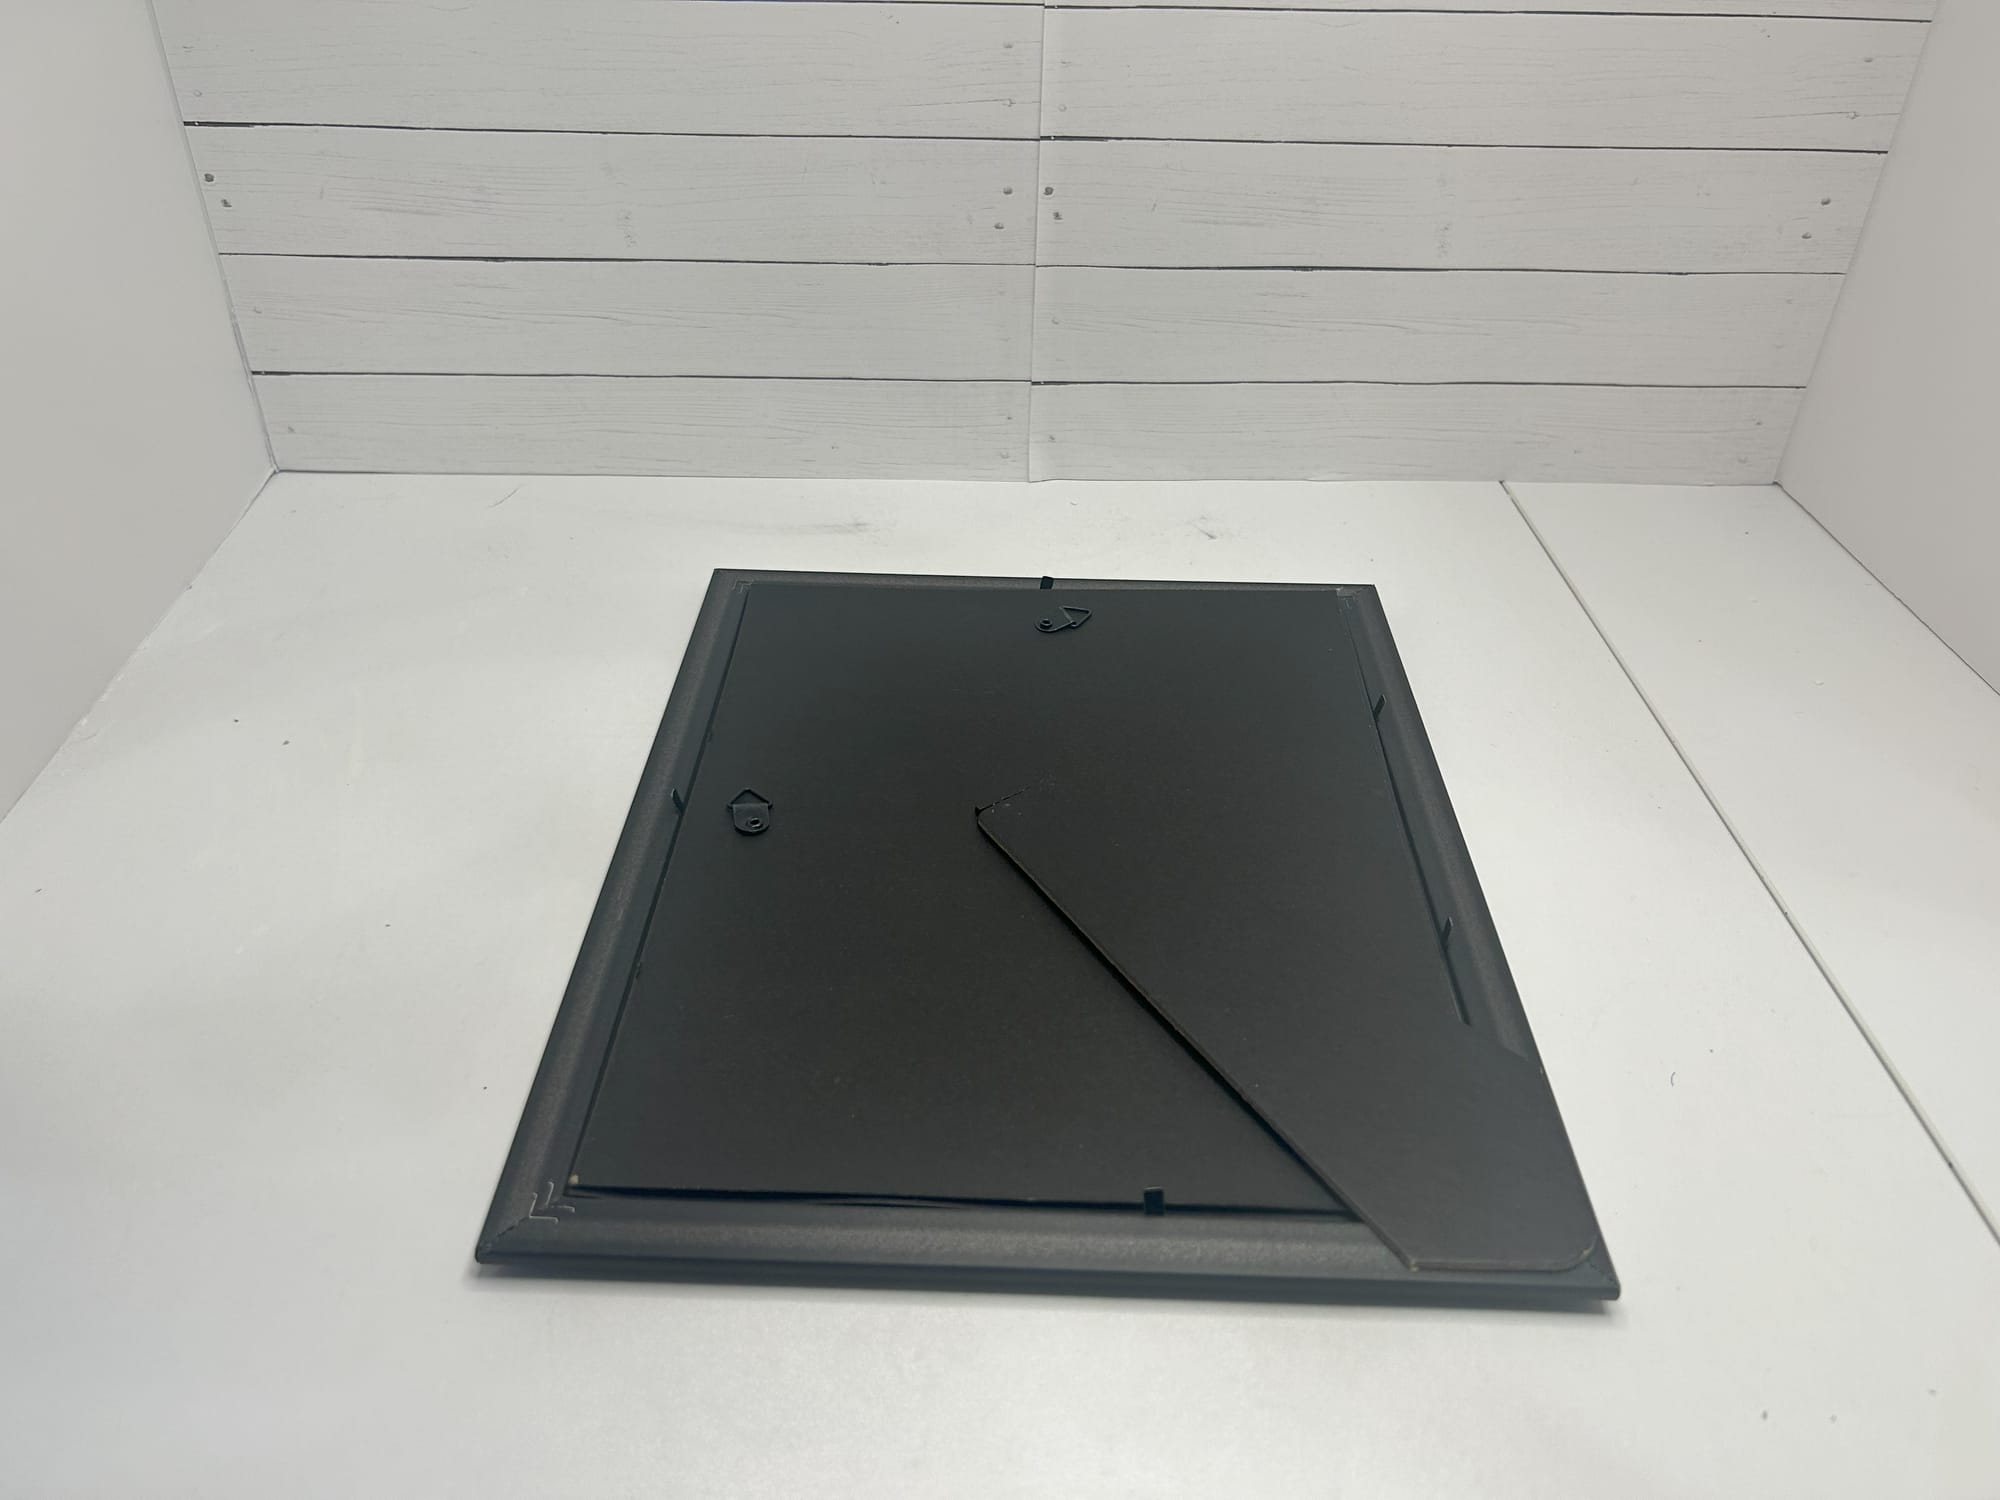
To begin you will need a frame for each member of your family. Again I purchased mine at the Dollar Tree. You will also need nautical rope, also available at the Dollar Tree.
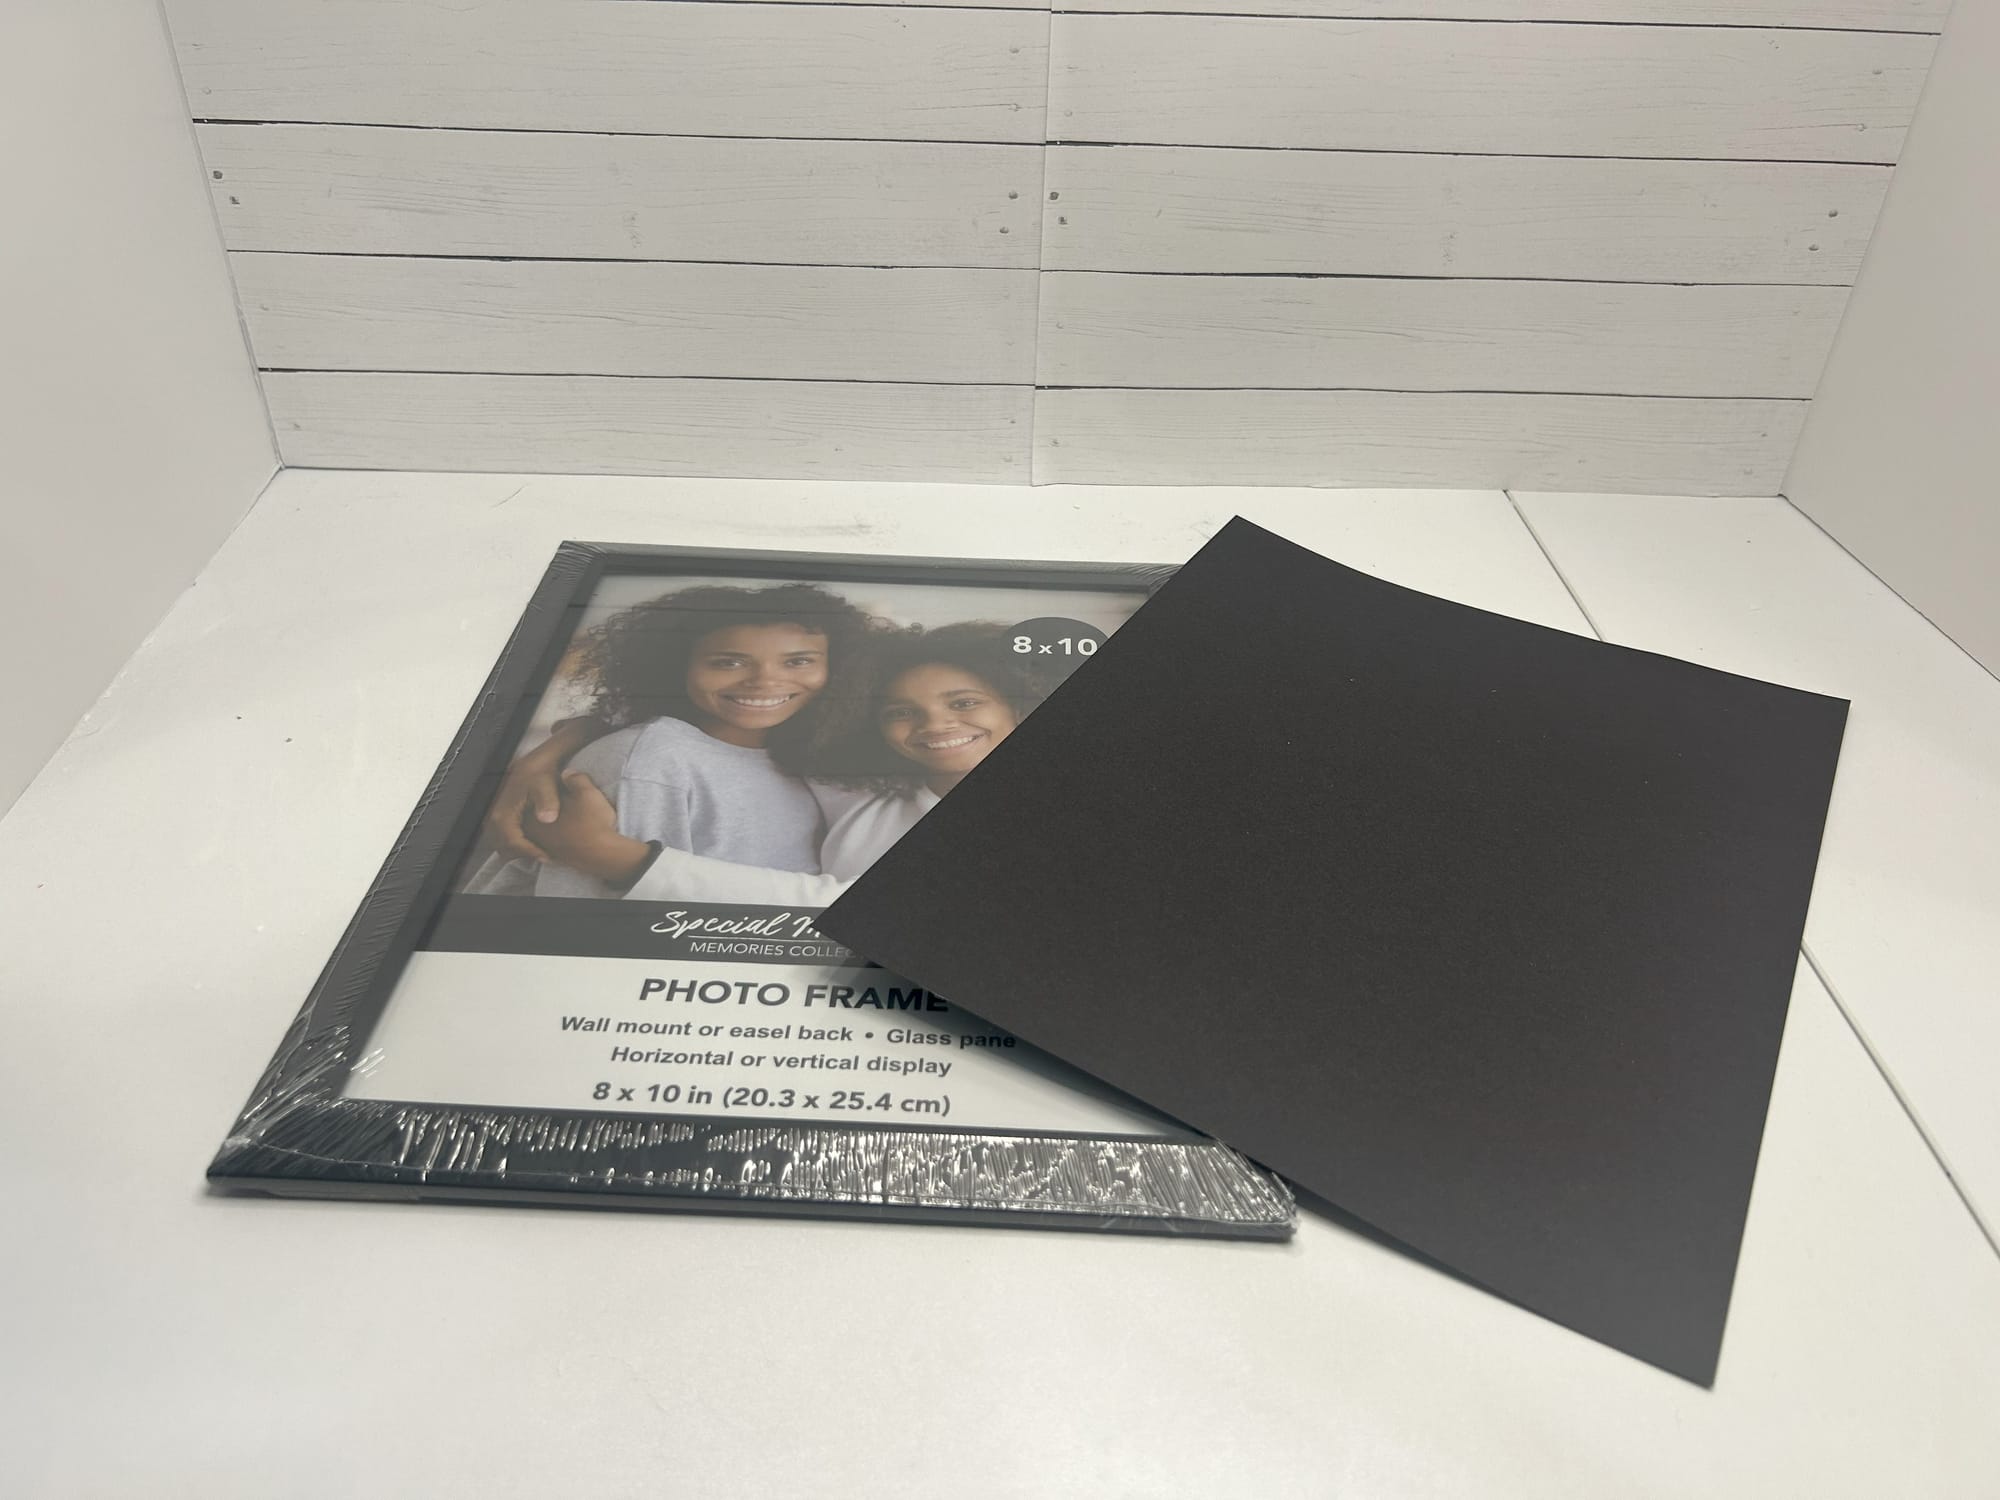
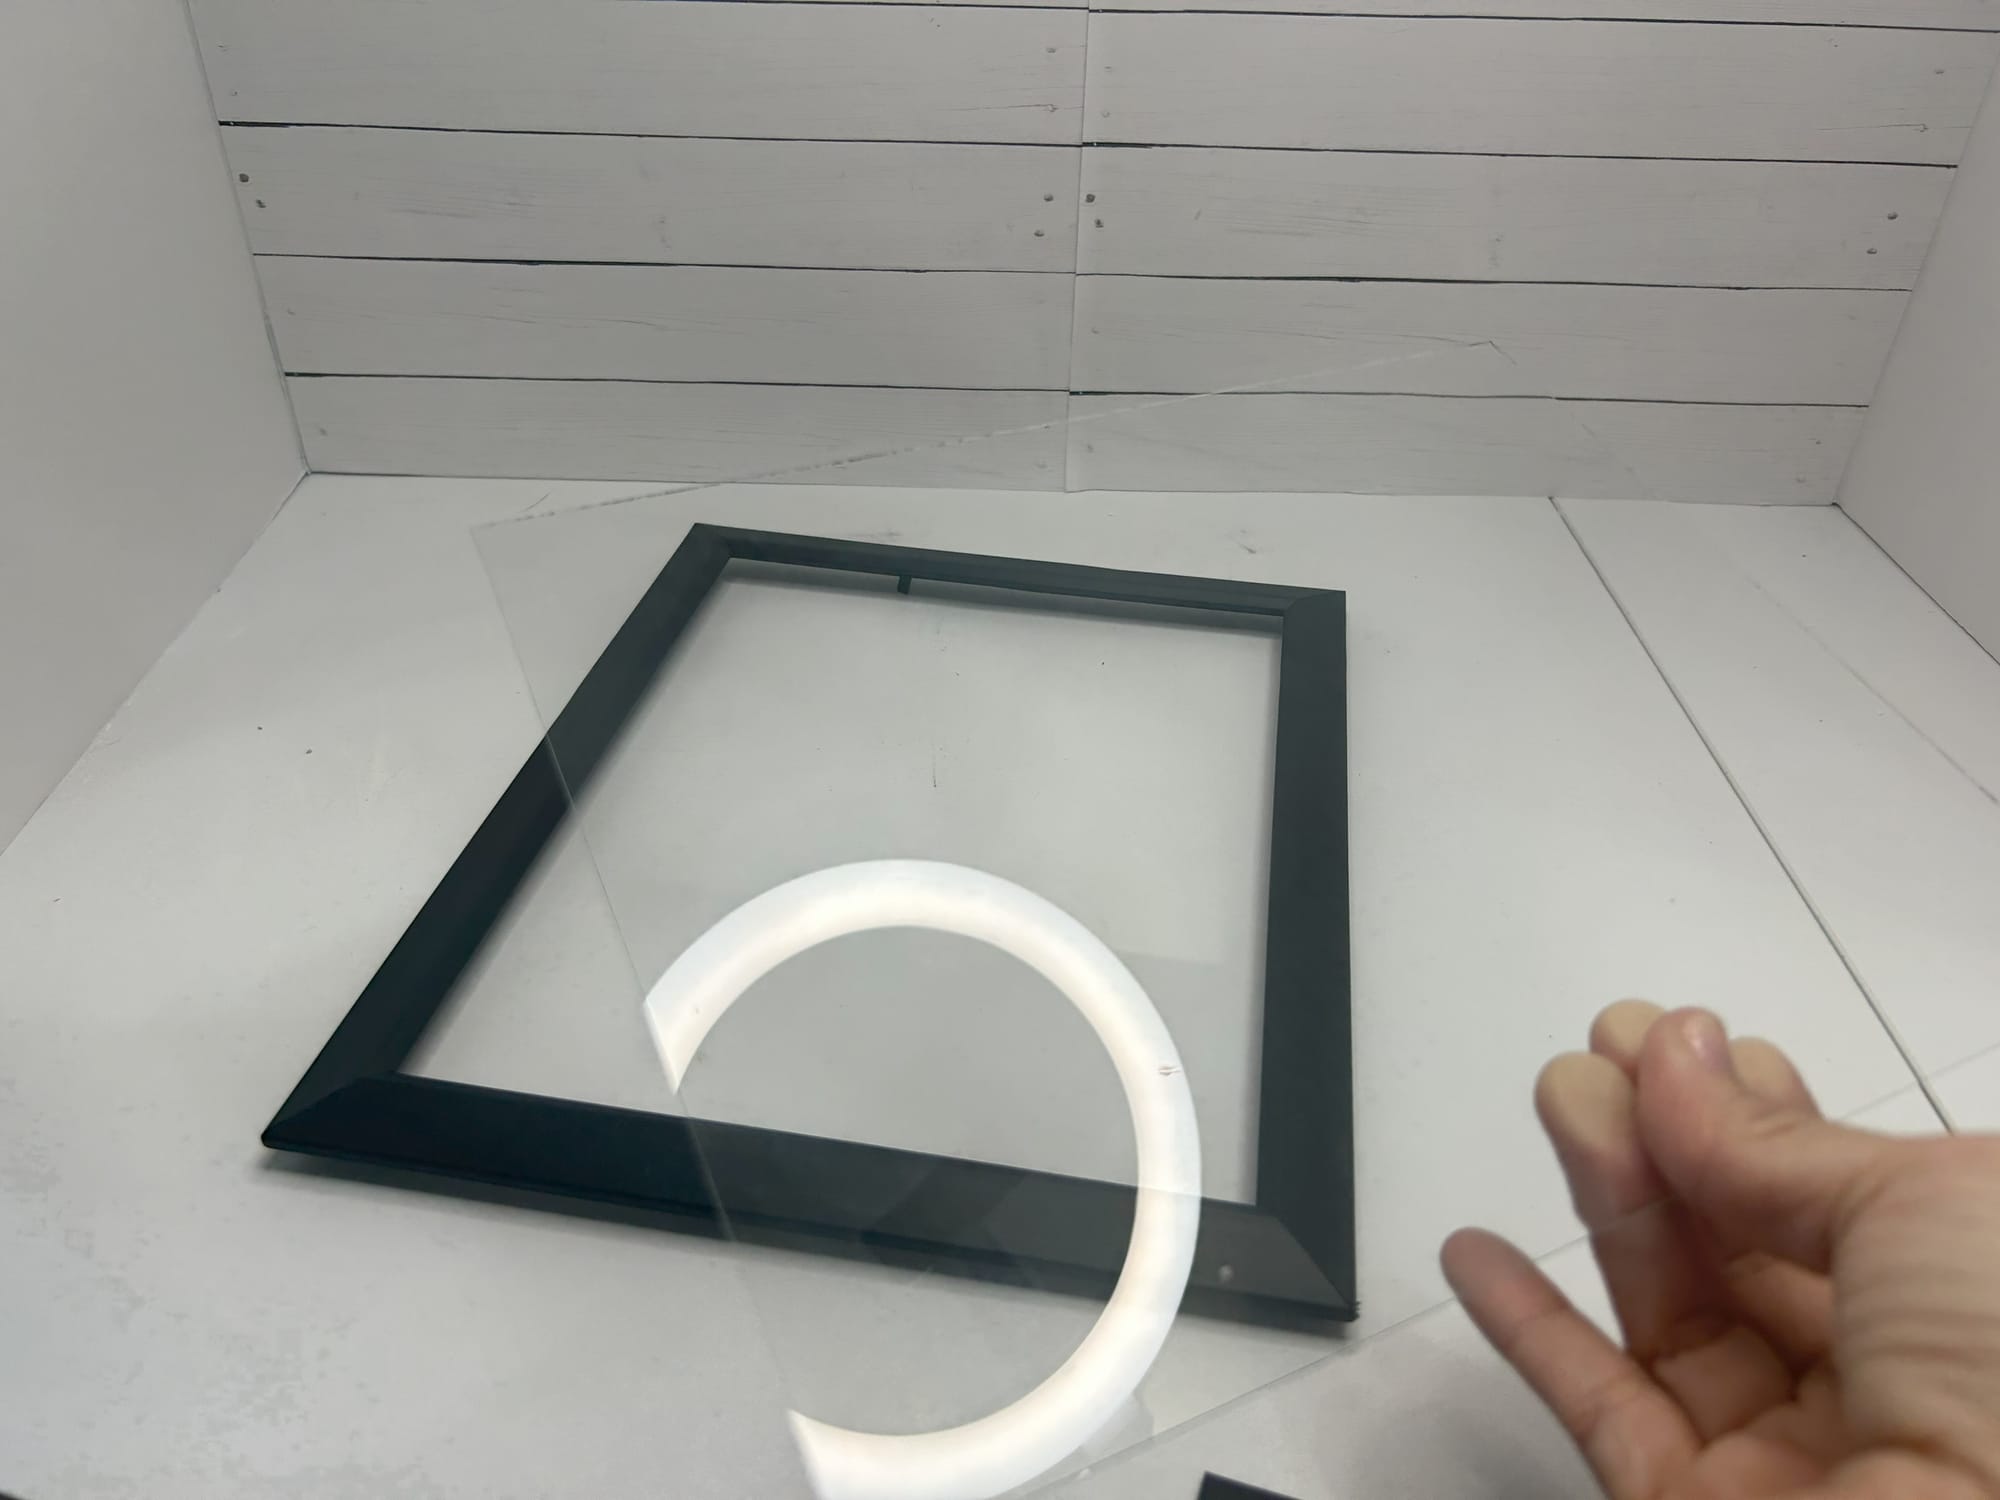
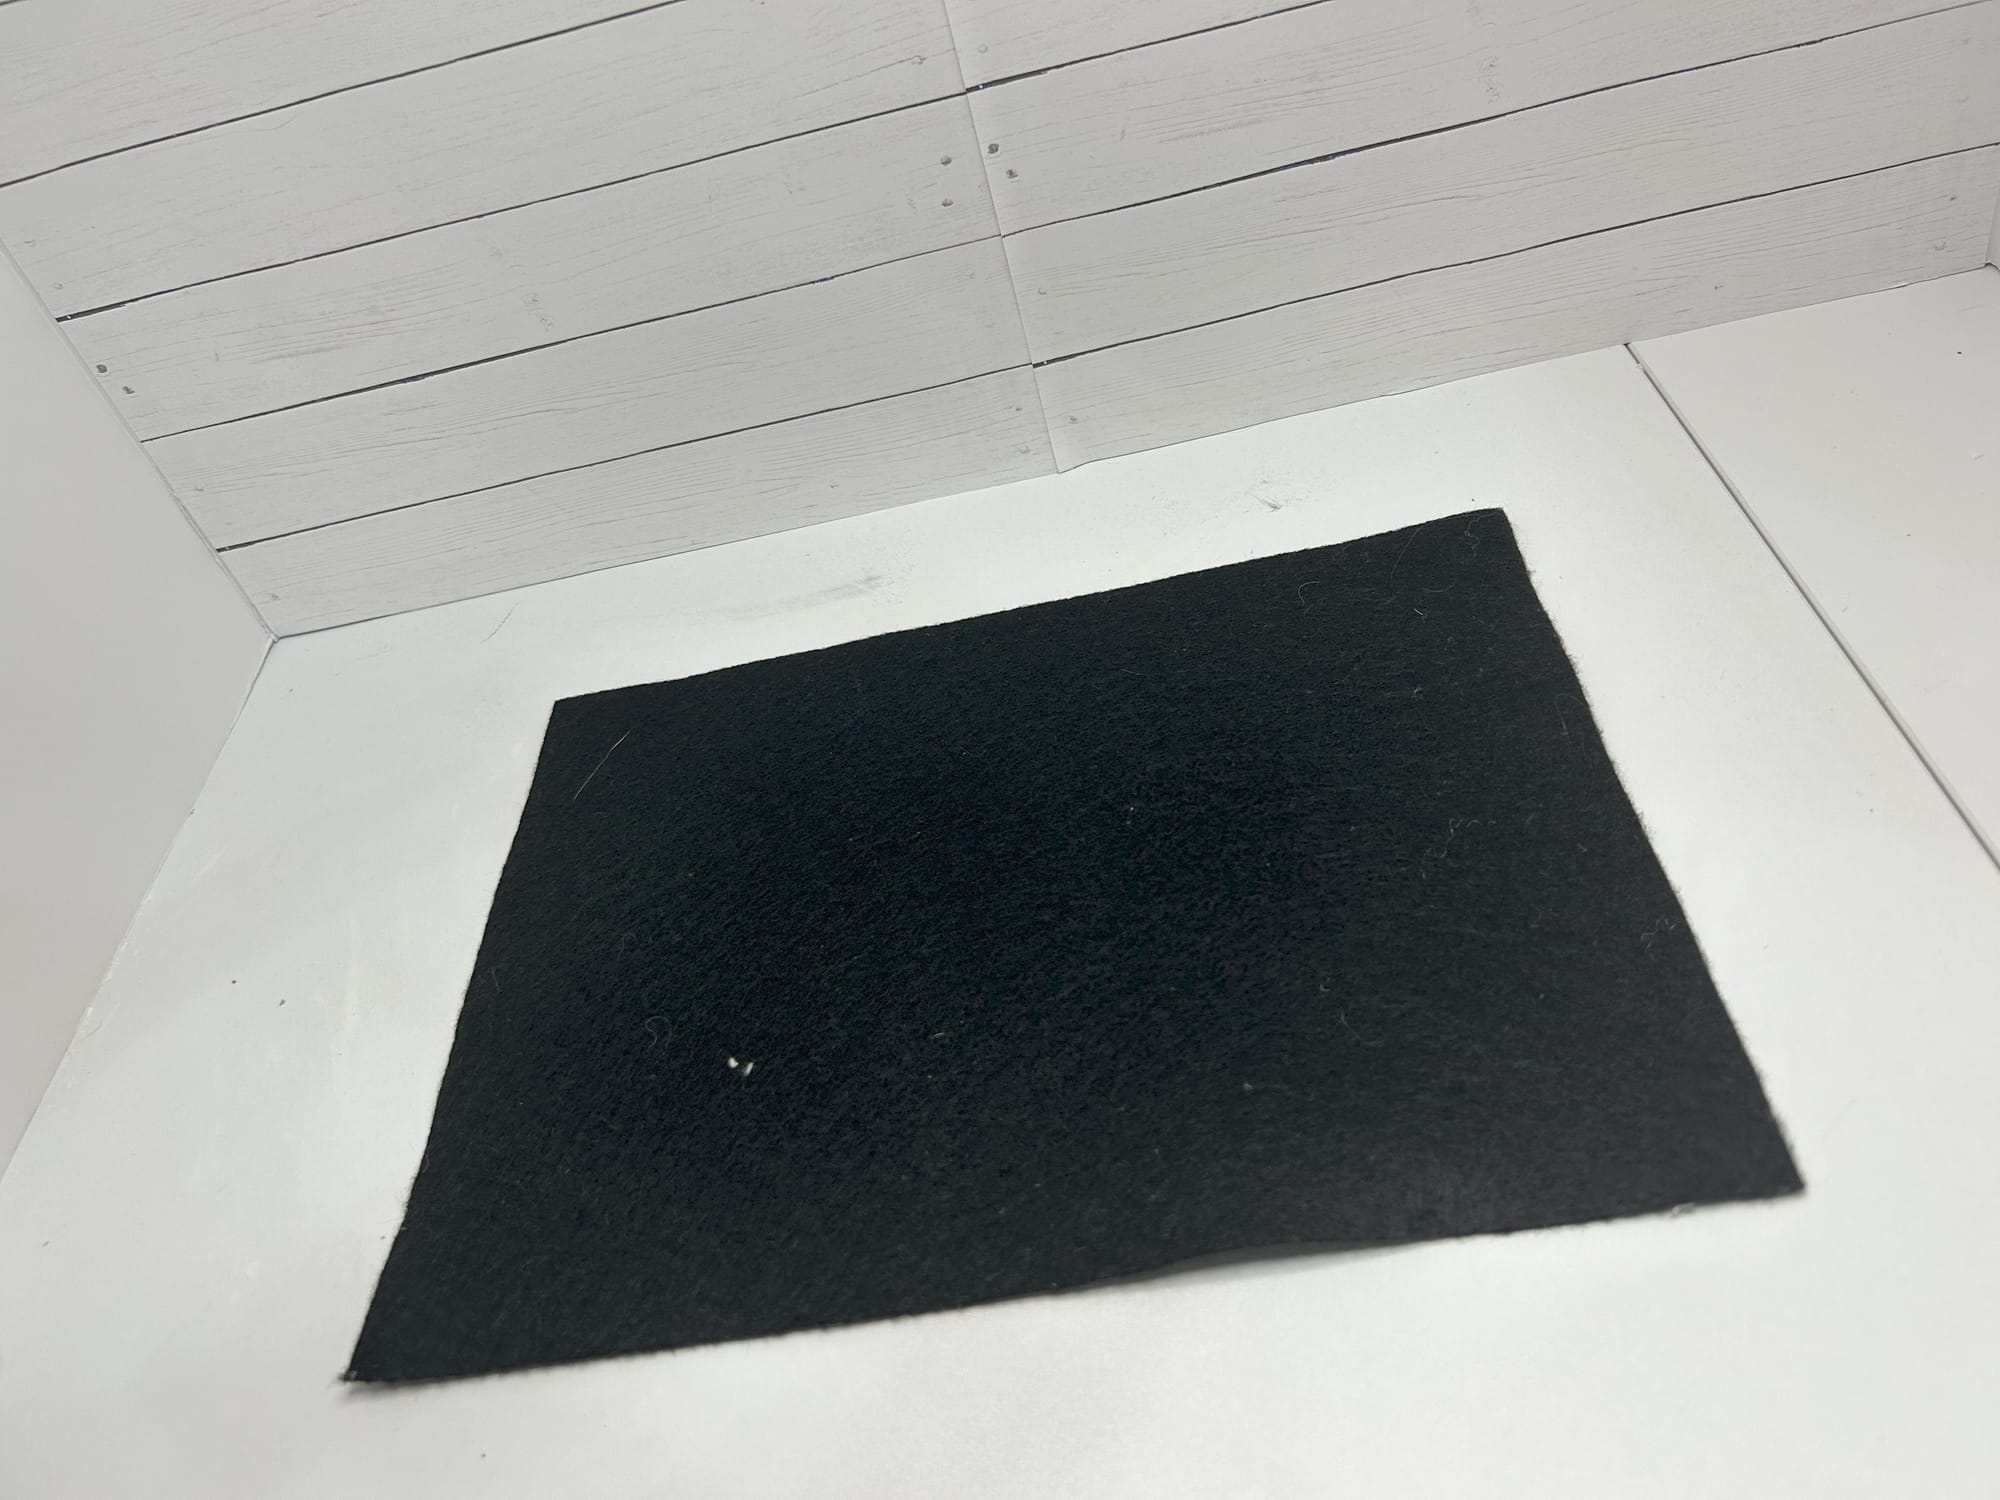
To begin, remove the glass from the frames. You will then need to create a background. You can certainly use any color you would like or even use a Halloween themed scrapbook paper. I recommend using a piece of cardstock for added stability. However, it is not necessary. I used plain black paper and they turned out great.
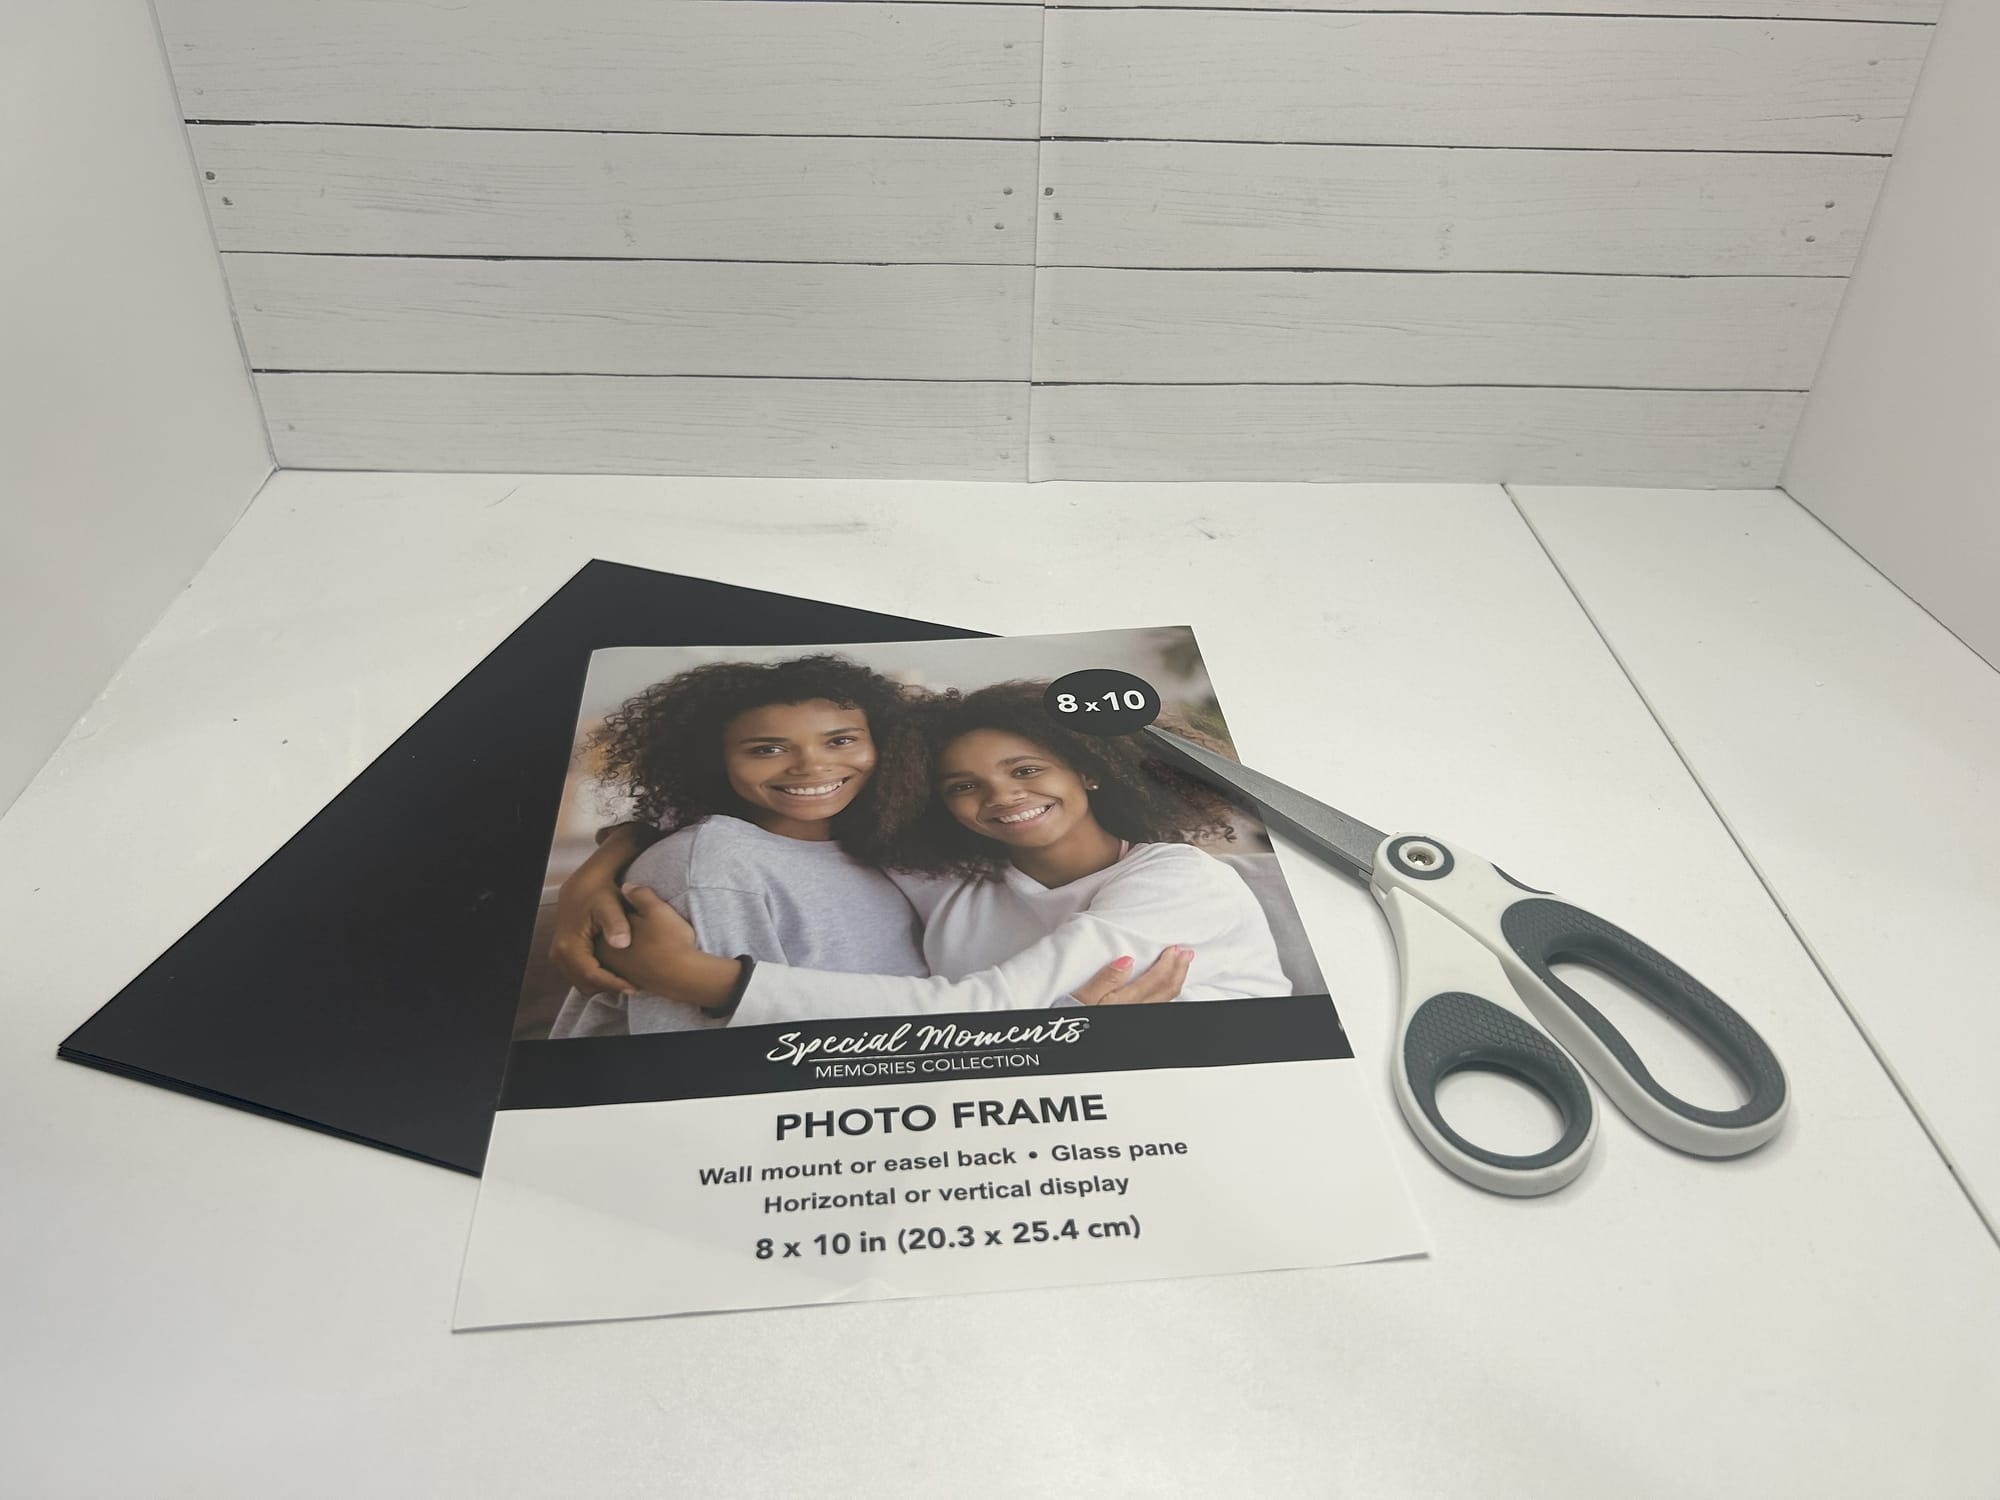
Next, I used the picture frame insert to cut the paper to size. Repeat for all the frames.
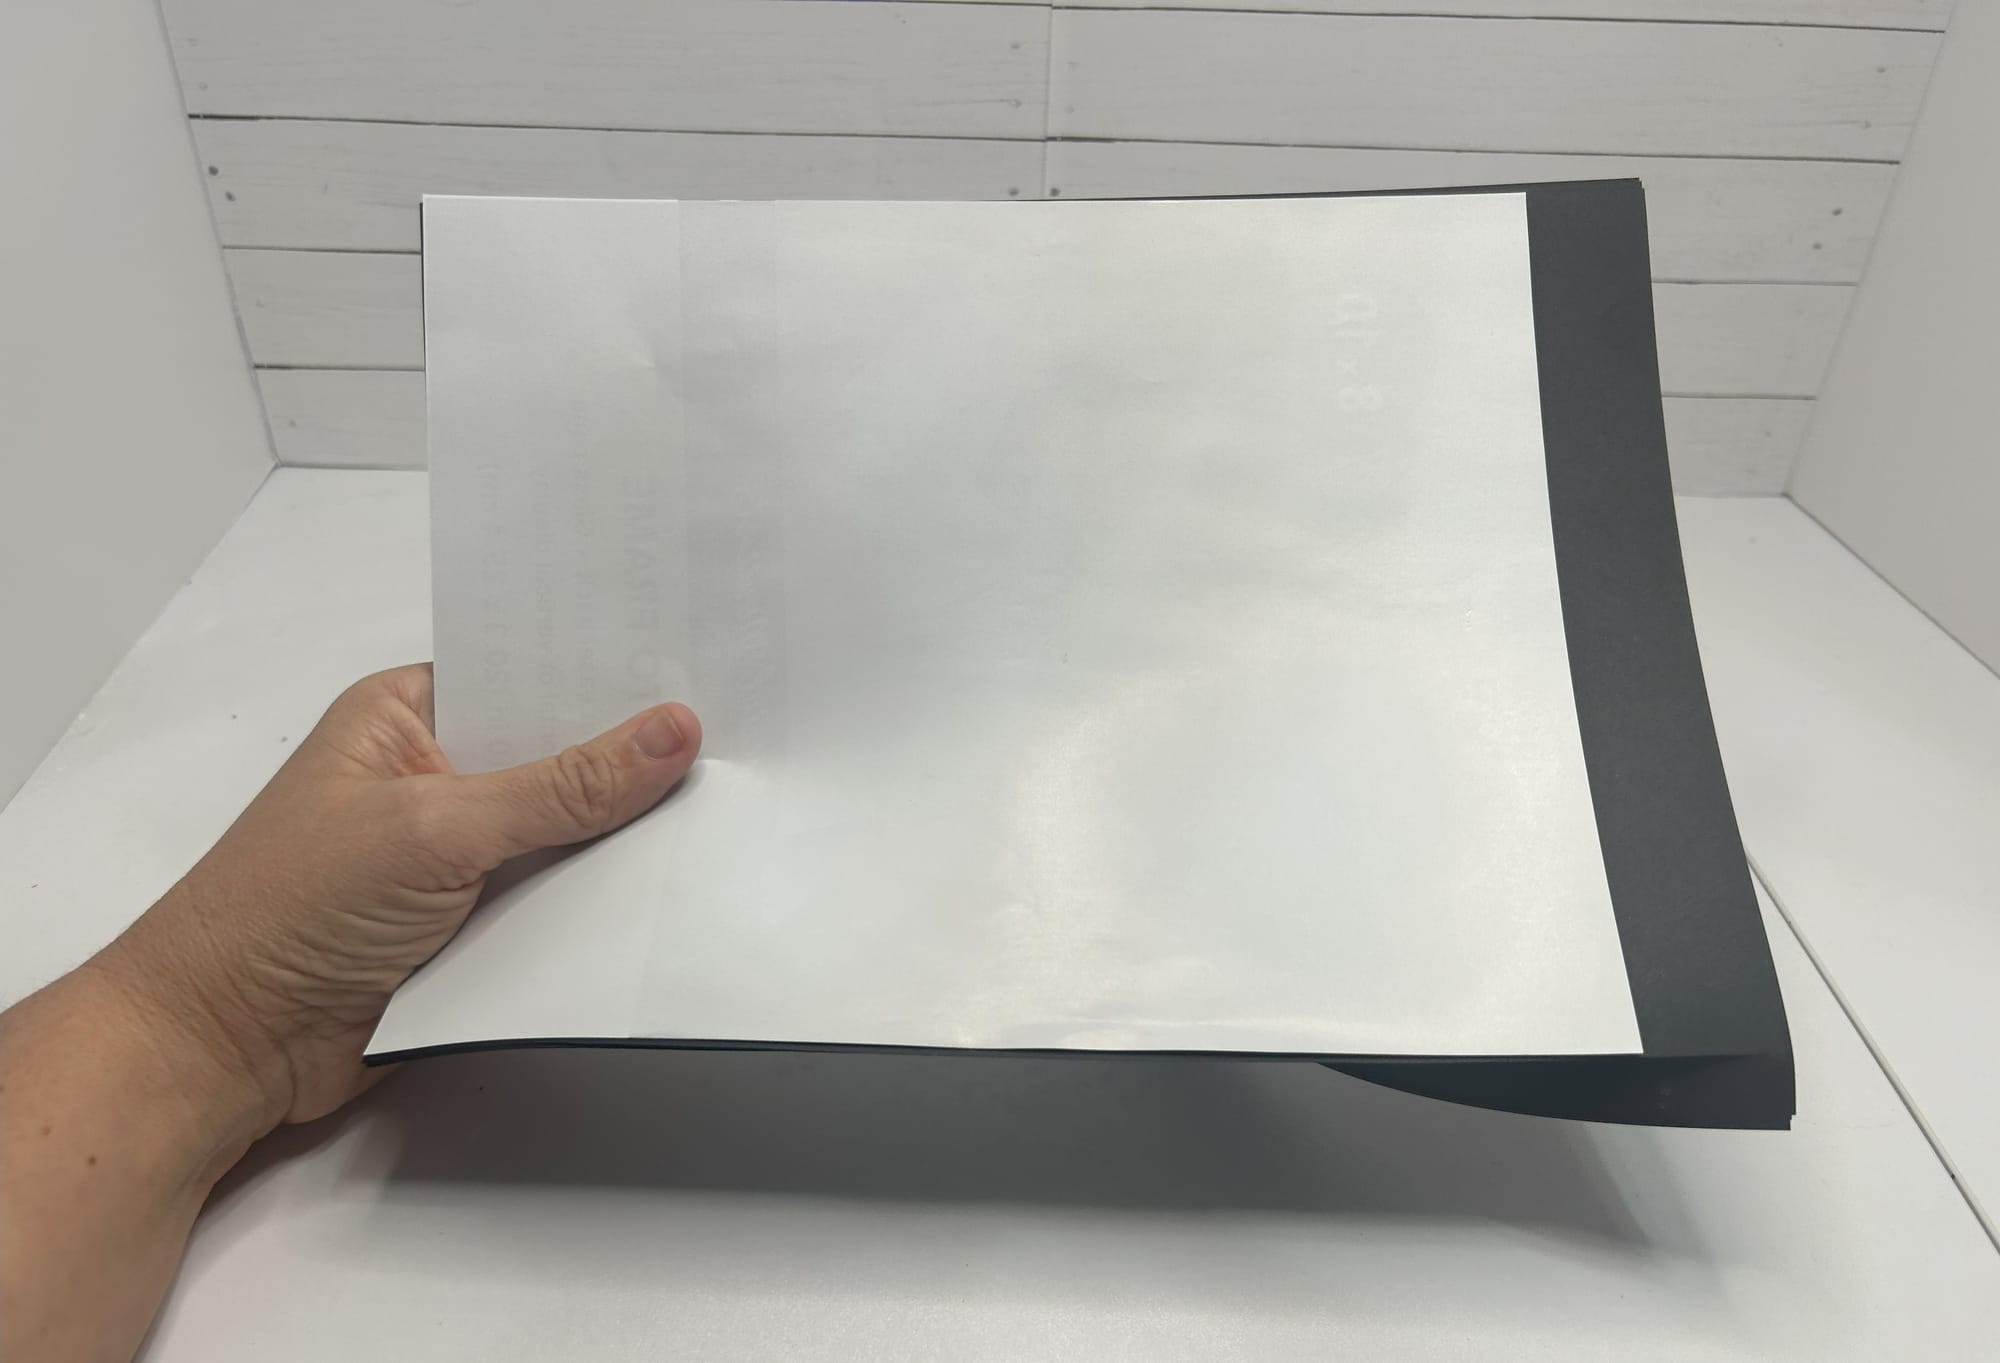
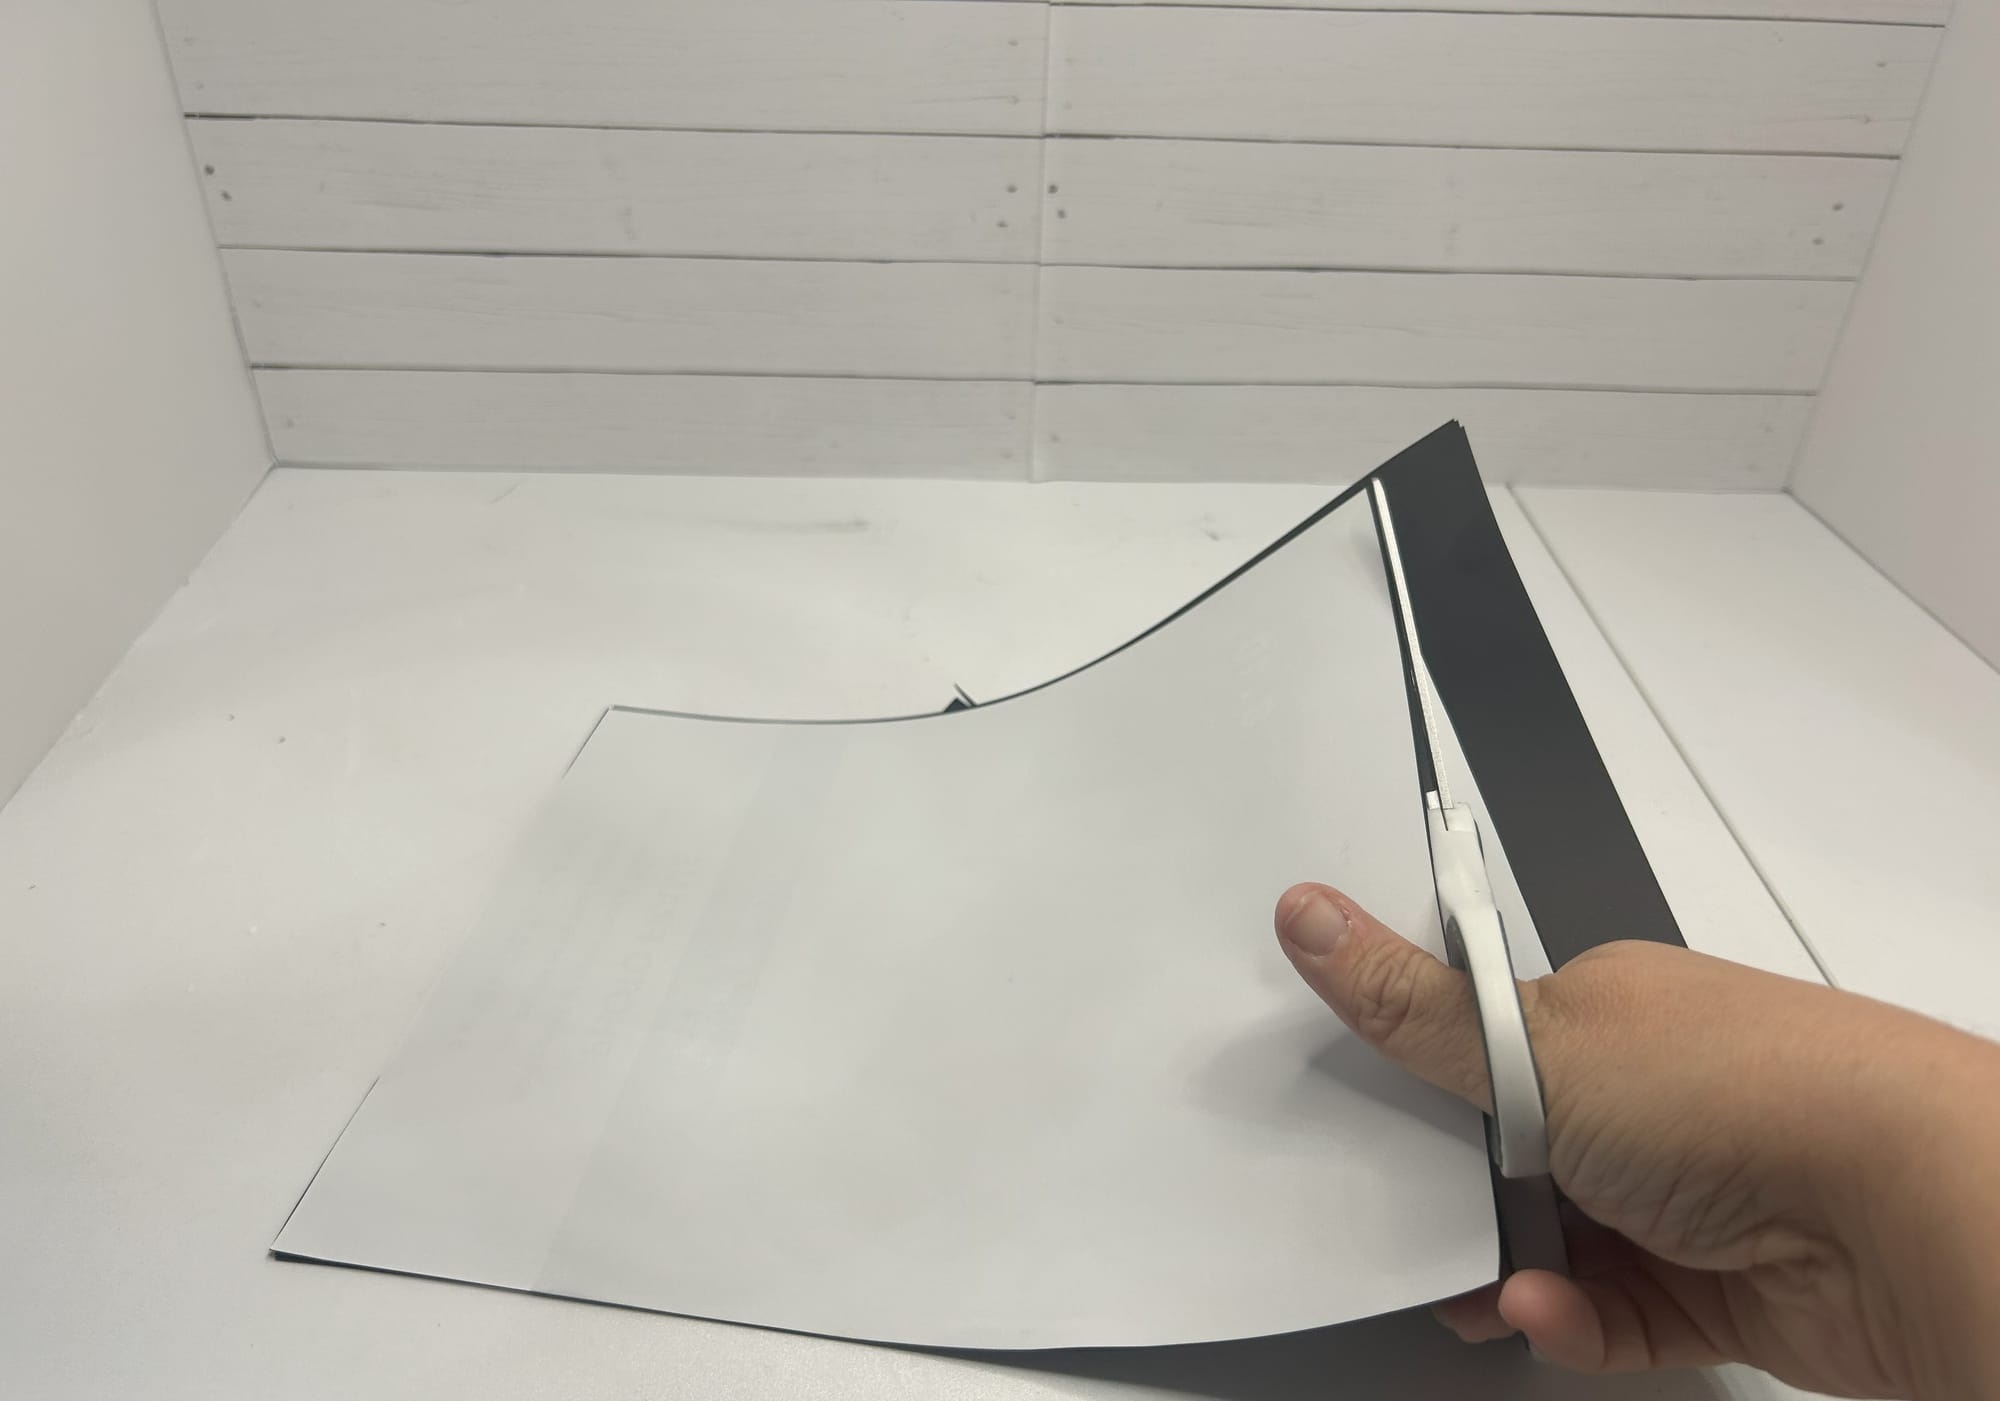
Use the insert to help cut the paper to size.
Now place all the background paper you cut and place it inside the frames.
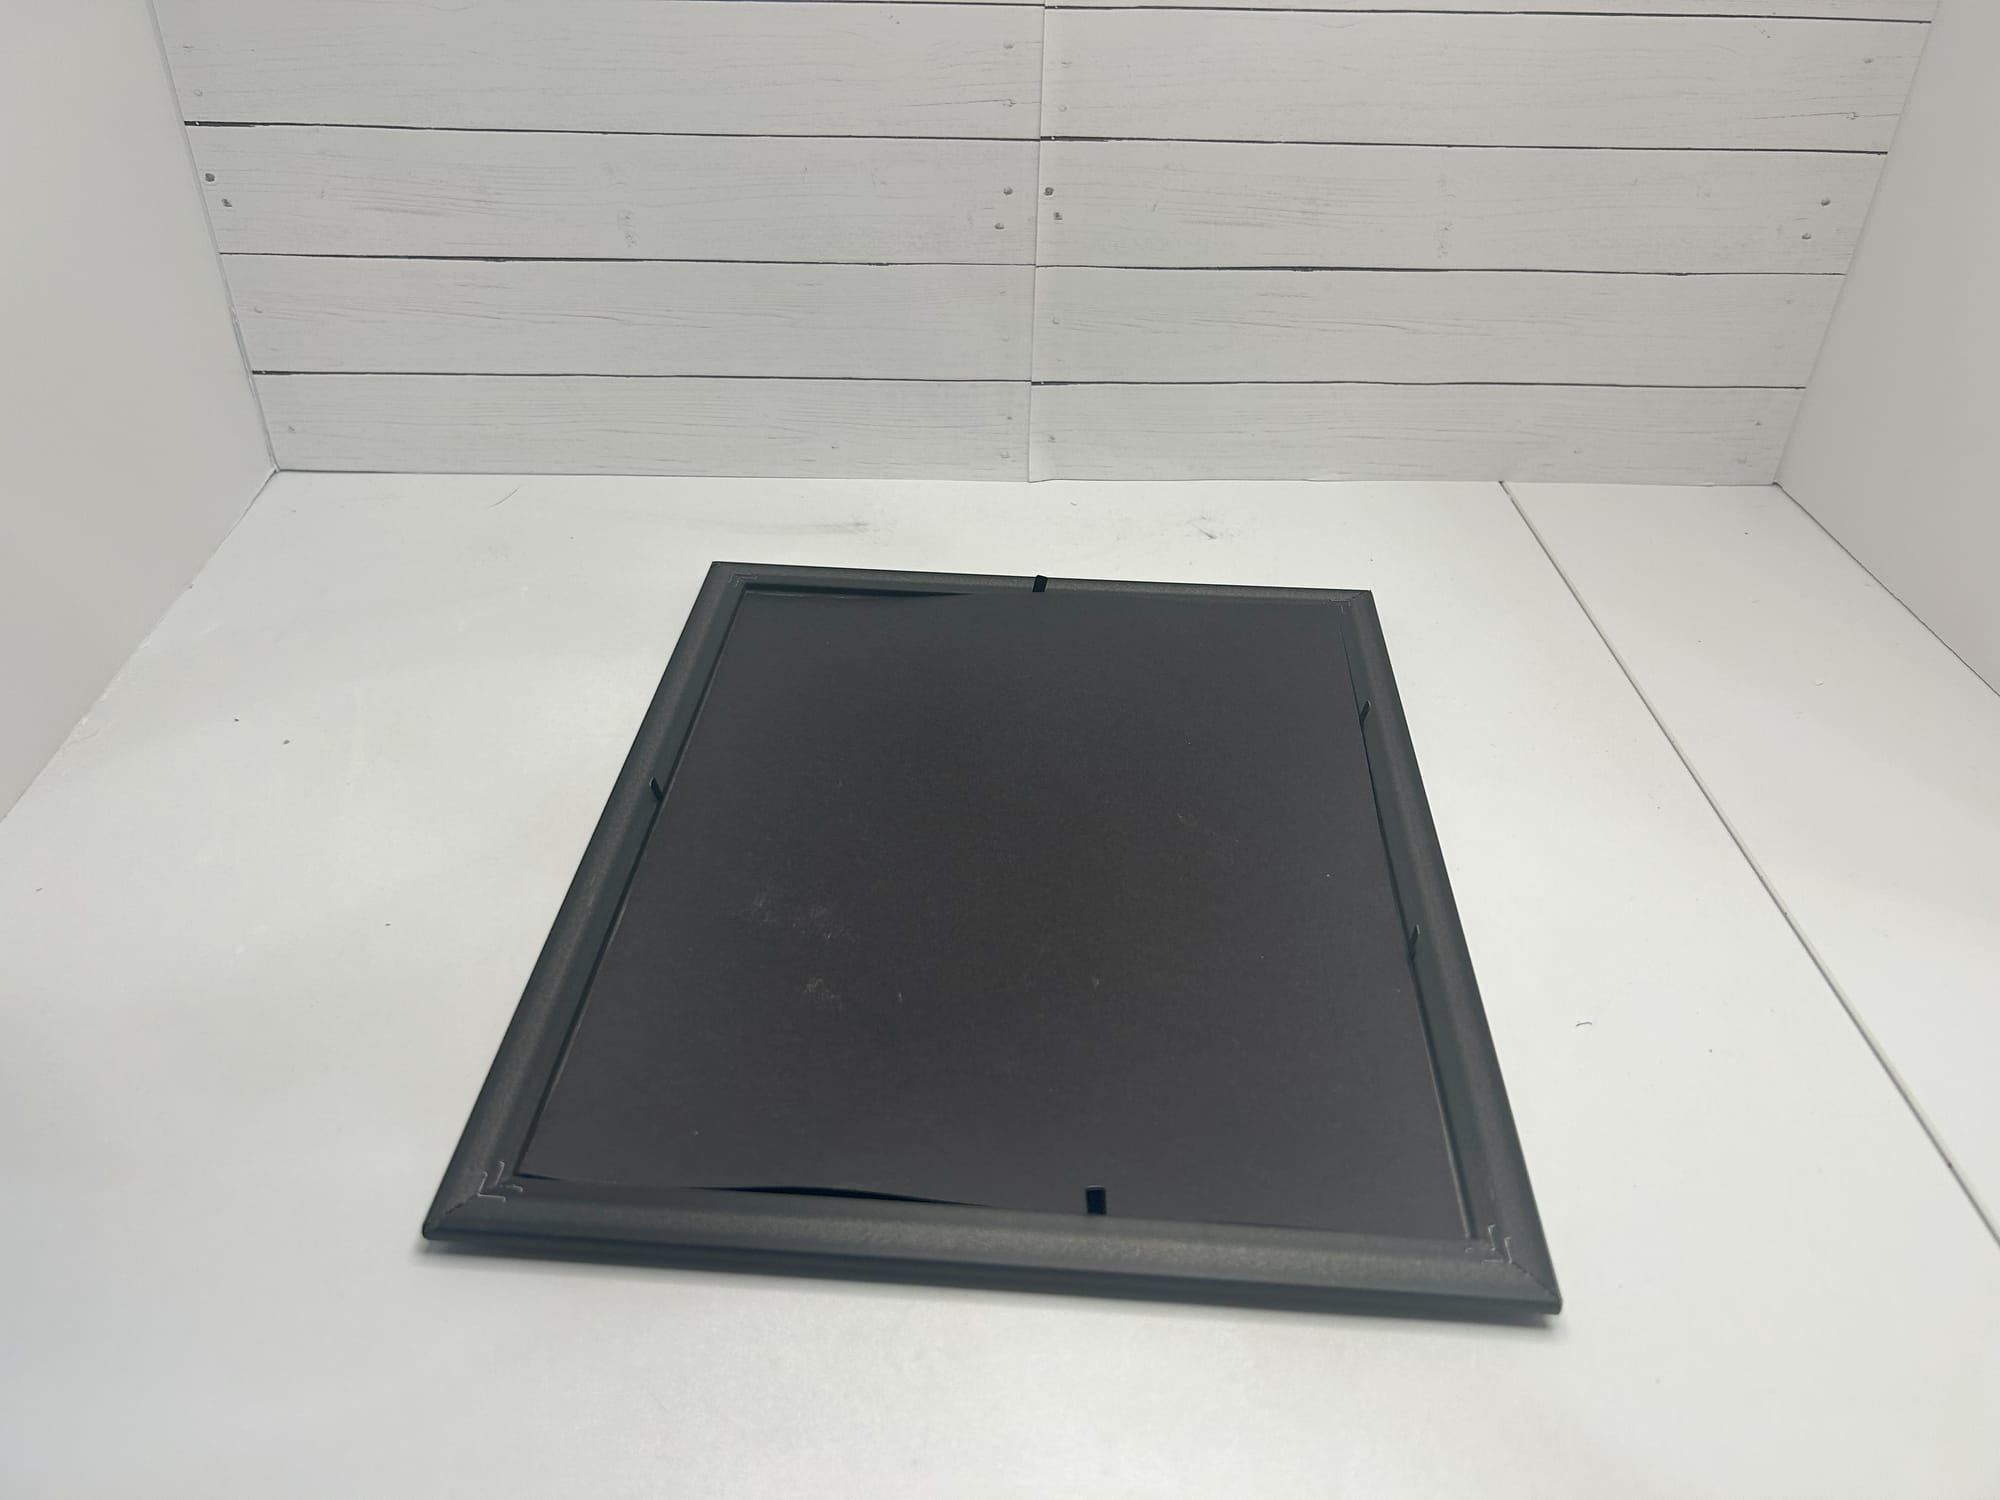
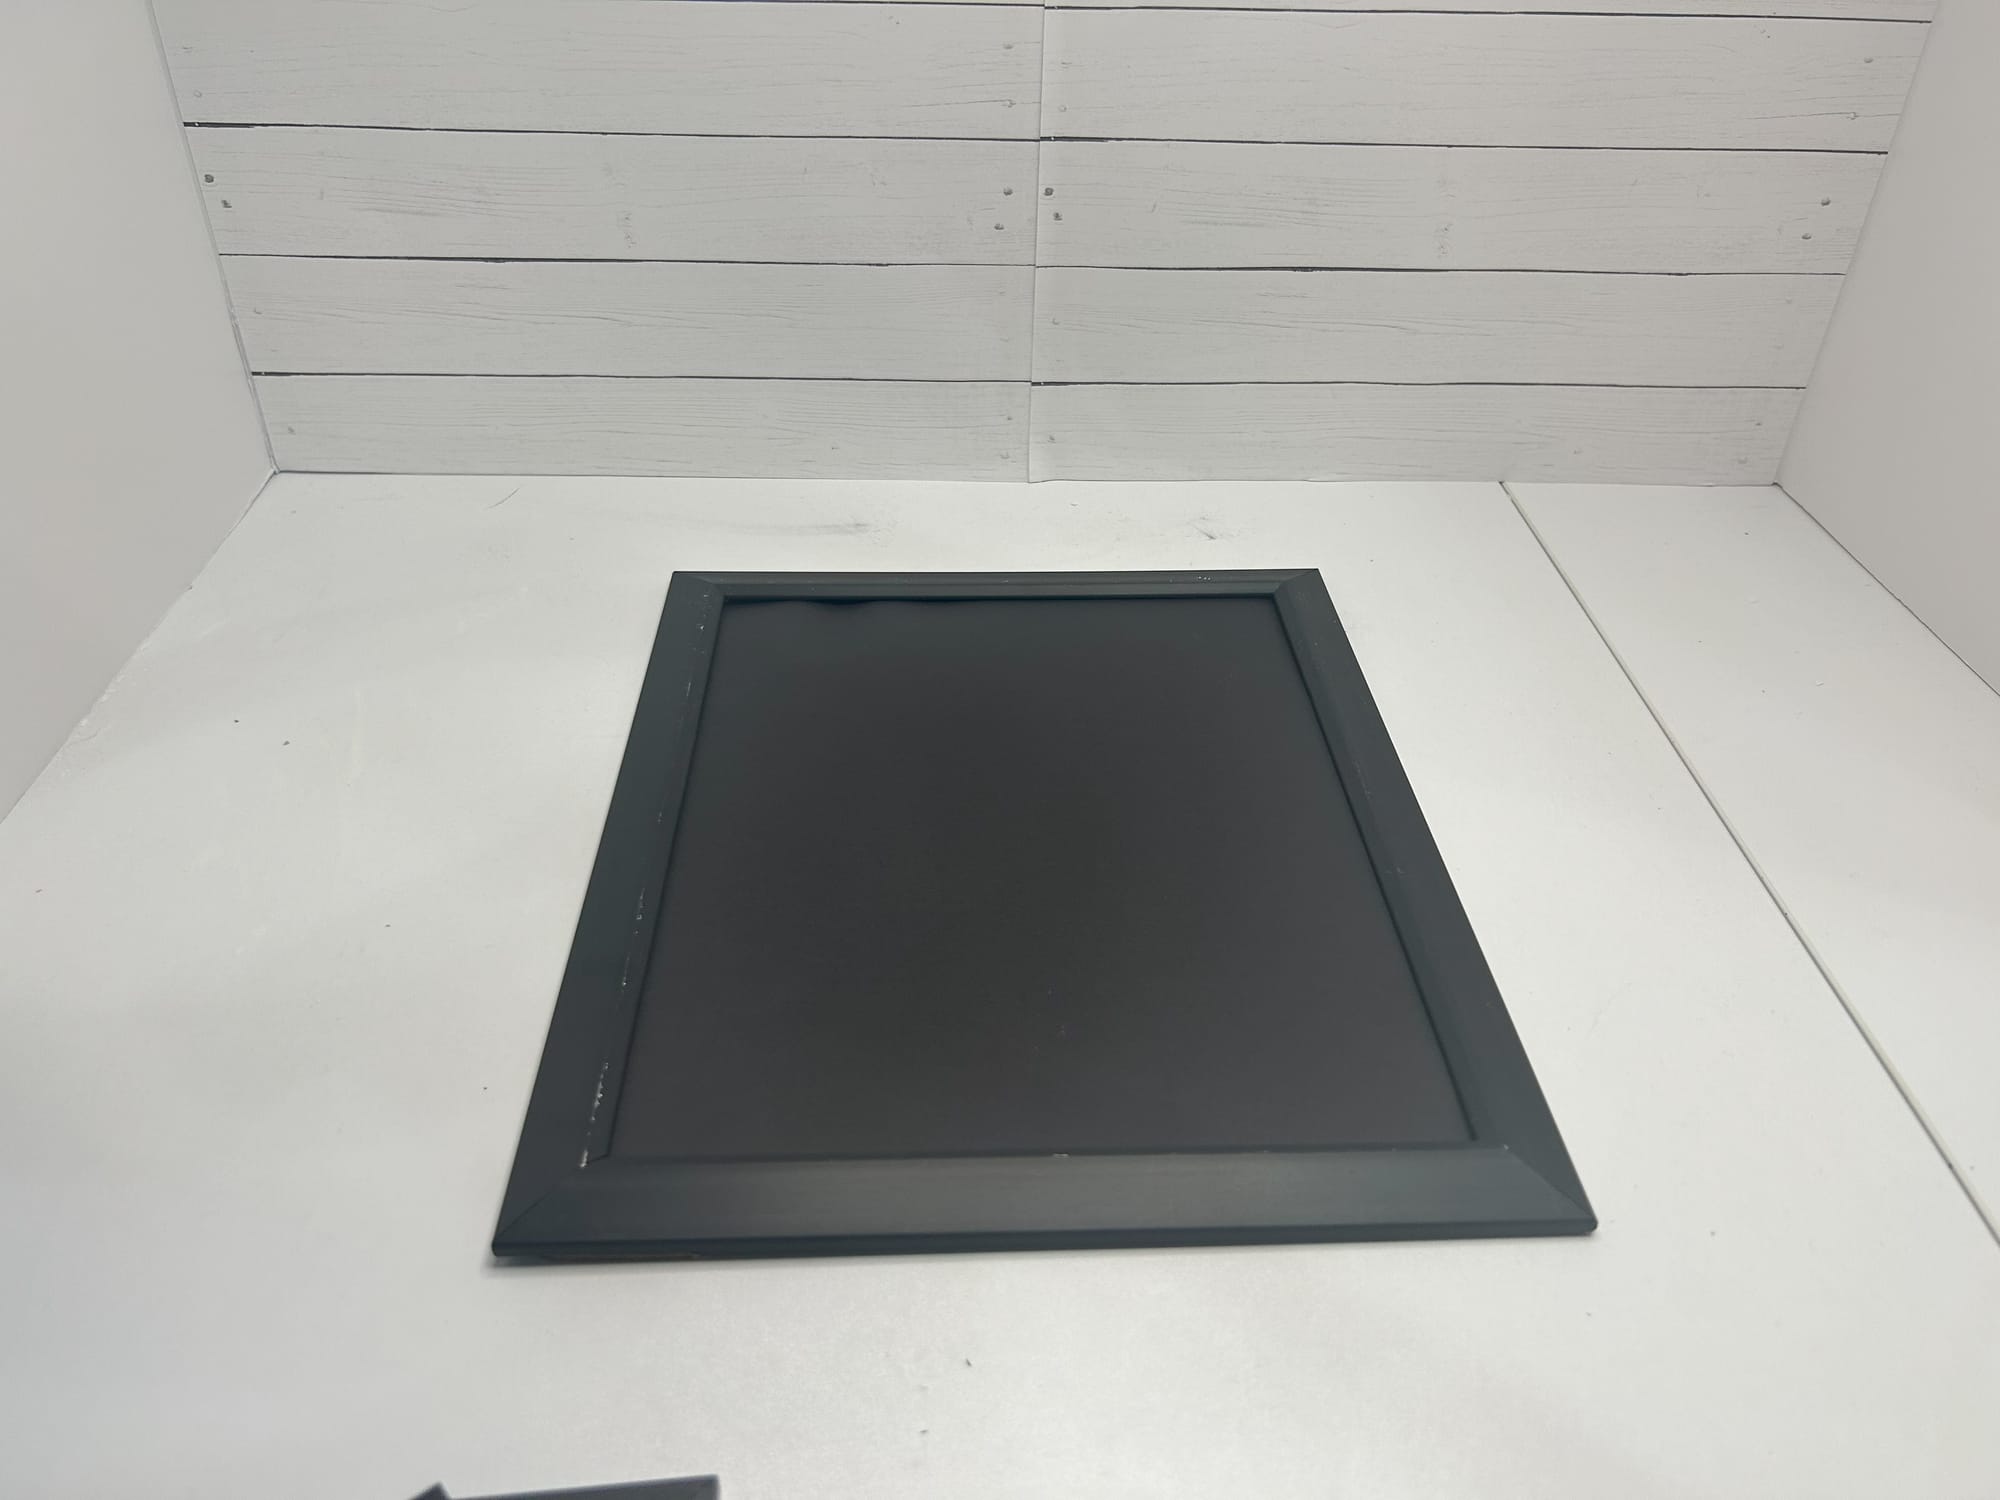
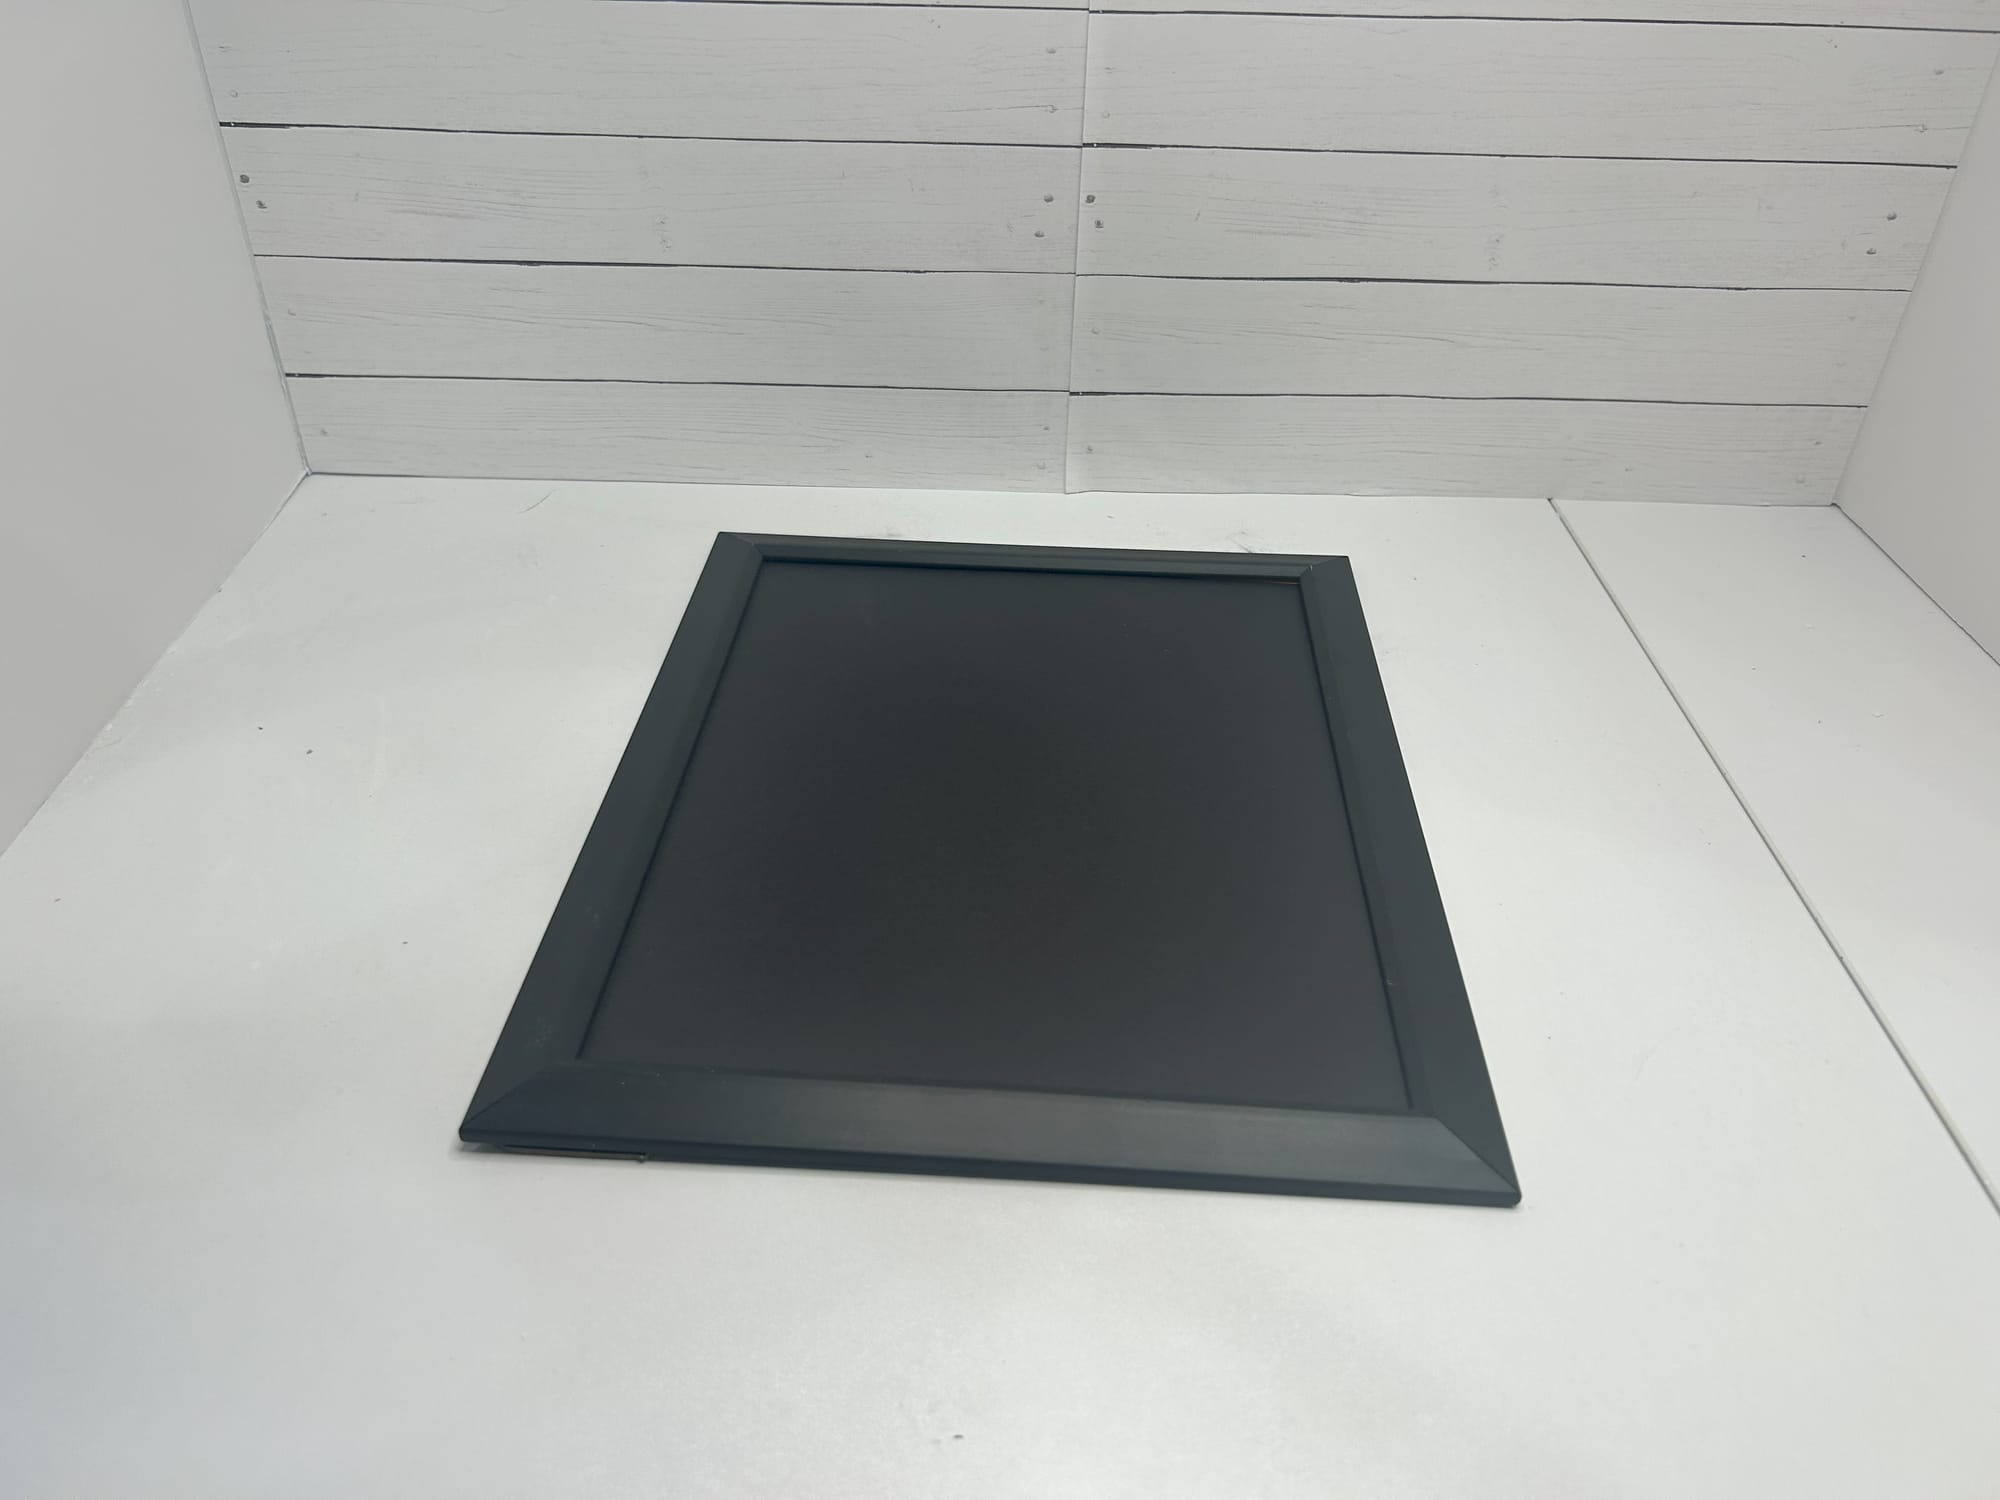
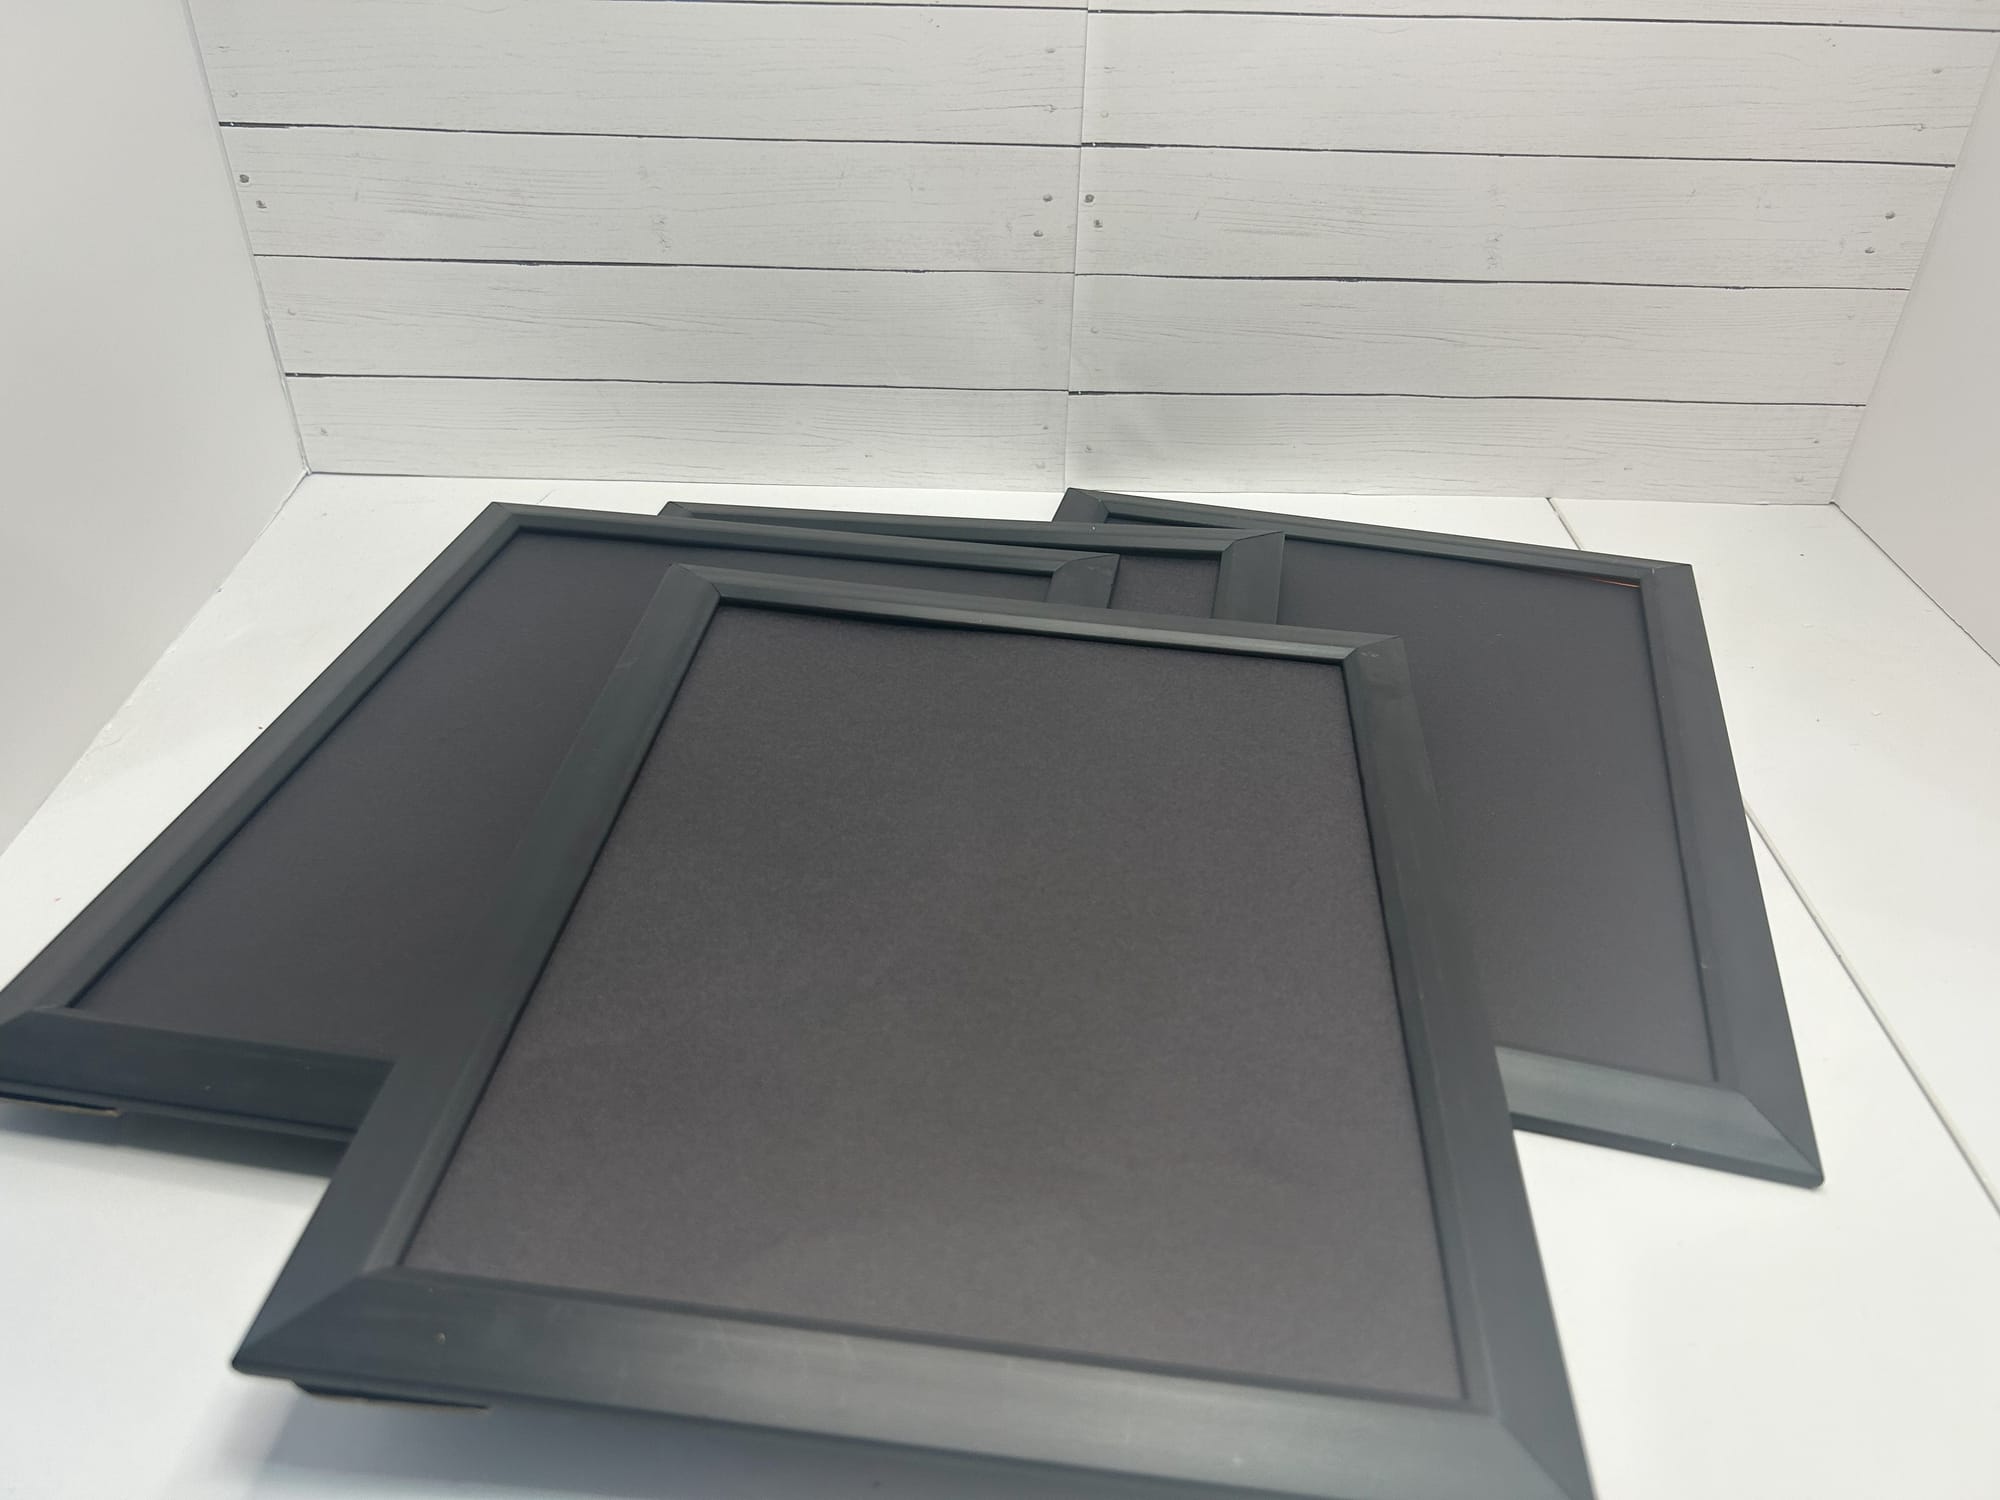
Prepare the frames by placing a piece of paper in the frames.
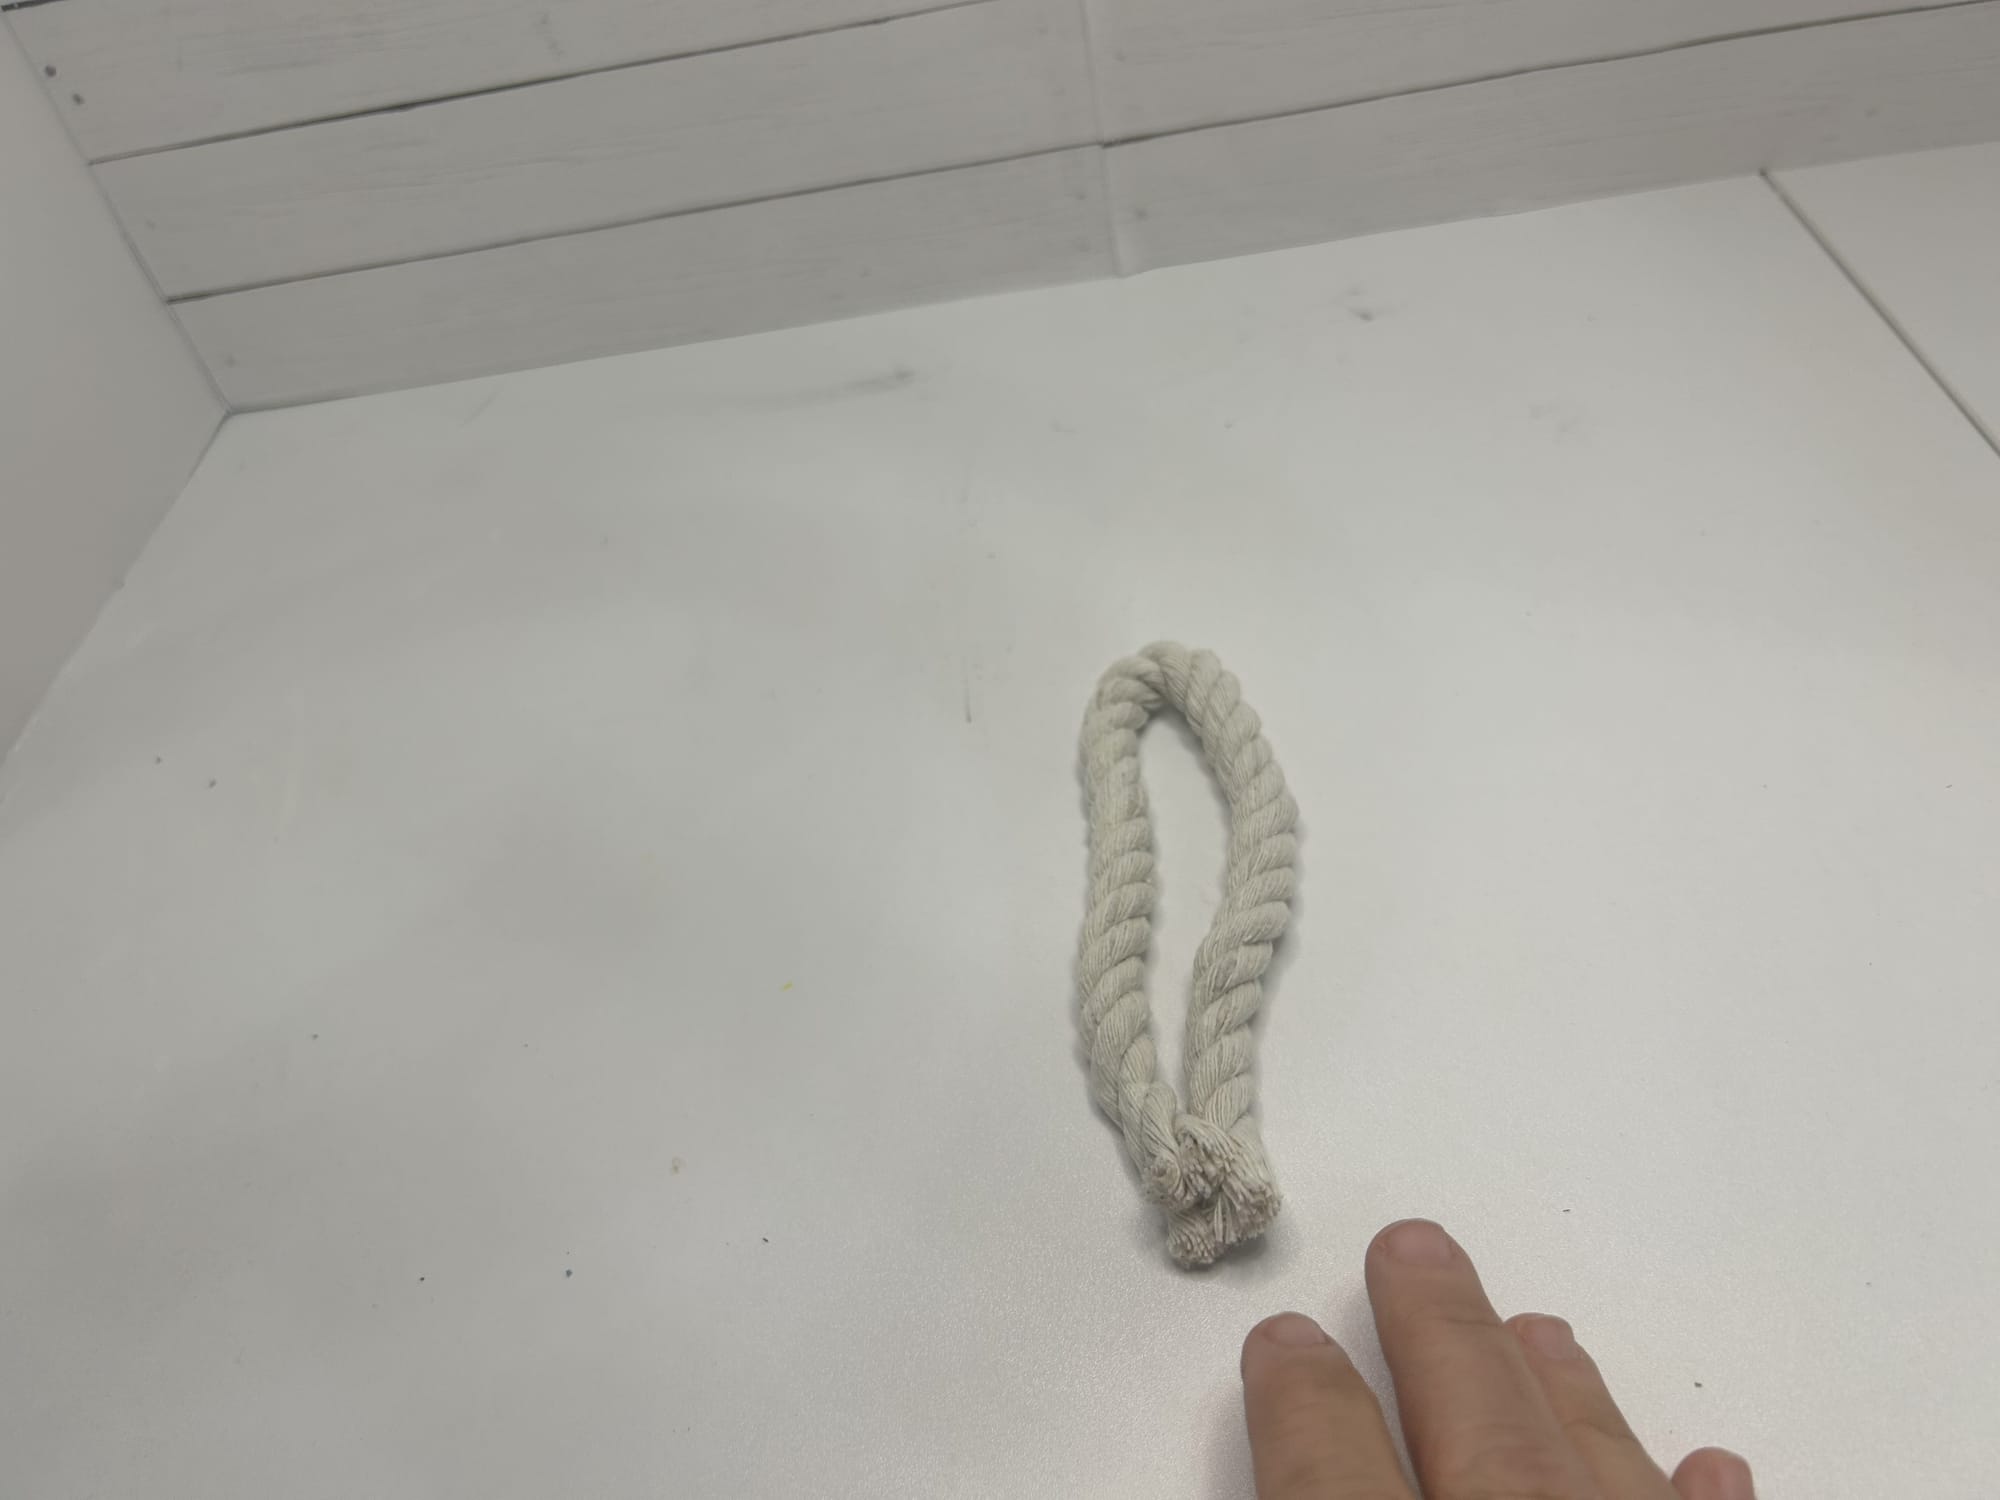
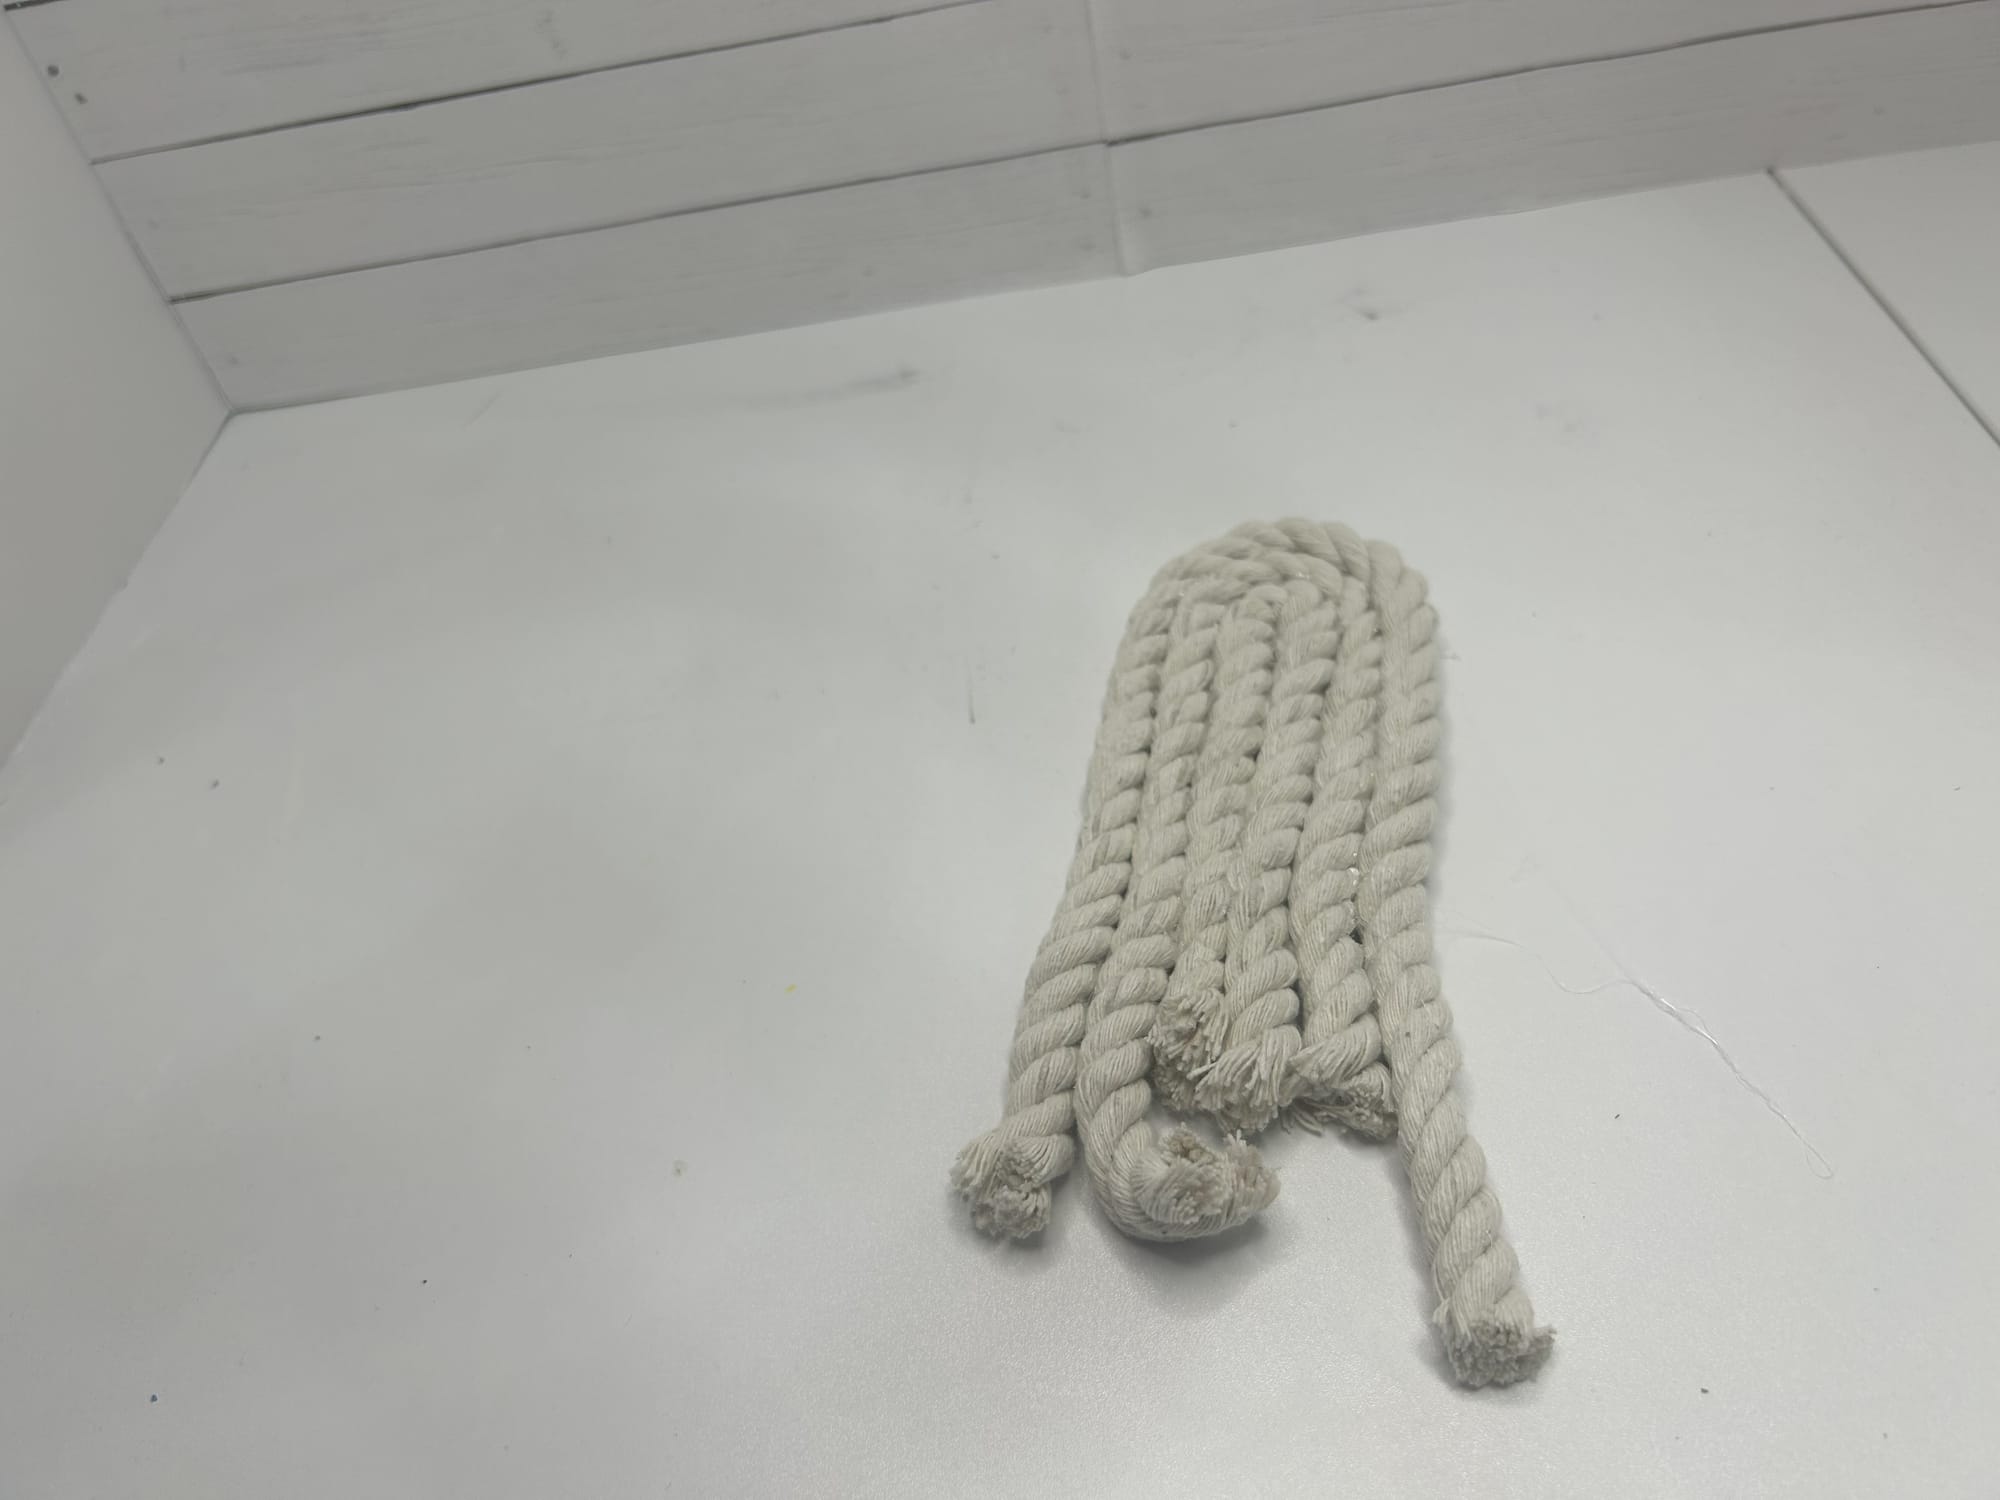
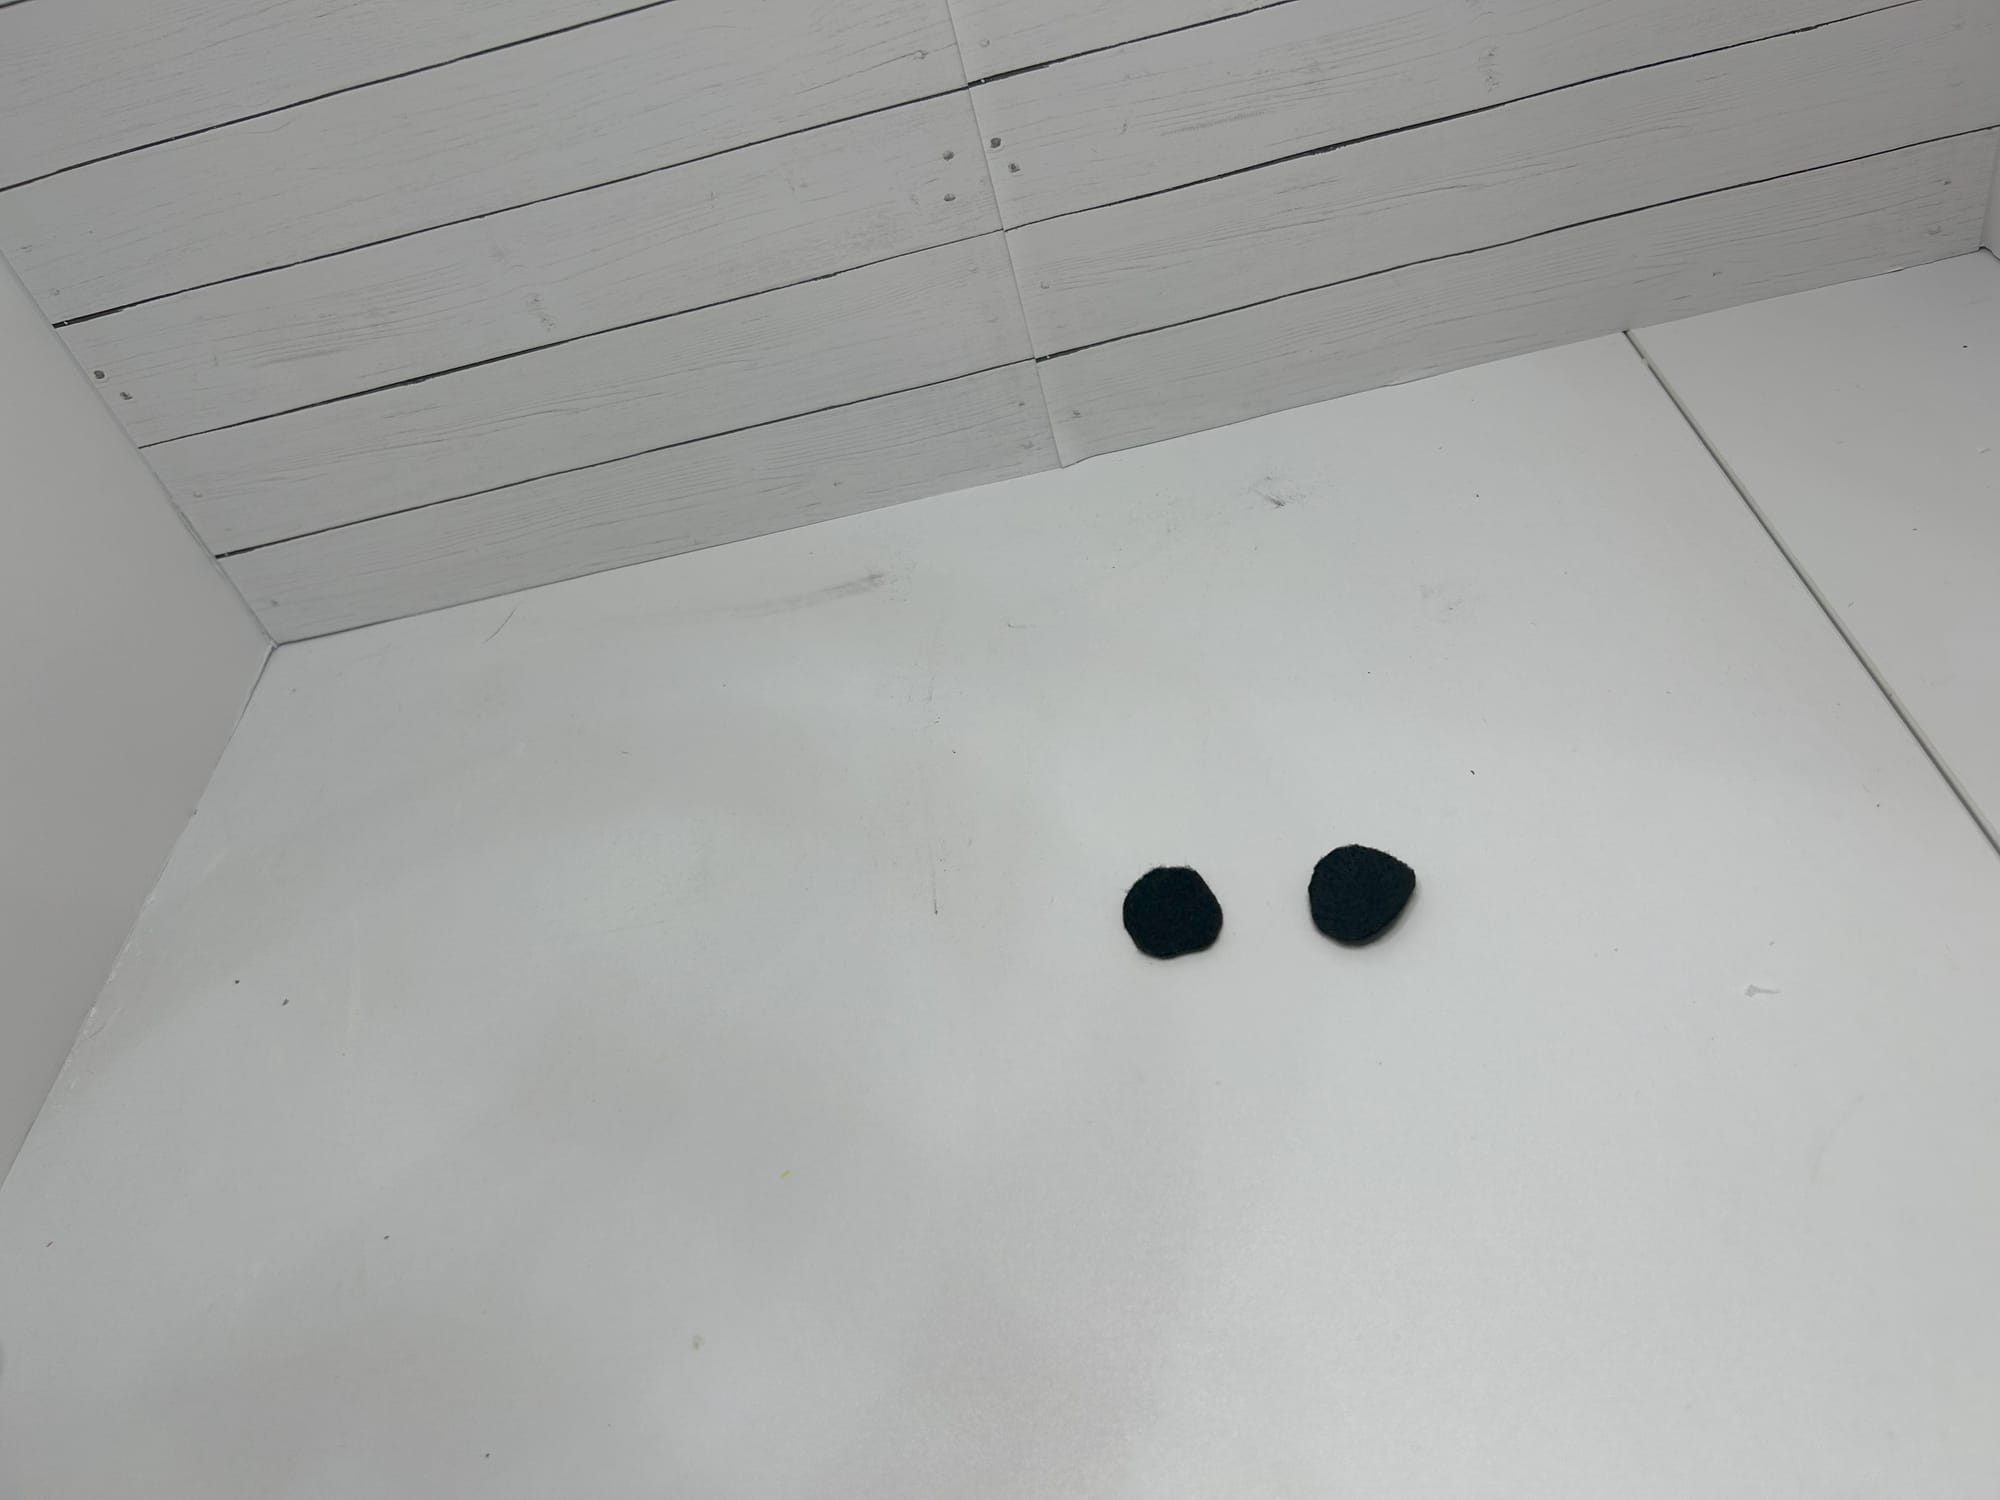
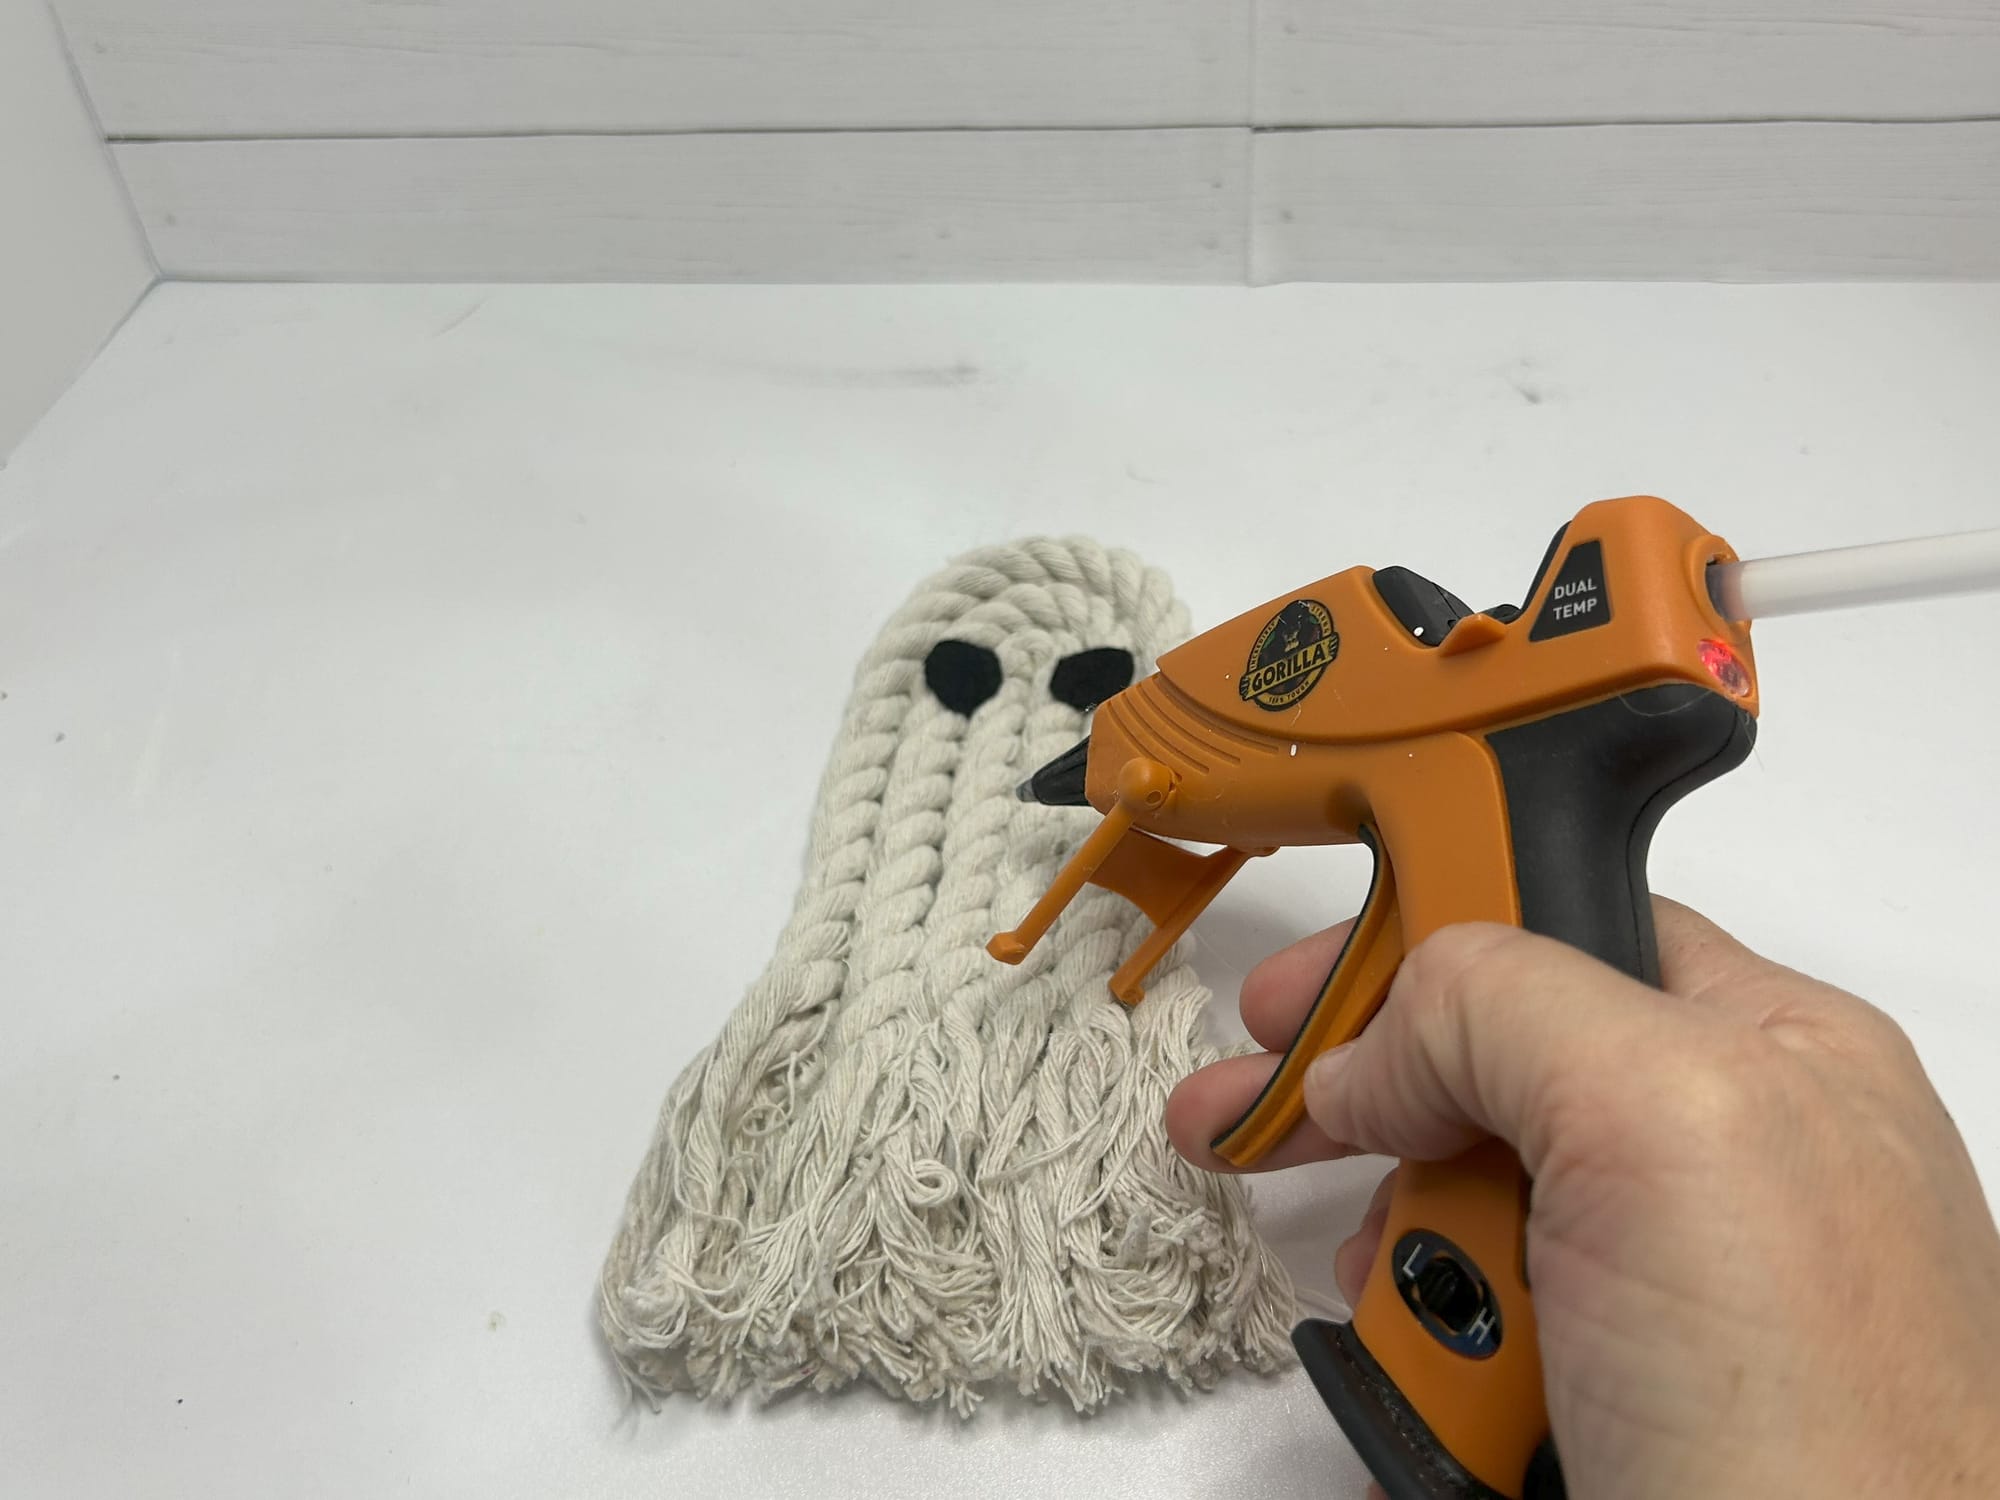
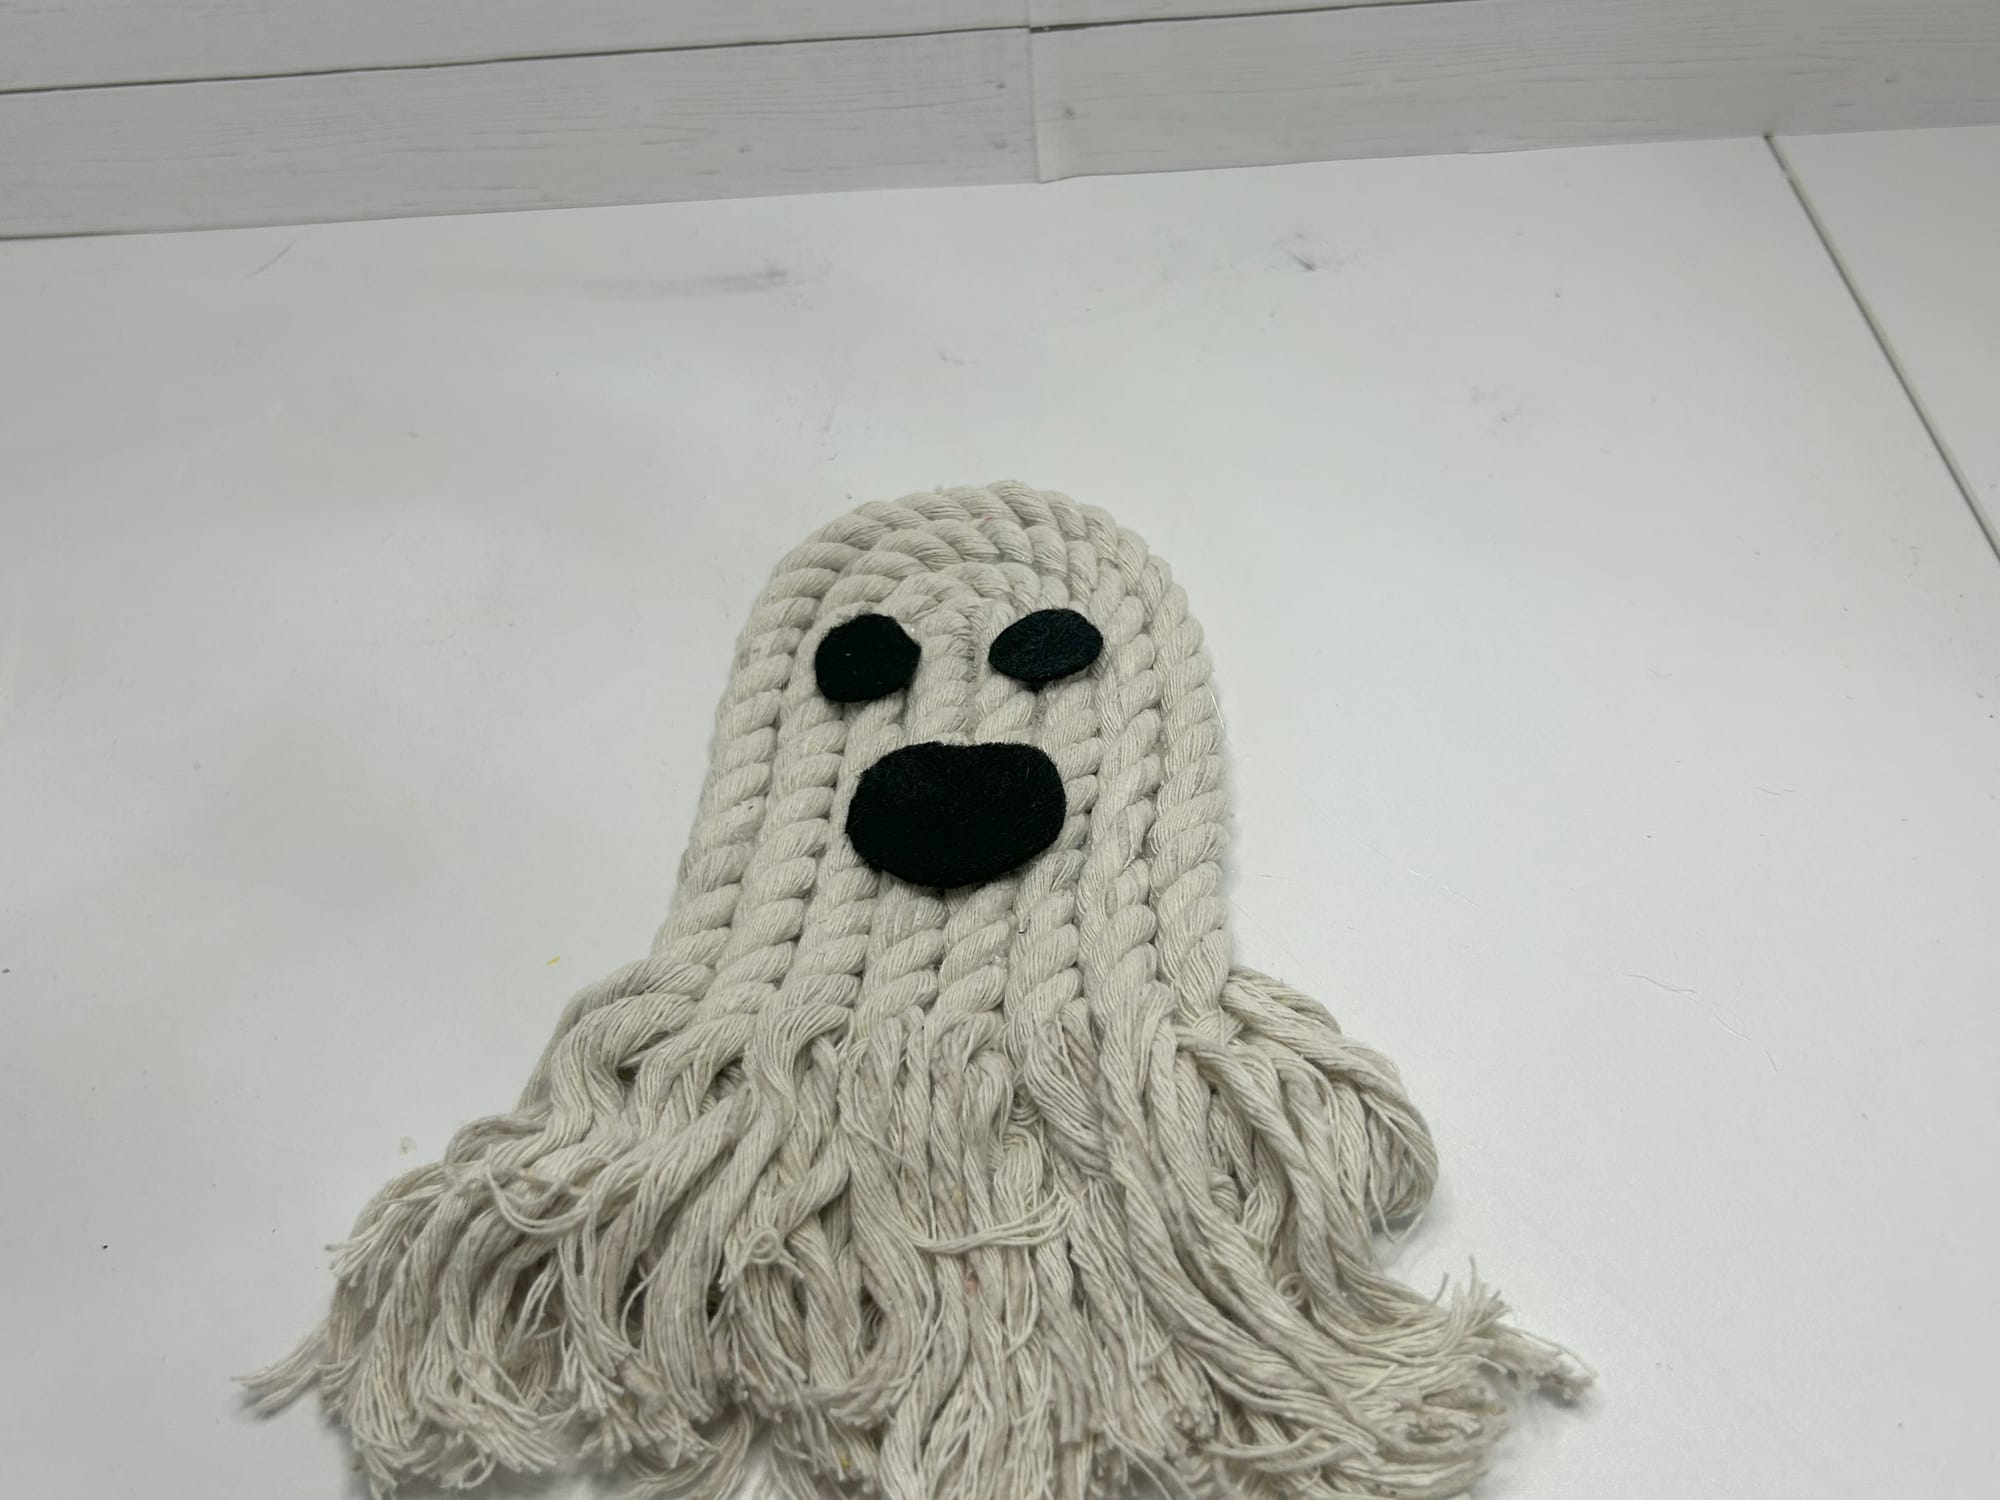
Now, you will need to make your ghost family. To begin the process, you will take a small piece of nautical rope and glue it together in a curved shape. Leave a small portion at the bottom unglued. Using a hot glue gun will quickly and easily glue the rope together. This will be the smallest piece that will make up the inner layer of the ghost.
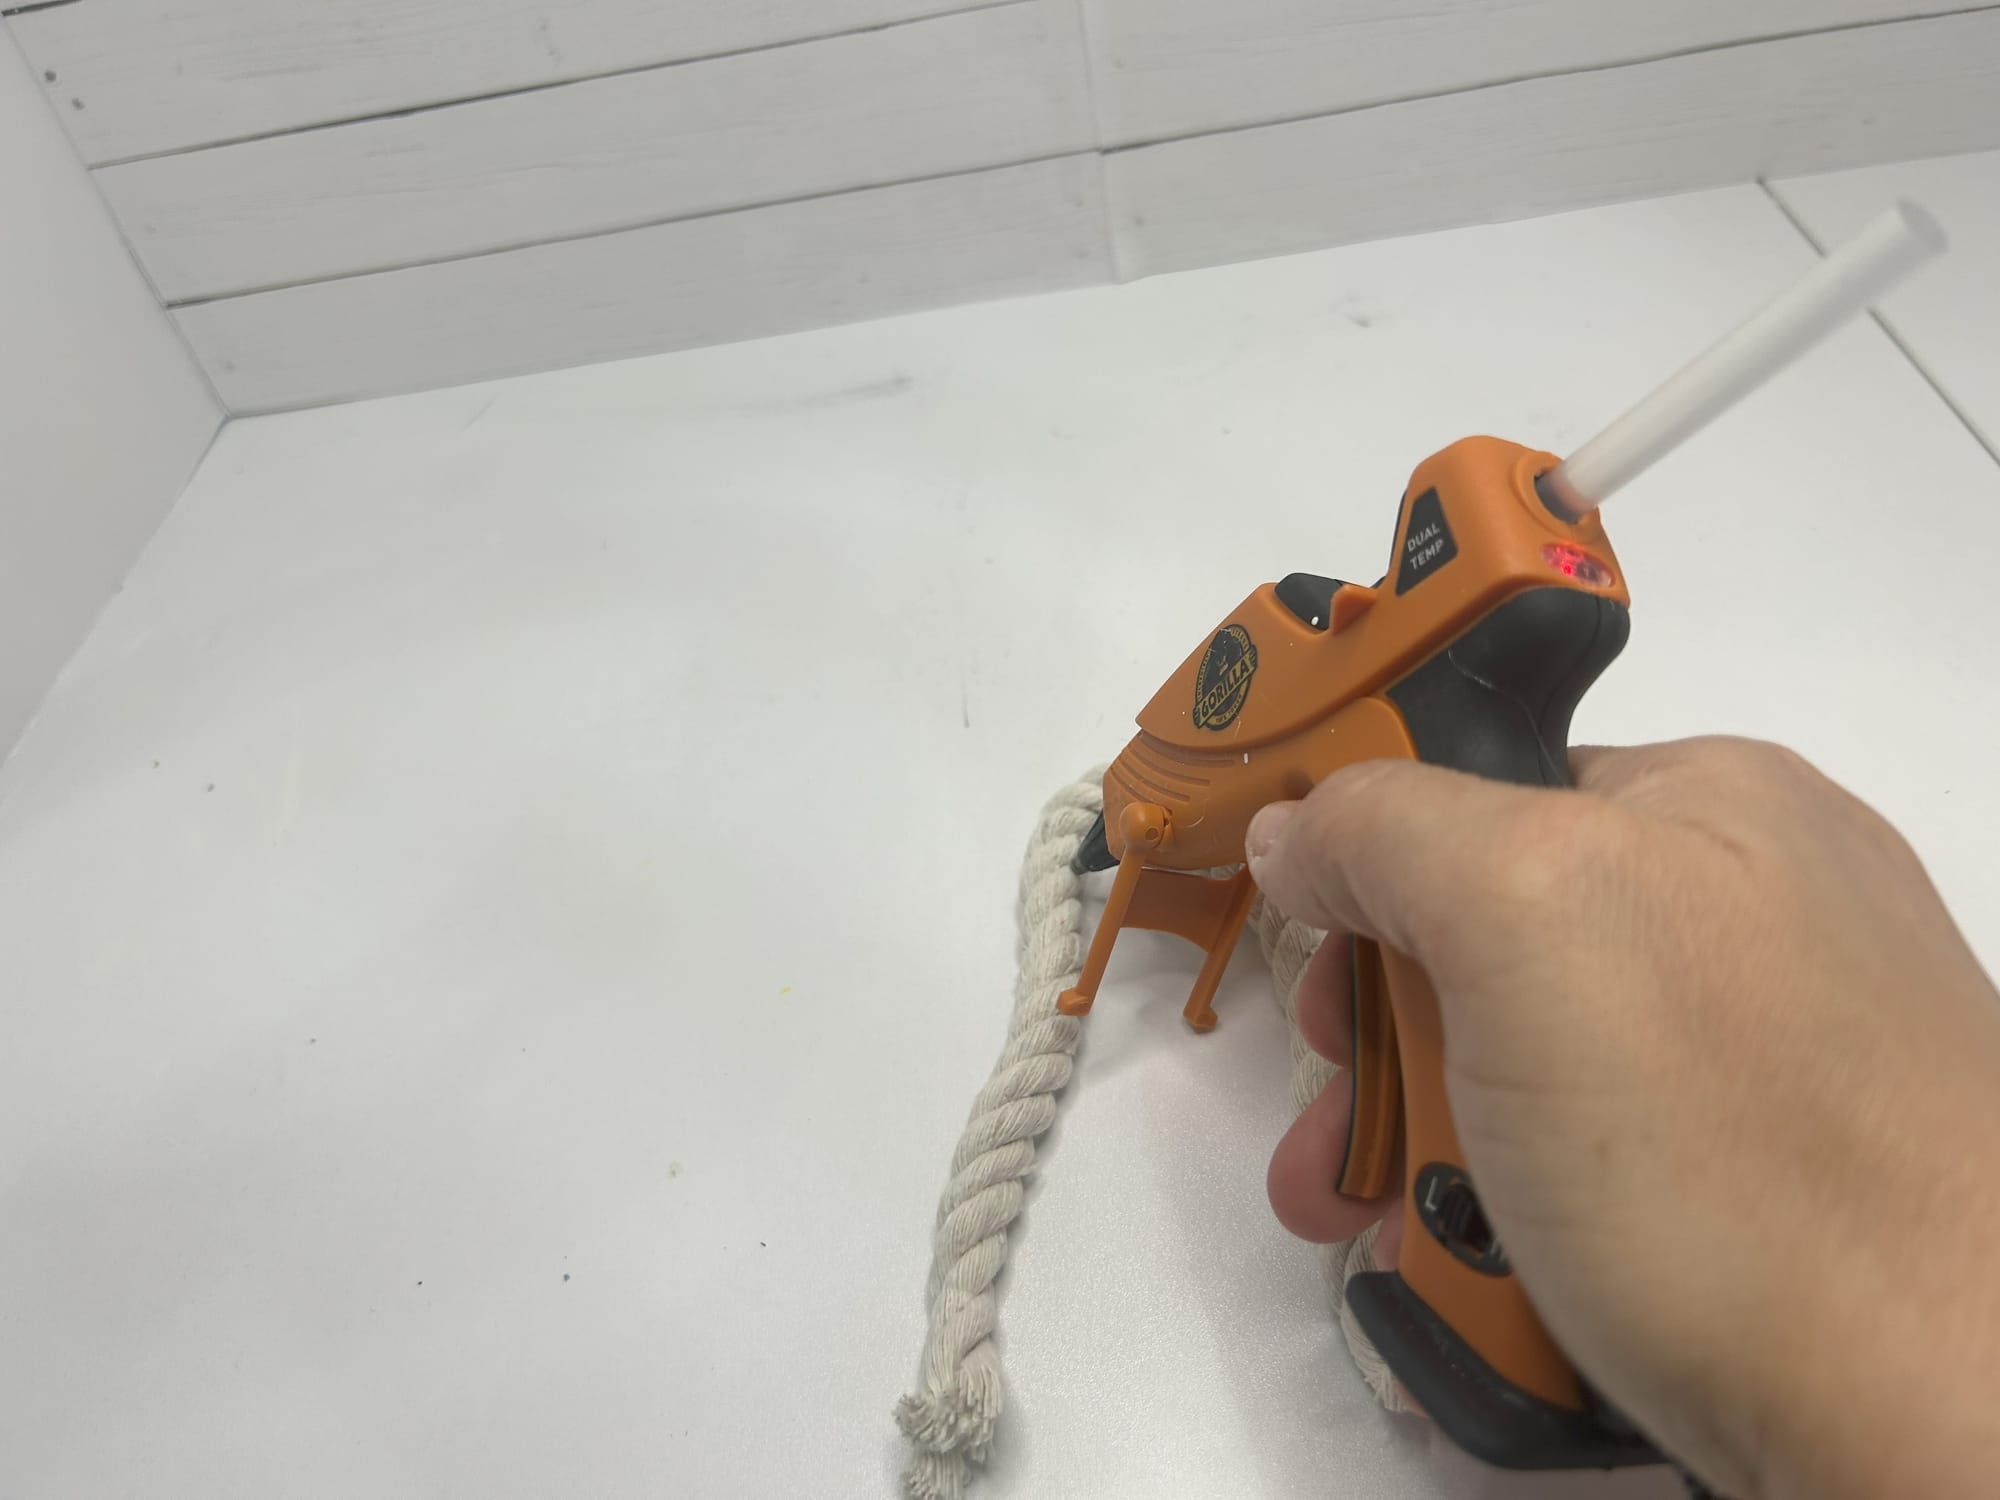
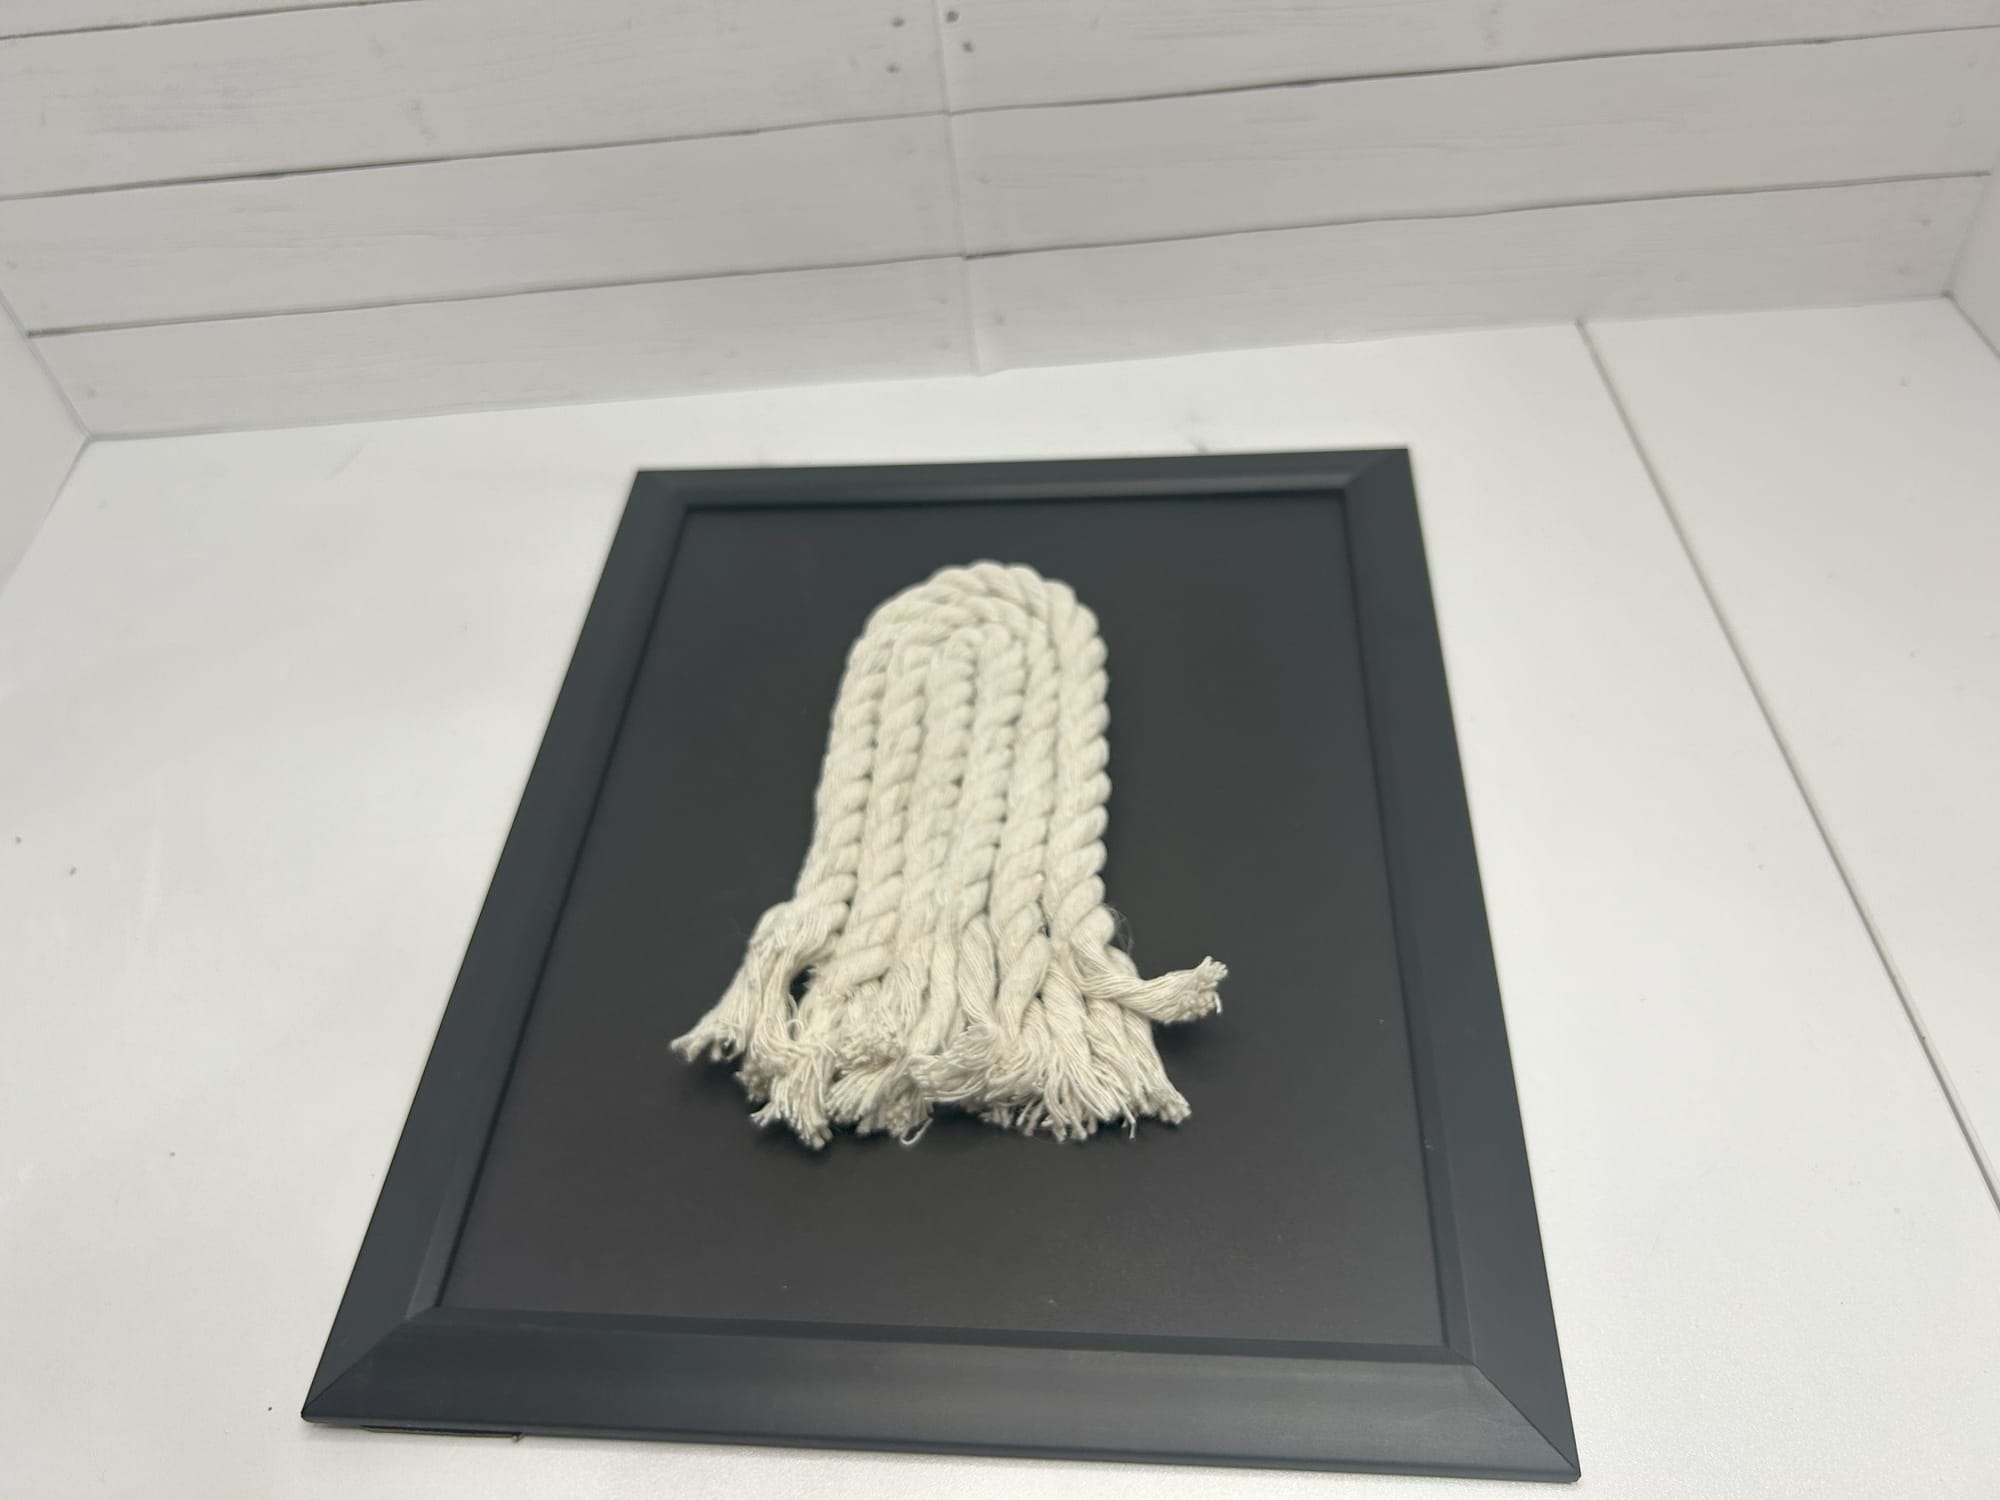
Next, glue another pieces around the outside of your first piece you glued together. You will also need to leave the end unglued. Repeat this process until you have a ghost the size you would like. You can try in in the frame to make sure it is the size you want.
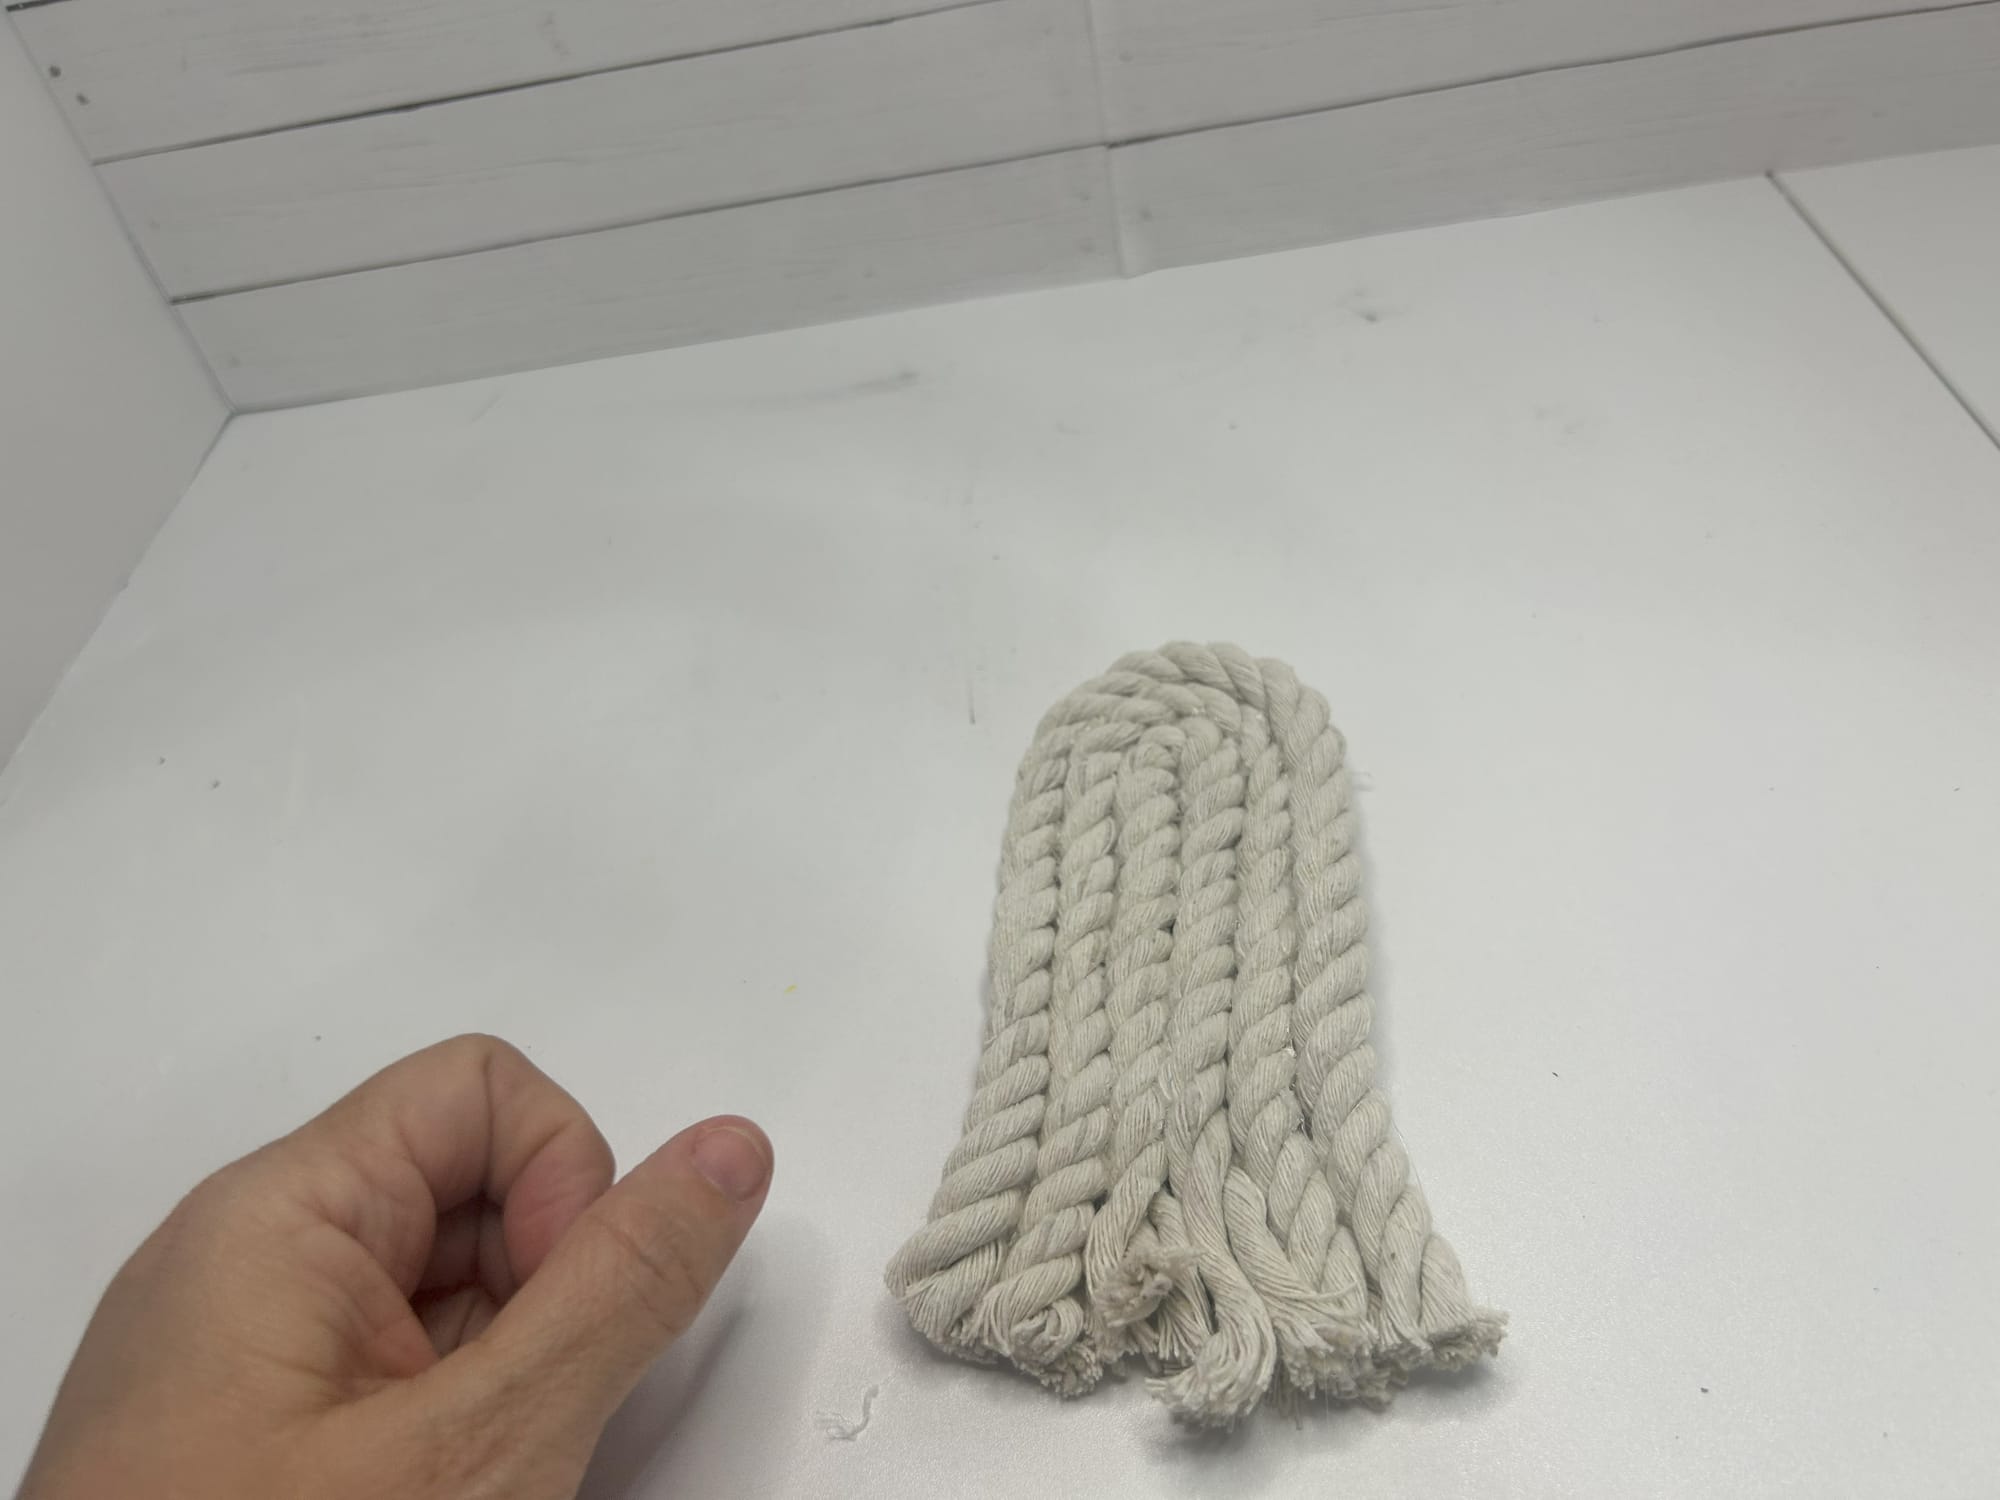
Continuing gluing until you are happy with the size of your ghost.
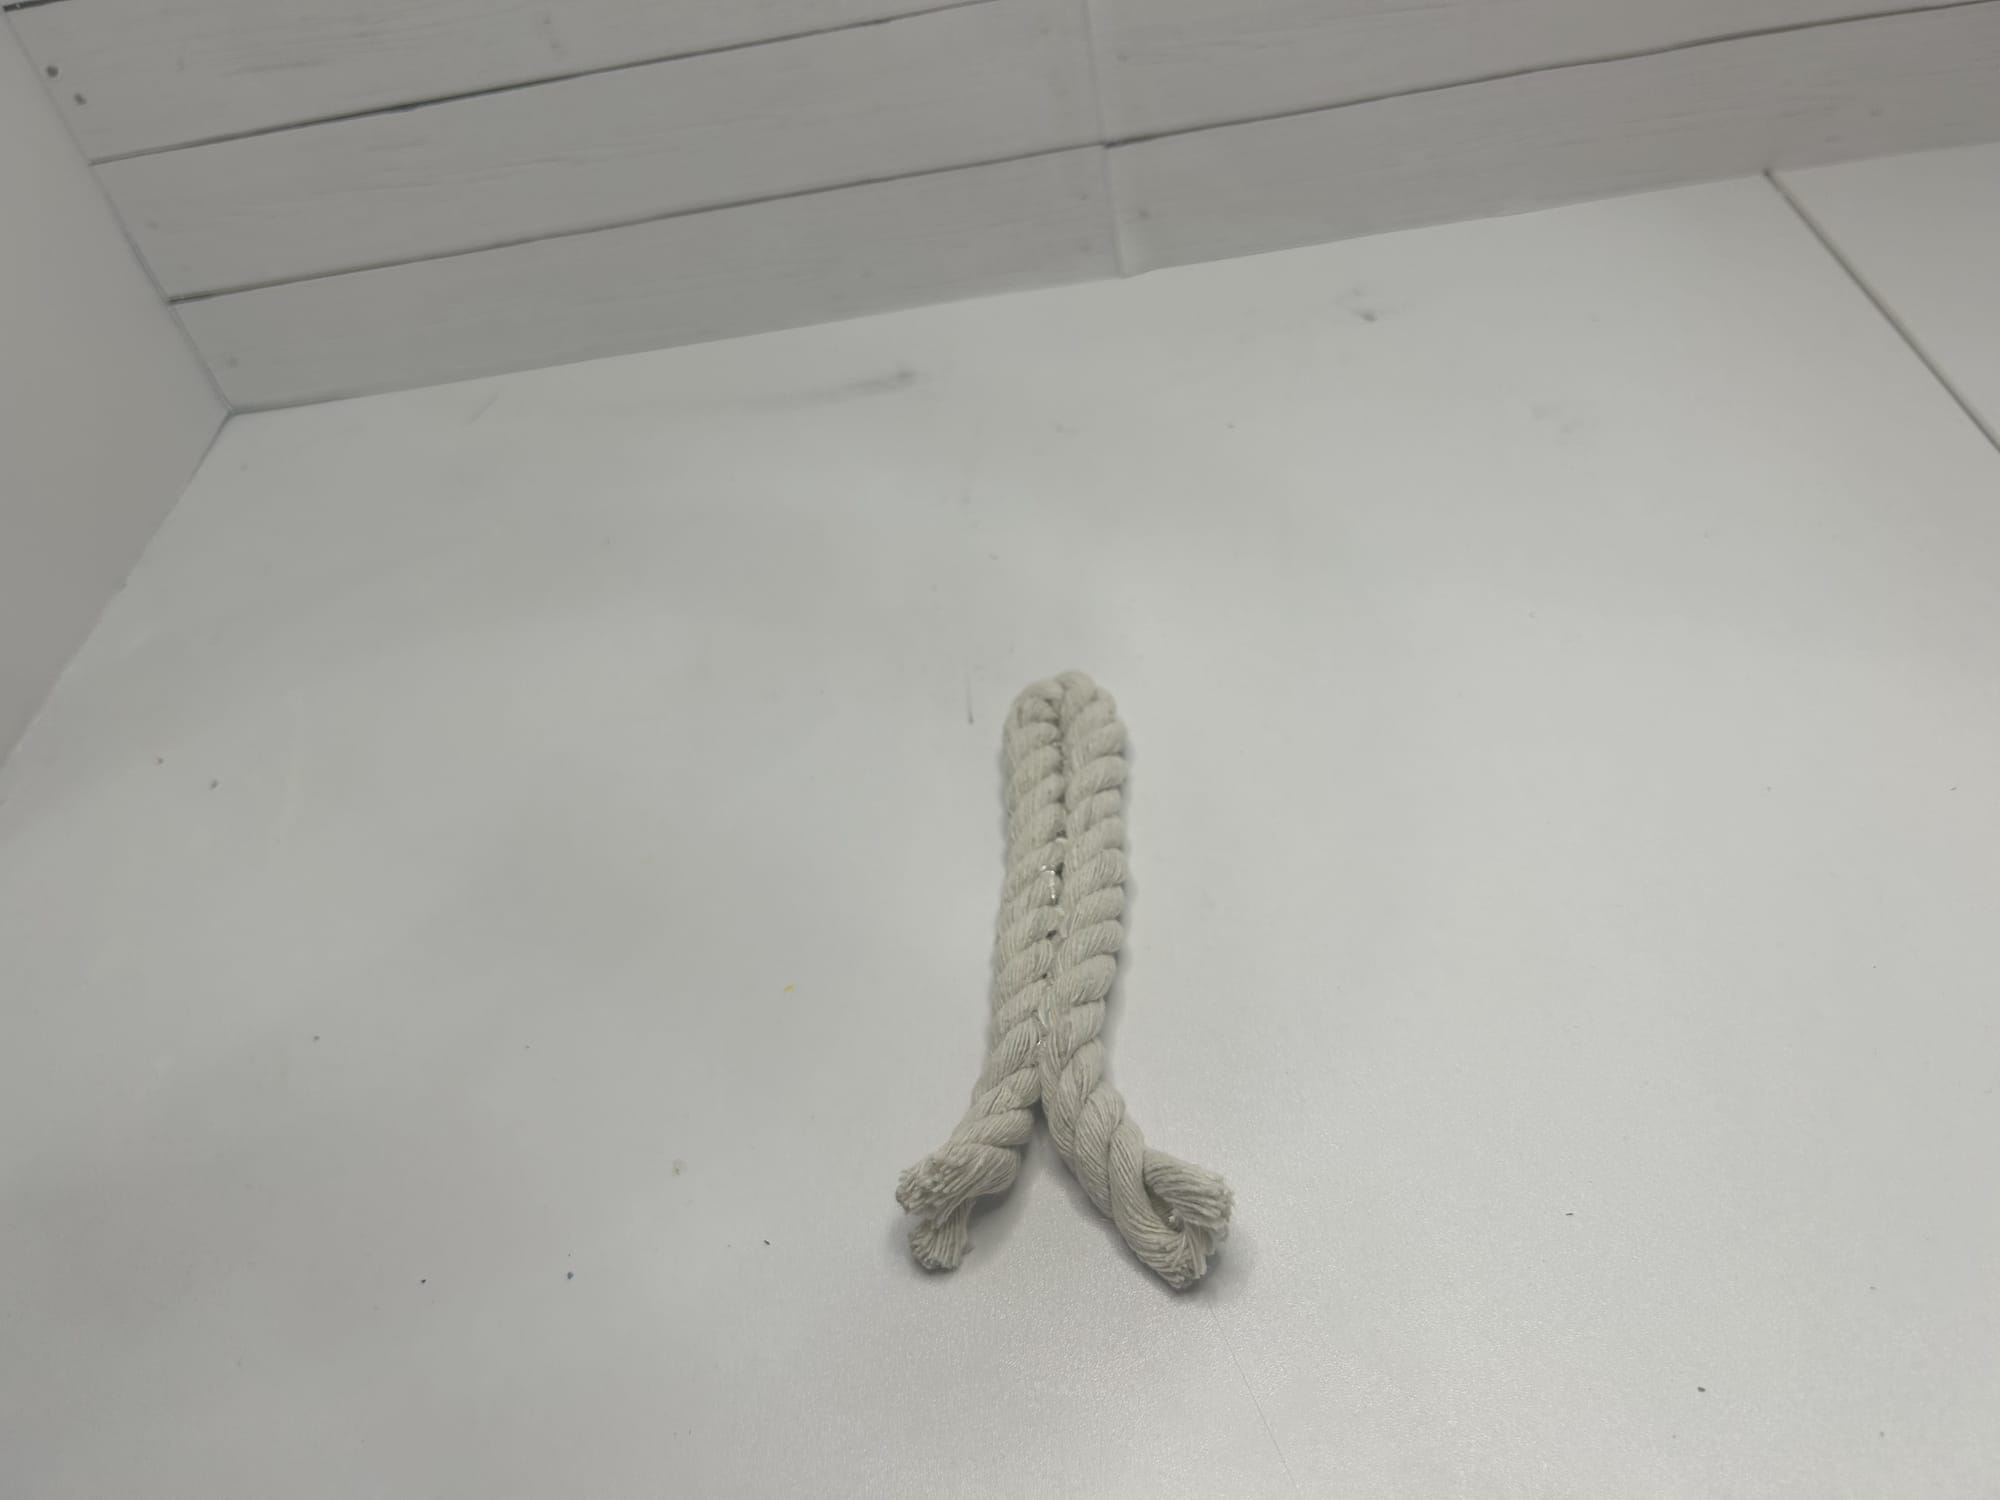
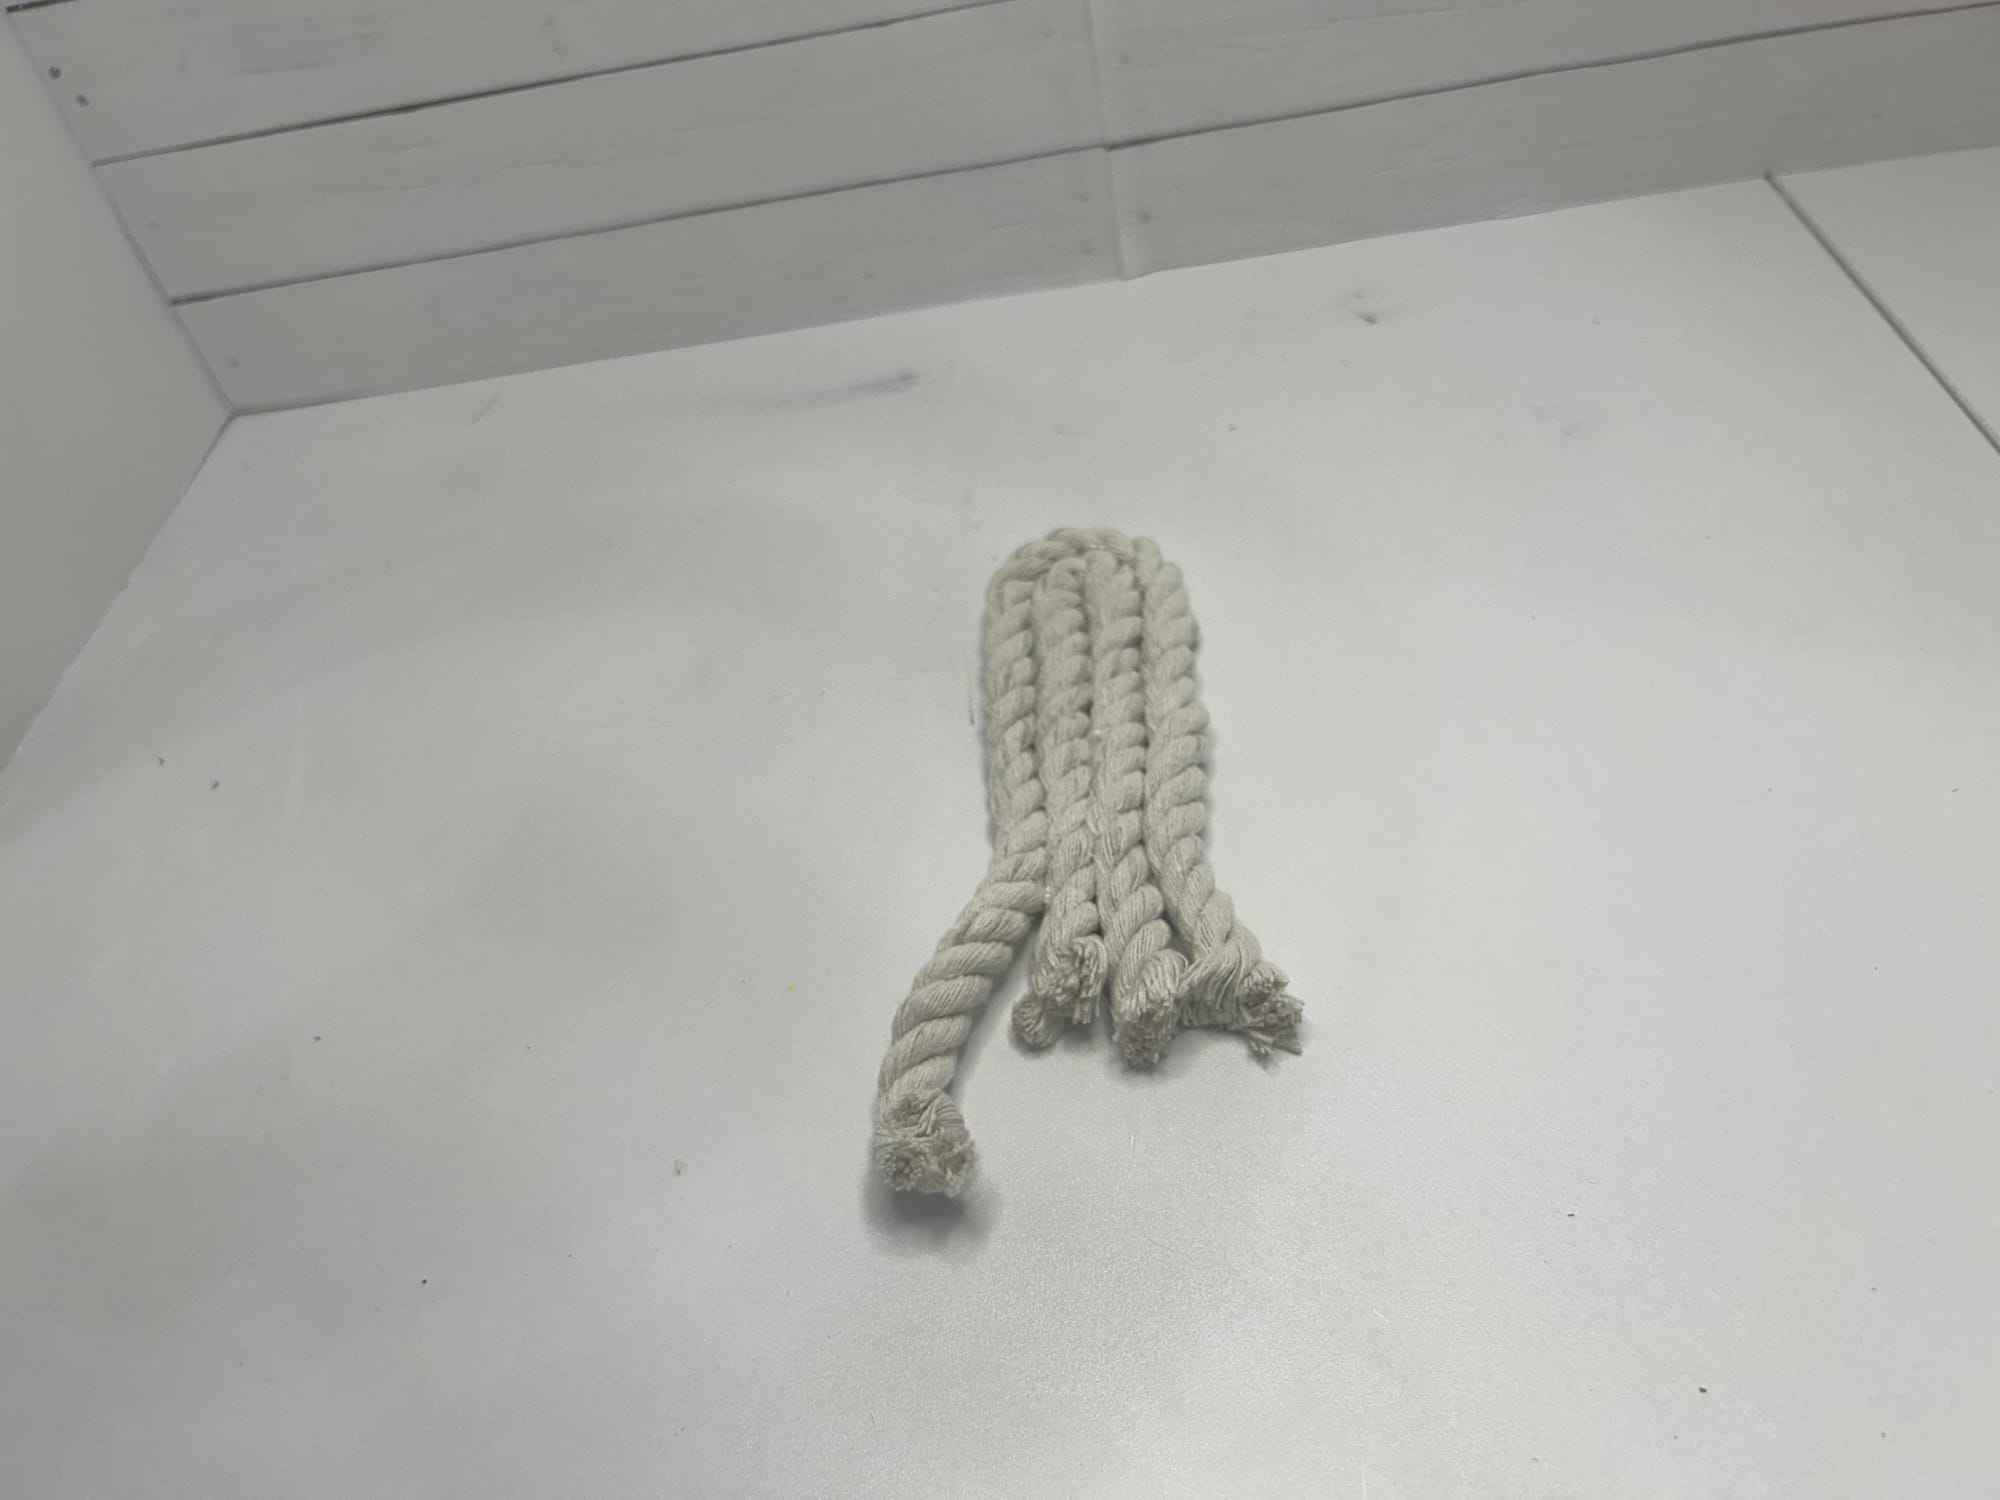
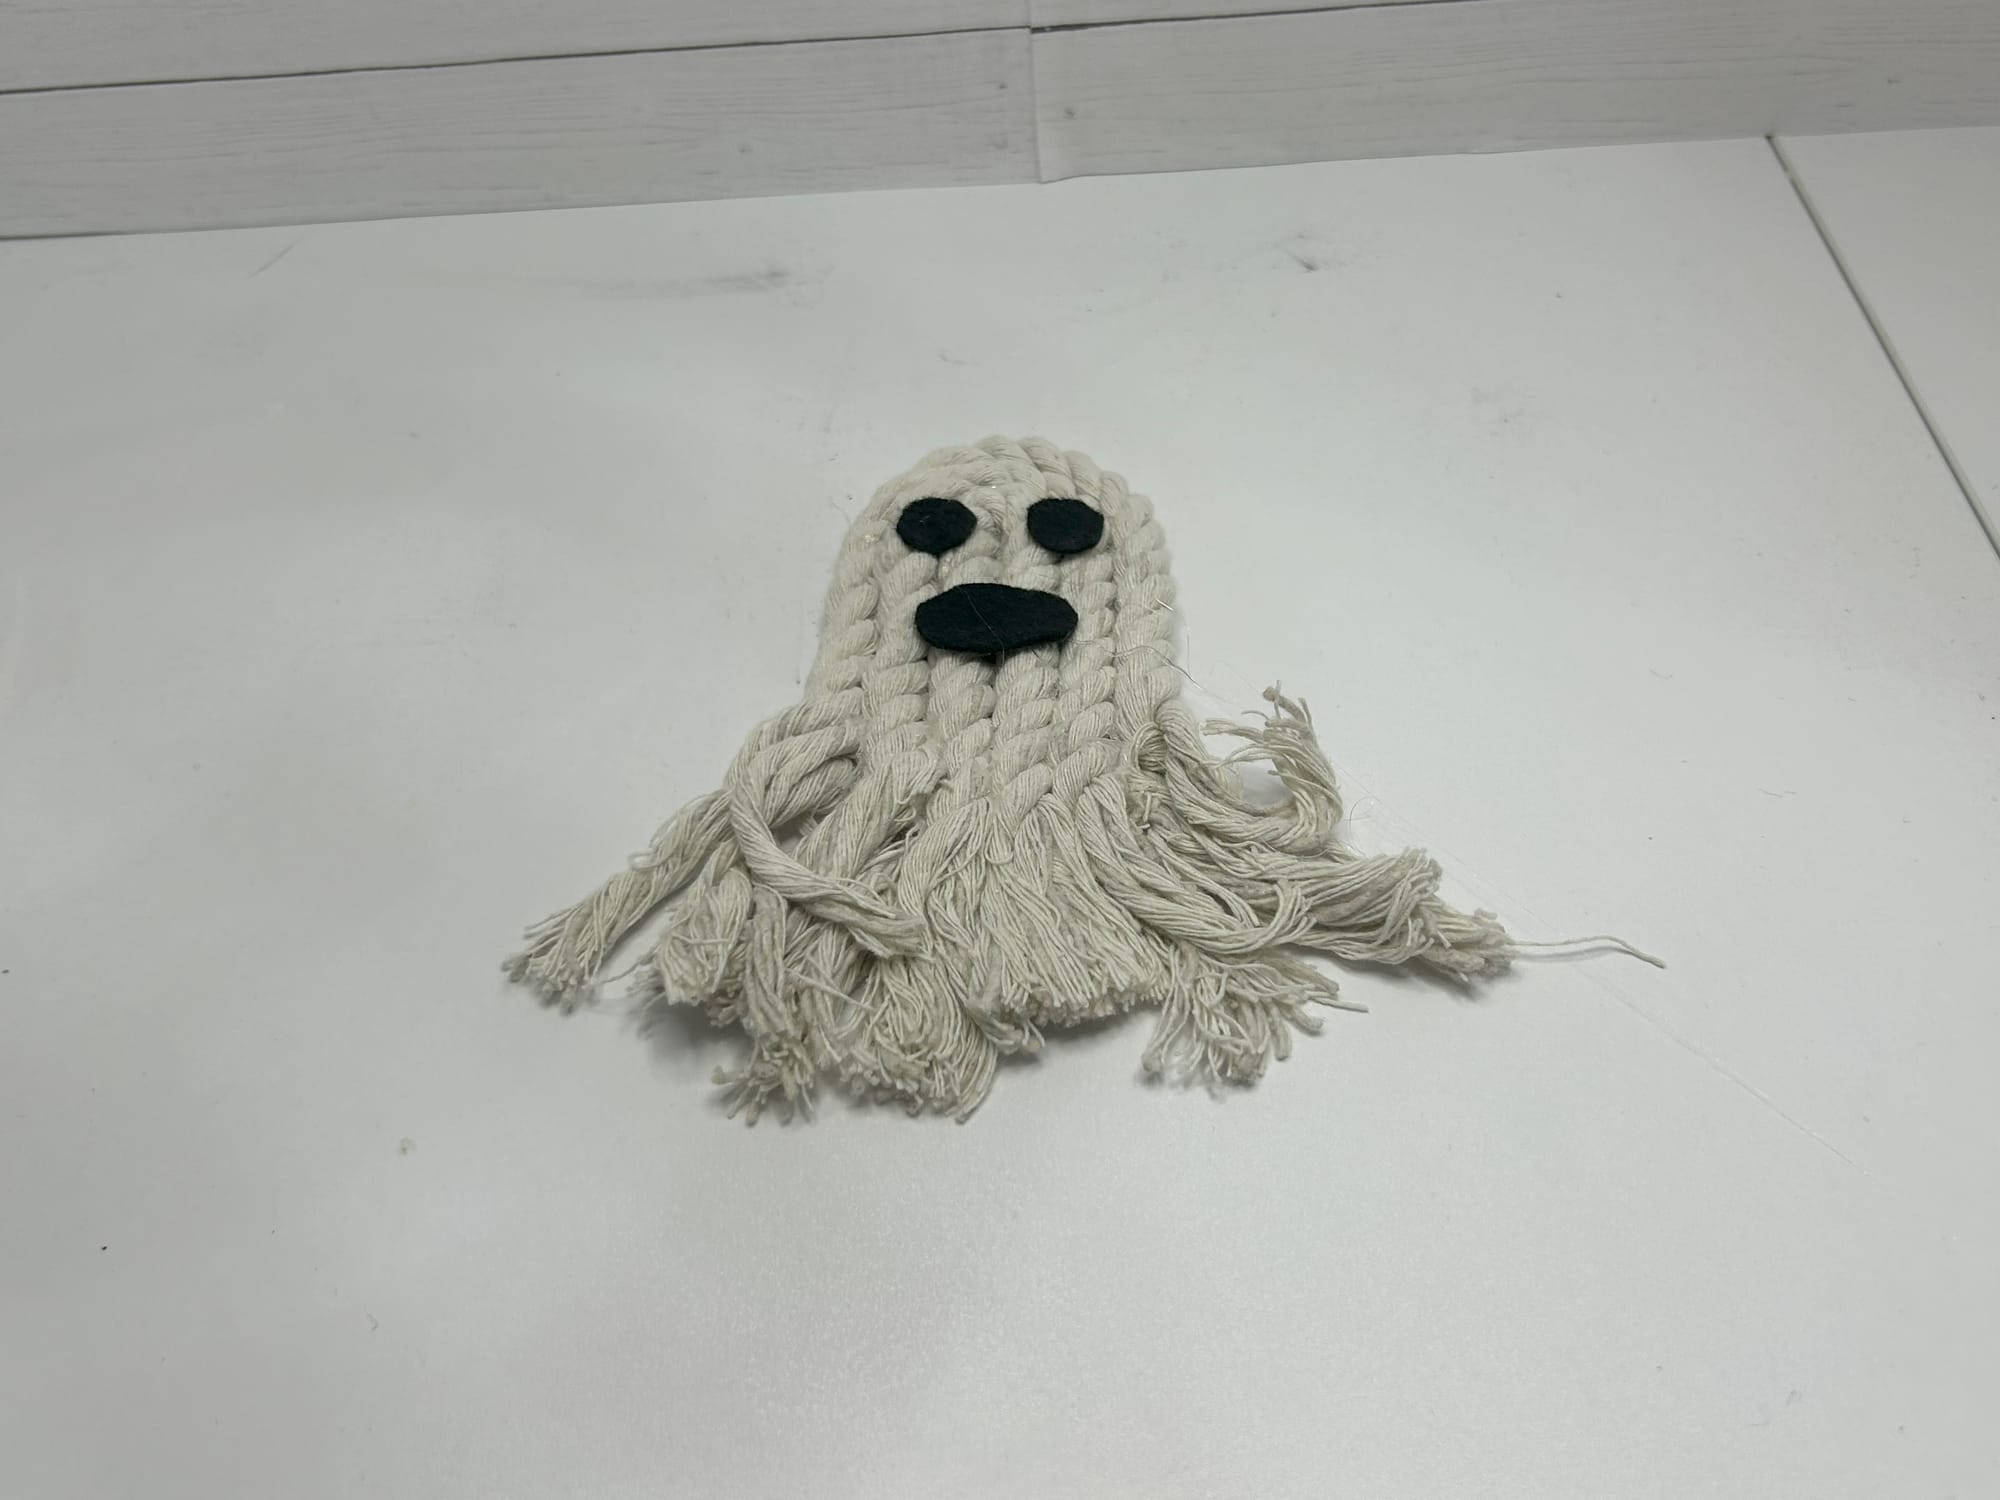
Now cut the bottoms of the rope to make them all even. After, unwind the ends of the rope you did not glue. This will create a fuller bottom for the ghost shape. Place in the frame to make sure the ghost is the size you are looking for.
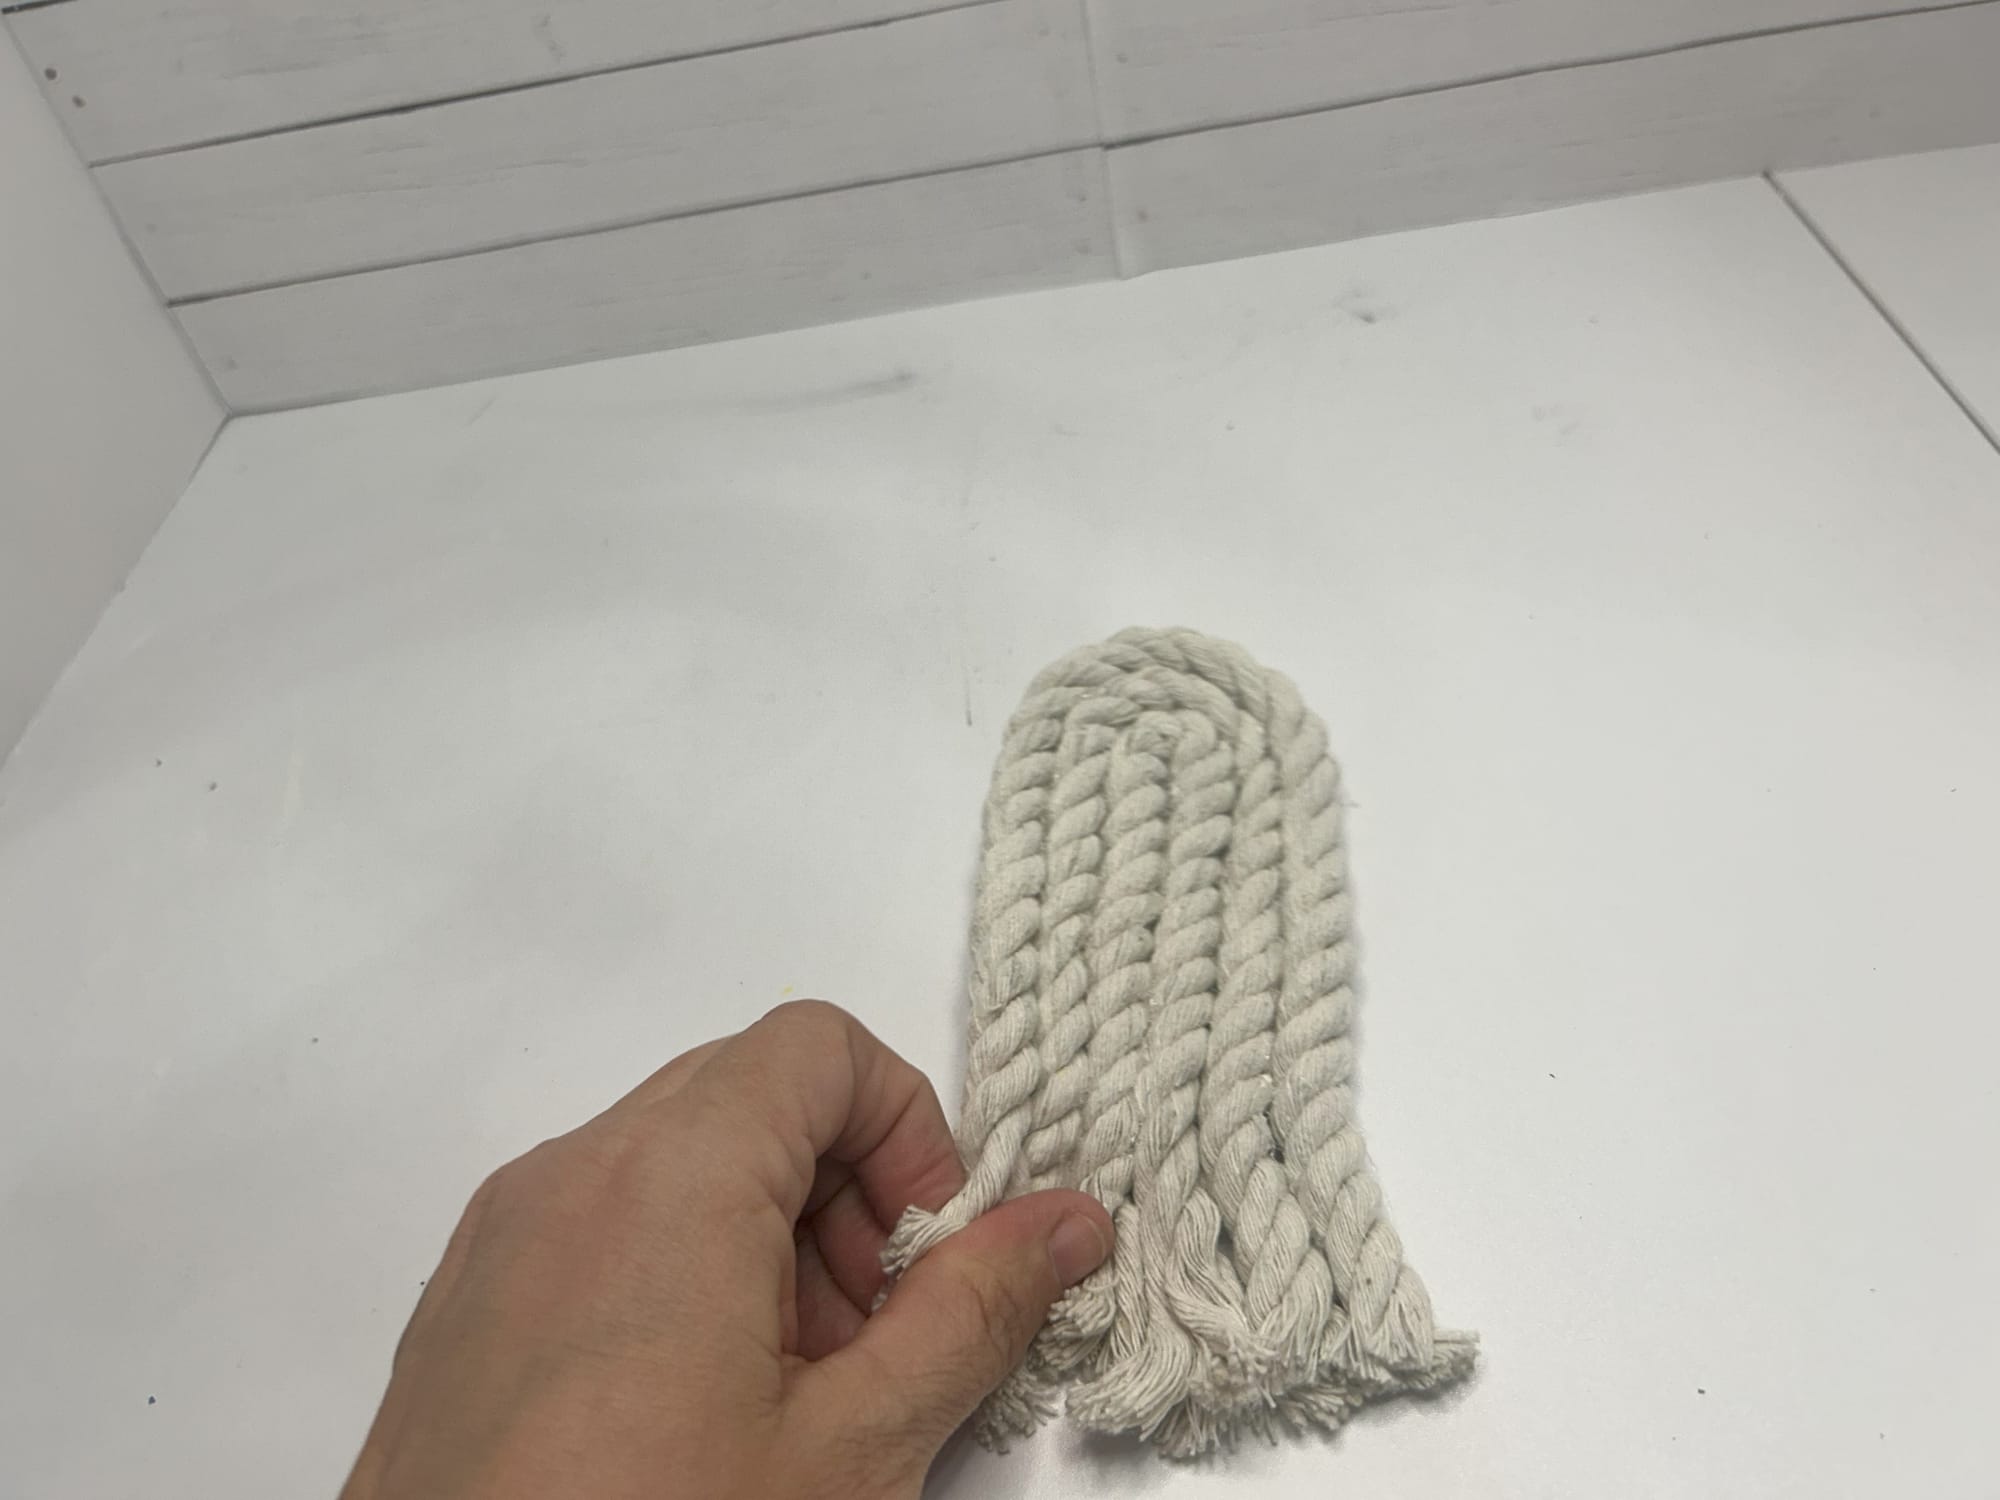
Unwind the rope to complete the ghost's body.
Now create a face for the ghost's using black felt. Cut ovals for the eyes and mouth. You can of course make yours different shapes or sizes. I stuck to simple for this project. I also used a pipe cleaner to make glasses for my son. I simply twisted and created two circles and made sure they eyes fit inside the glasses.
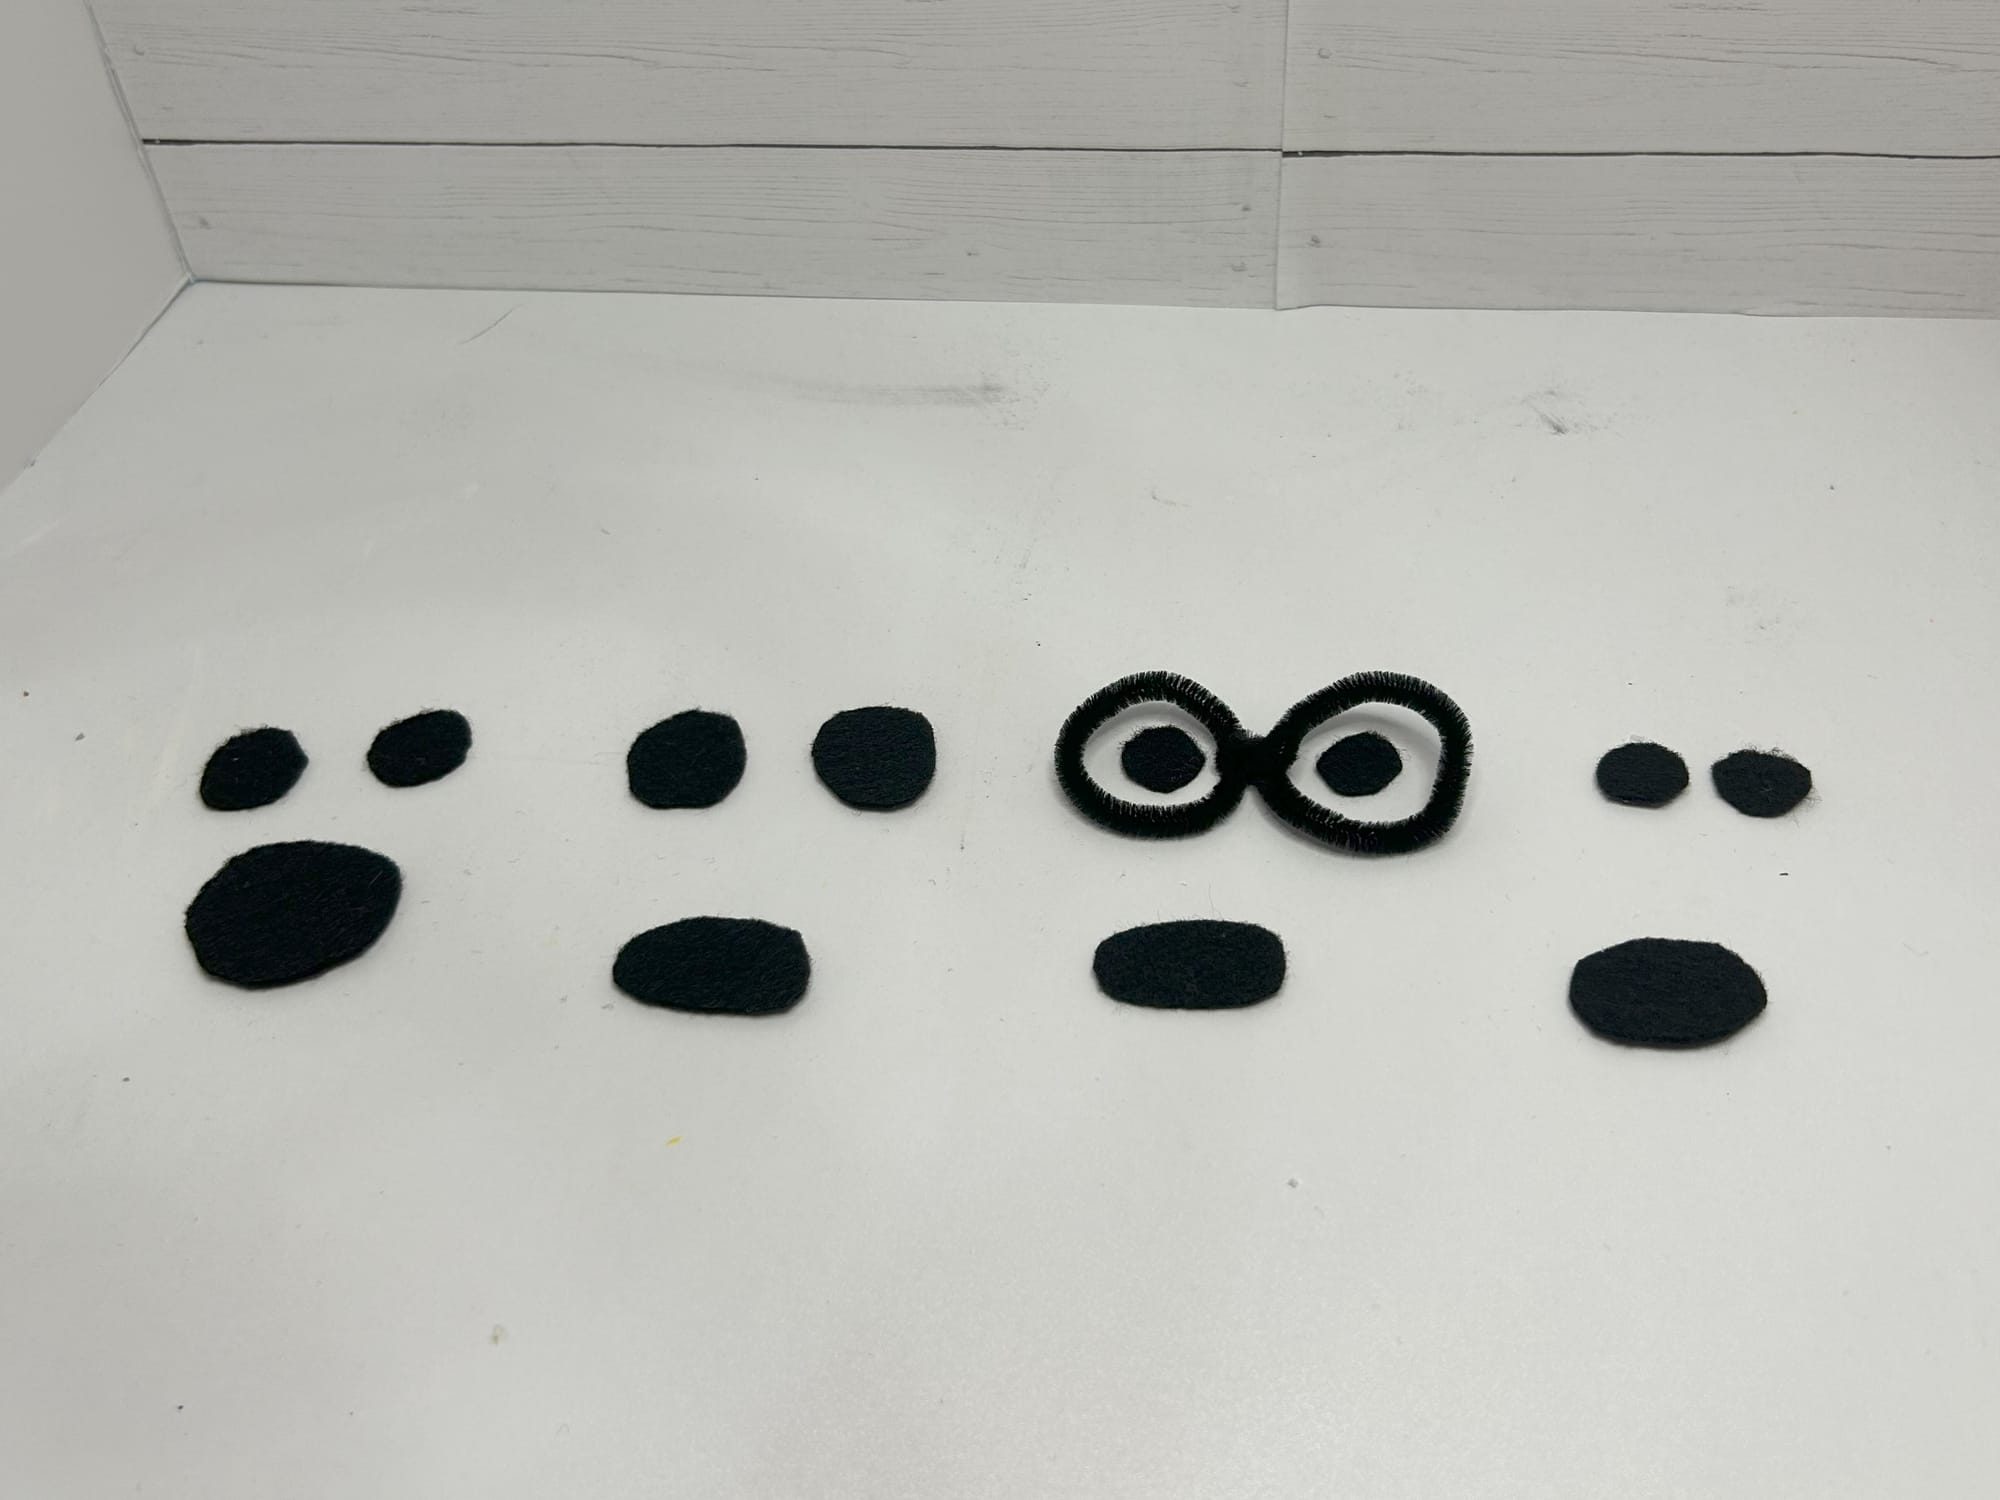
Create eyes and a mouth for each ghost.
Now use your hot glue gun to glue on the felt faces. I glued the glasses on first and the eyes inside after. This way I could be sure the eyes fit in well.
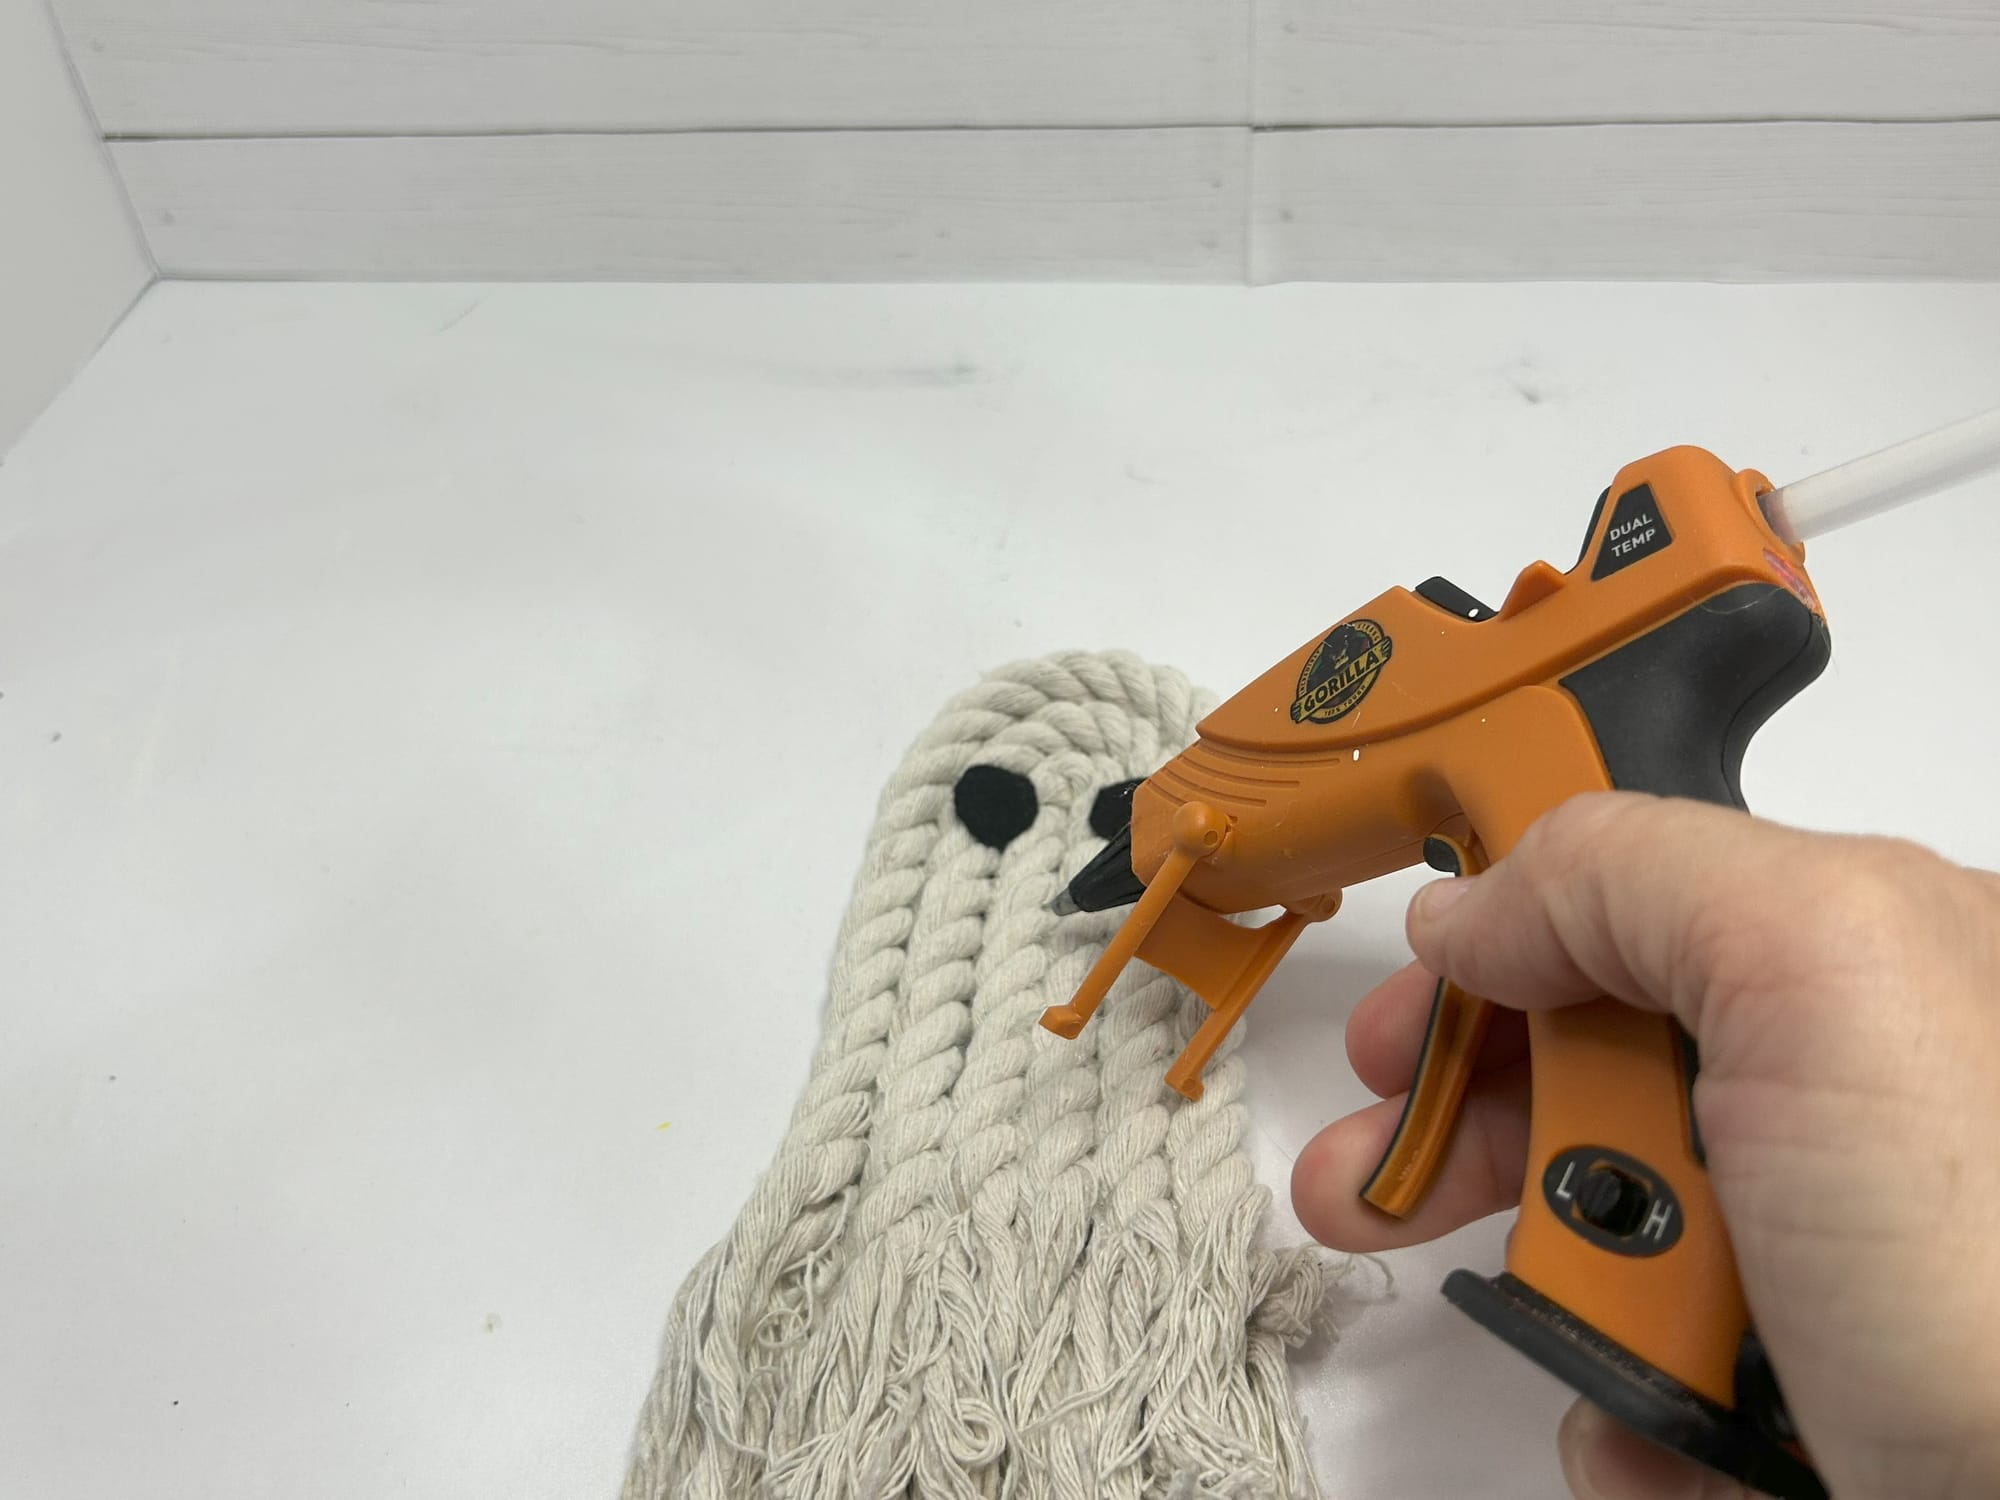
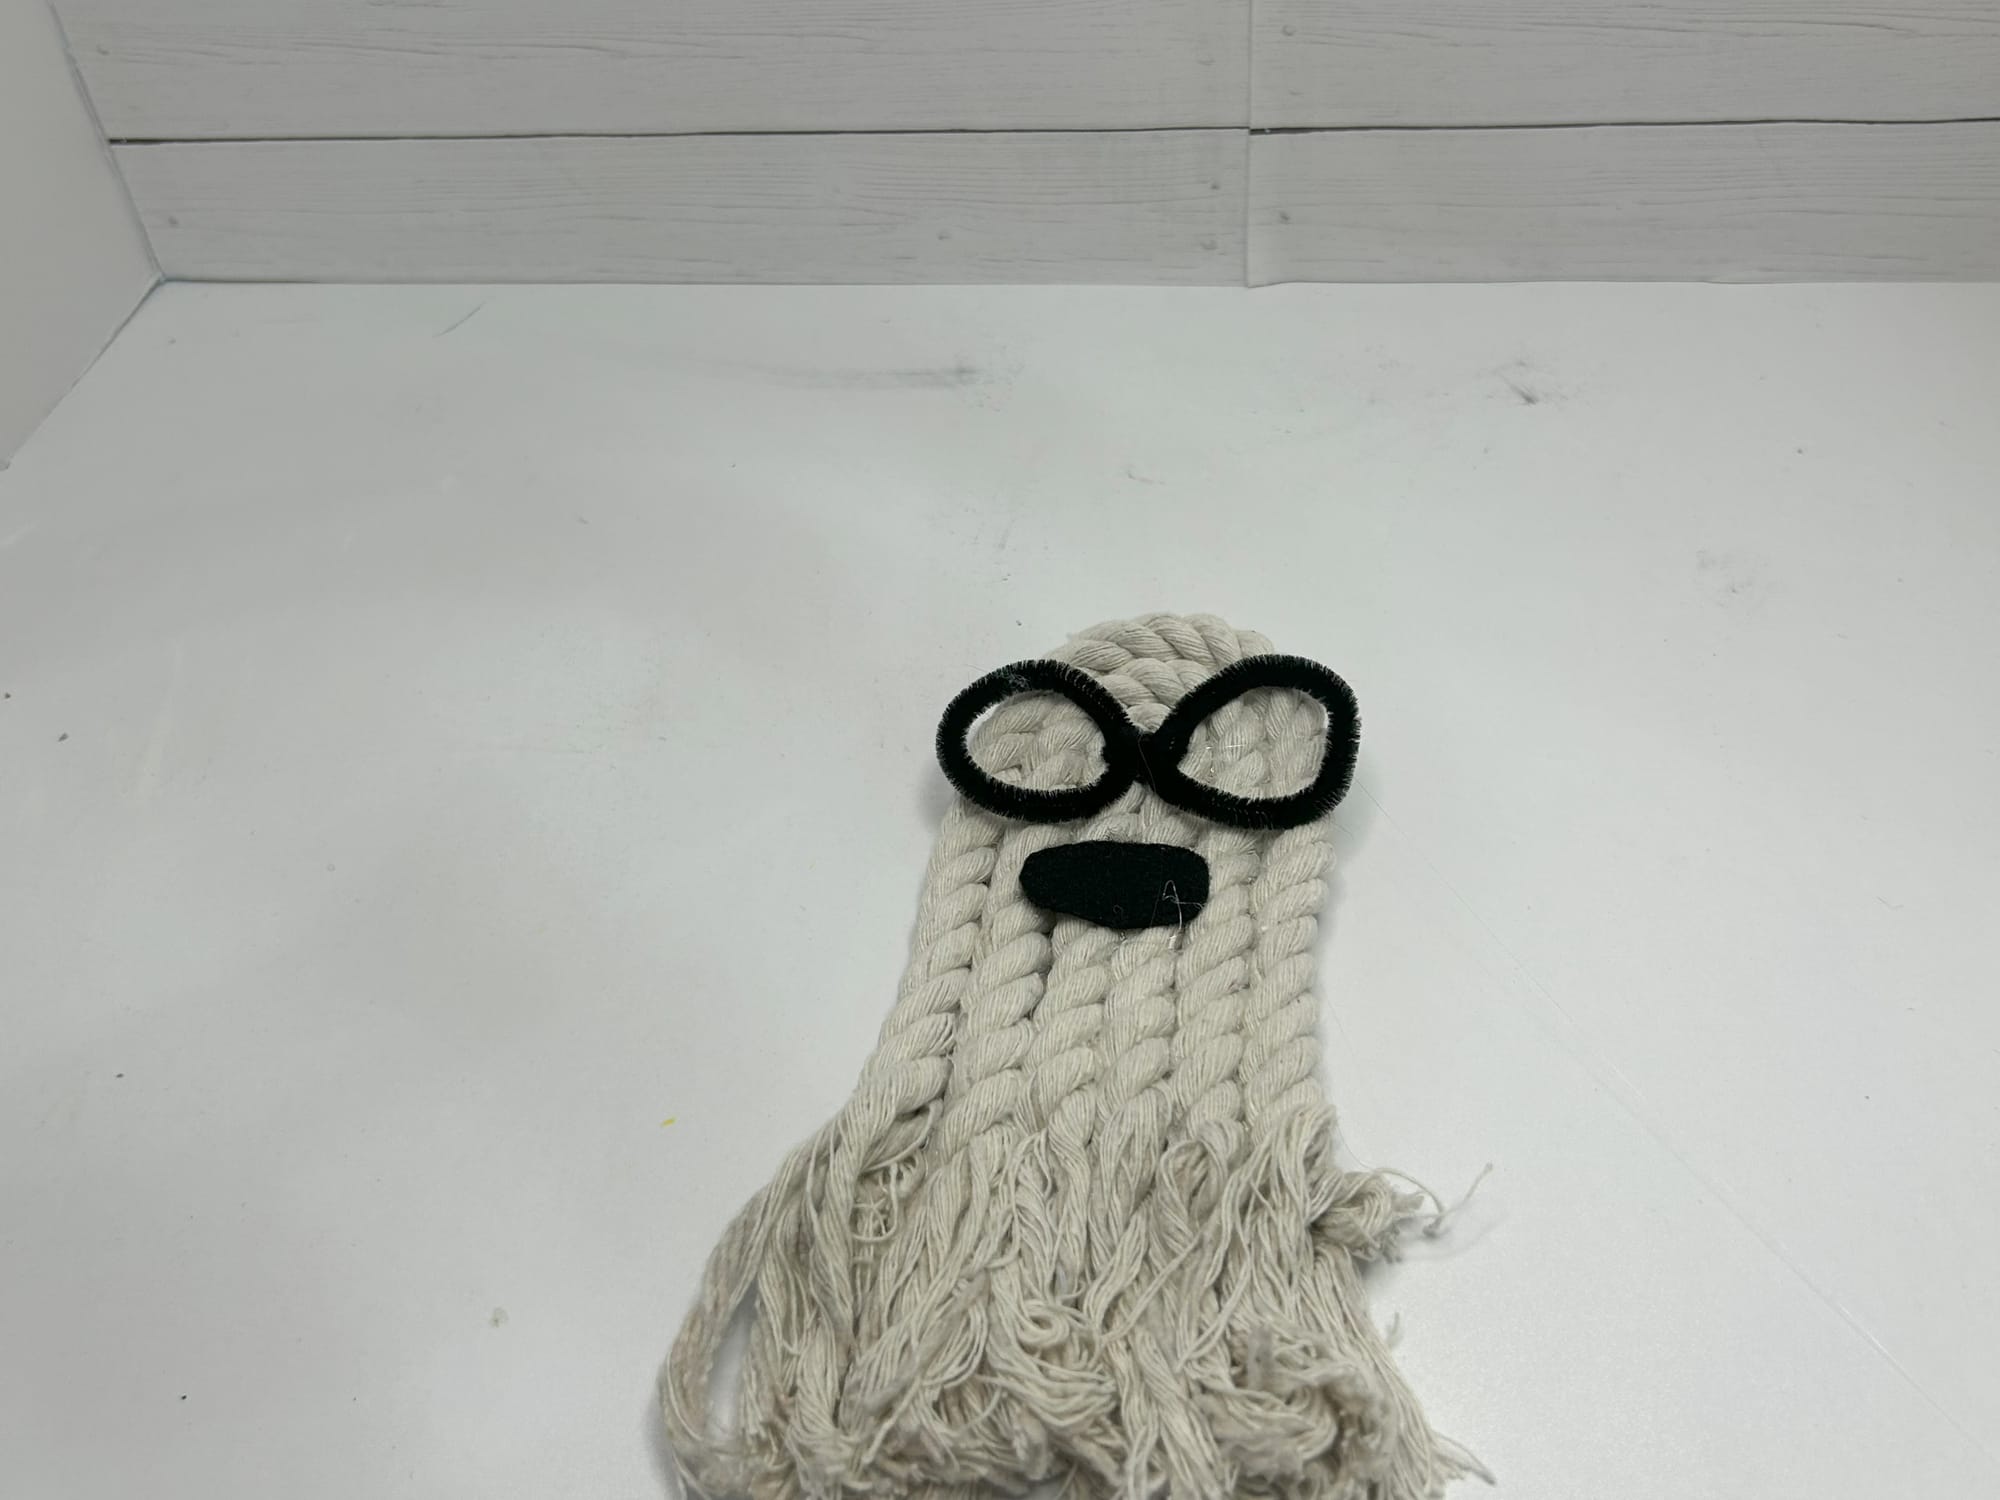
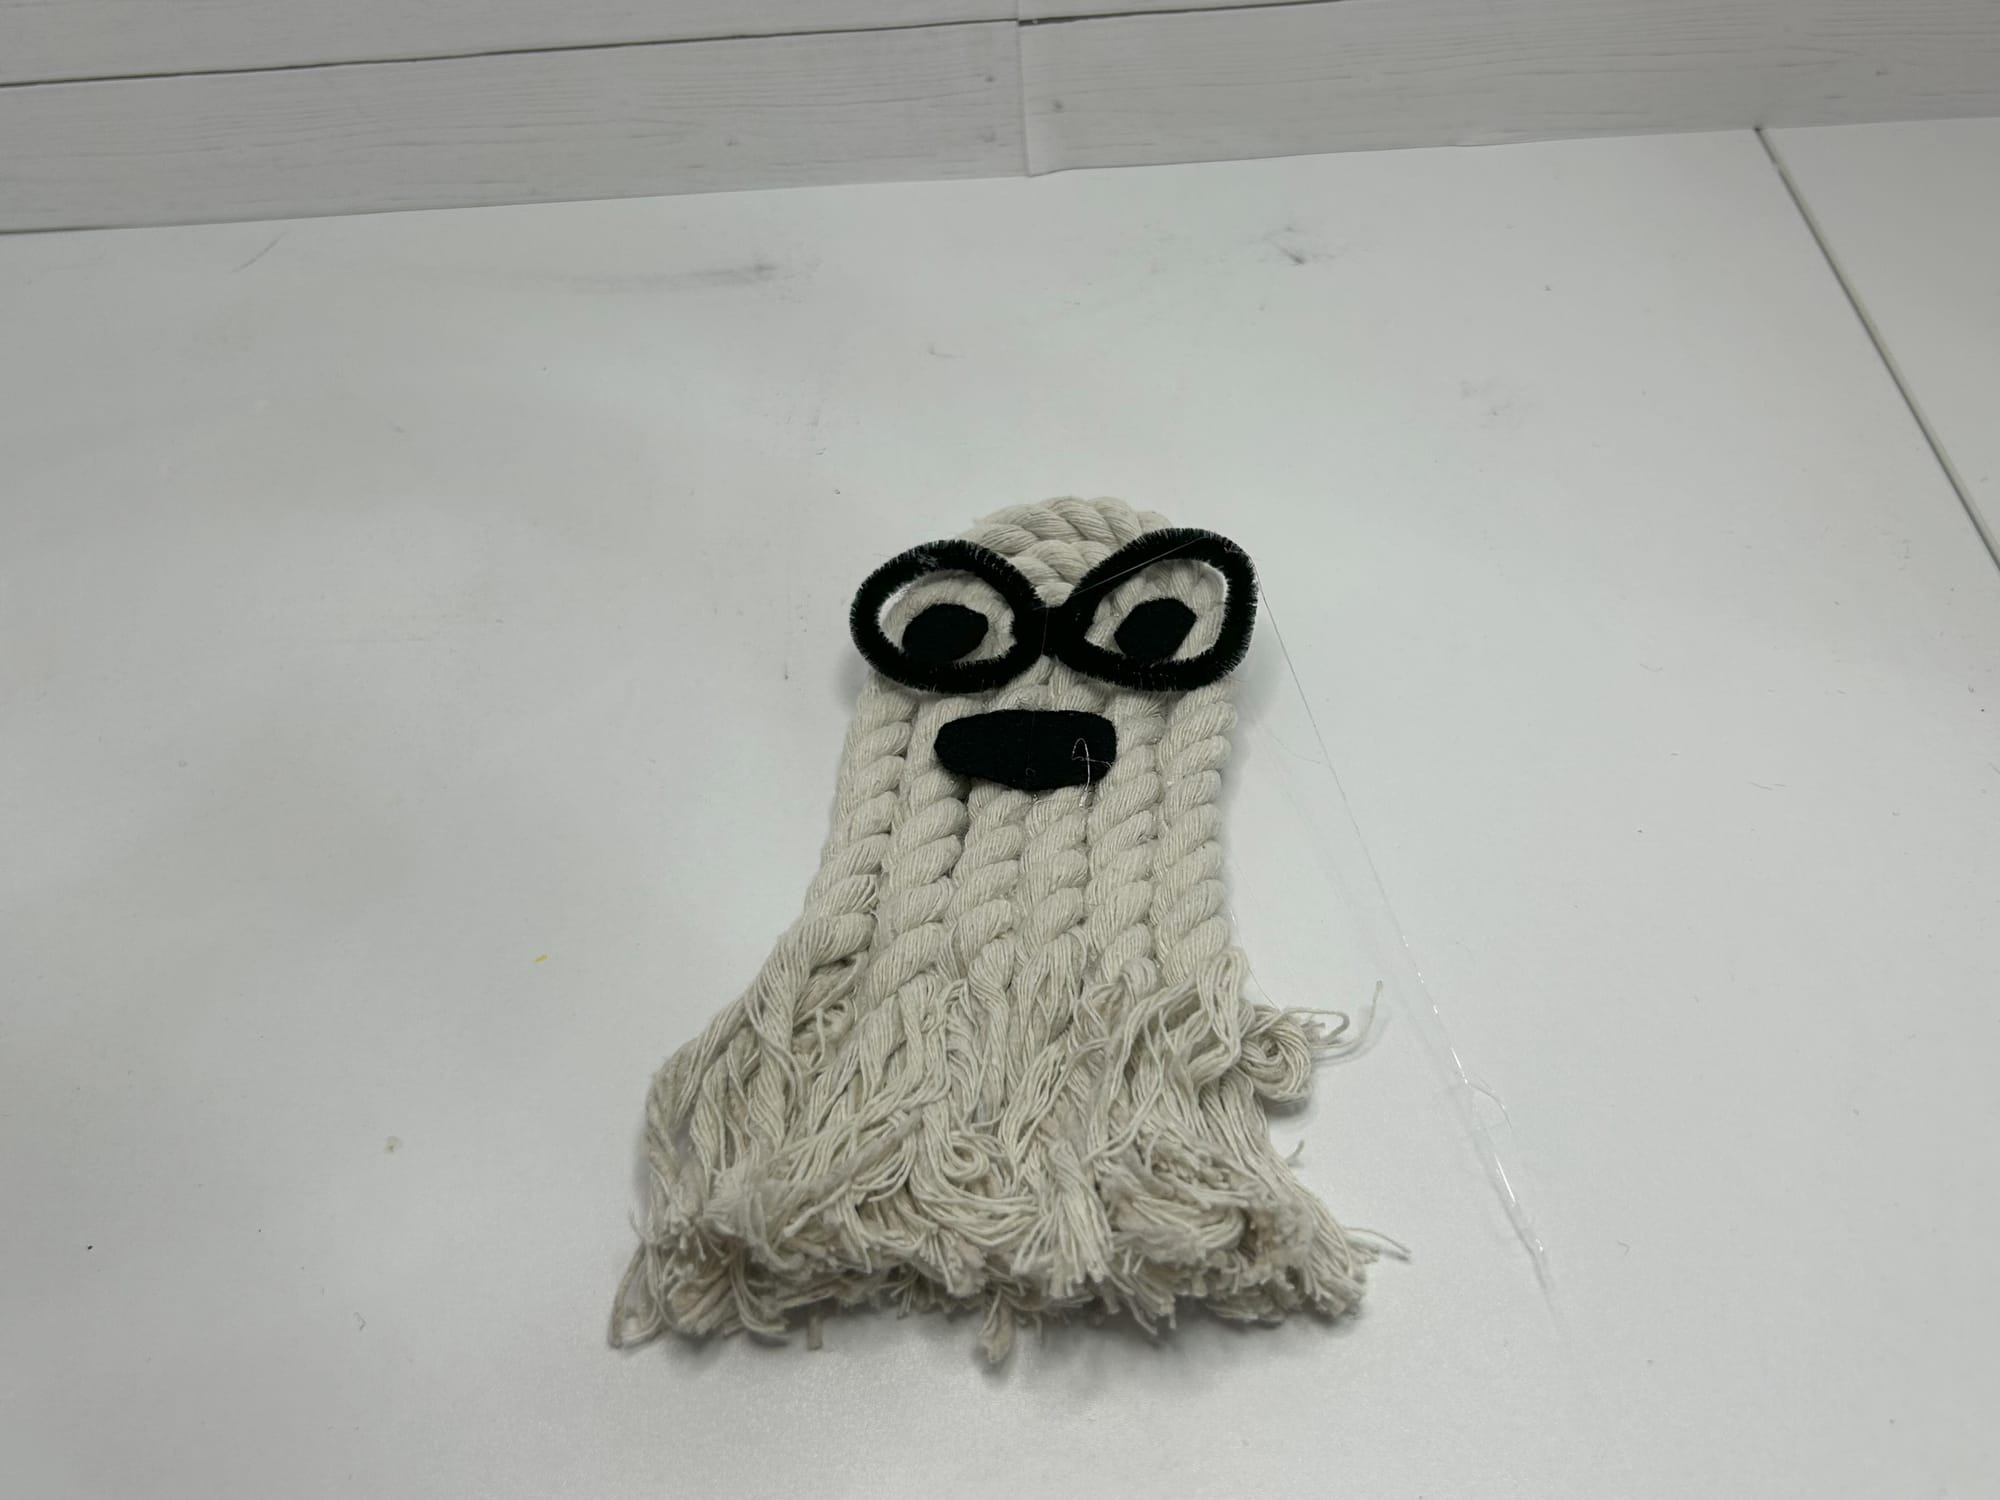
Use a hot glue gun to attach the felt pieces onto the ghost.
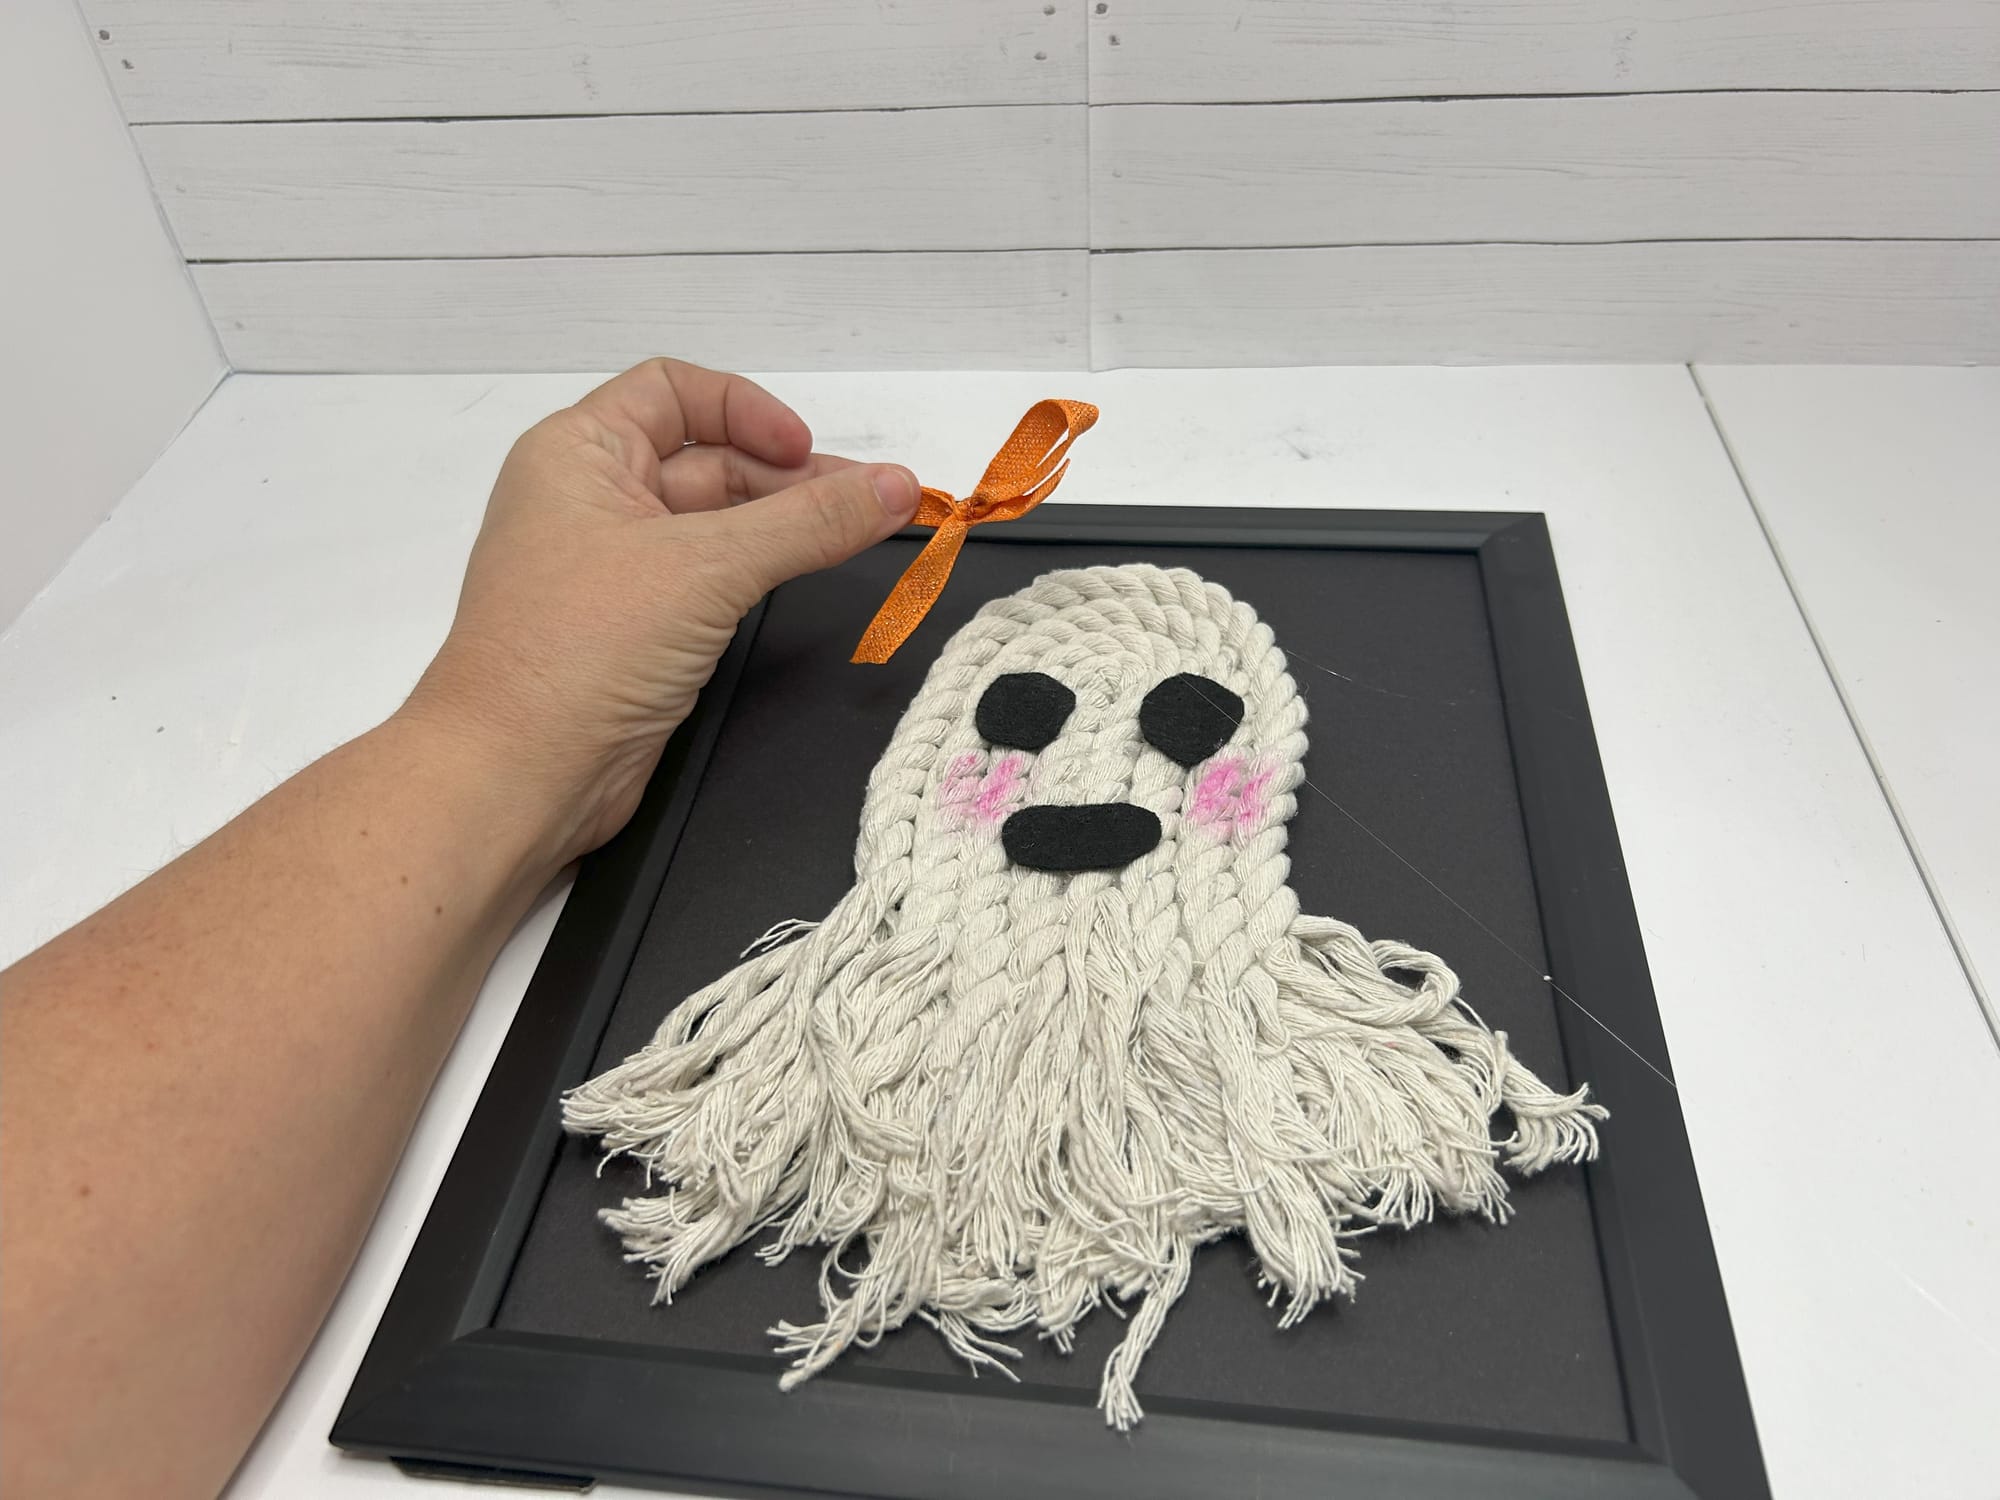
Next, glue each ghost inside the frames you have already prepared. I added a bow to the mom ghost. I also used crayons to add a rosy cheek to the ghost as well.
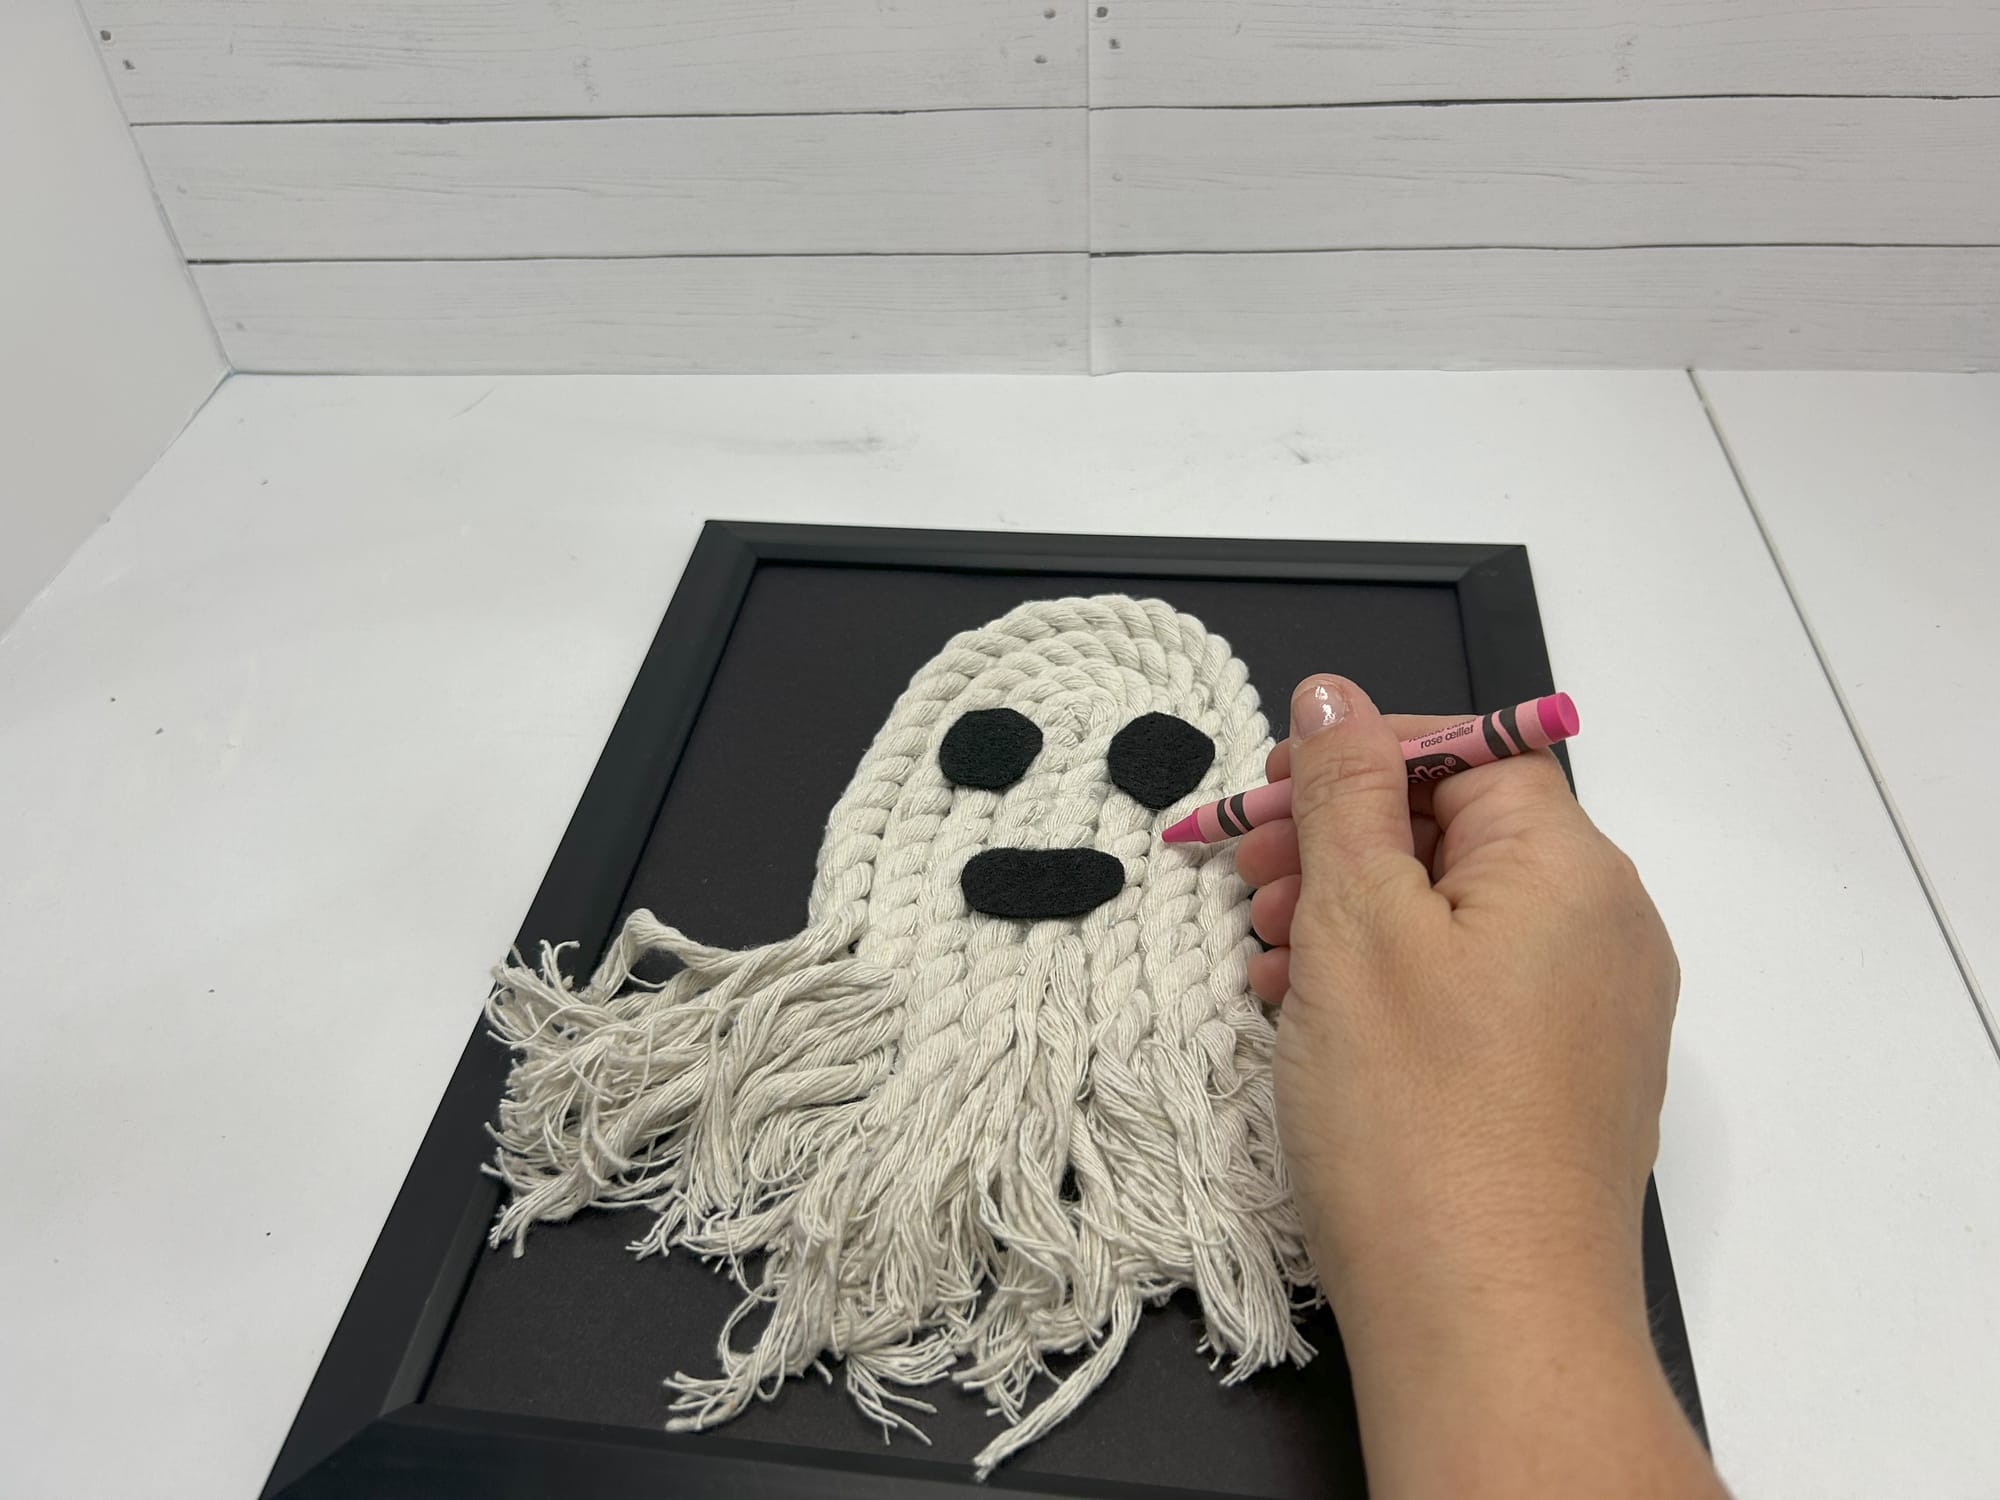
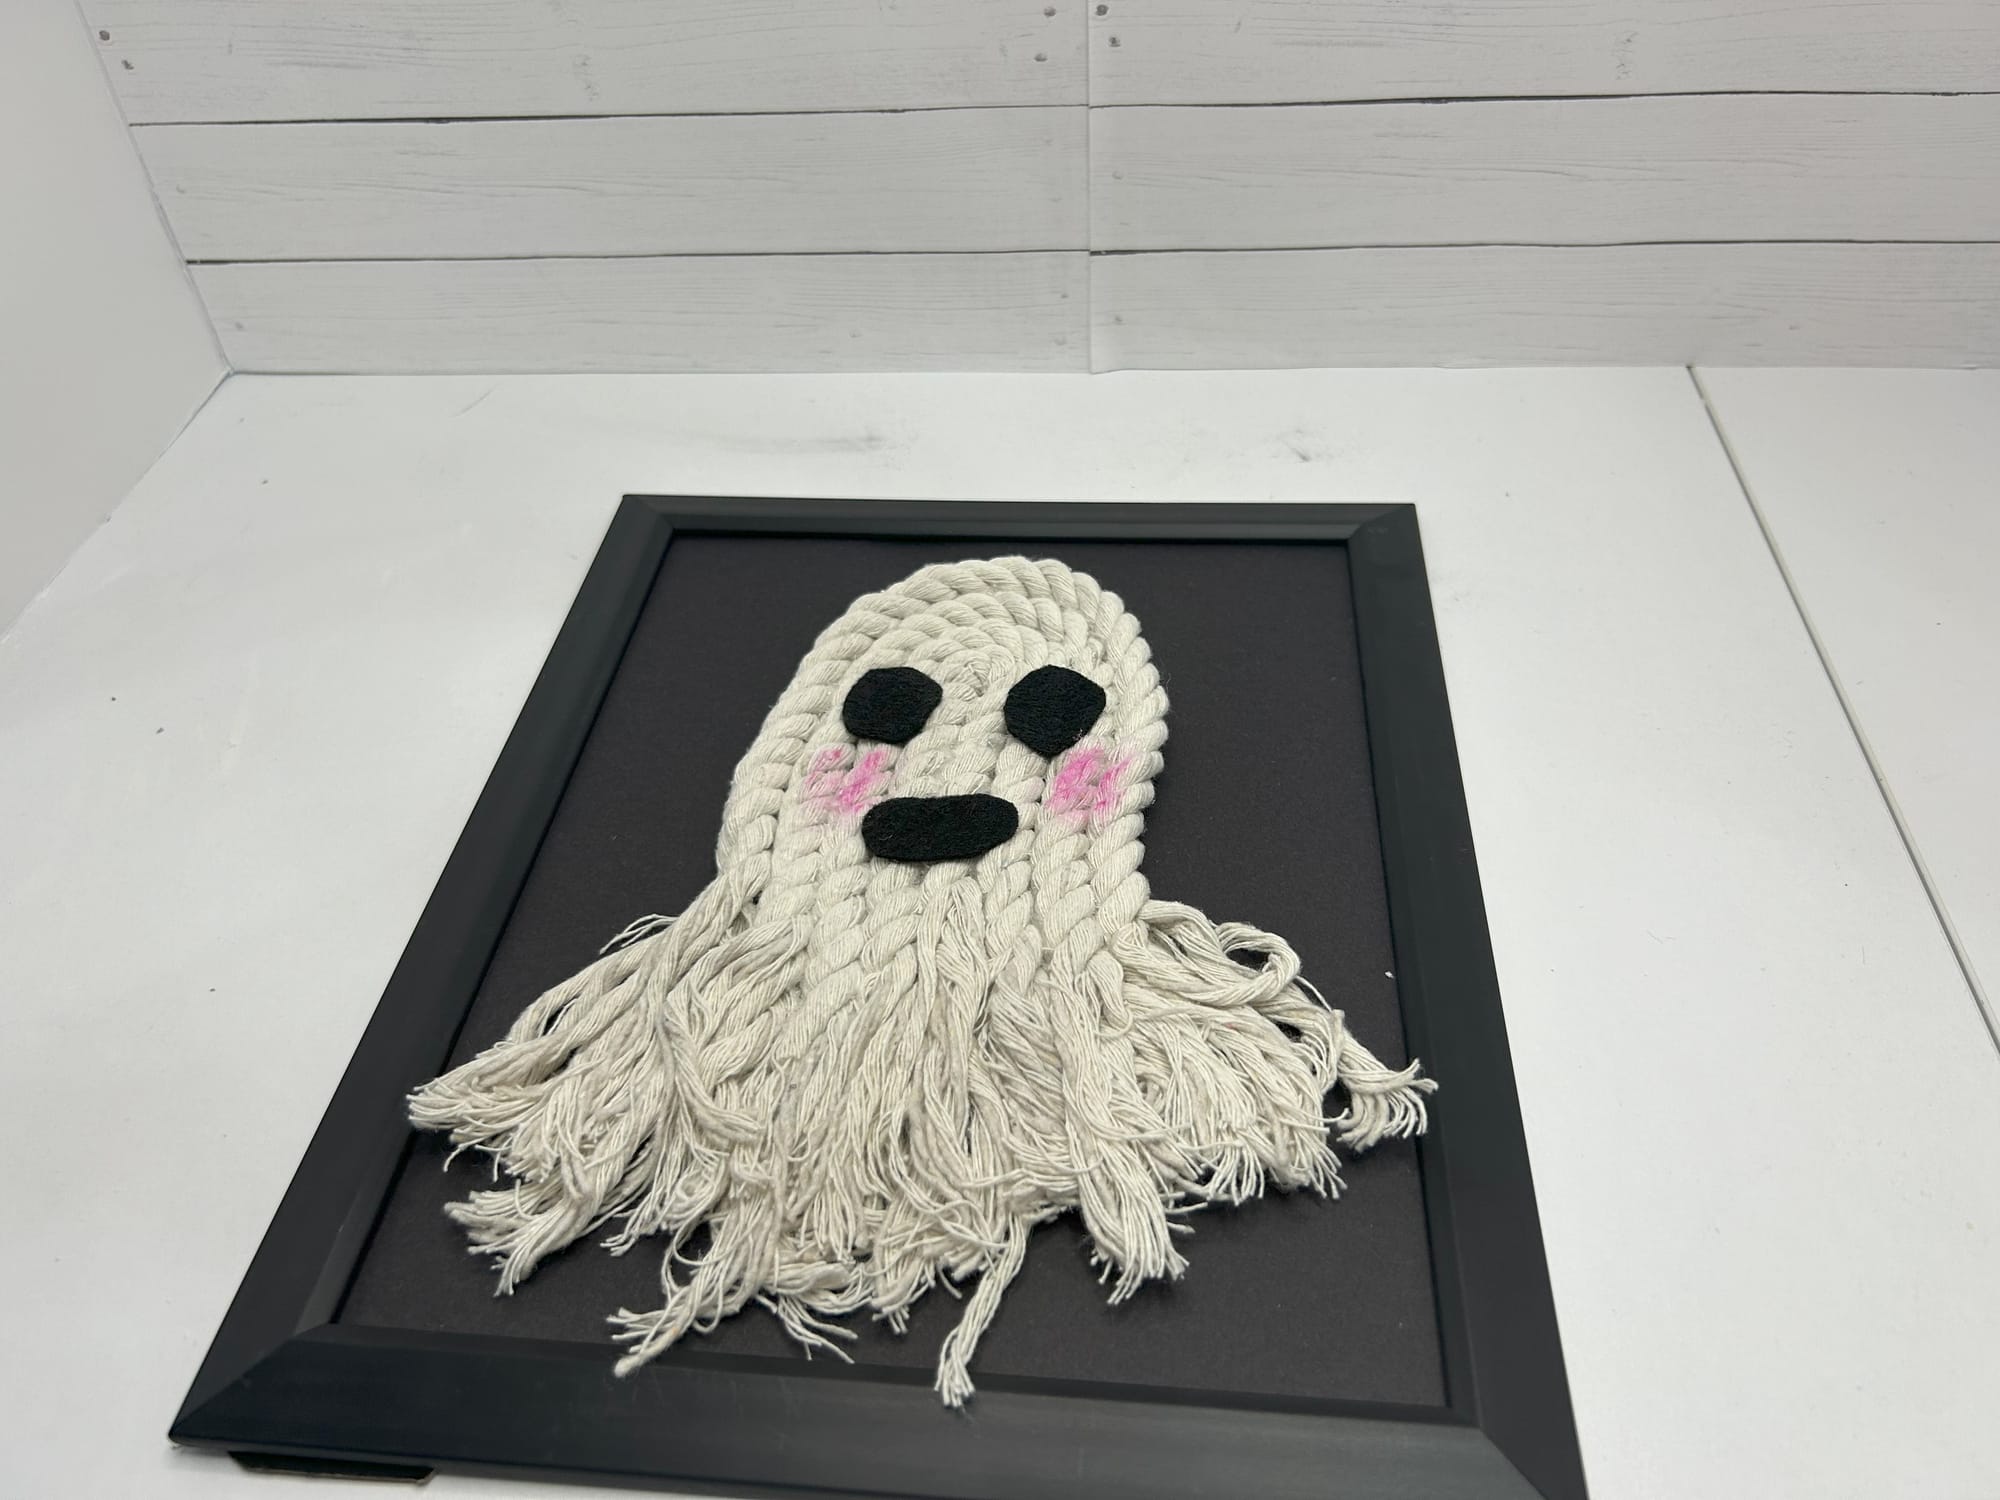

Add details to your ghost if you would like.
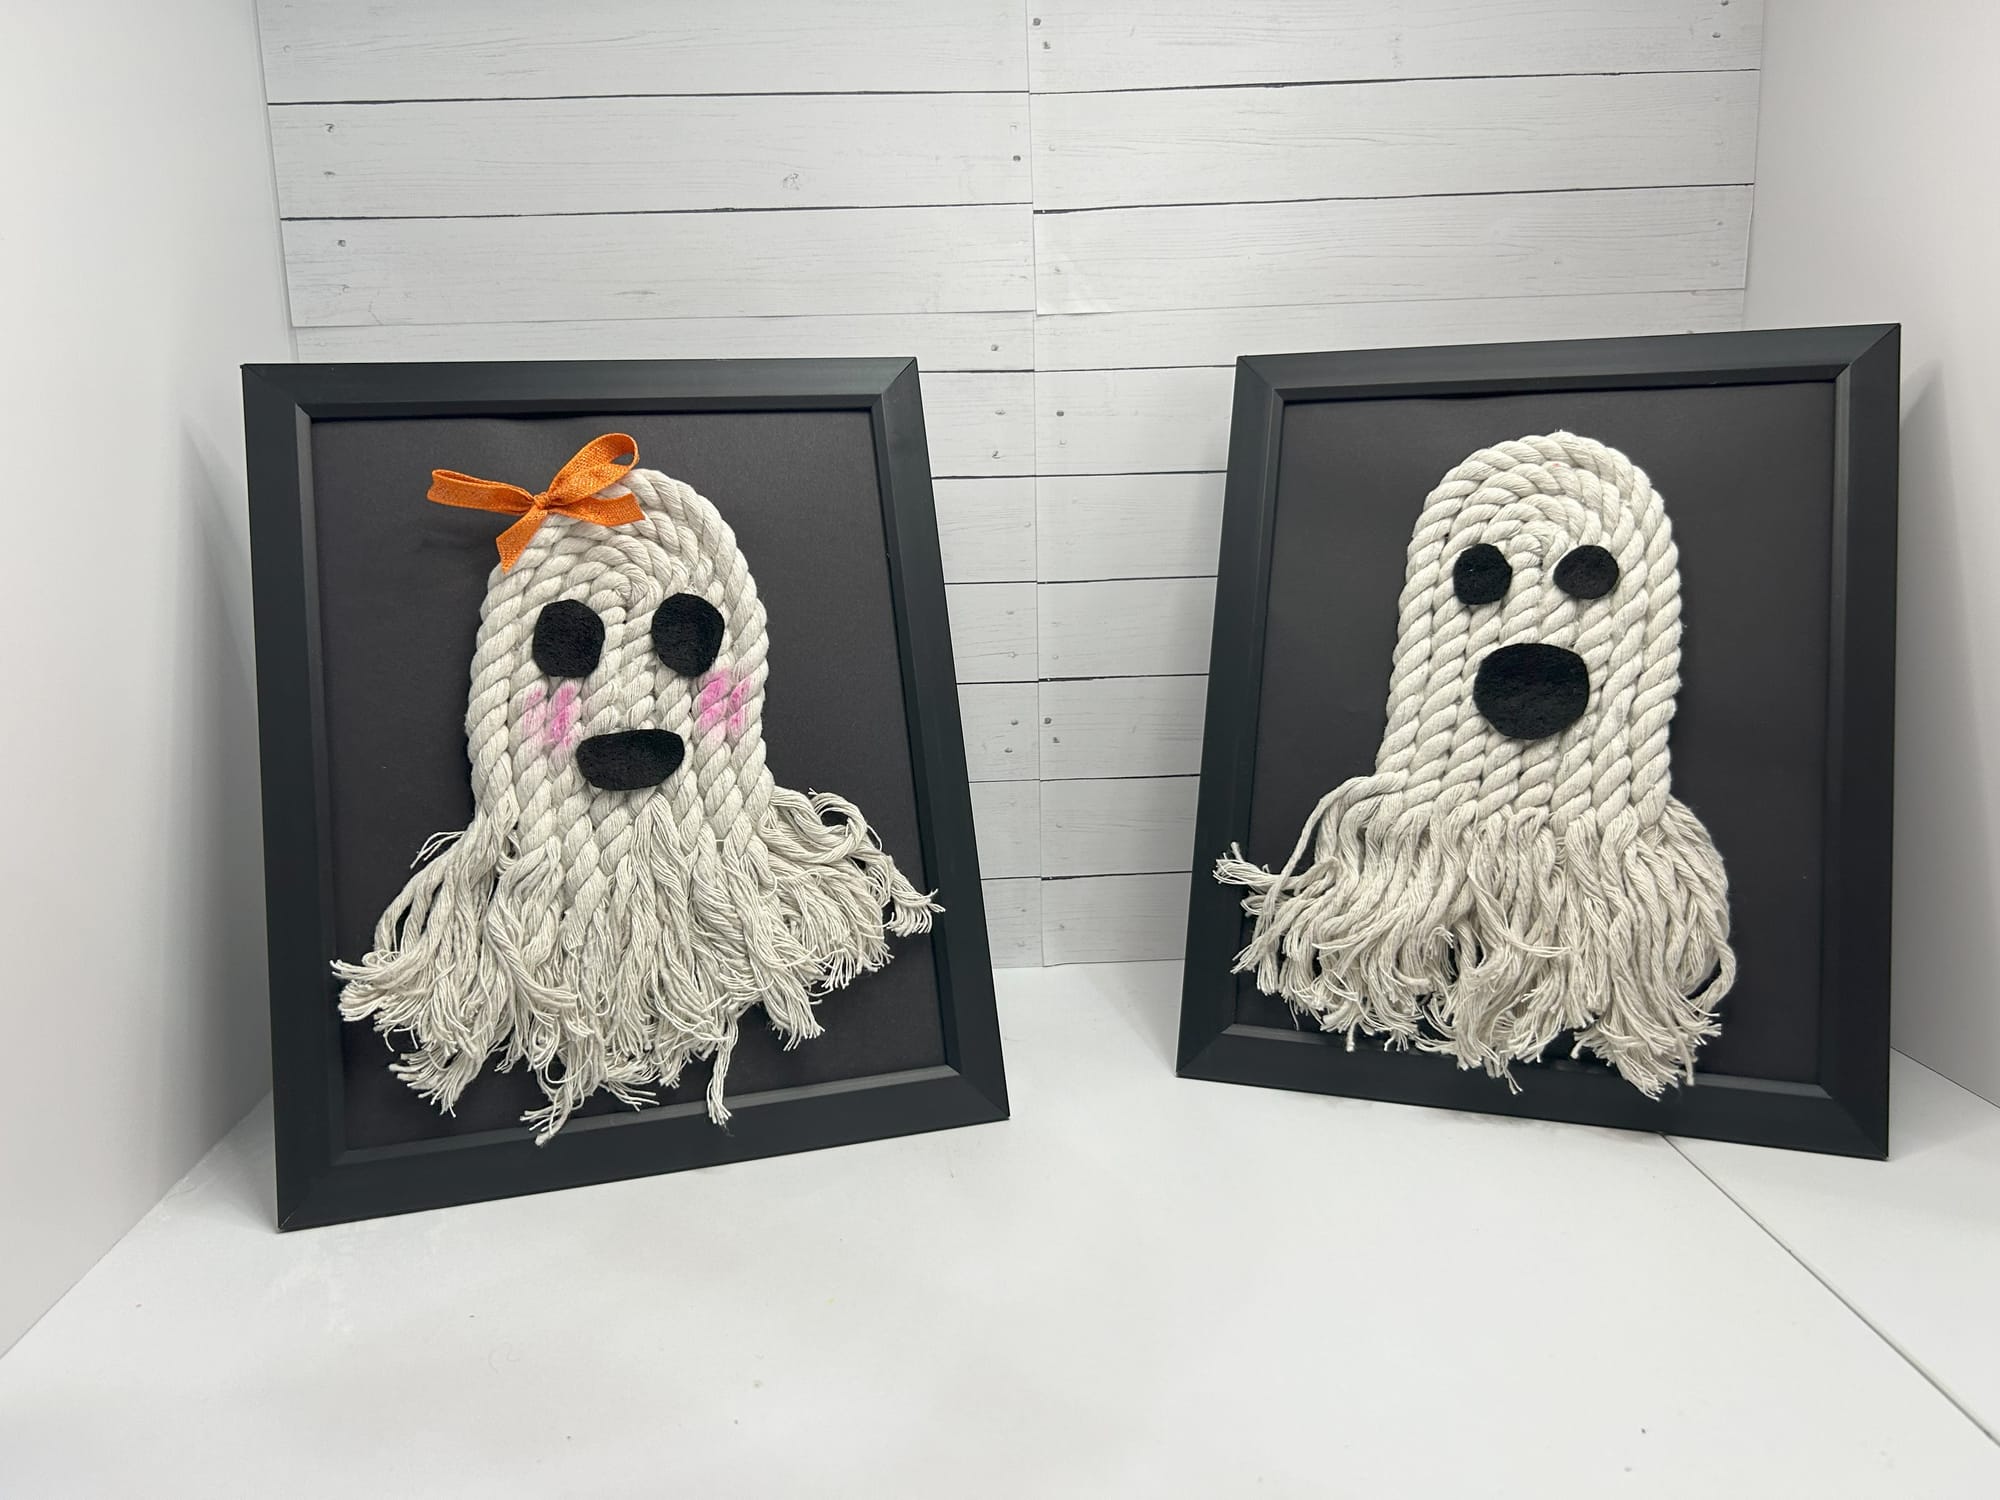
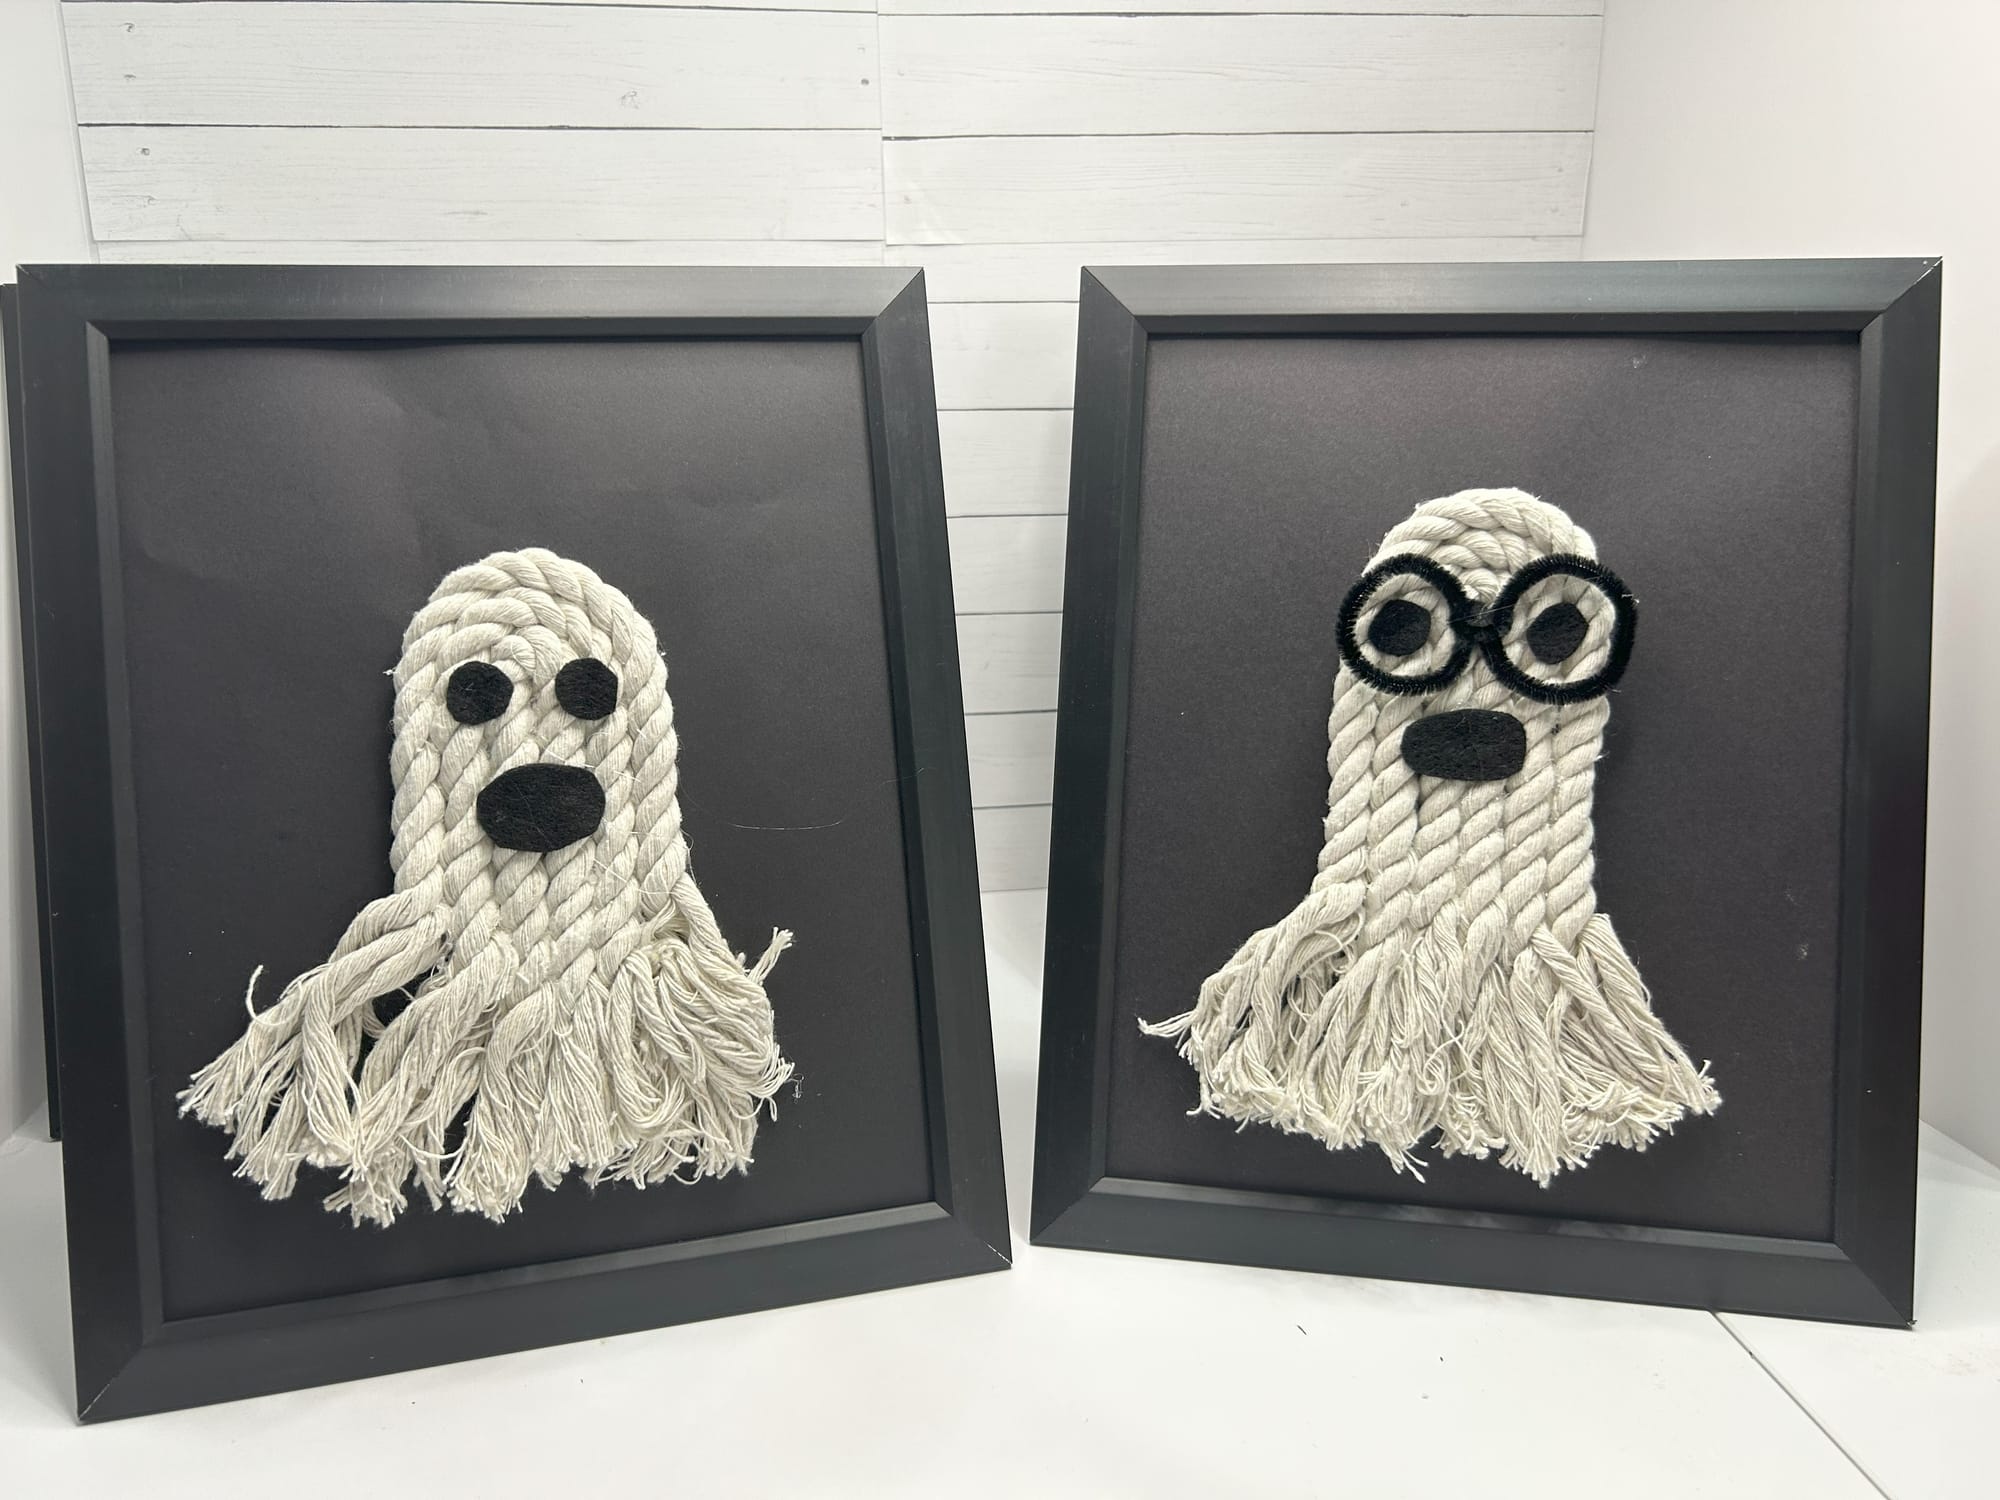
Completed ghost portraits