Easy Stacked Snowman Craft for Kids (Simple Winter Art Activity)
This easy stacked snowman craft is a fun and simple winter art activity that’s perfect for young children. Using basic shapes stacked on top of each other, kids can create an adorable snowman while practicing cutting, gluing, and creative design.
This snowman craft is ideal for preschool, kindergarten, early elementary classrooms, homeschool, or winter crafting at home. It’s low-prep, budget-friendly, and makes a cute seasonal display.
Why You’ll Love This Snowman Craft
- ☃️ Easy winter craft for kids
- ✂️ Uses simple shapes and basic supplies
- 👧👦 Great for preschool and early elementary ages
- 🎨 Encourages creativity and fine motor development
- 🖼️ Makes an adorable winter or snowman display
Supplies You’ll Need
- Construction paper or cardstock
- Glue stick or liquid glue
- Scissors
- Markers or crayons
- Optional: buttons, googly eyes, pom-poms
Step 1: Create a Snowy Background
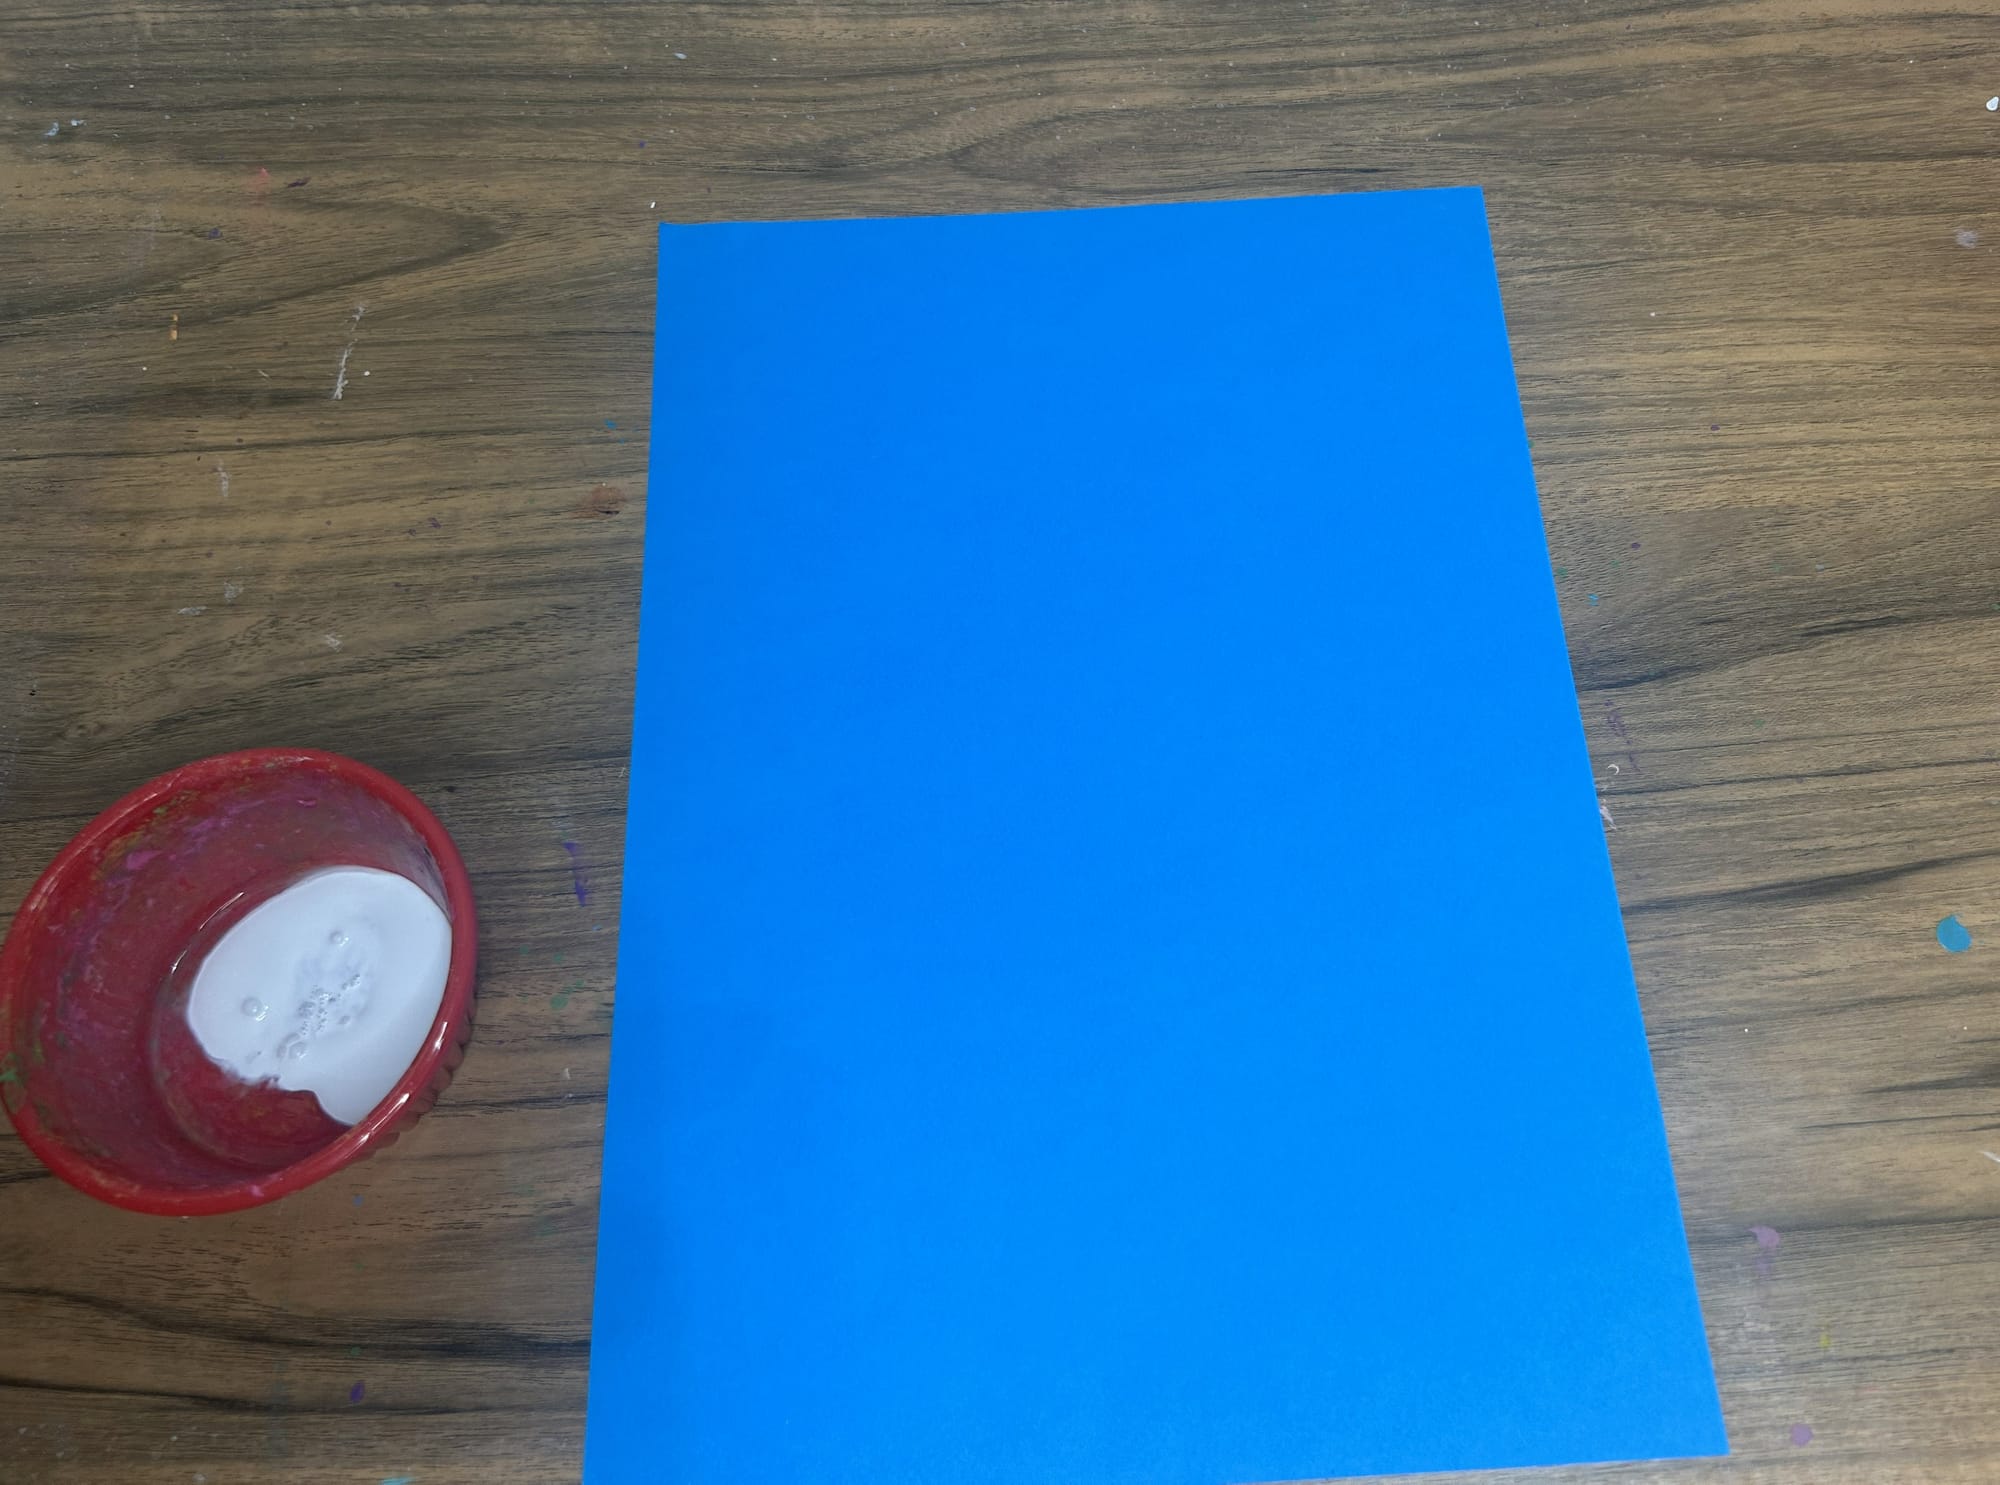
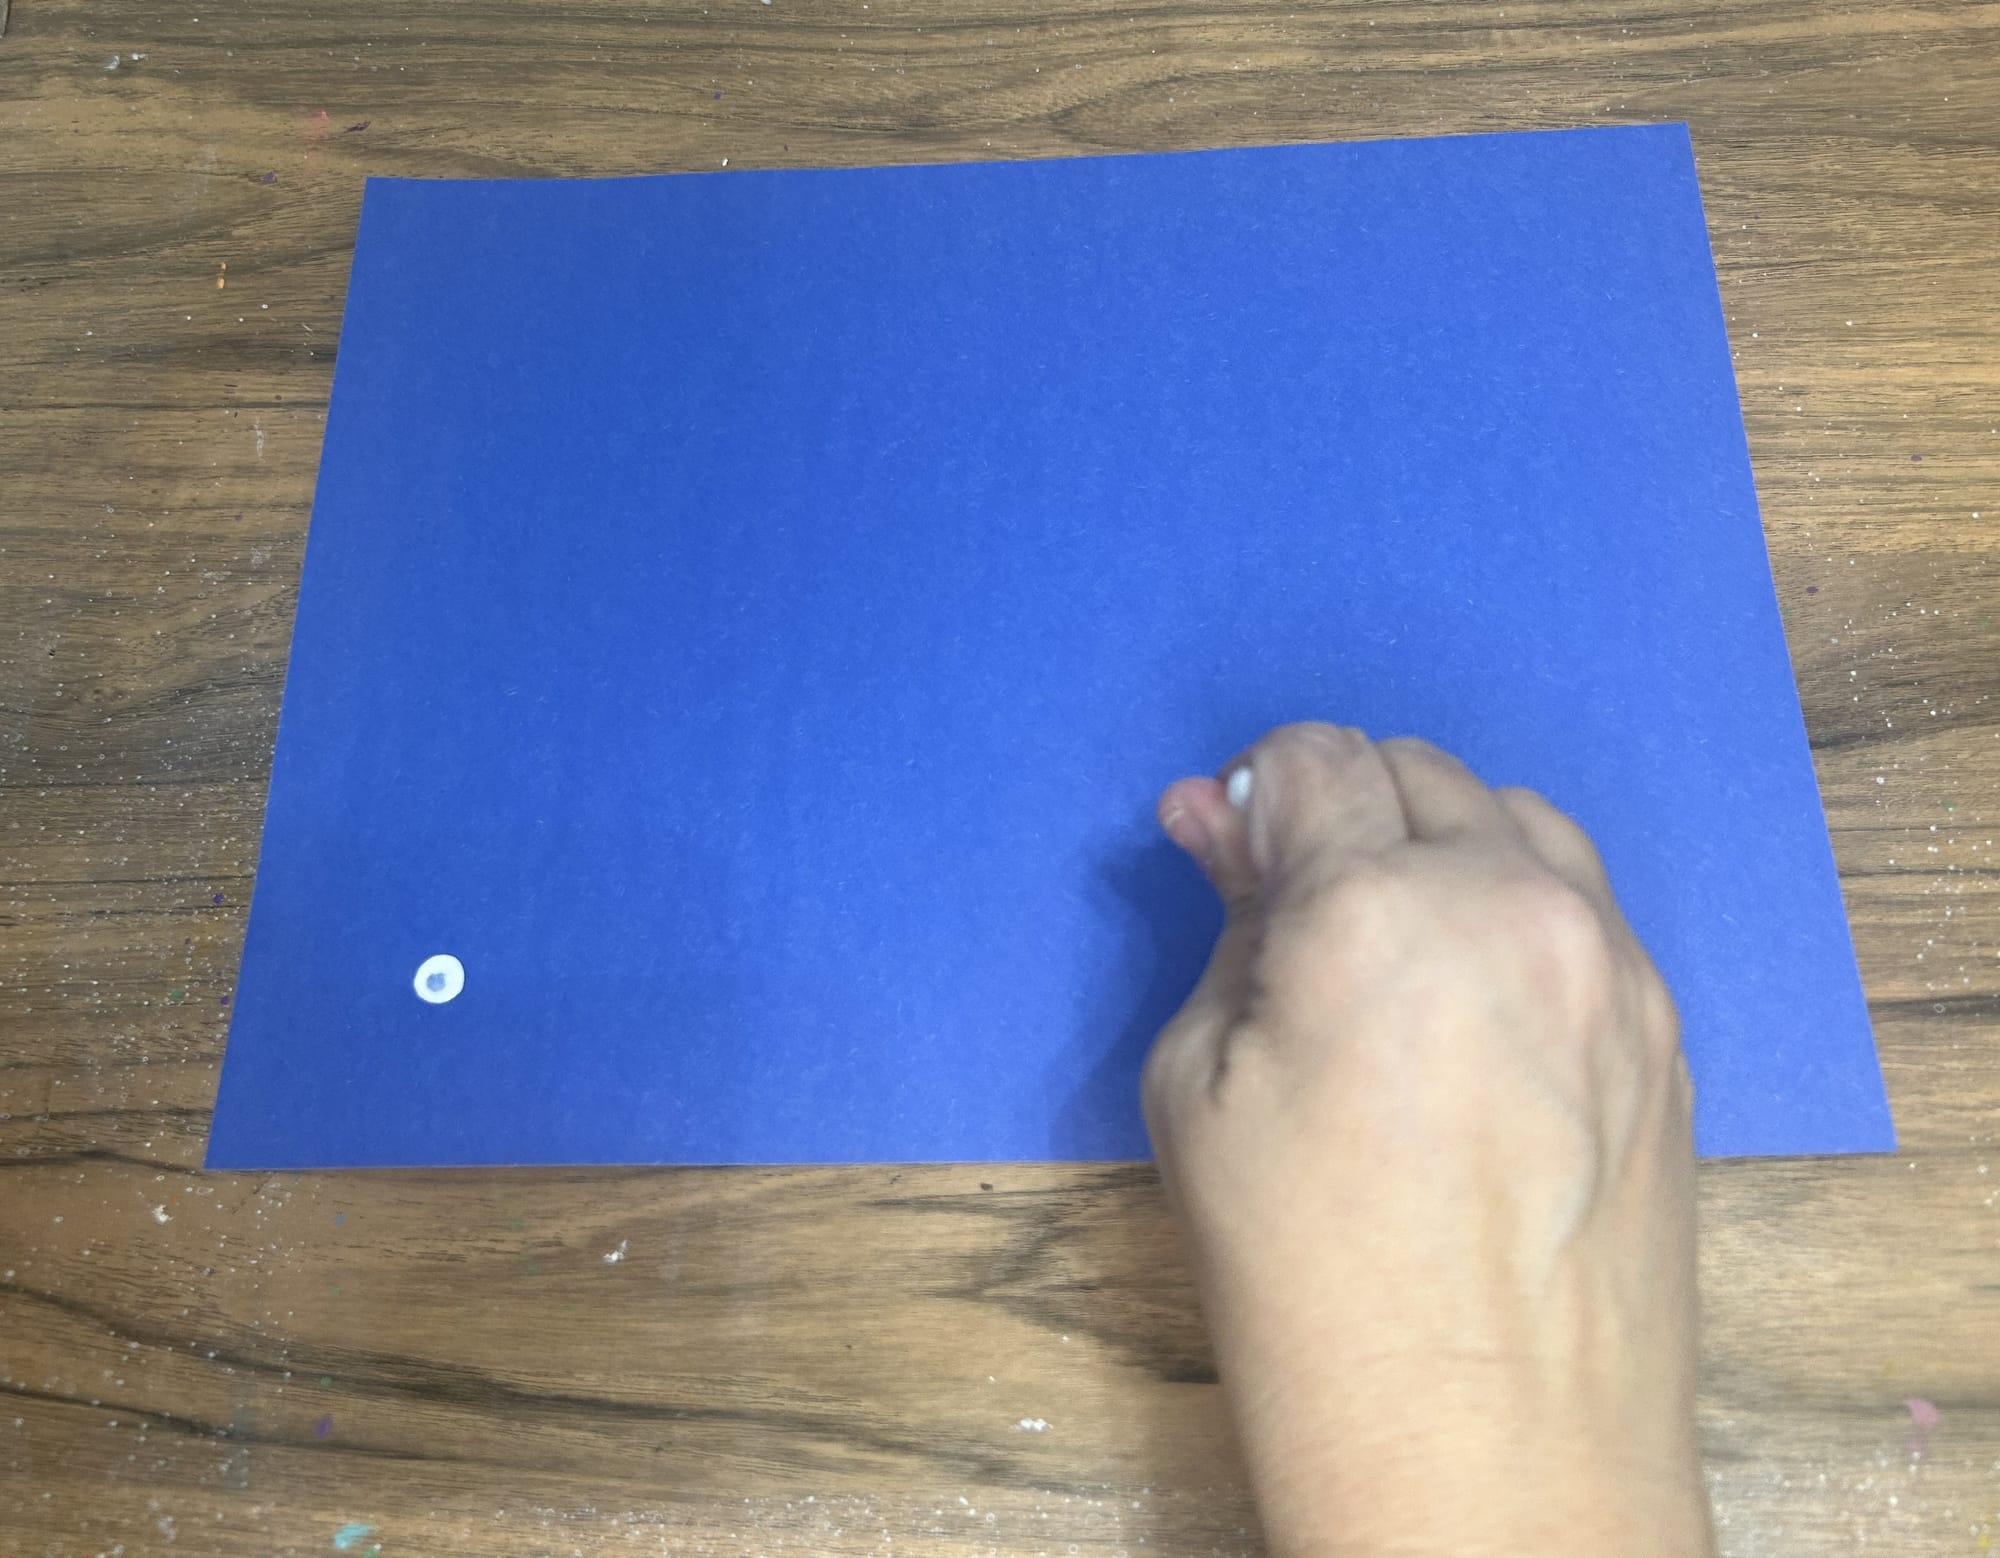
To start grab a piece of paper, you can choose the color you would like. I used a large sheet of construction paper 12x18. Use some paint to add some snow to the background of the paper before you begin. There are several ways you can create a snowy background.
Splatter painted
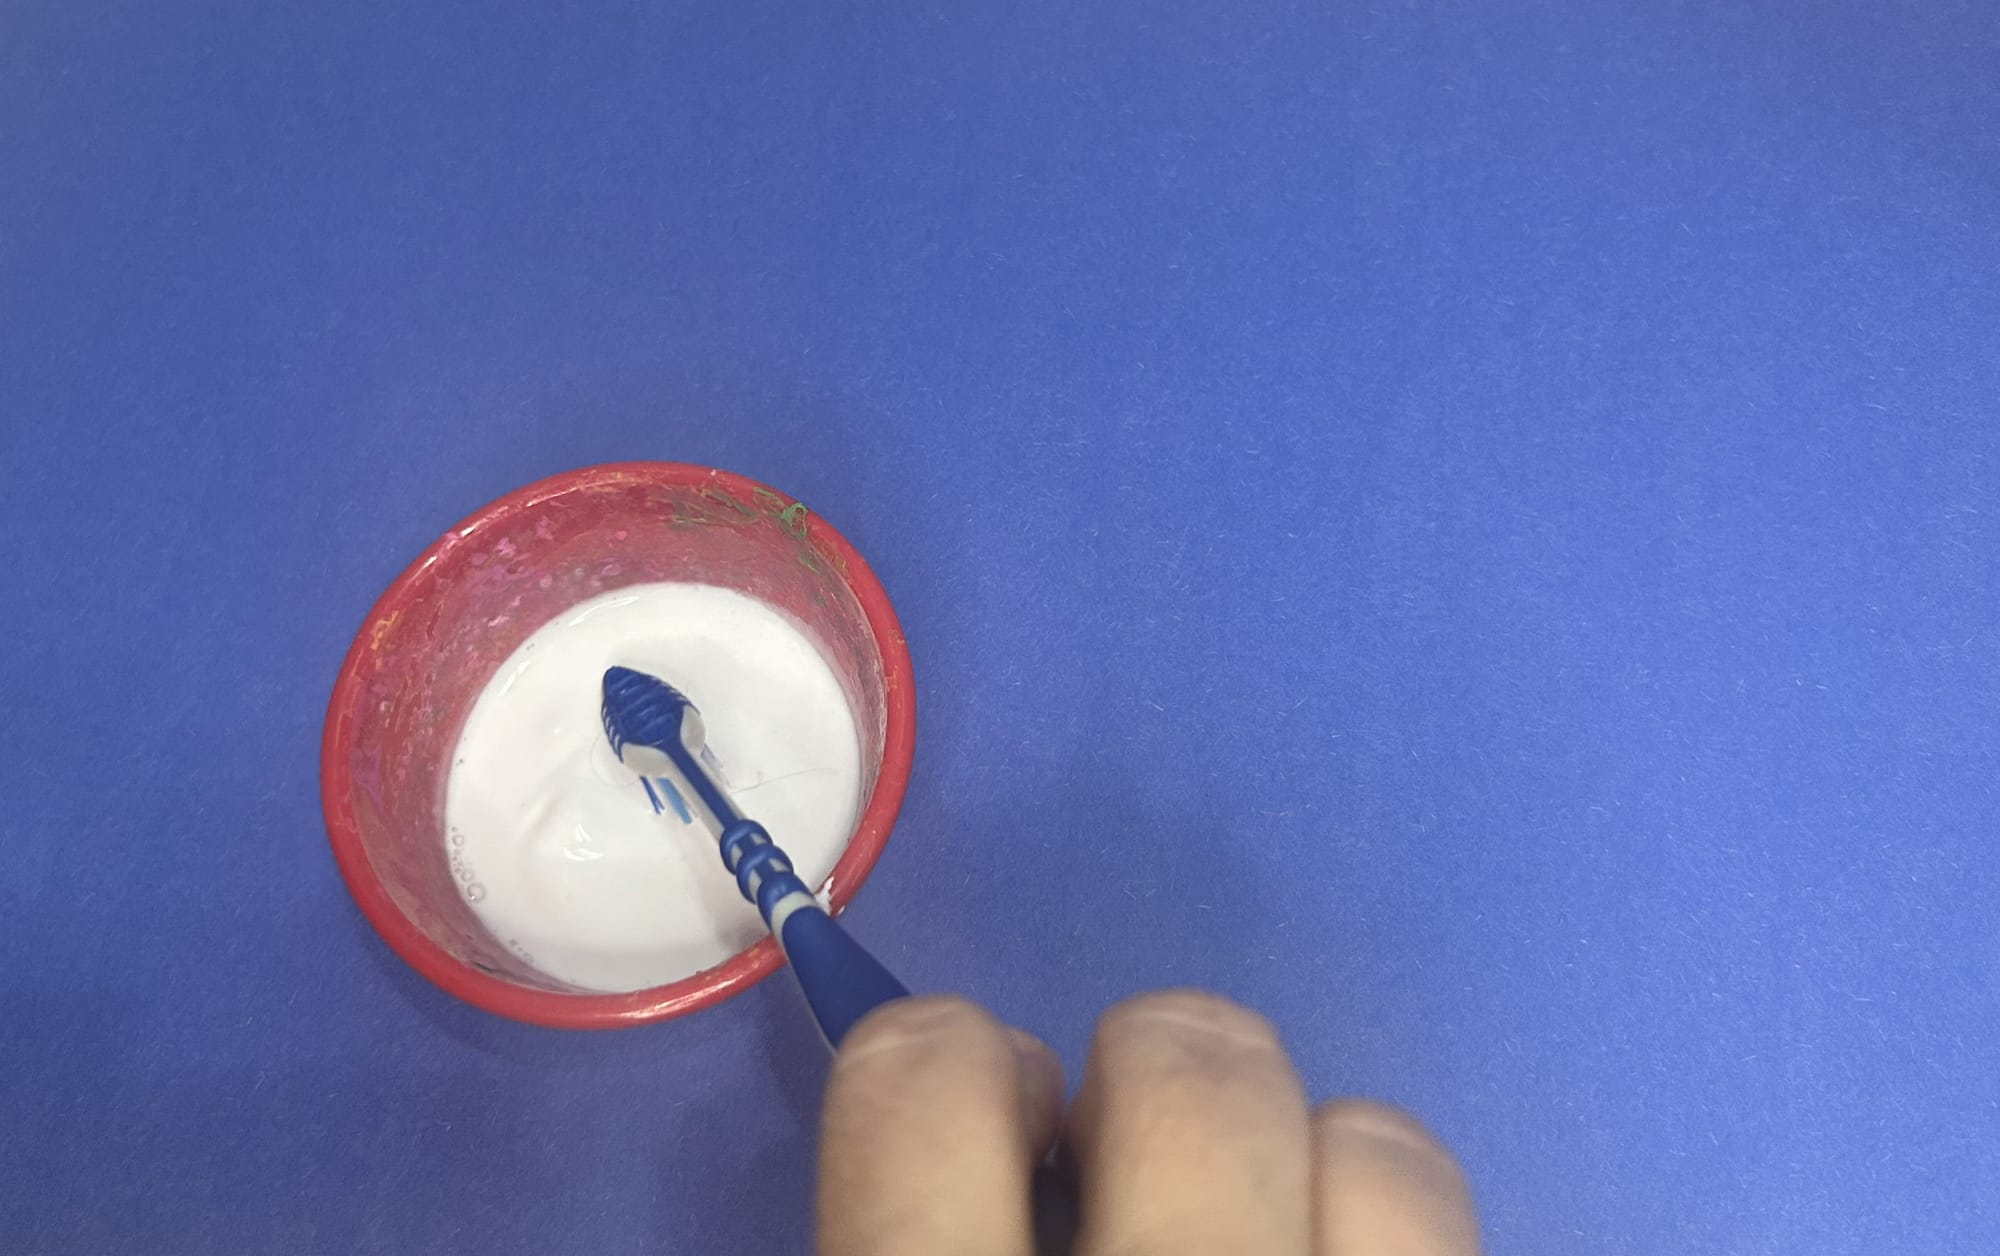
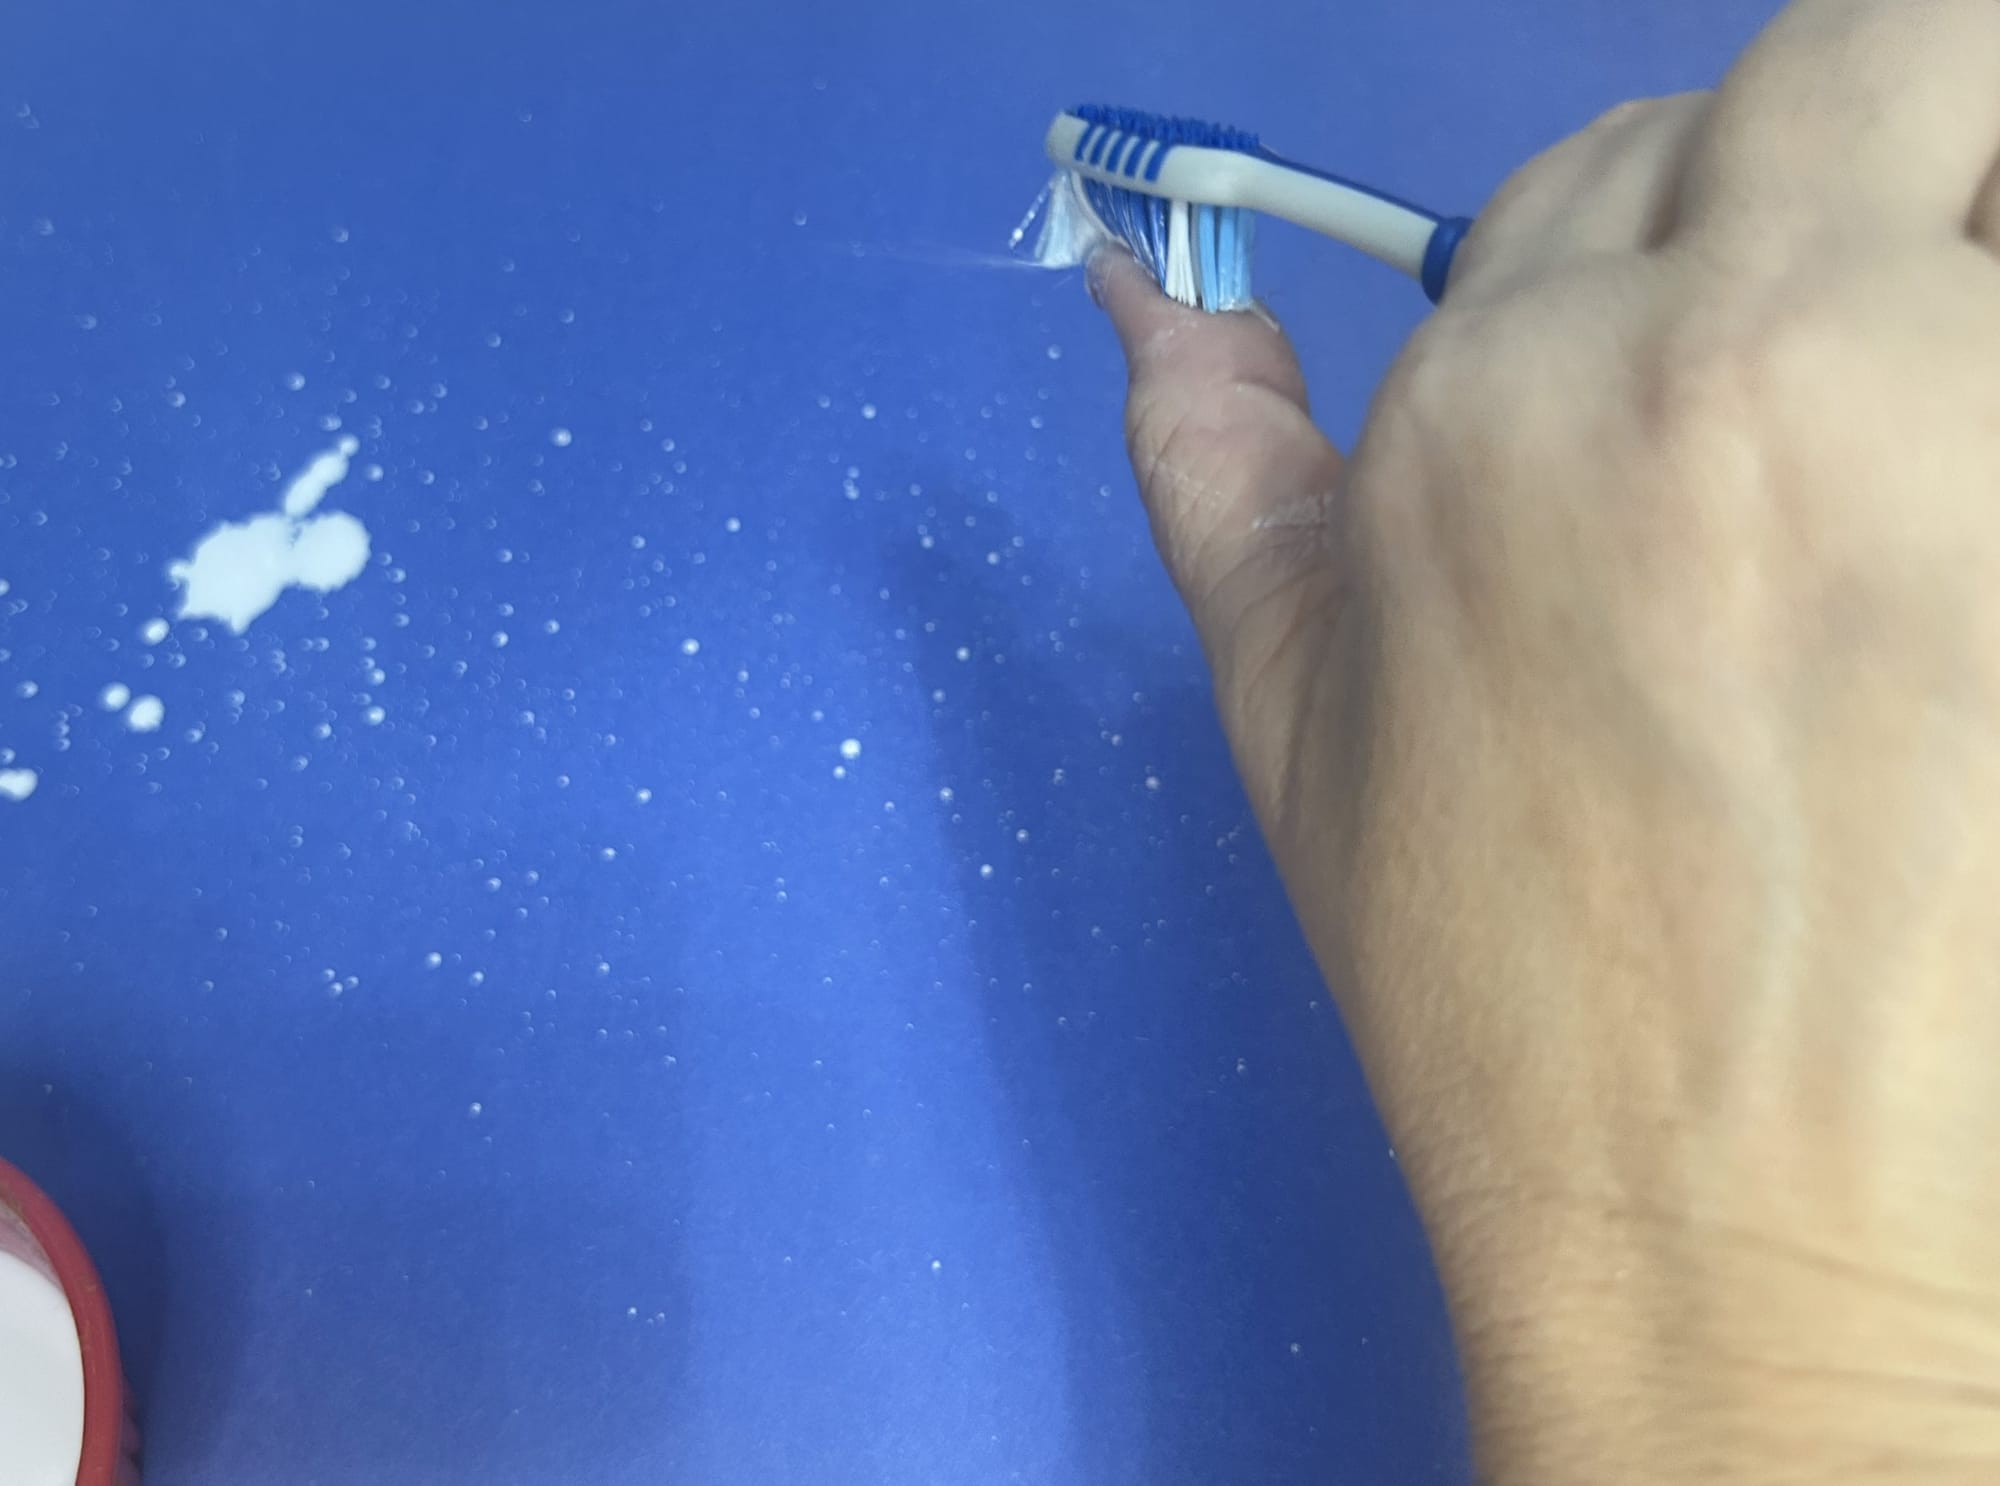
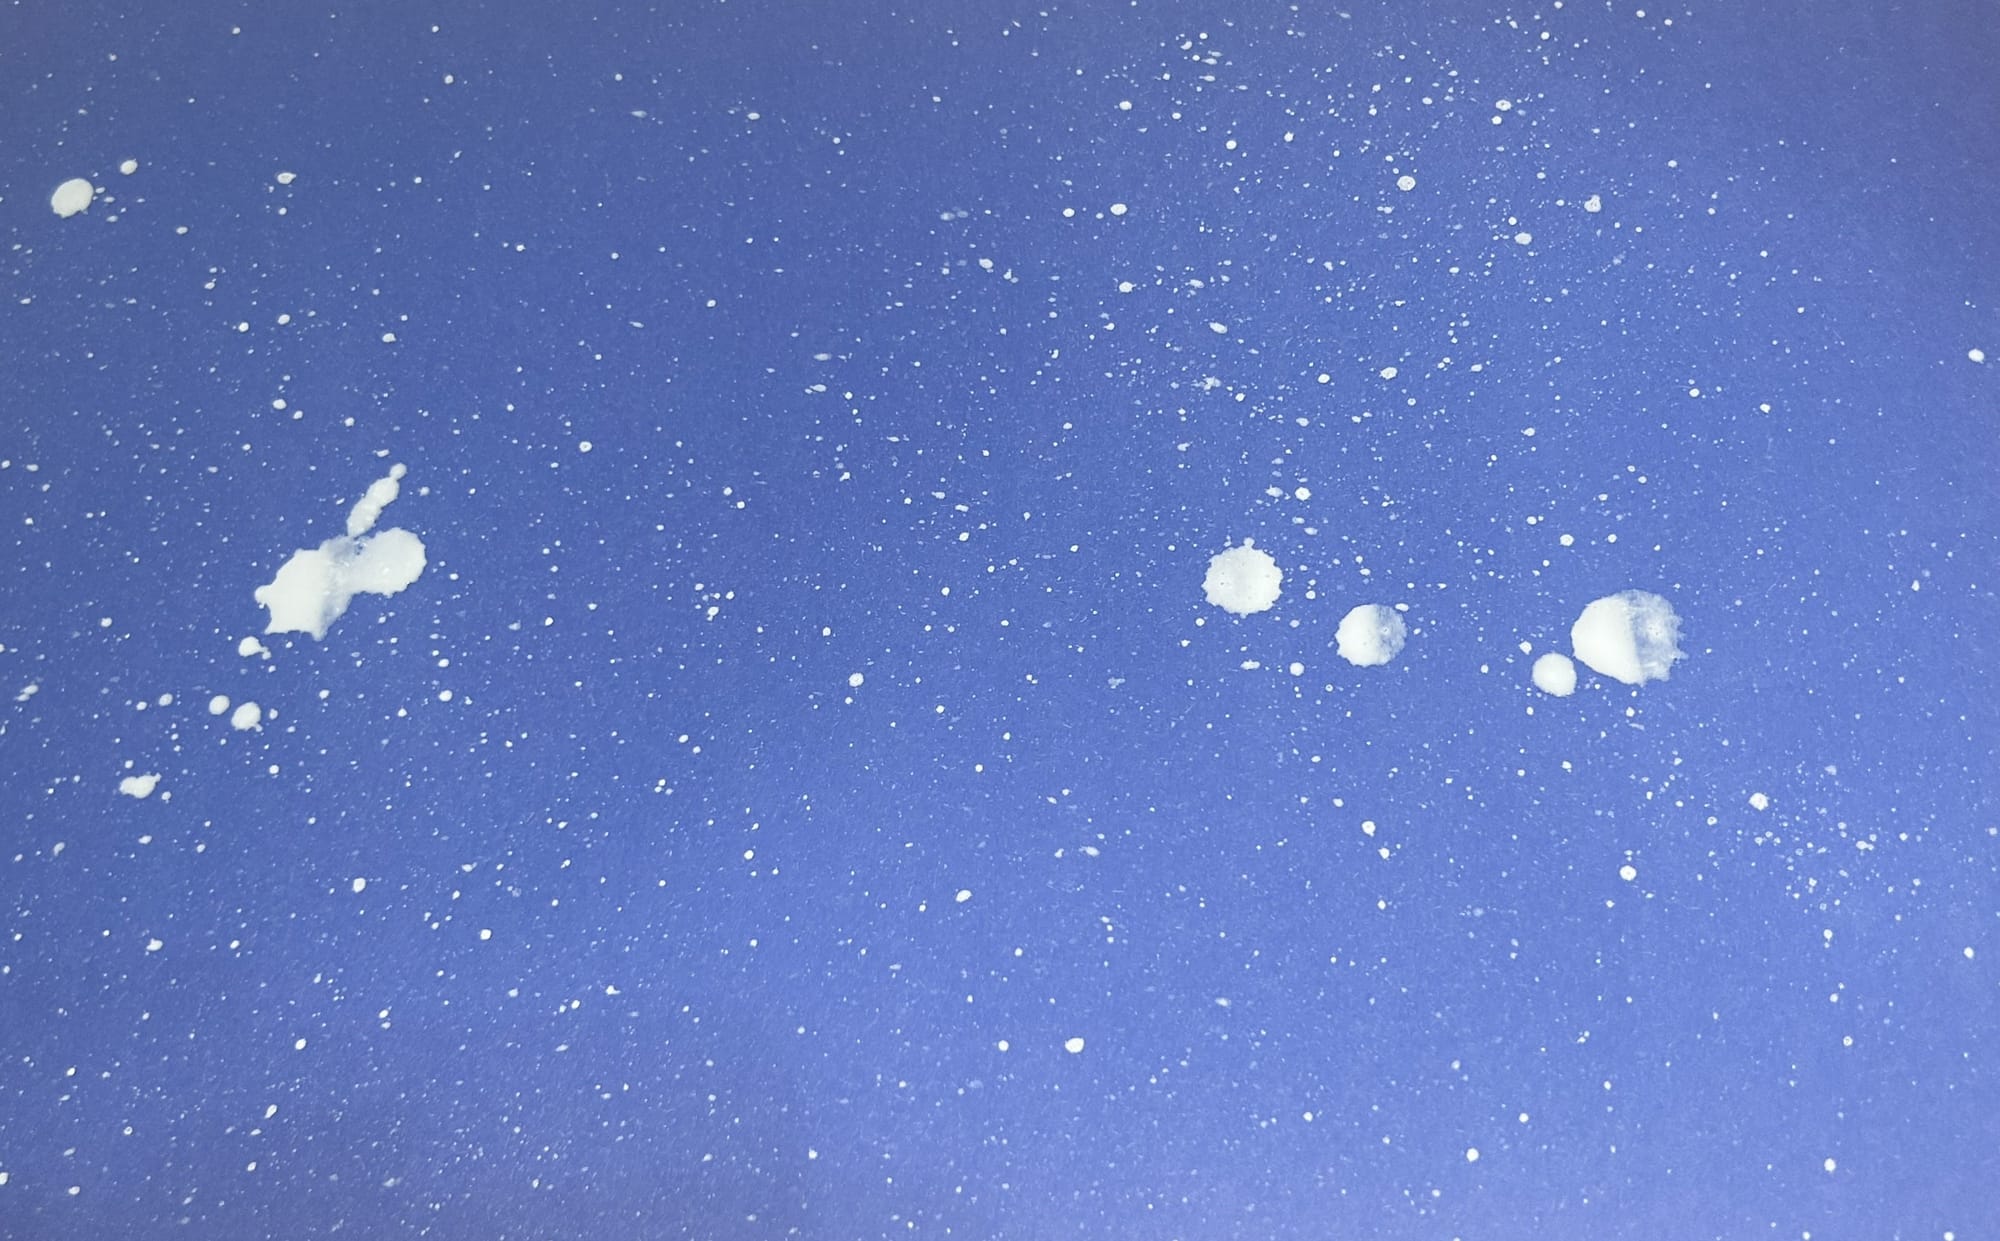
Flick watered down paint onto paper
To create this background, add some water to some white paint. Then dip an old paintbrush in the watered down paint. Use your finger to flick the white paint onto the paper. It is okay if you get some bigger drips on your paper.
Round sponge brush painted
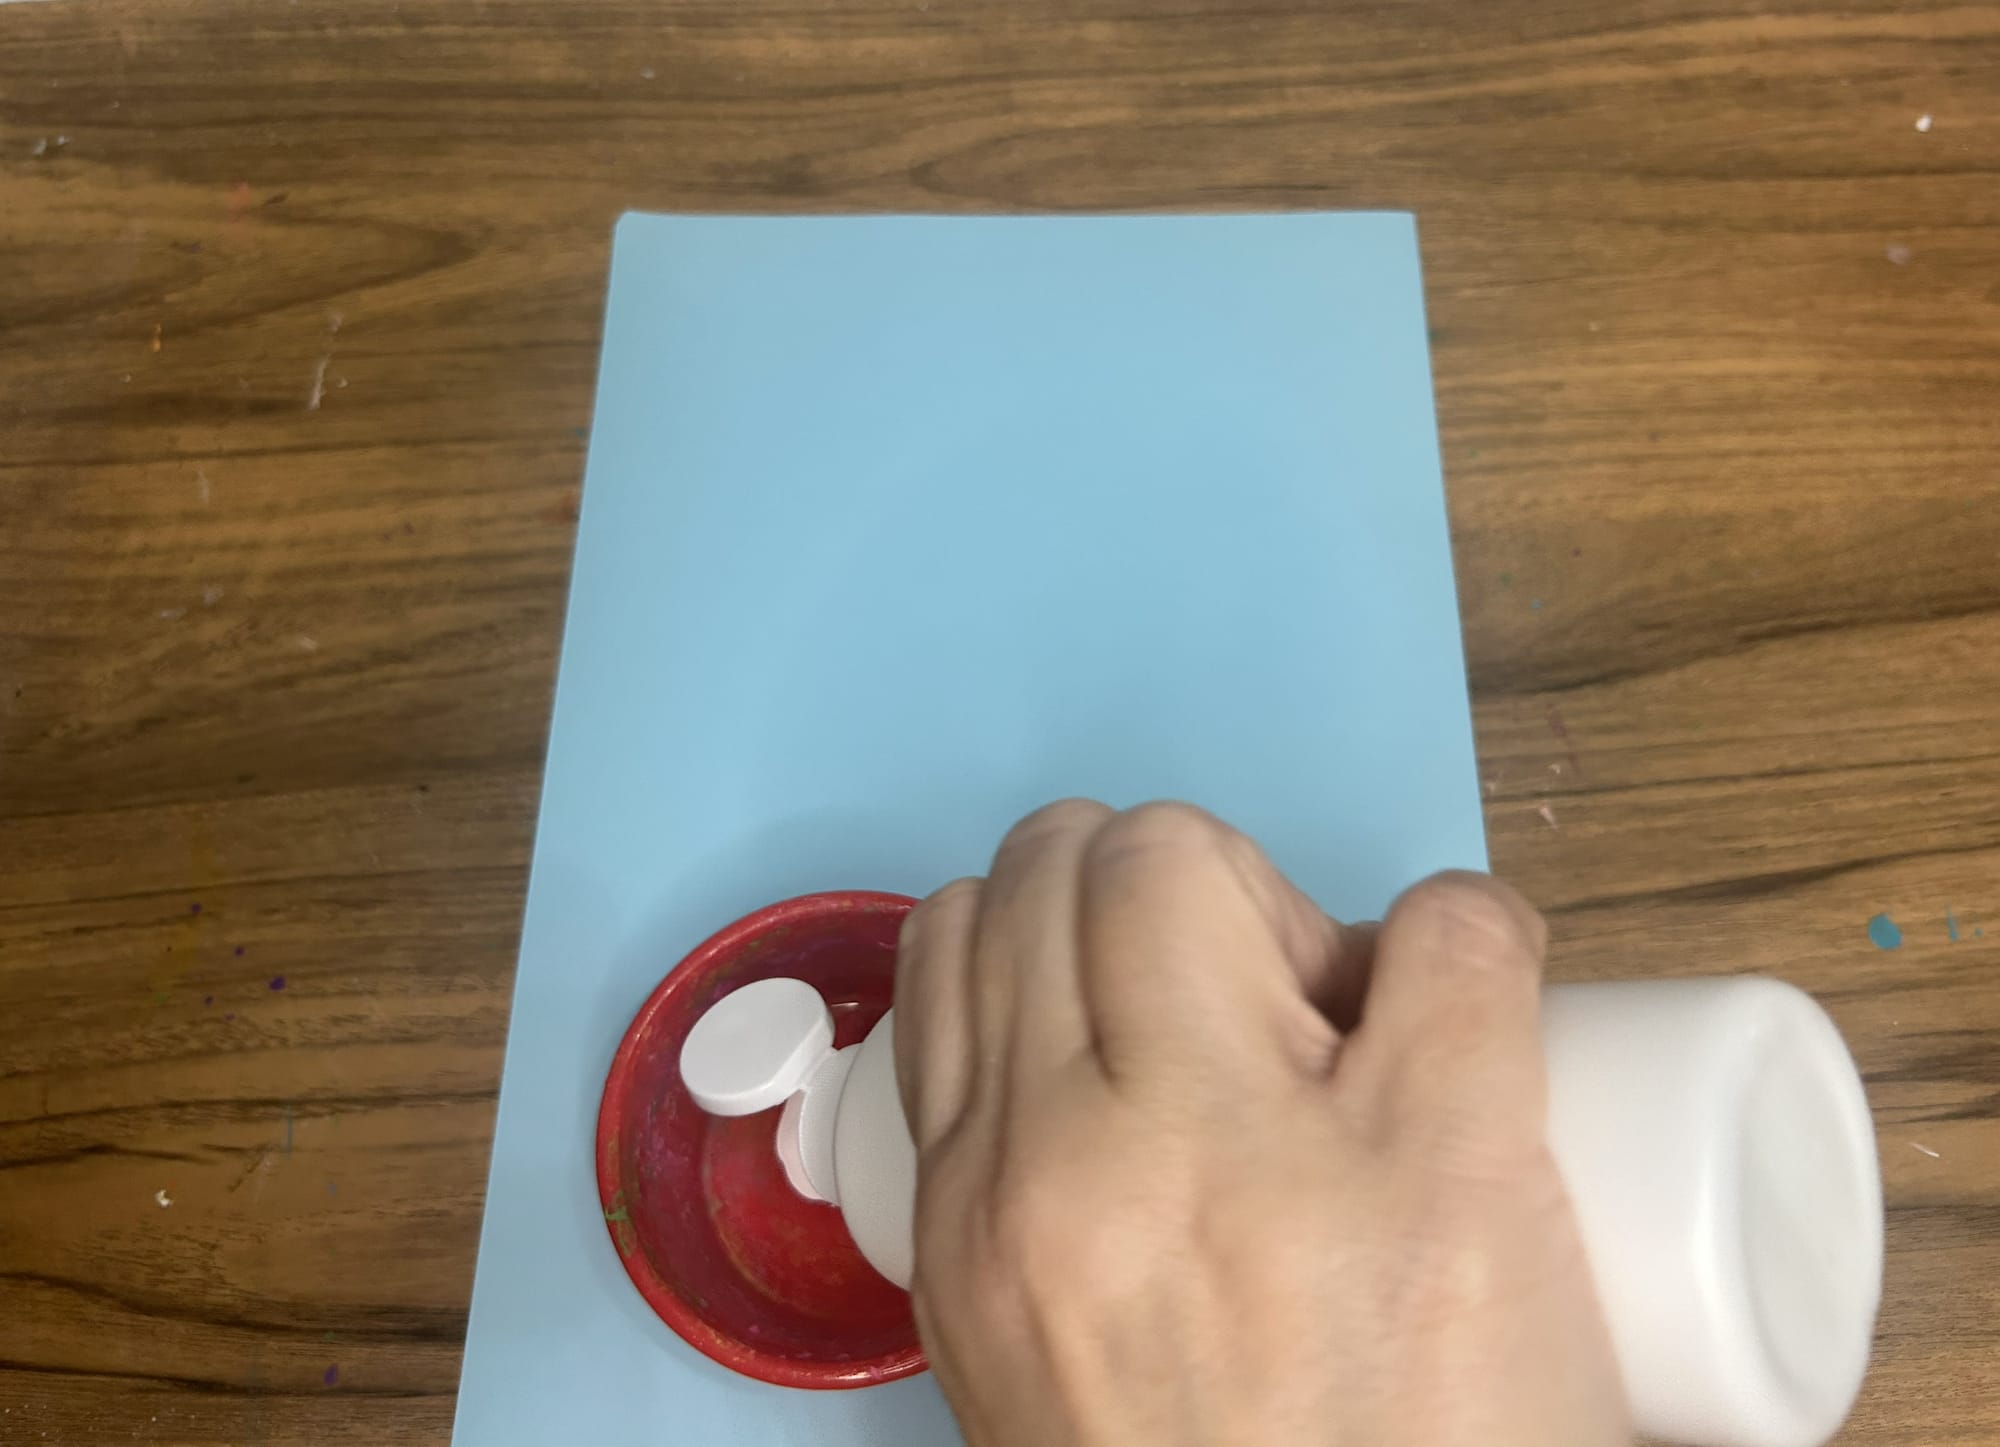
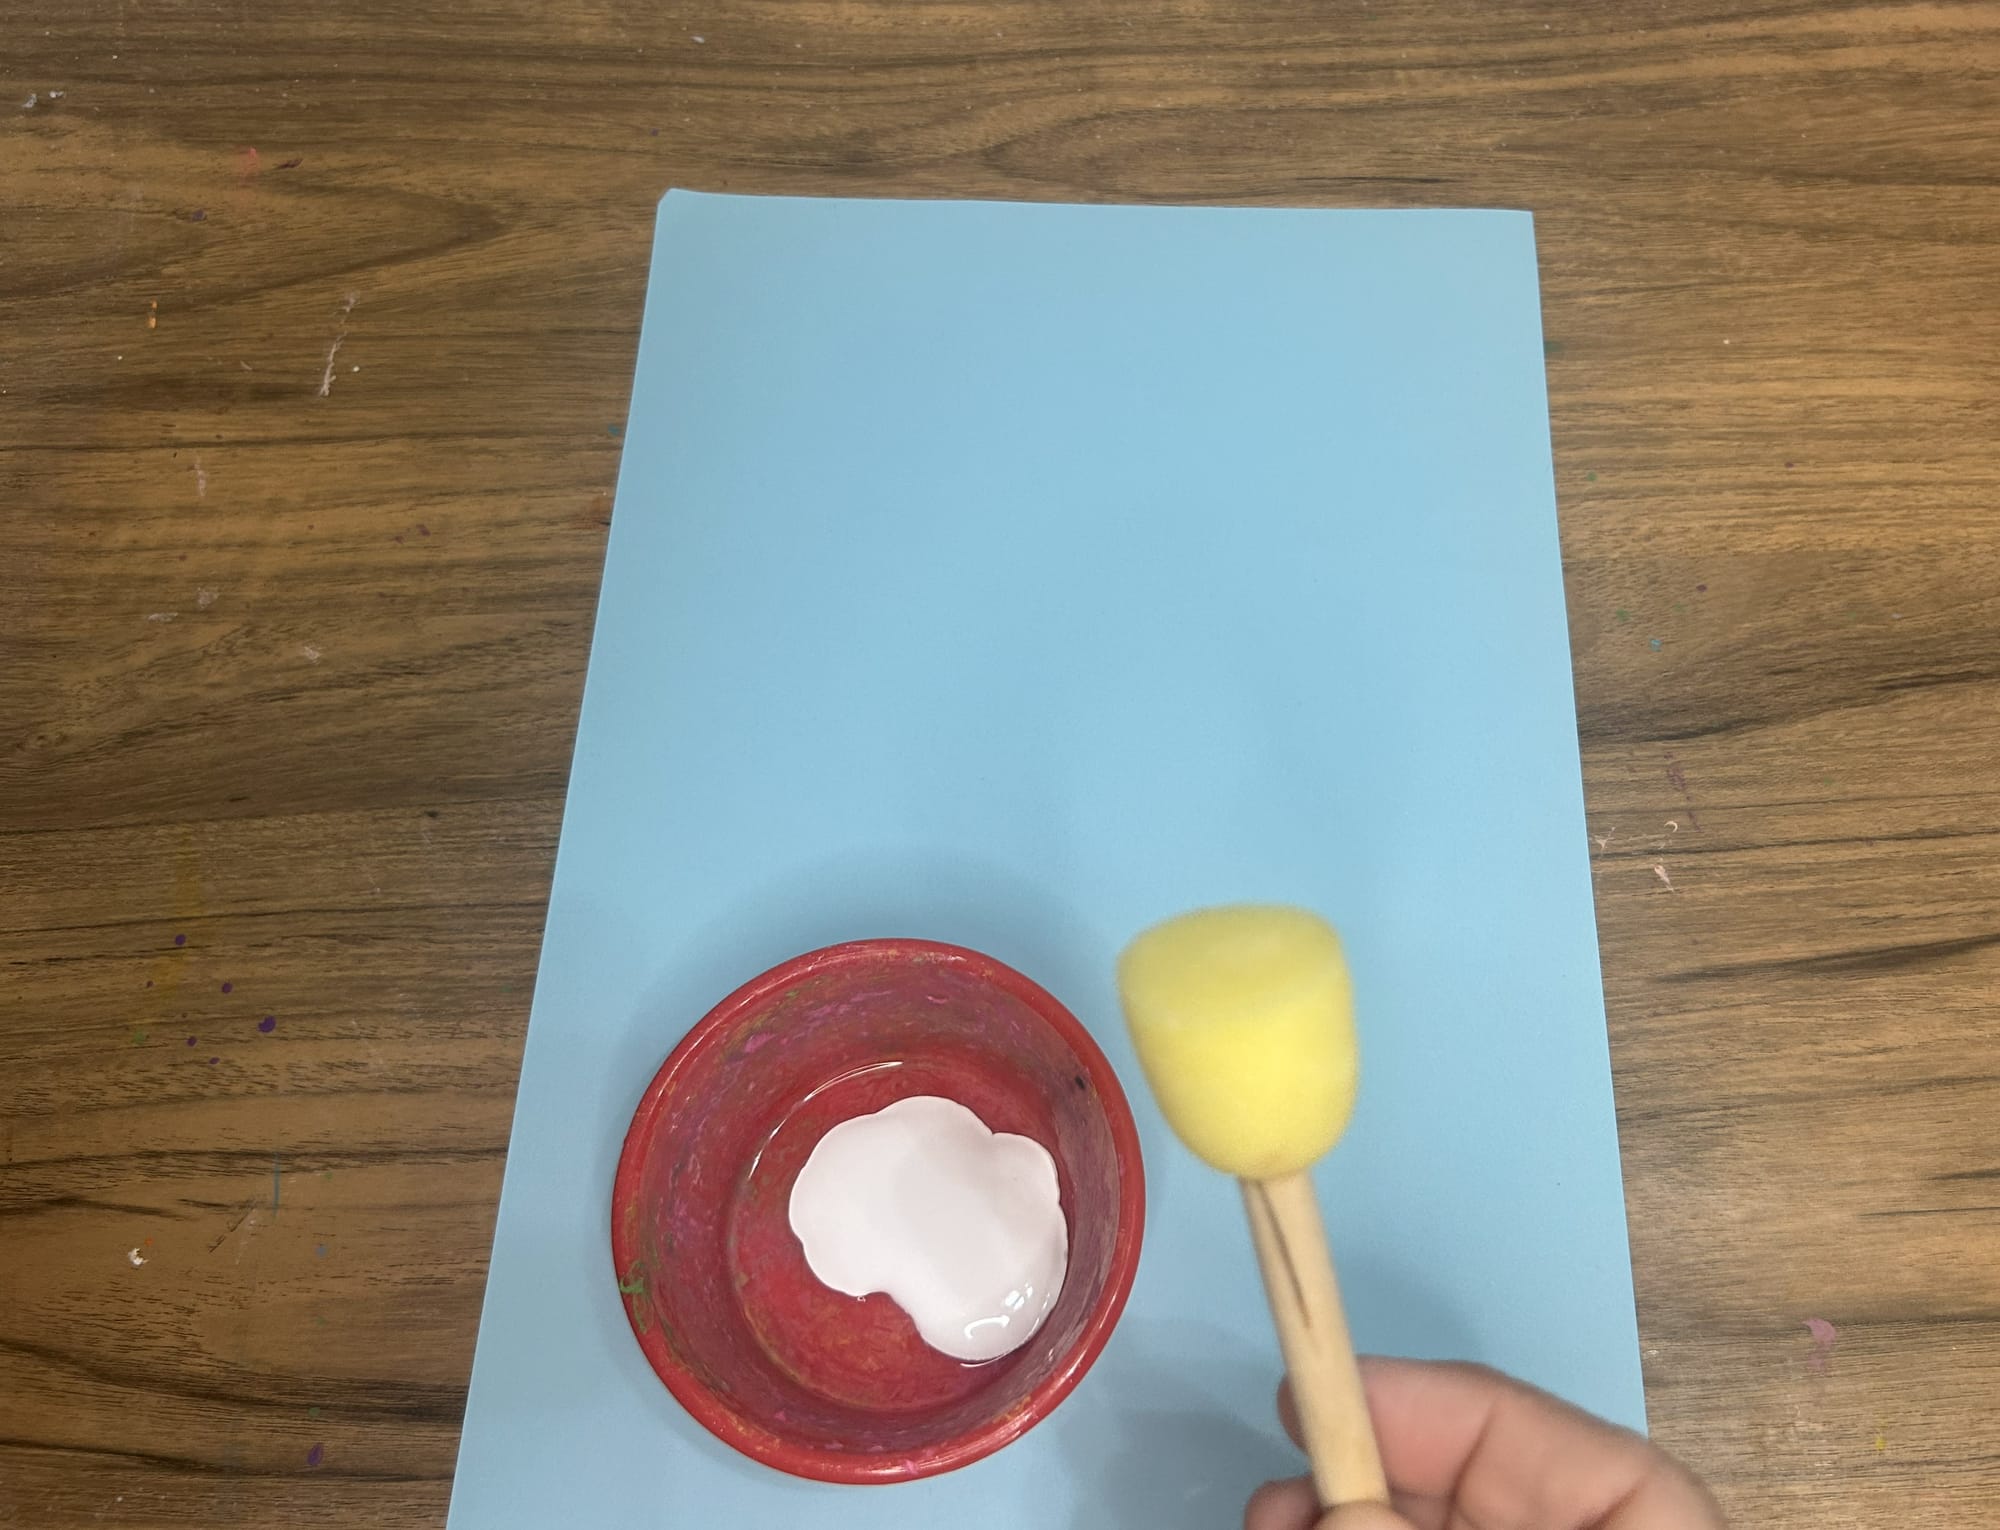
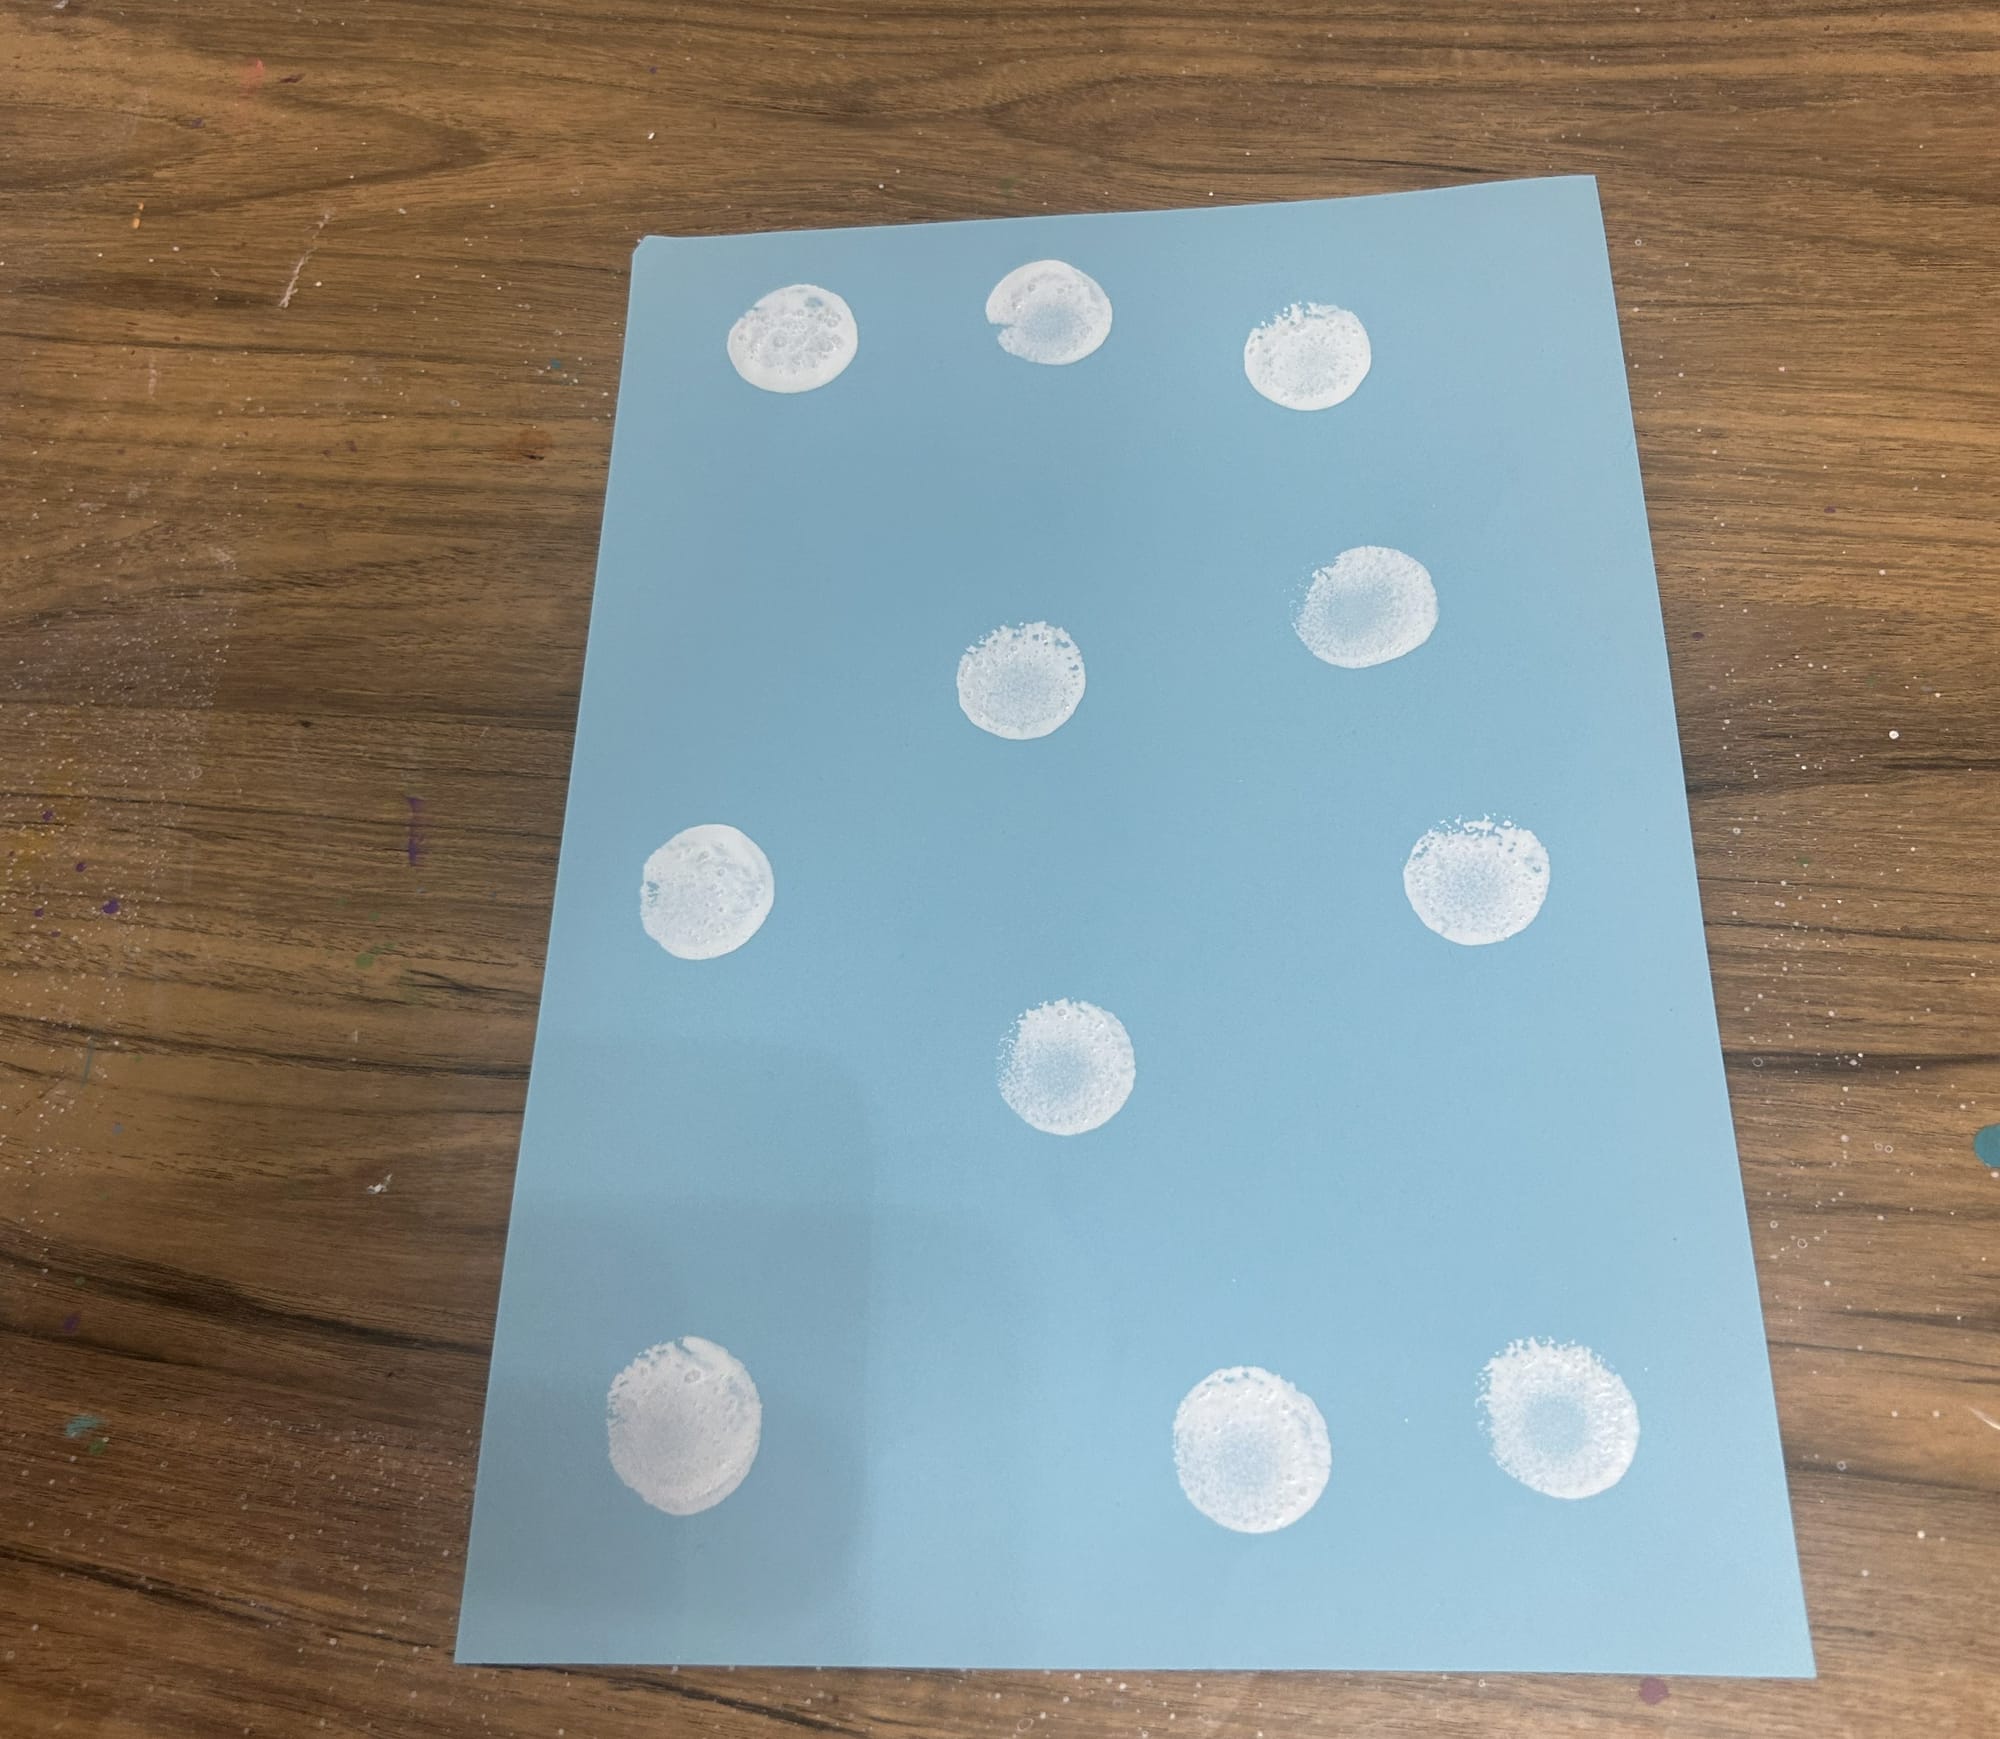
For this technique, use a round sponge brush. These are available in many different sizes at craft stores, the Dollar Tree or purchase on Amazon. Simply dip the round sponge brush into paint and simple stamp onto the paper.
Pencil eraser painted
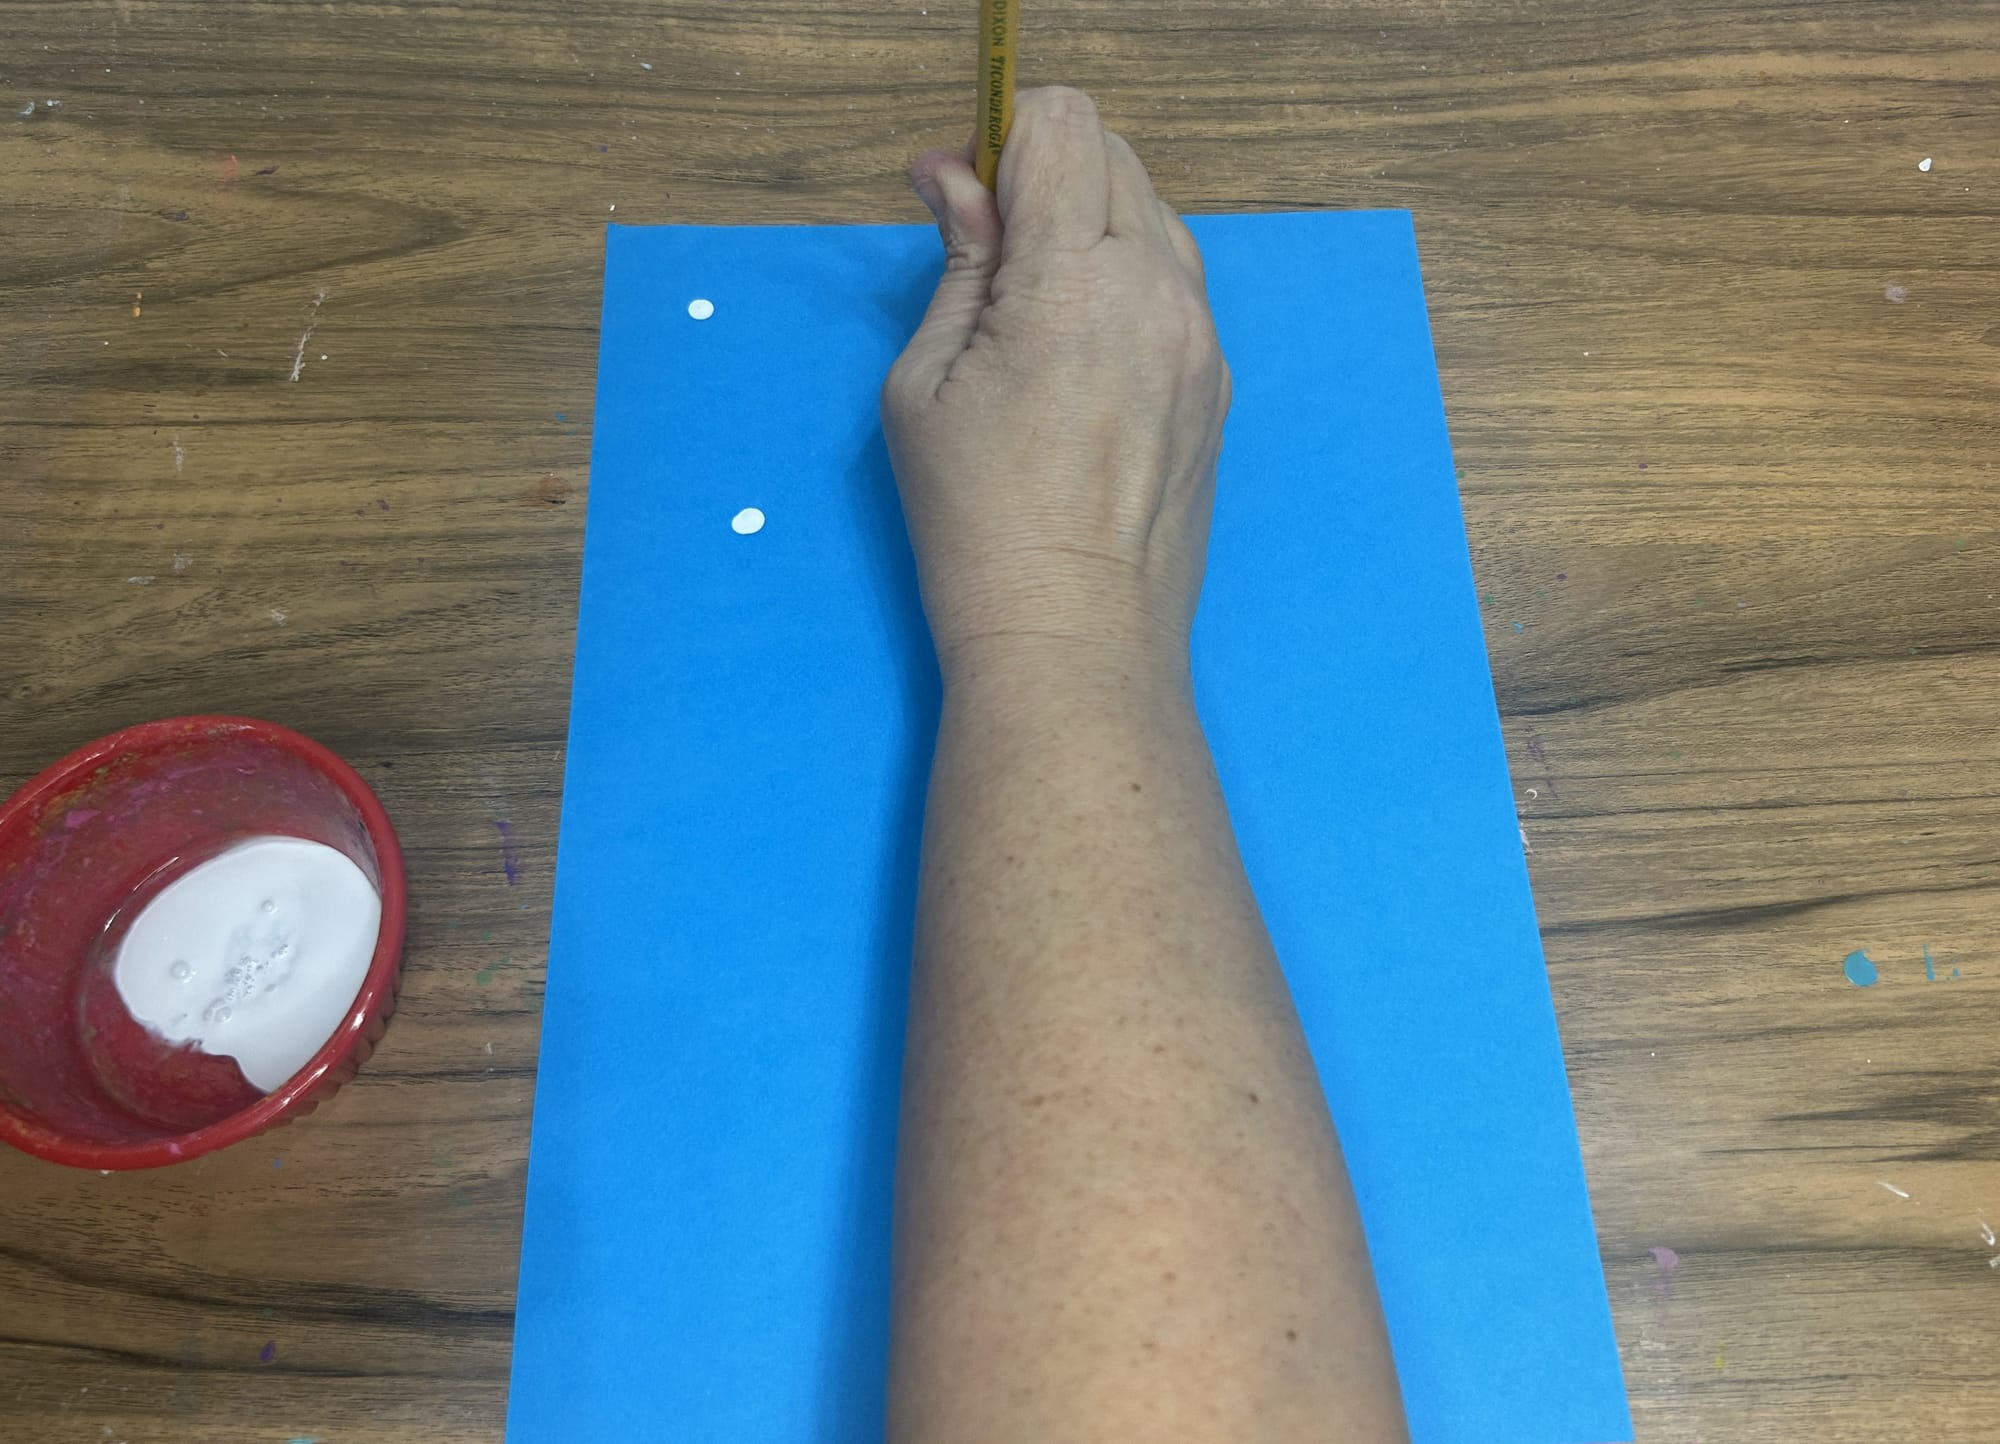
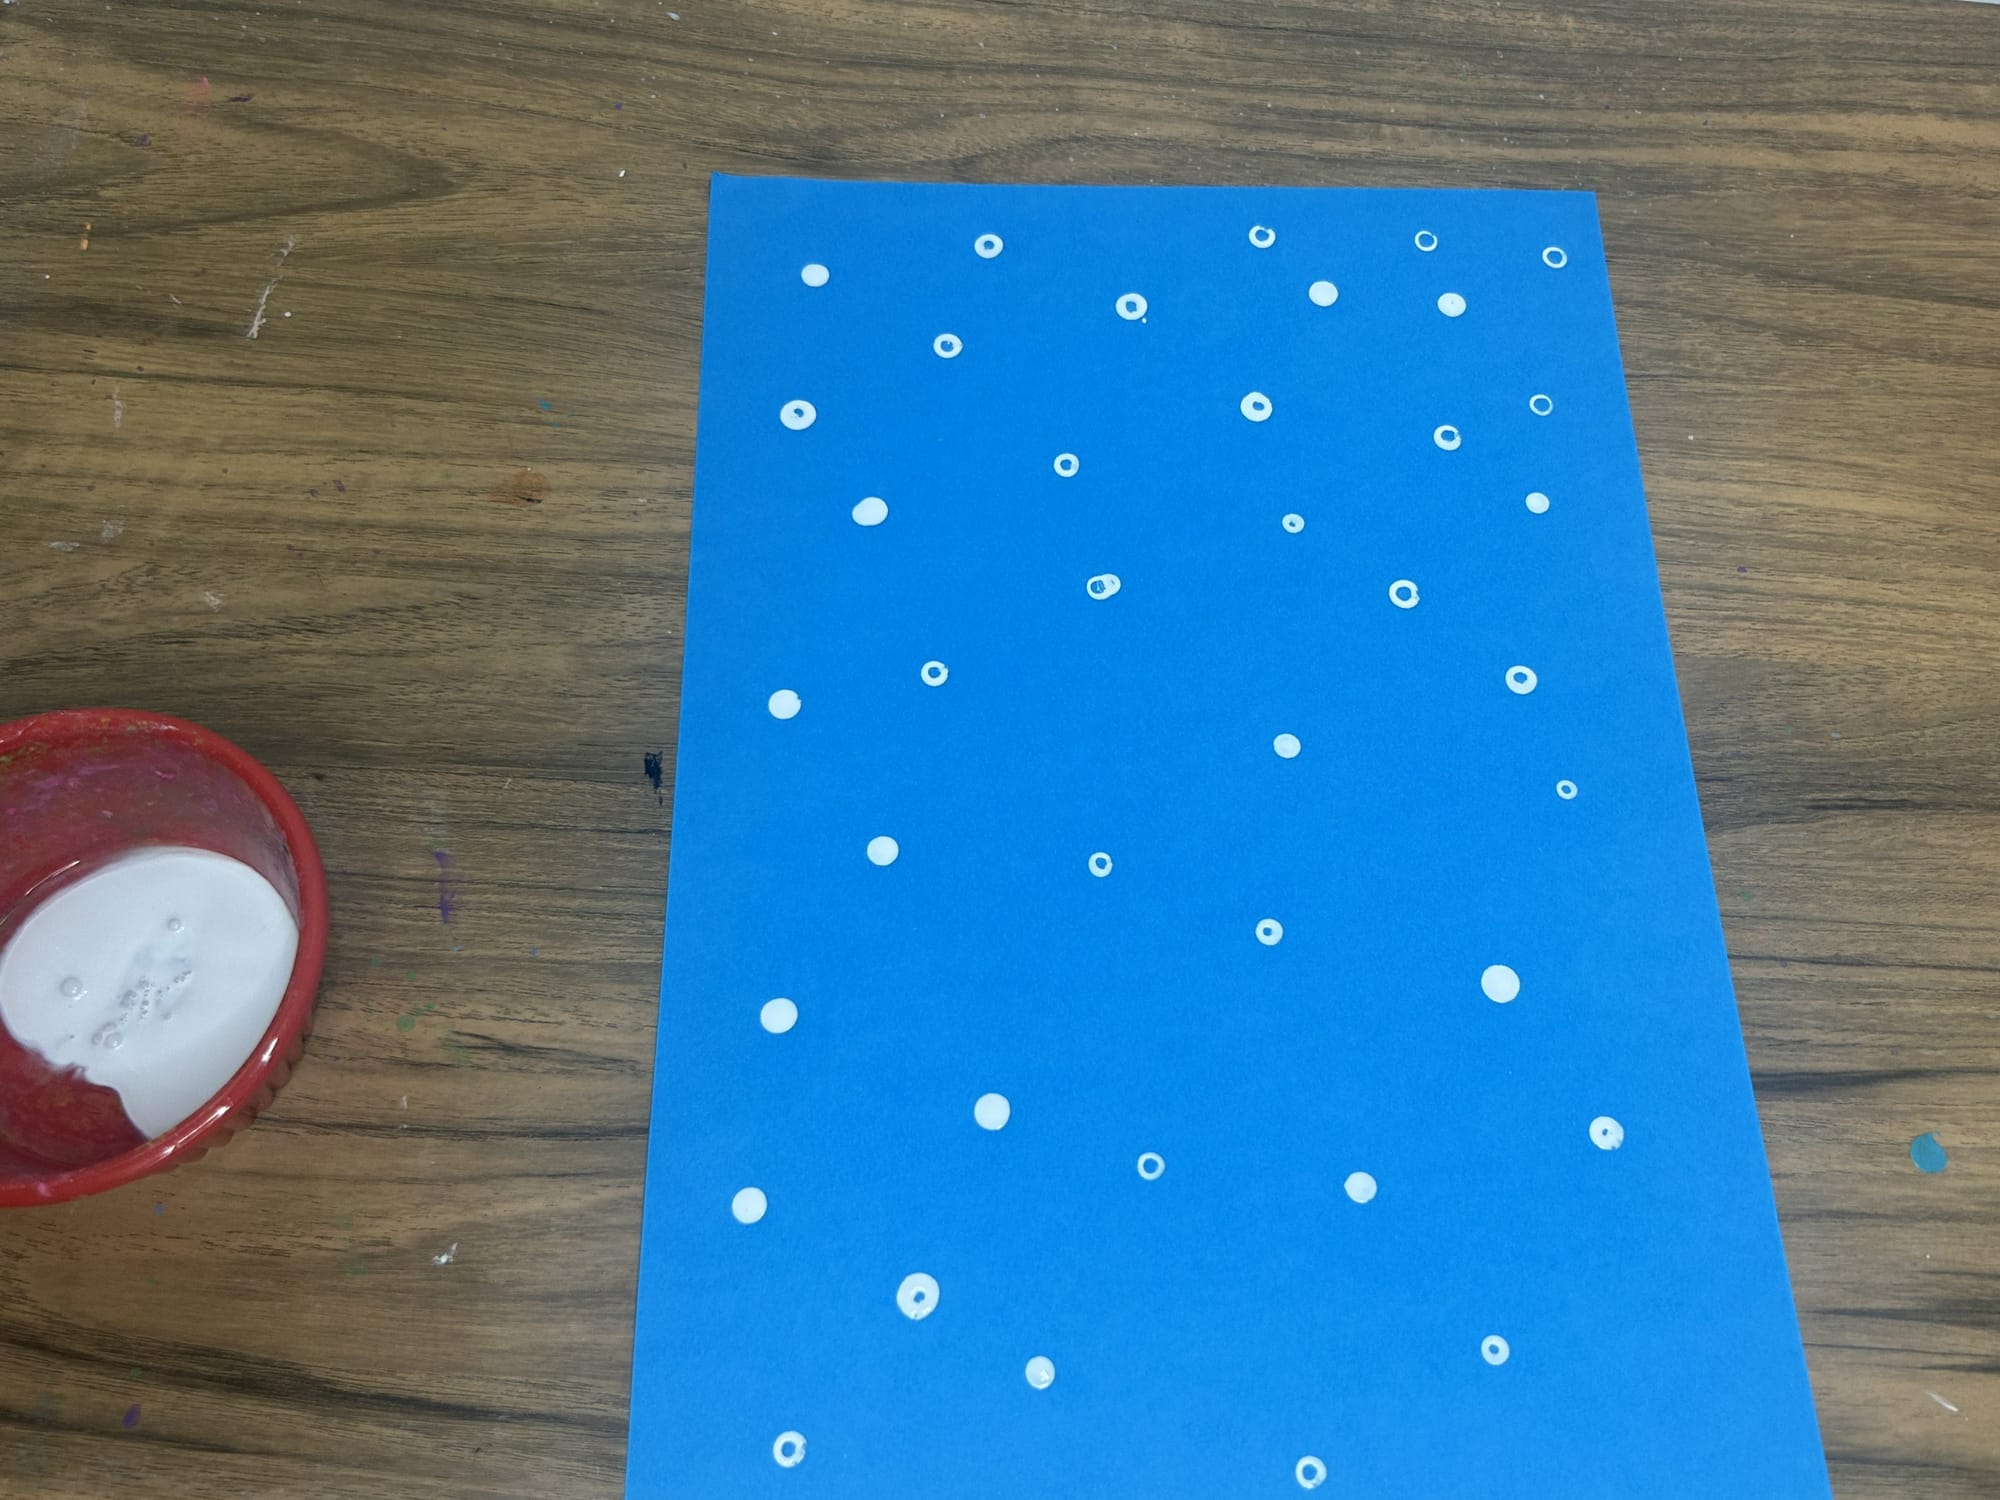
Use a pencil eraser to add snow dots to the background paper.
So easy to do, provide your child with a pencil. Use the end of the eraser dipped into paint and add dots to the paper. This will create a snow background on the paper.
Q- tip painted
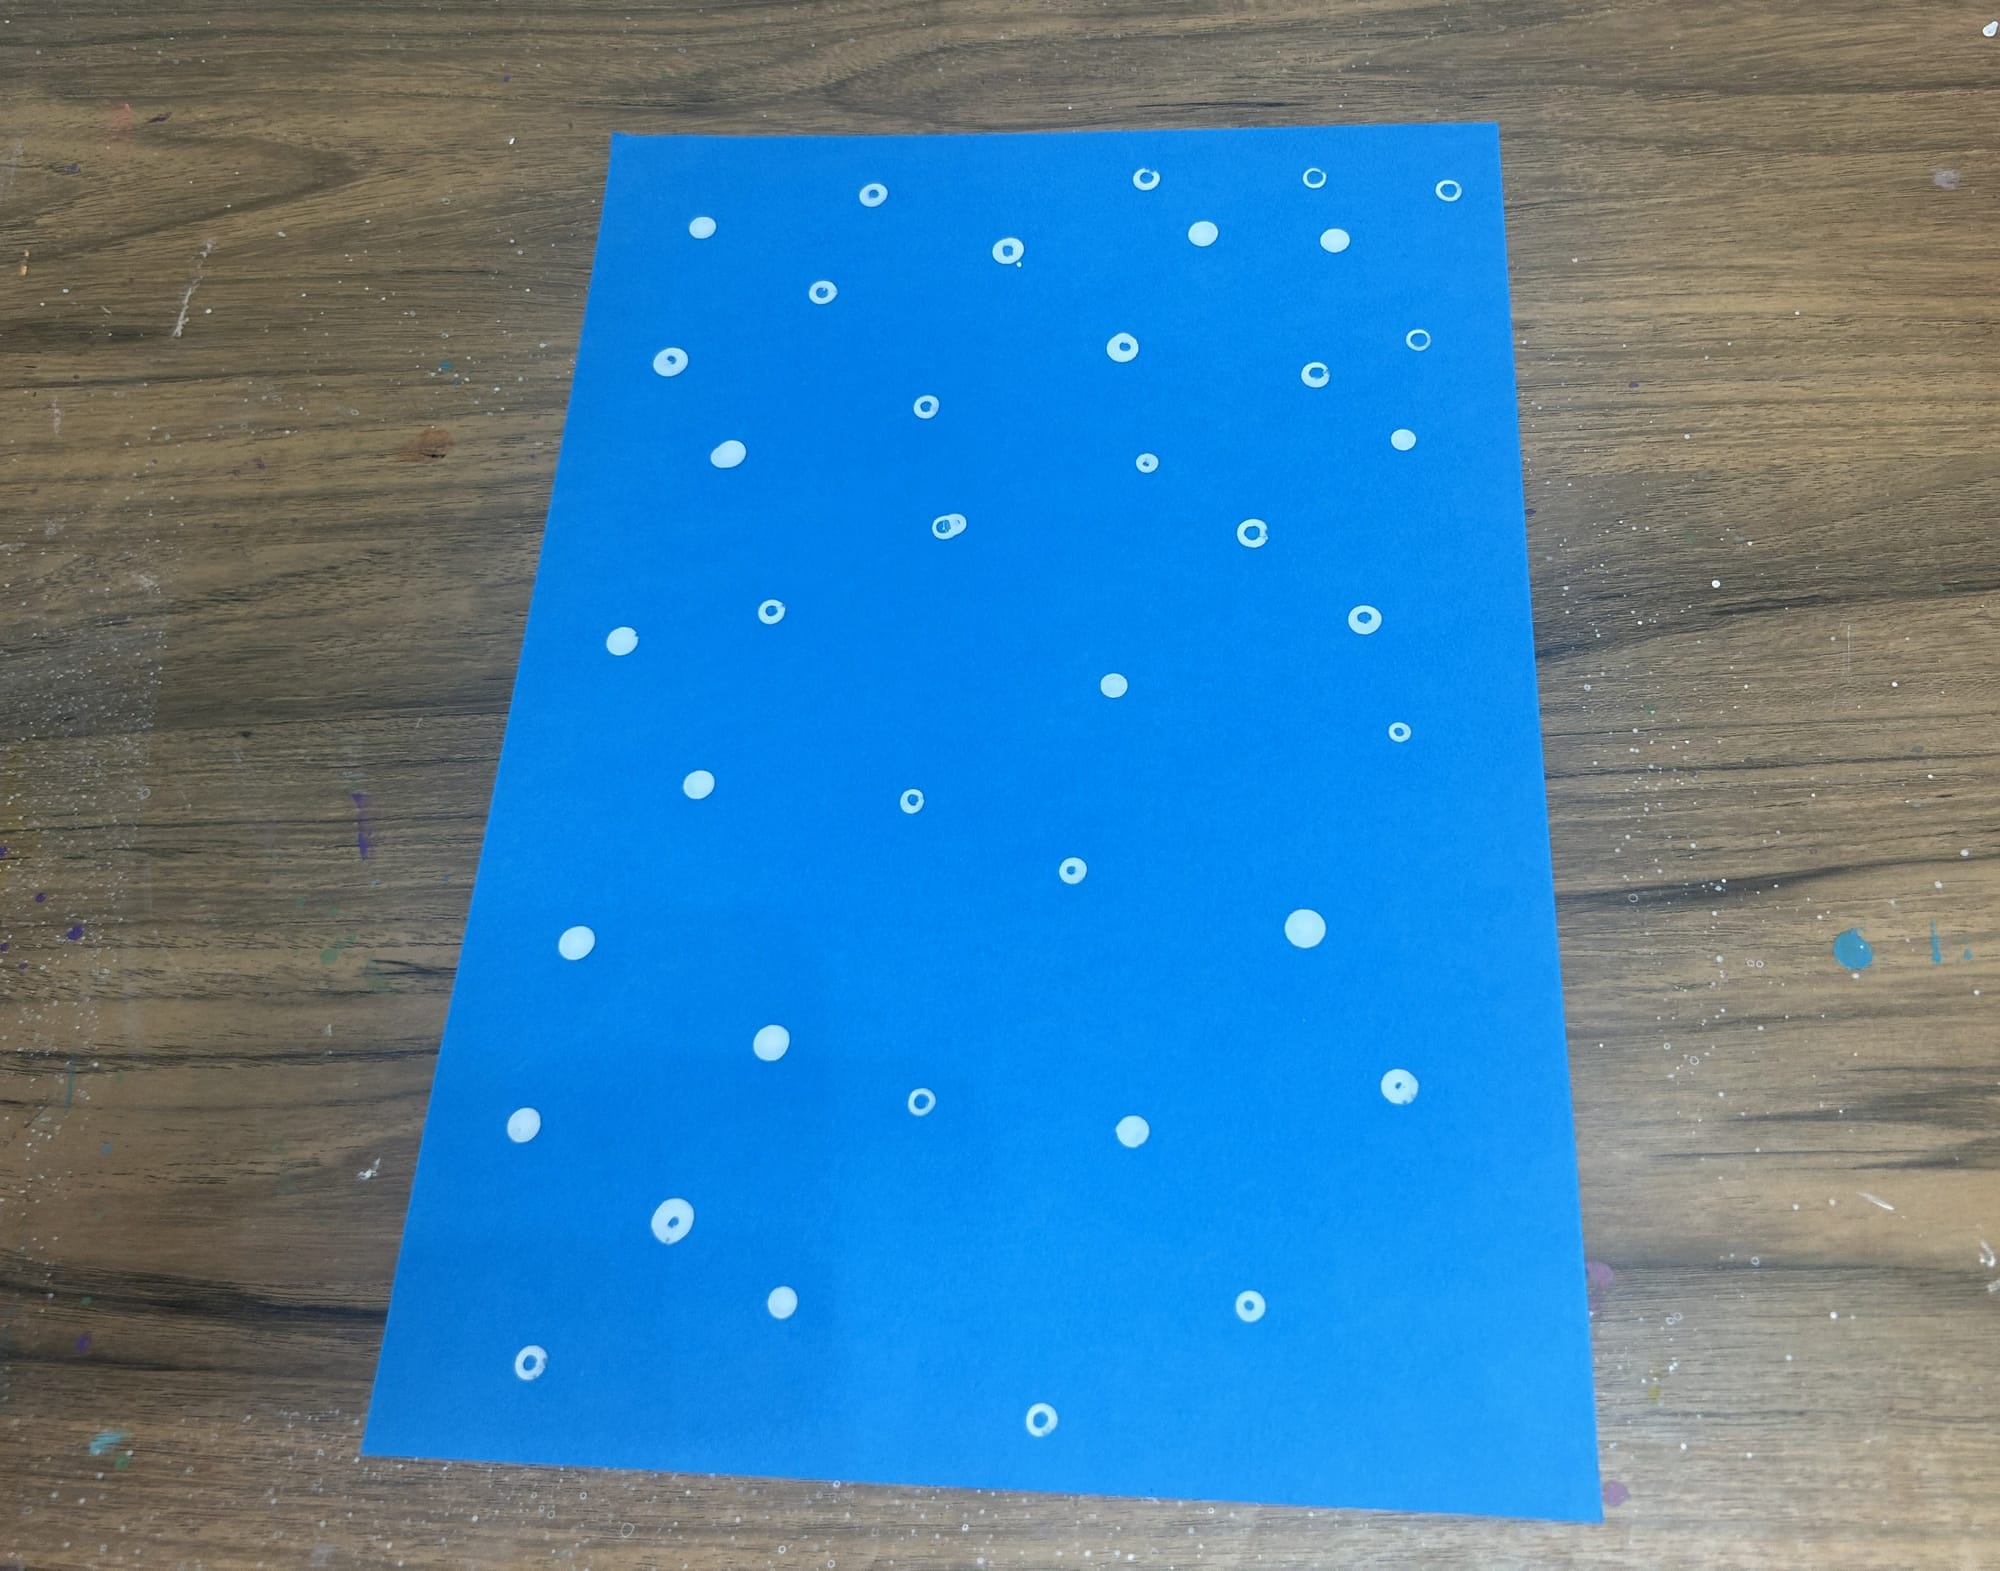
Use a q-tip to add dots to the paper with white paint
Dip a q-tip into white paint to add dots to the paper.
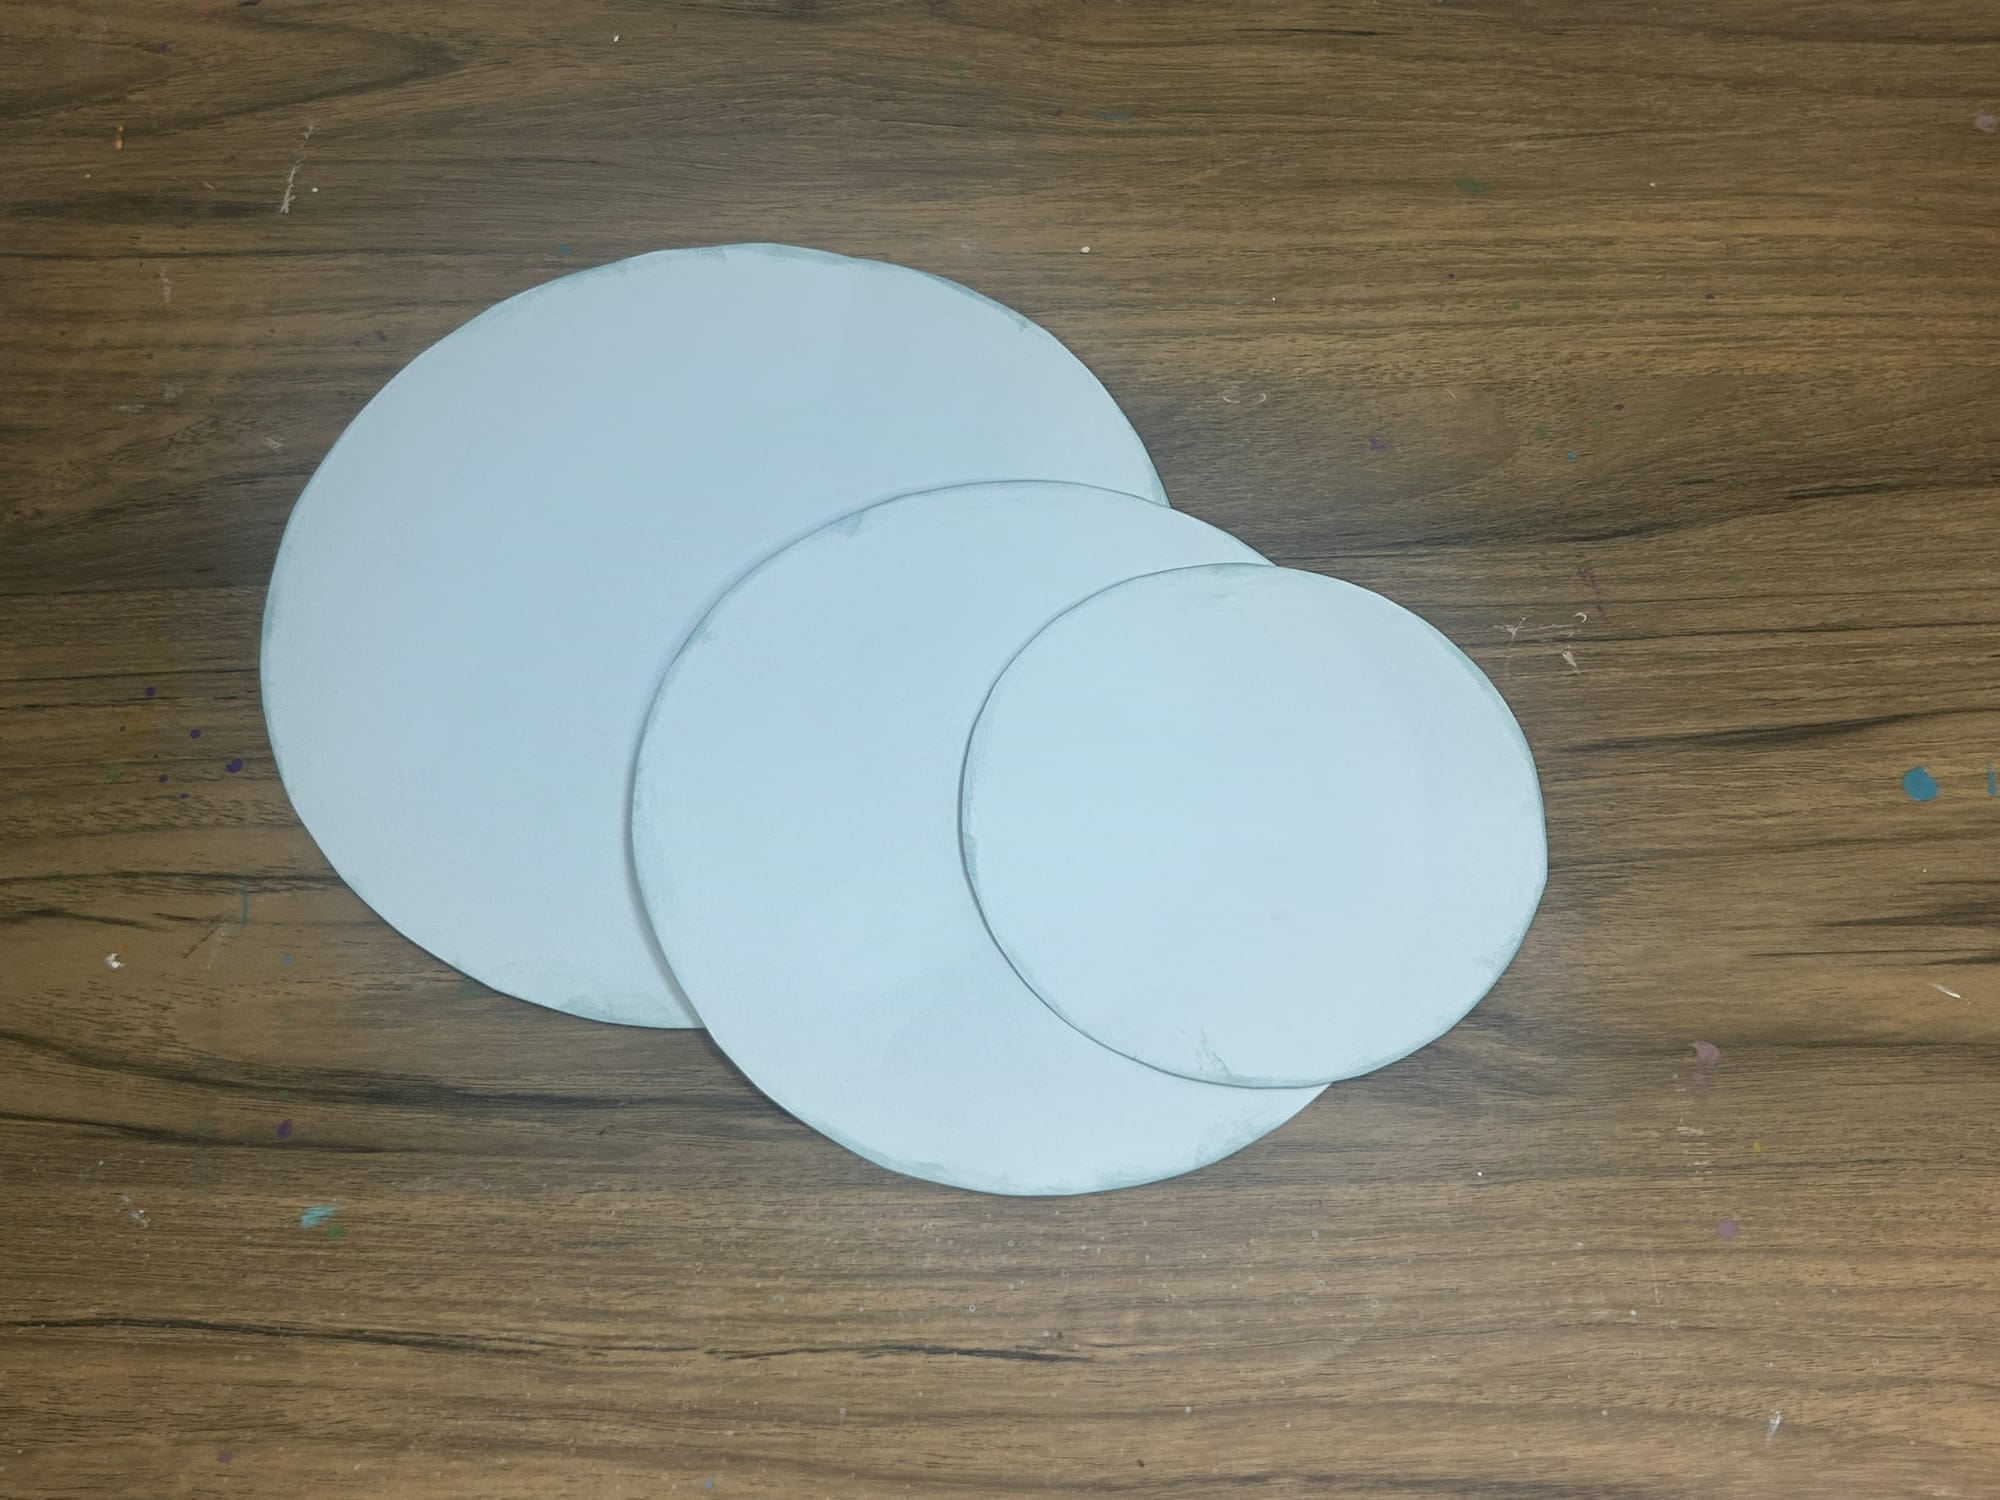
Step 2: Print and Cut Pages for Snowman
Print the 3 pages of circles onto white paper. Cut the circles out.
✨ Free Snowman Template PDF — Click to Download!
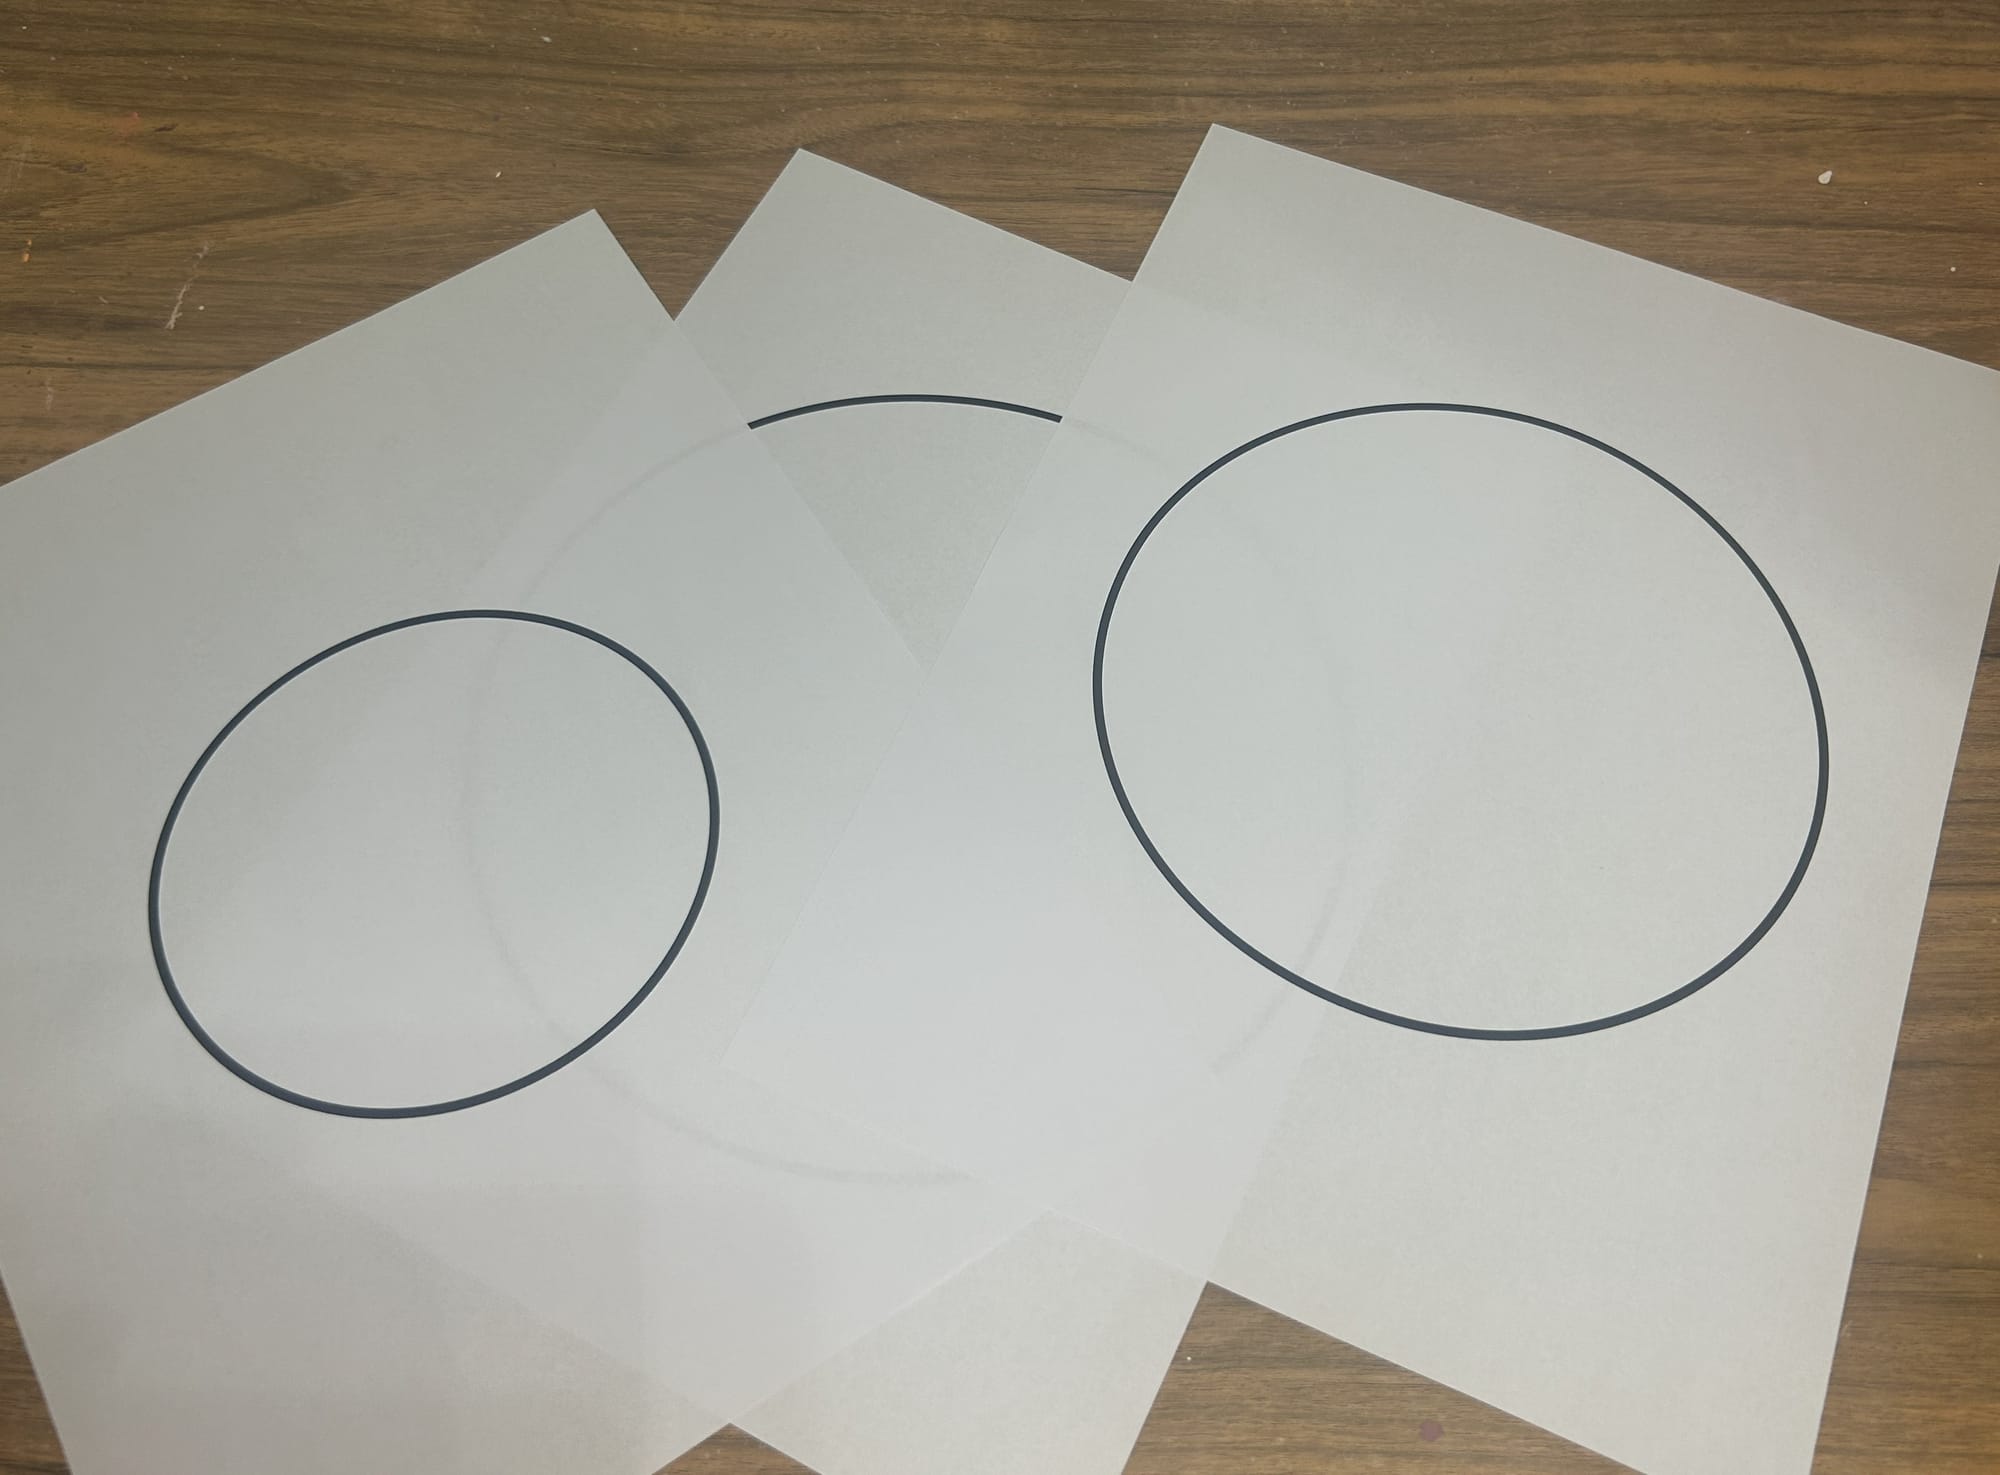
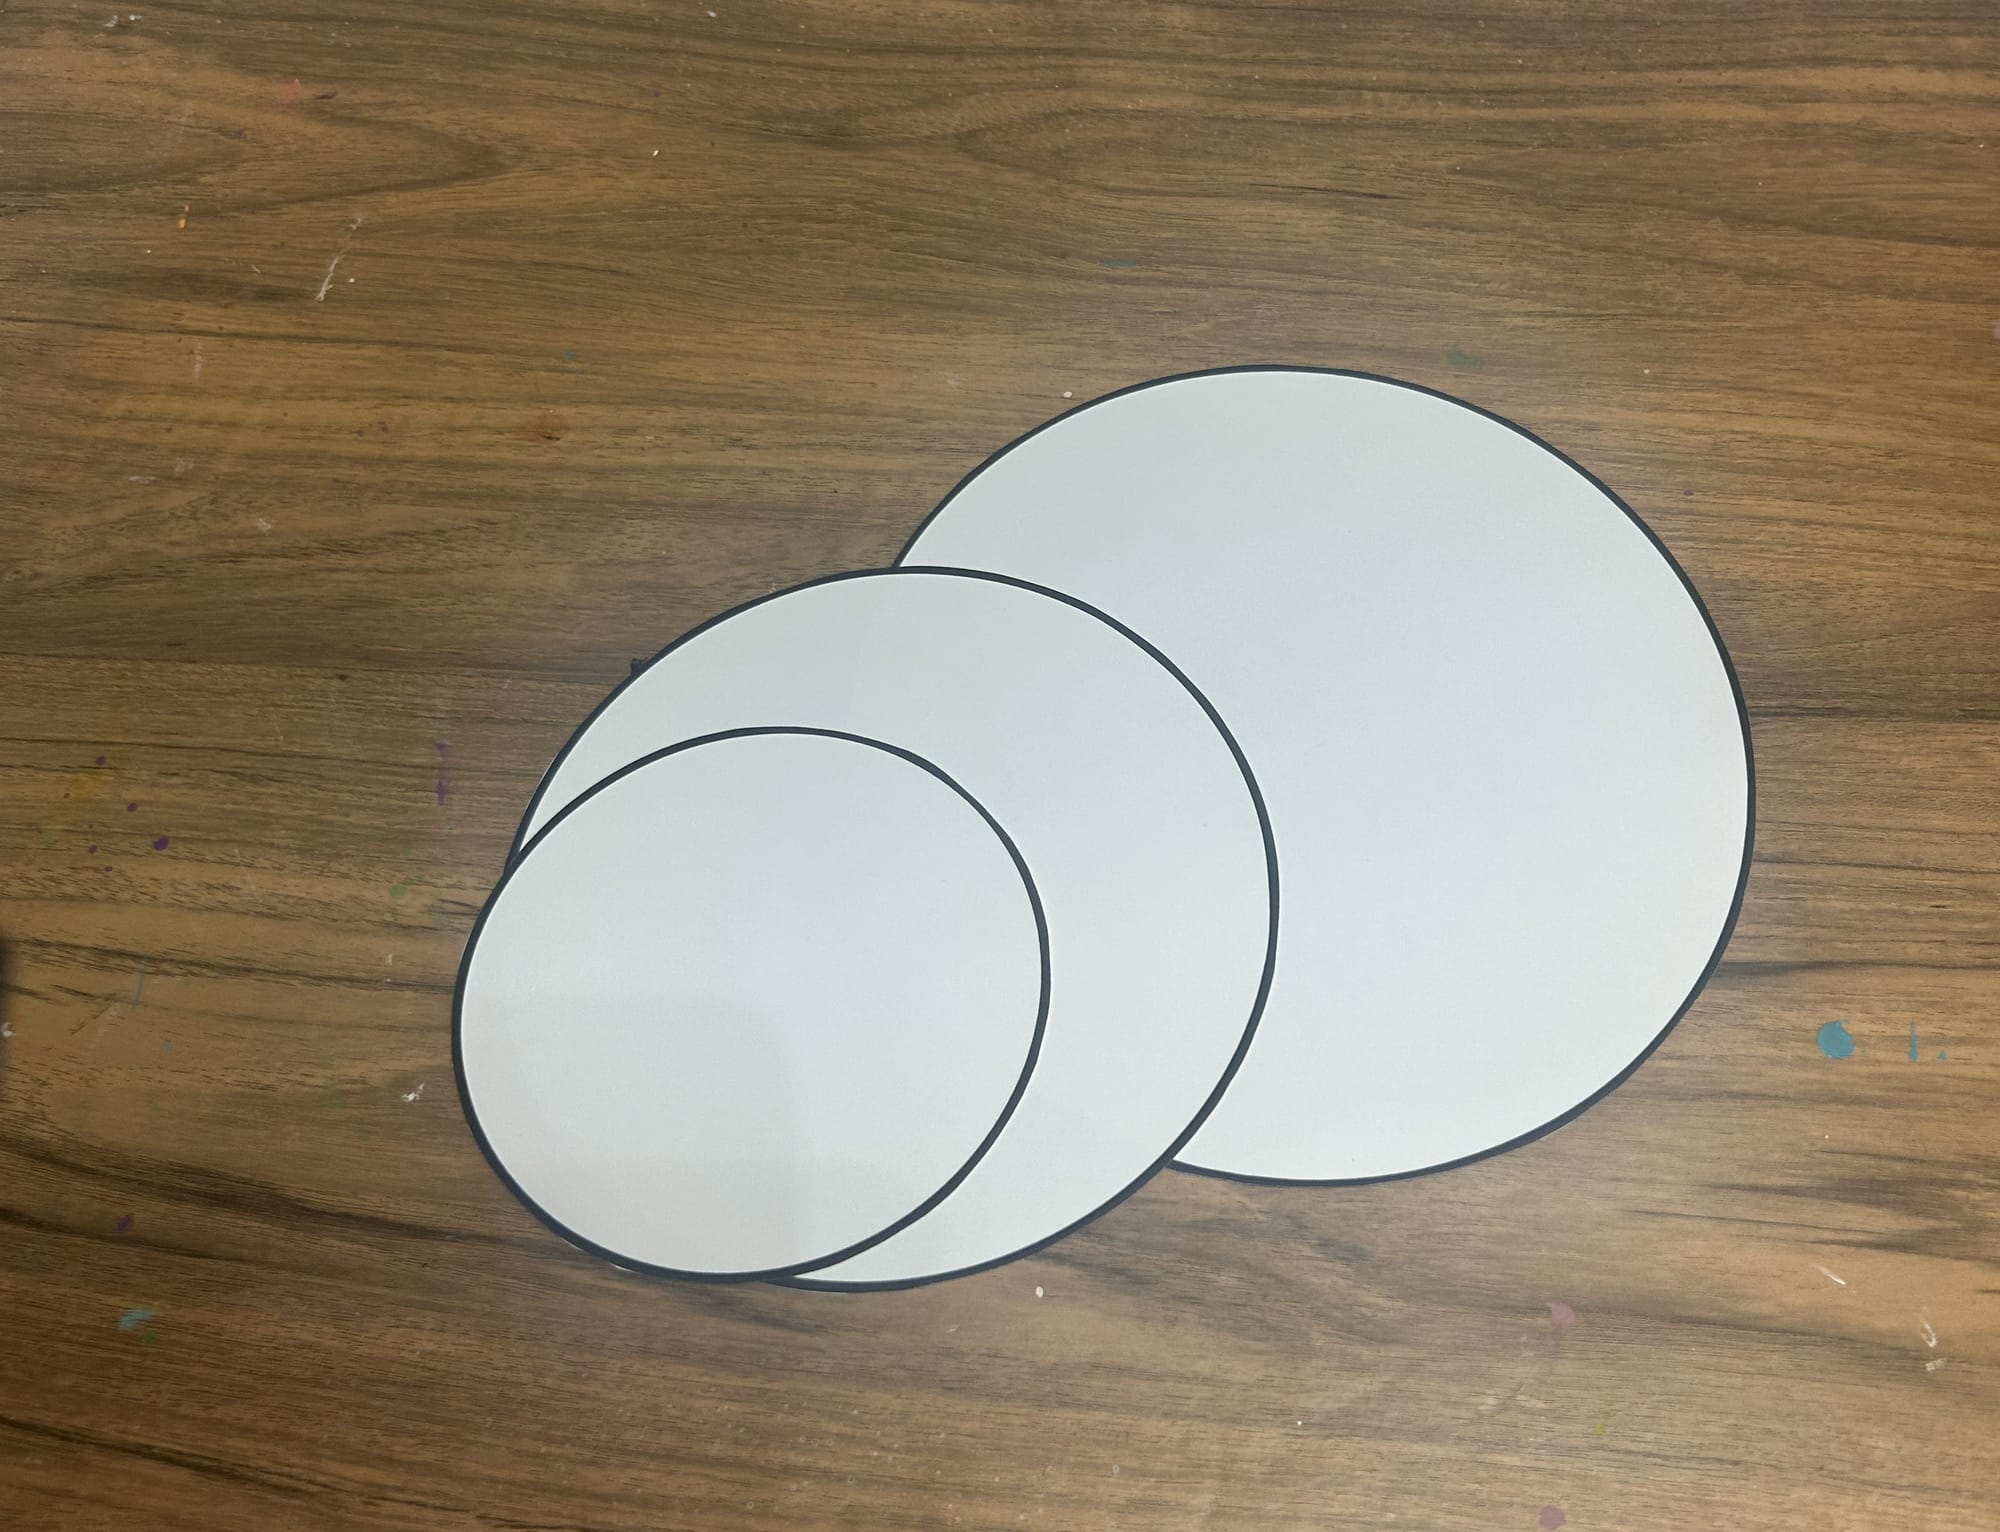
Print and cut out the circles for the snowman
Of course you can also allow your child to draw the circles as well. Just make sure each circle is smaller than the previously glued circle.
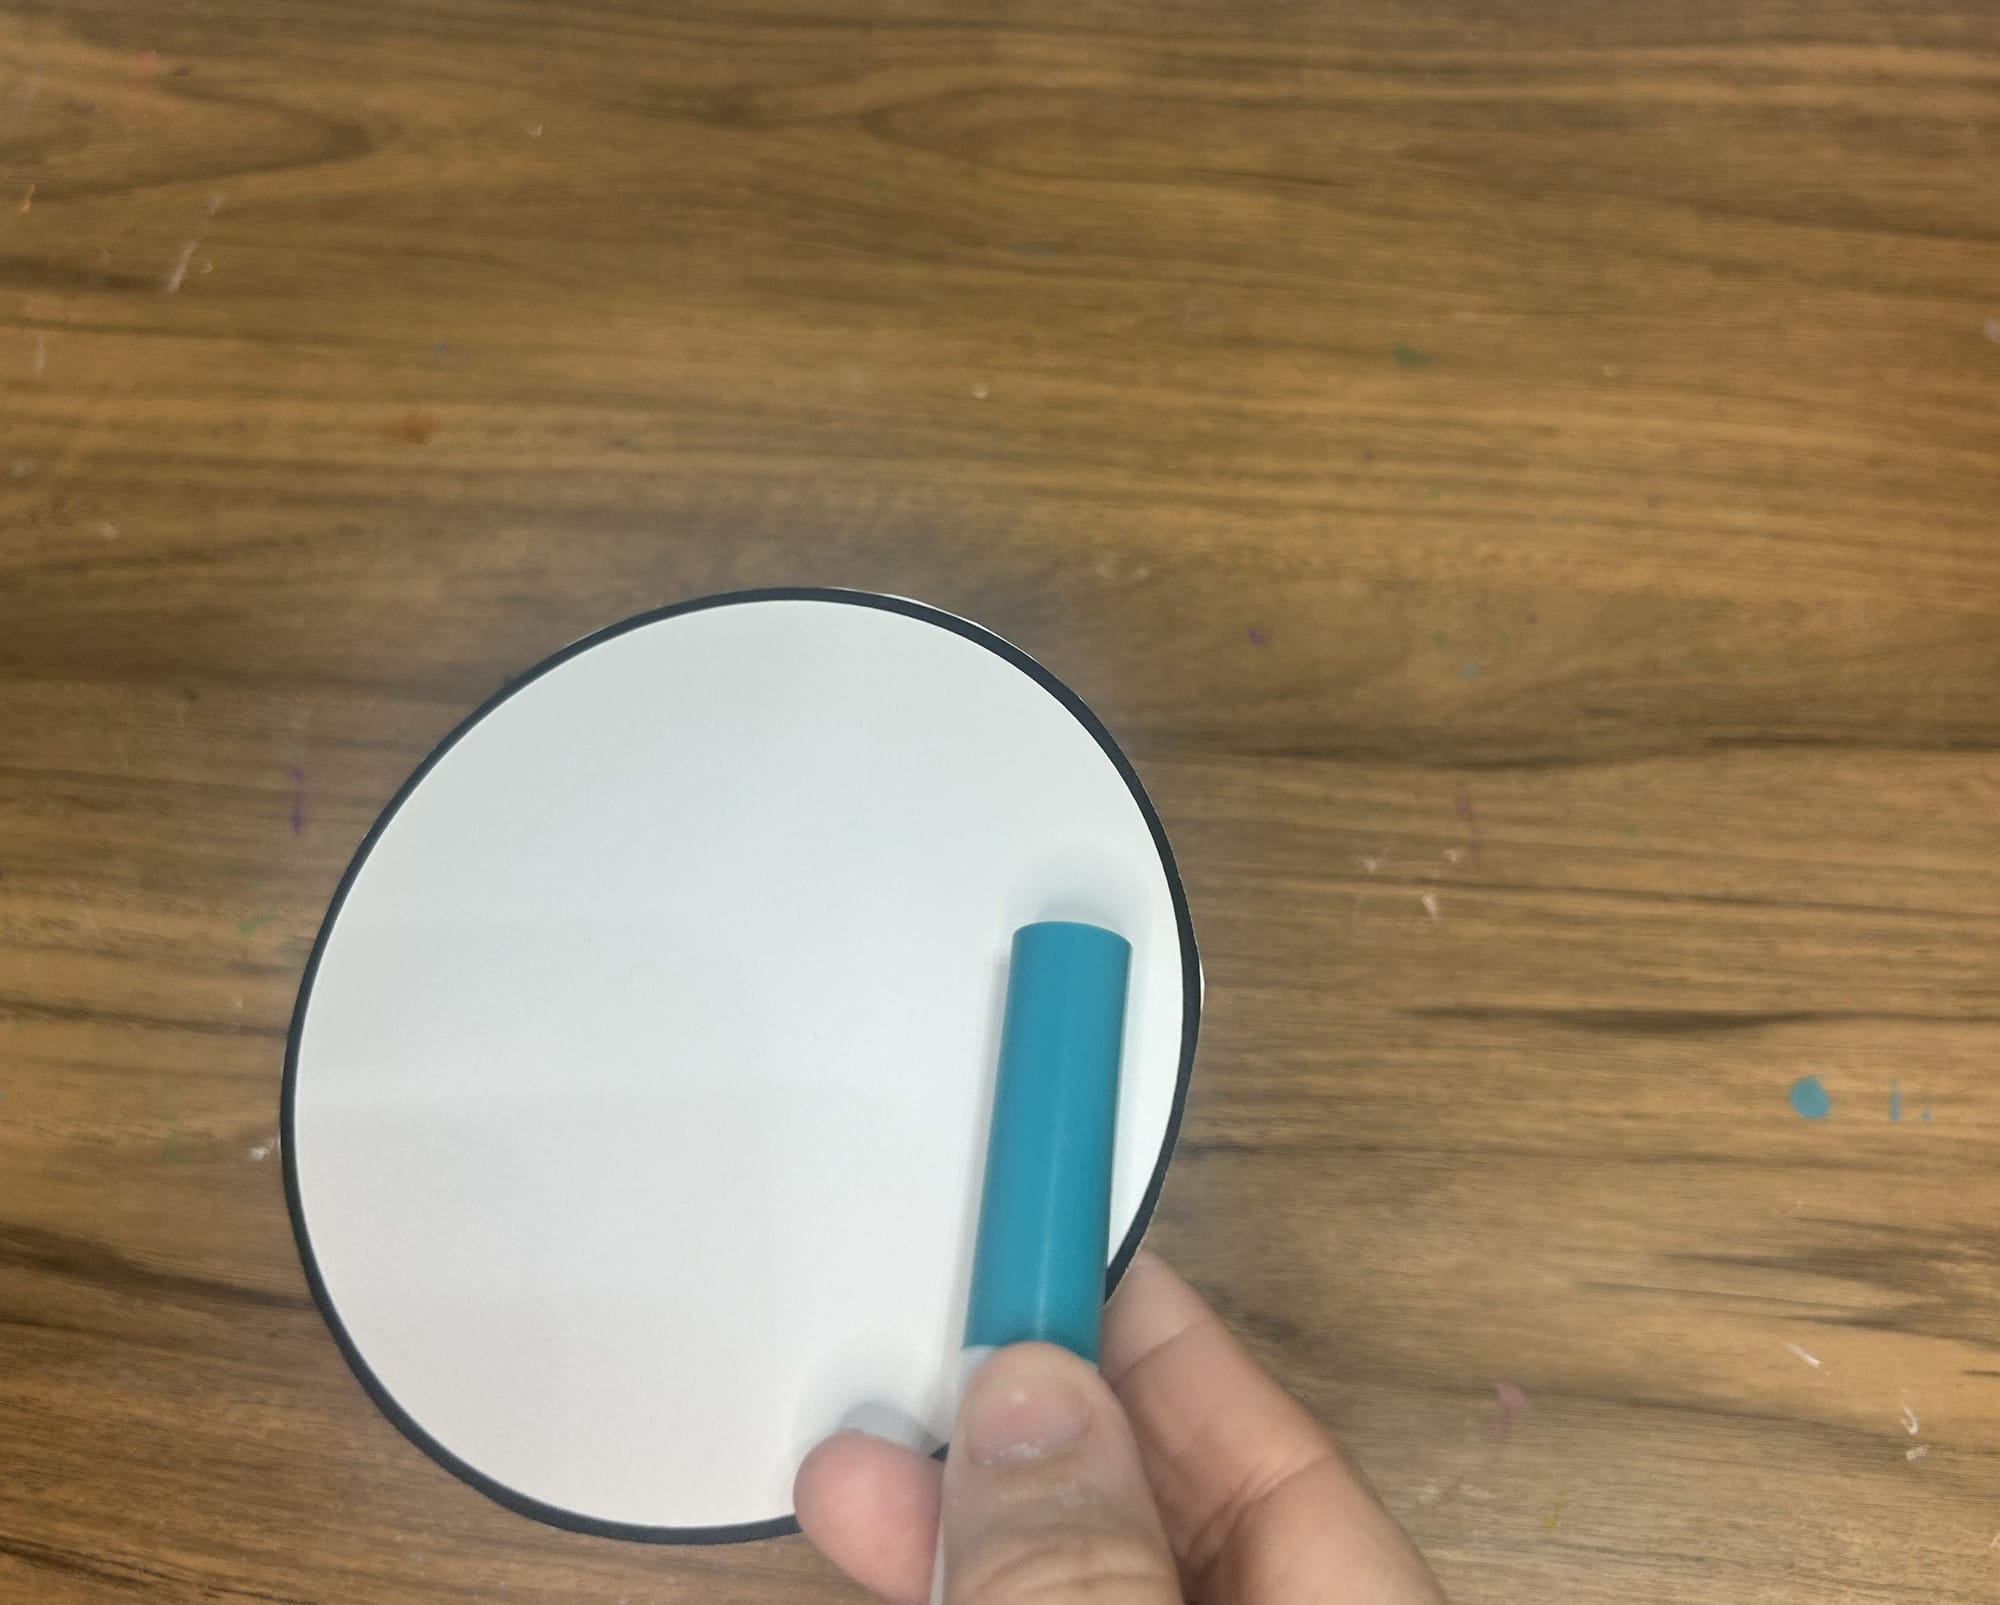
Step 3: Add Color to the Snowman
You can add some color to the edge of the white circles to make them "pop" on the paper. I used alcohol ink I had in blue to add around the edges of all the circles.
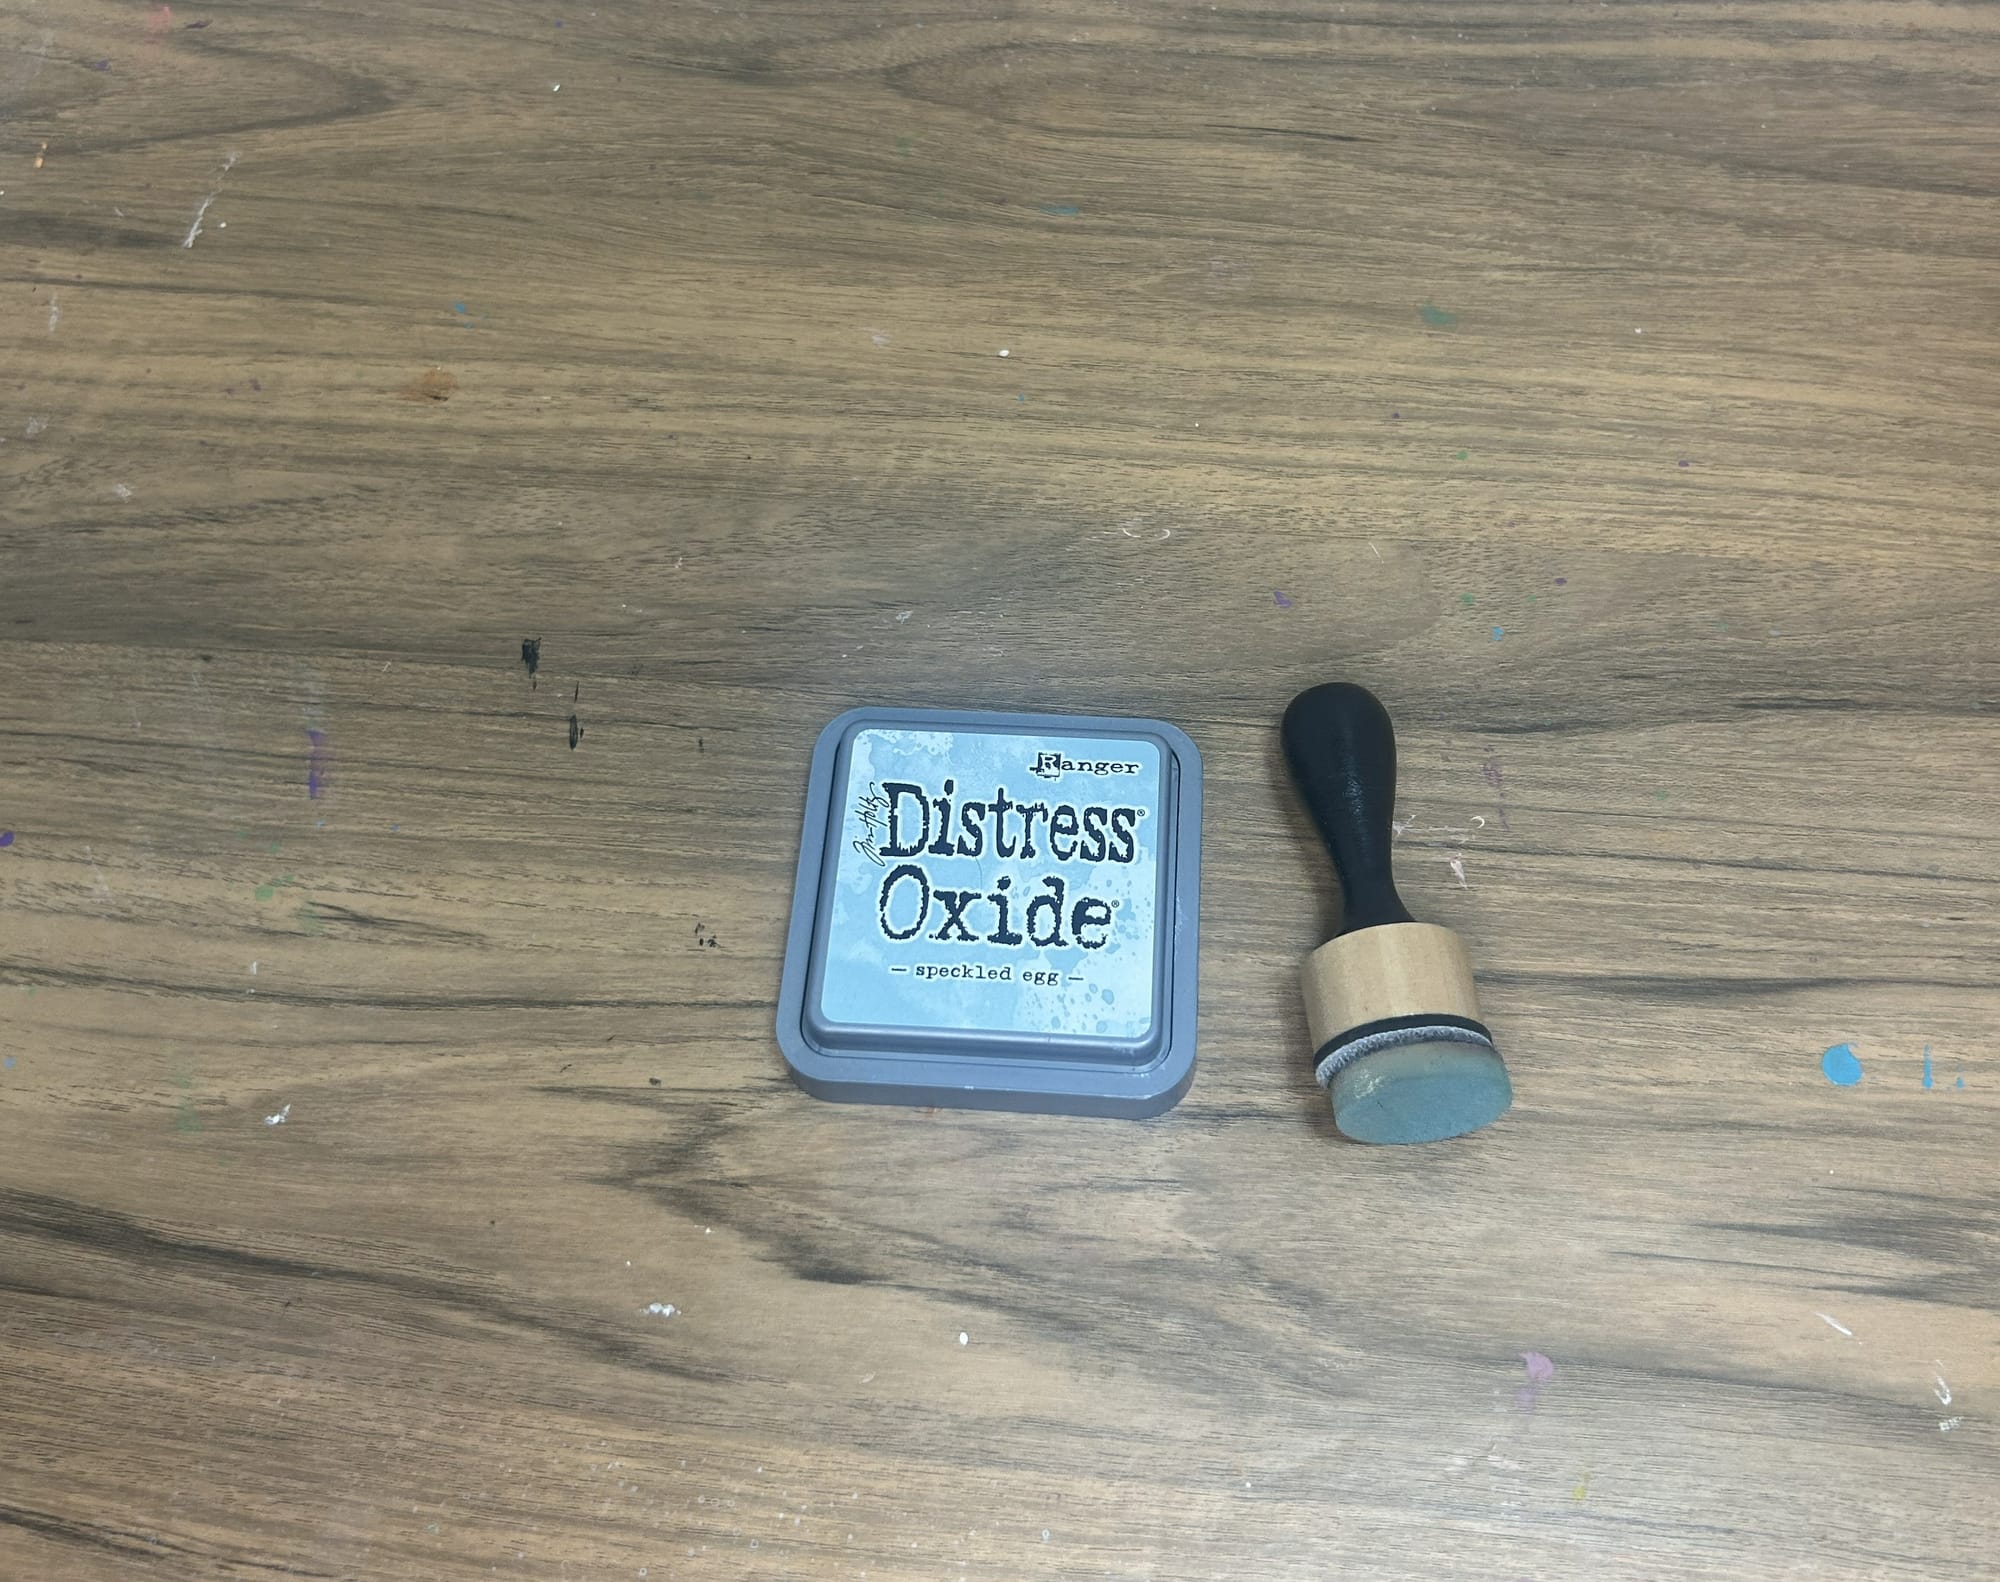
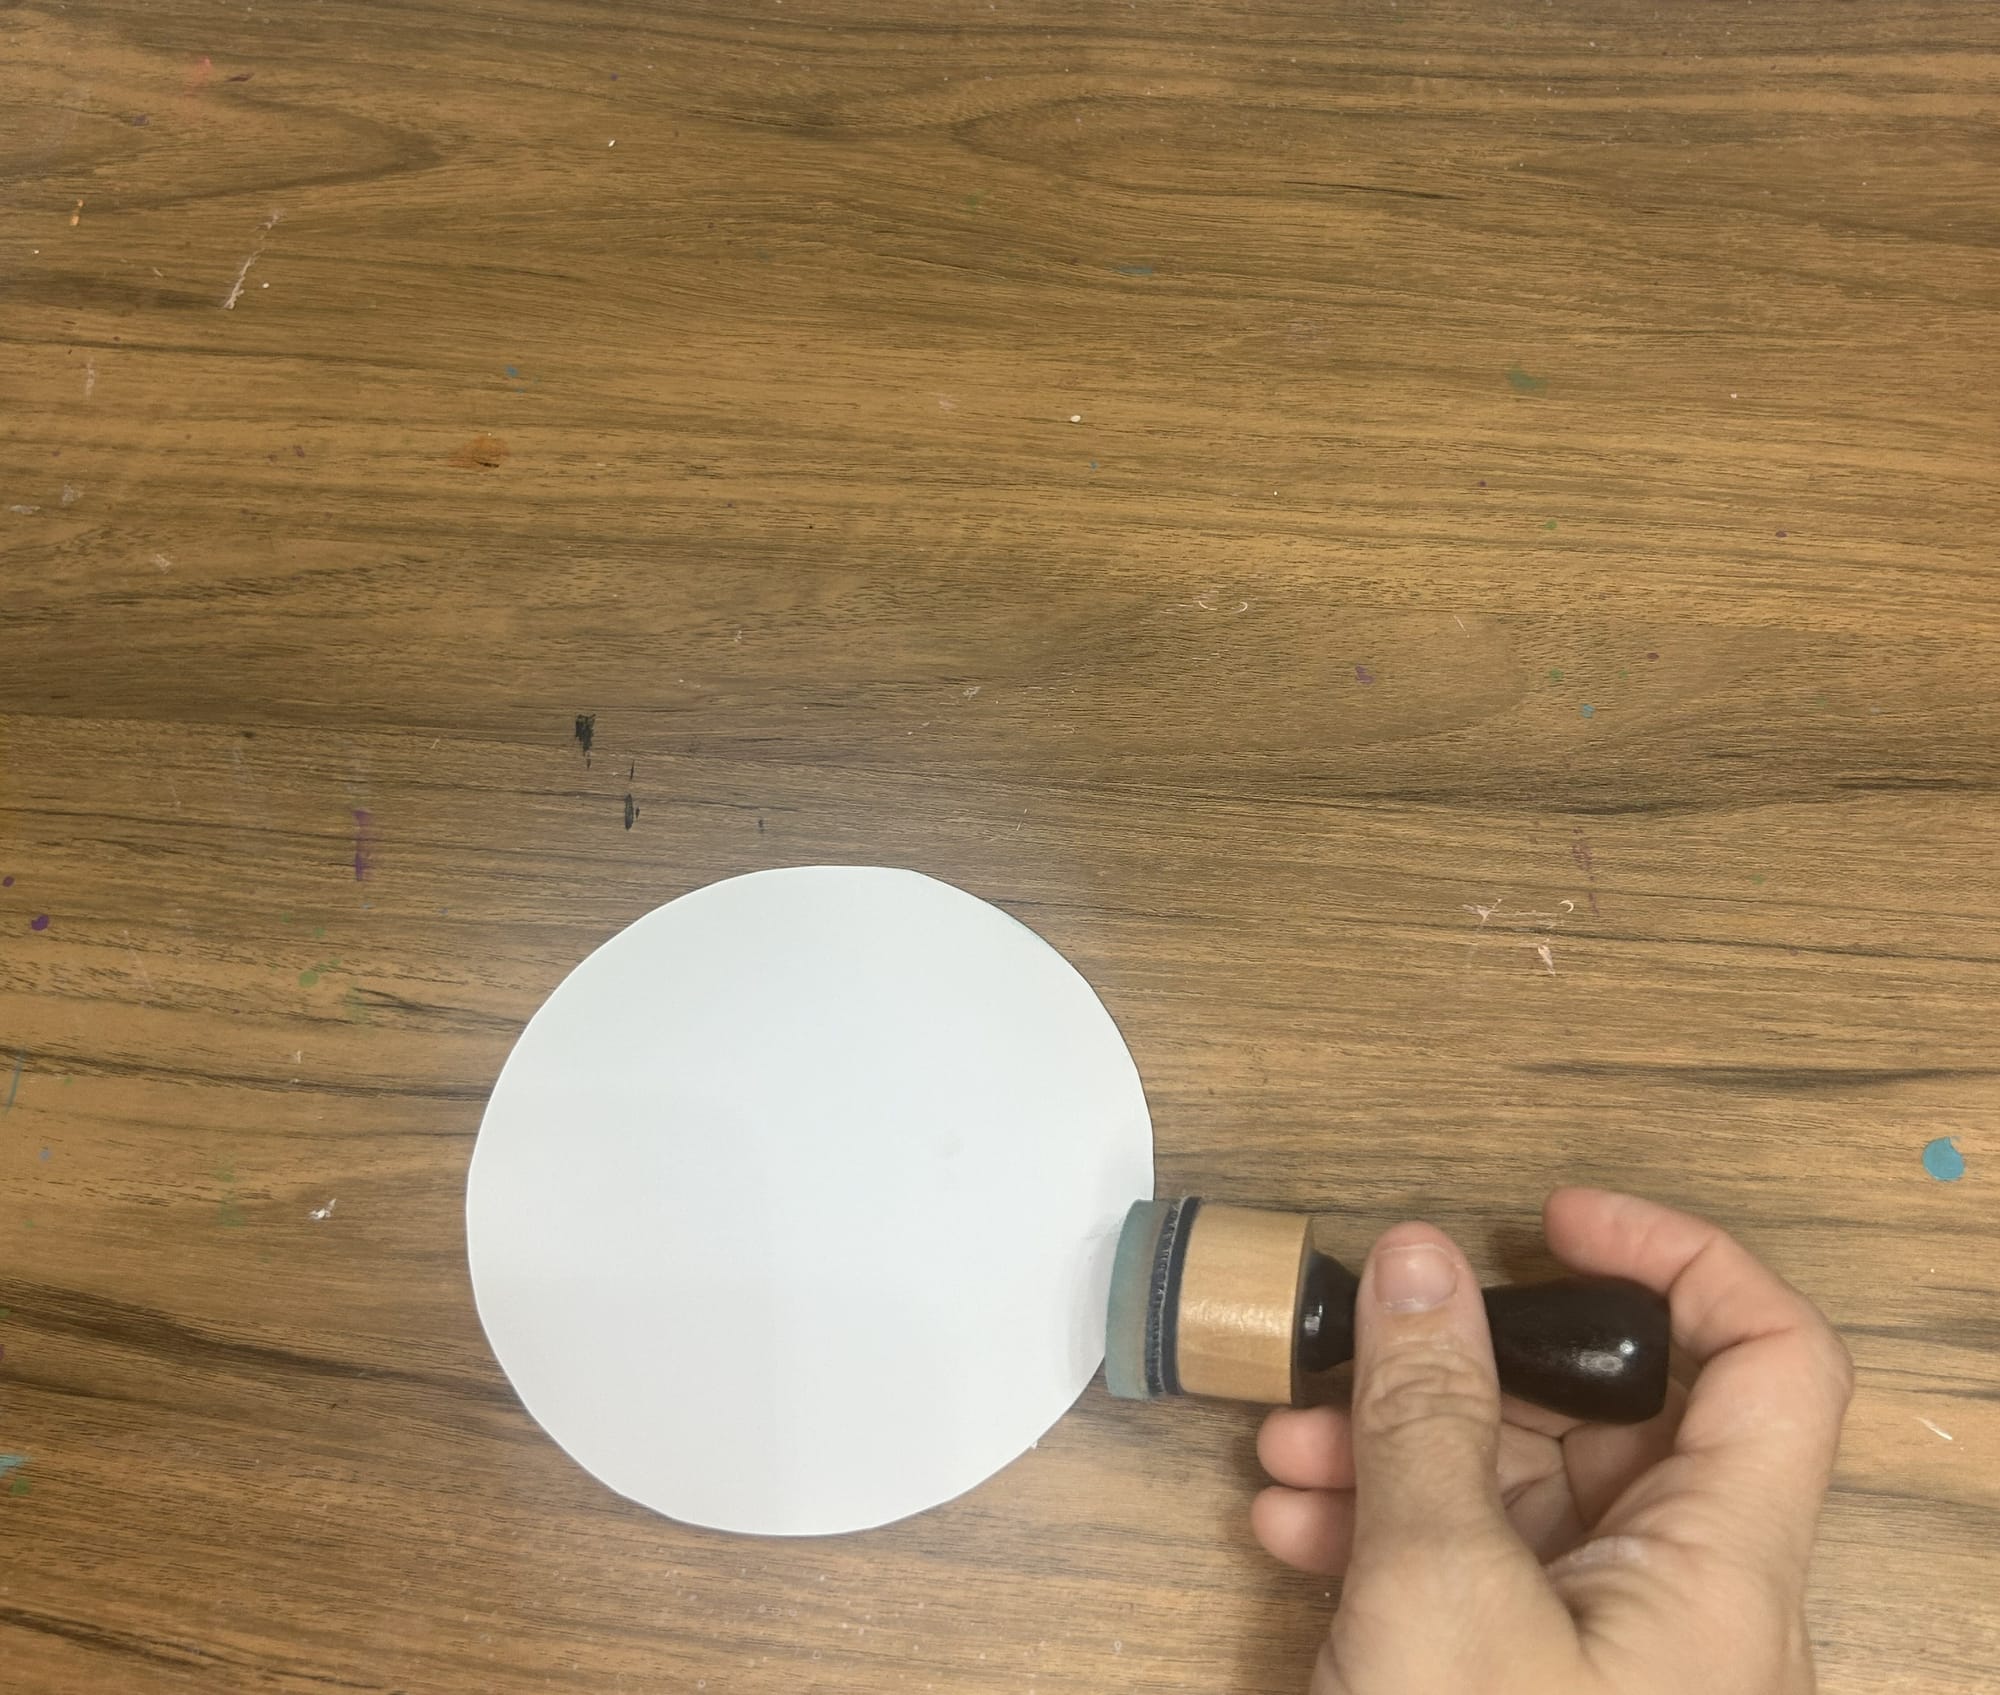
You can also use a marker and run it along the edge of the circle or just leave the white circles as they are.
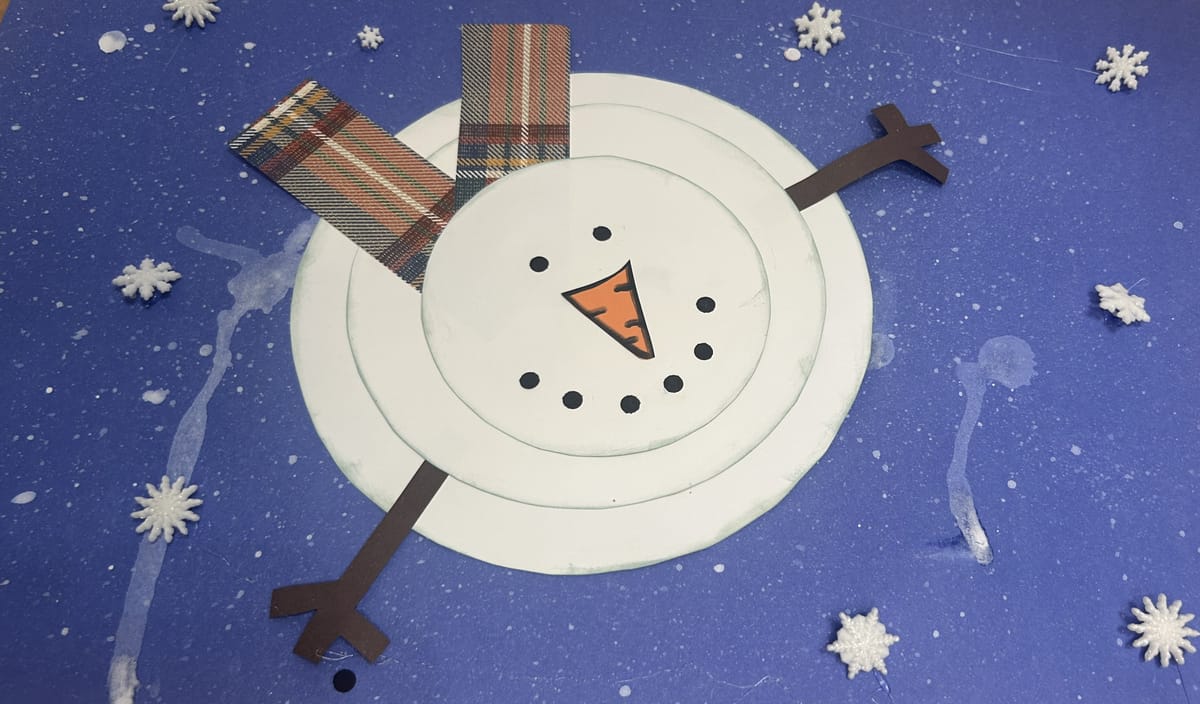
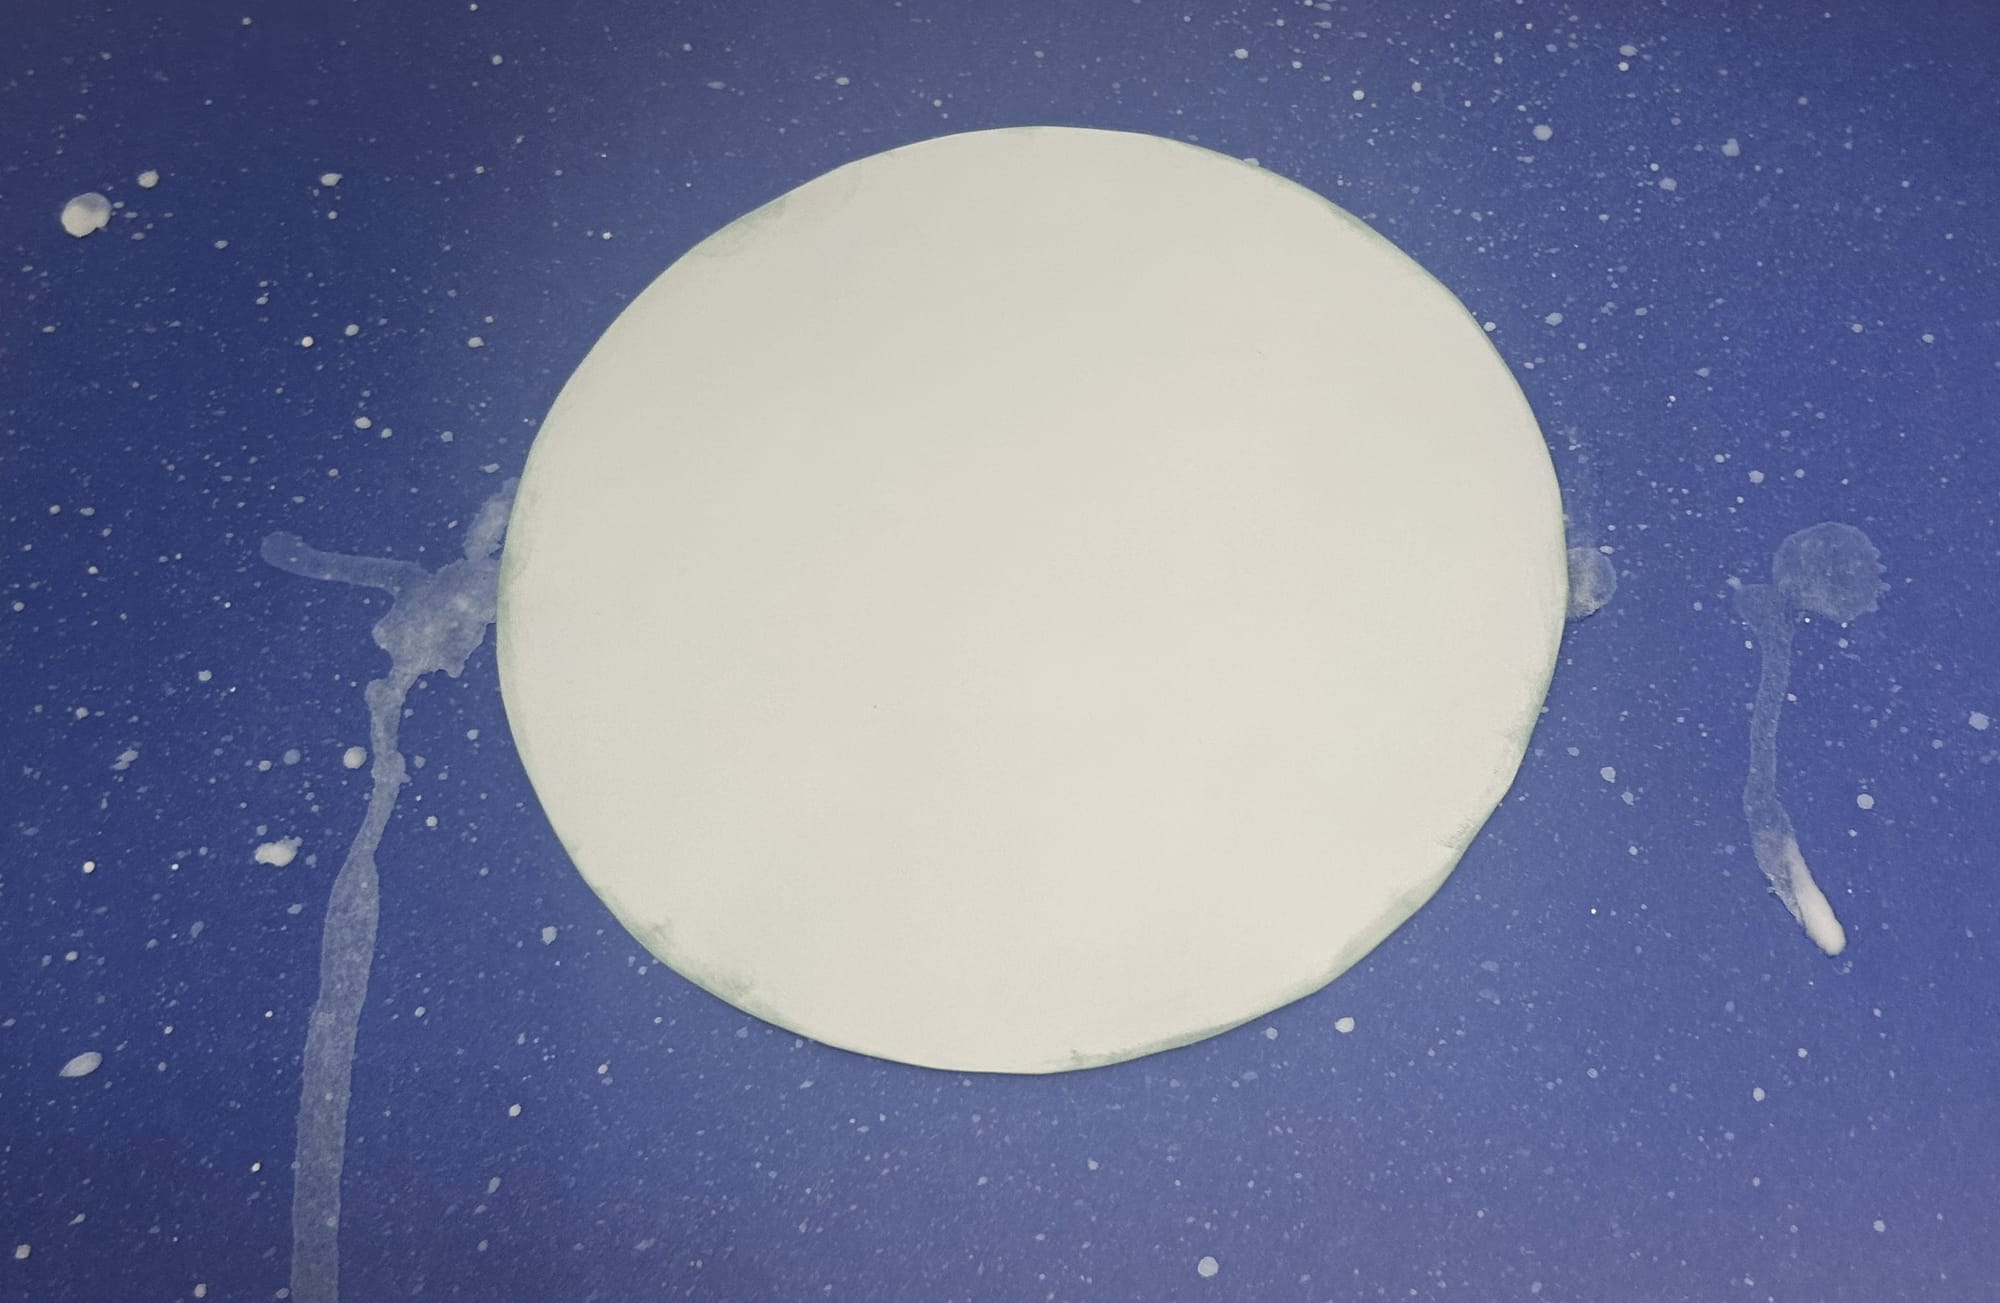
Step 4: Make the Snowman's Body
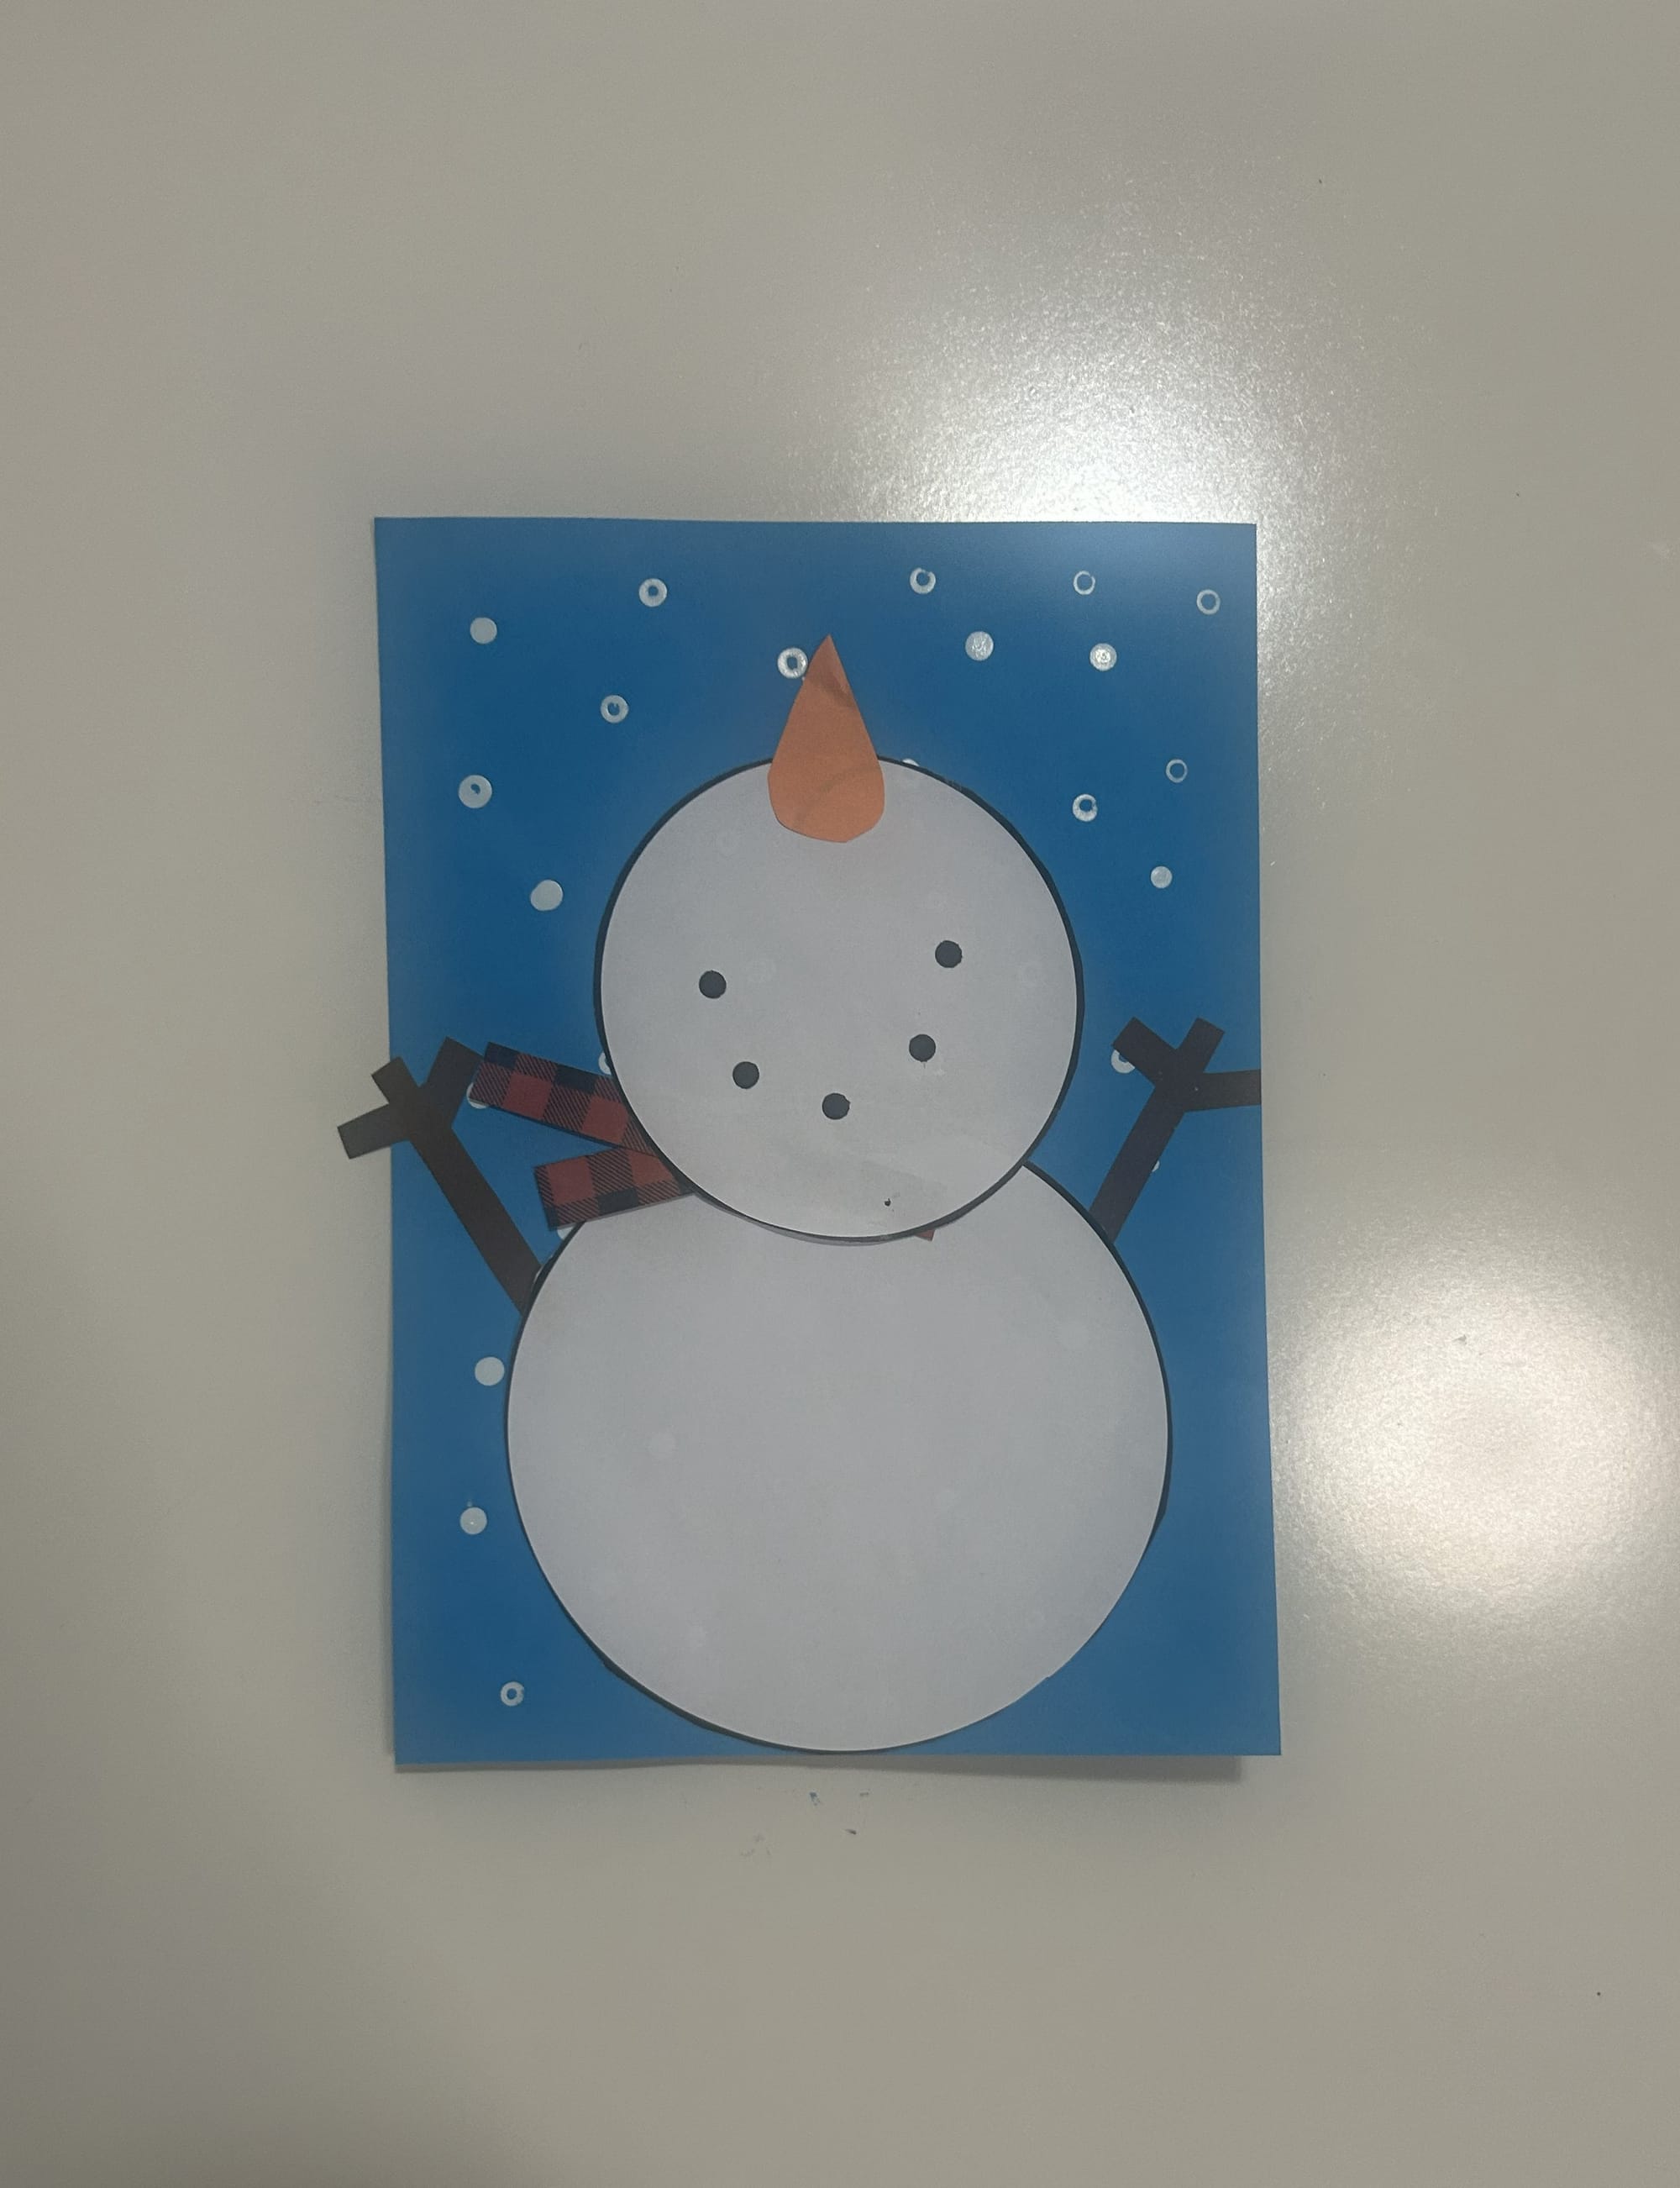
Glue the largest circle onto the background paper. I glued mine with the black outline side down.
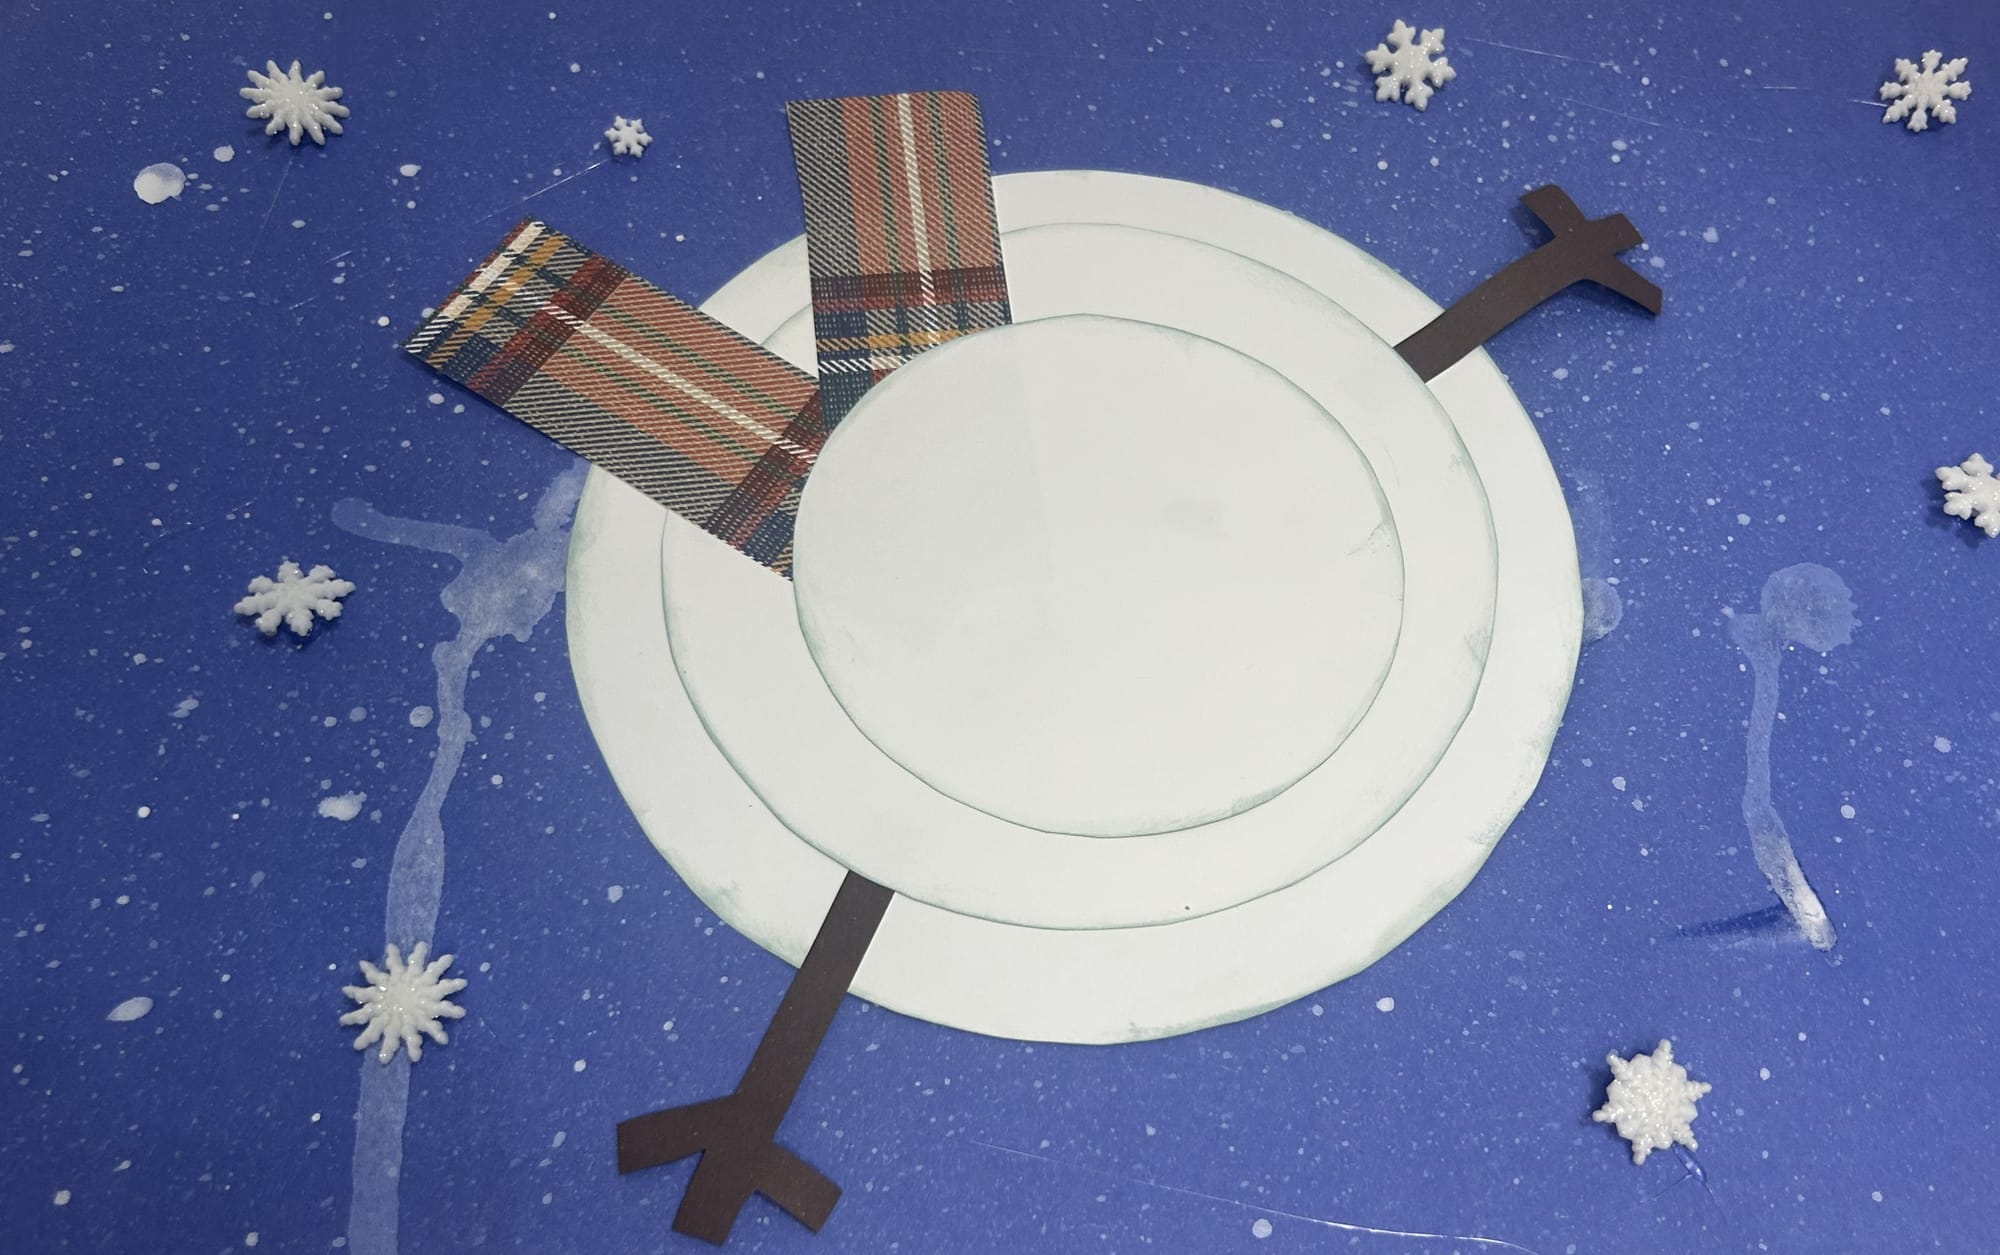
Step 5: Add the Snowman's Arms
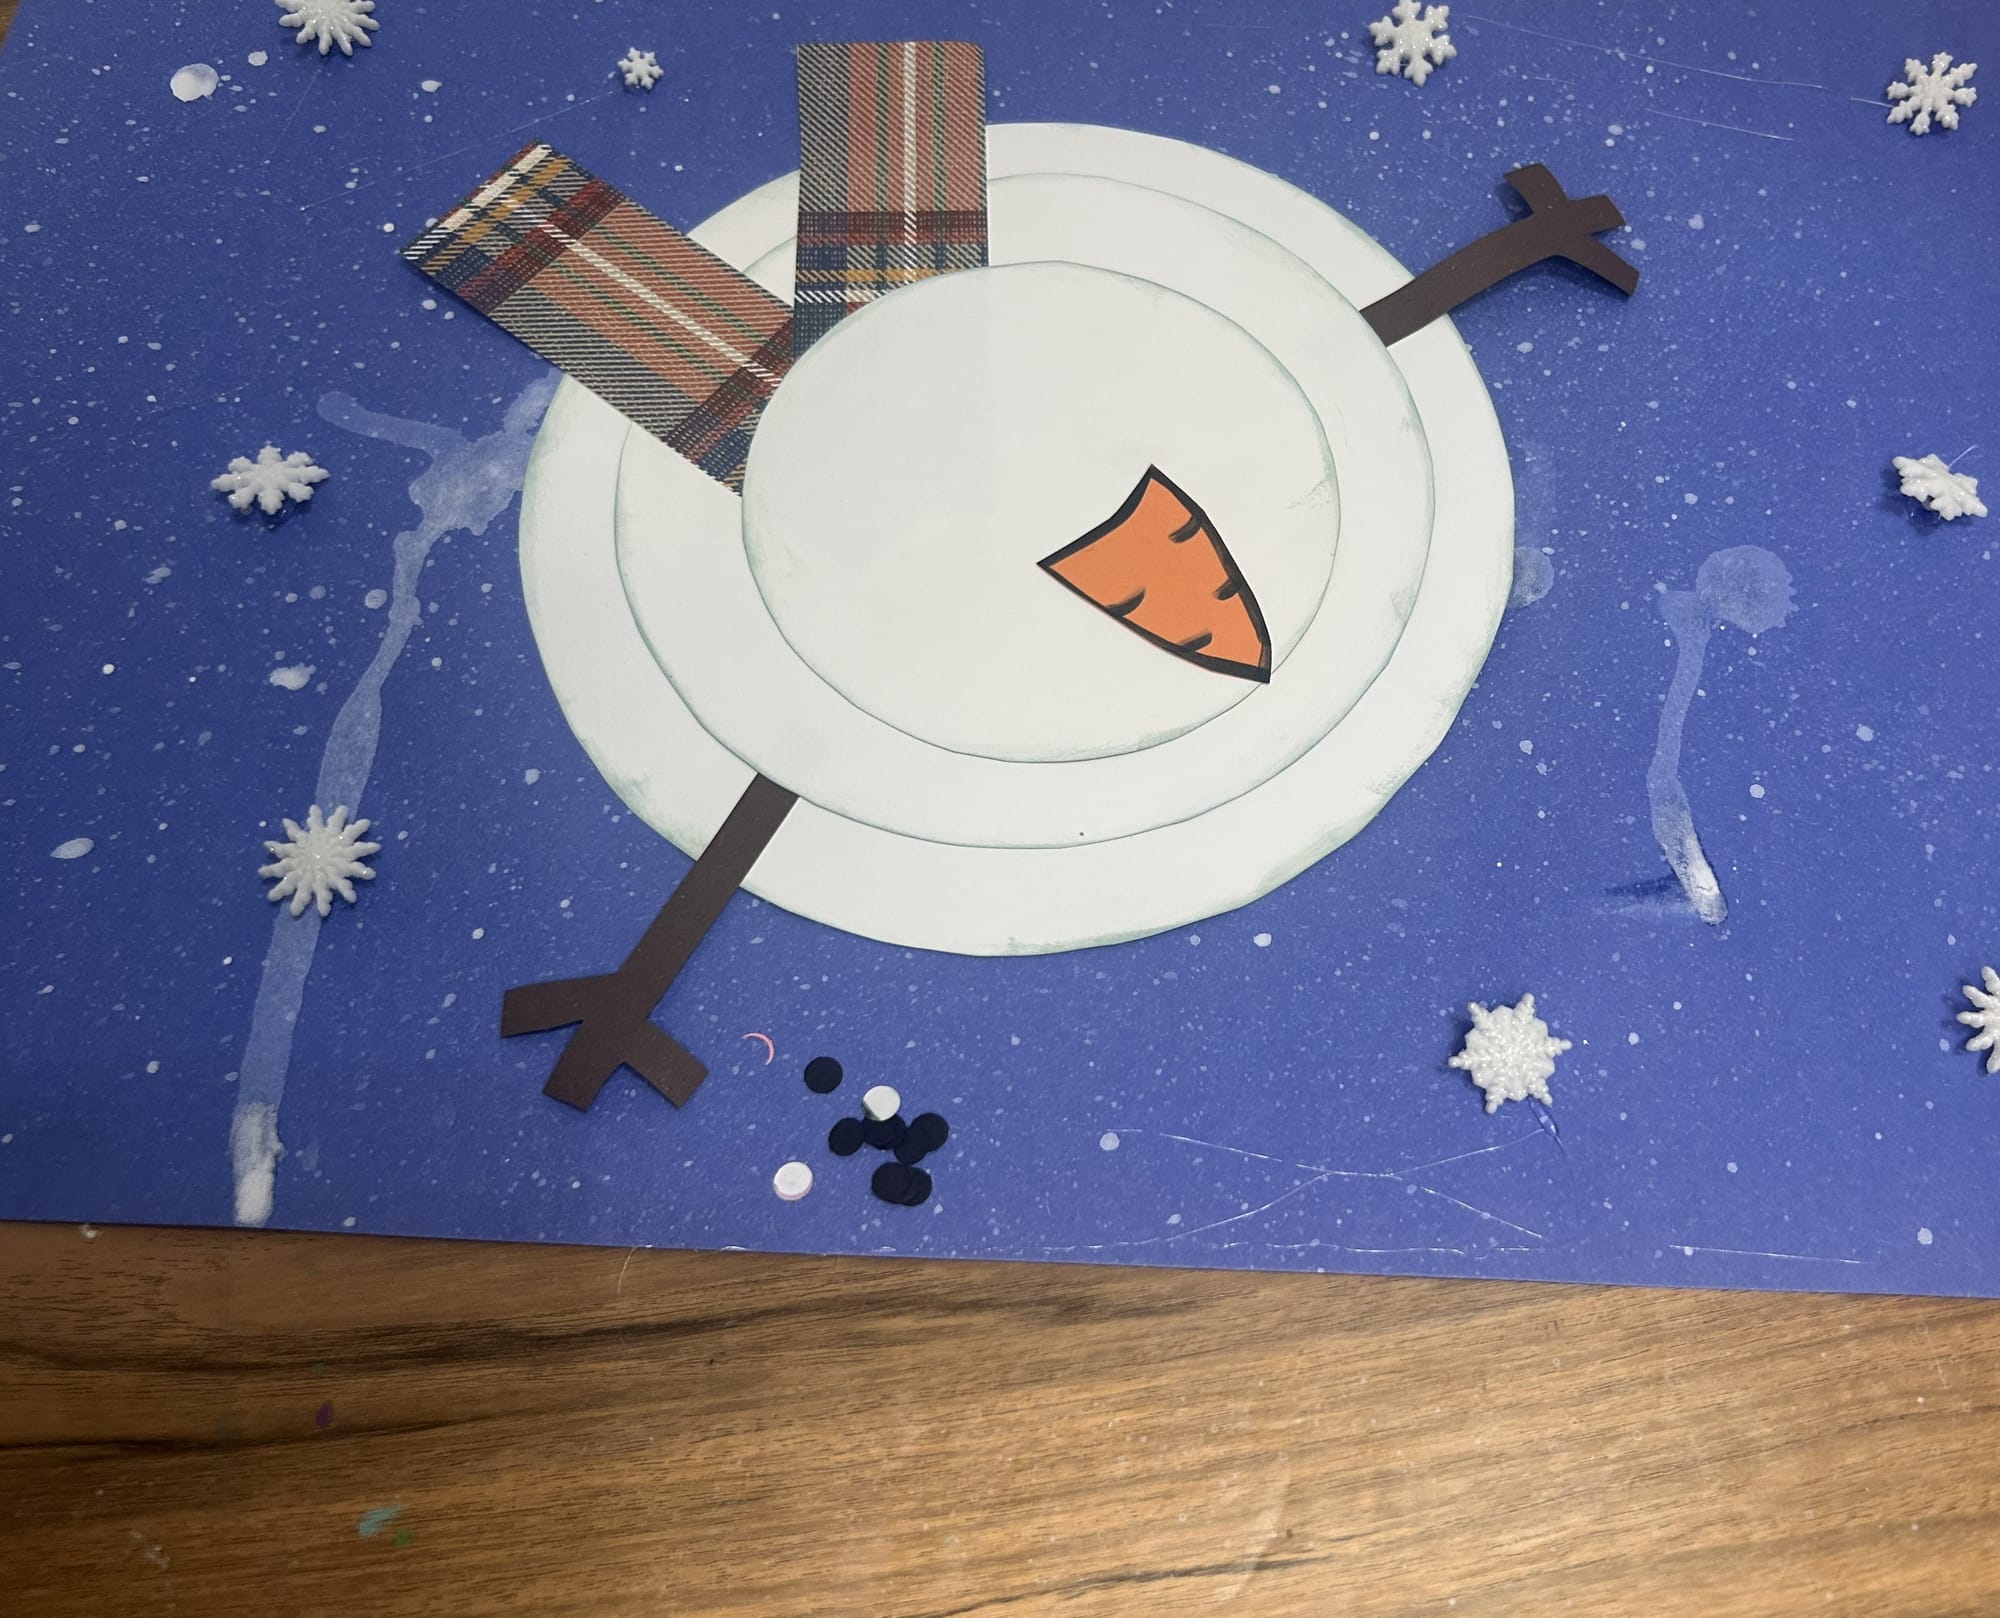
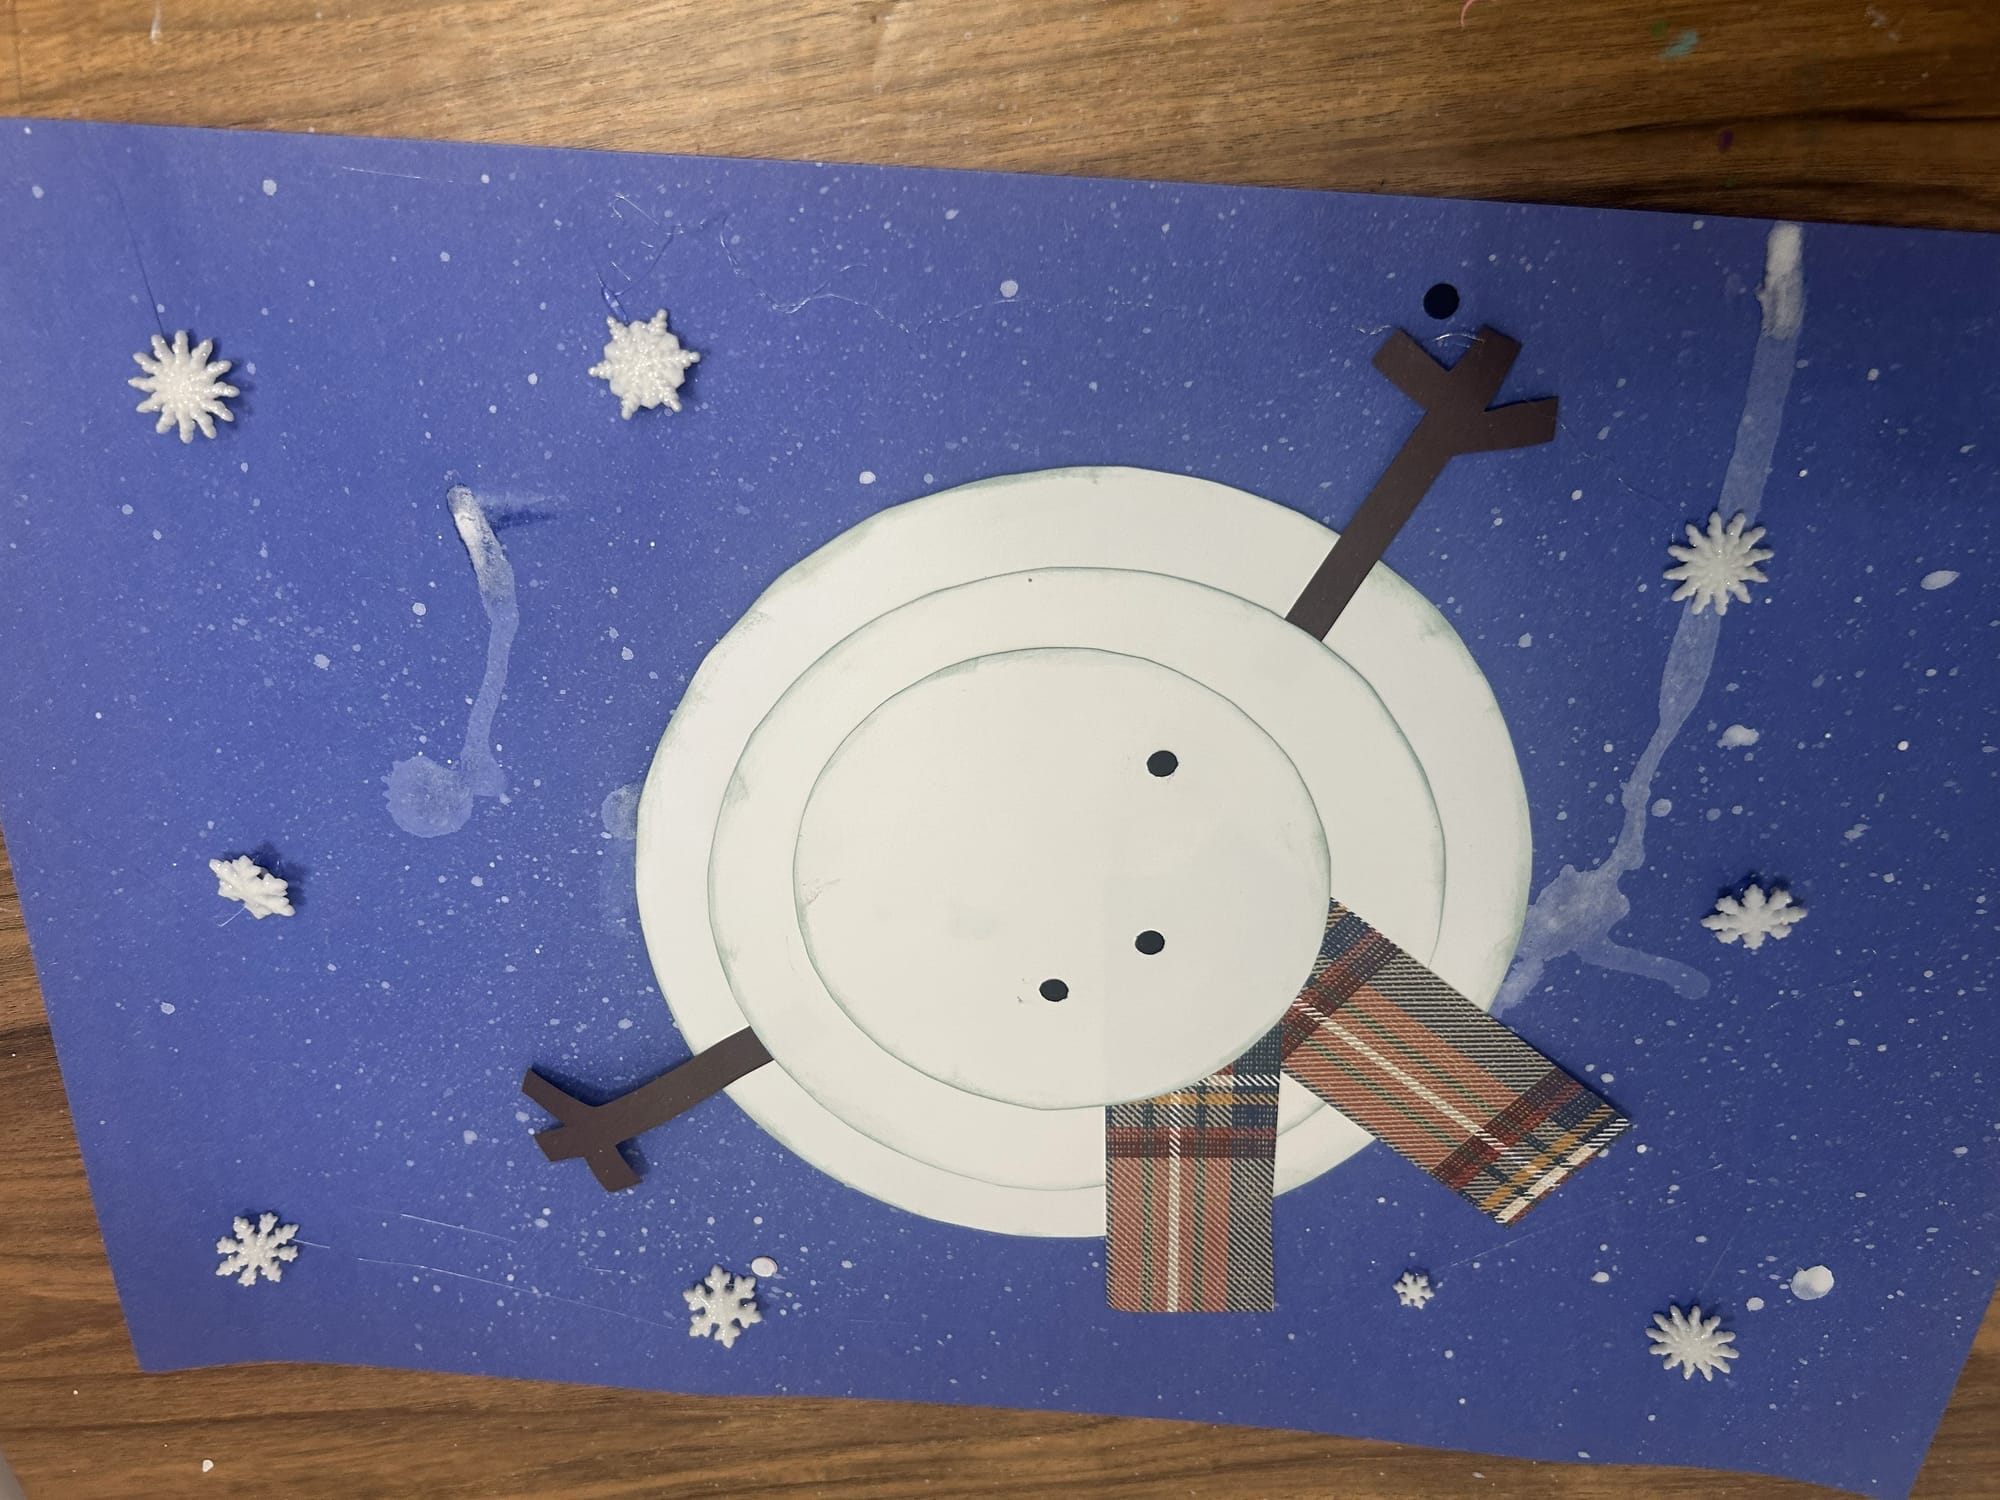
Glue some arms onto the first circle. Print the arms out on brown paper. After cutting flip the arms over to display the brown color. When you glue the arms, make sure they are far enough in for the second circle to cover them. You can place the second circle on top to make sure the arms are in a good place.
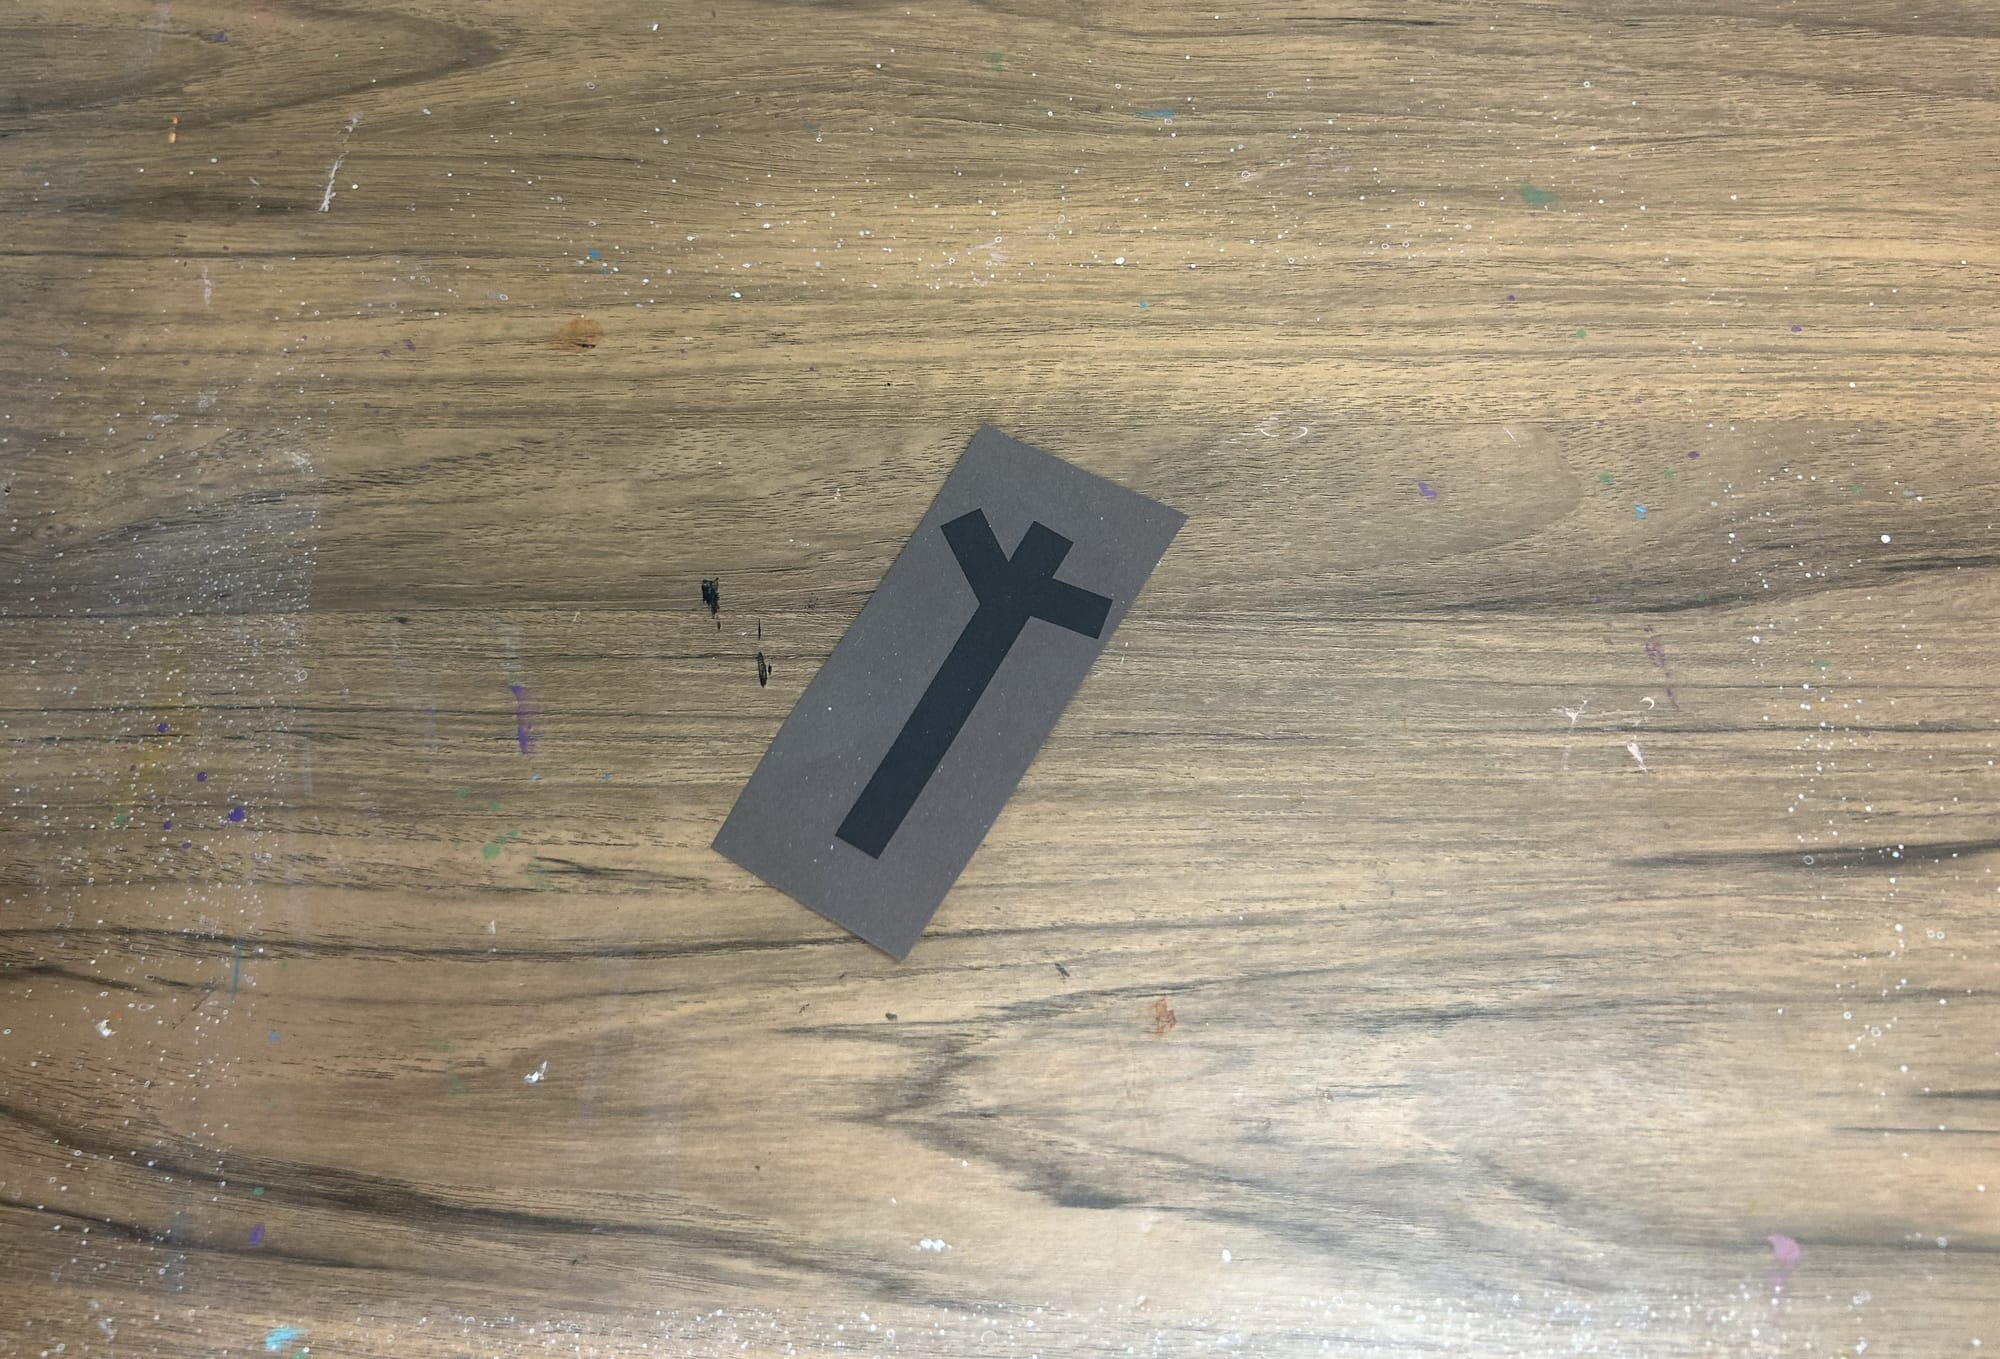

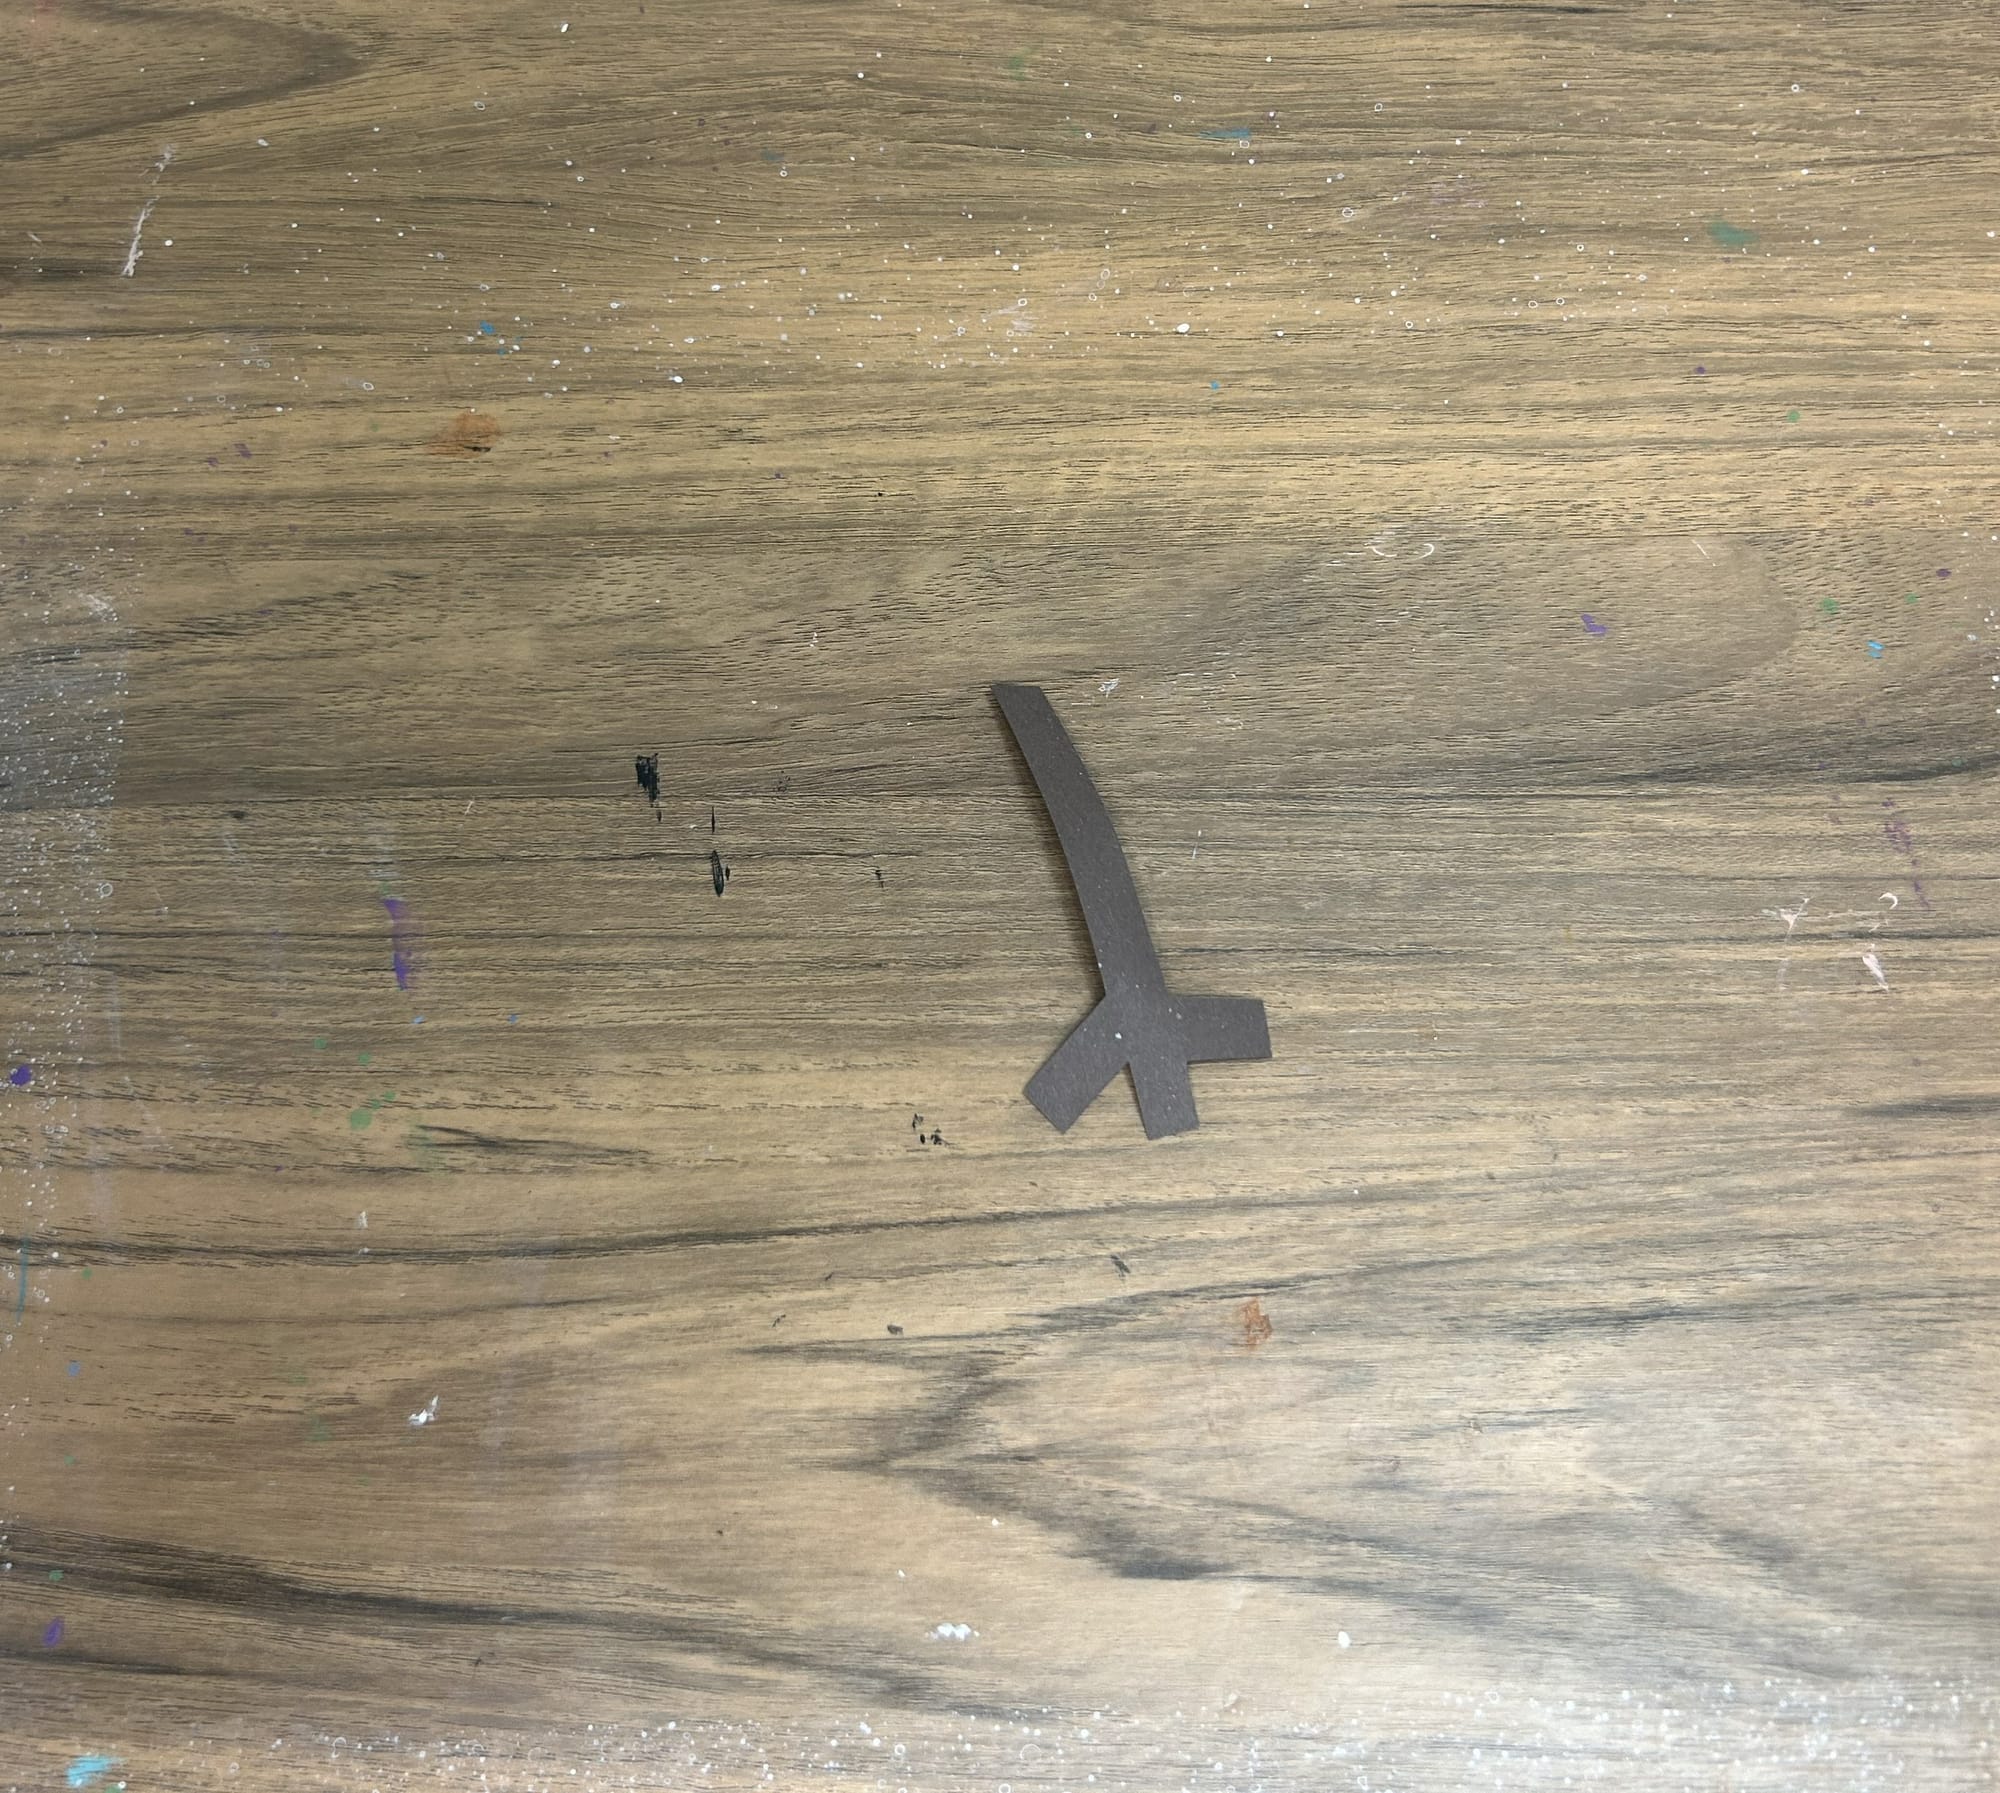
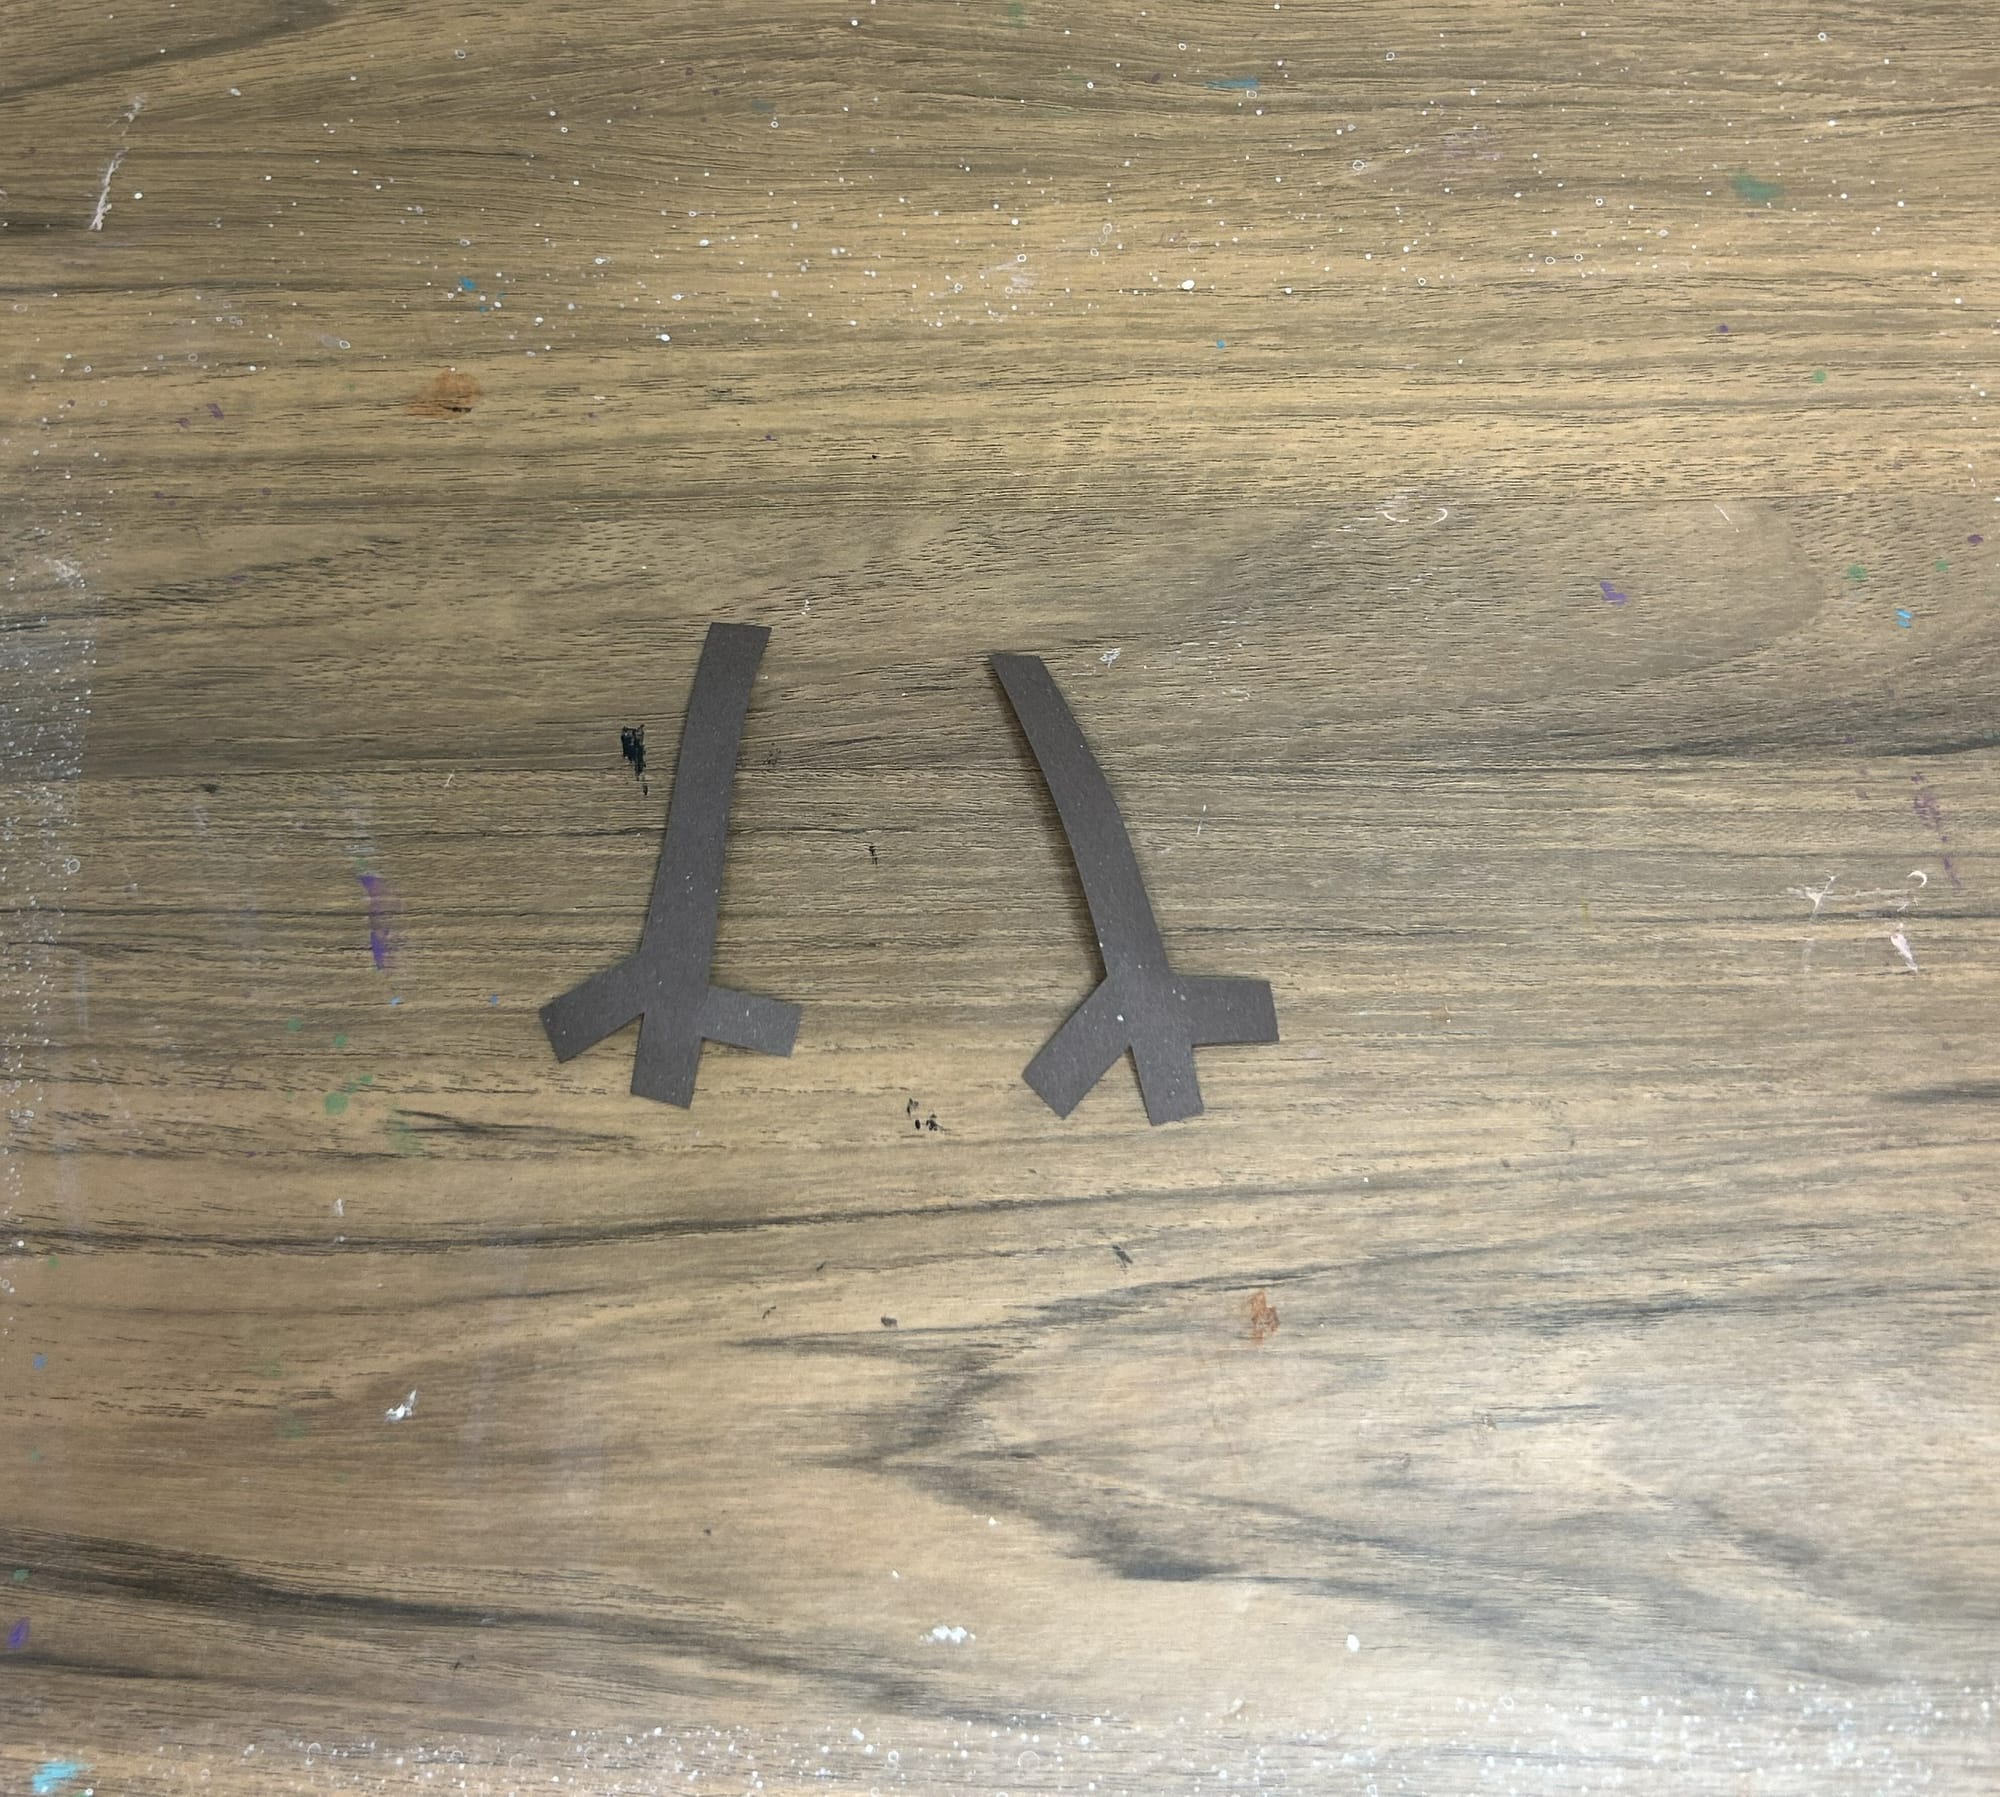
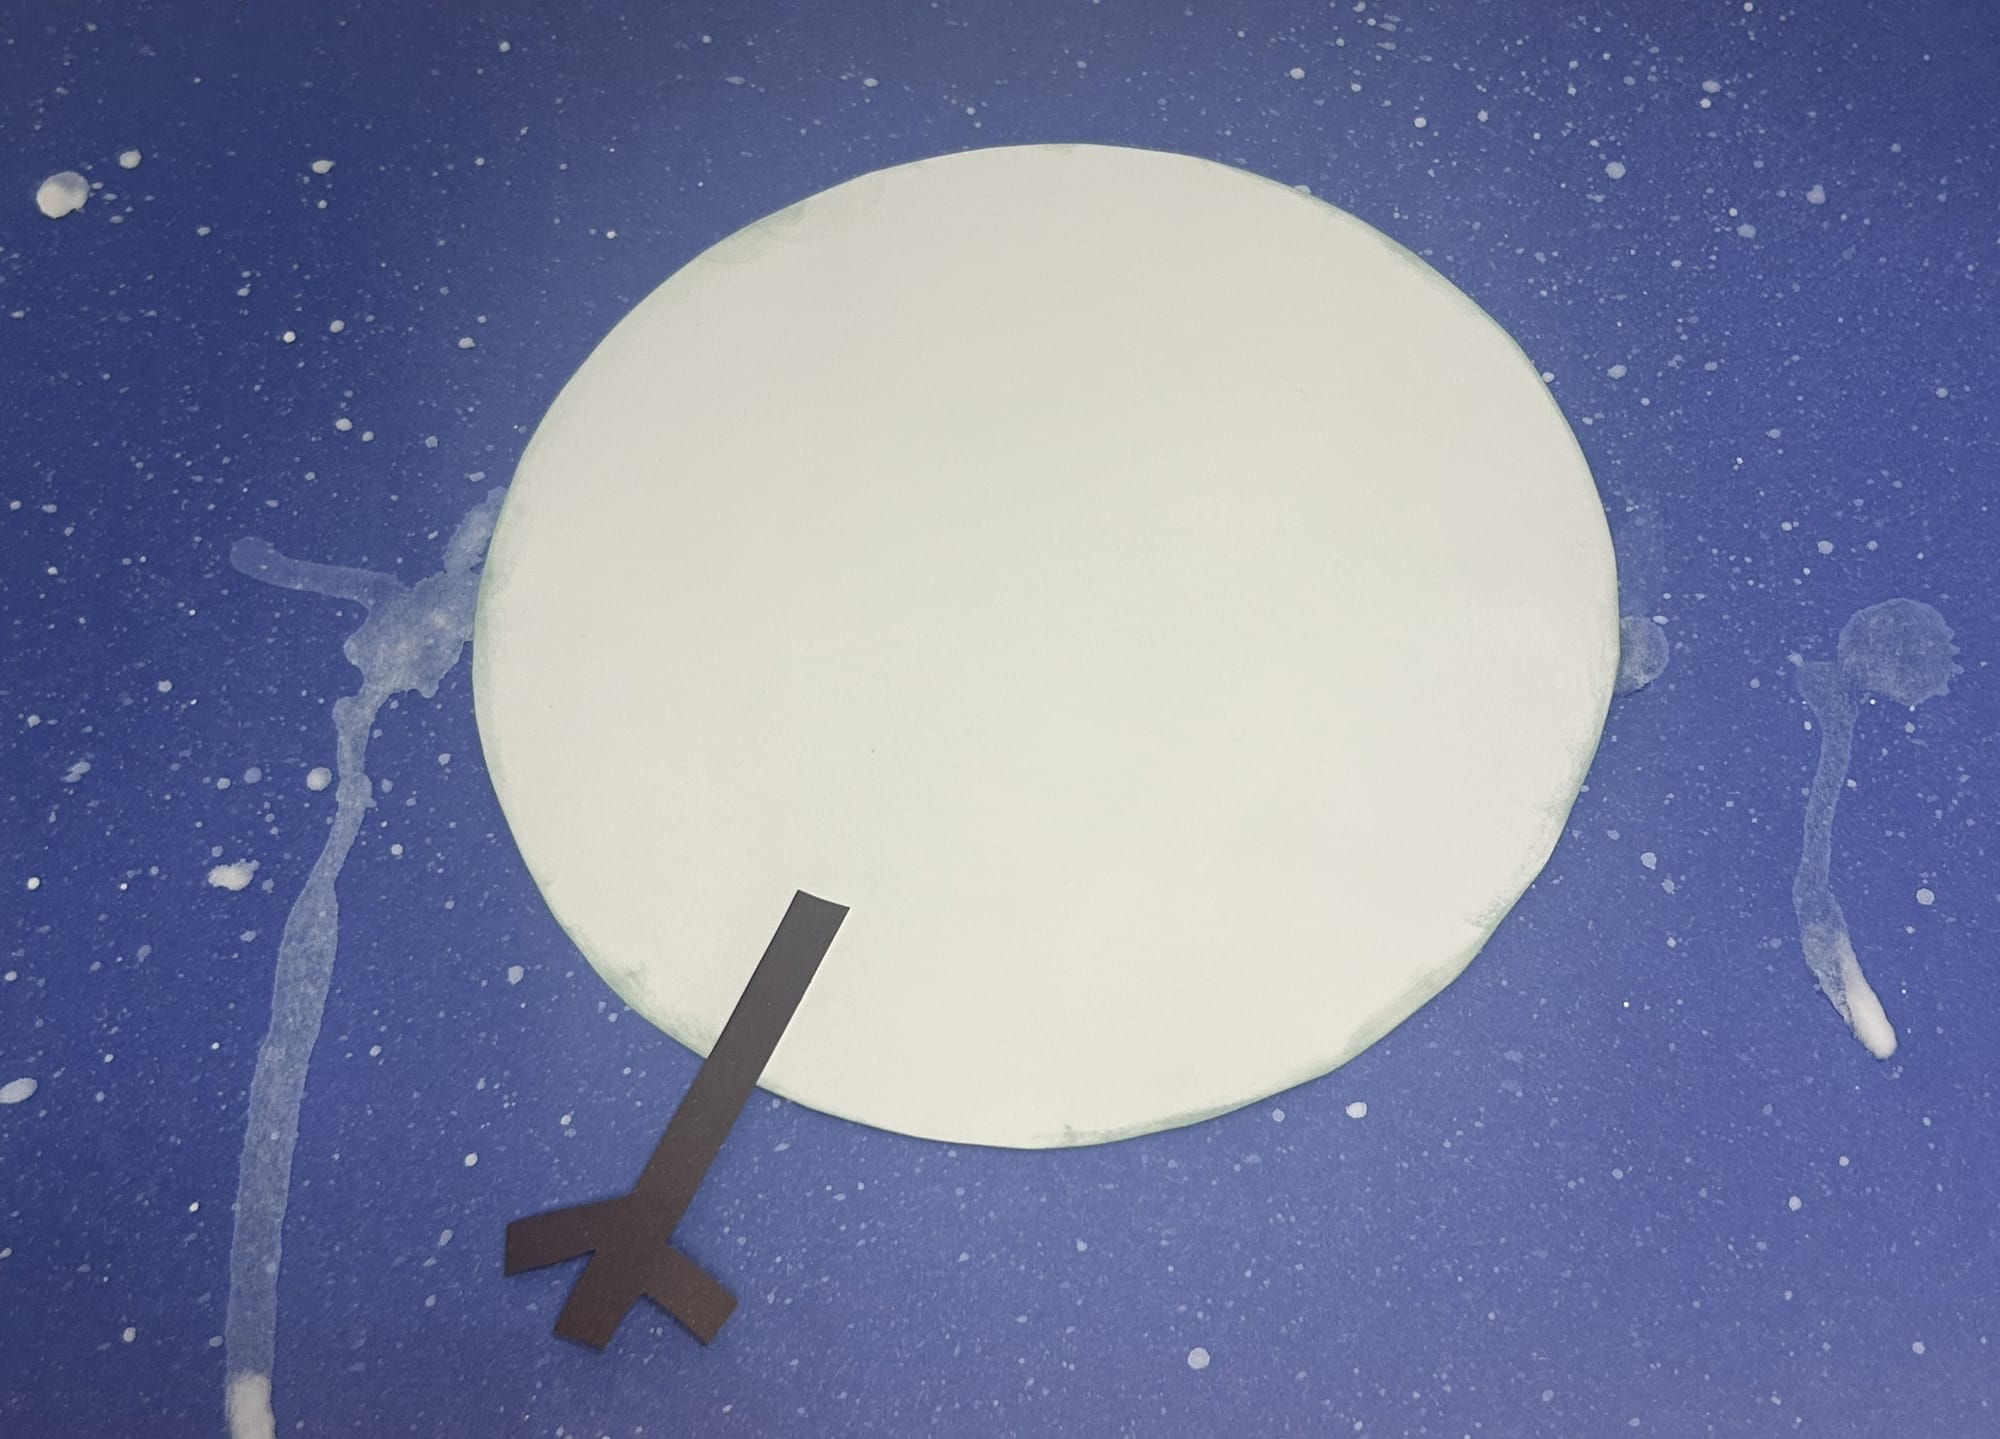
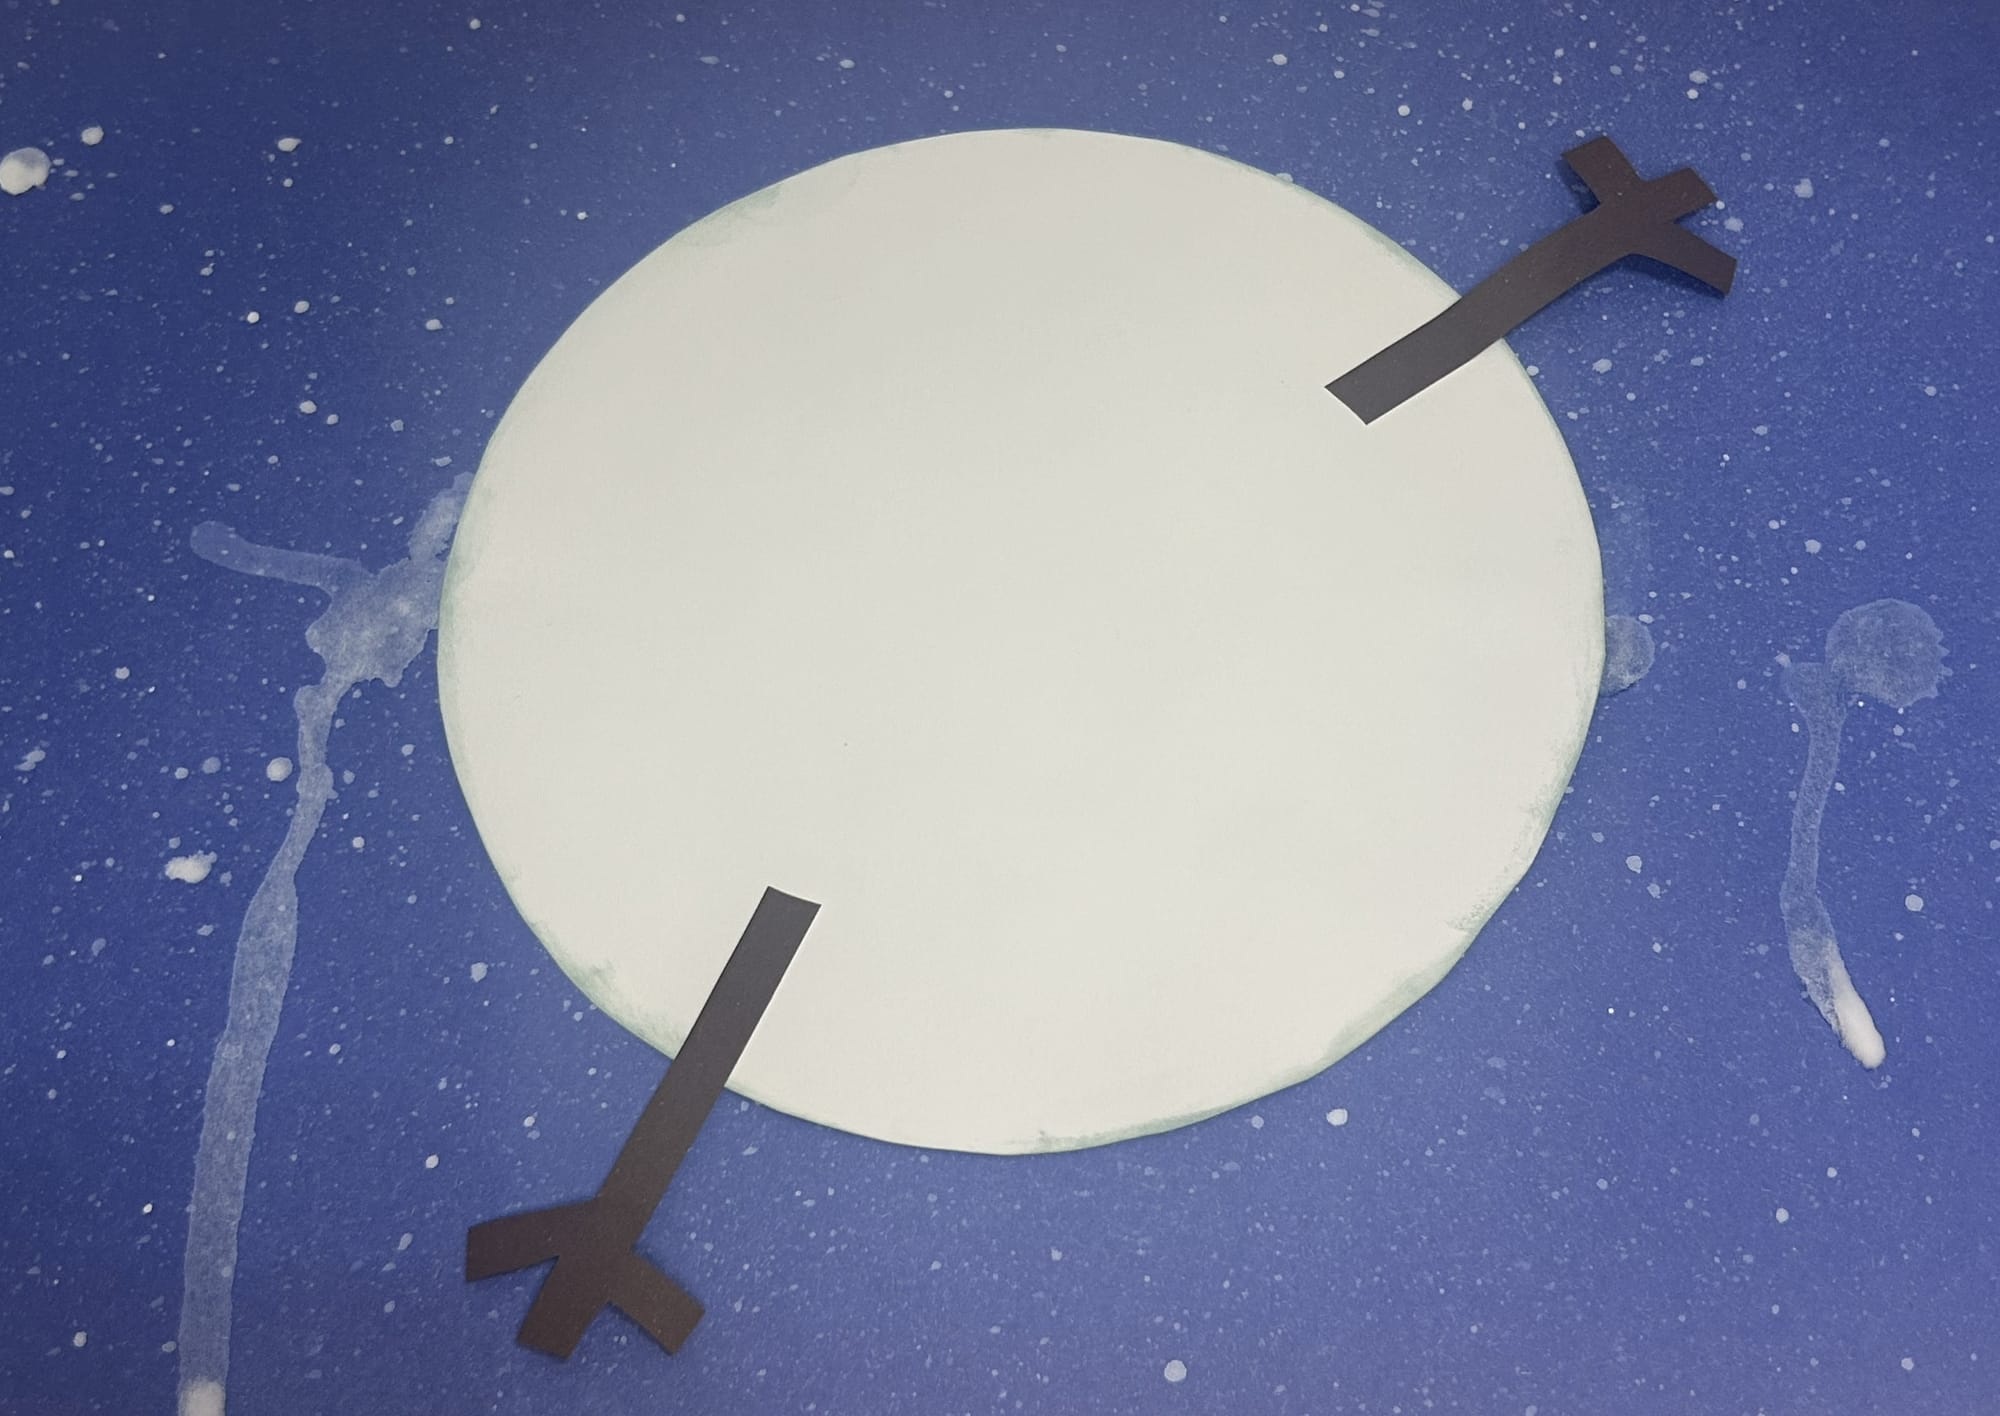
Cut and add arms onto the snowman's body.
Step 6: Add to the Snowman's Body
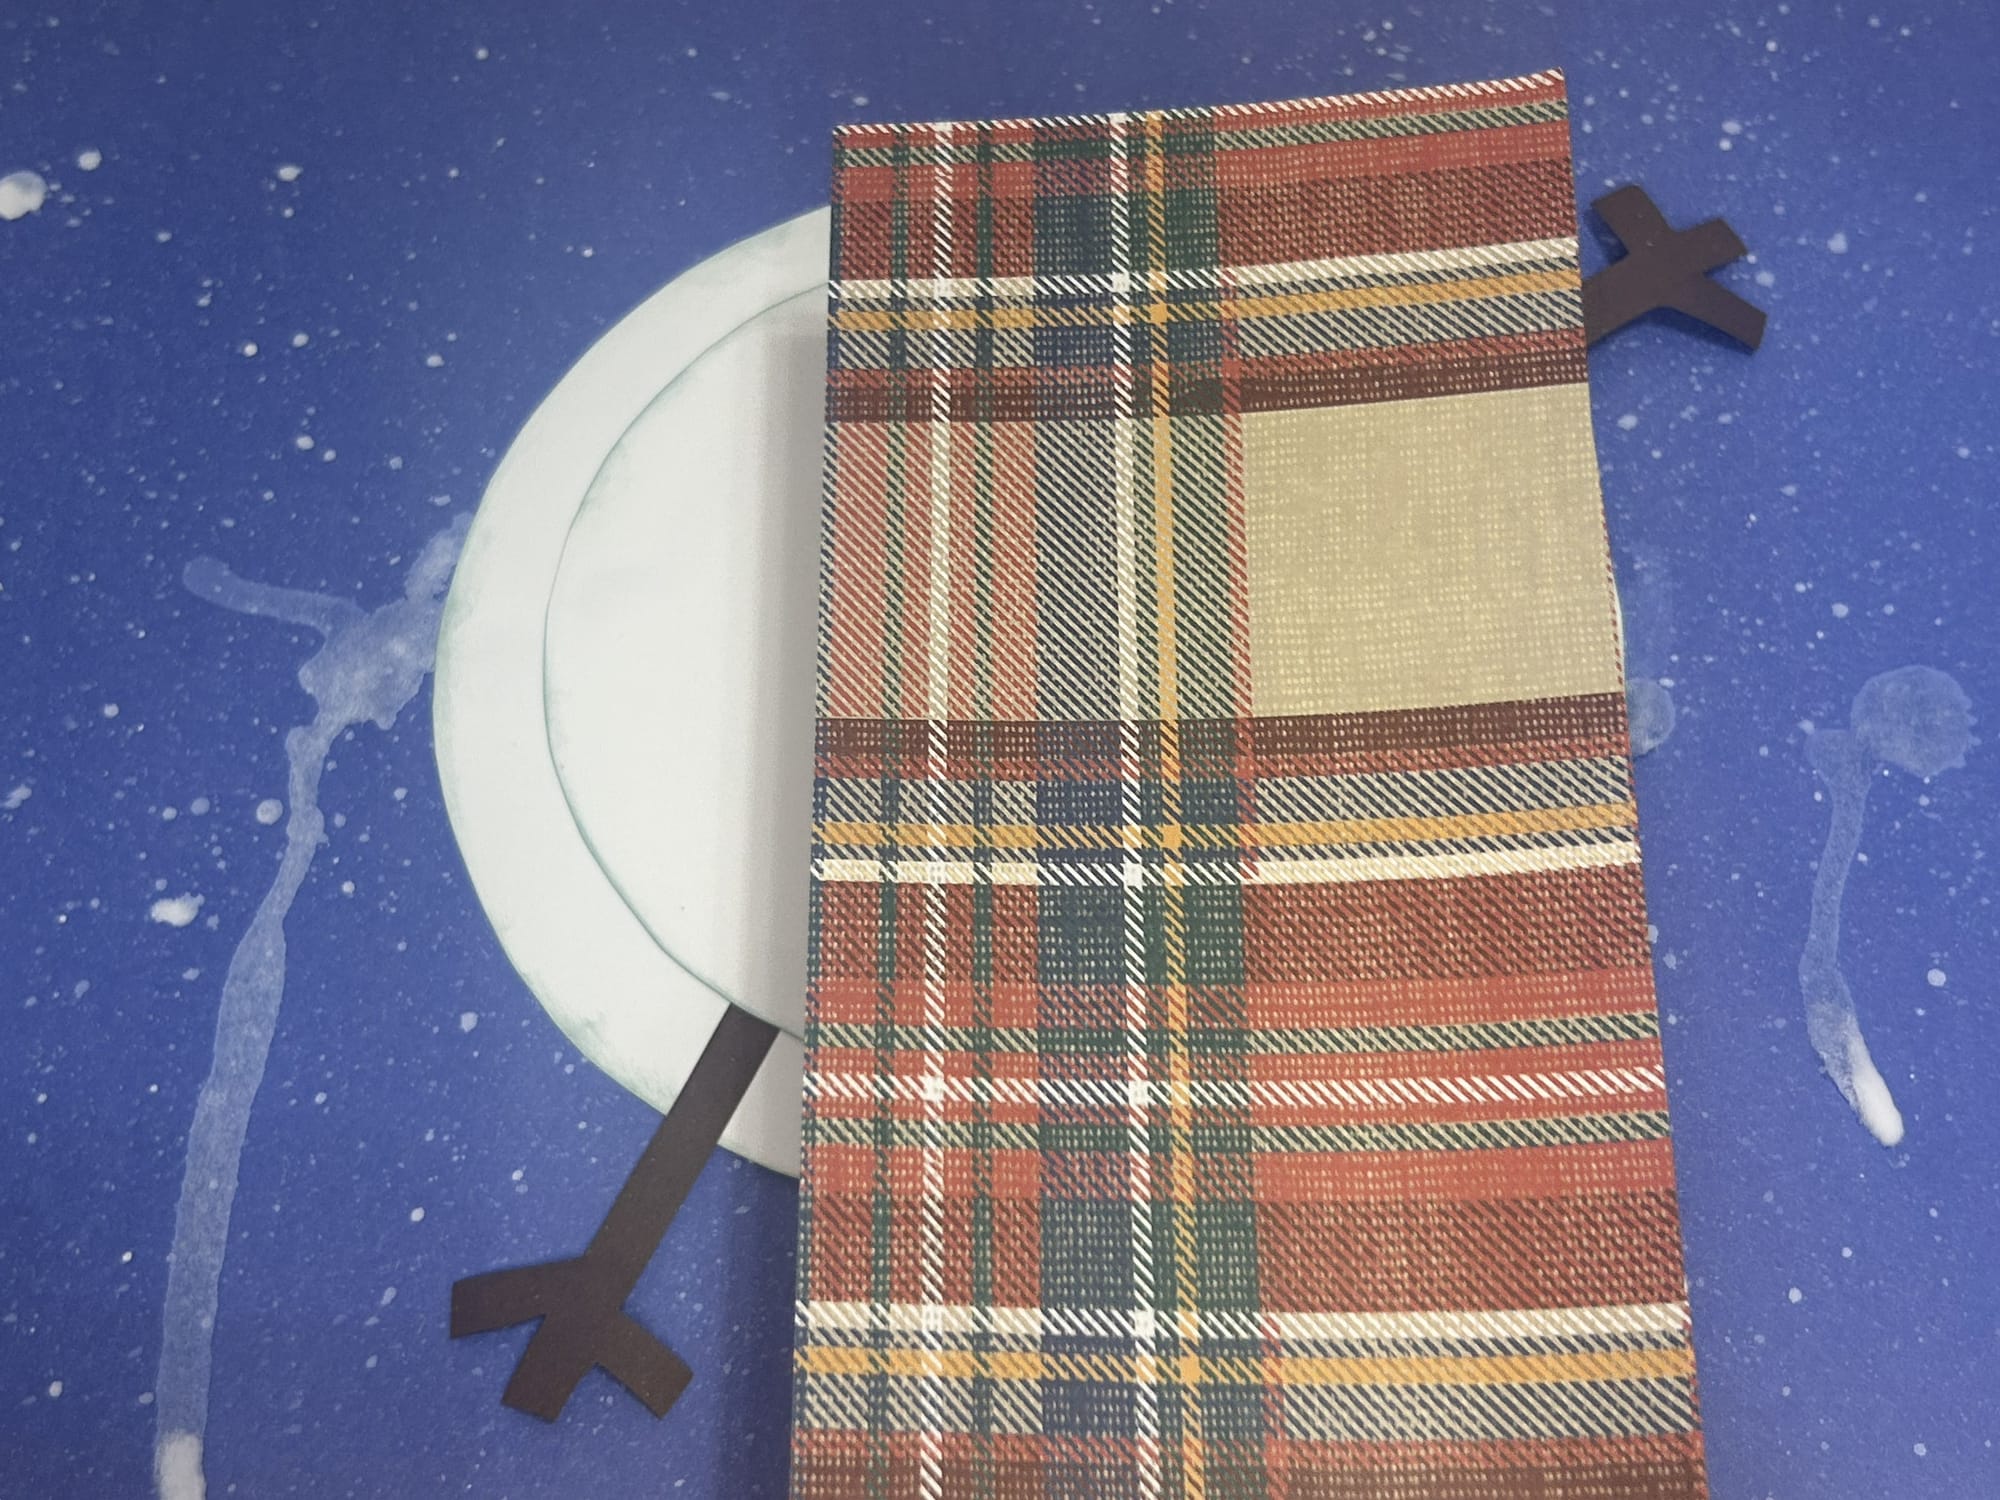
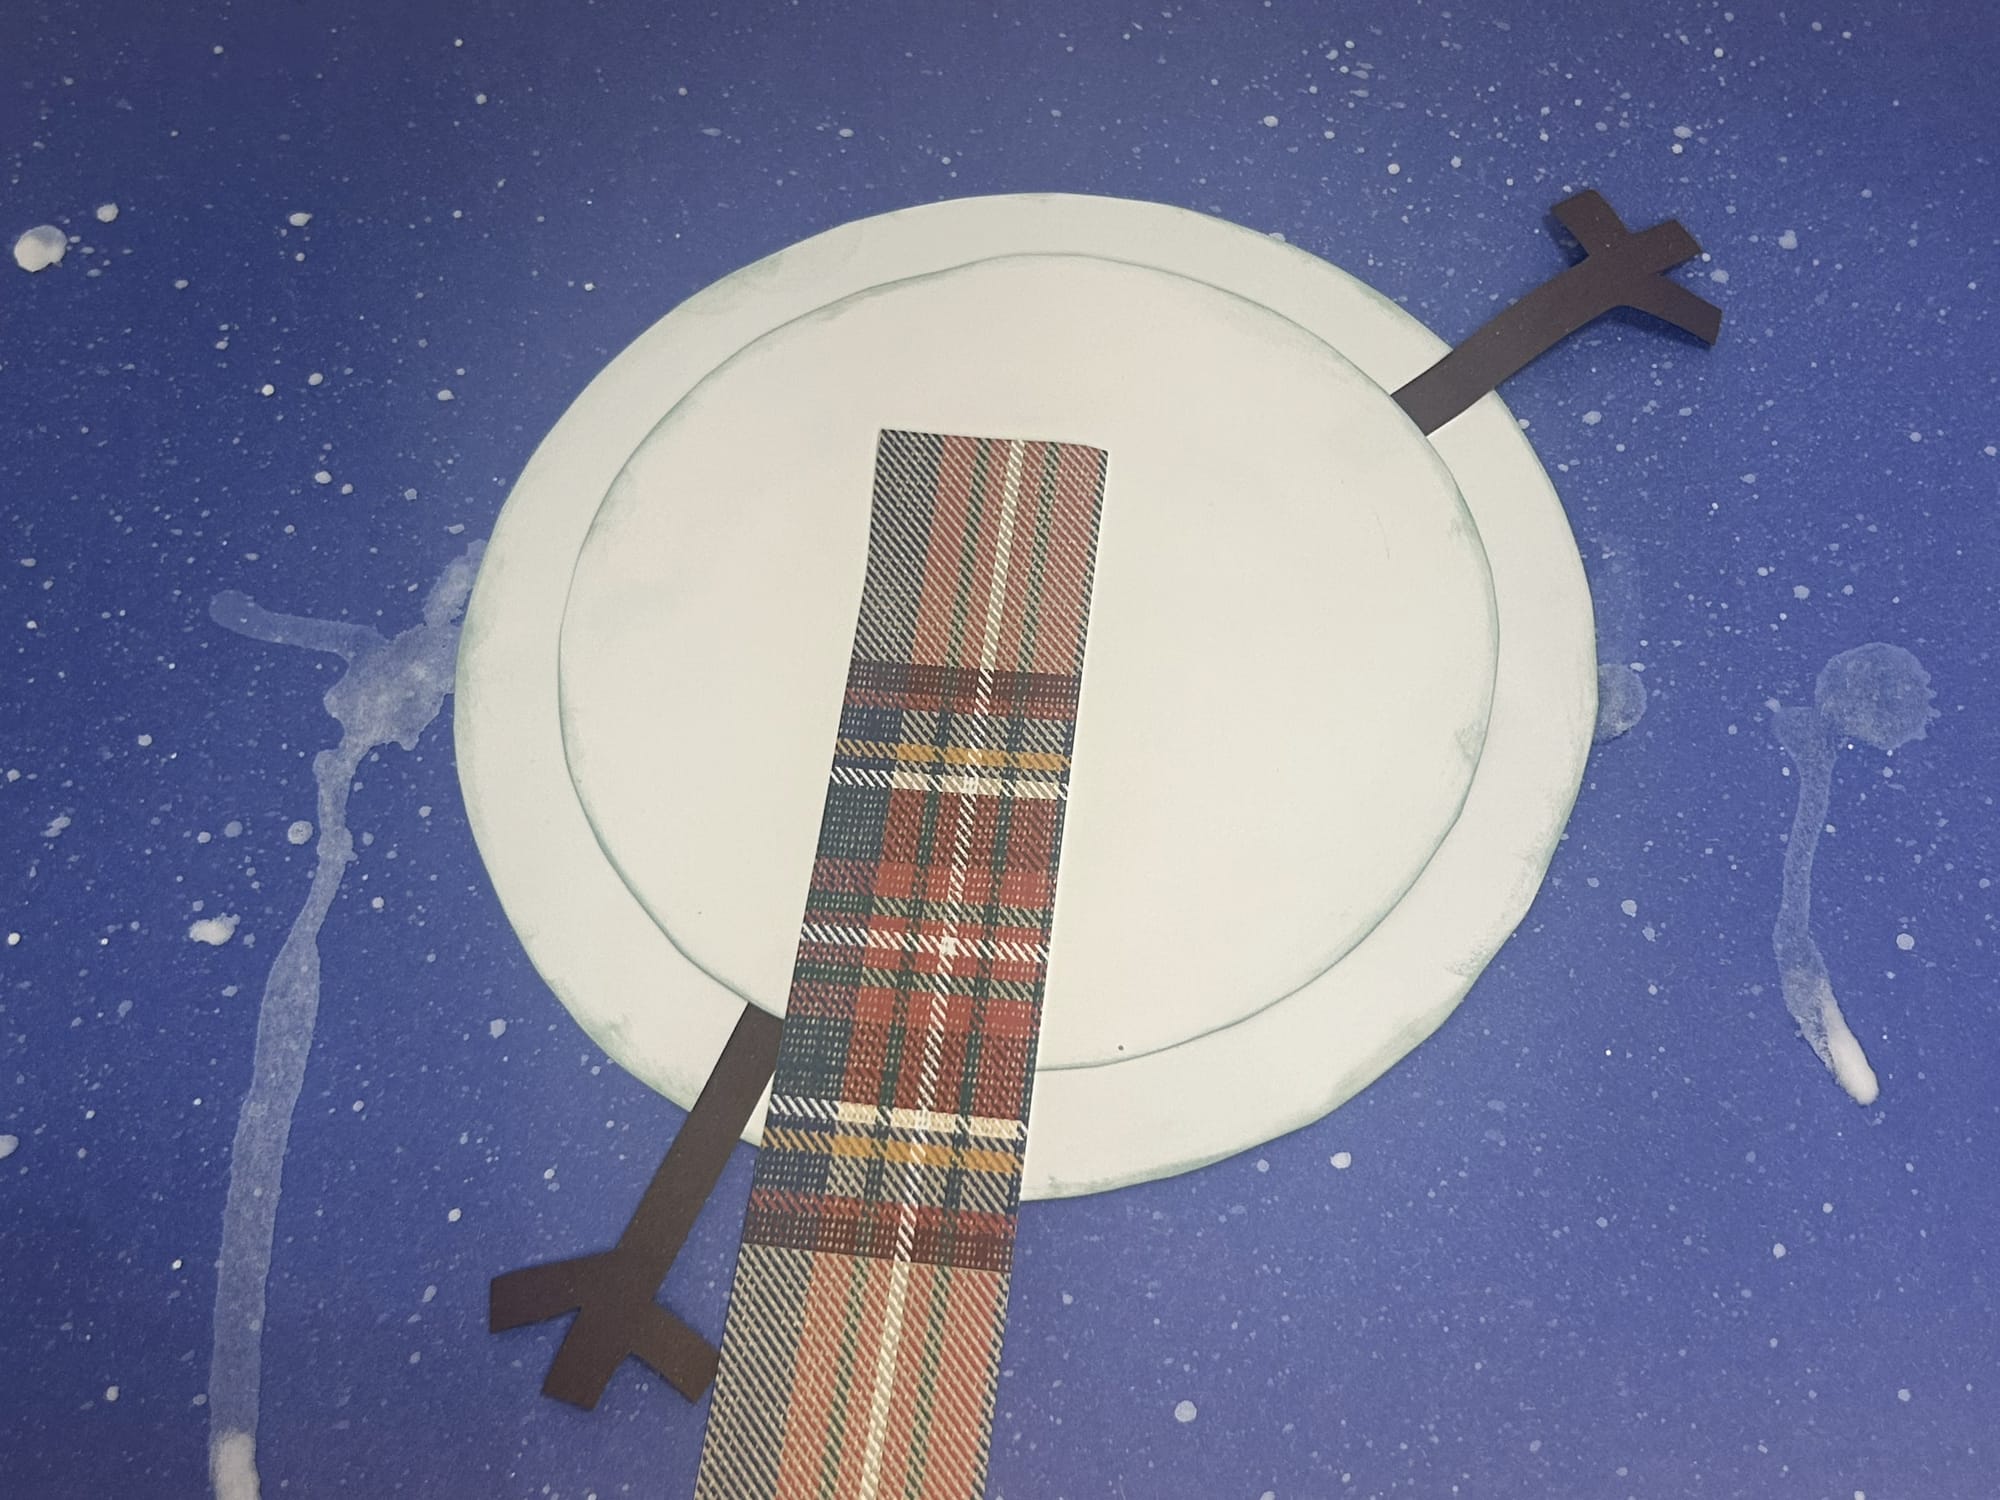
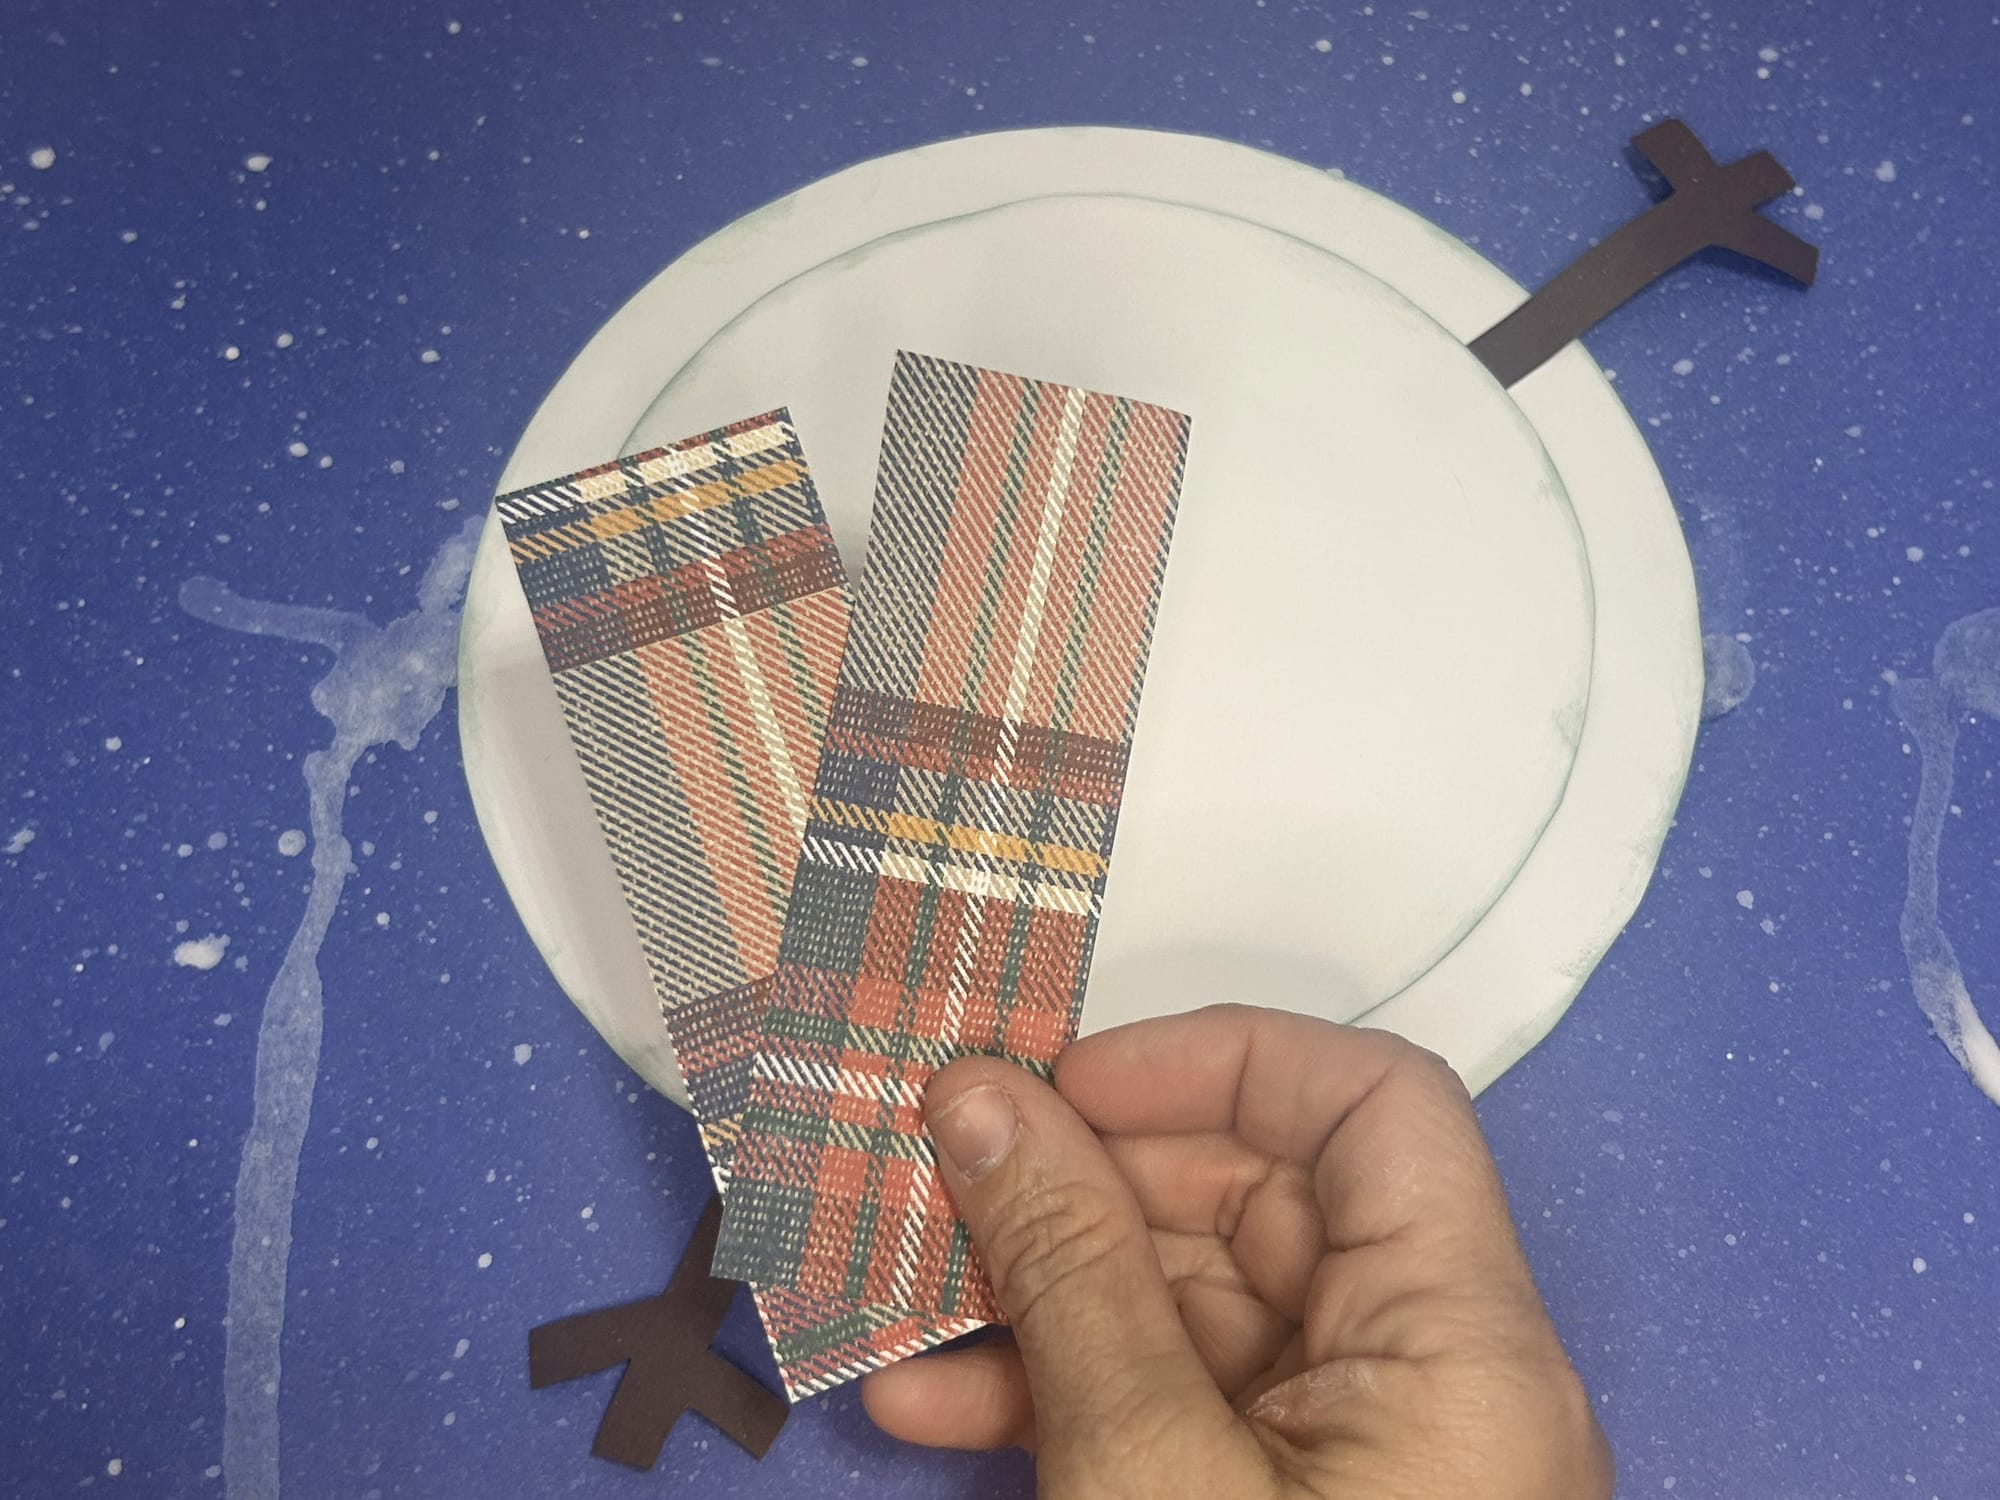
Add the second circle on top of the larger white circle. Again be sure to cover the ends of the arms. After you can create an easy scarf for your snowman. Use any color or pattern paper you would like. Simply cut 2 rectangular pieces and add on top of the second circle.
Next, add the top smallest circle to the top of the scarf.

Cute snowman with paper circles.
Step 7: Add Details to the Background
An optional step is to add some snow details. I added some snowflakes to my blue paper. I used a hot glue gun to add these snowflake buttons I had purchased last year at Hobby Lobby. You can of course add some foam stickers, create some paper snowflakes or omit this part of the project.
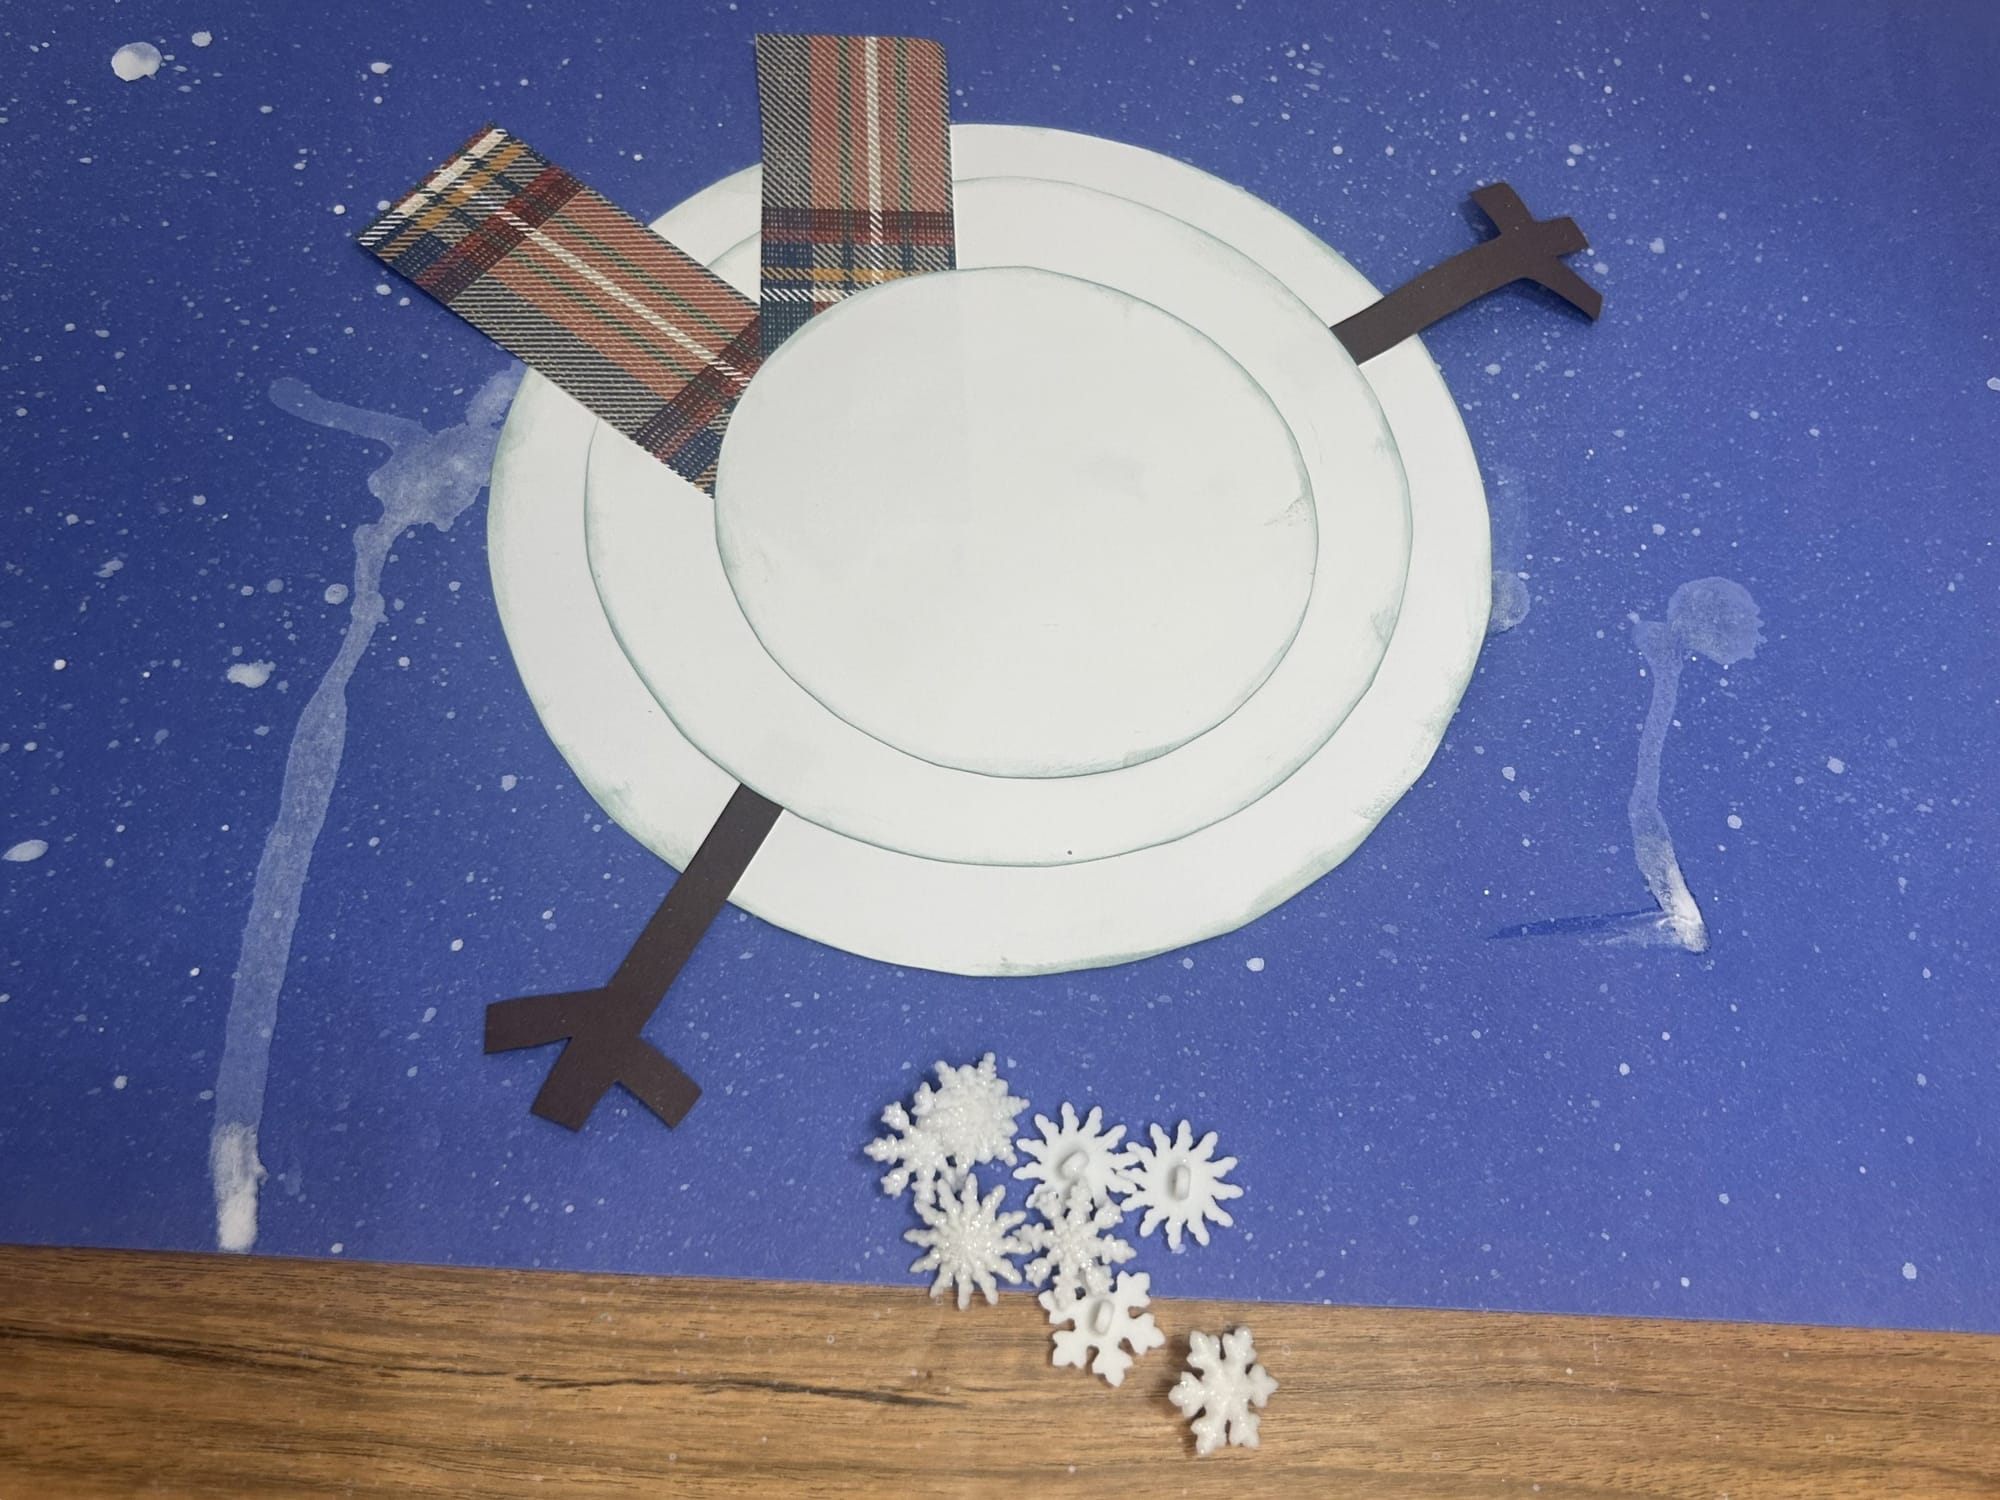
Add some snowflakes to the background.
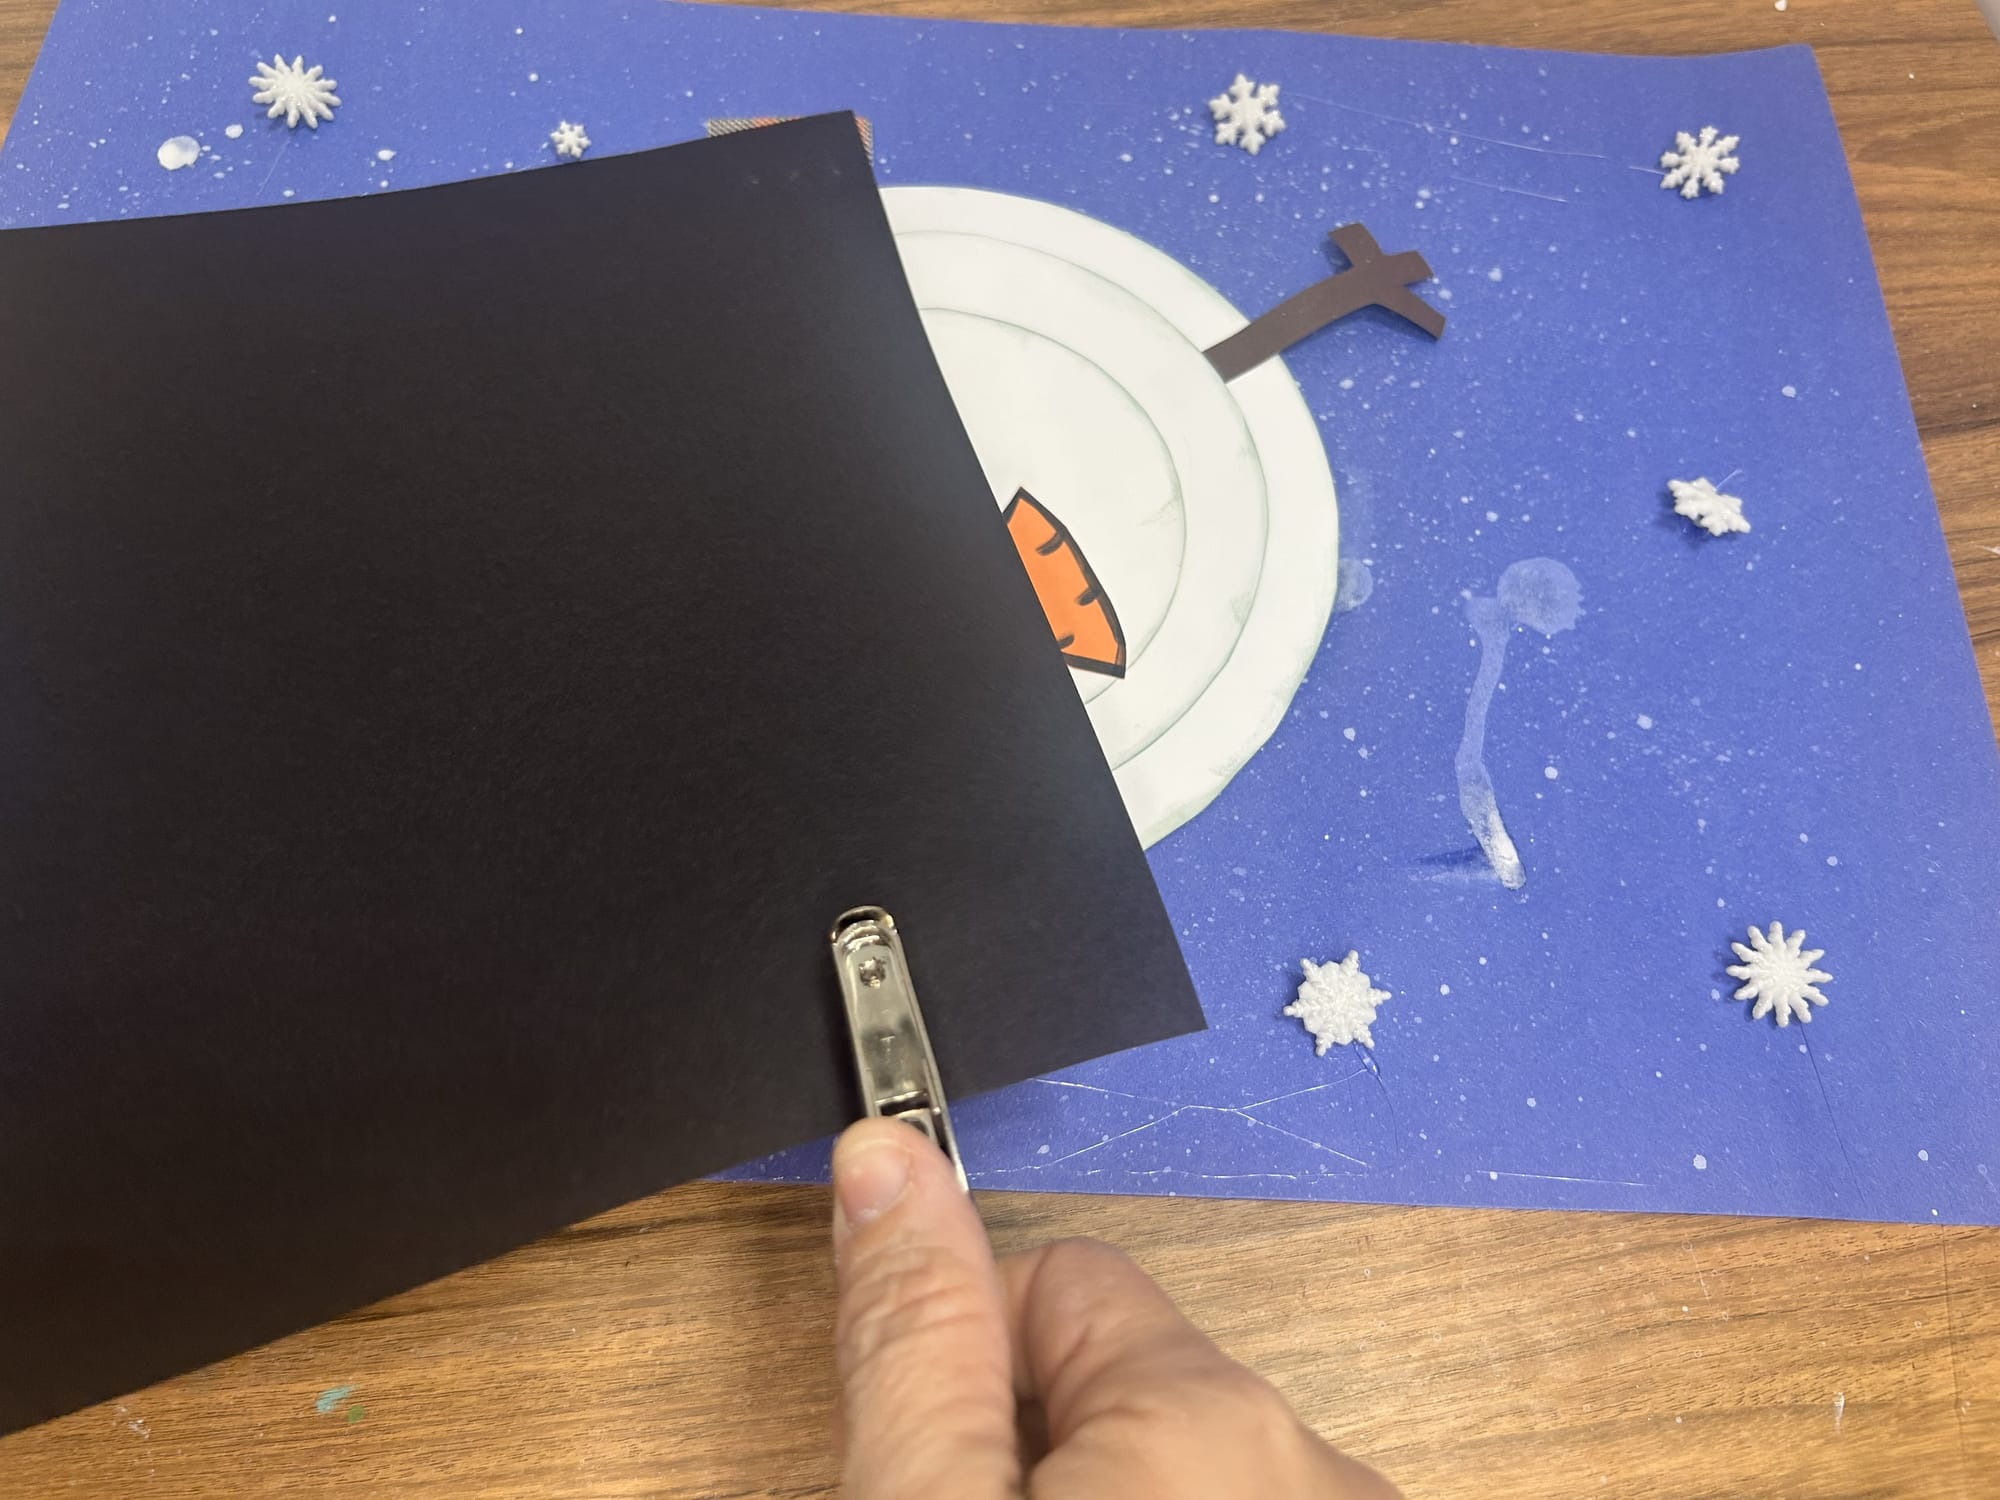
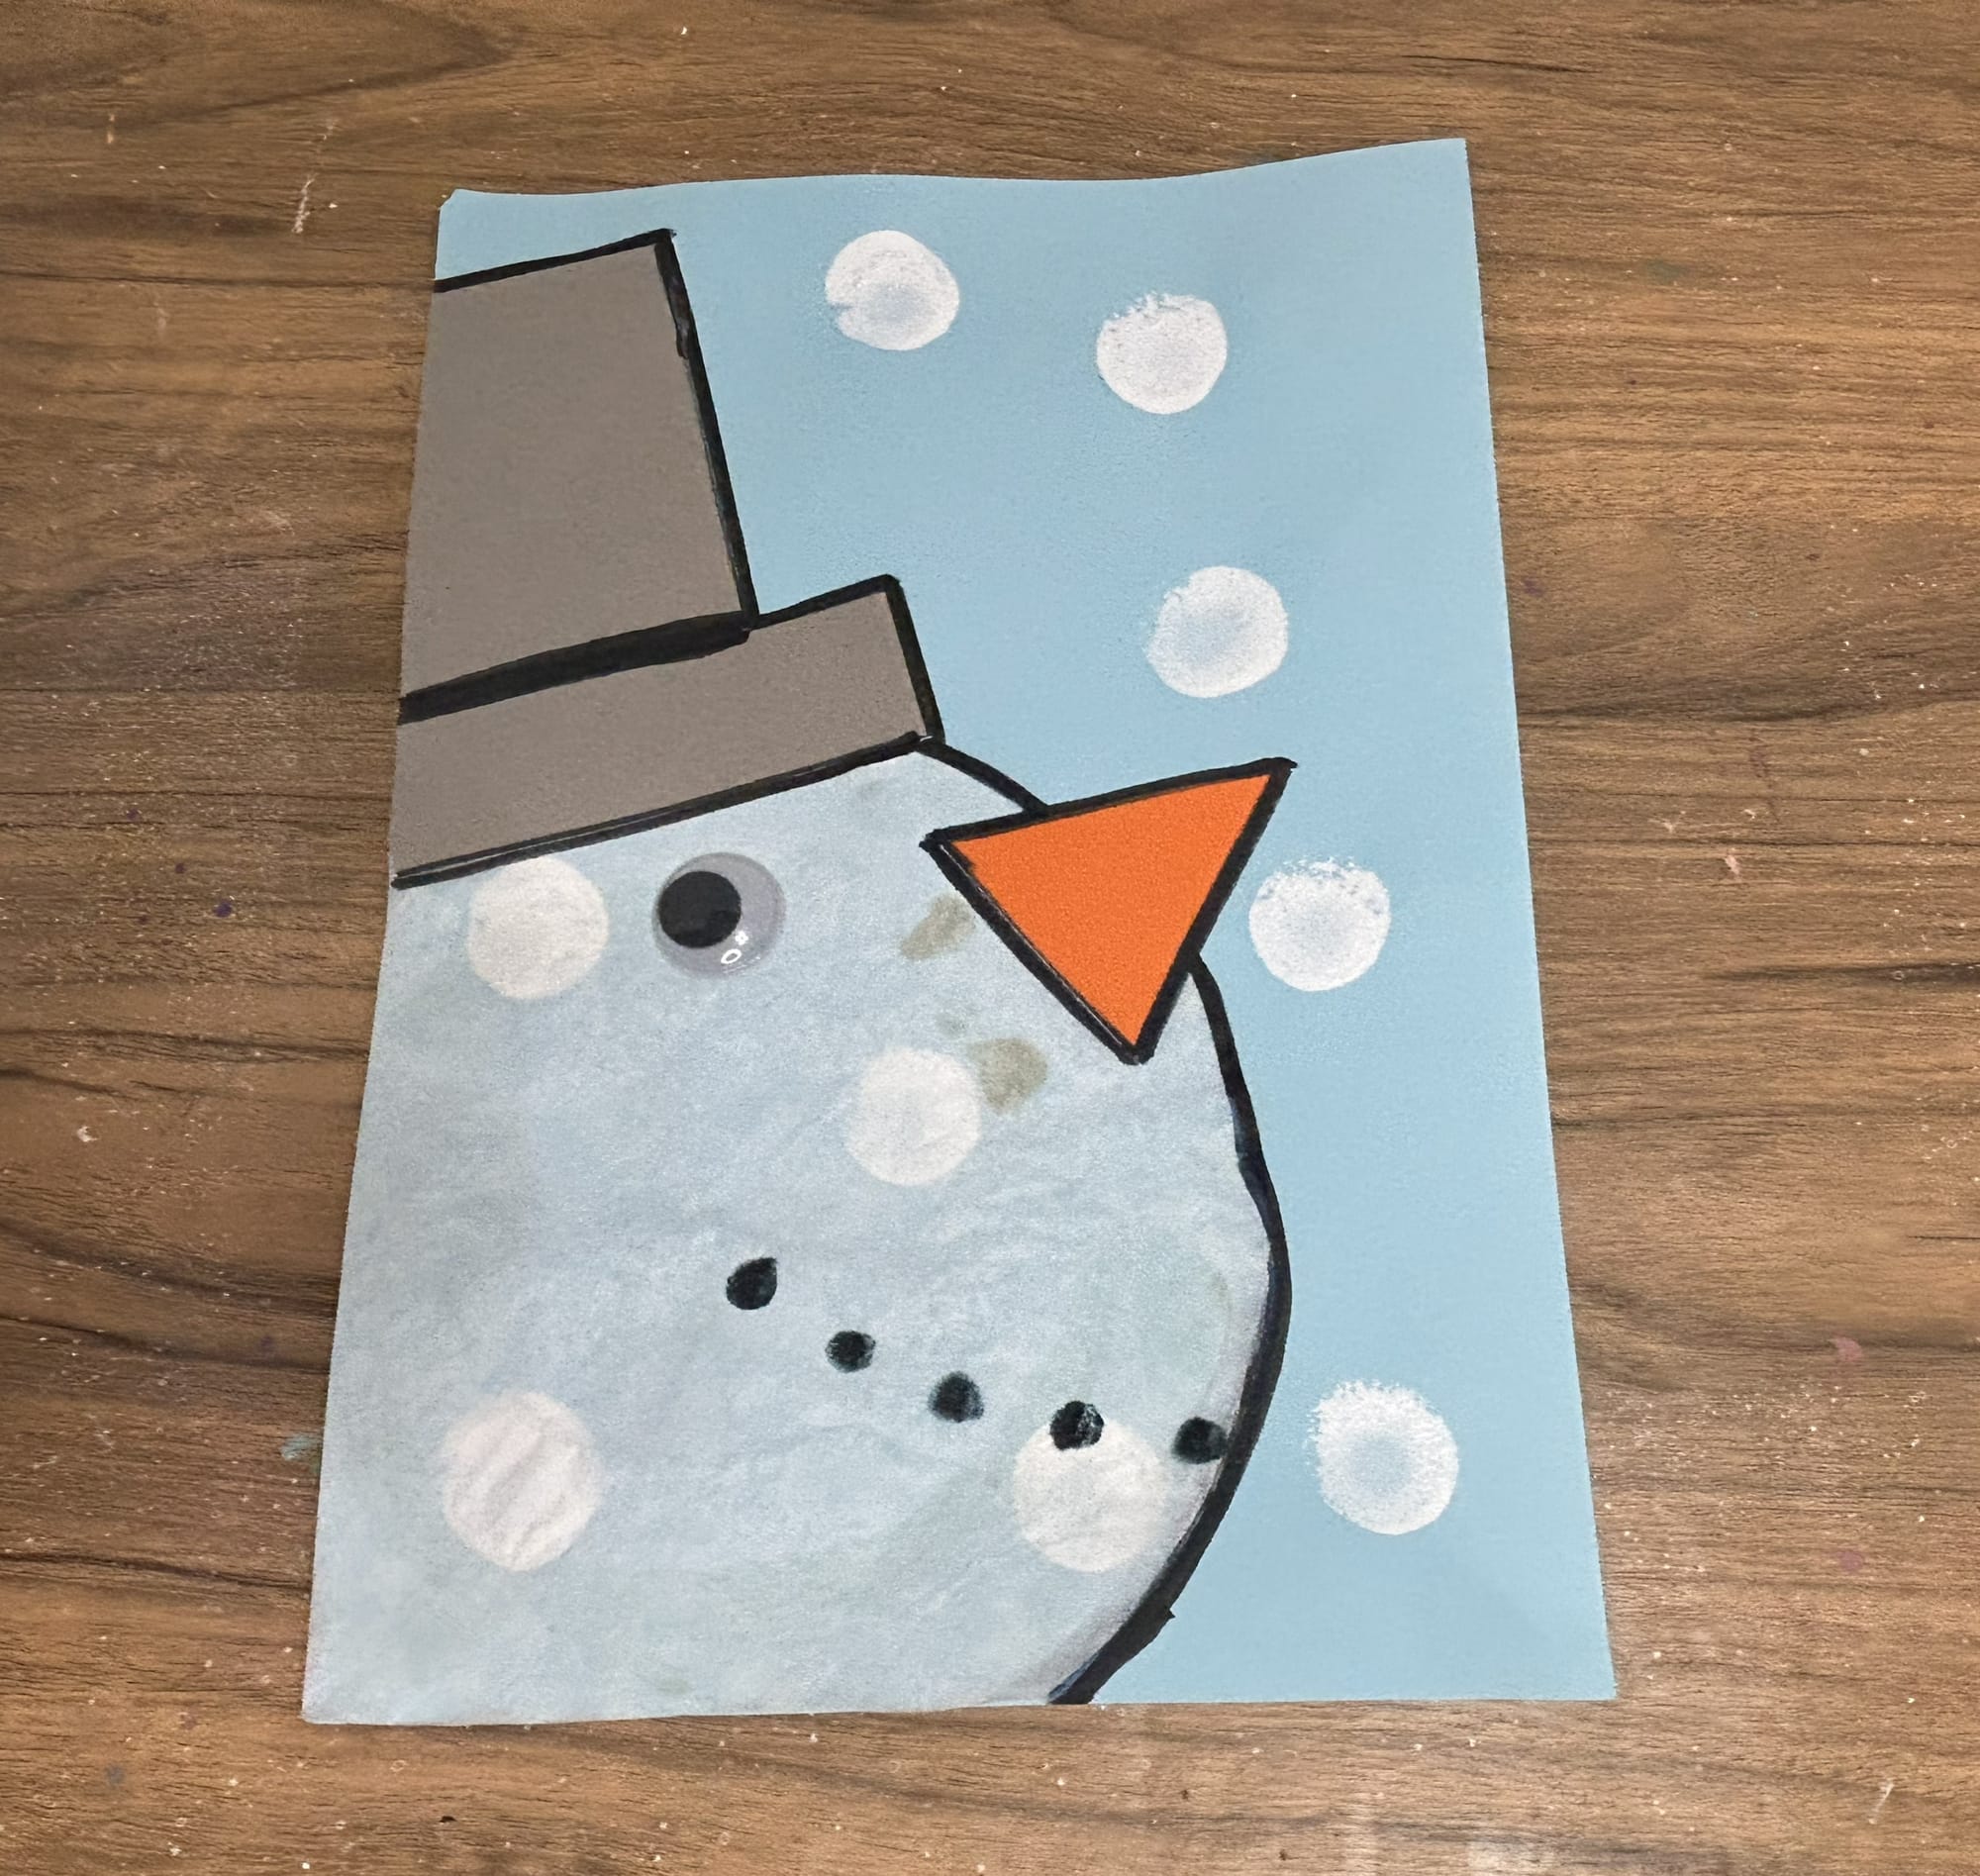
Step 8: Create the Snowman's Face
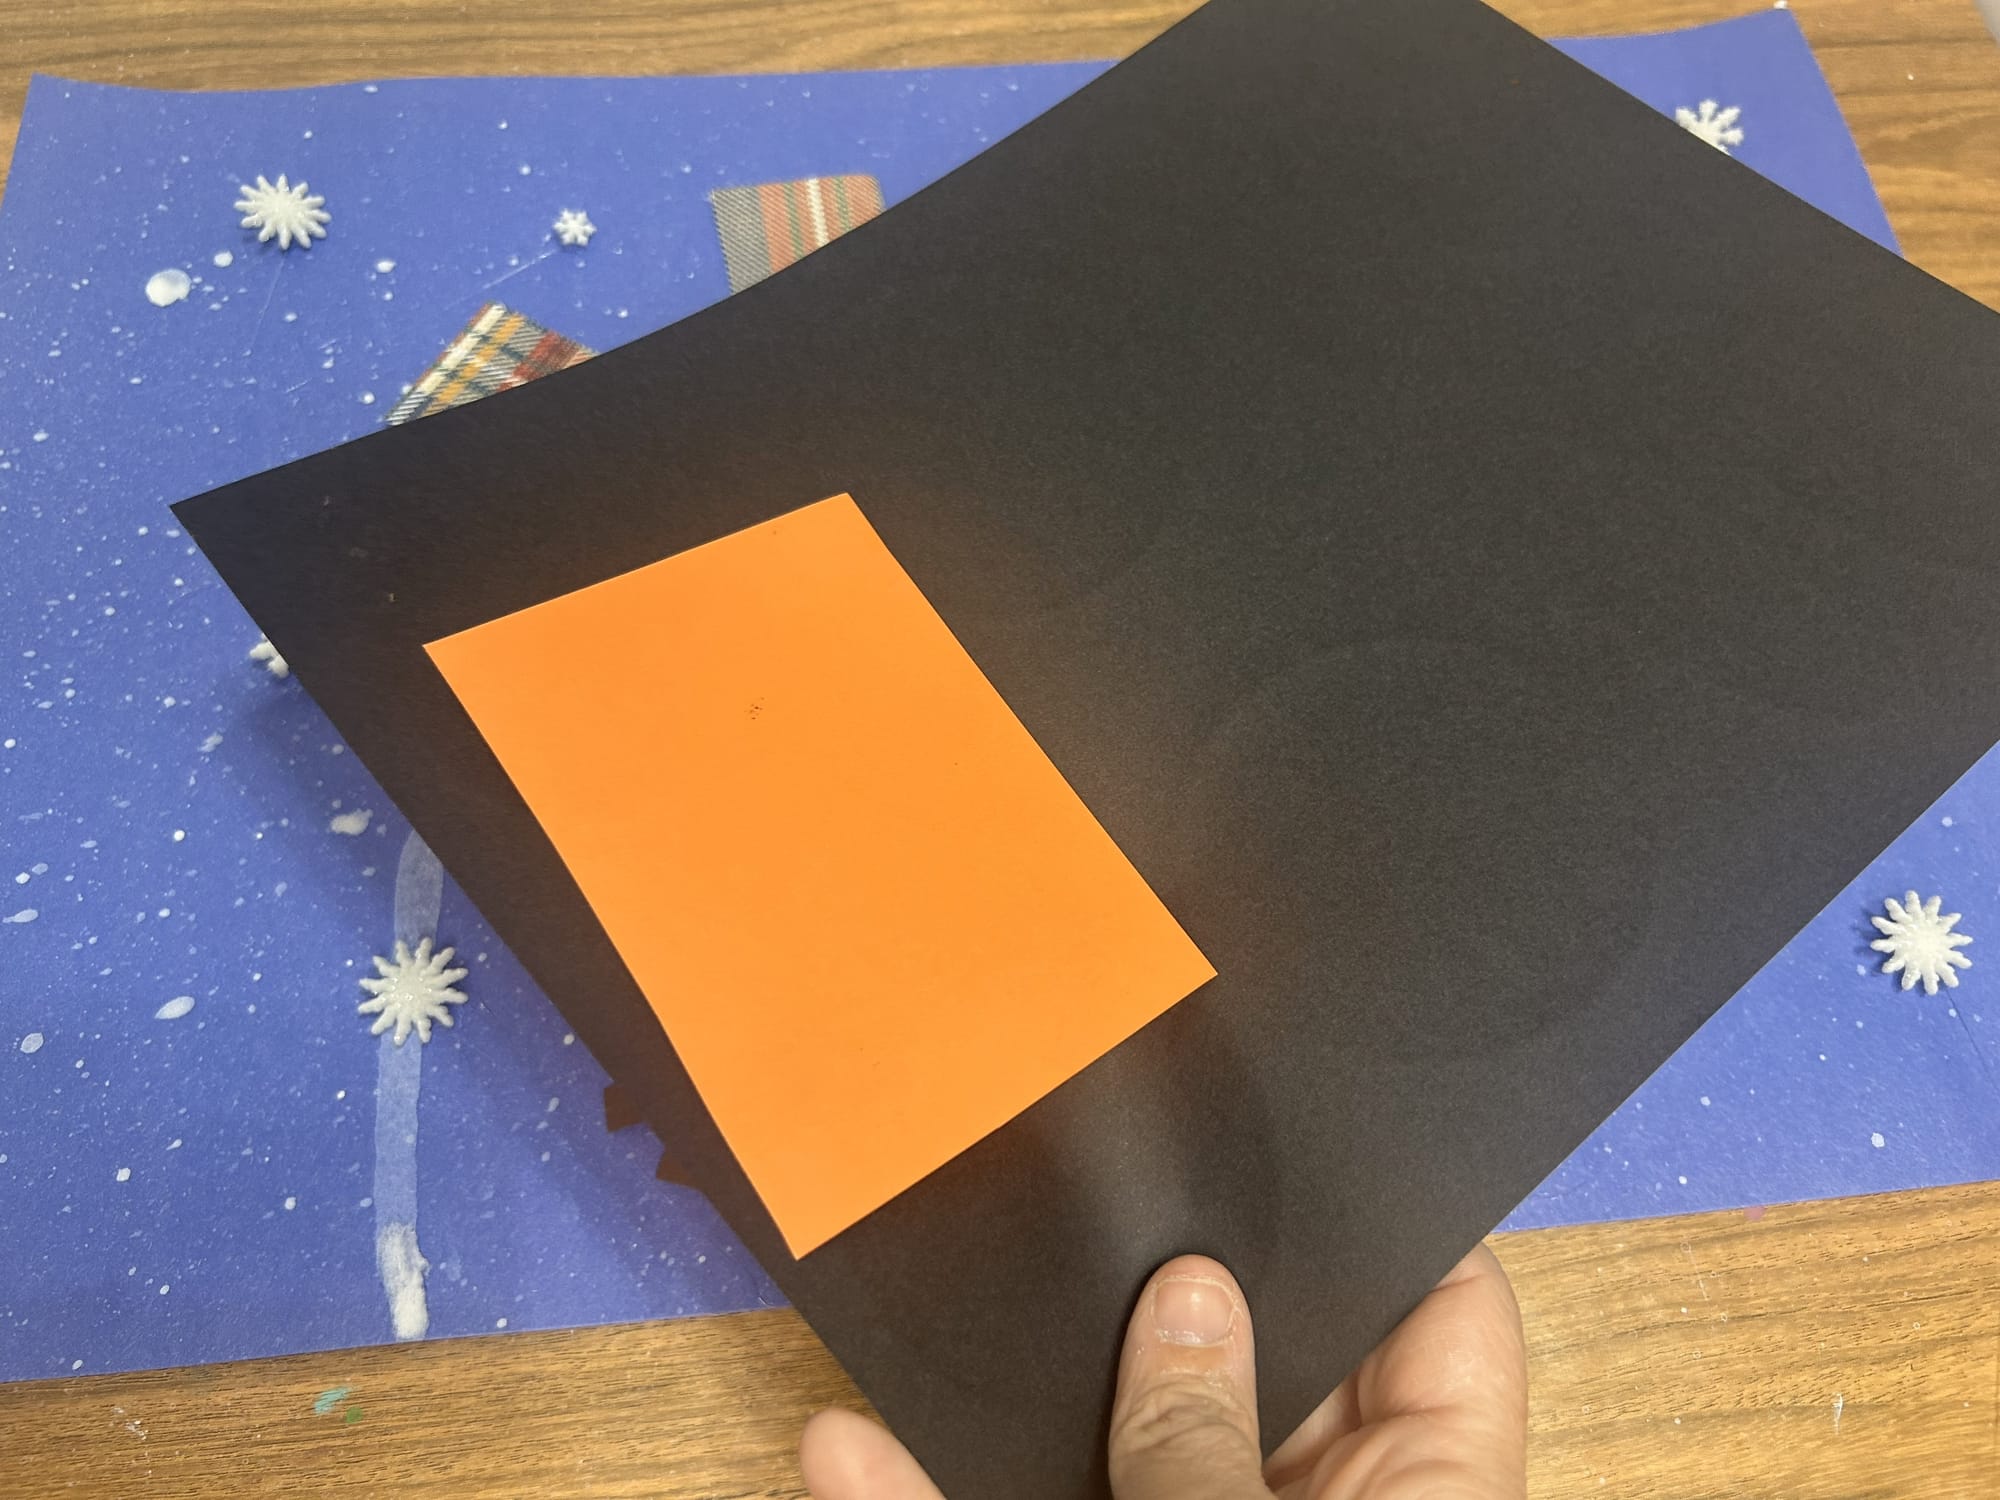
Use some scrap paper to add some details to the snowman's face. Use a small piece of orange paper to draw a simple triangle nose. I rounded mine and added some lines on the side. I thought this created a more realistic carrot. You could also add a simple triangle shape as well.
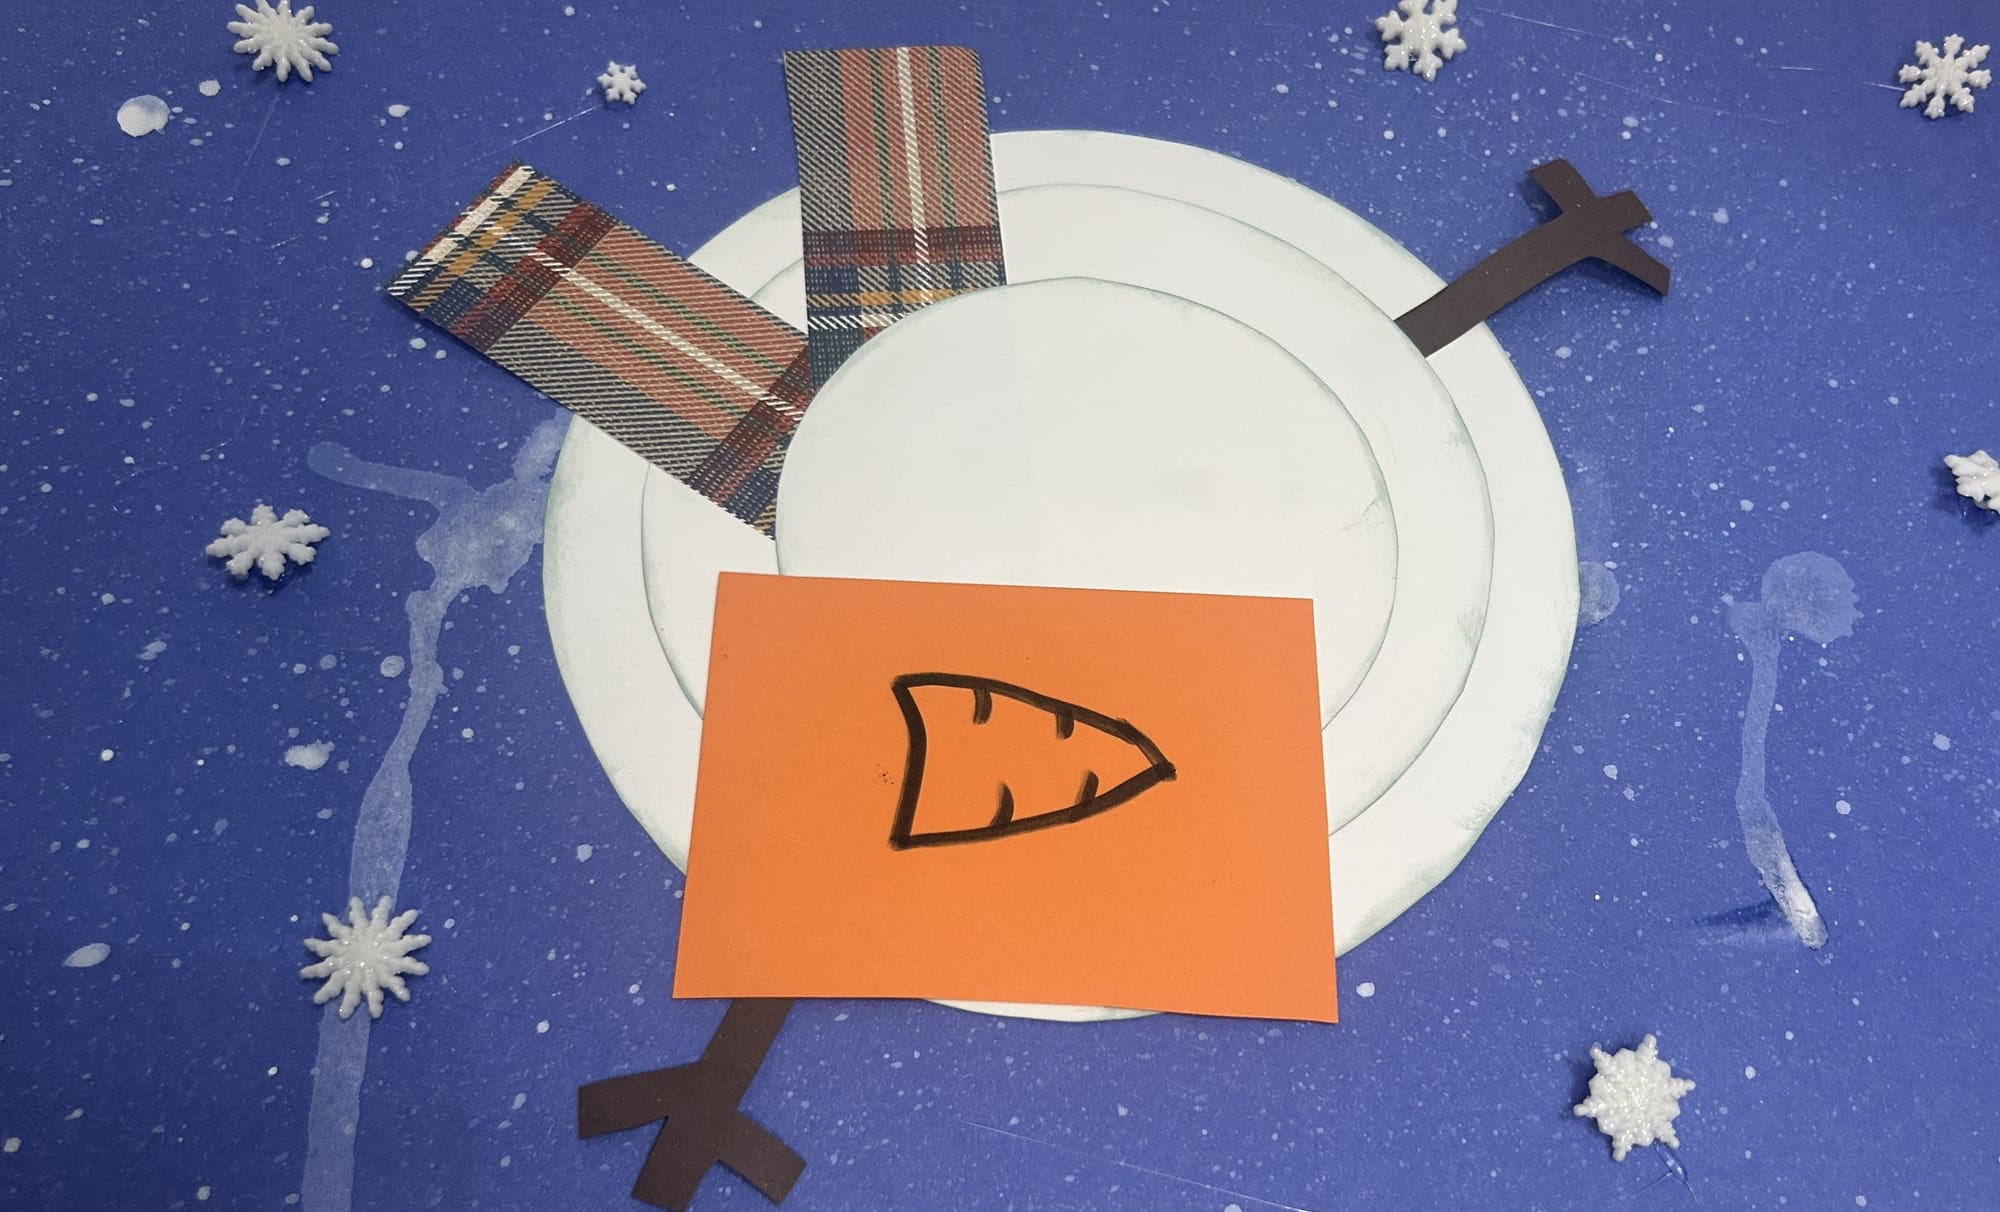

Draw and cut out a carrot nose for your snowman
To make the eyes and mouth, I used some scrap black paper. I created small circles using a handheld paper puncher. After I simply glue them in place and then added the nose in the middle.
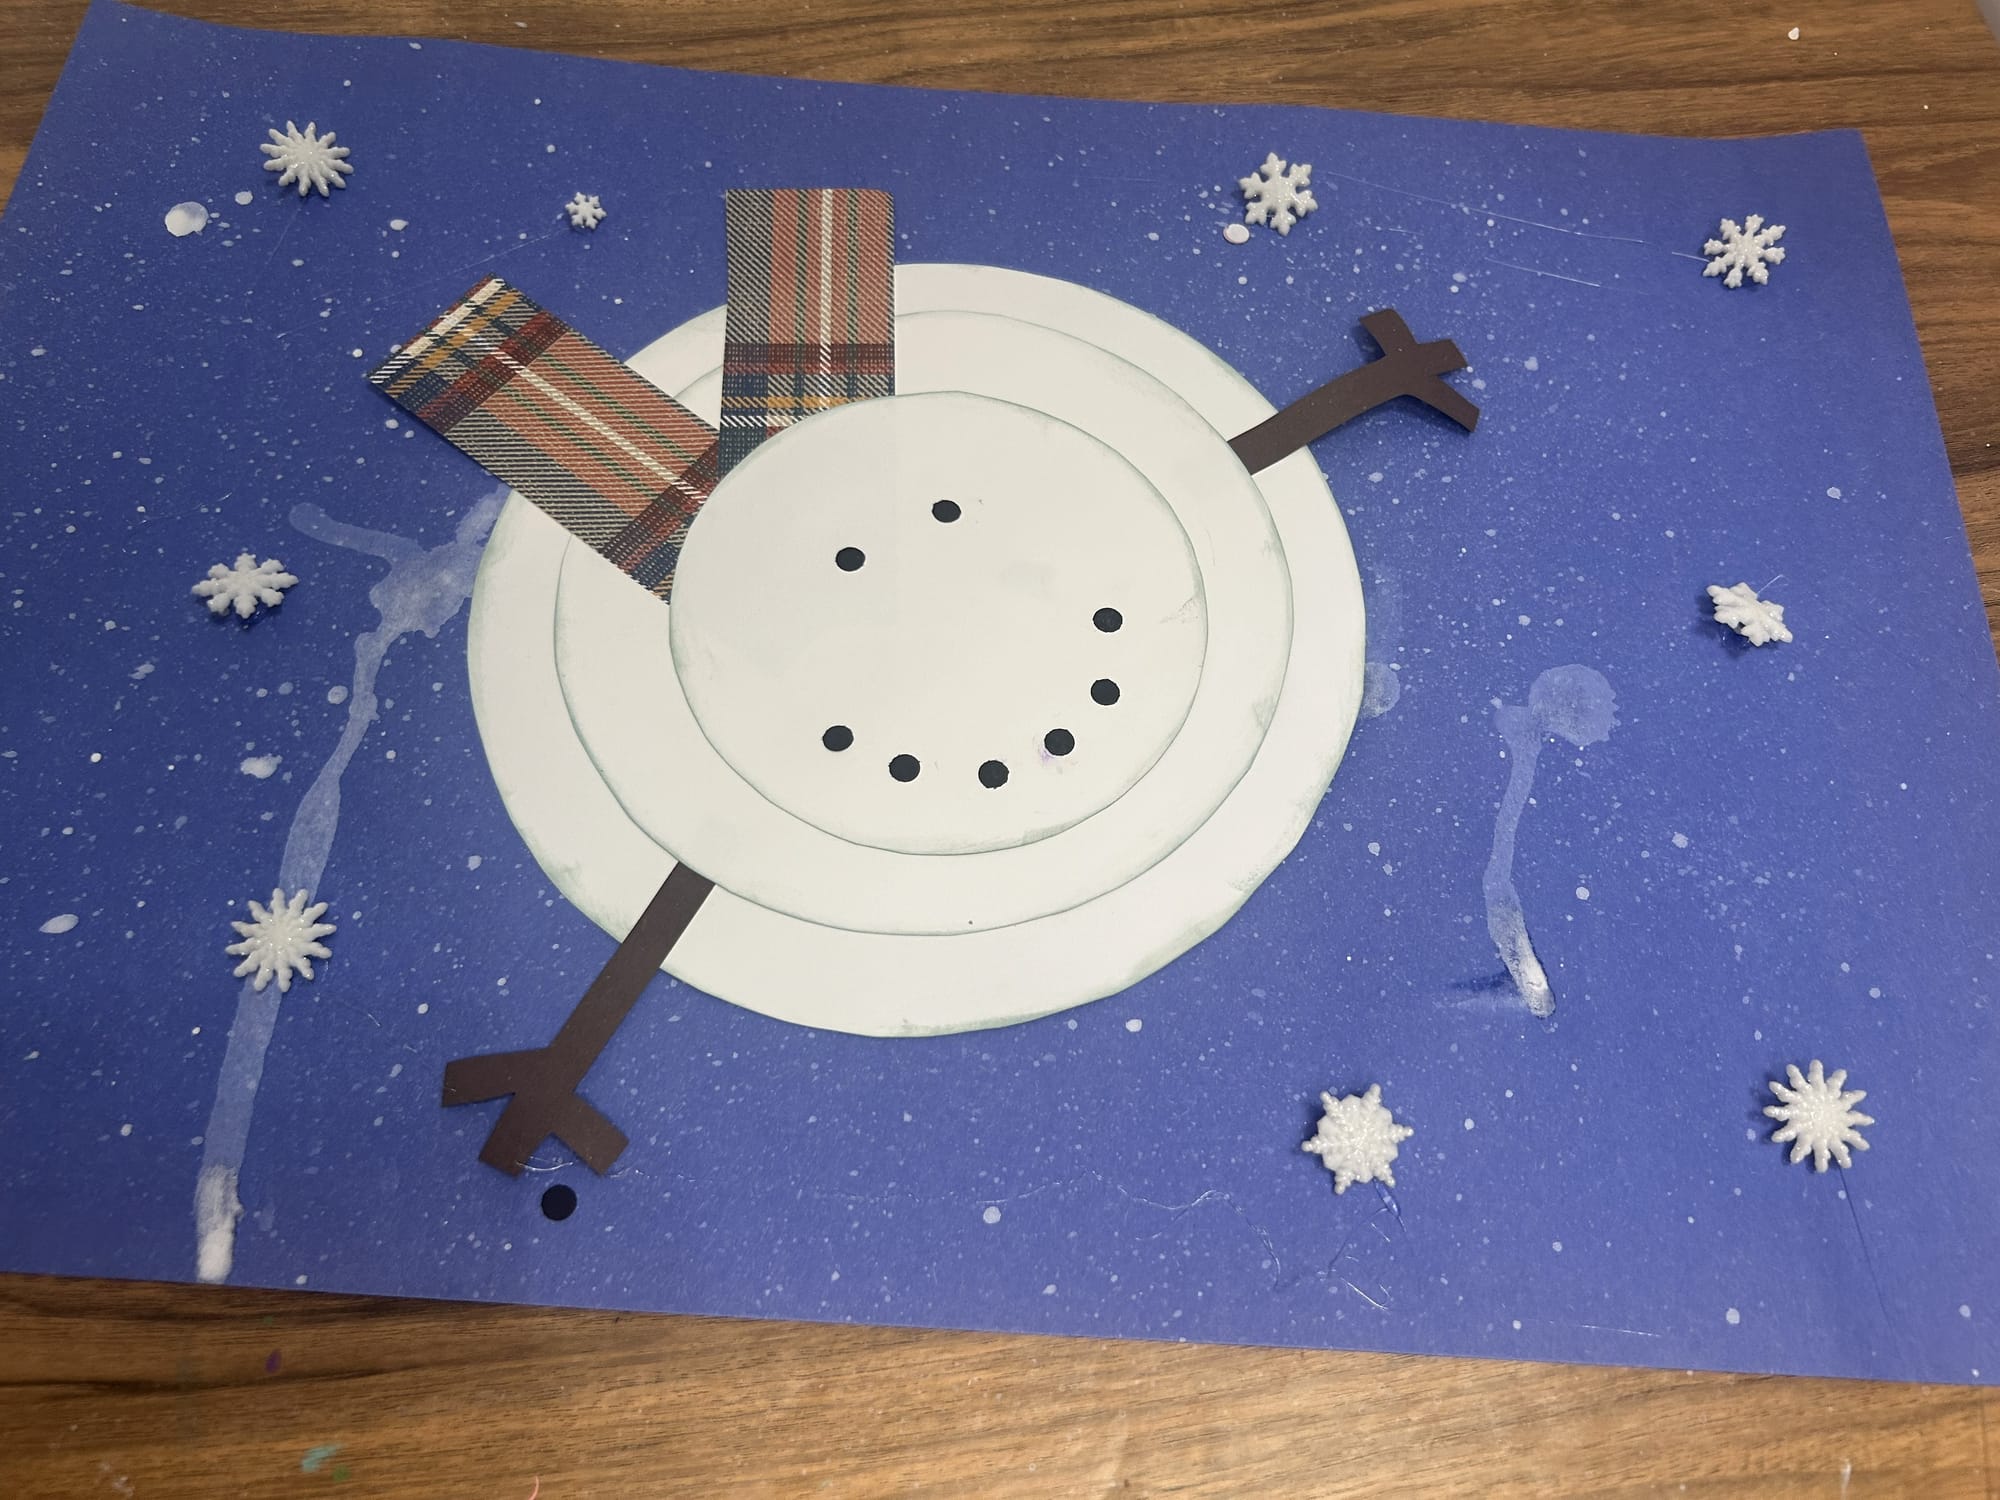
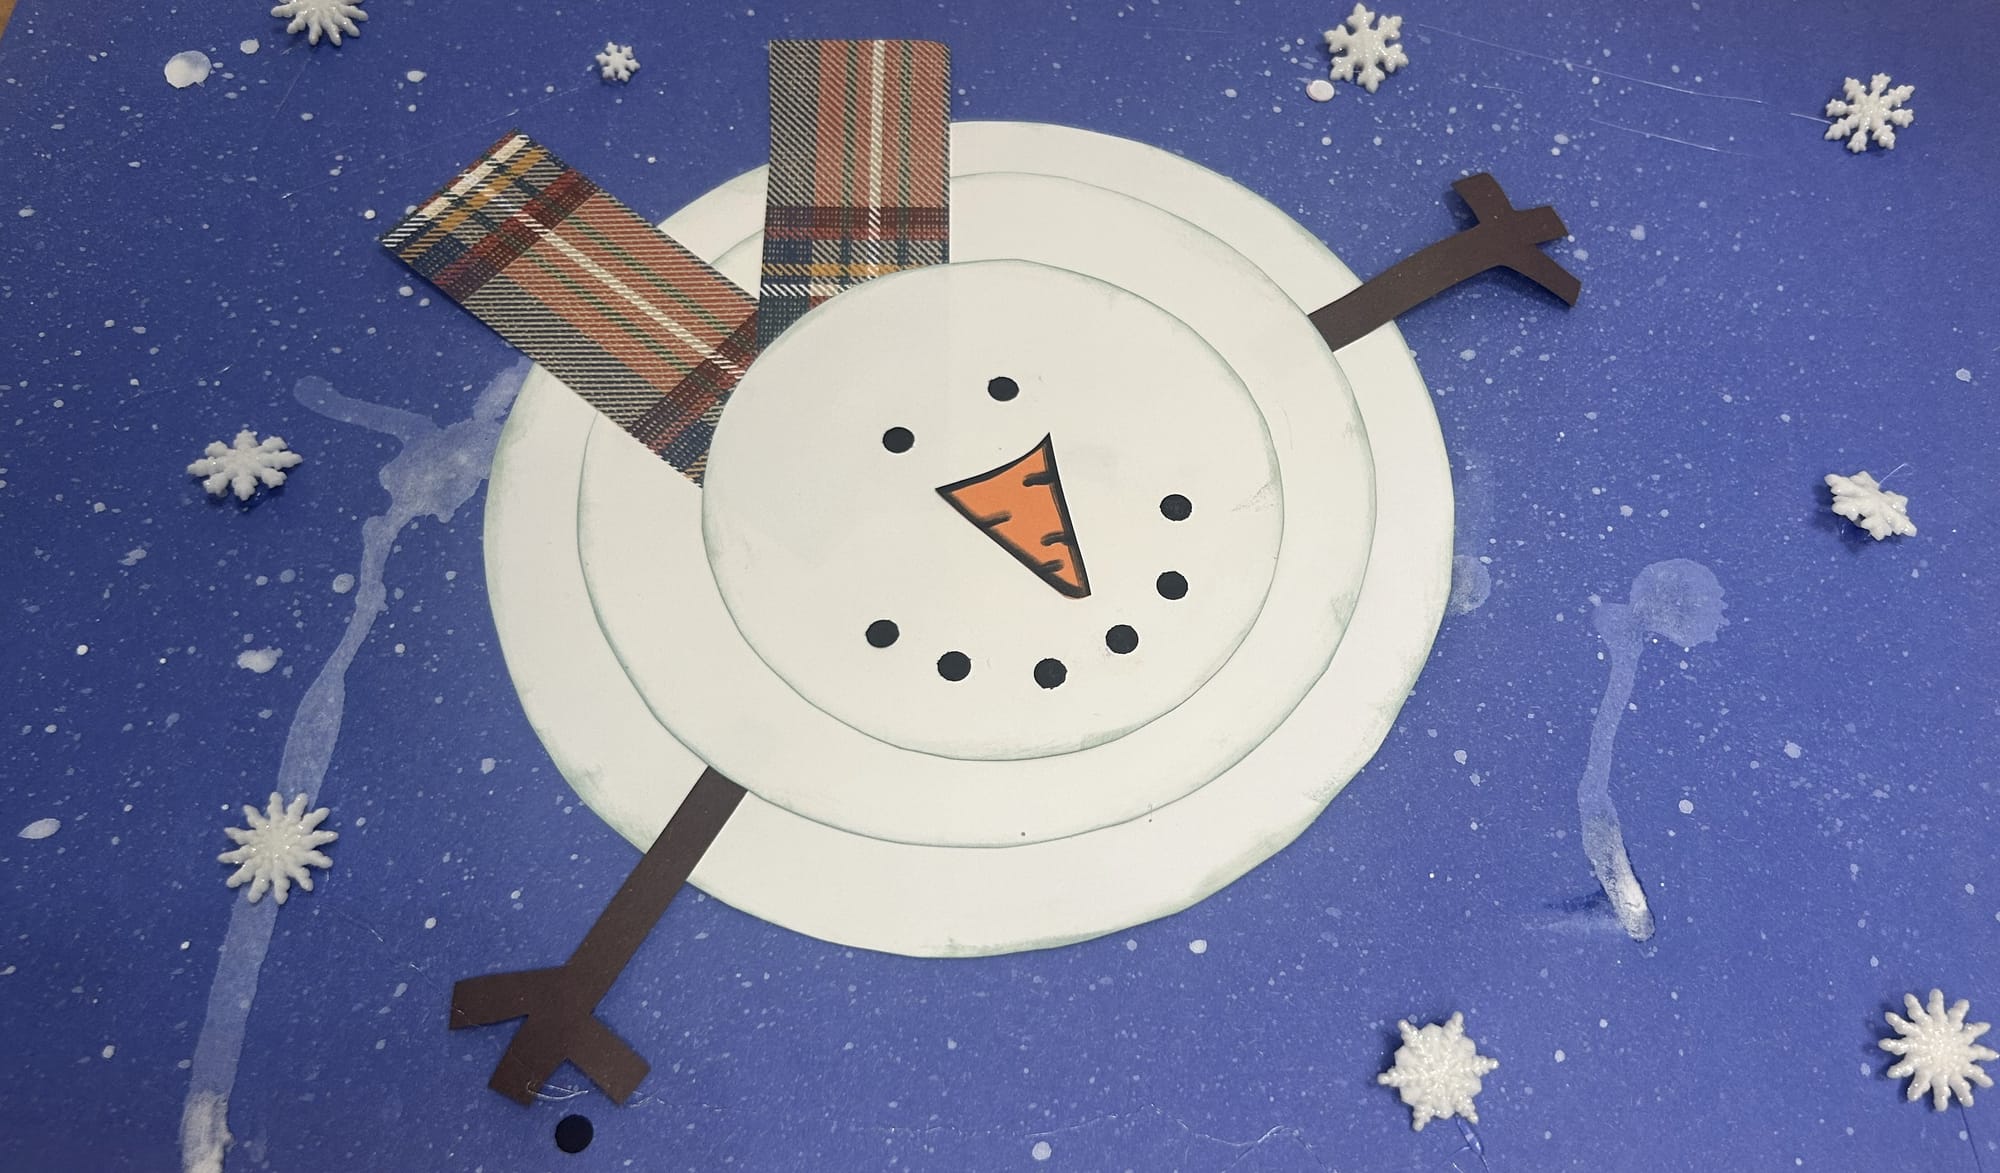
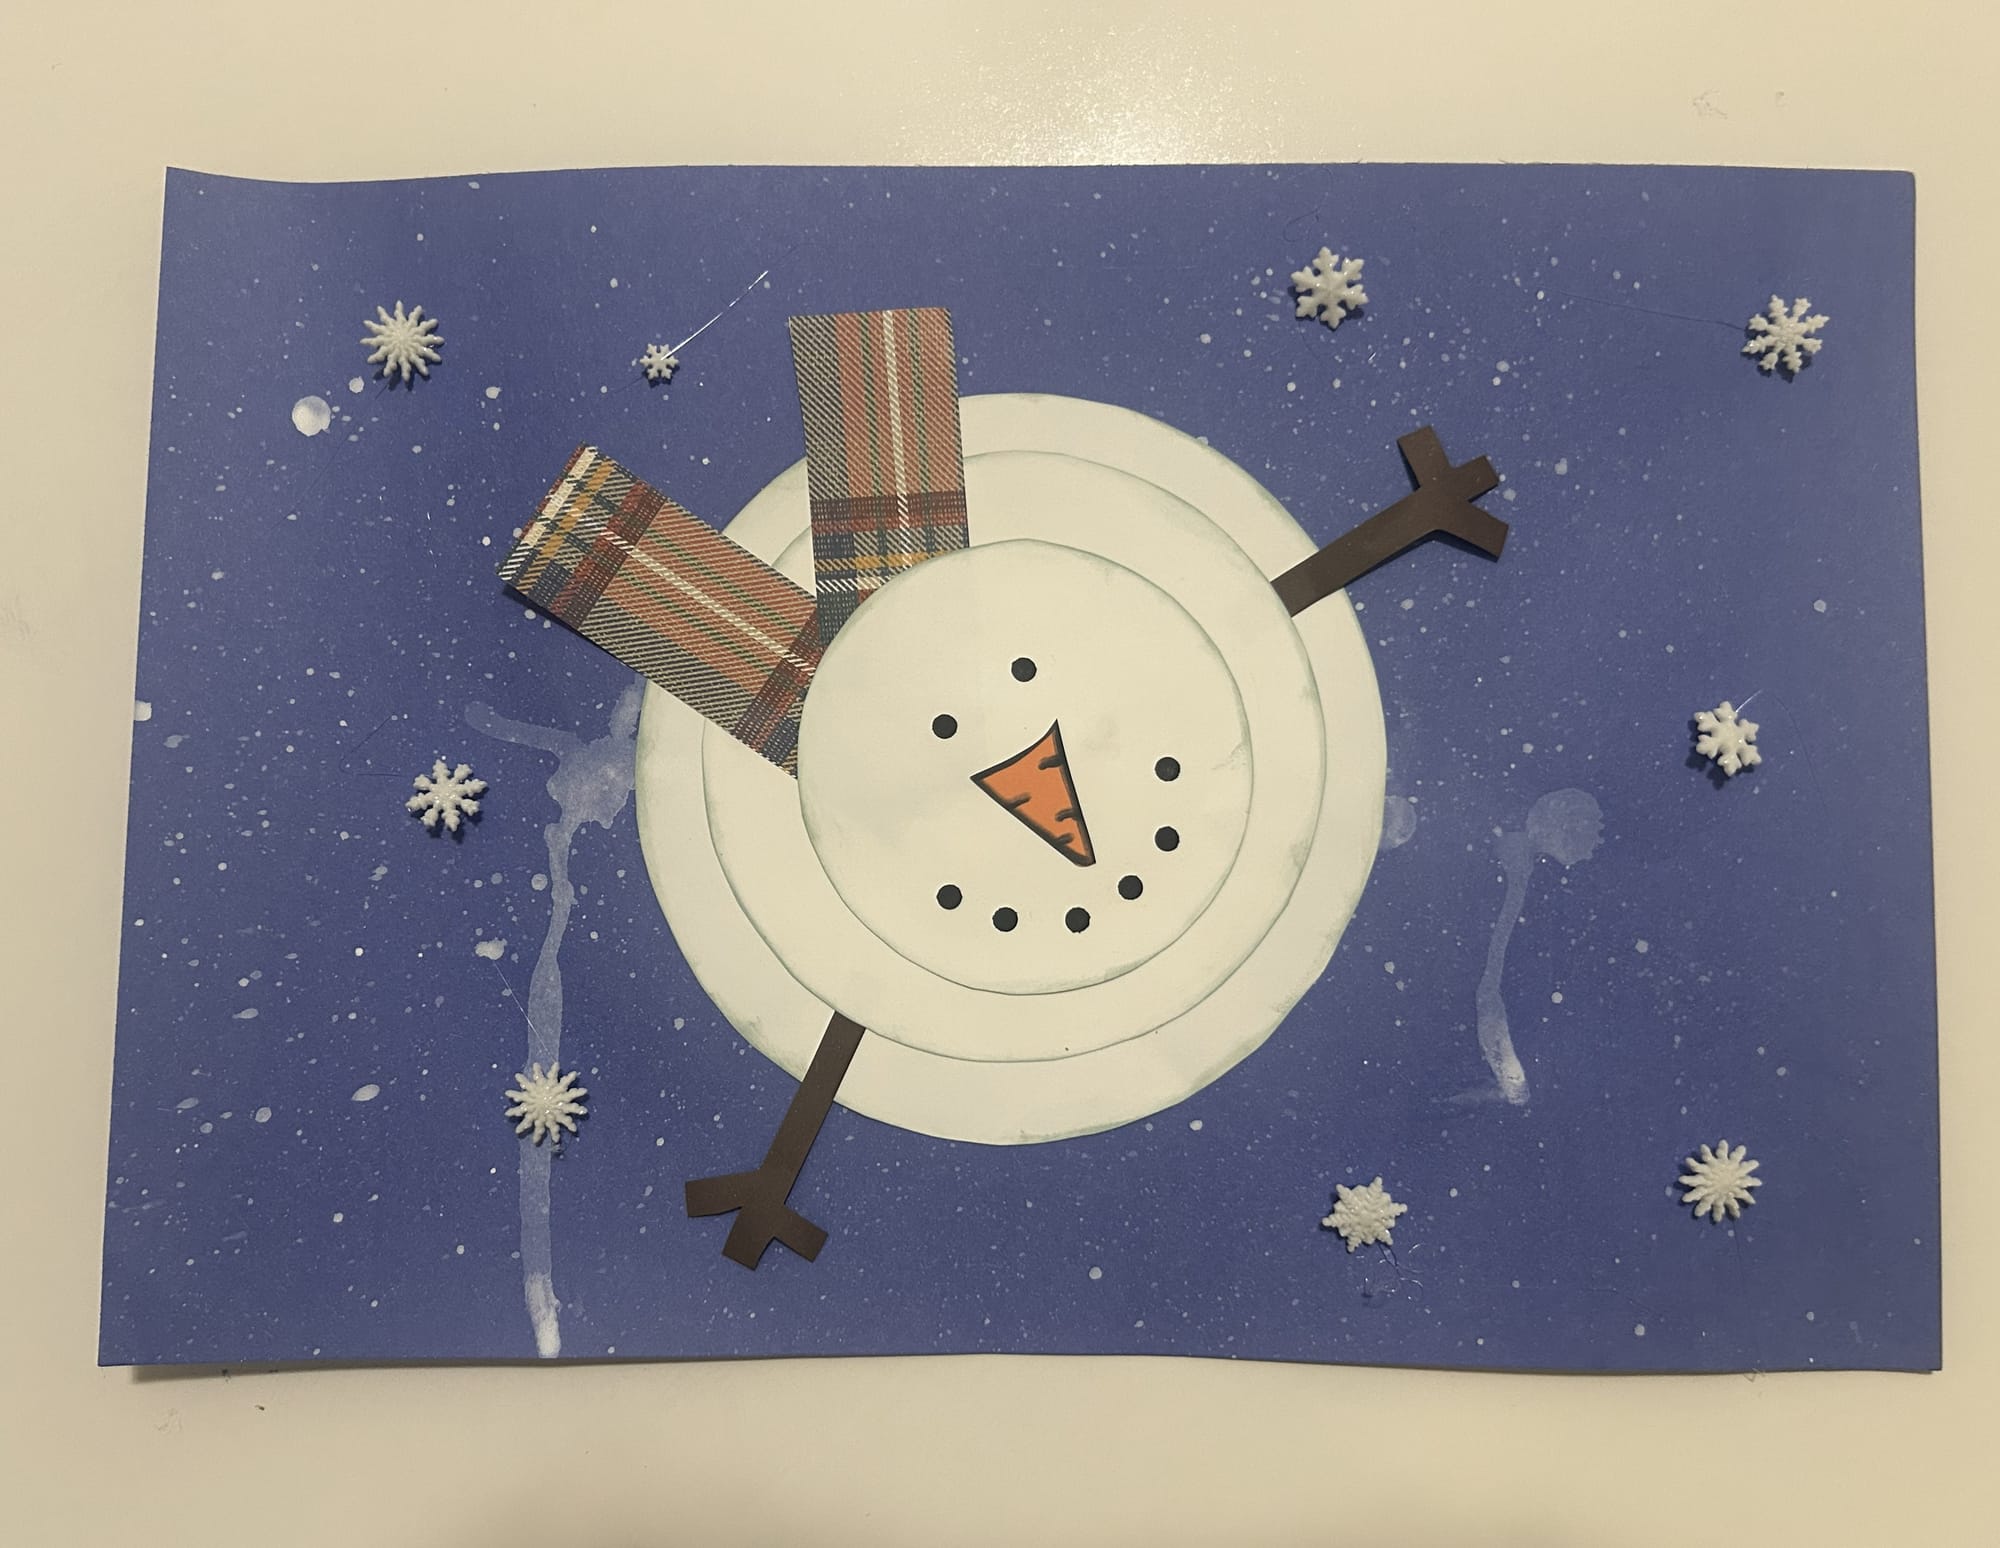
Add details with scrap paper to add details to the snowman.
These details can also be added with a marker or crayon as well.
Tips & Variations
- Use cotton balls or torn paper for a textured snow look
- Pre-cut circles for younger children
- Let kids practice cutting skills by cutting their own shapes
- Add the child’s name or winter words to the snowman
- Turn it into a shape attributes lesson by naming circle sizes
Learning Benefits & Extensions
This stacked snowman craft supports early learning in several ways:
✂️ Fine Motor Skills
Cutting, gluing, and stacking shapes help strengthen hand-eye coordination and motor control.
🔺 Shape Recognition
Kids identify circles and understand size relationships (big, medium, small).
🎨 Creative Expression
Children make choices about colors, accessories, and expressions.
🧠 Extension Ideas
- Count the snowman’s buttons together
- Write a short snowman story or name the snowman
- Pair with winter books or snowman-themed lessons
Looking for other Snowman crafts? Try some other crafts on my page!
Perfect For
- Winter classroom crafts
- Snowman-themed units
- Preschool and kindergarten art centers
- Homeschool winter activities
- Indoor snowy-day fun
Display Ideas
- Create a stacked snowman bulletin board
- Line them up on a classroom wall for a winter gallery
- Send home as a winter keepsake
Final Thoughts
This easy stacked snowman craft for kids is a simple and engaging winter activity that combines creativity with learning. With just a few supplies, kids can create an adorable snowman they’ll be proud to display.
If you try this craft, I’d love to see it! Share your creations or save this project for later.
- “Leave a comment with your favorite color combo!”
- “Tag #craftymamabirdnc on Instagram so I can see your snowman!”
If you’re looking for a low-prep, high-impact winter craft, this stacked snowman project is a perfect choice ☃️❄️