Easter DIY Bunny Painting
I saw a video of this bunny painting and decided to try it out for myself. Do you ever see someone else do something and think I can do that? I had this video tutorial saved for over a year and decided to give it a go. Let's just say things did not go as planned.
To get started I gathered a 11x14 canvas and some acrylic paints. You will also need a paintbrush and a sponge.
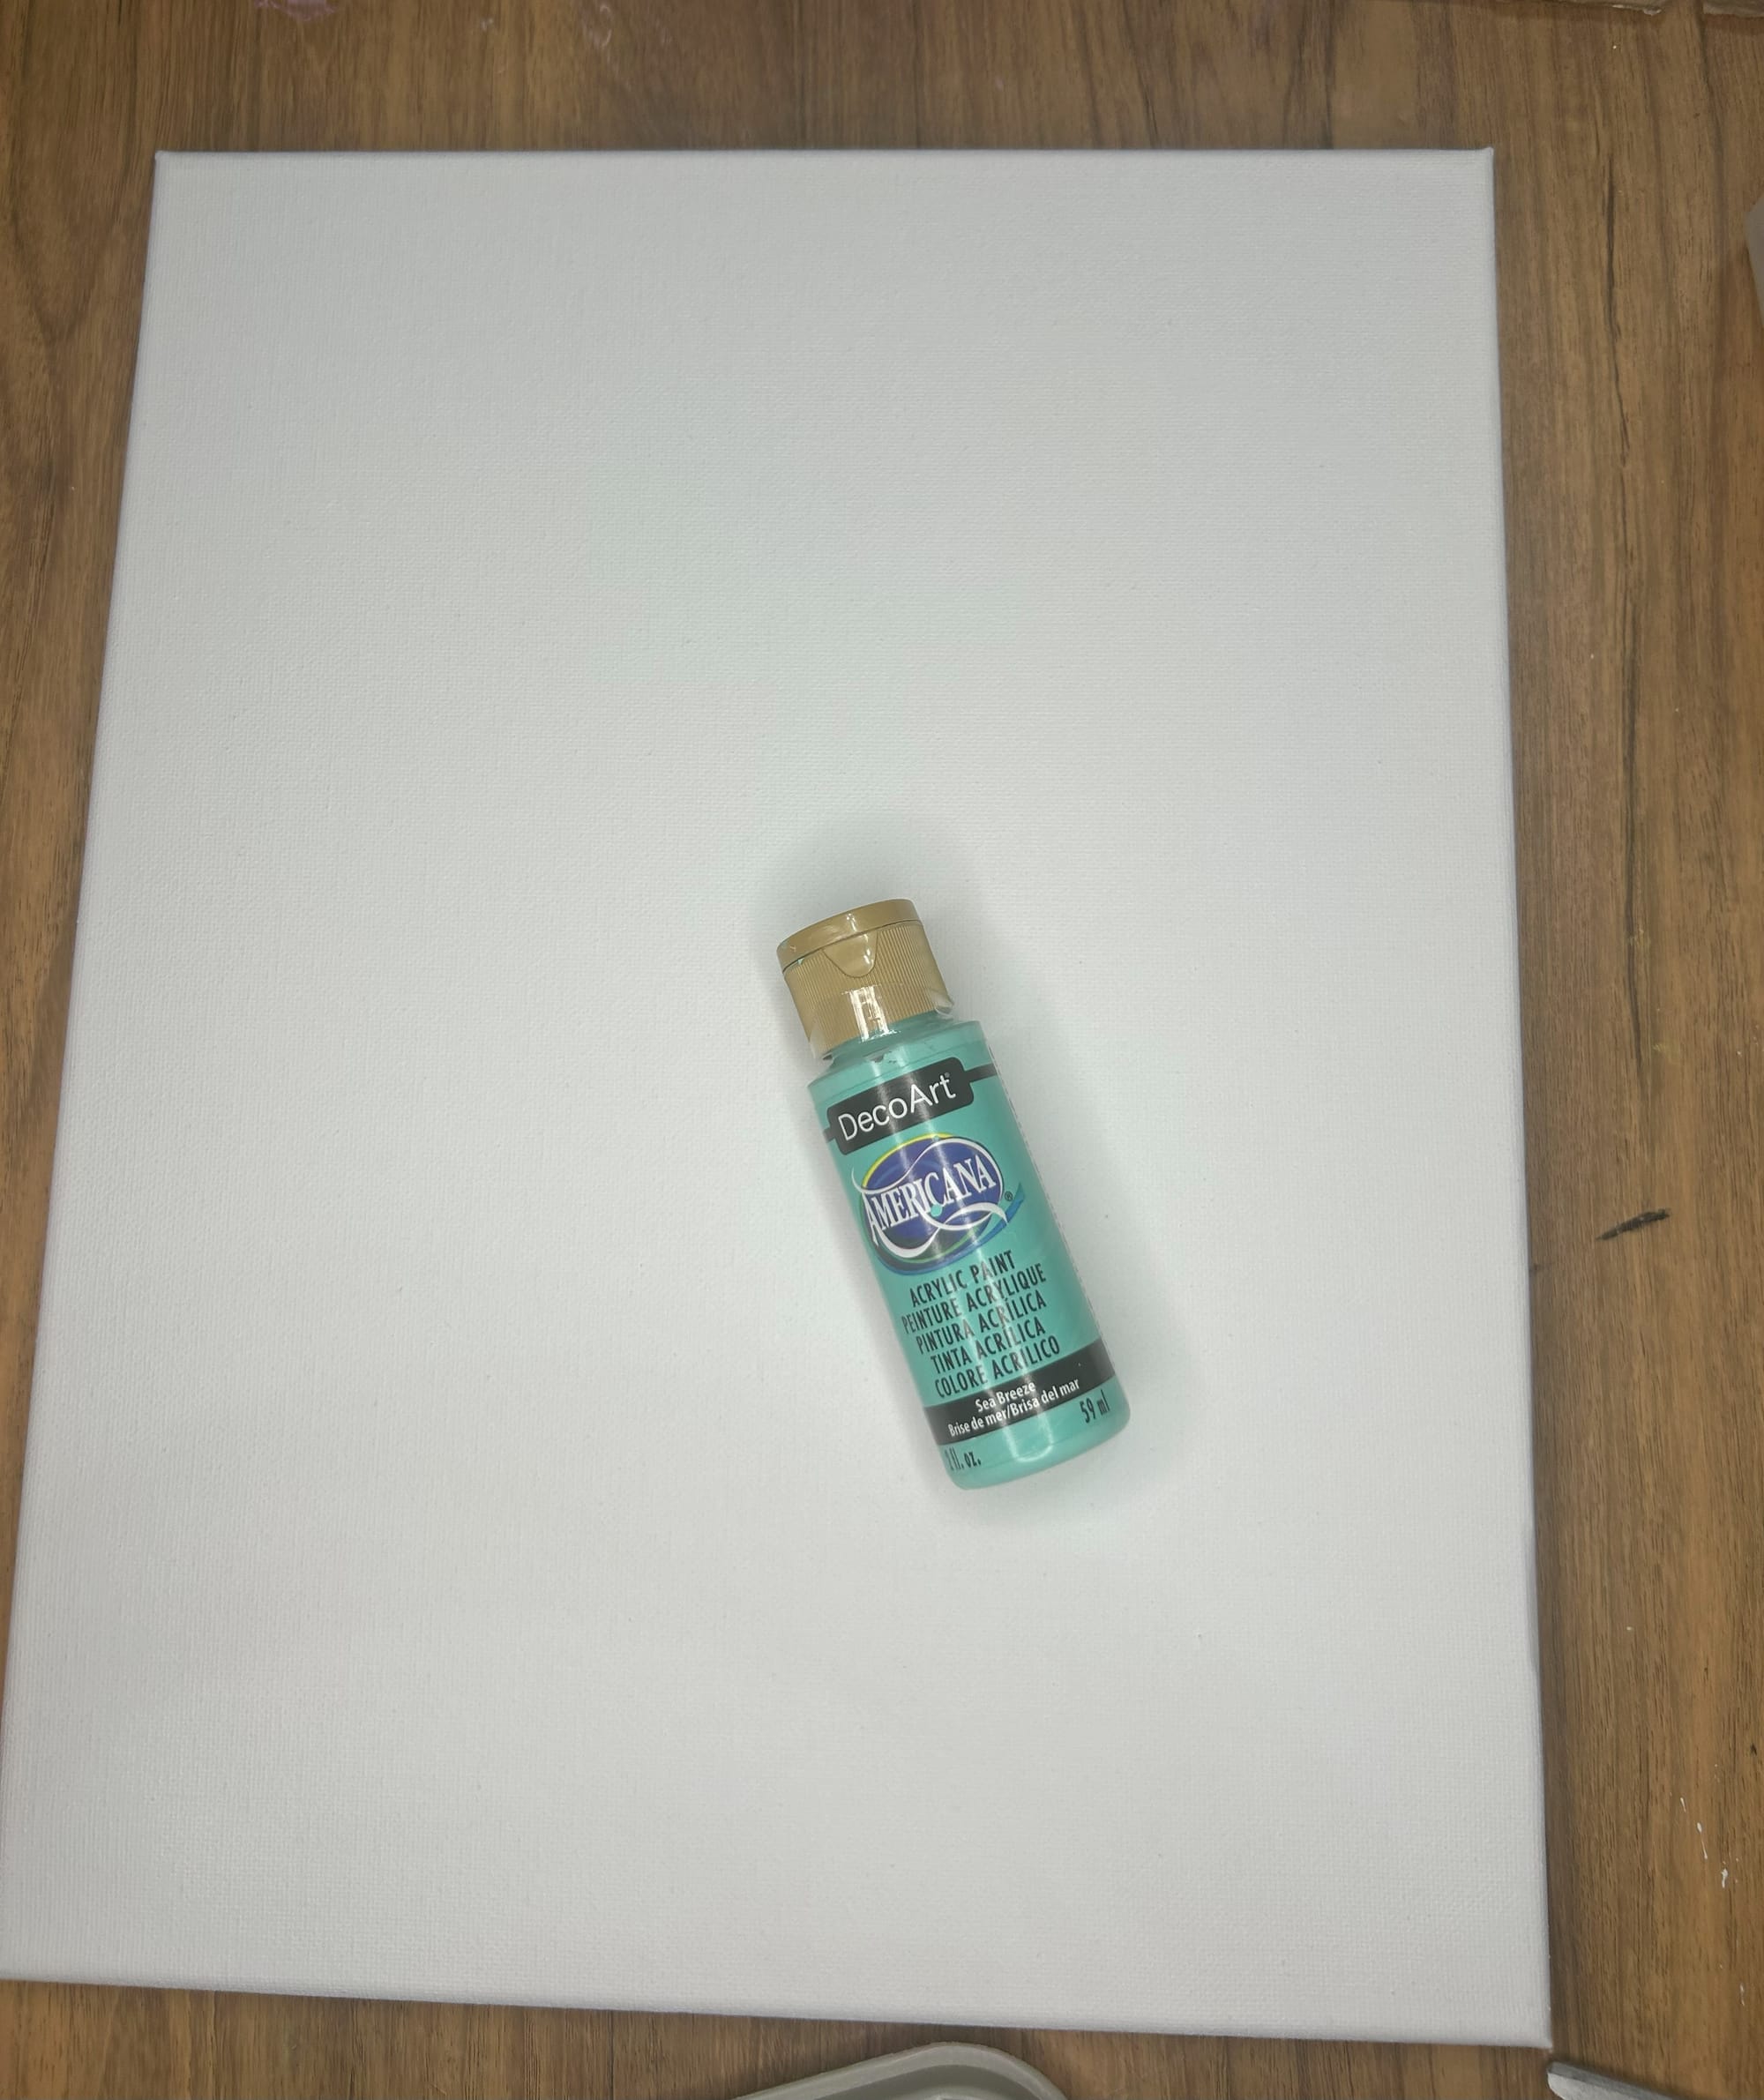
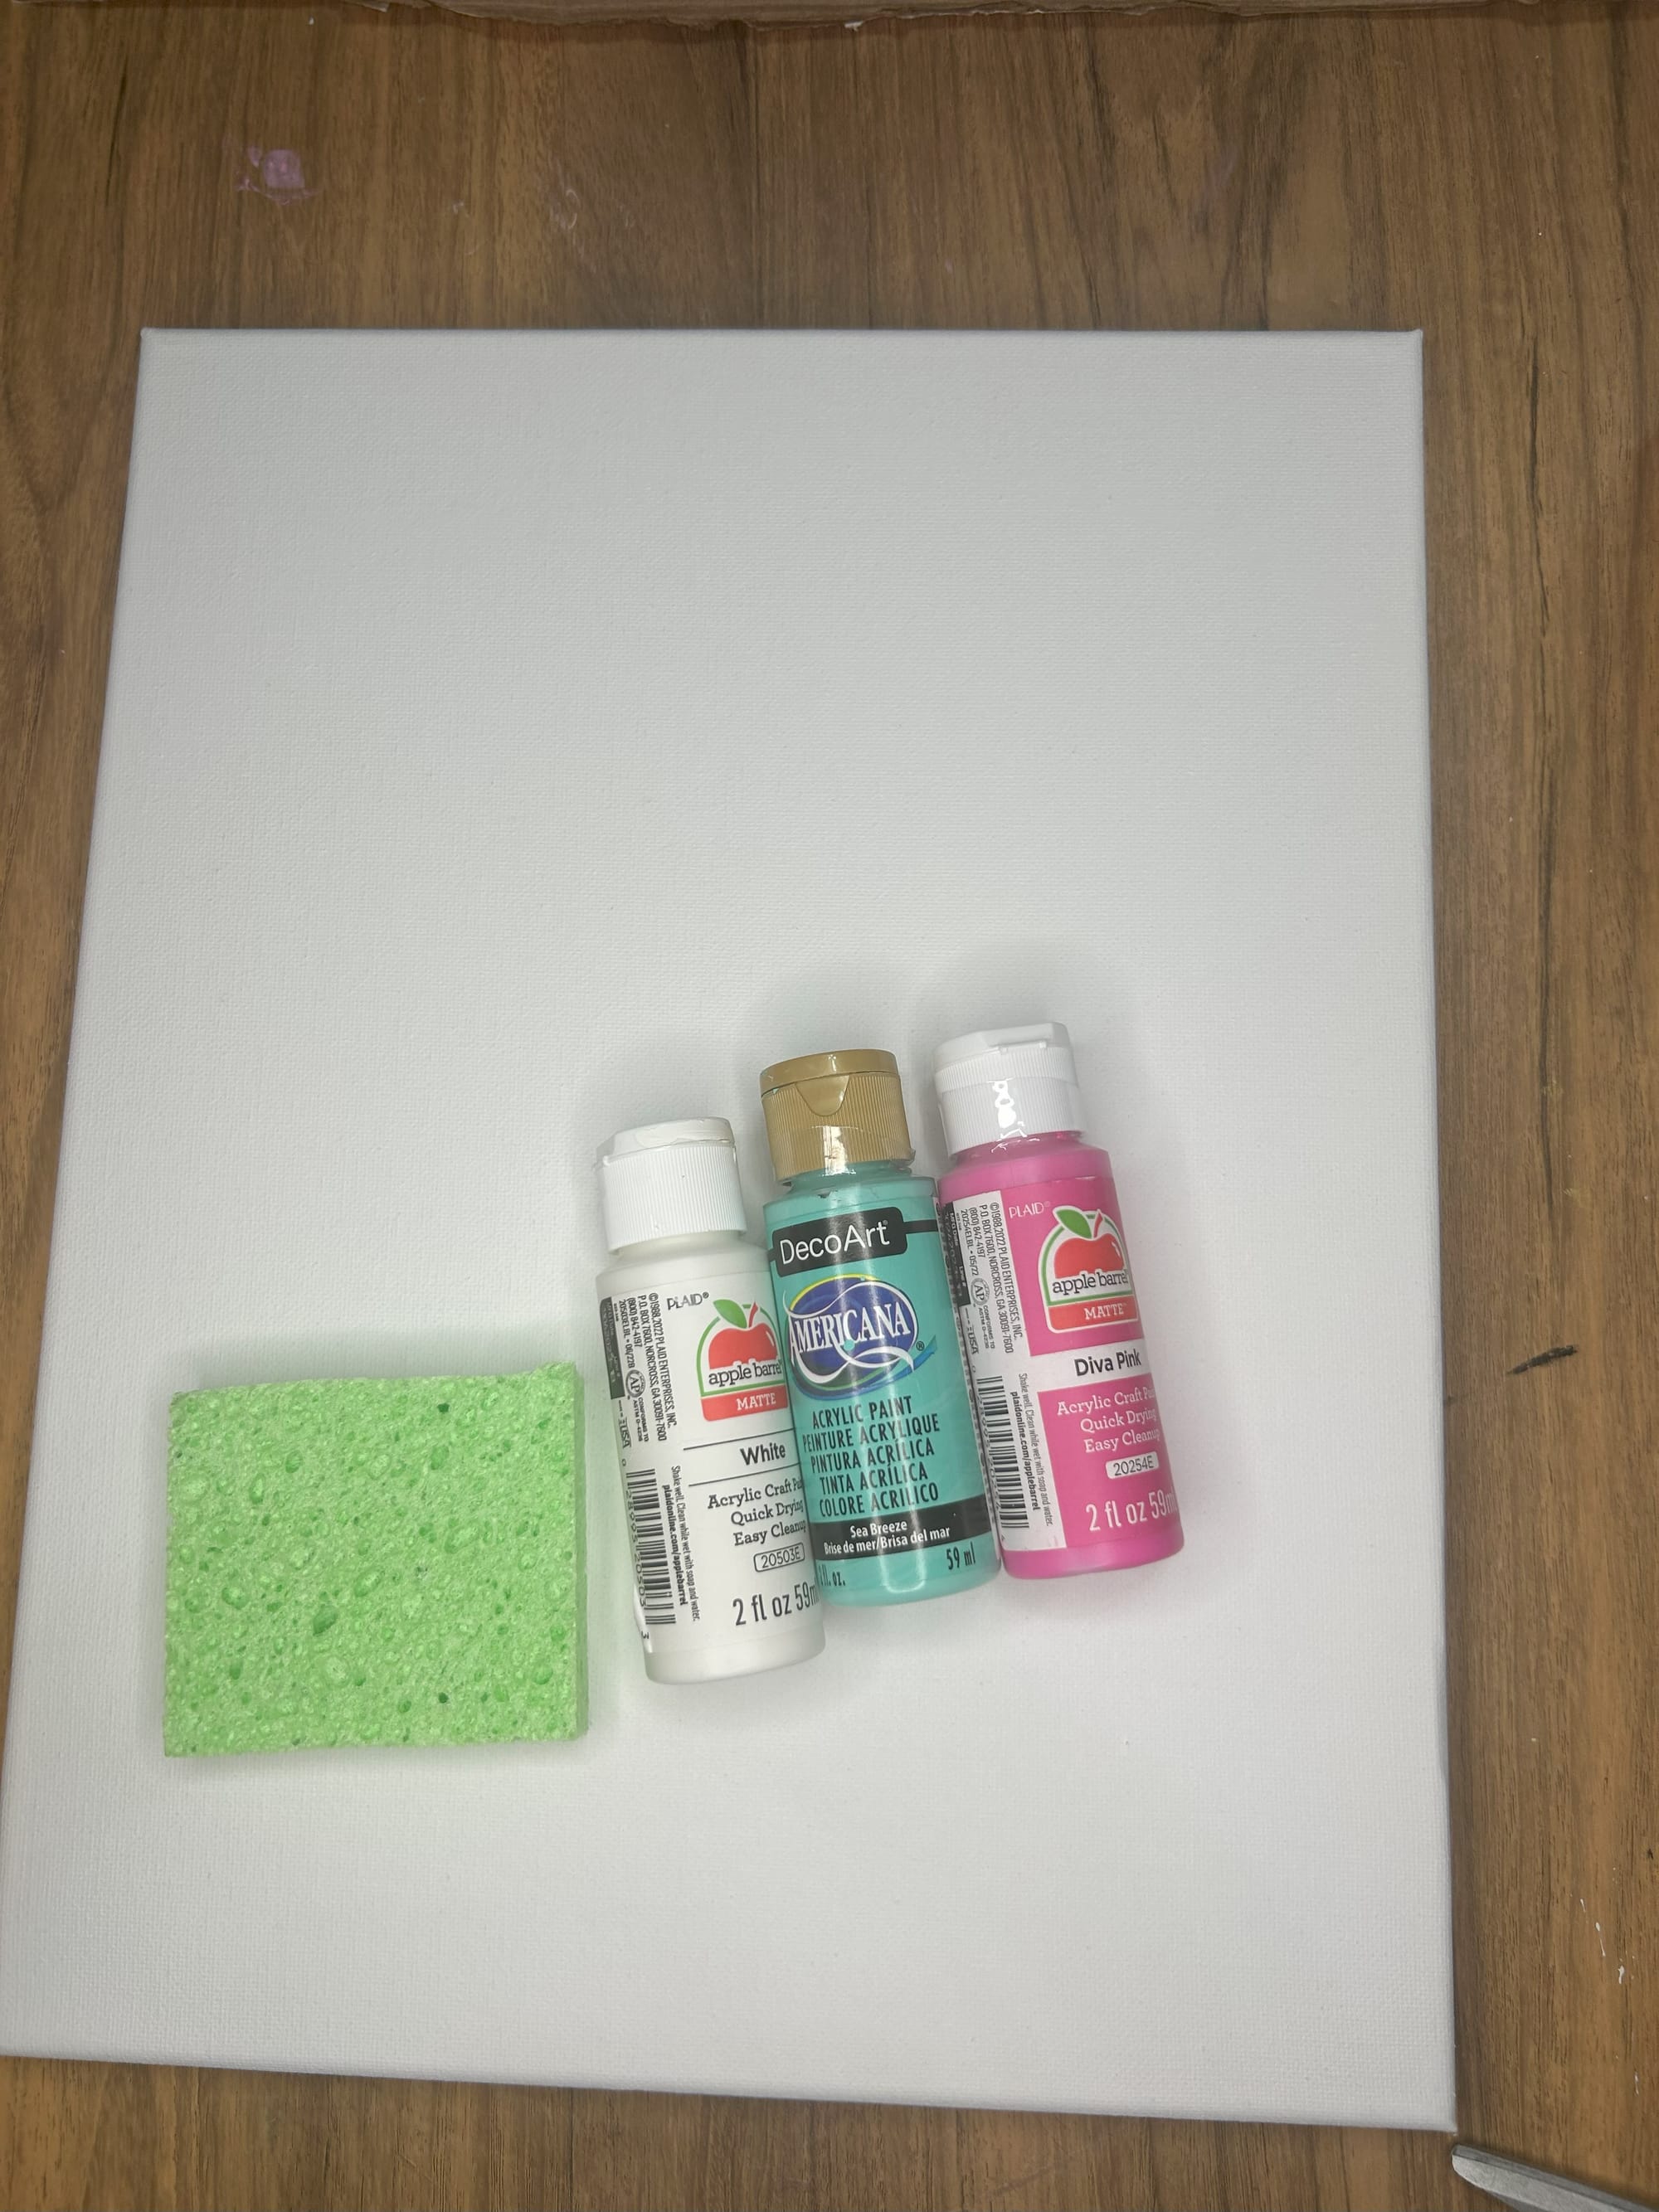
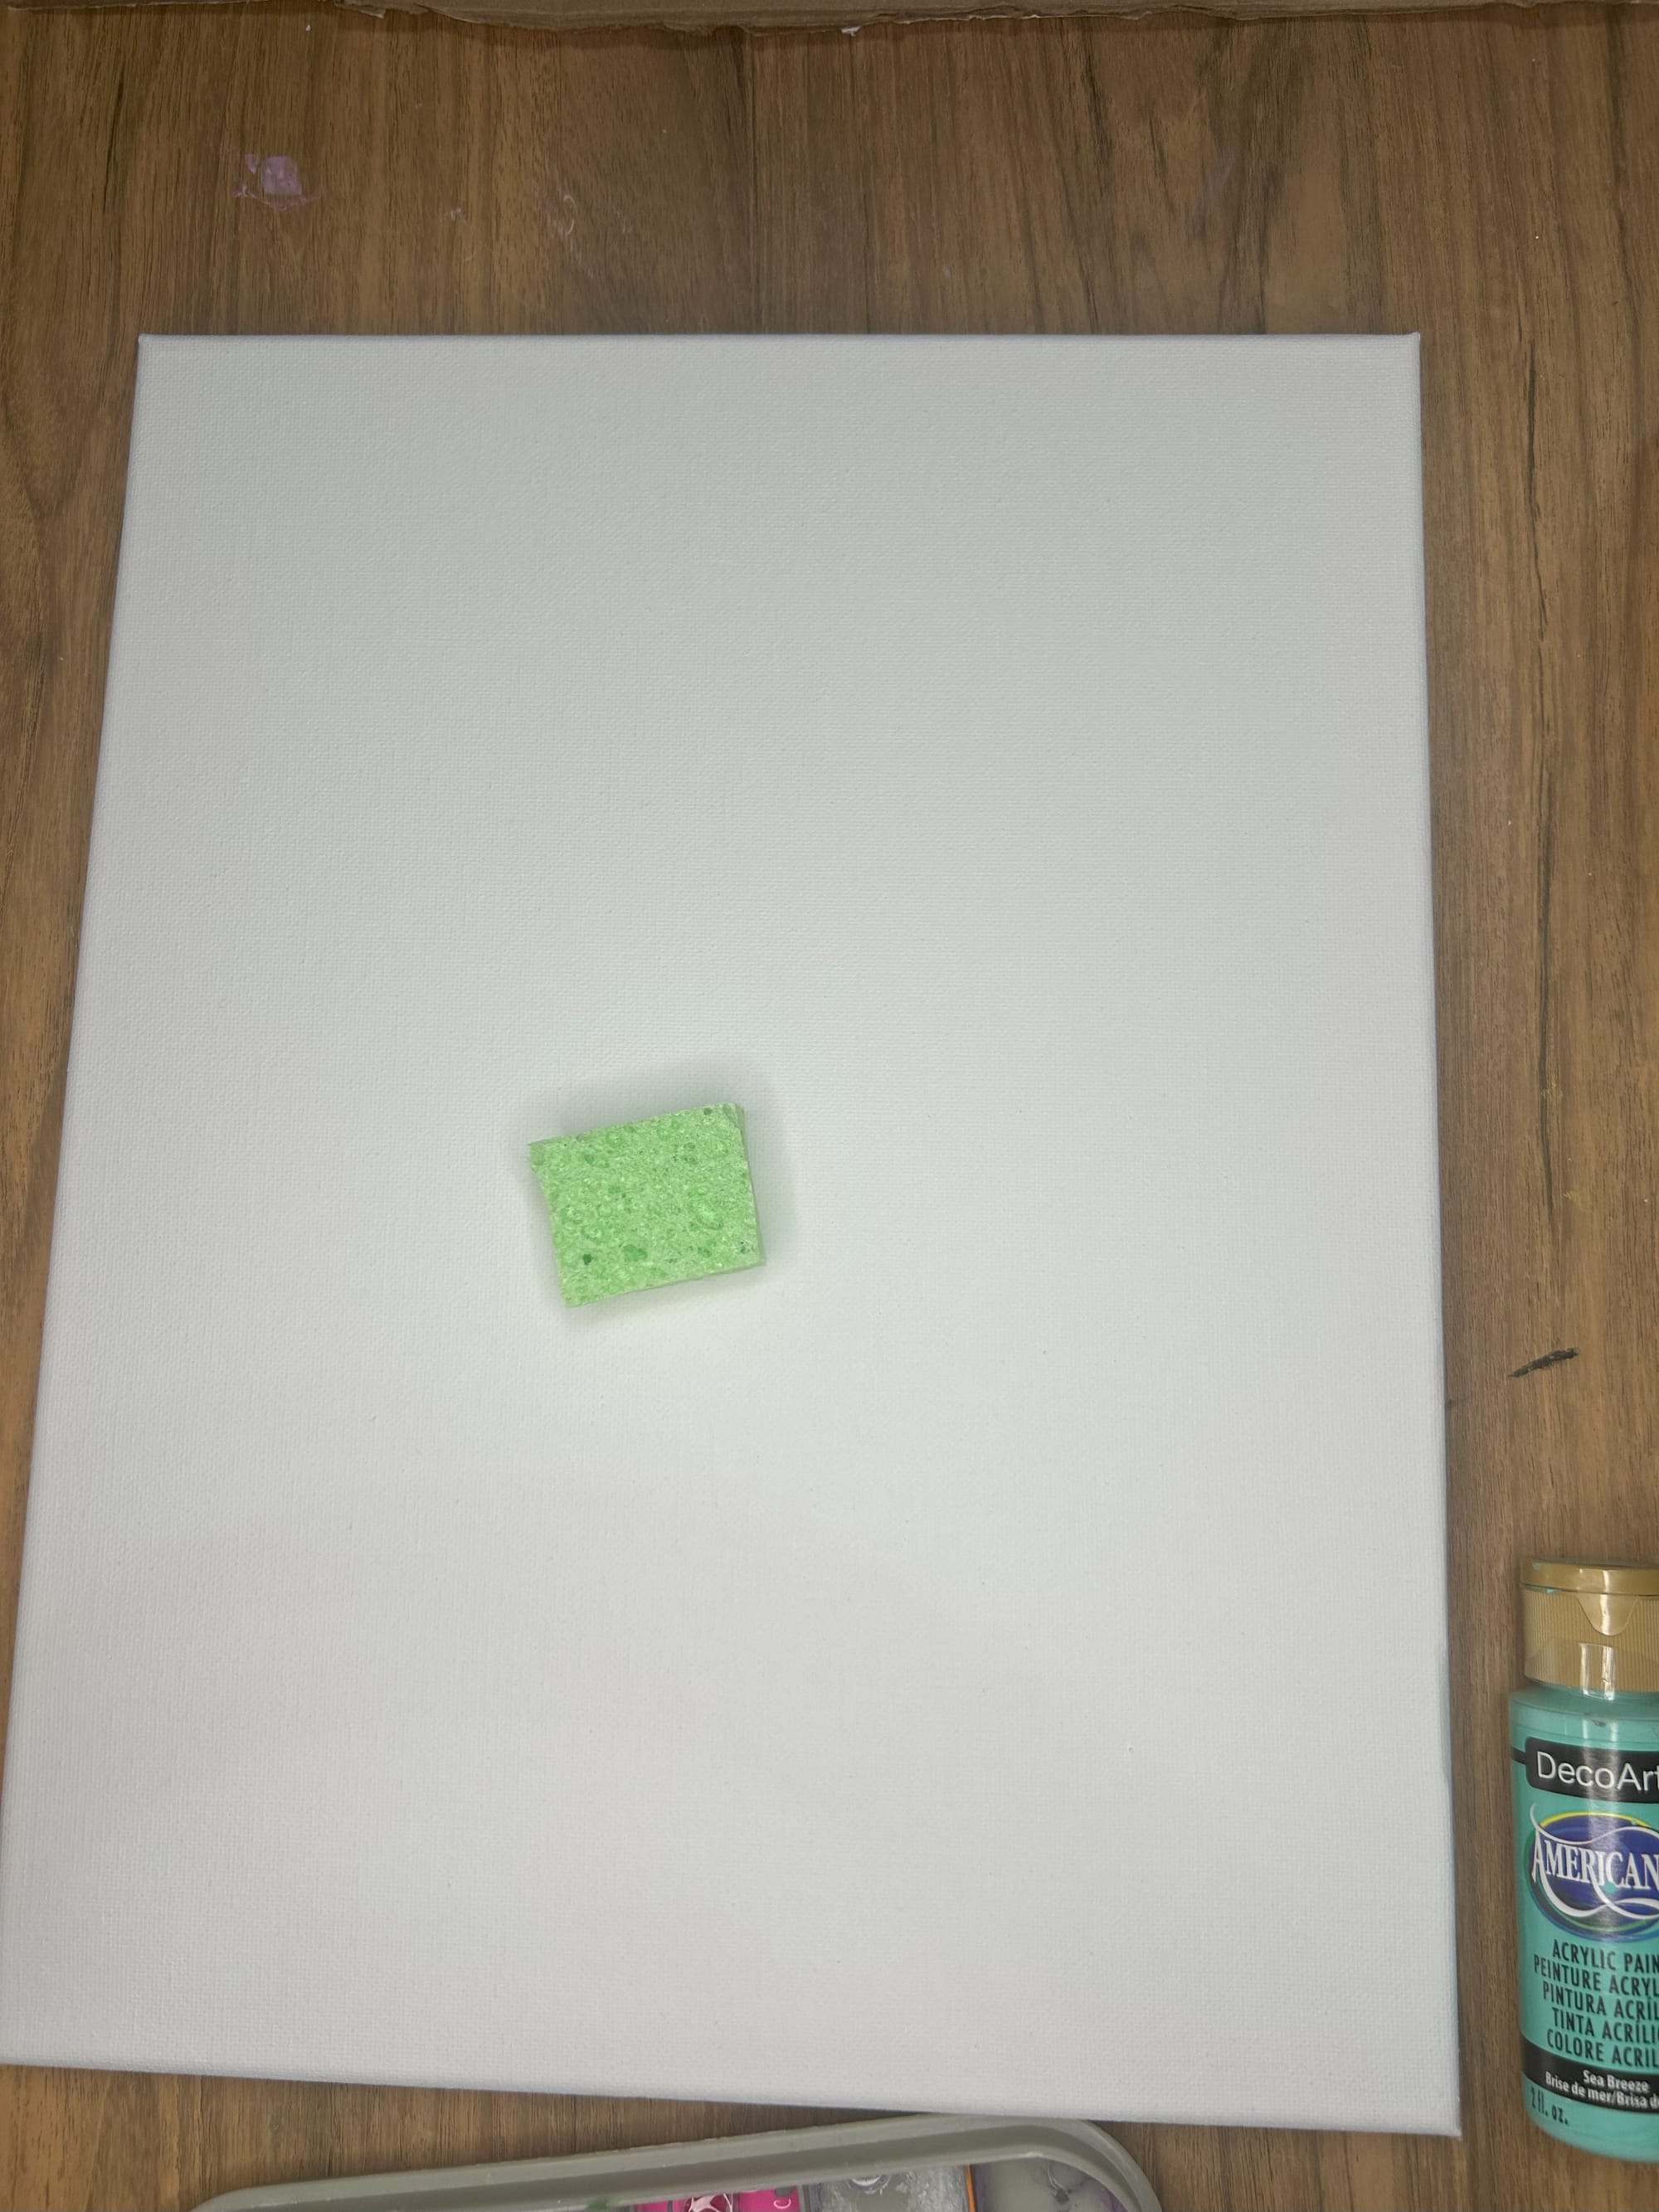
Gather paint and supplies needed. You can use any colors you choose.
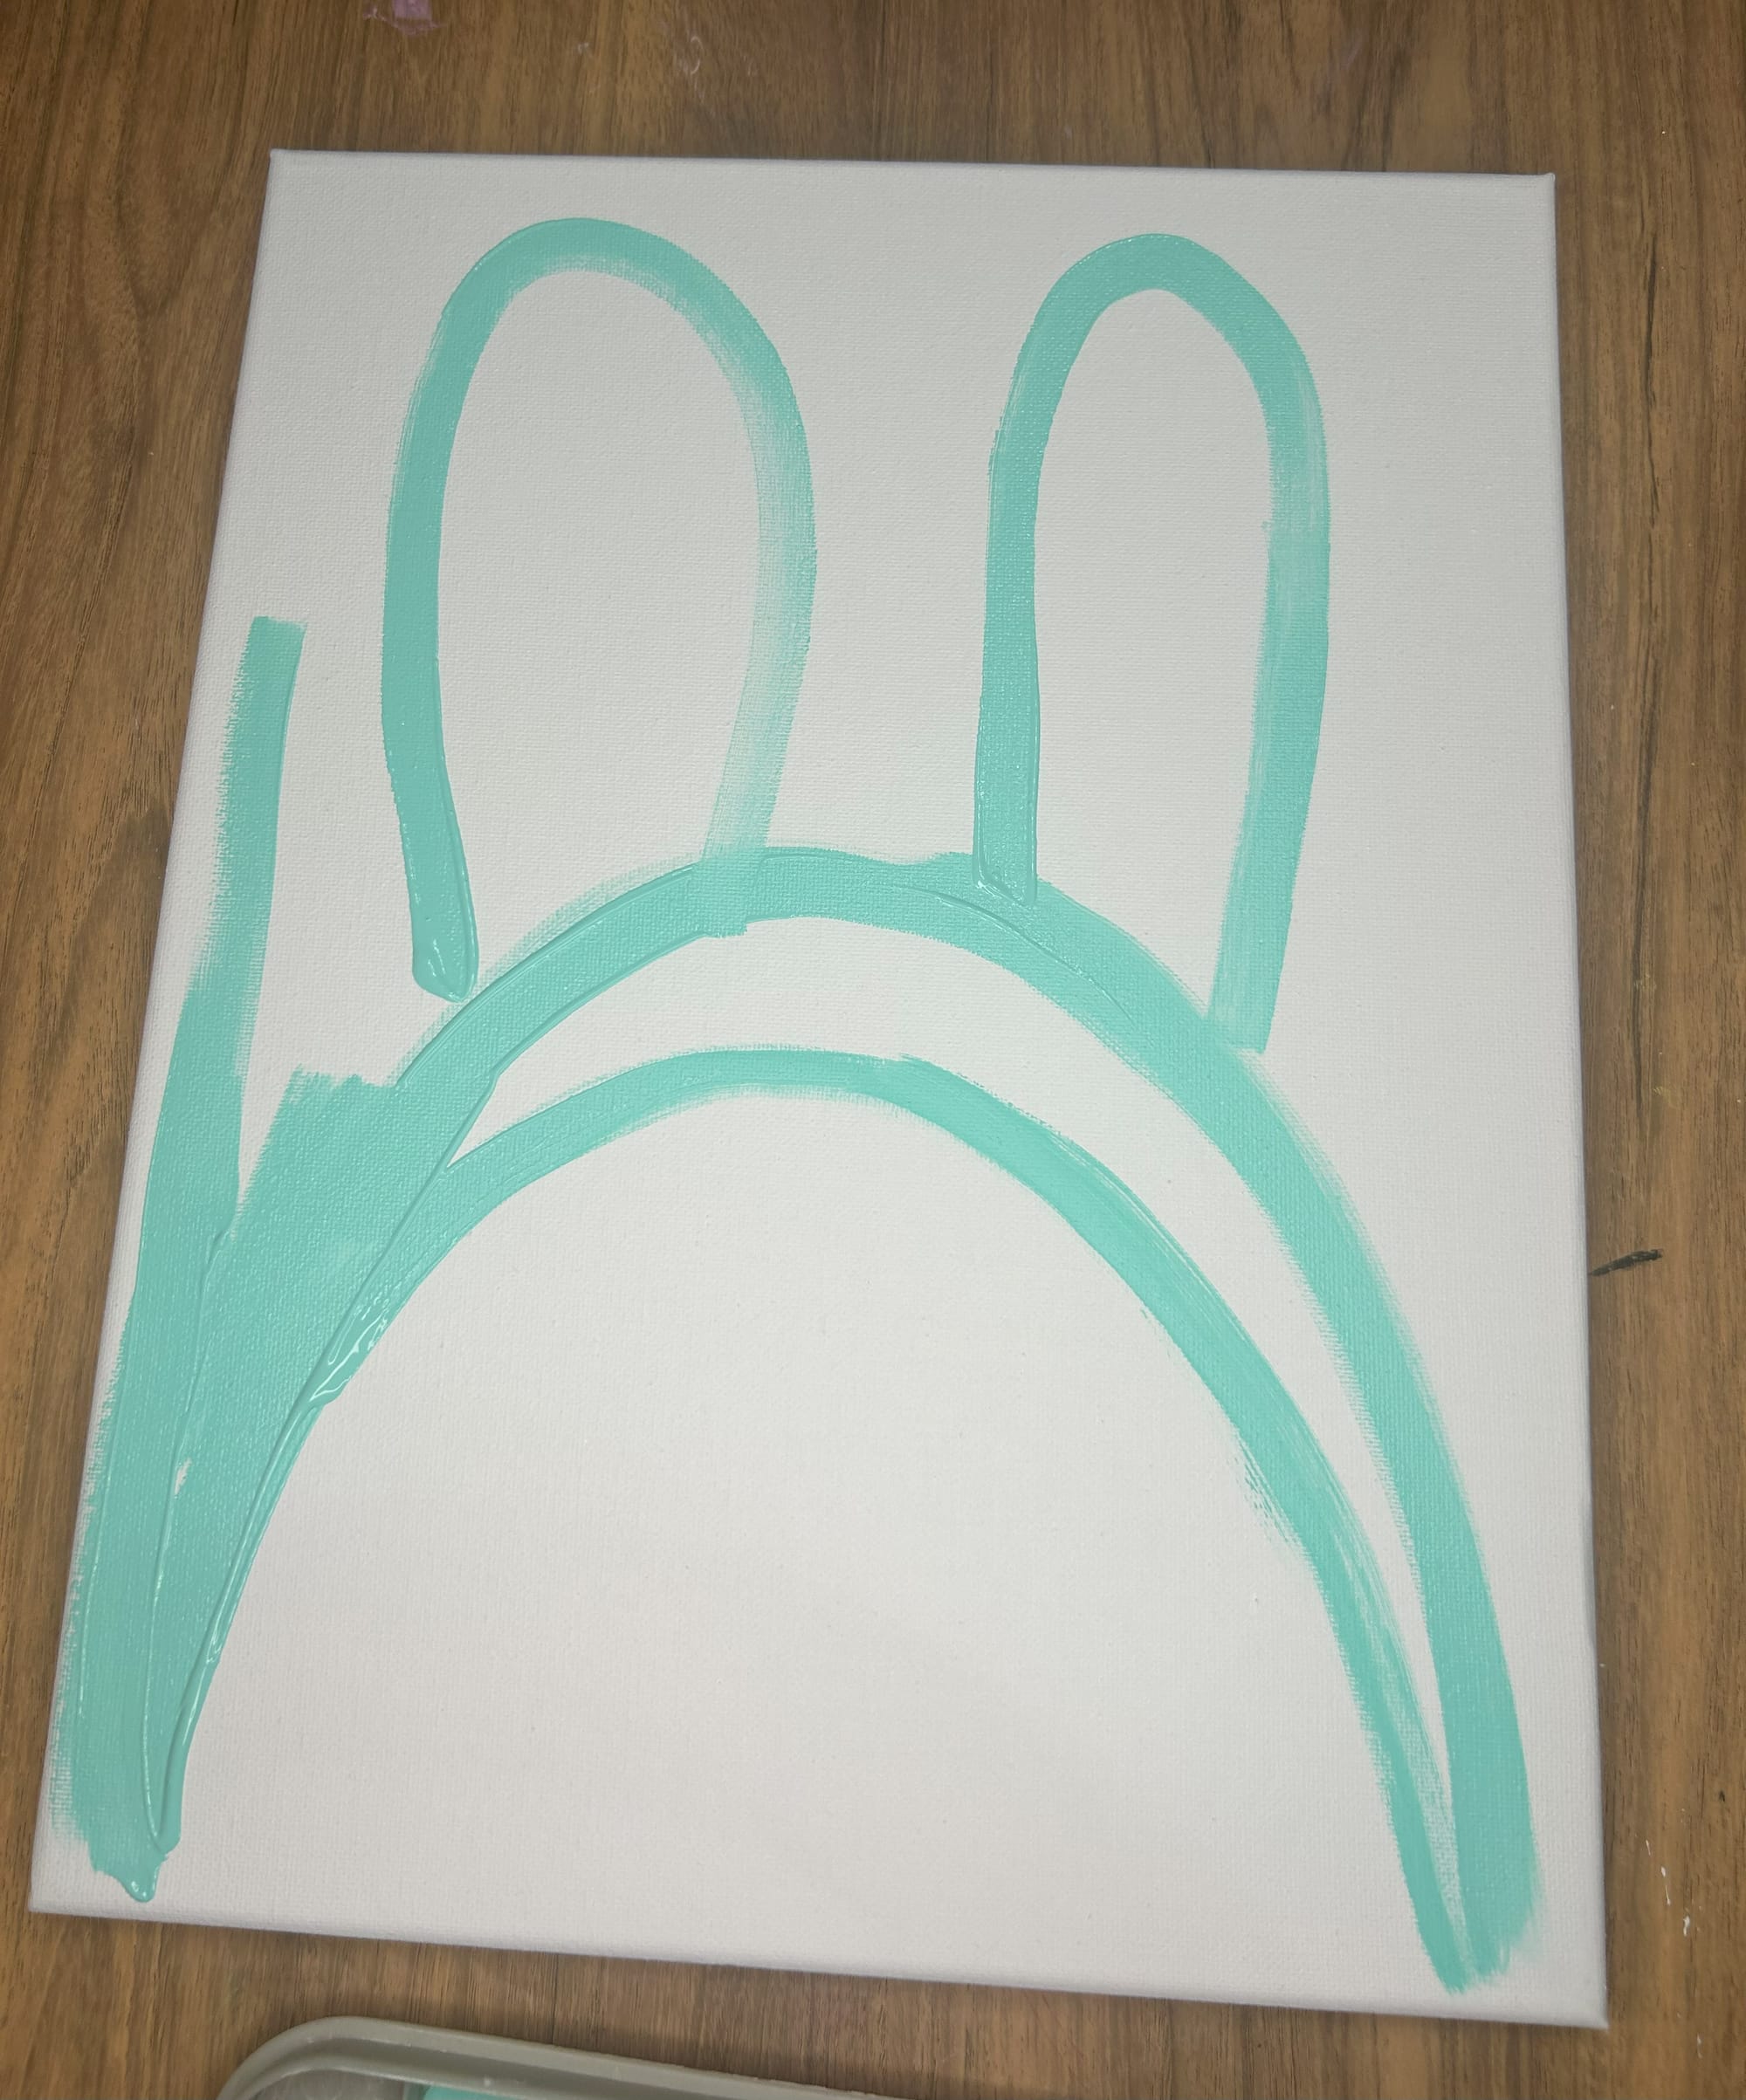
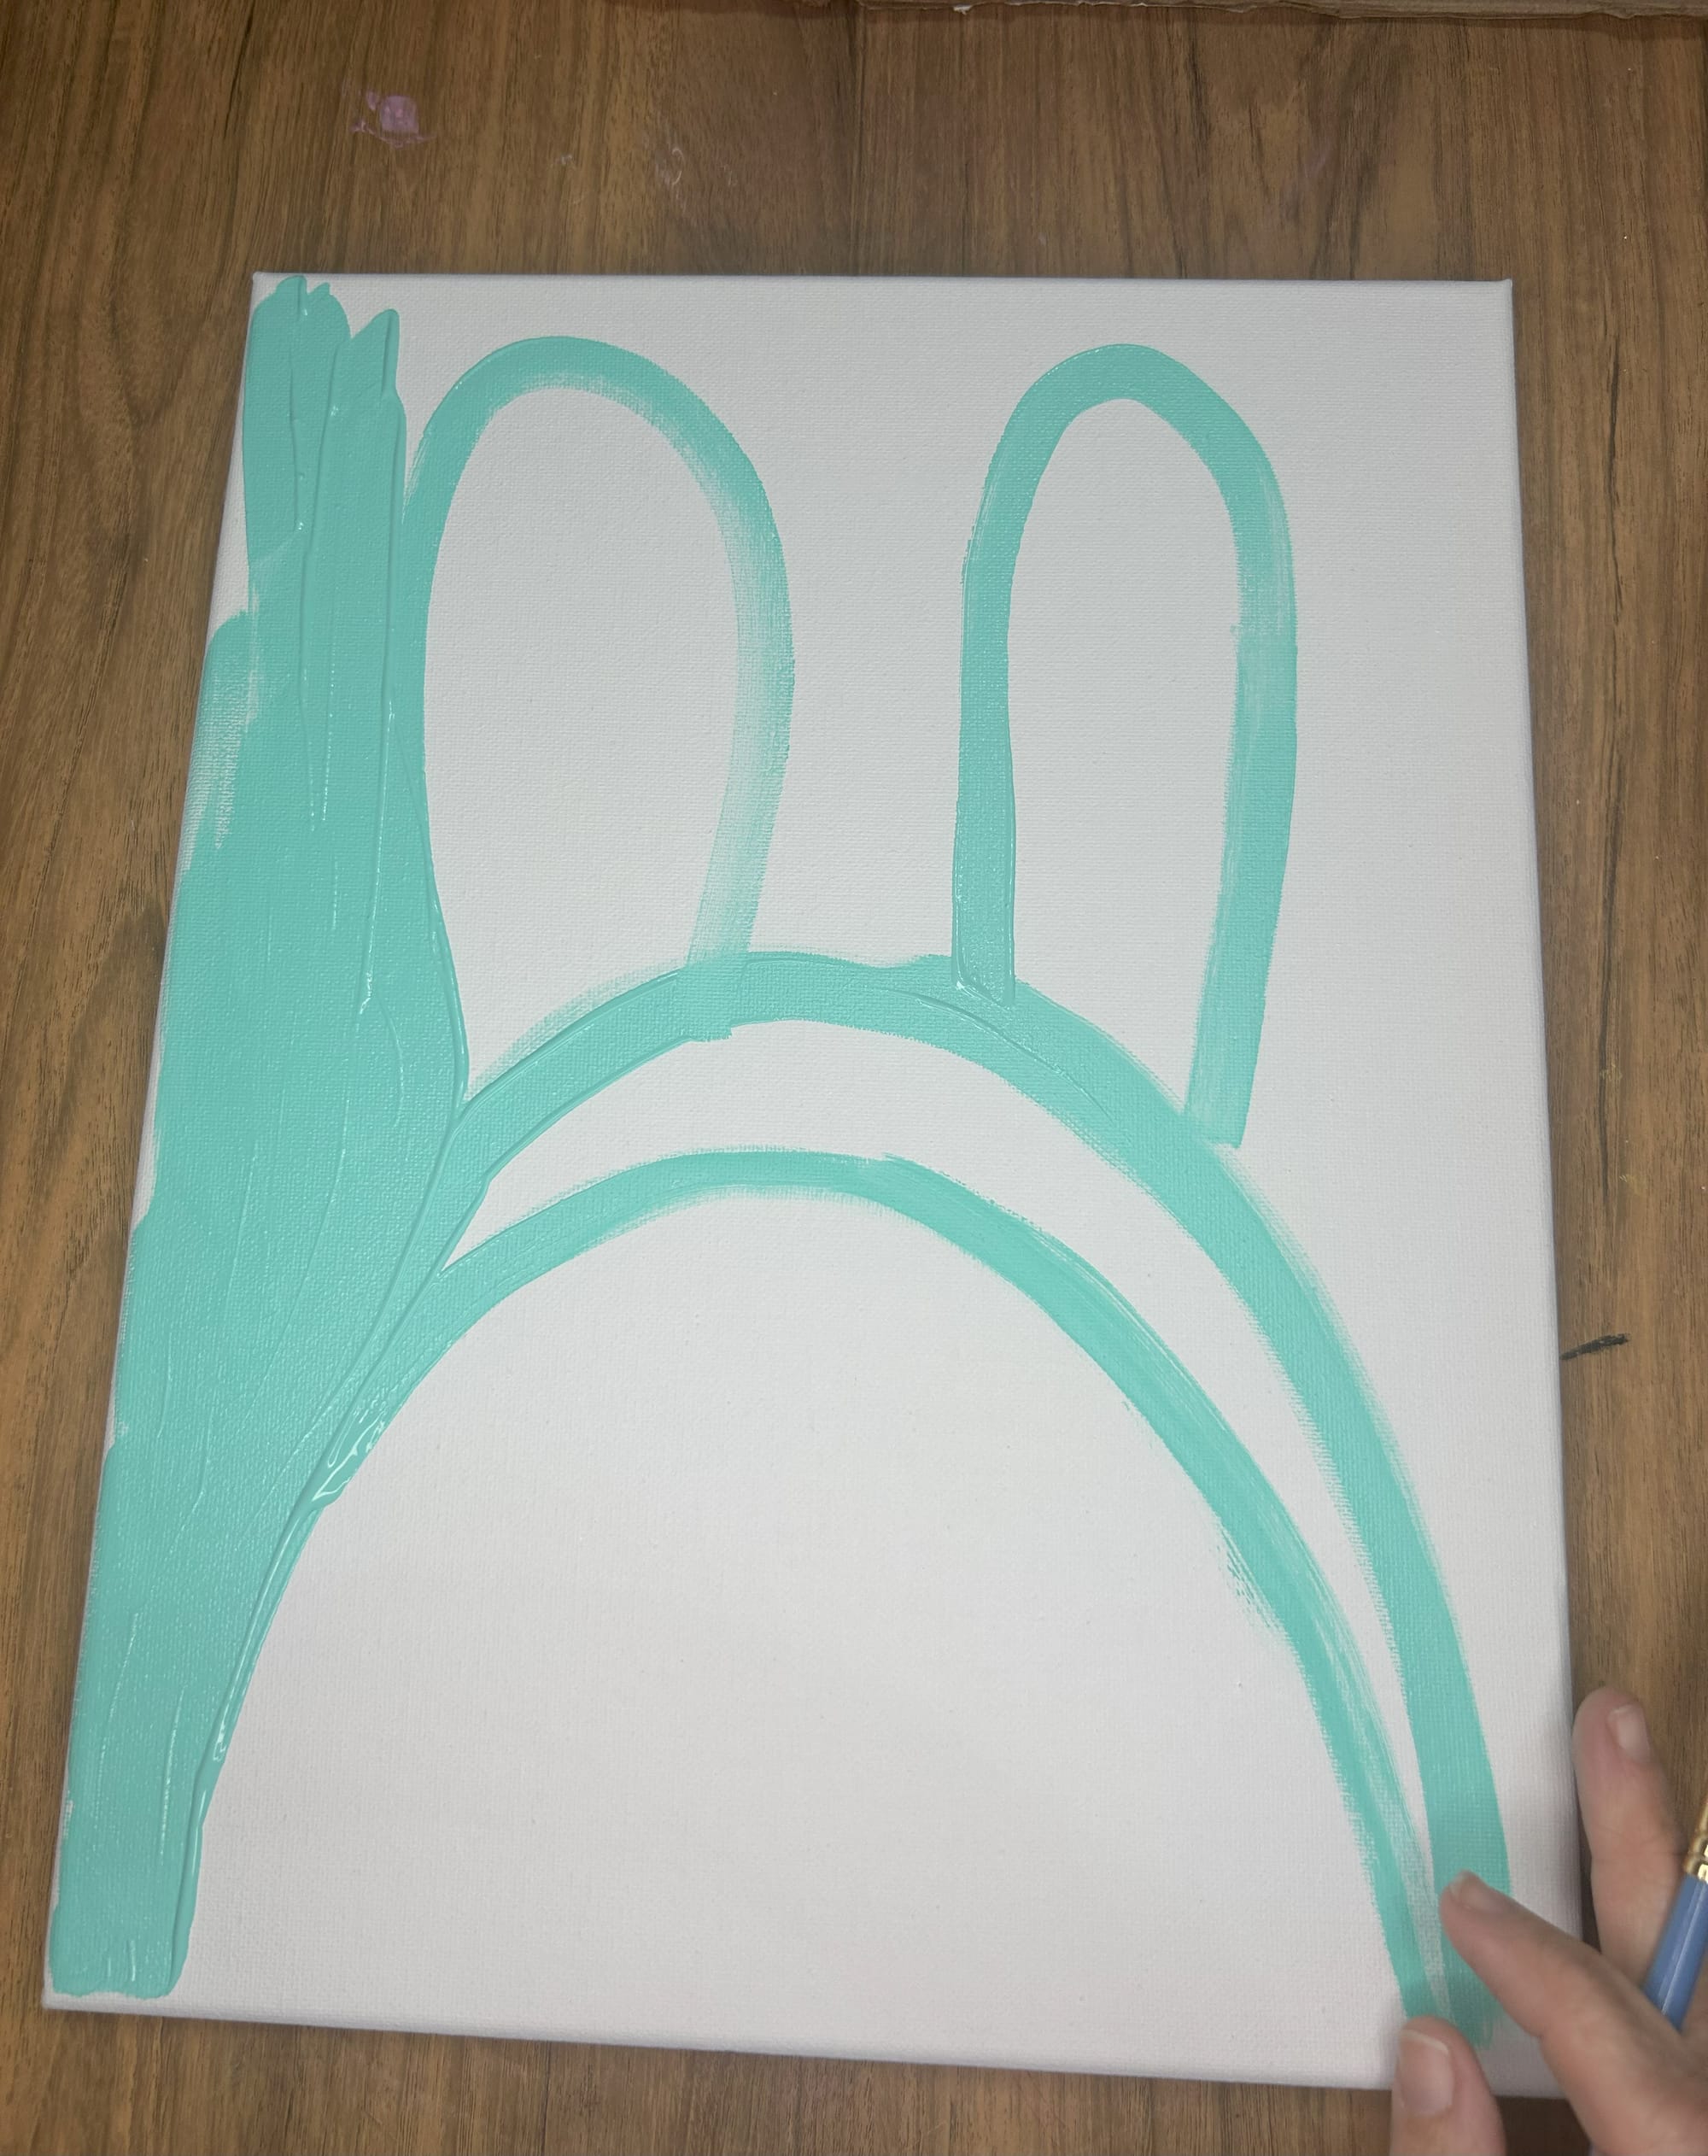
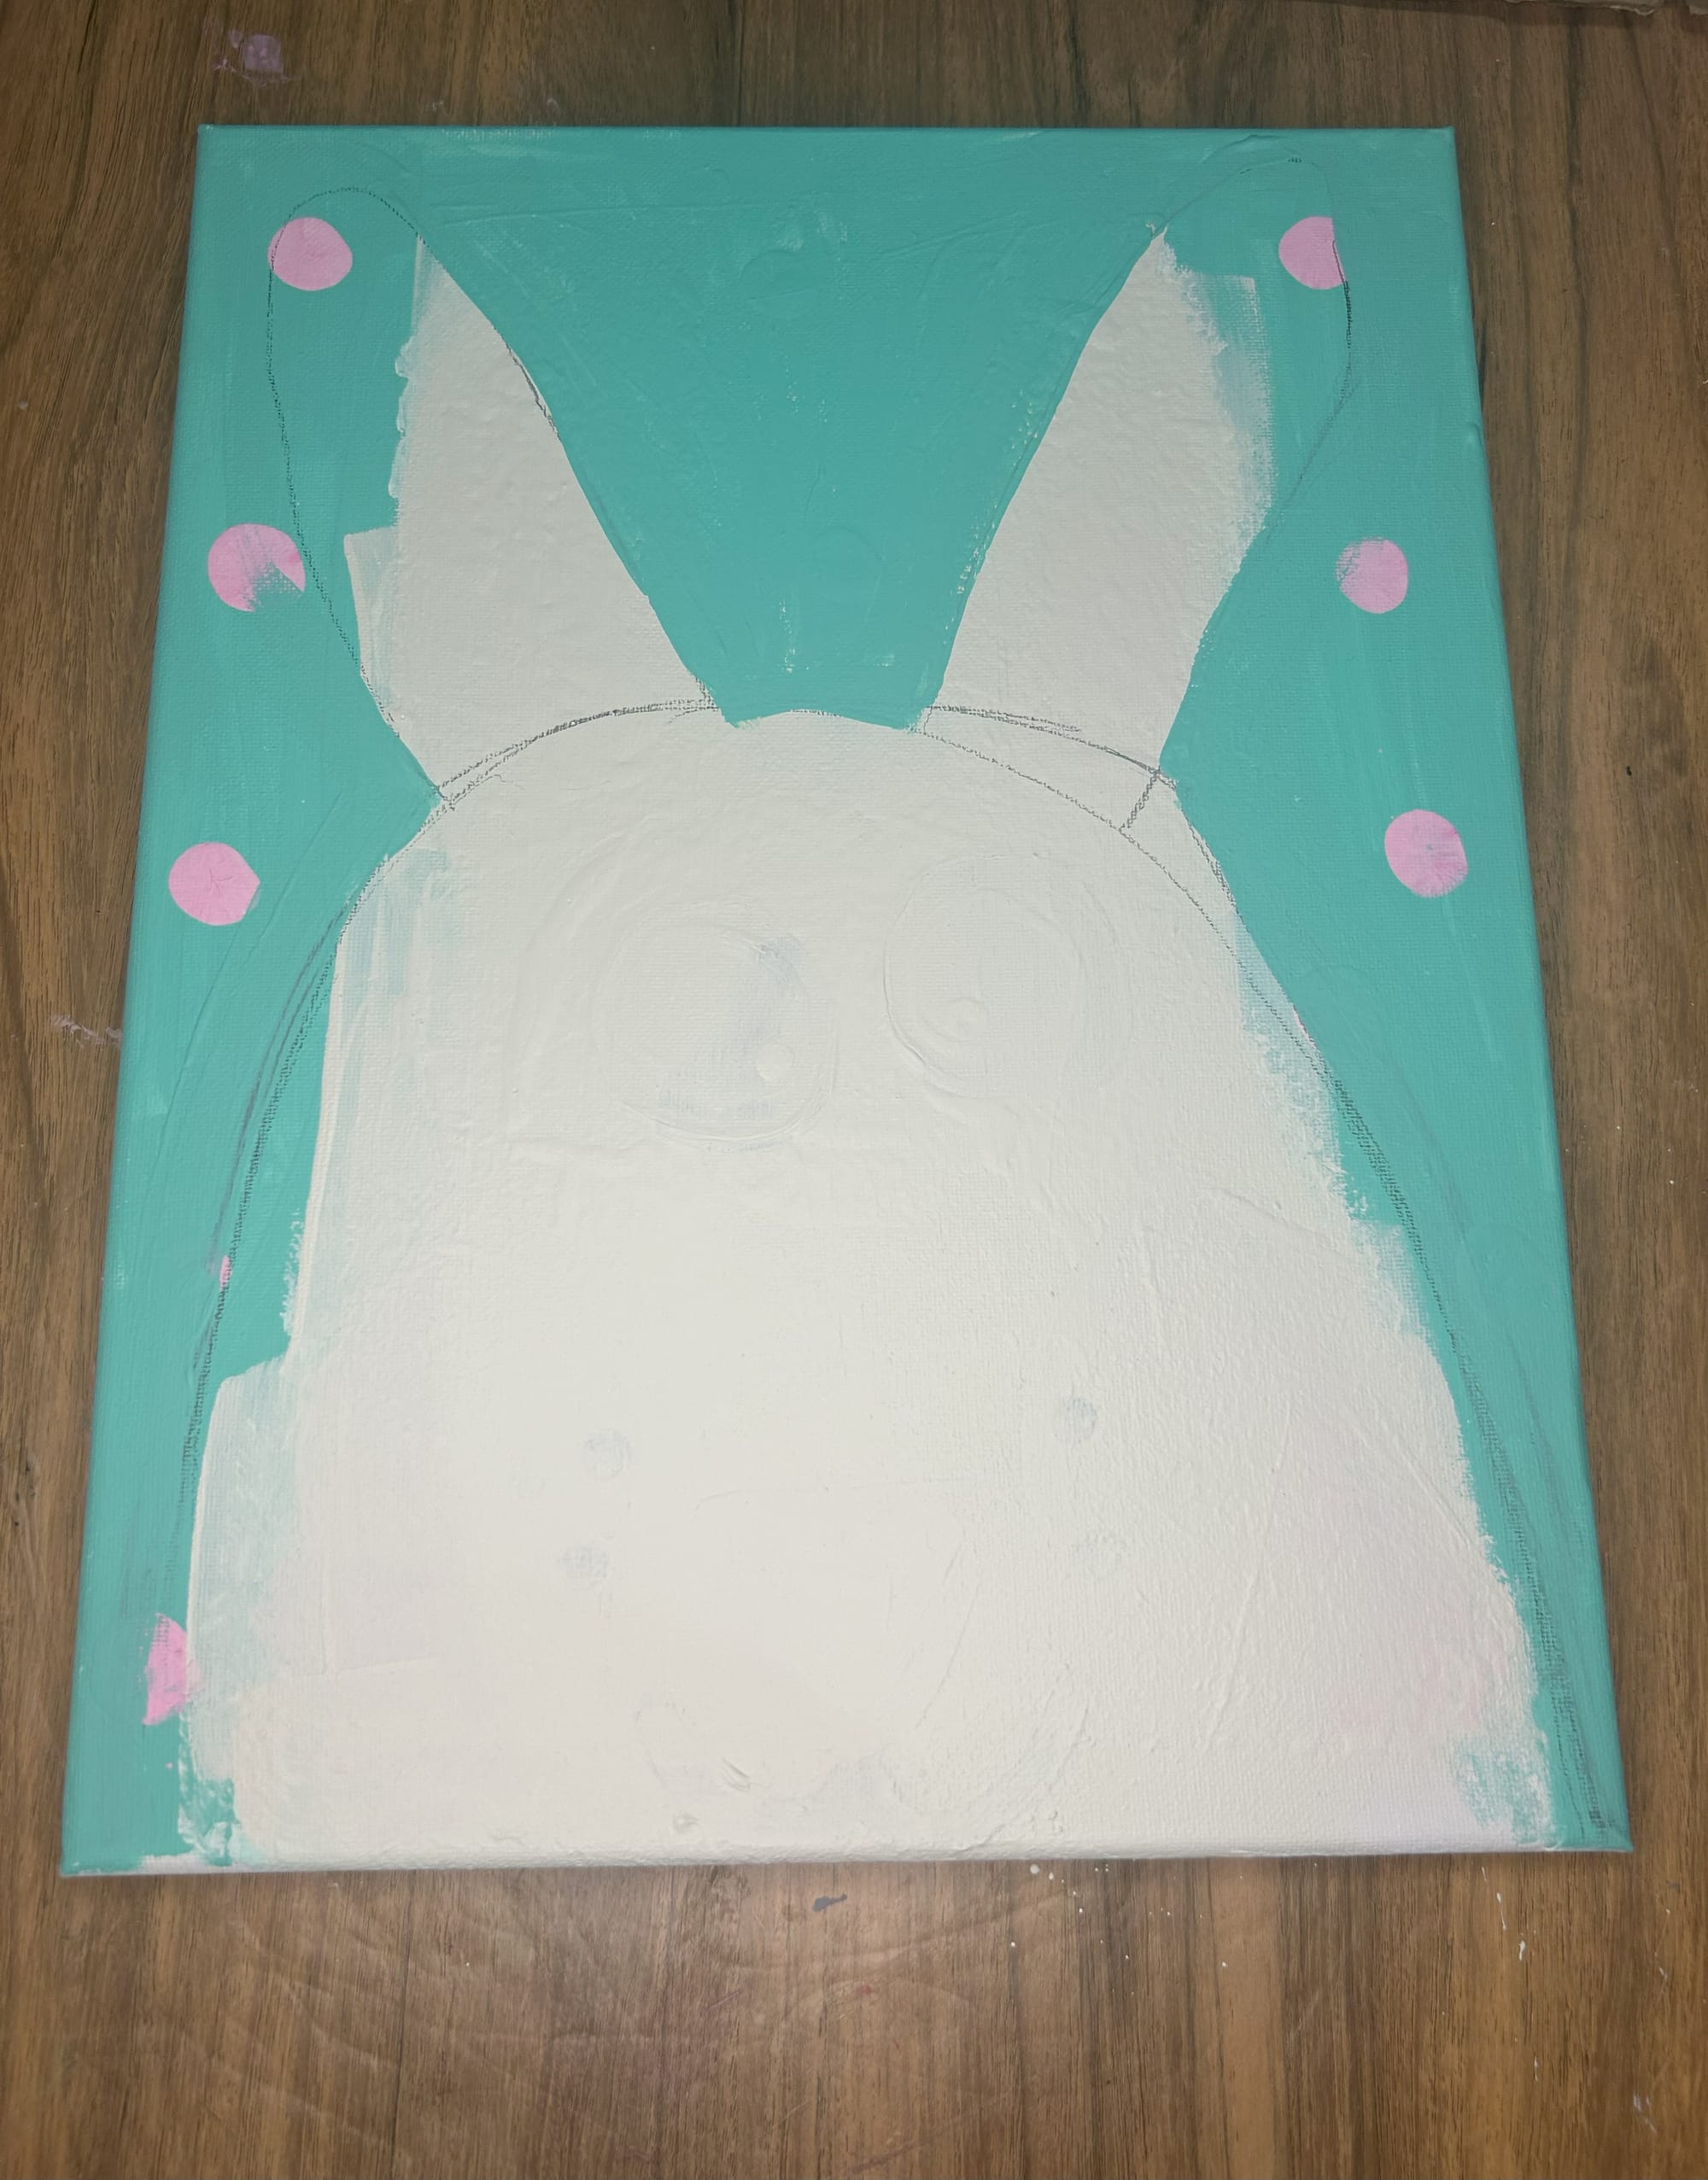
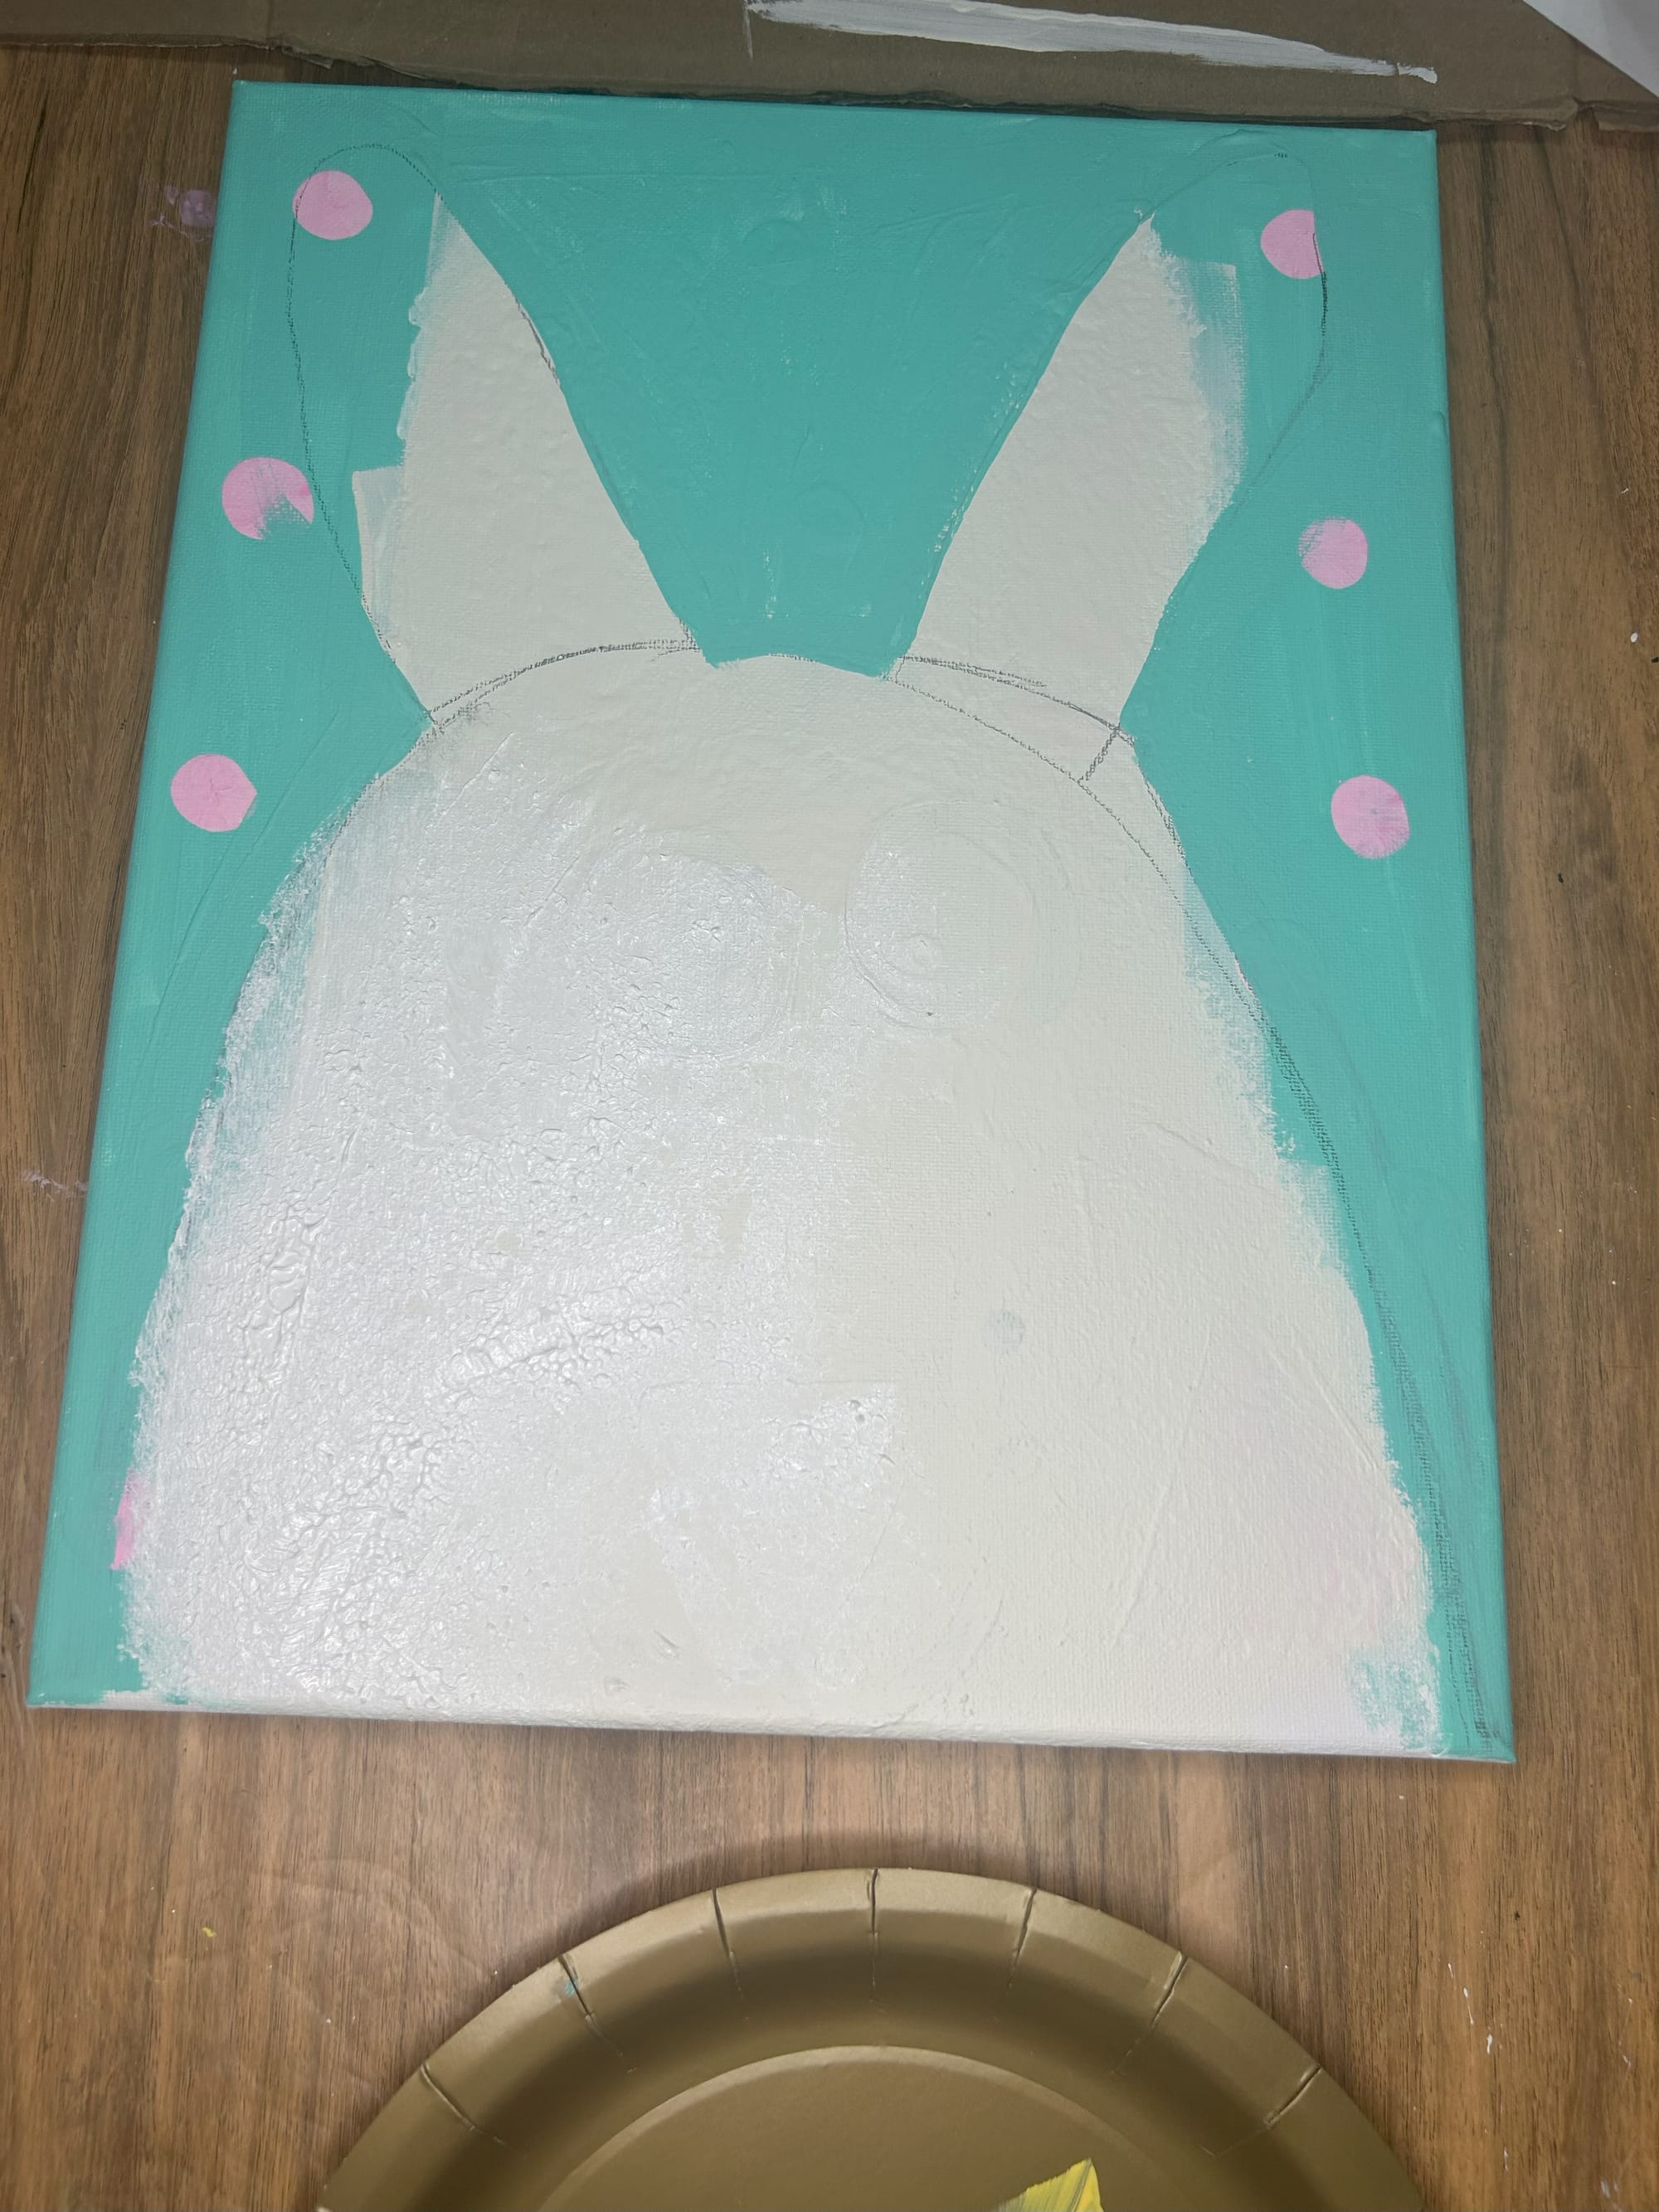
I began by following the video. I painted an outline of the bunny using the aqua paint .

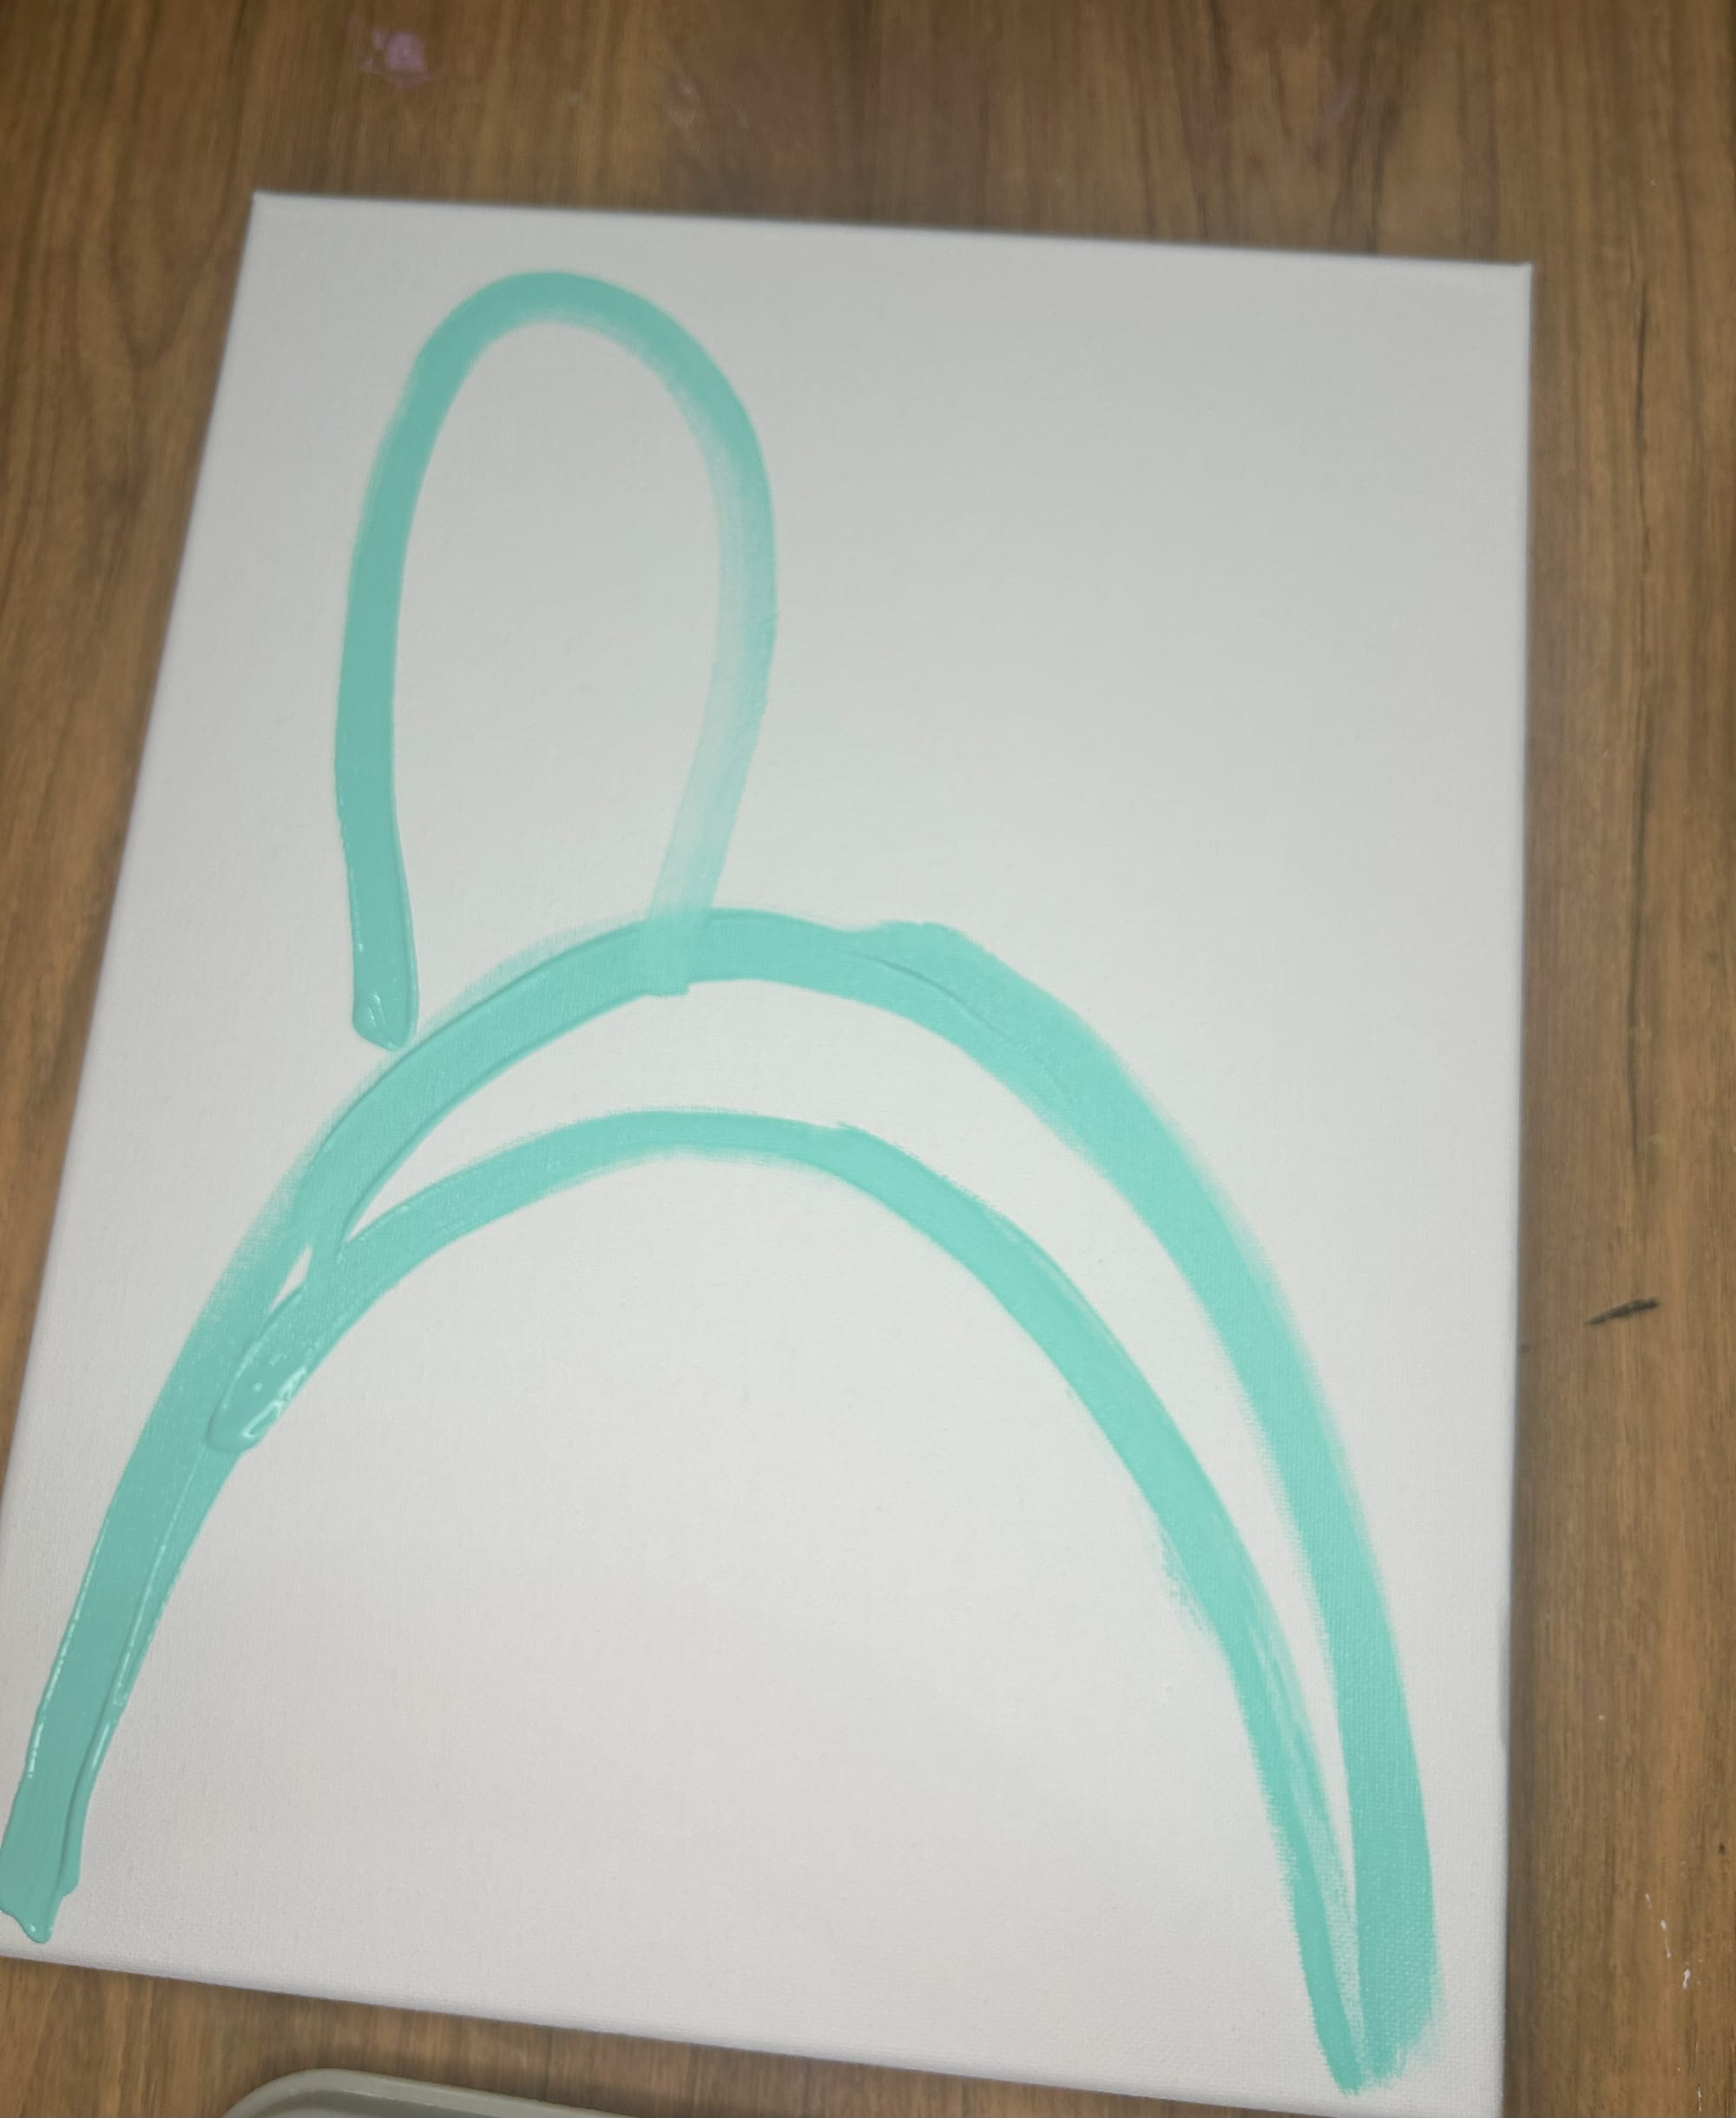
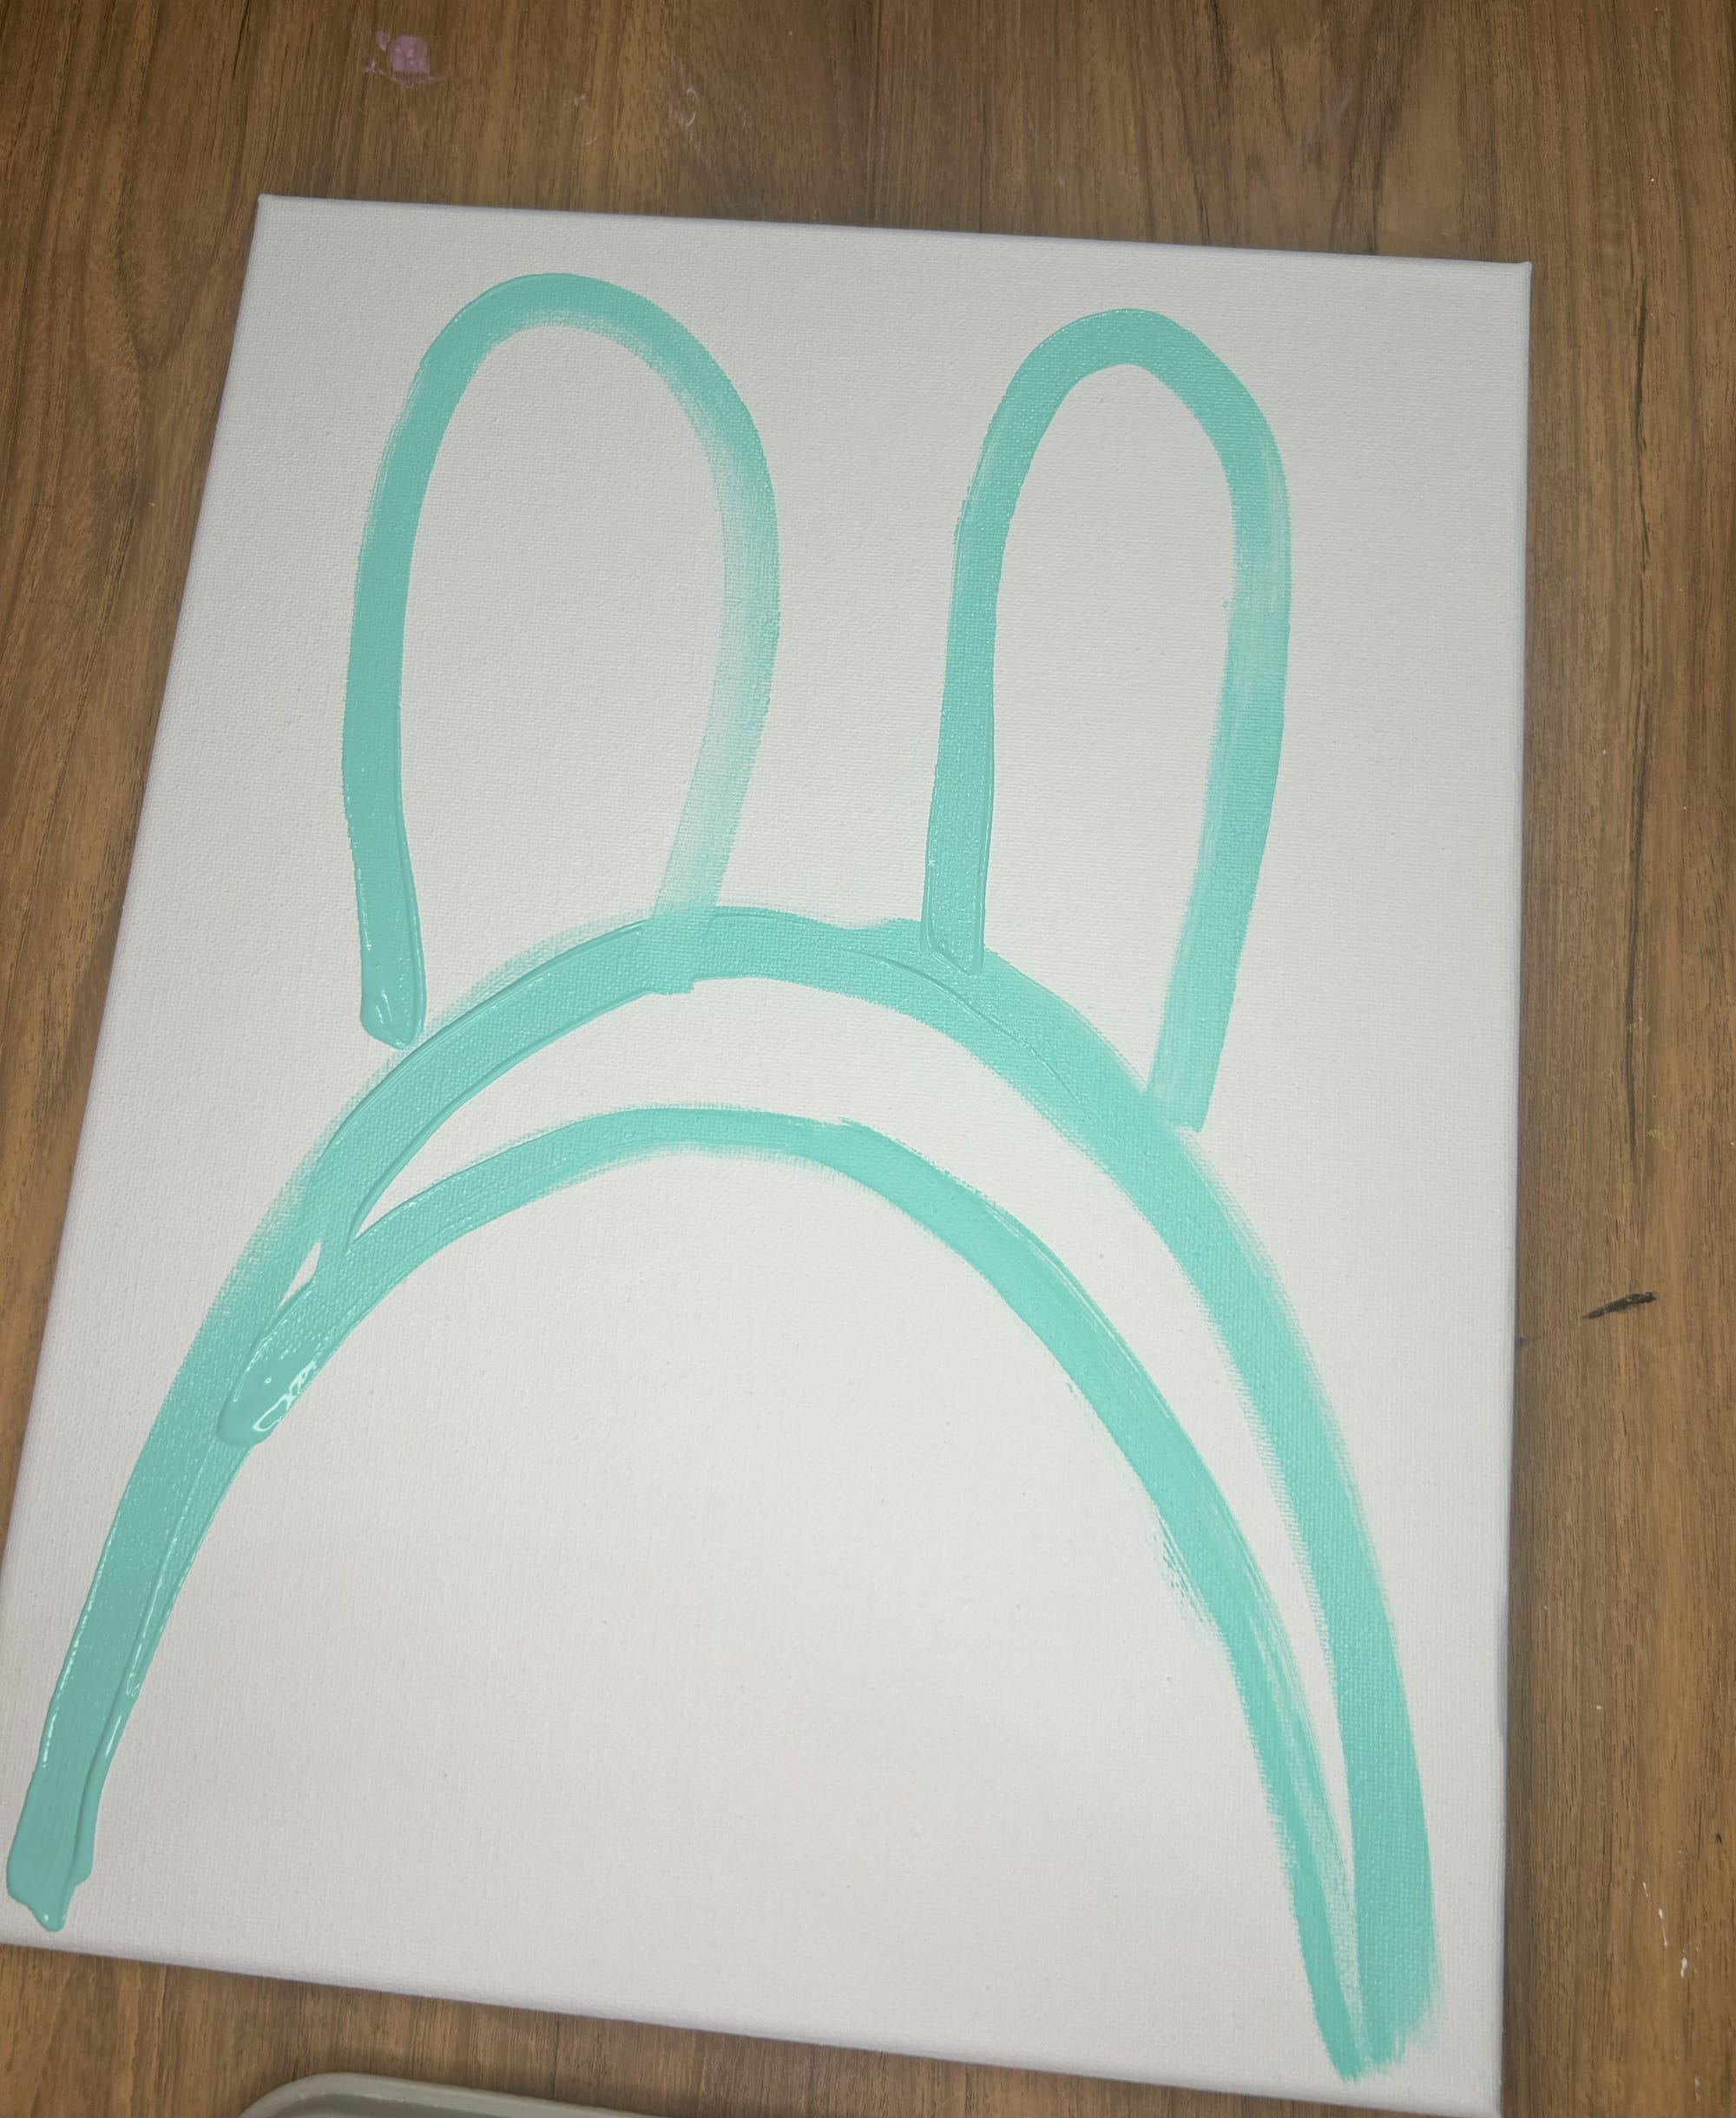
Begin by painting the outline of the bunny.
Next, fill in the background space with the color you chose. You can choose any color you would like to use.
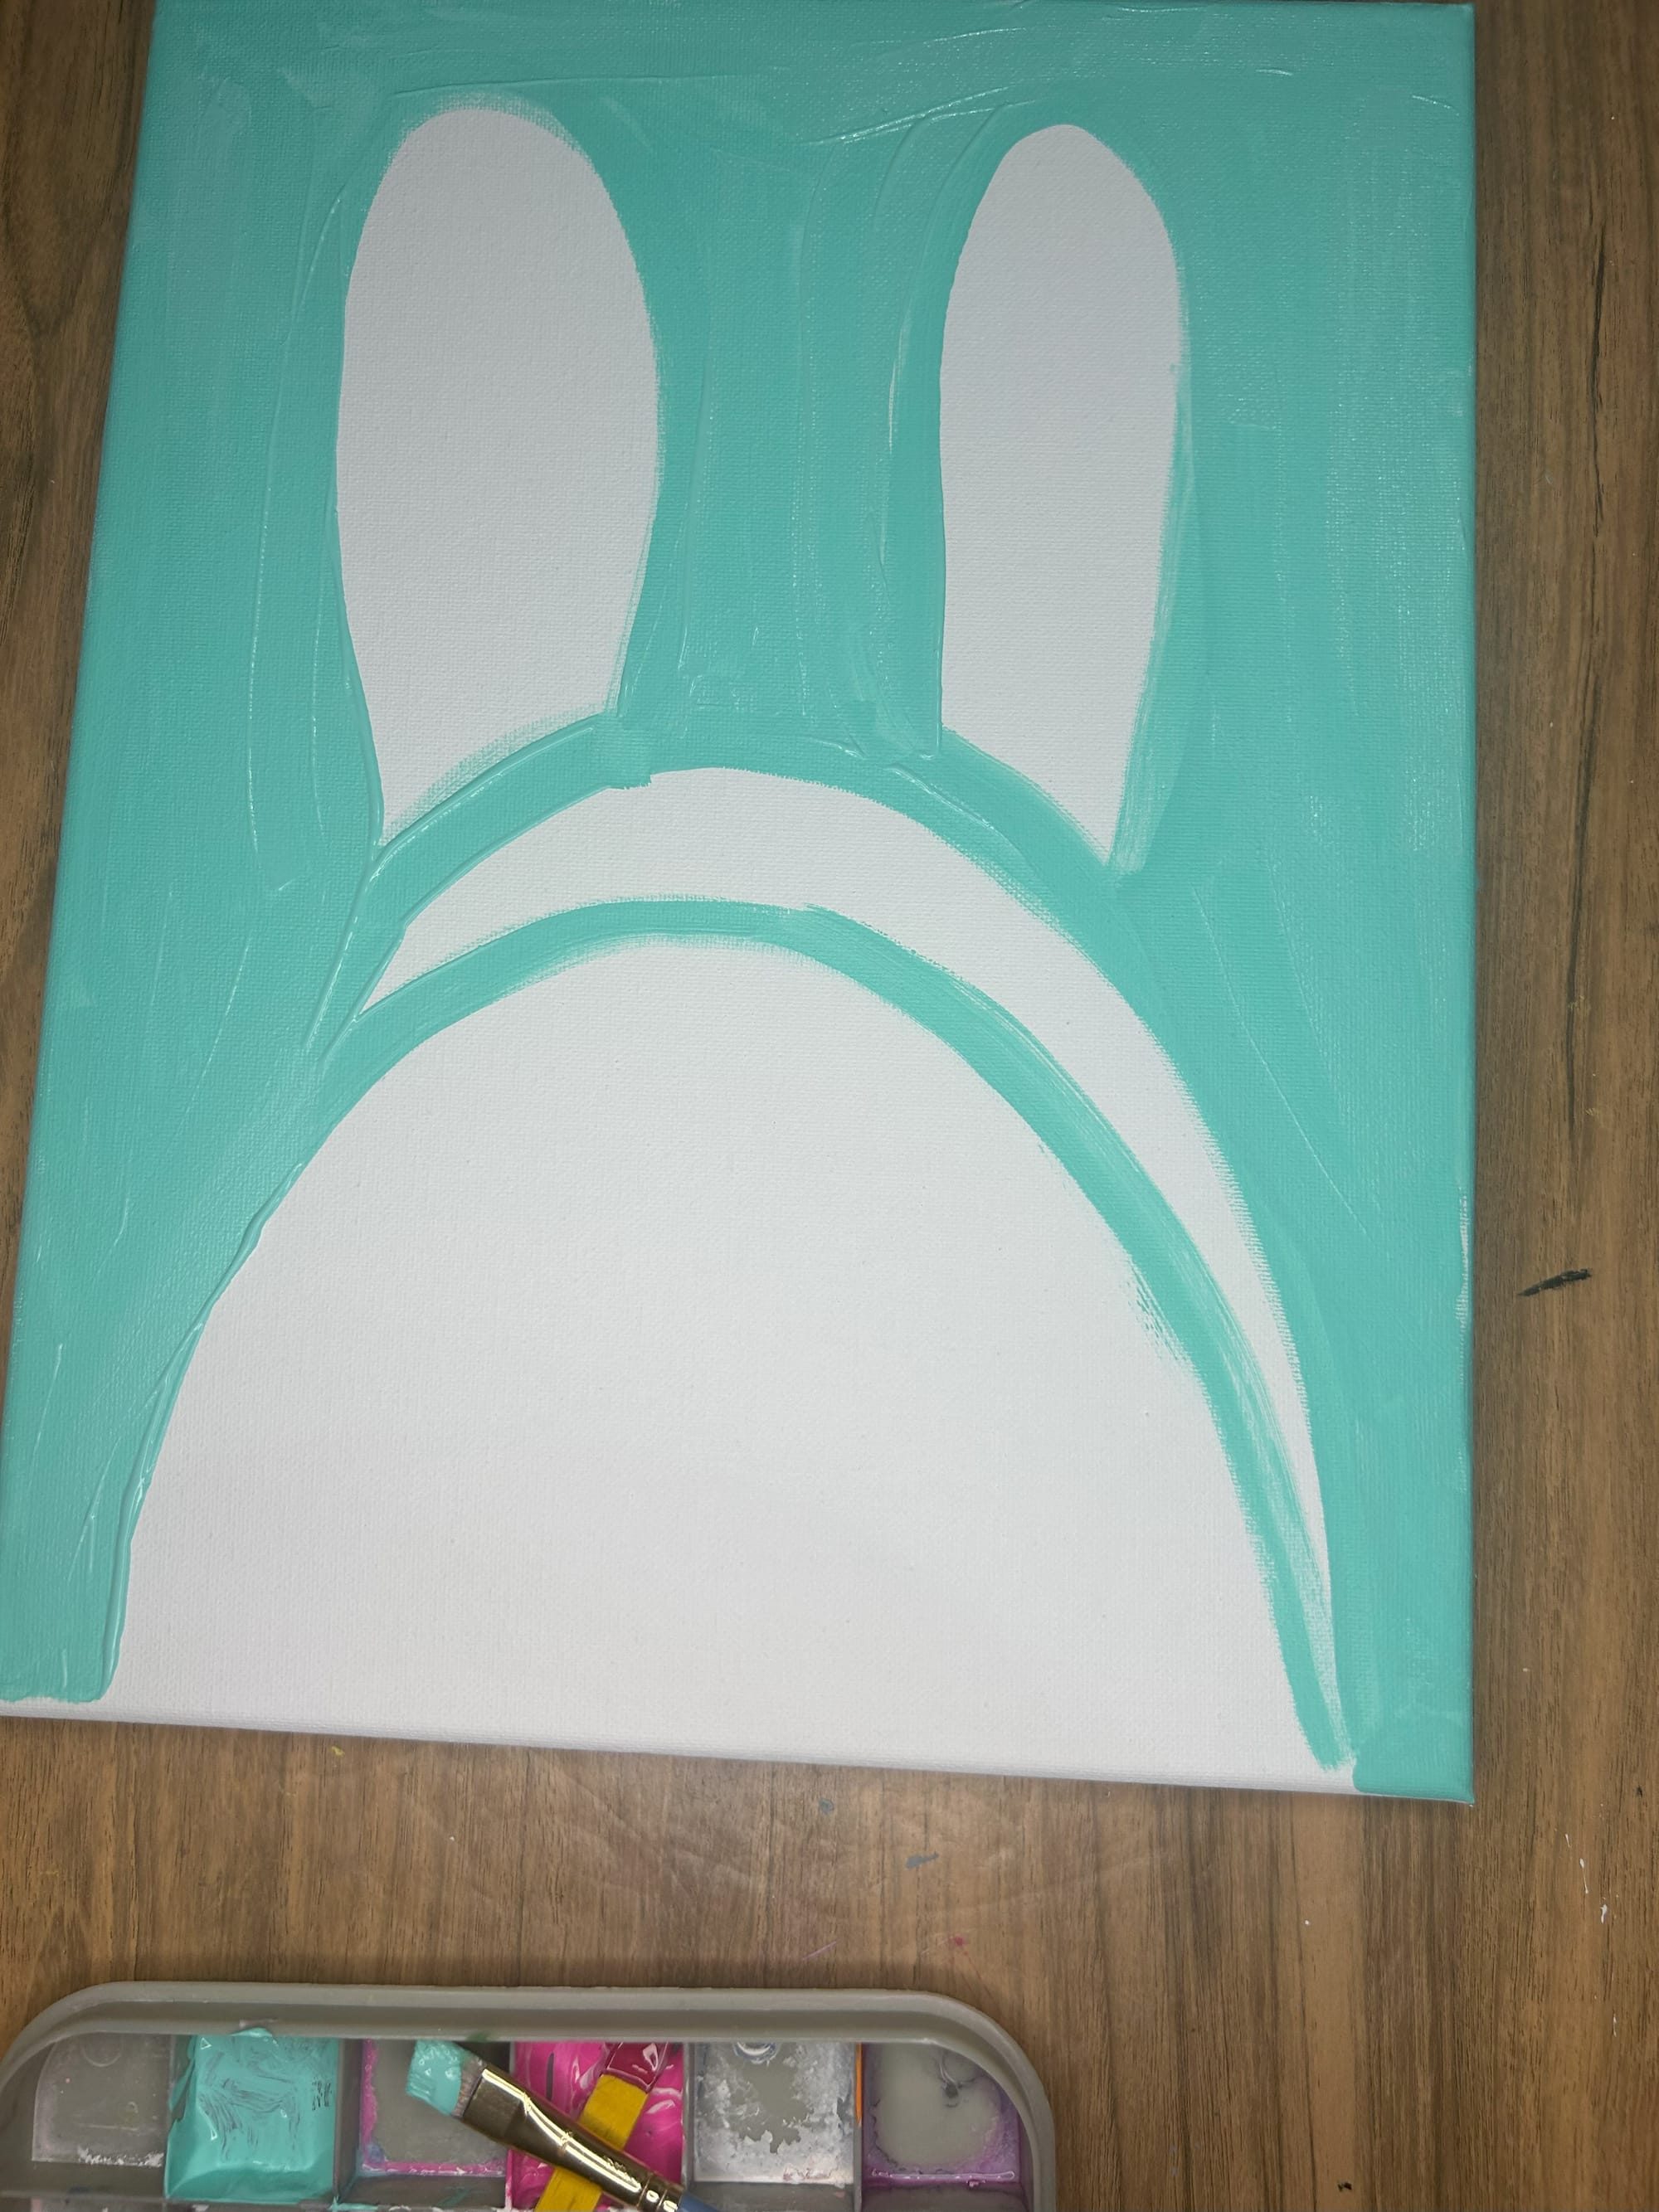
Paint the background of the painting.
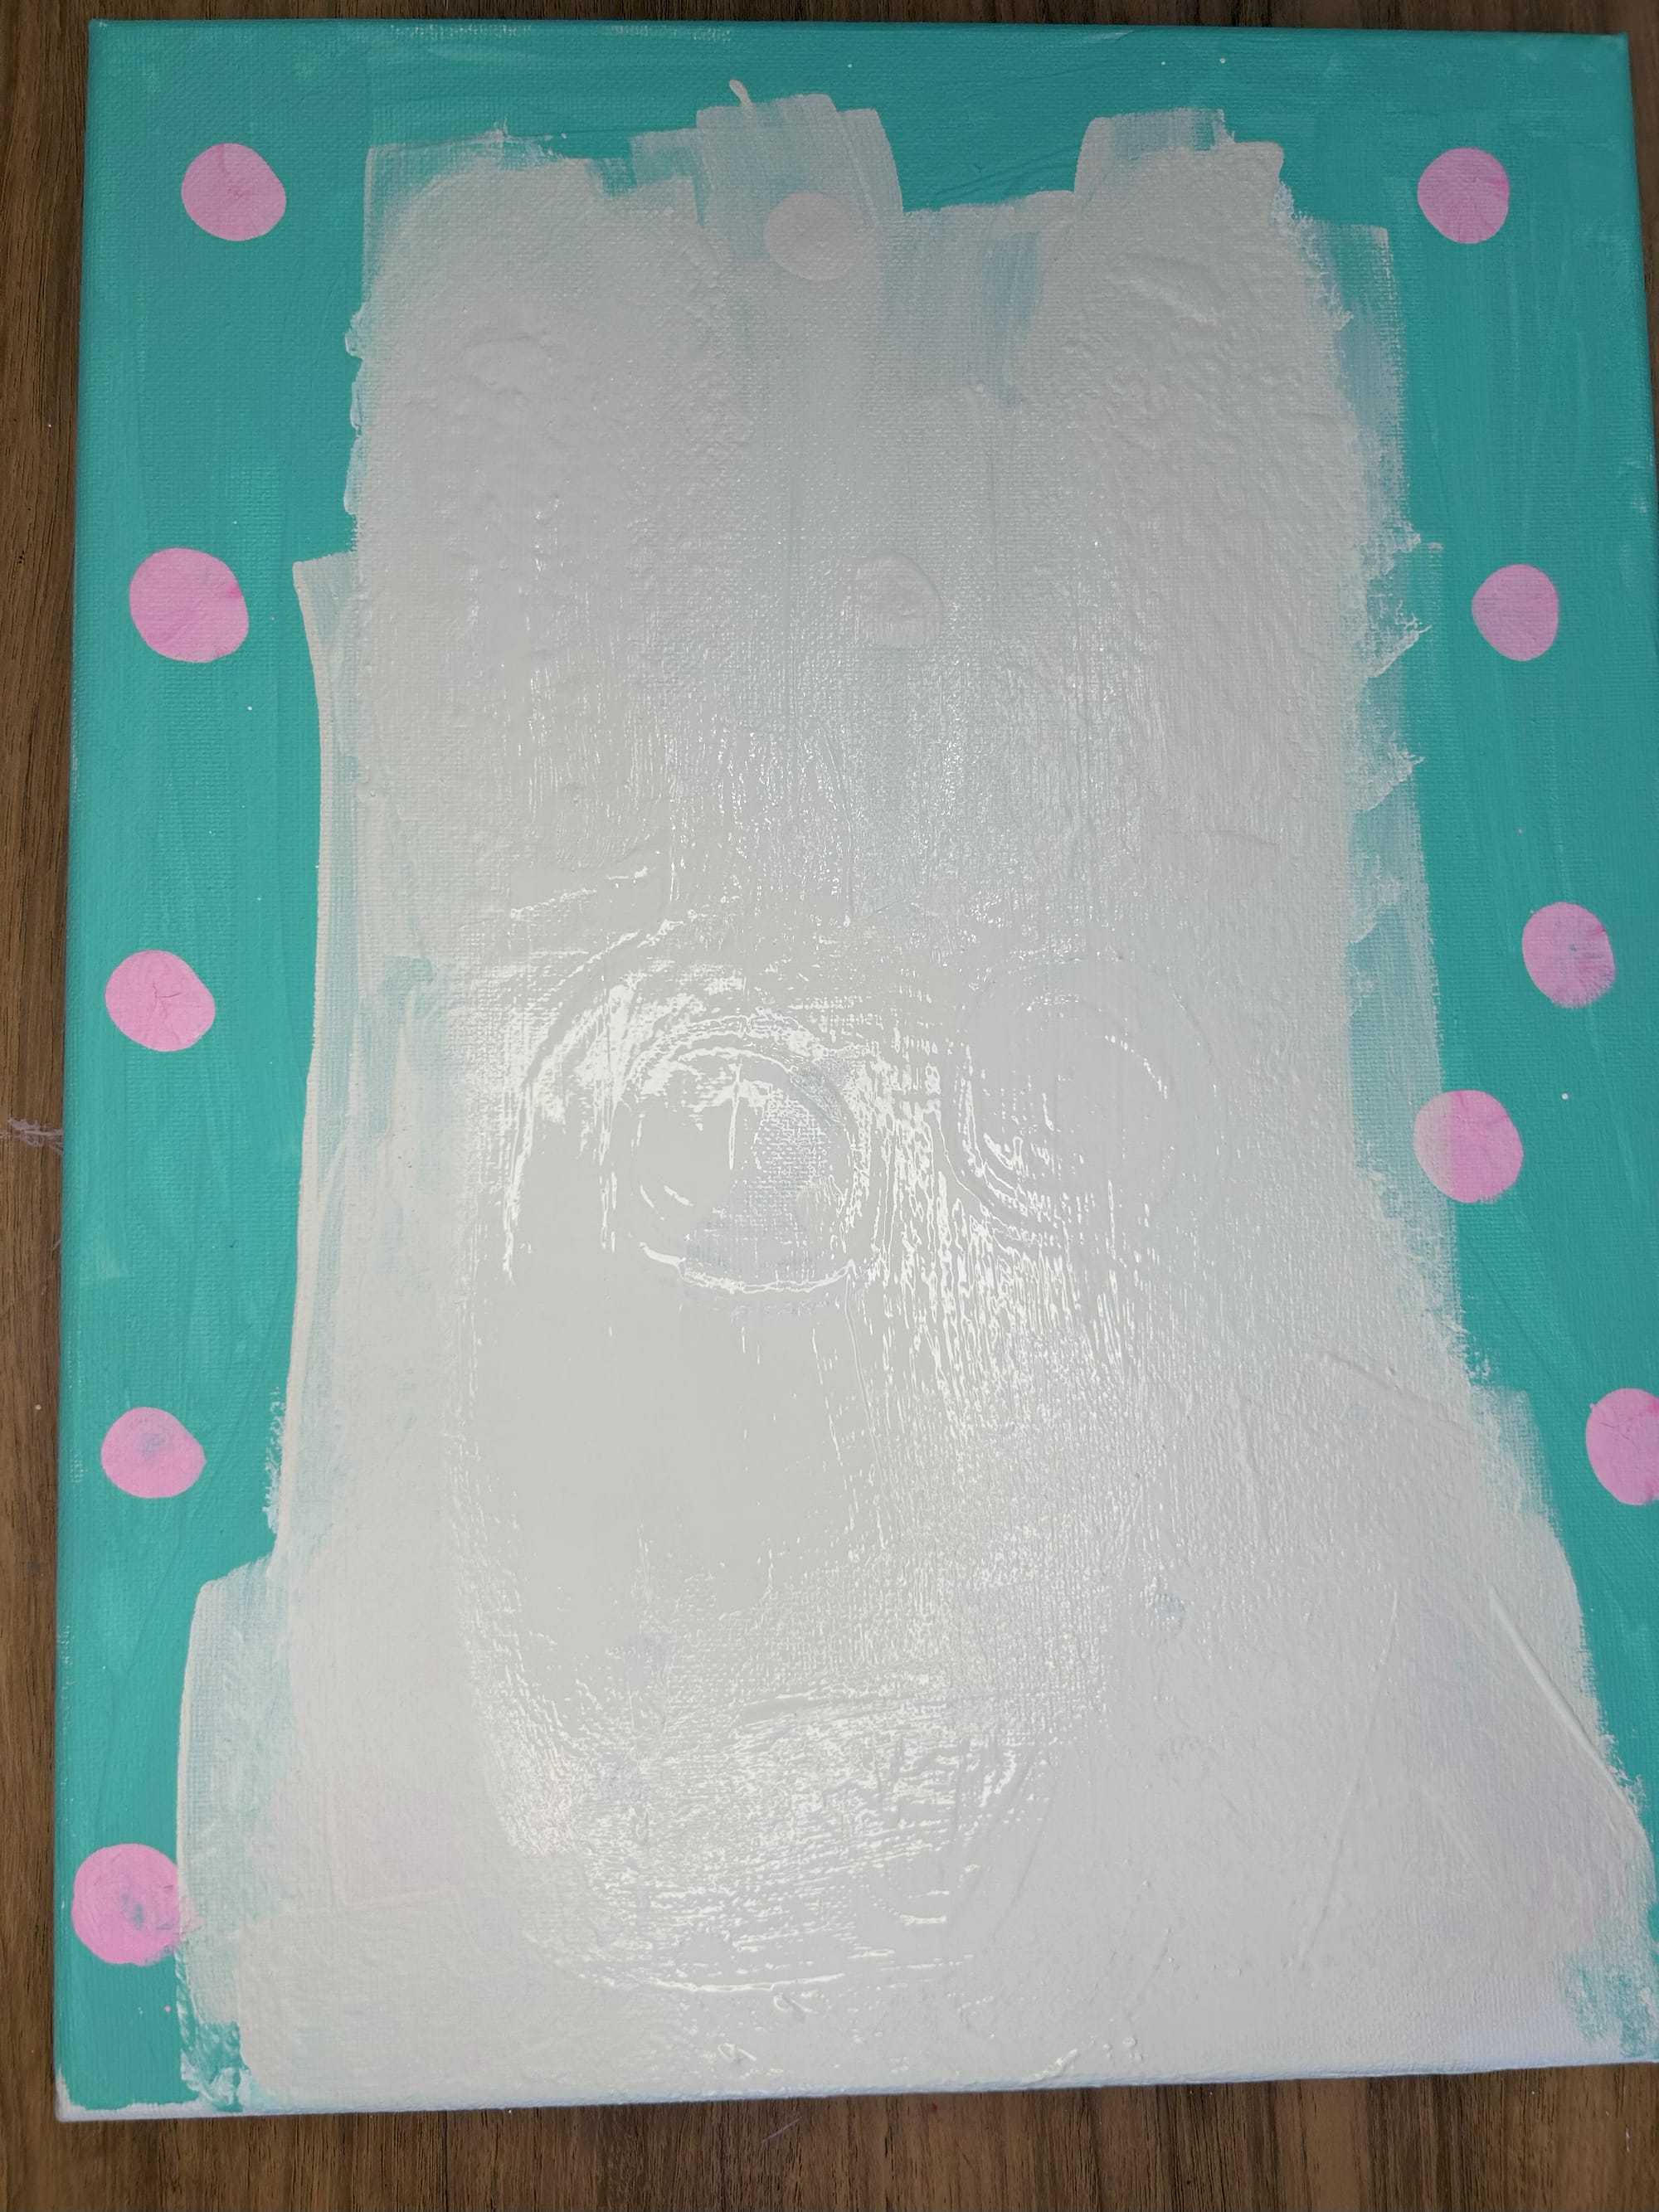
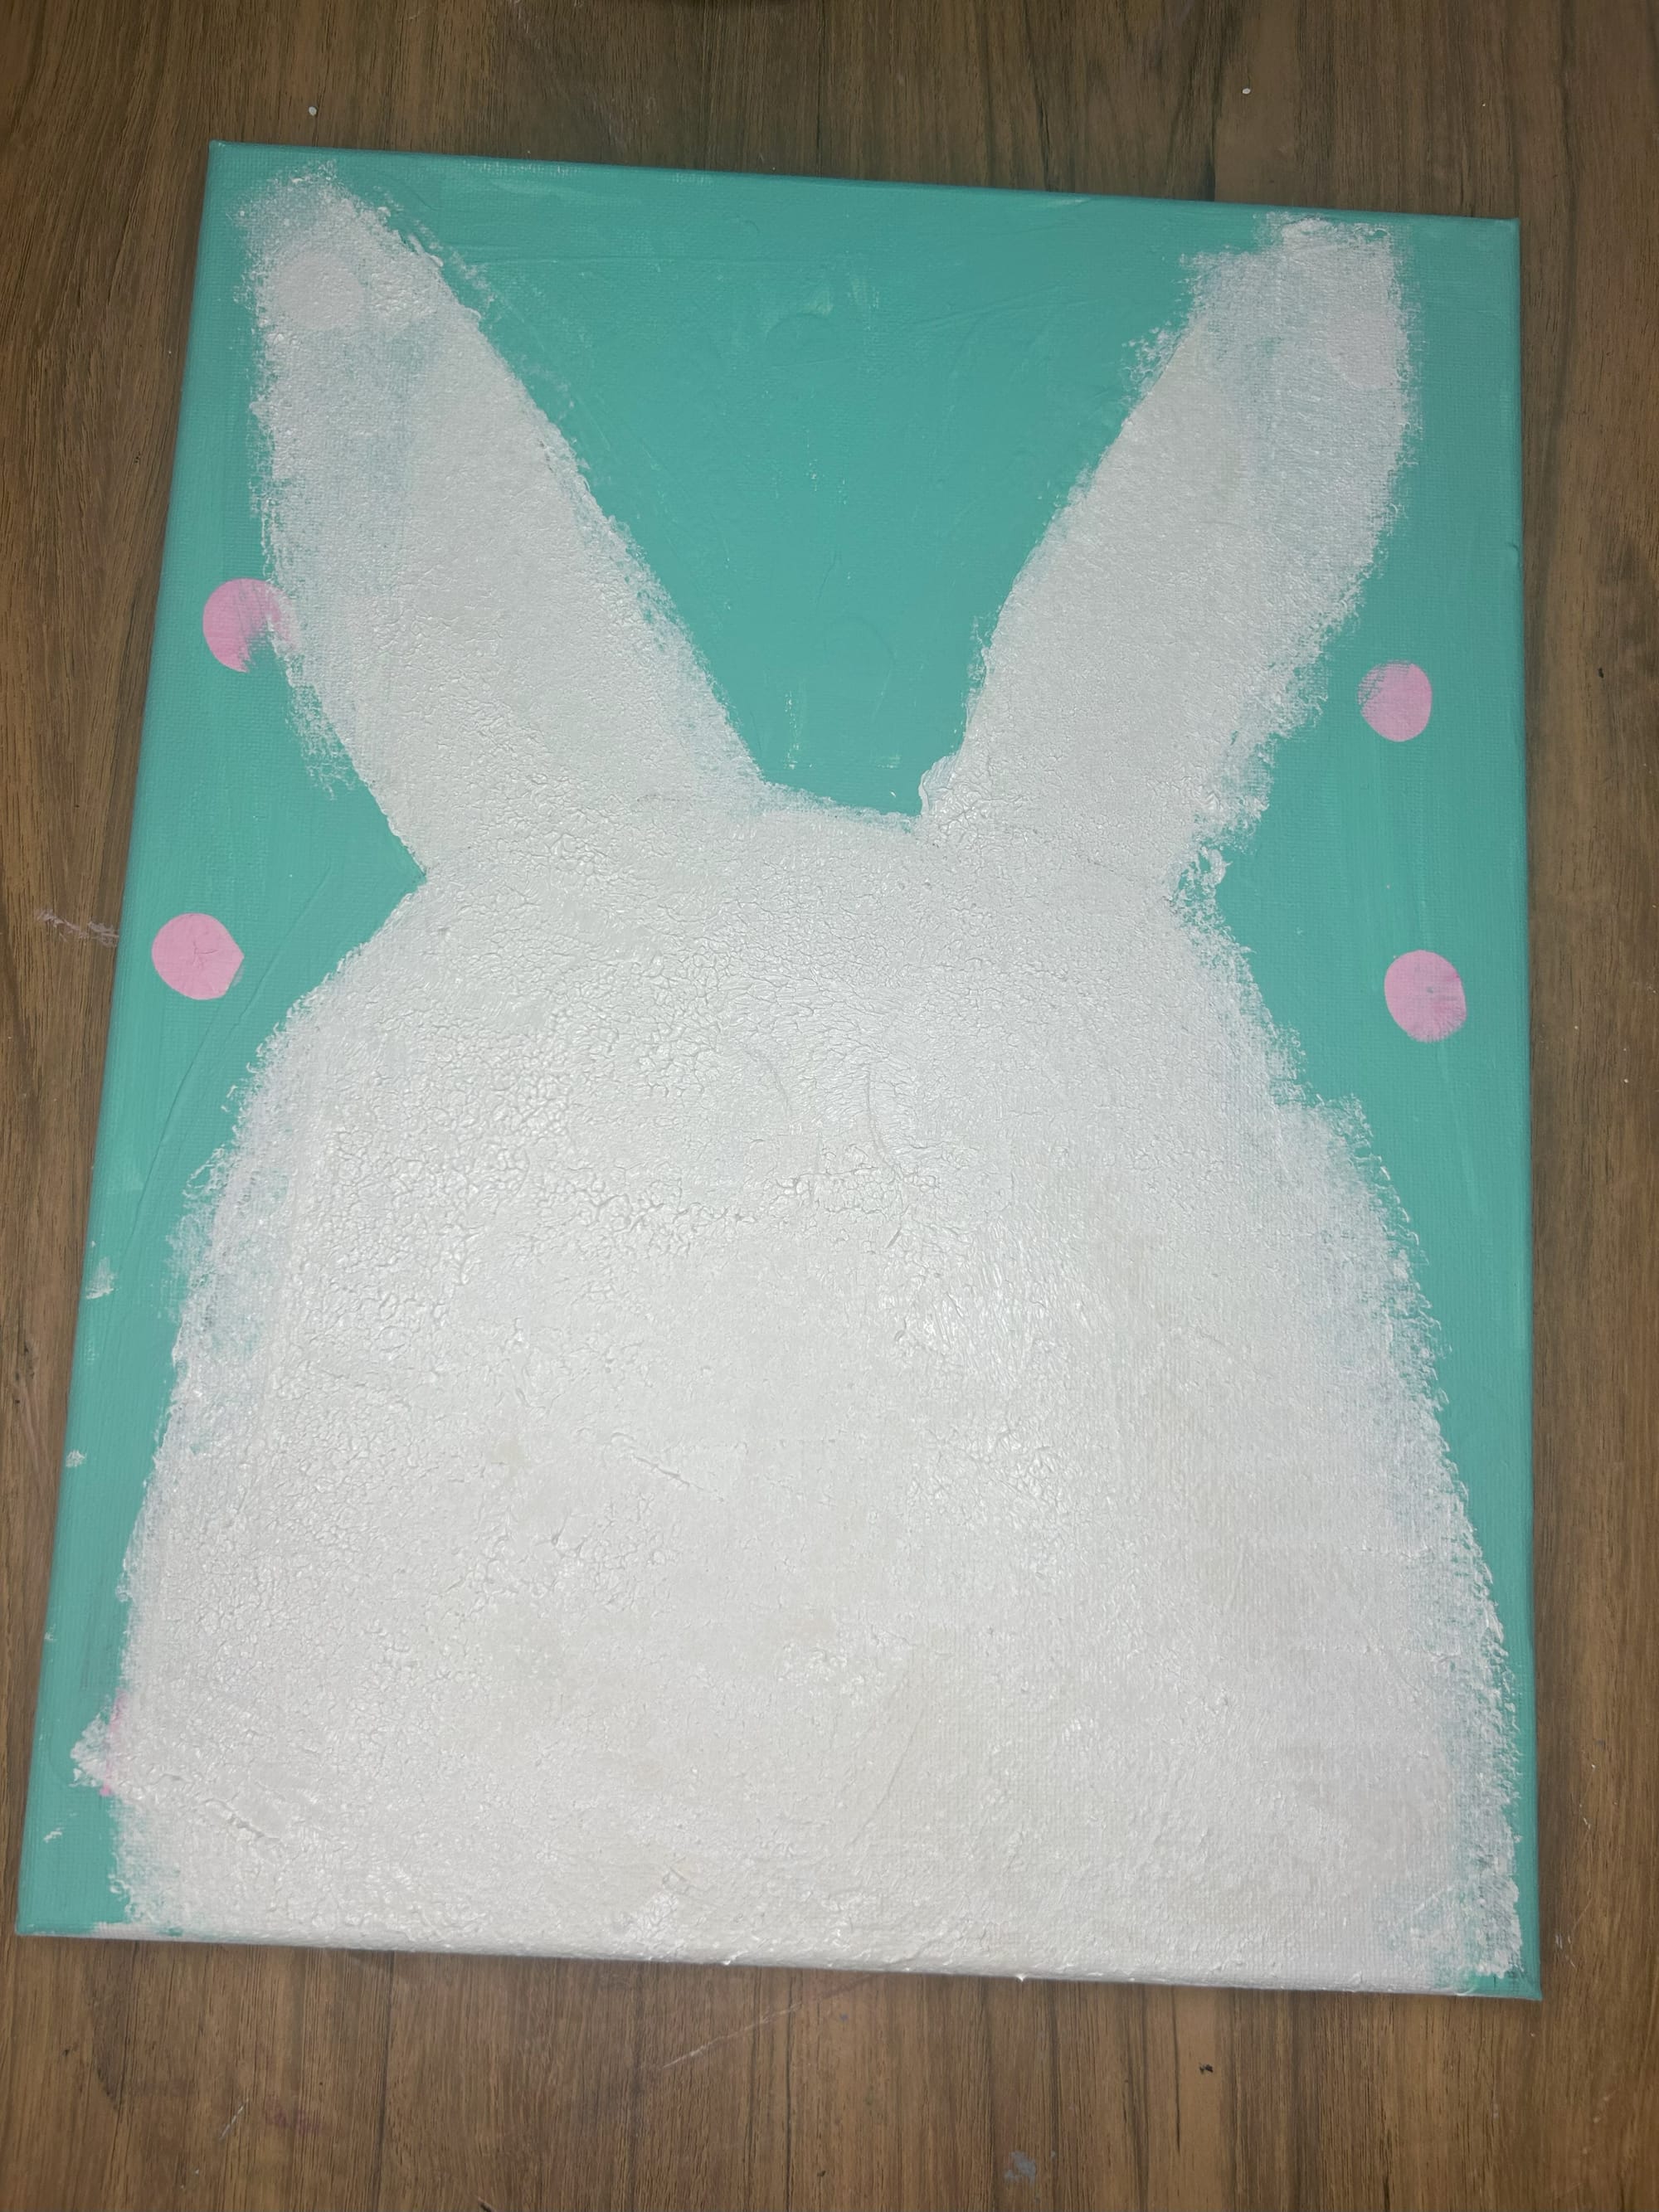
Next, use a sponge to fill in the shape of the bunny's face and ears with white paint. It is okay if the paint goes outside the lines you have painted.
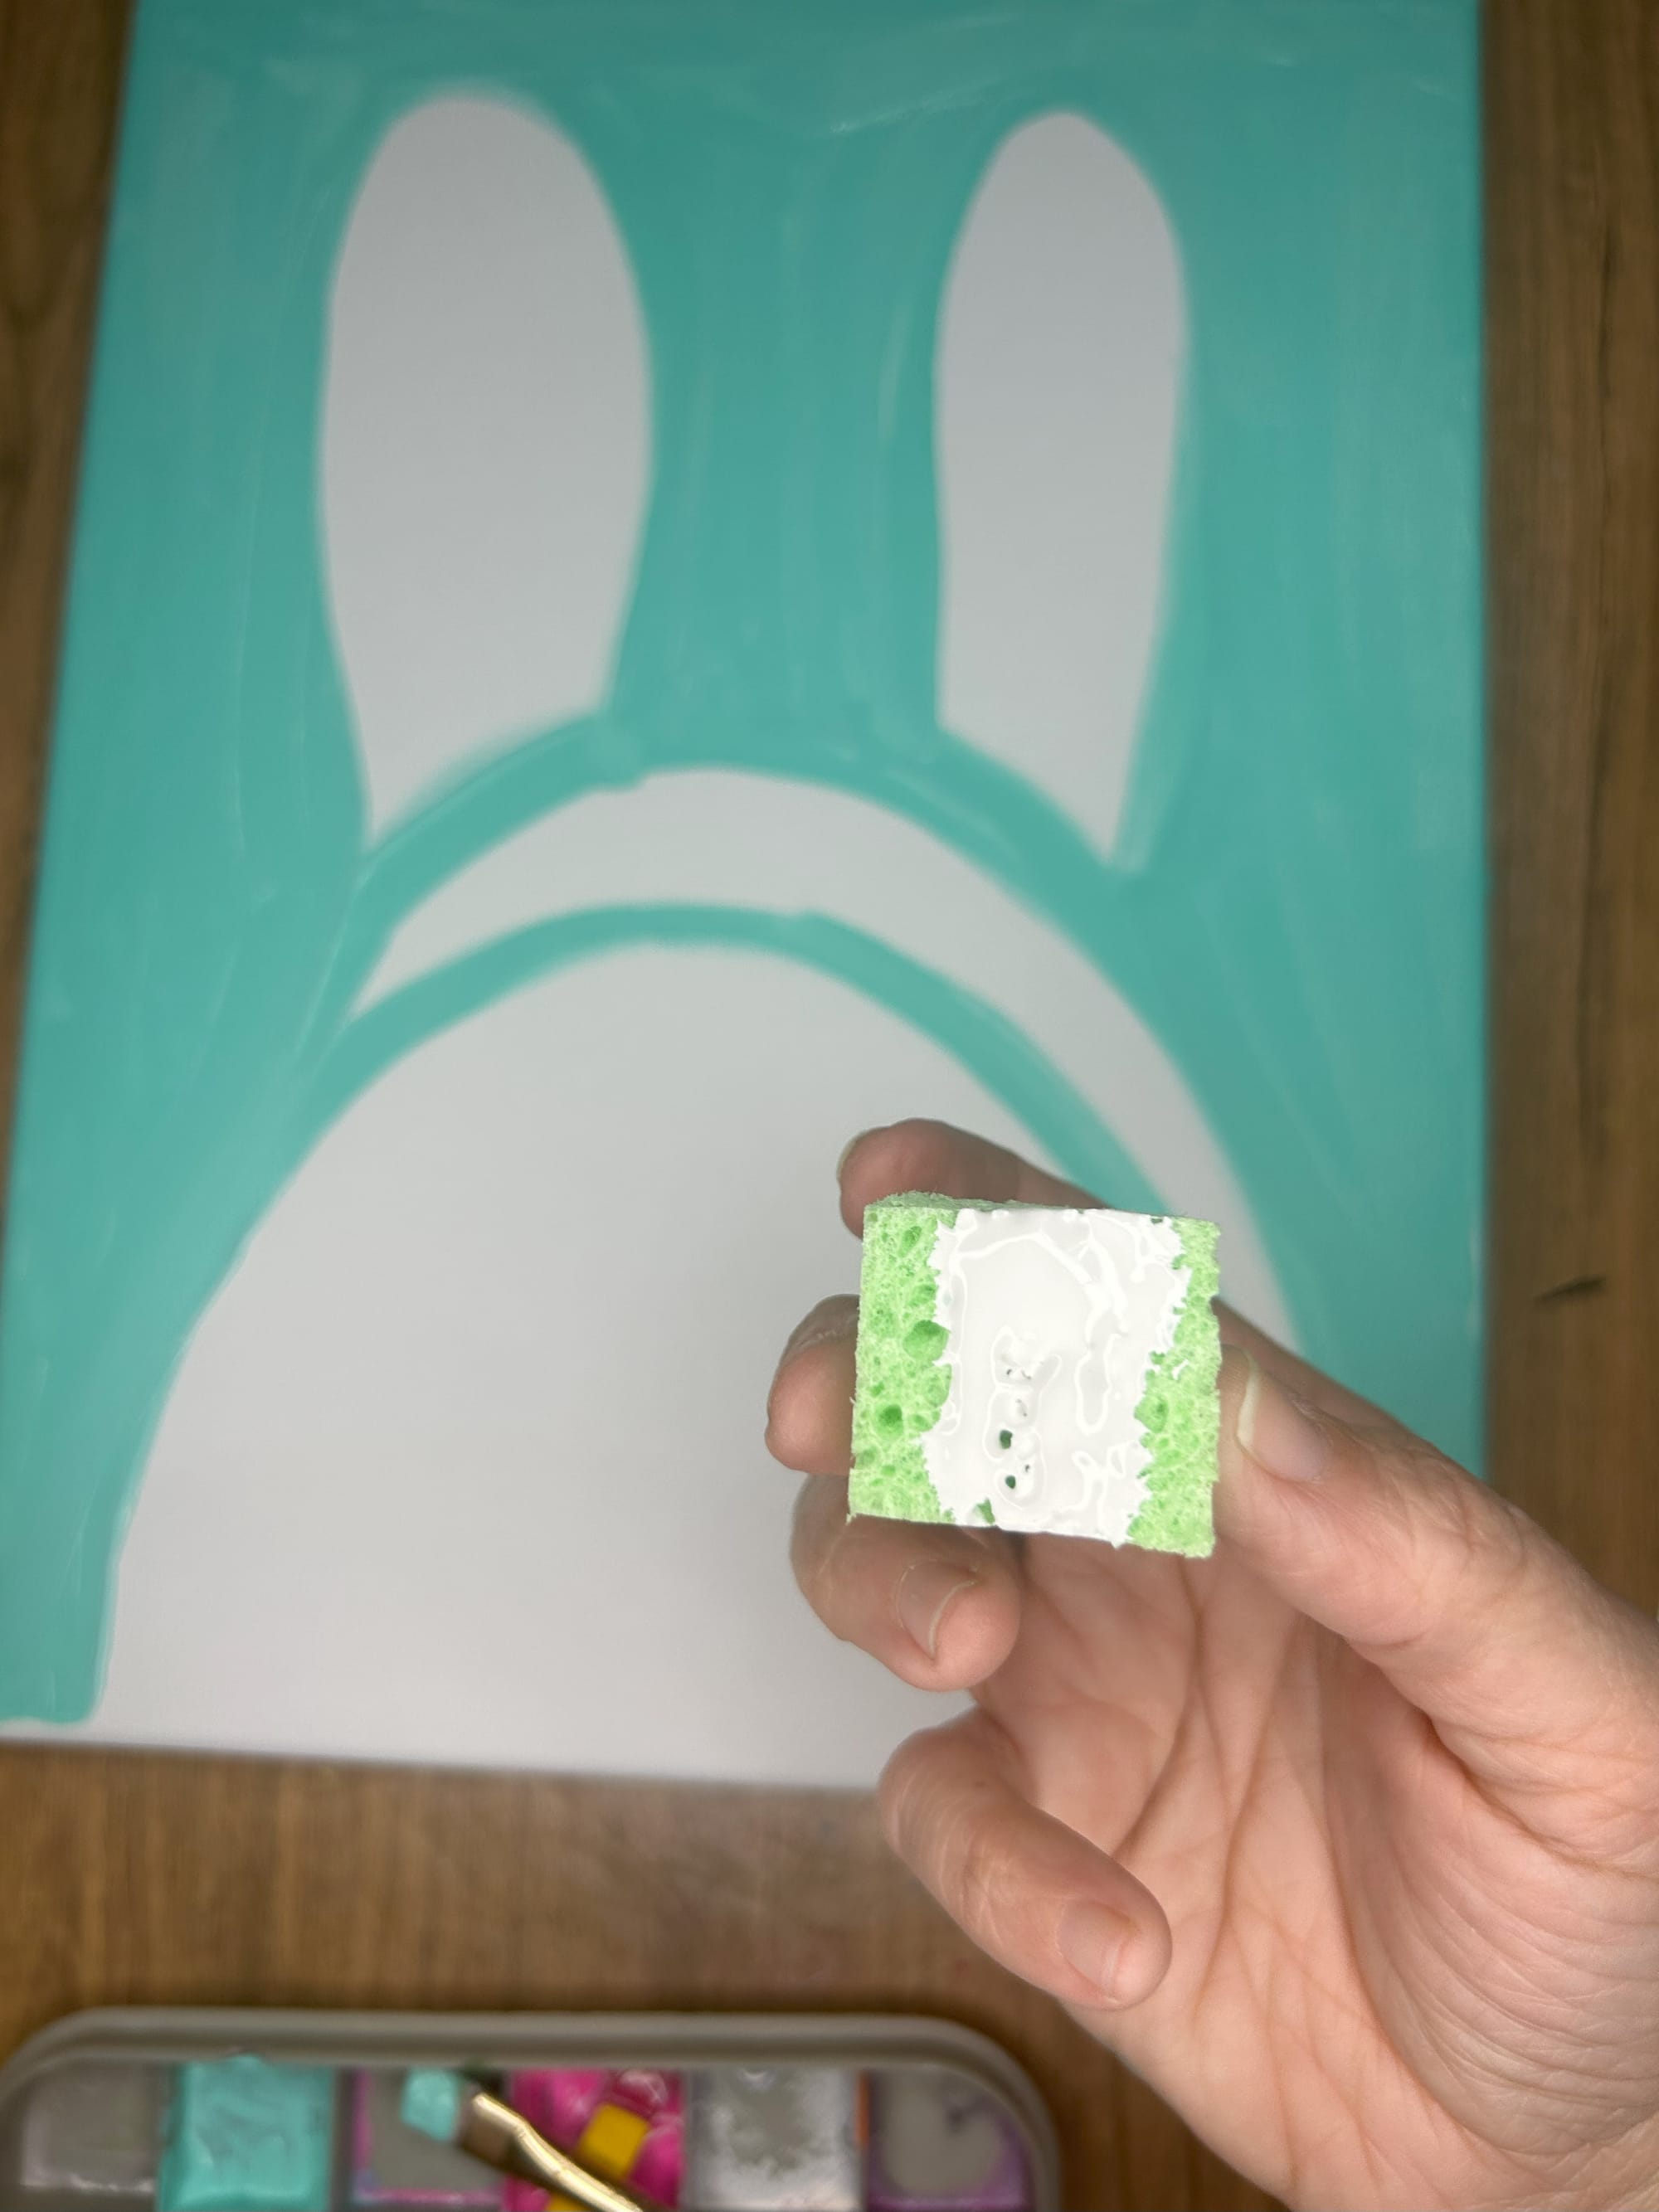
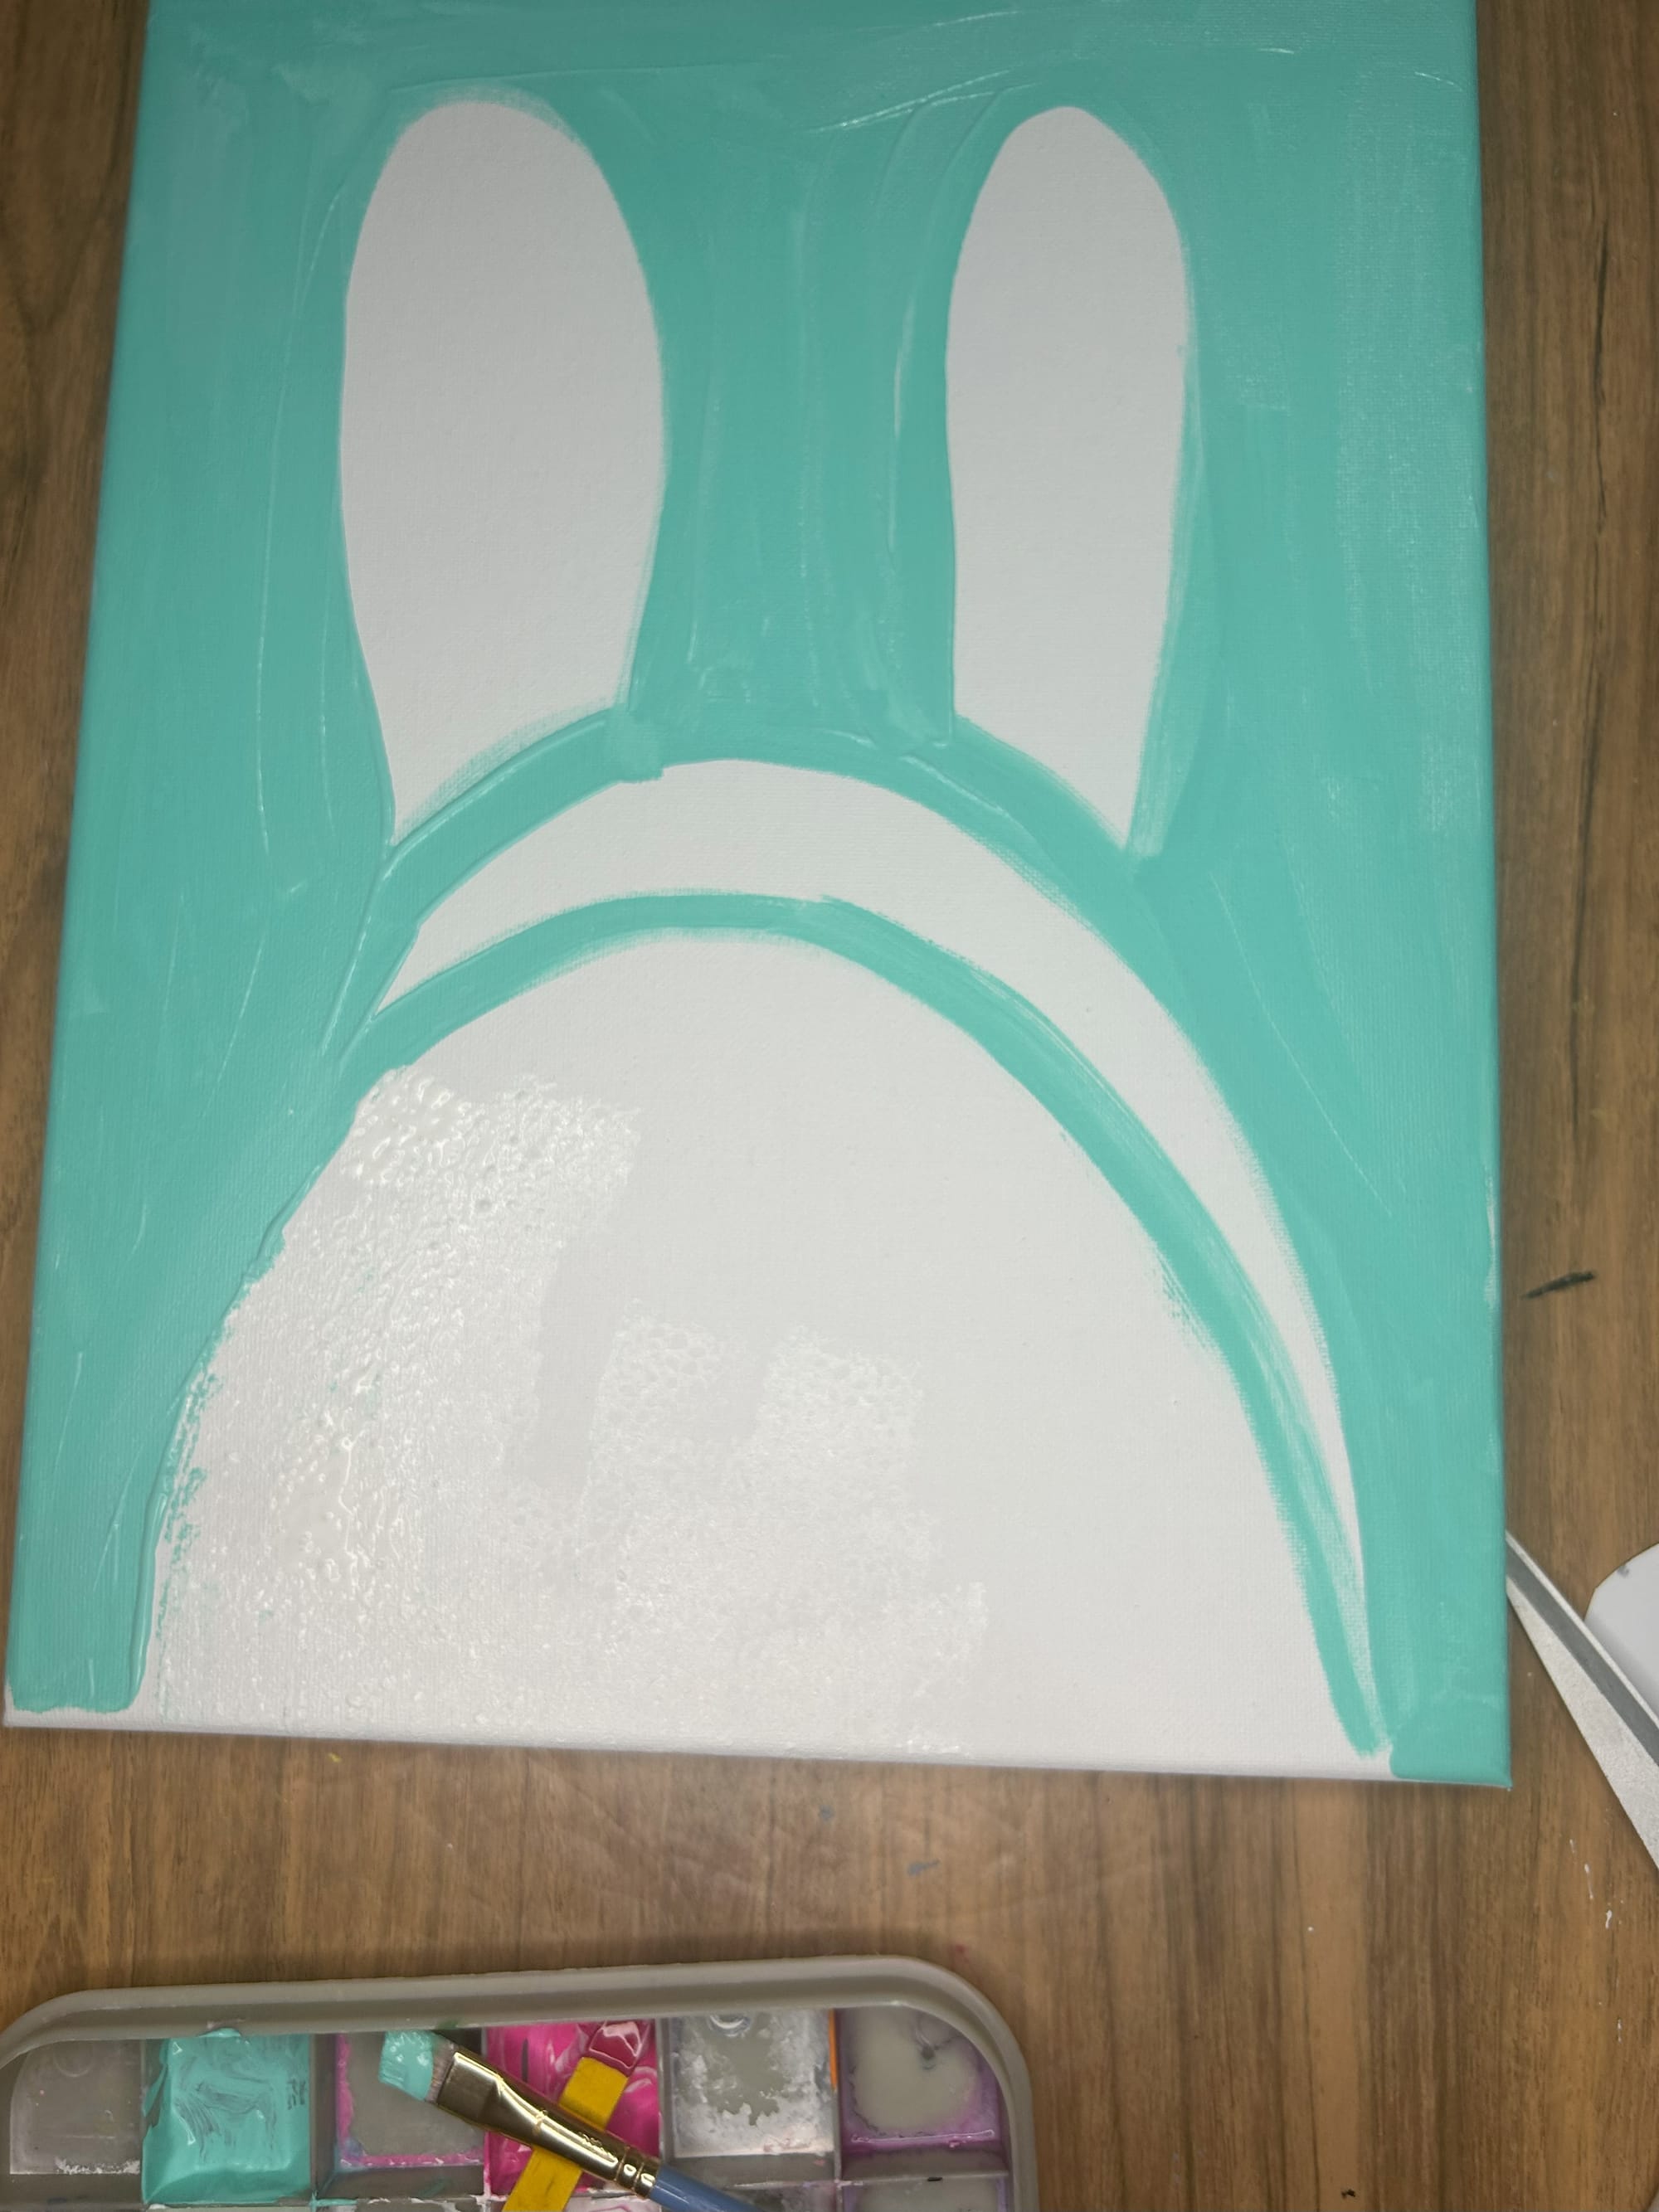
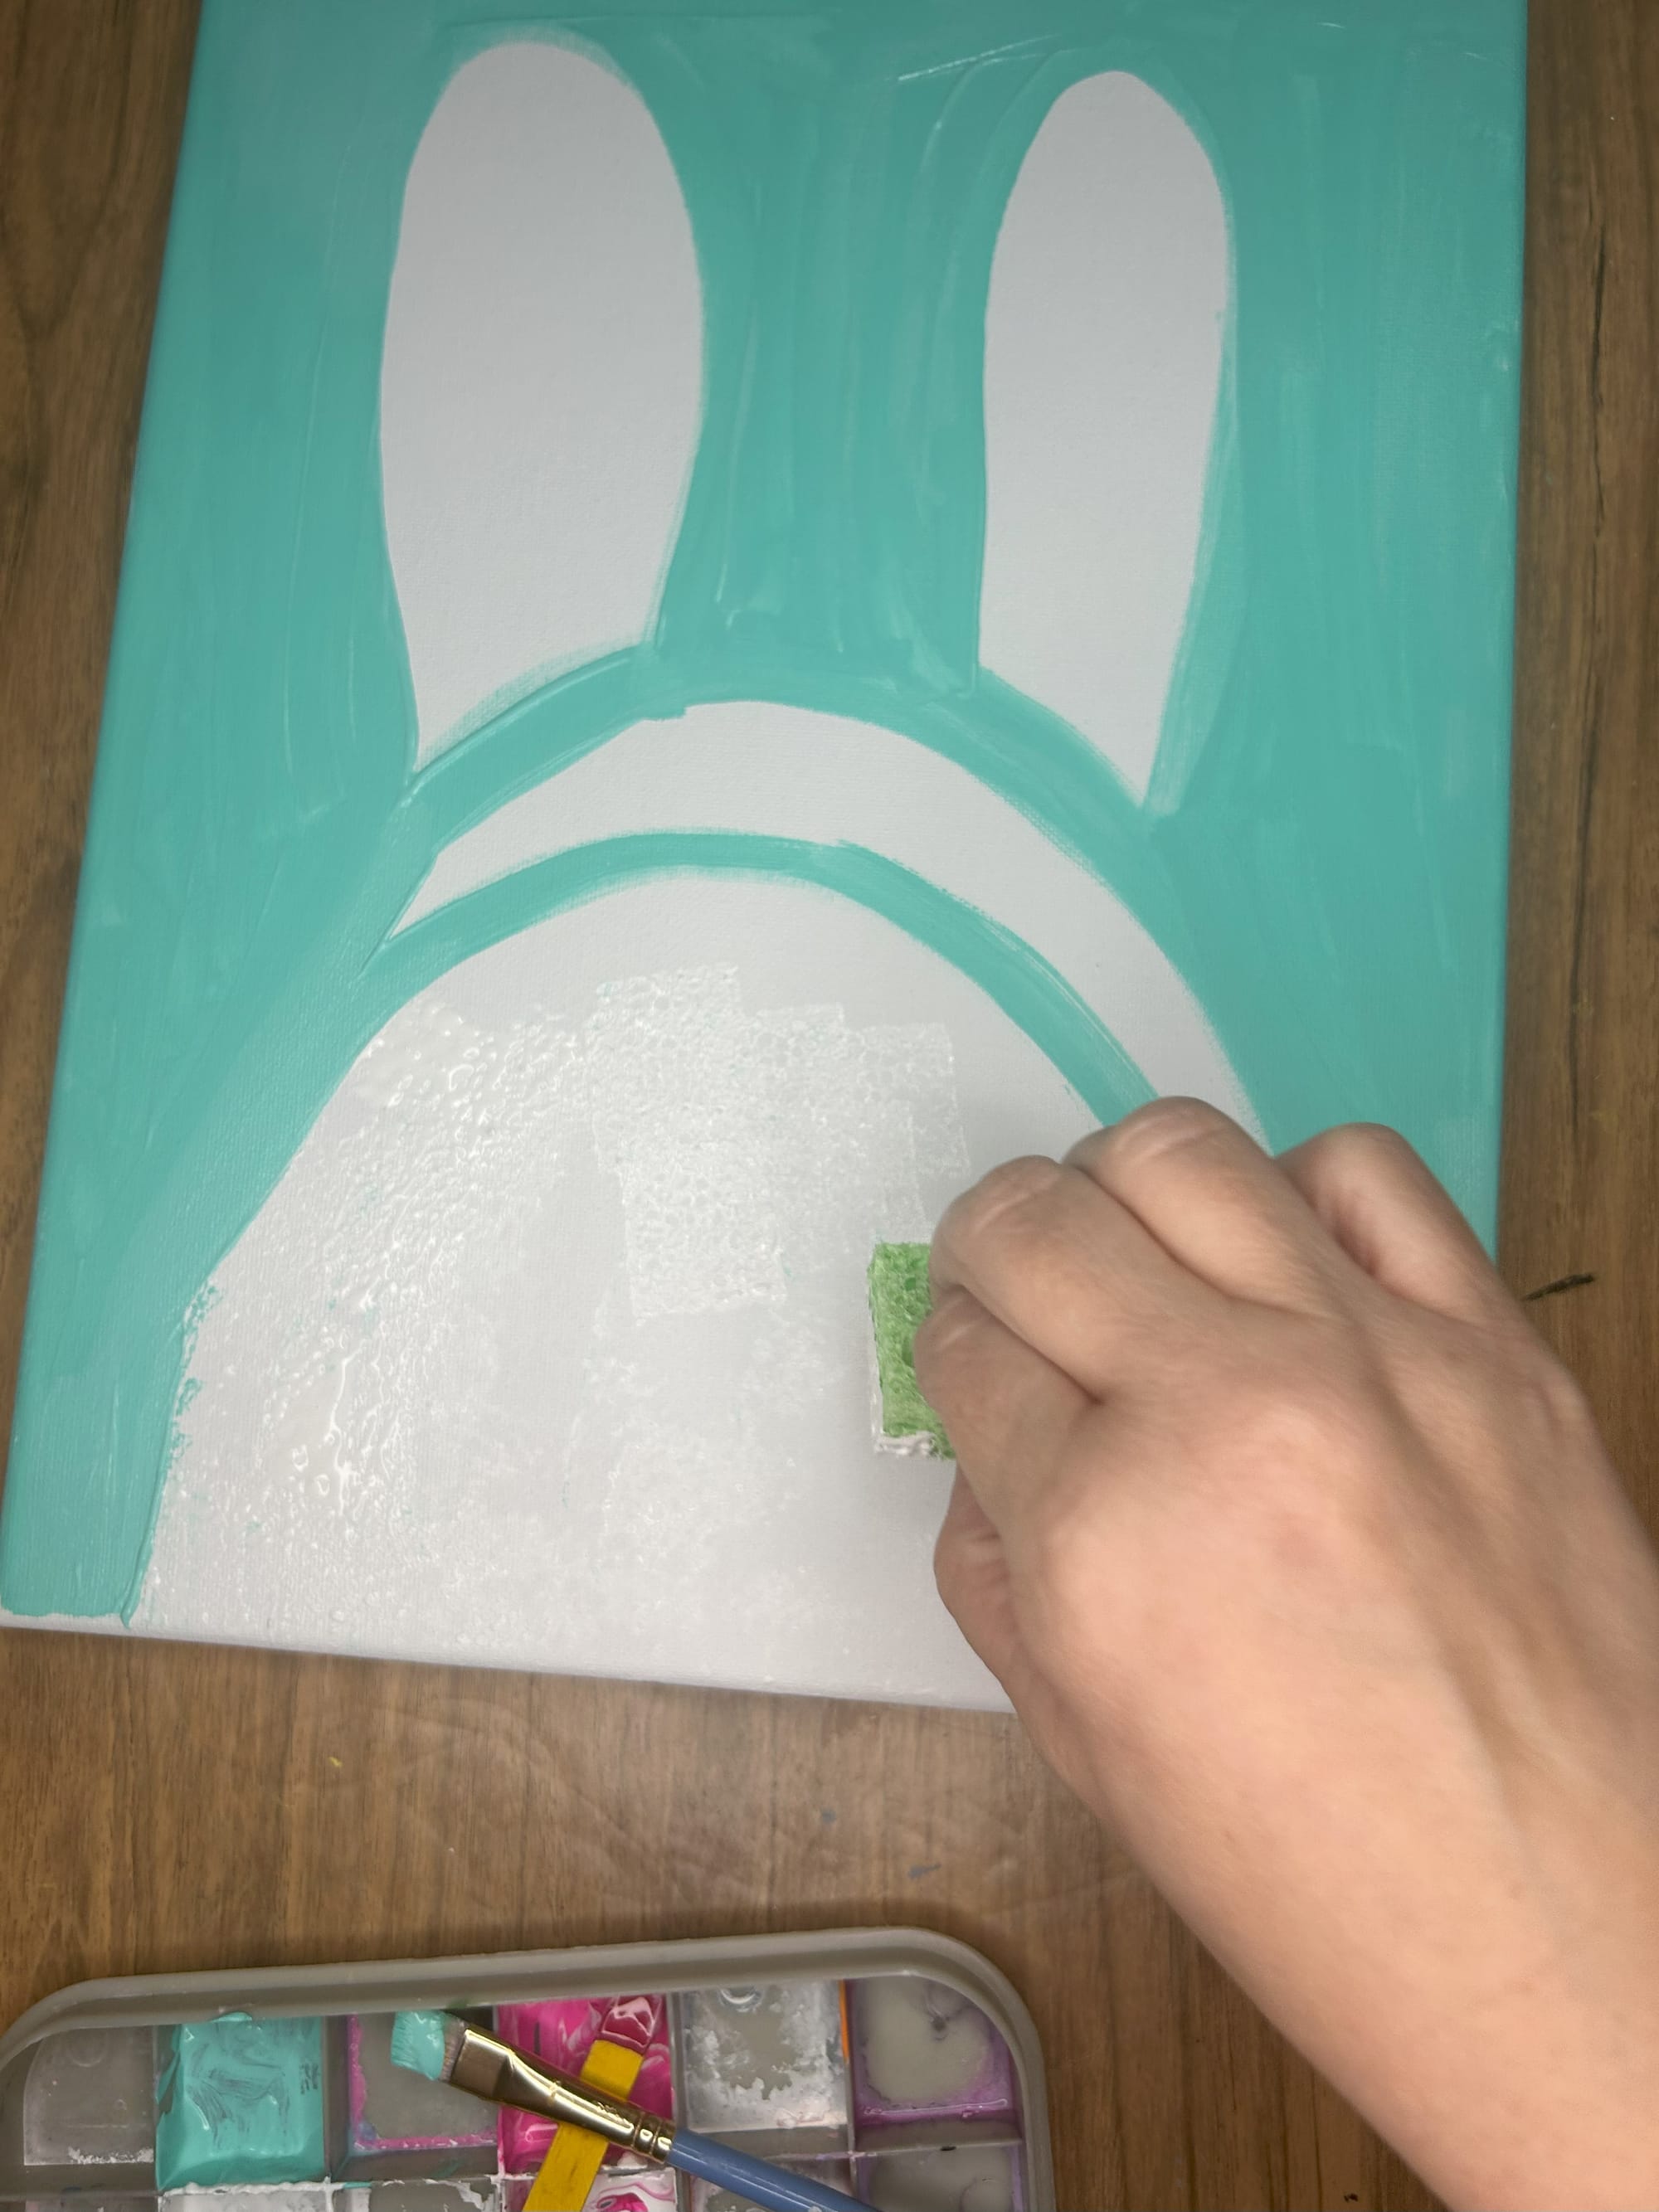
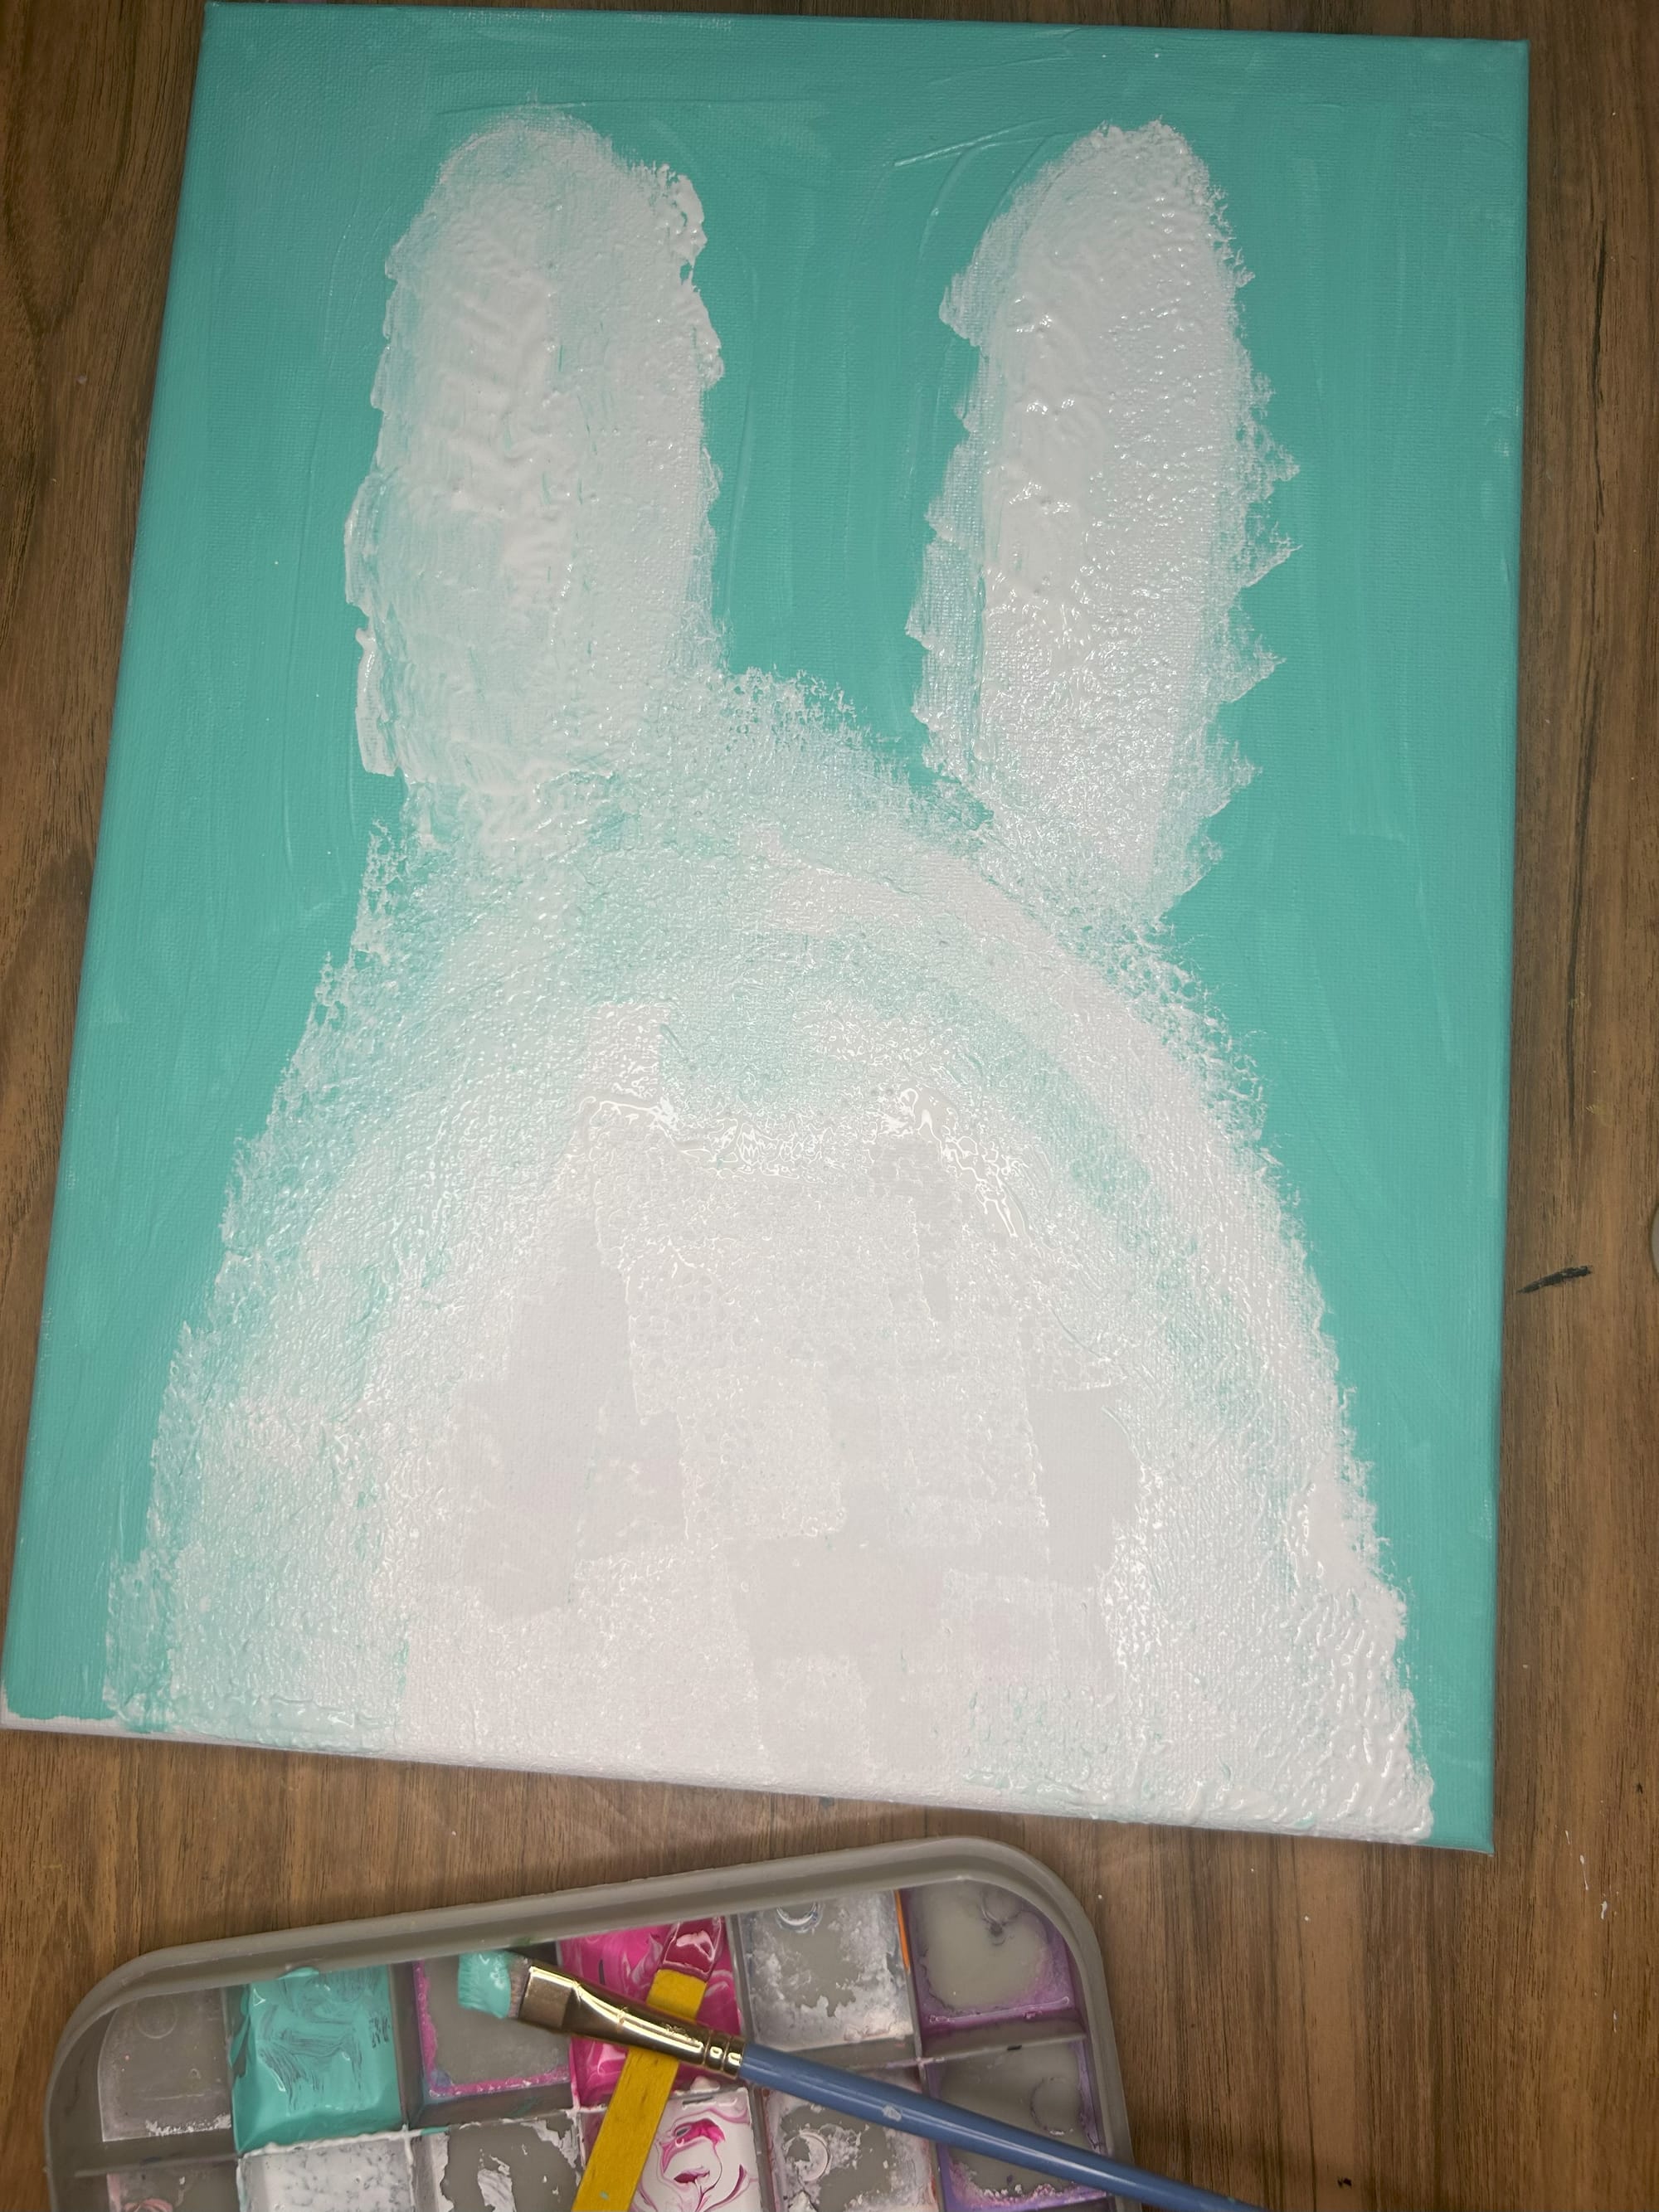
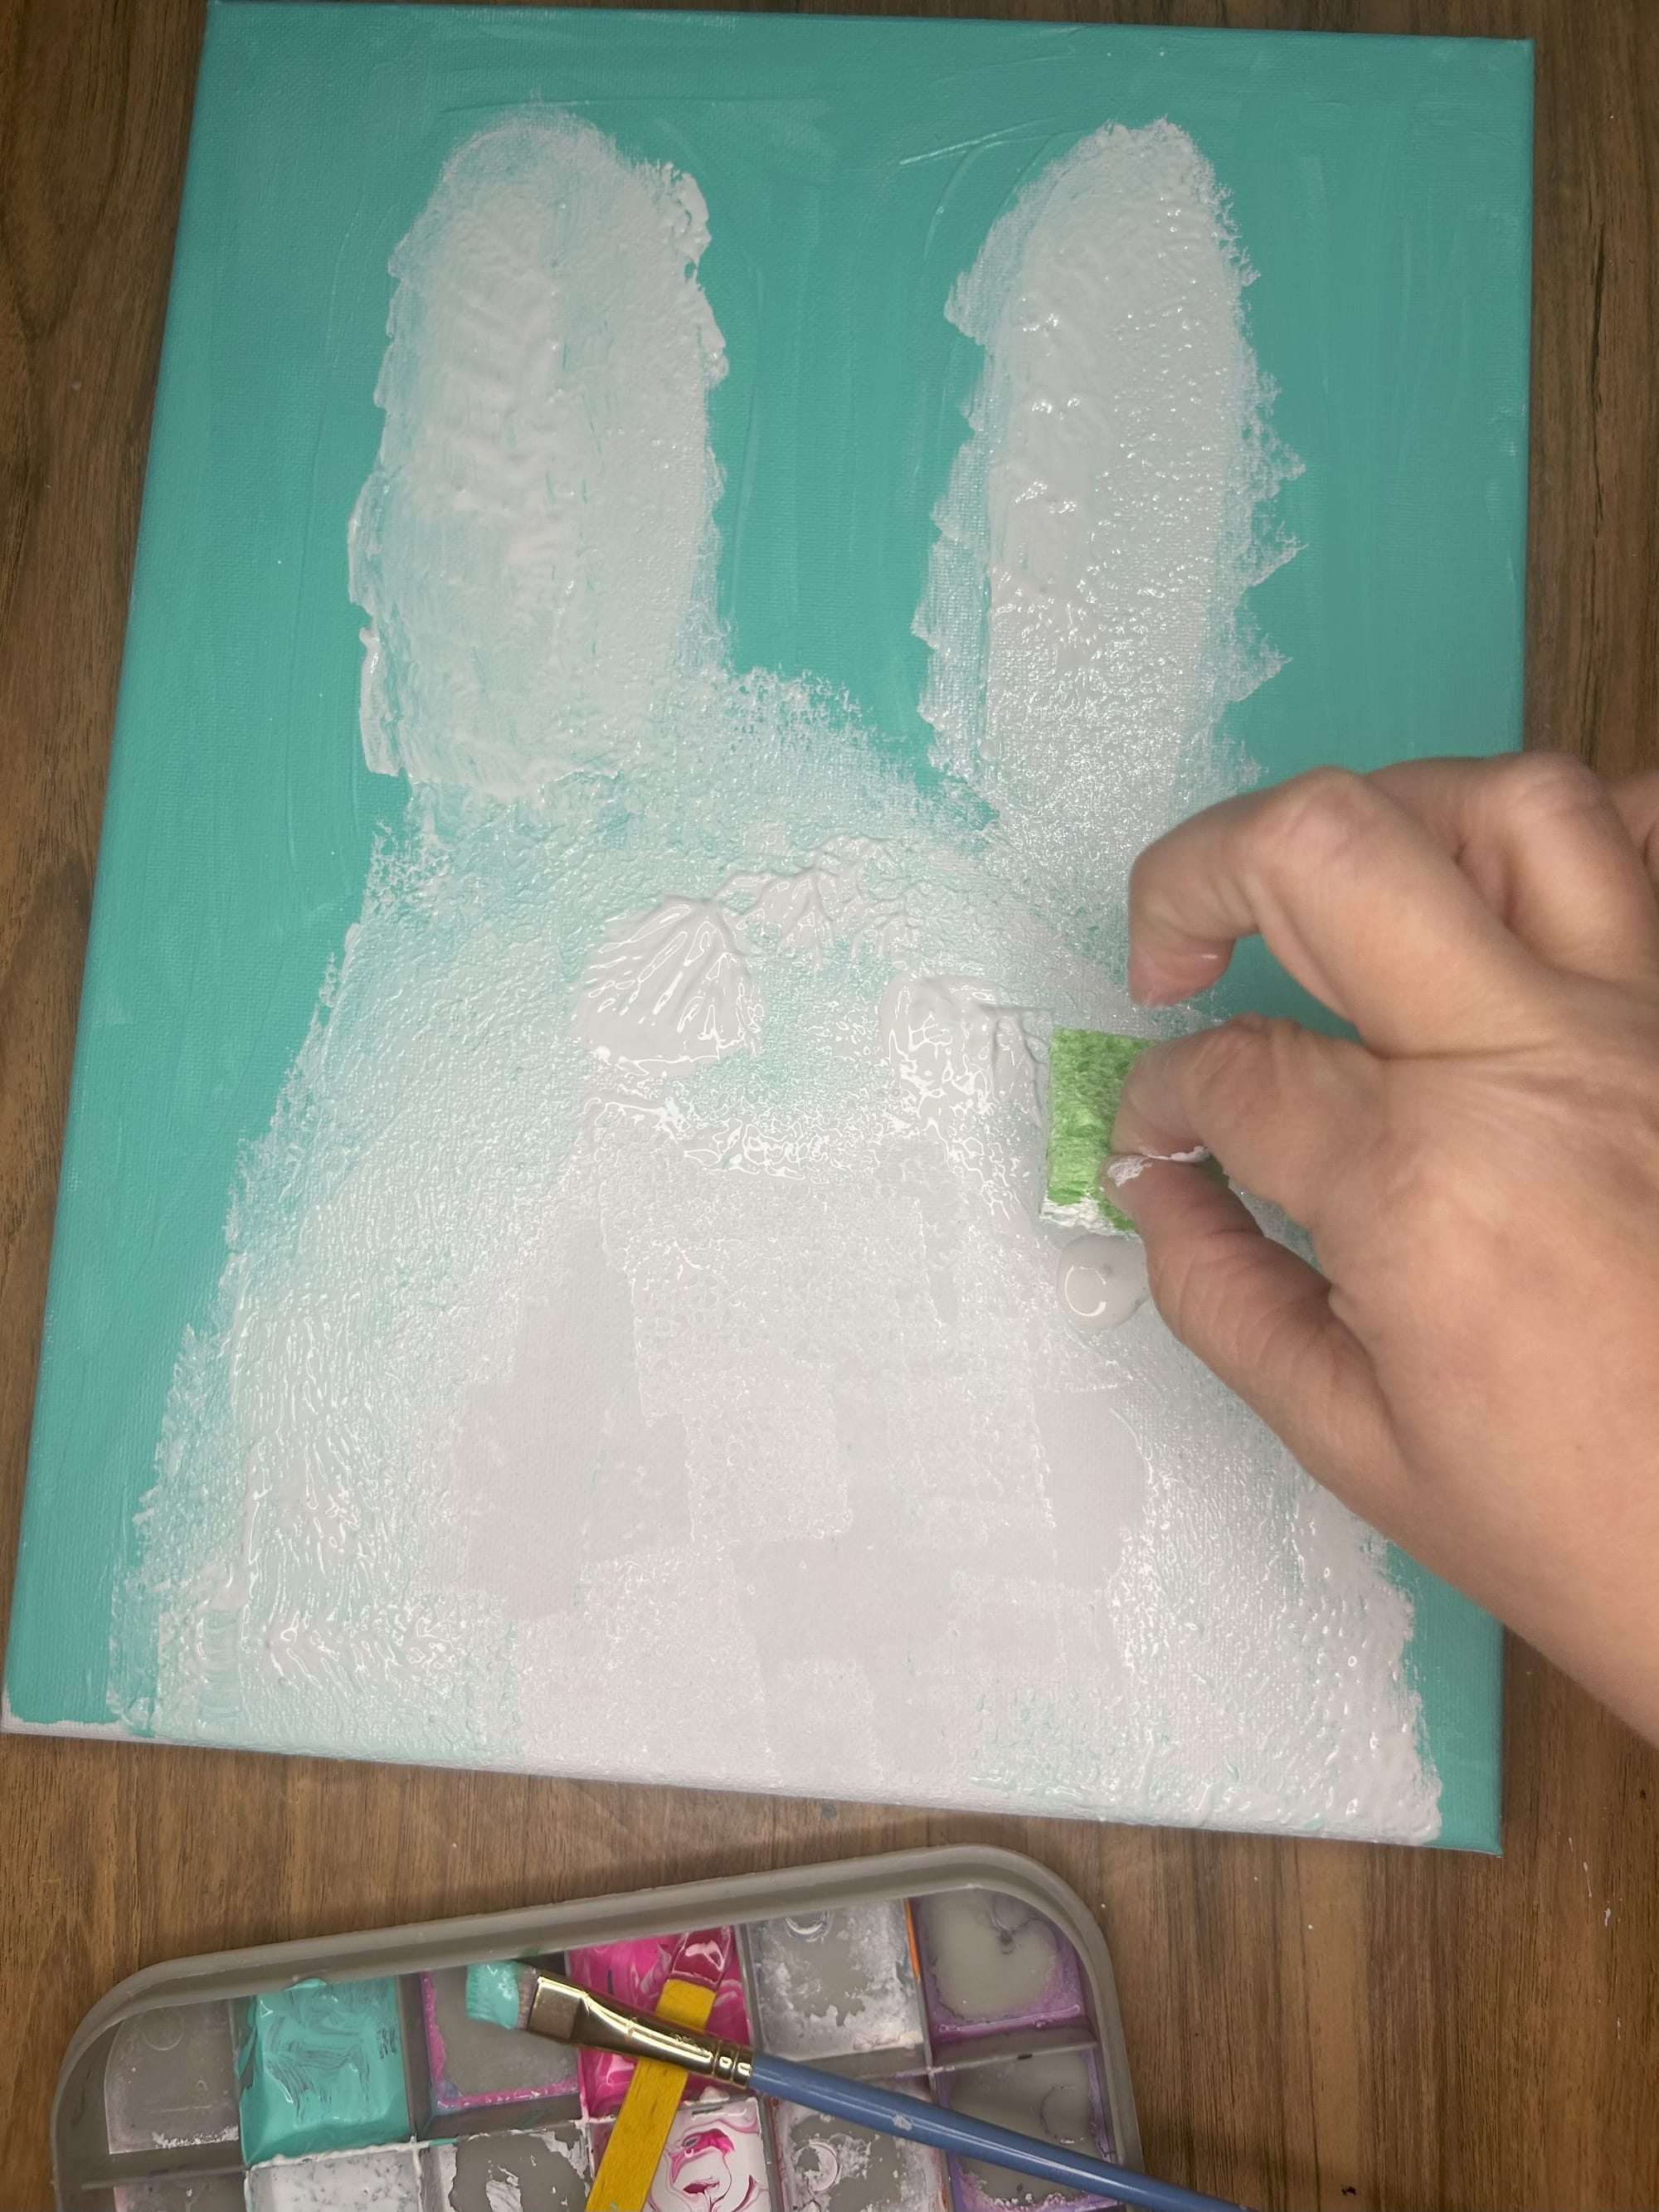
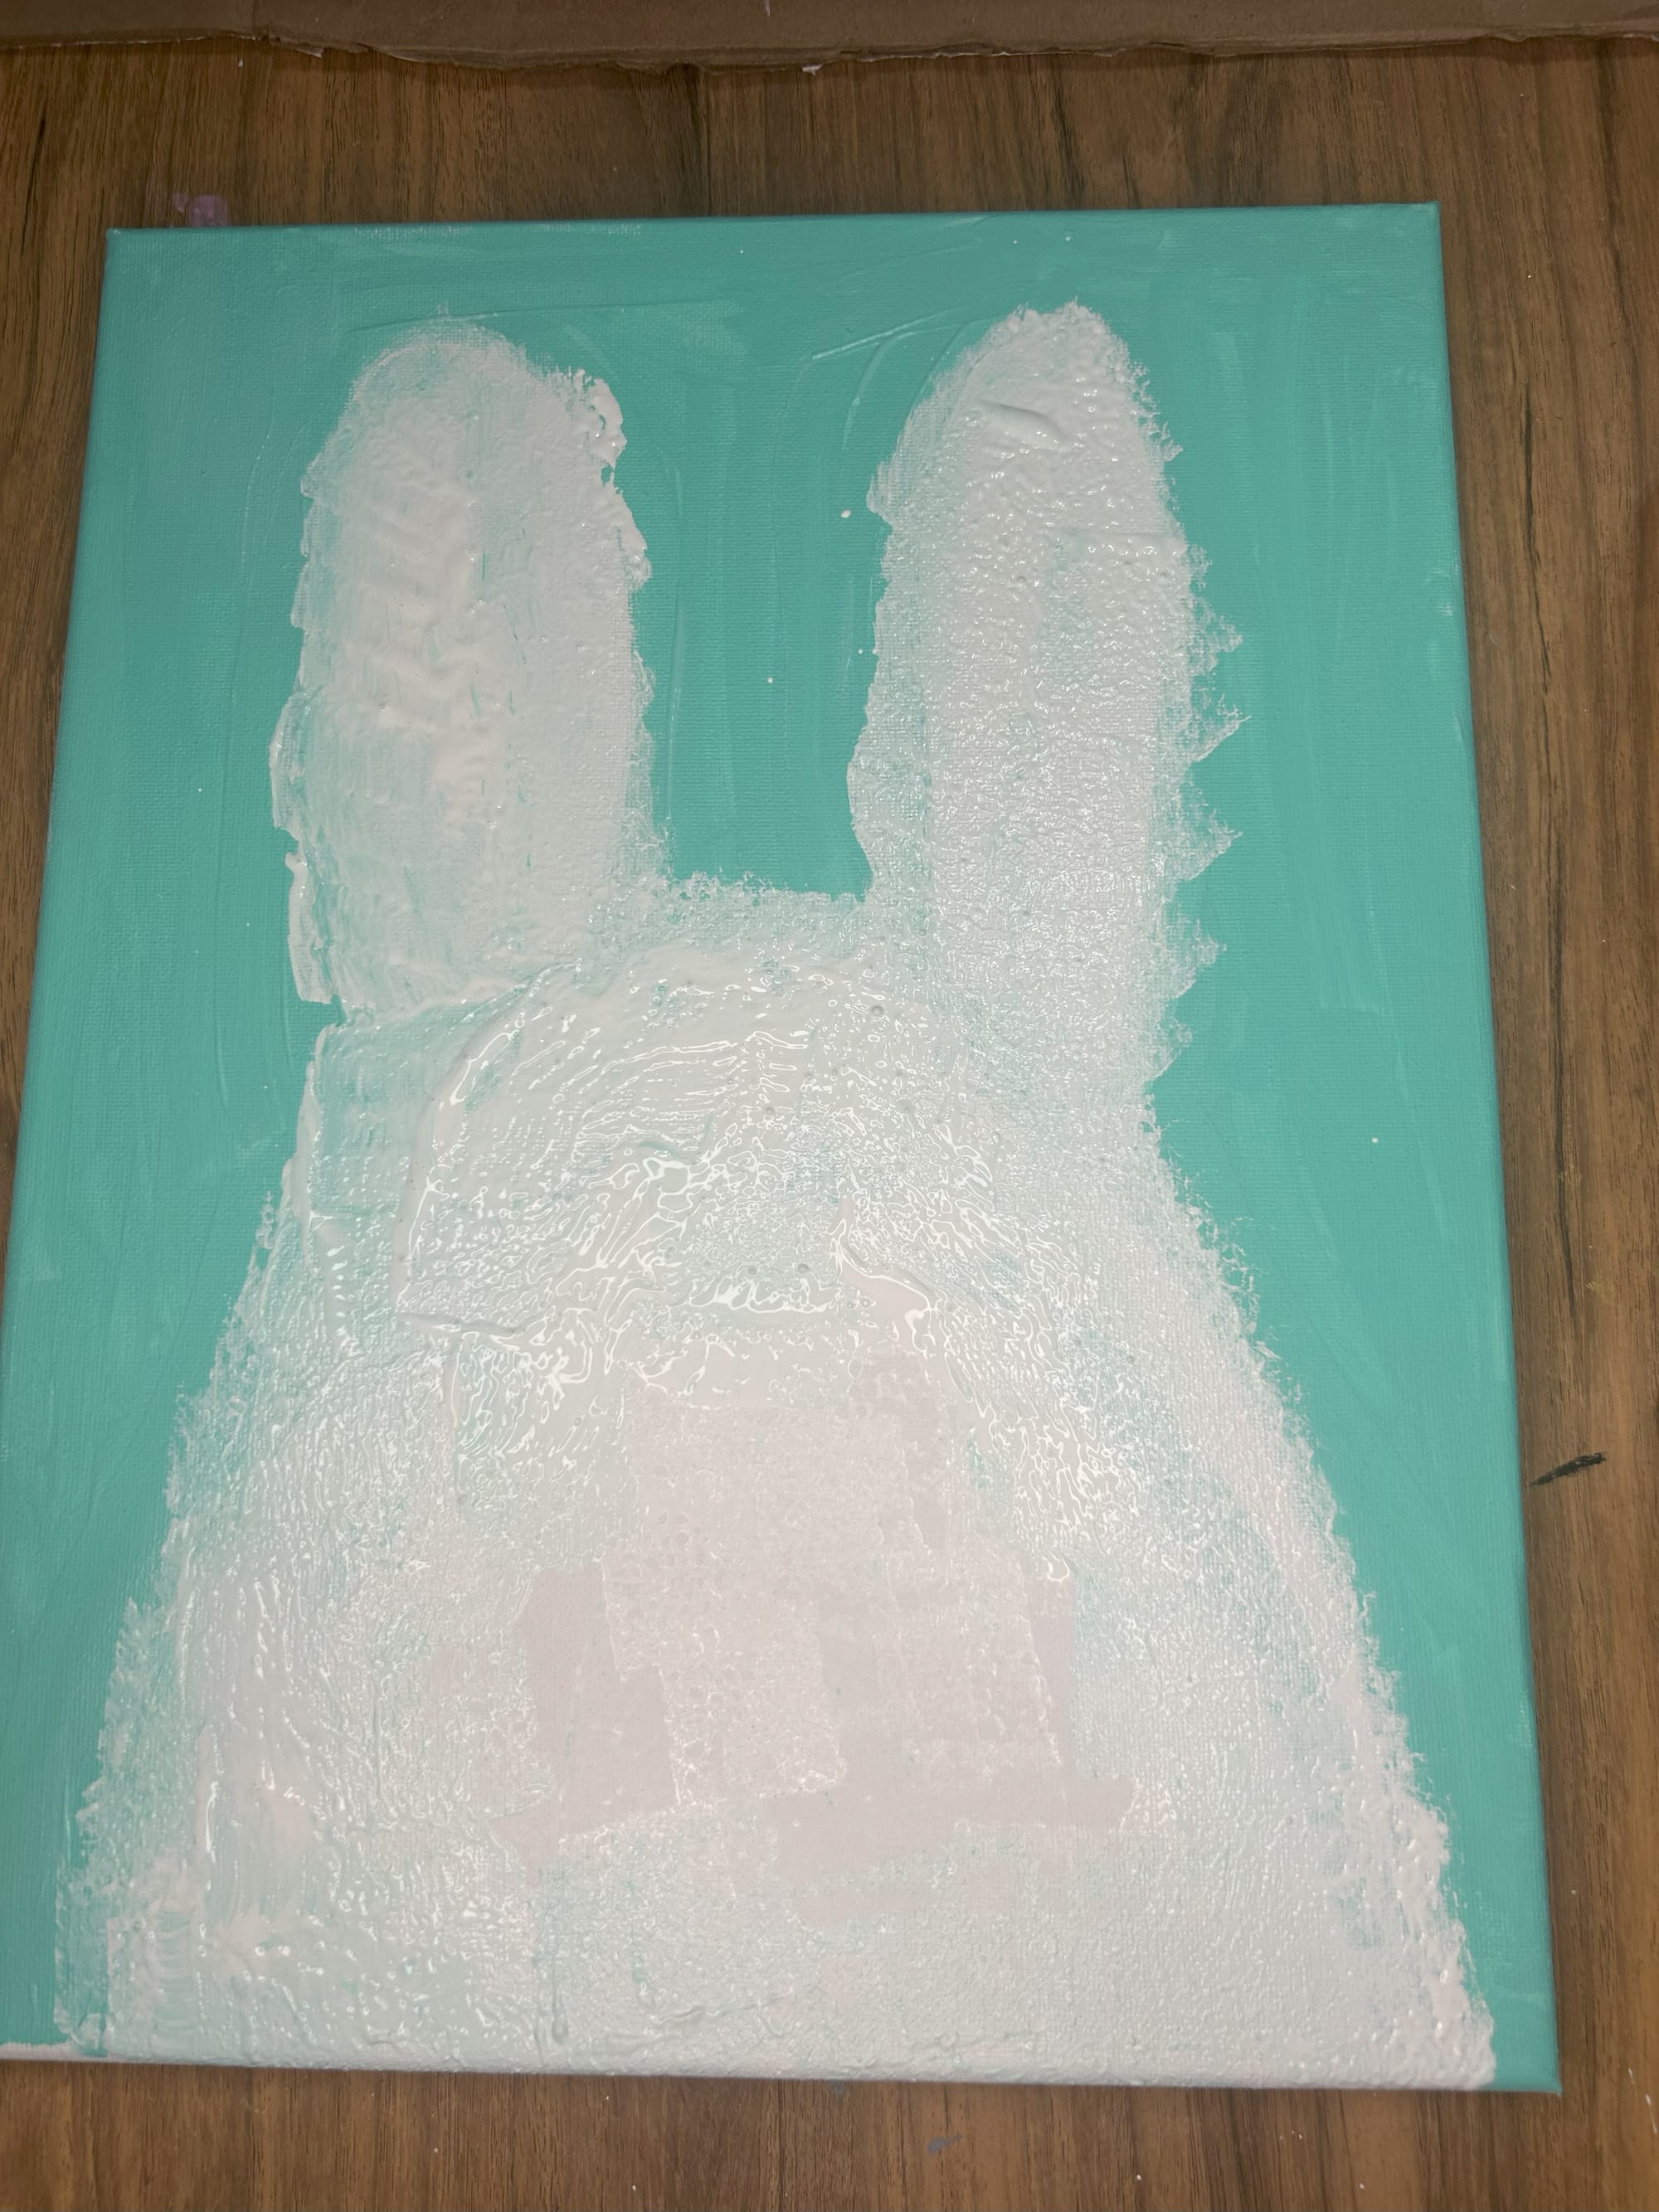
The sponge helps the white paint look like fur.
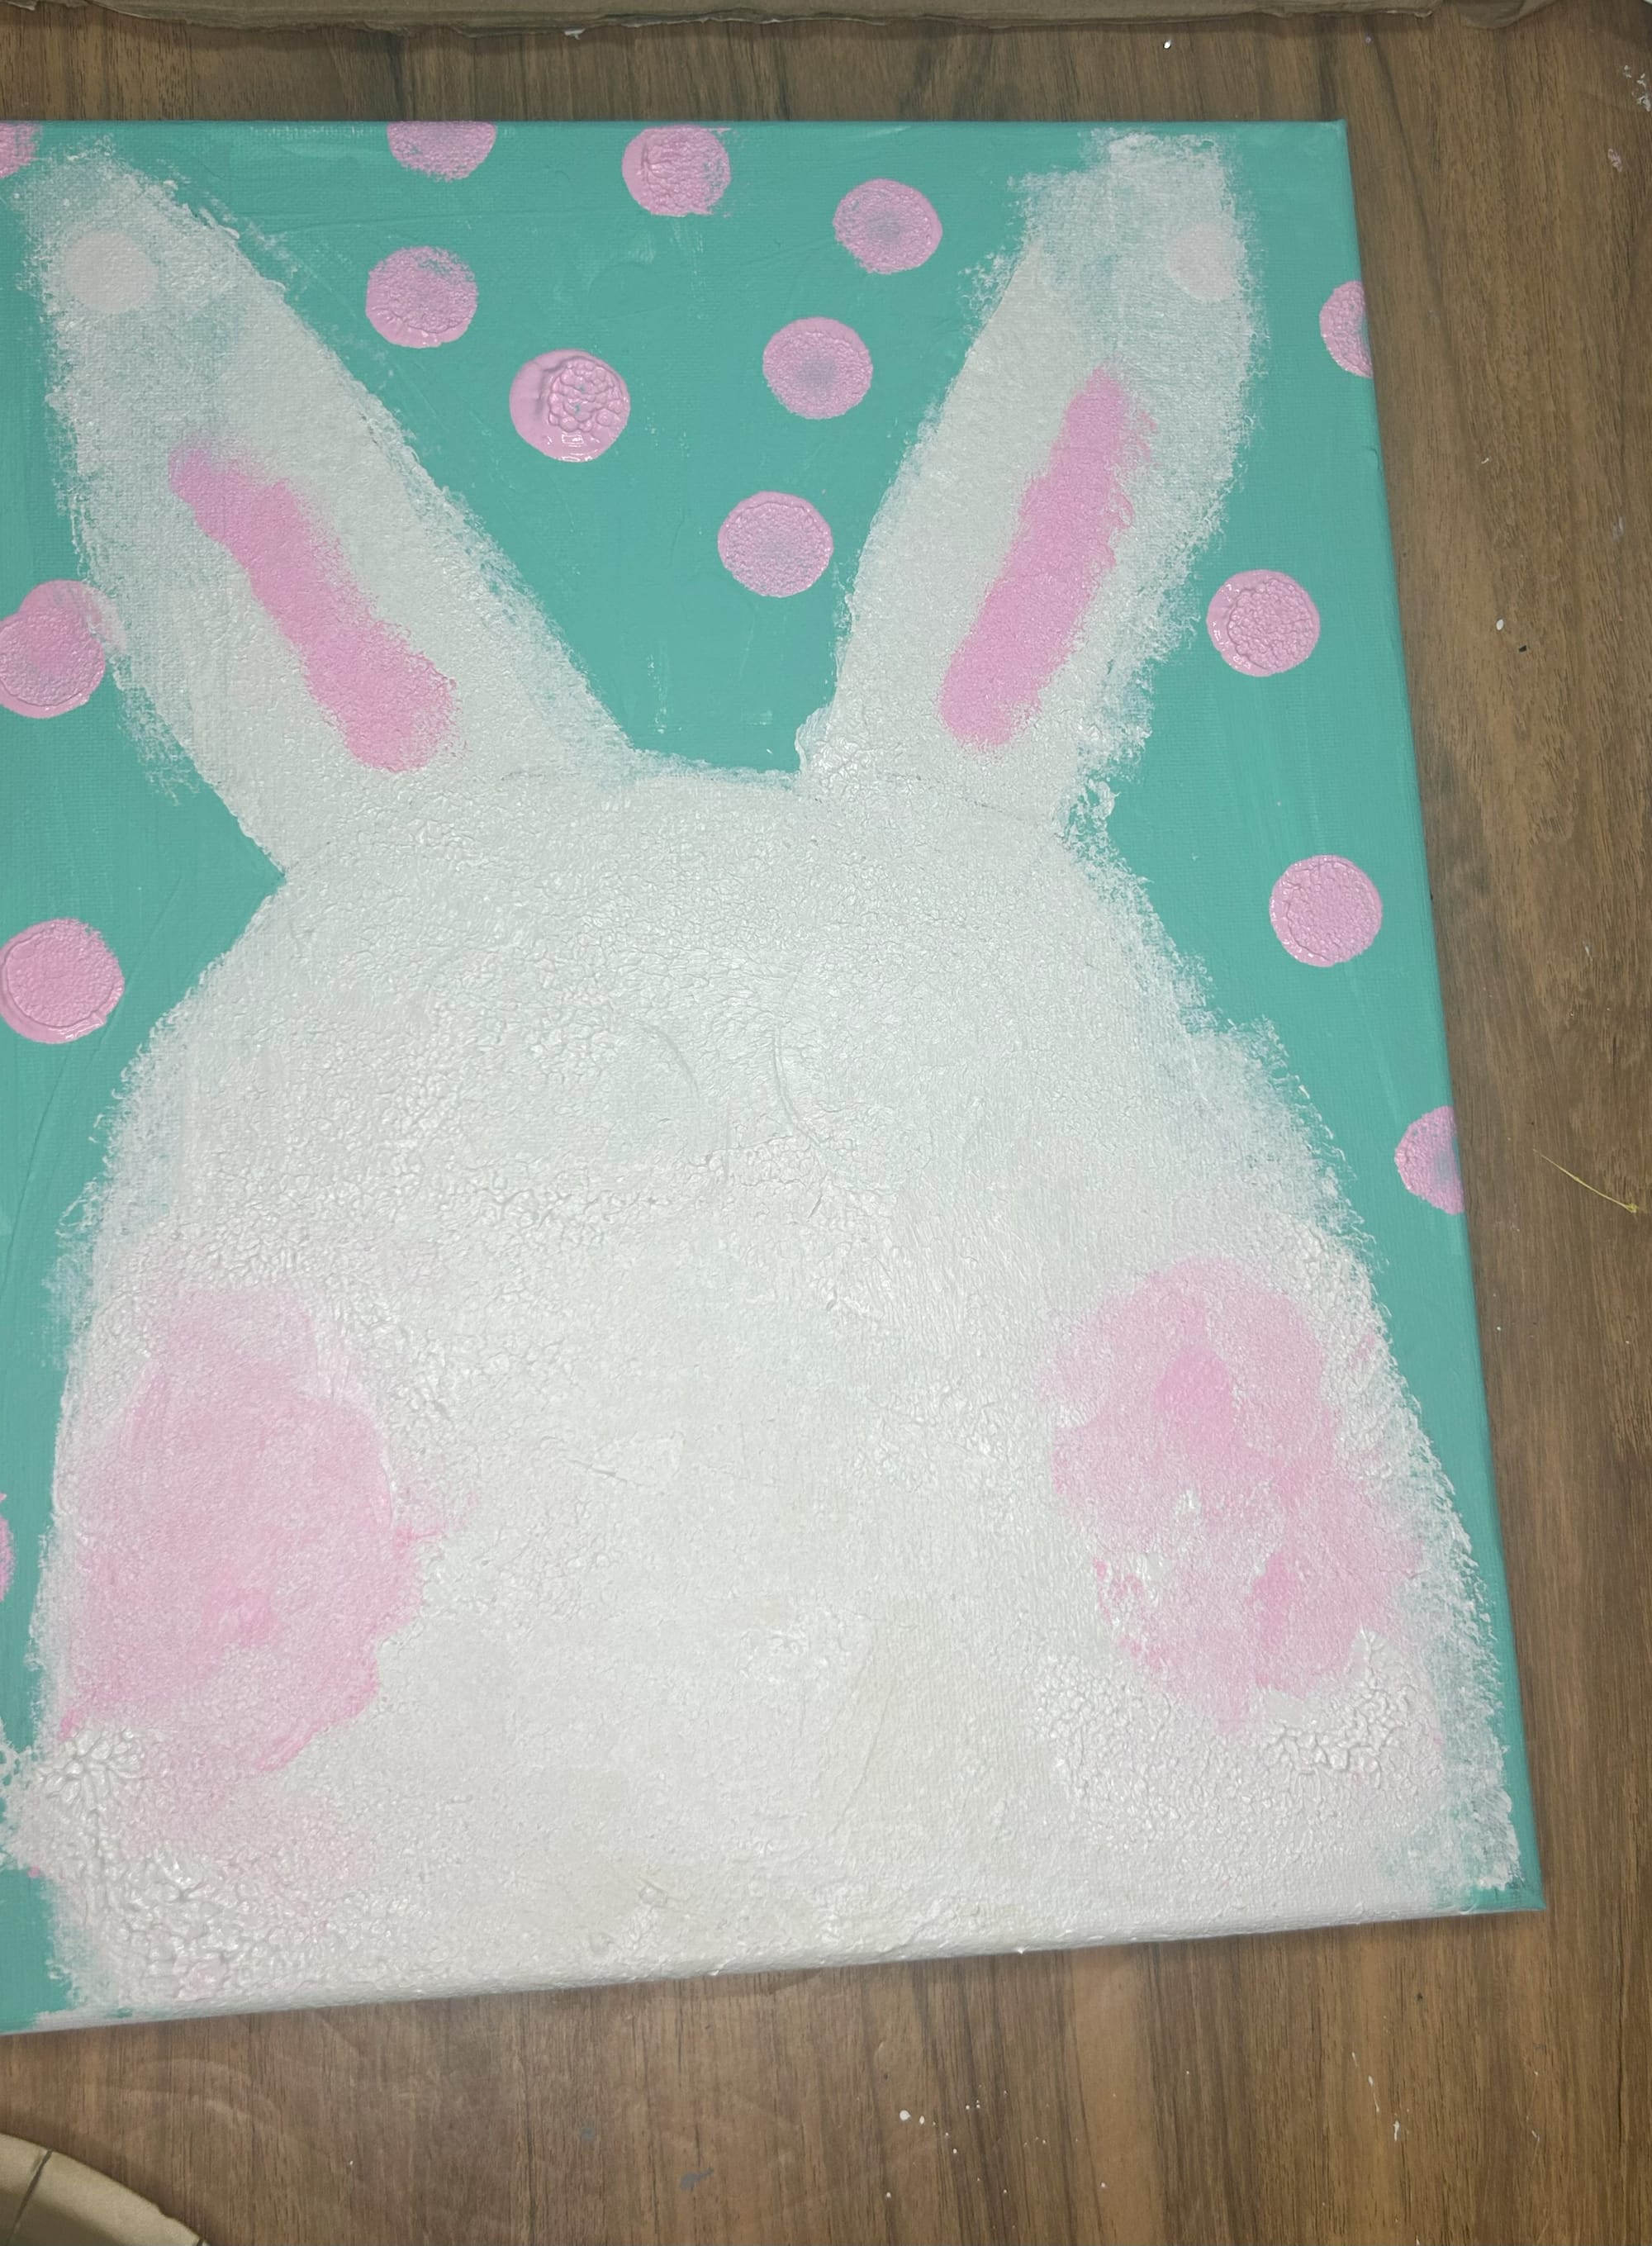
After, use pink paint on the sponge. I used some white to lighten the pink paint I had. Use the sponge to apple the paint to the middle of the ears and on the cheeks of the bunny.
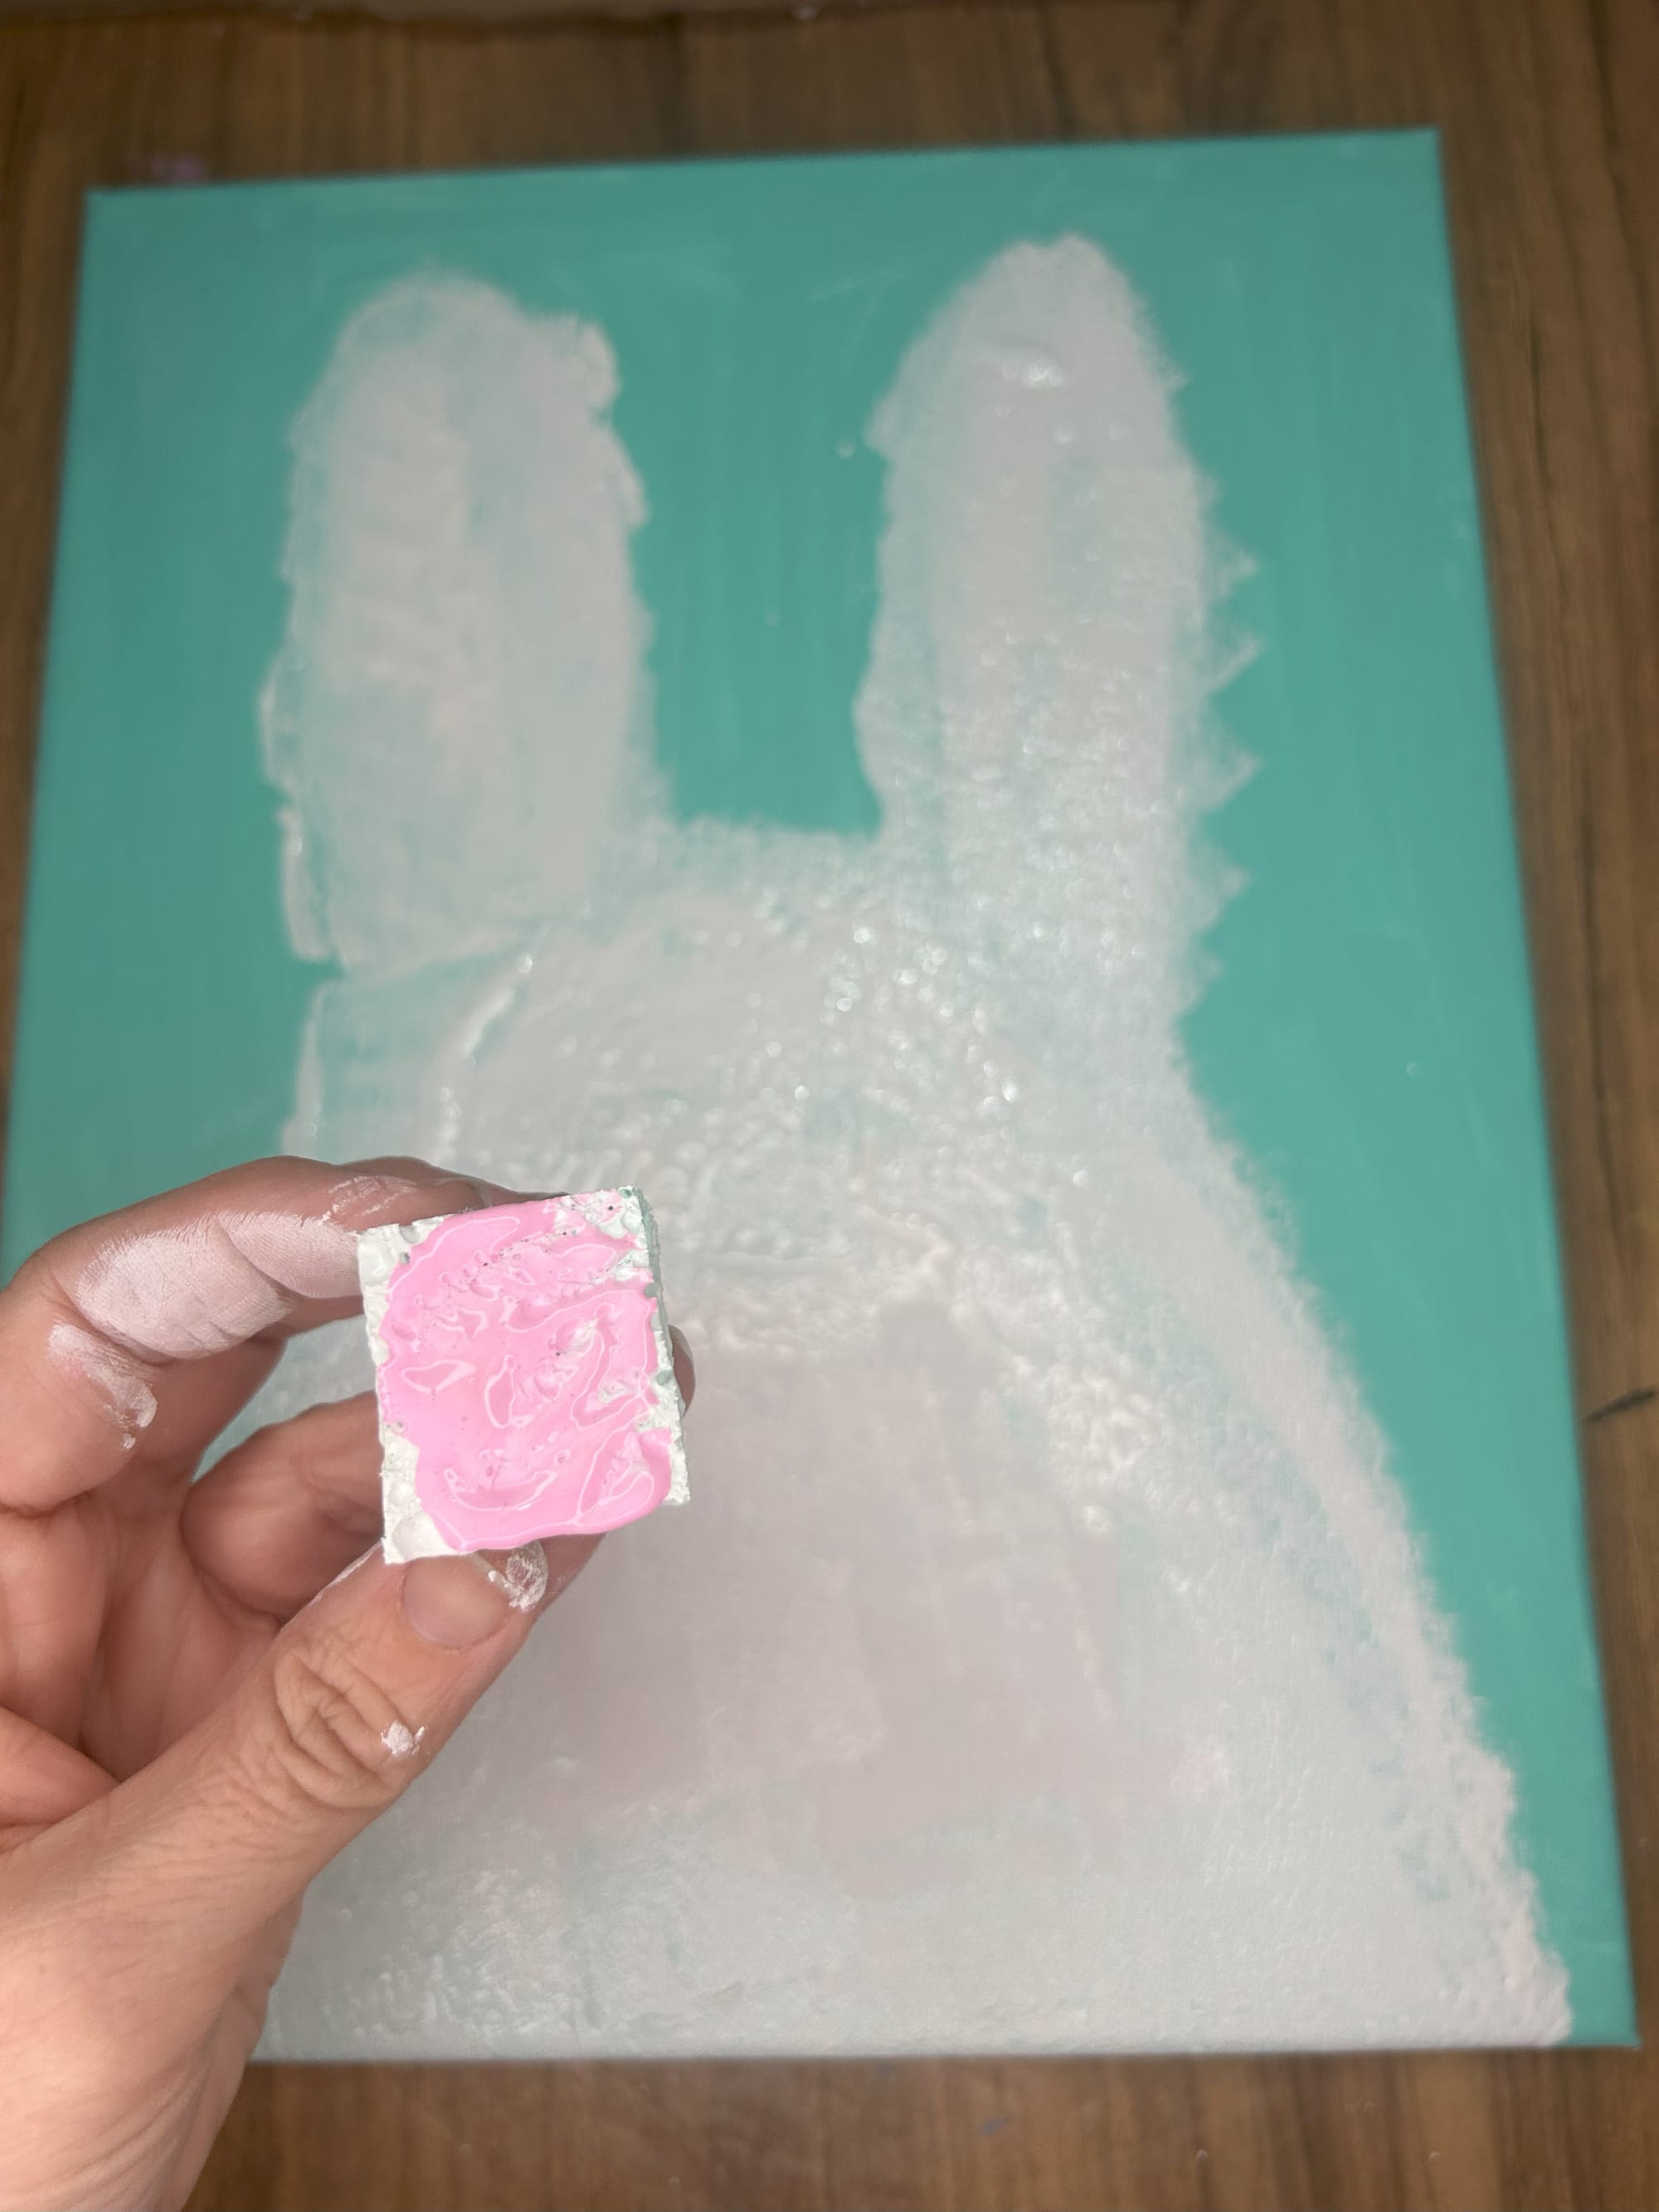

Use the sponge to add pink to the bunny.
Next, paint a nose with the pink paint. Add a mouth and eyes.
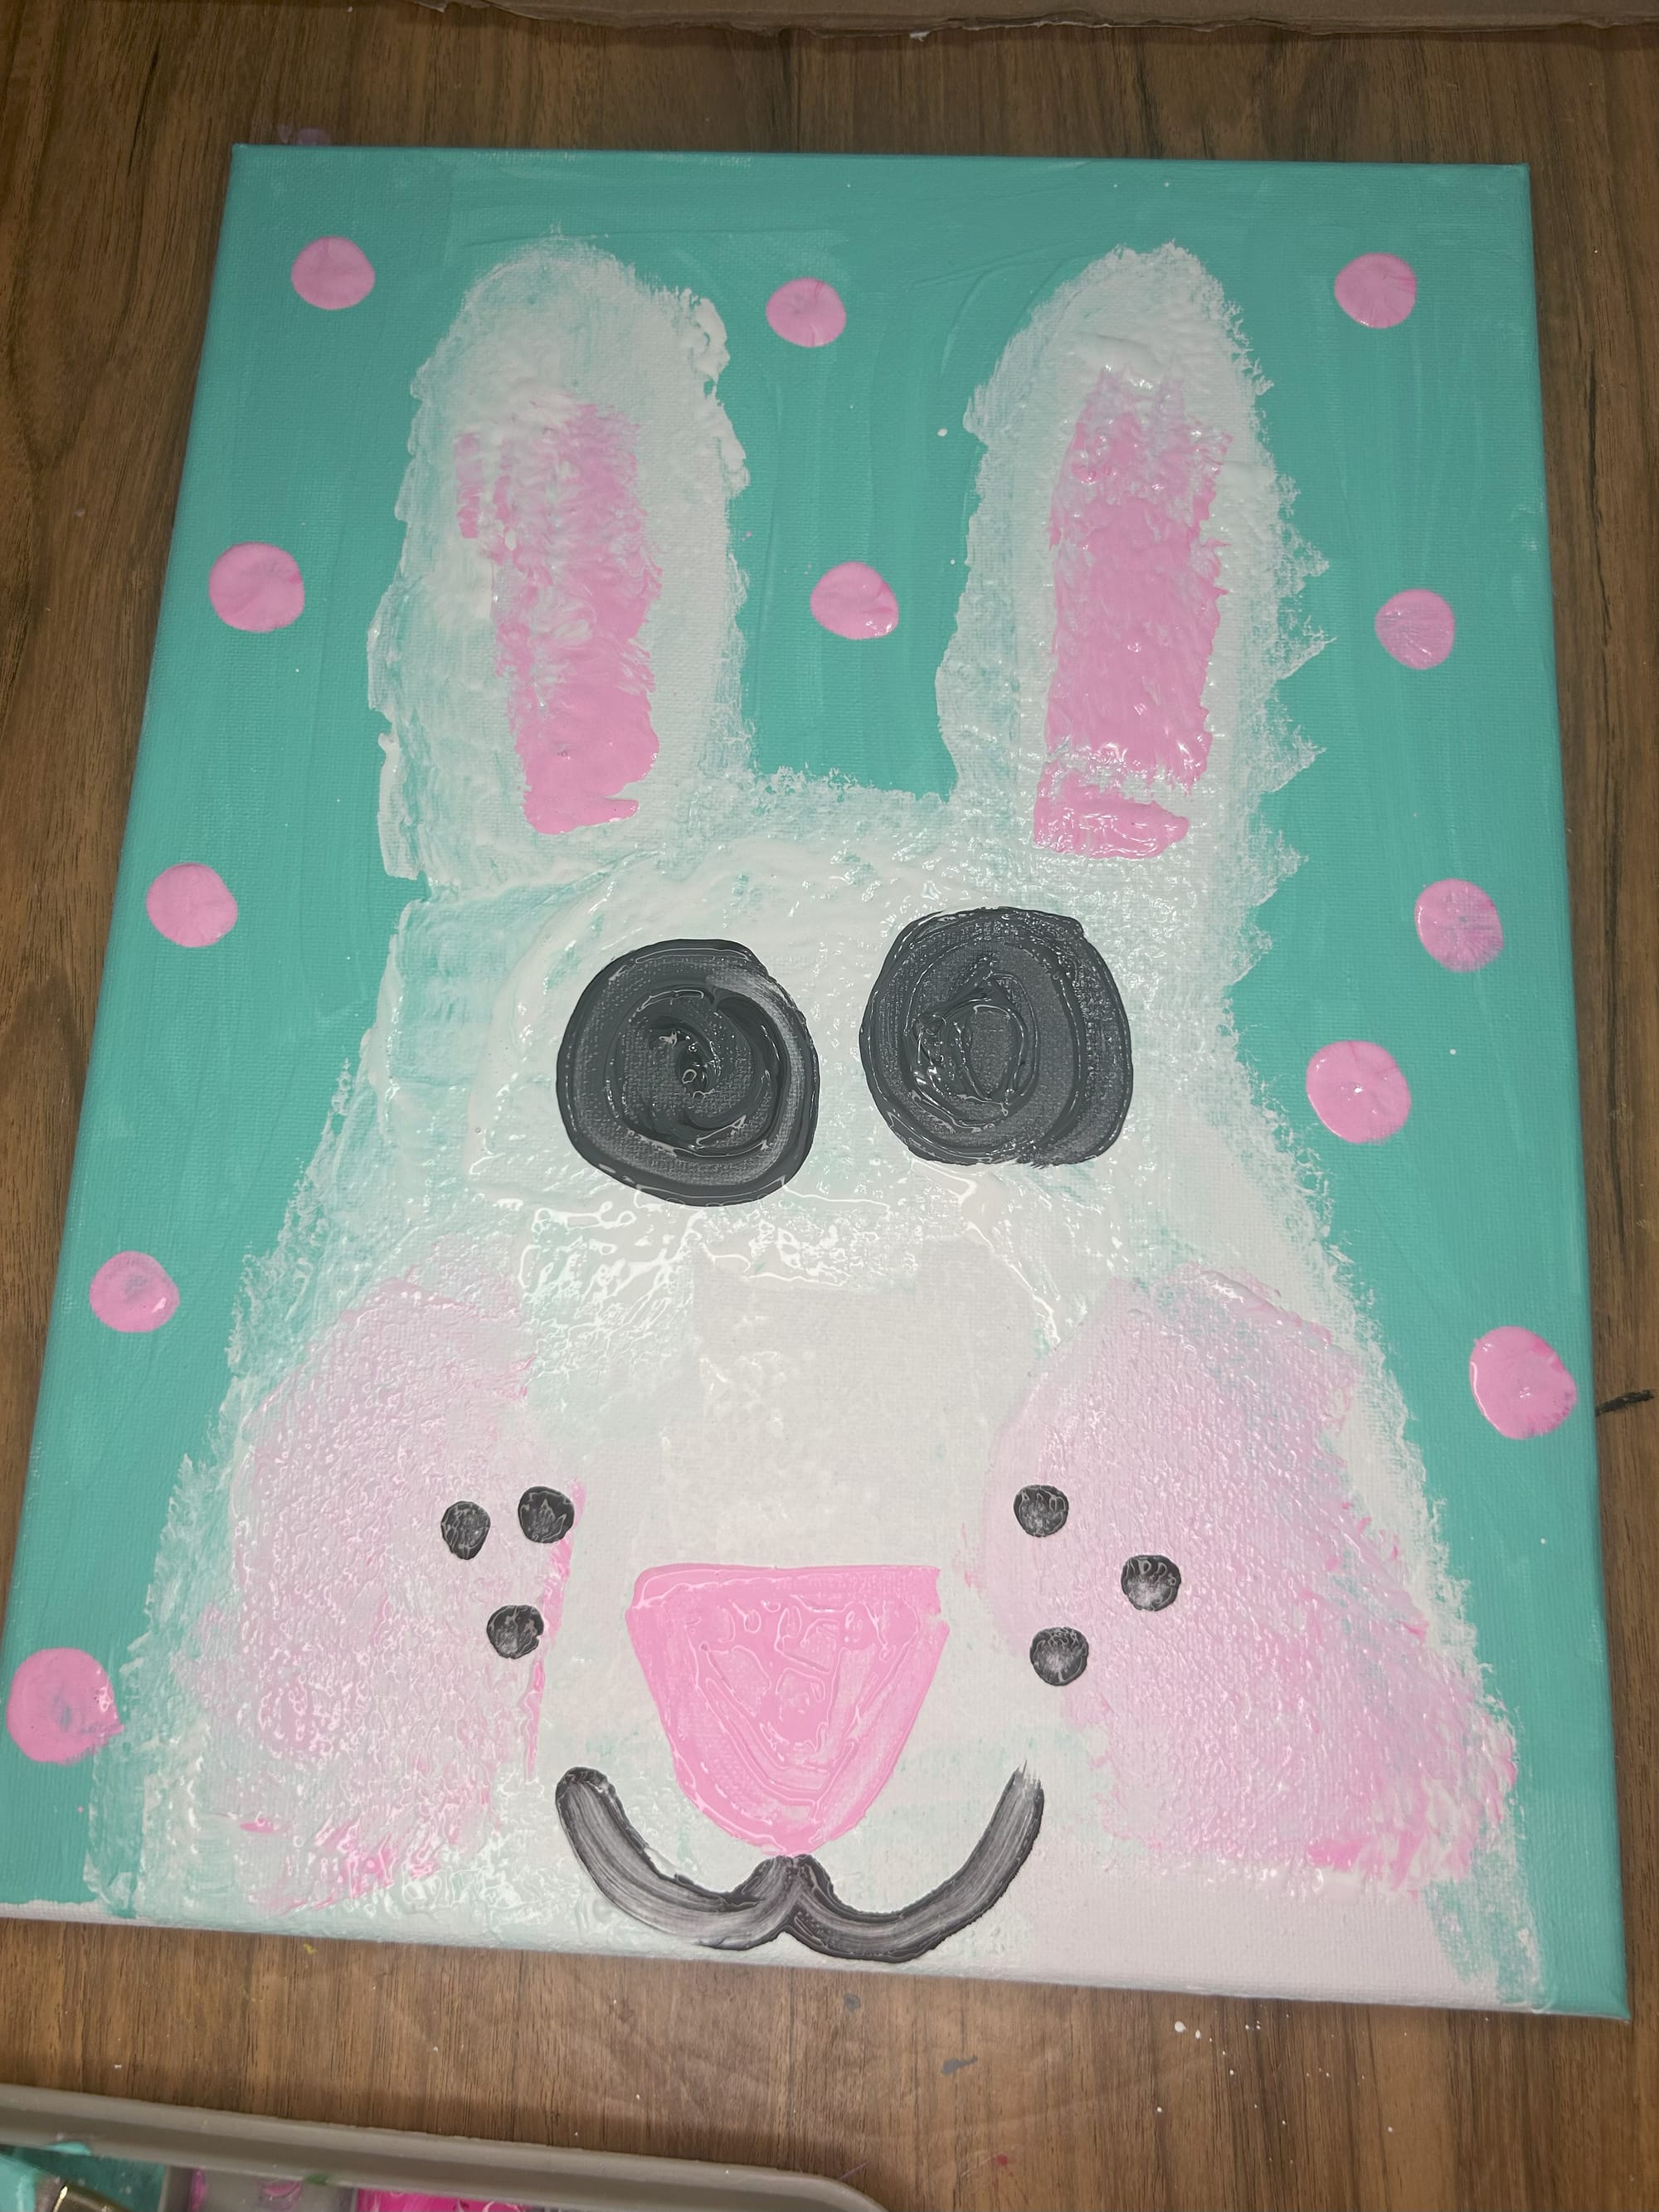
After I added the eyes and mouth, I was not happy with the outcome. So, no worries. I painted over my mistake and thought of a way to make improvements to my mess.
So, for my next attempt, I sketched out the outline of the bunny with pencil. Then I went over the outline with the white paint on the sponge again. I then added the pink paint back again.
Add white and pink paint with the sponge again.
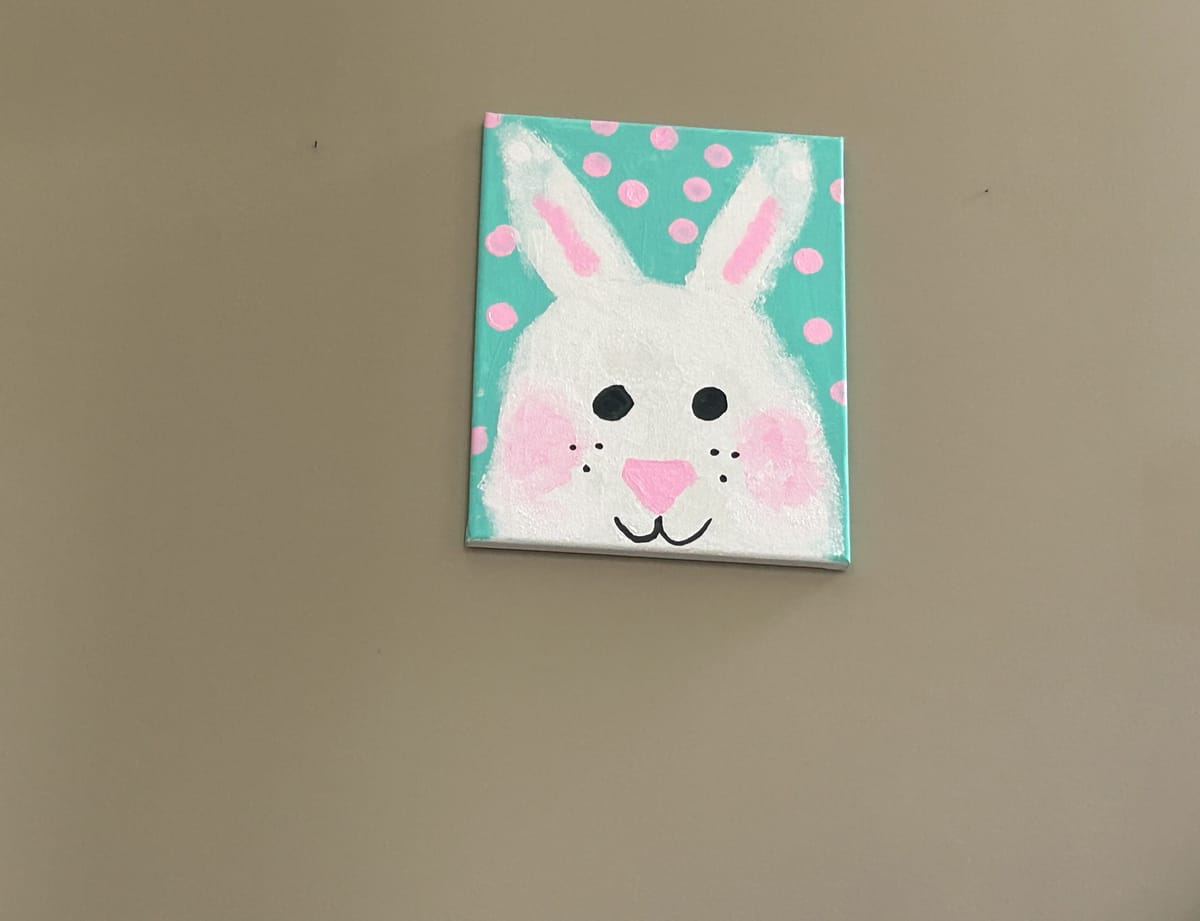
This time, I made a template for the eyes and nose out of paper. I placed them on the bunny to make sure they were in the right place before I added the black and pink paint or the facial features.
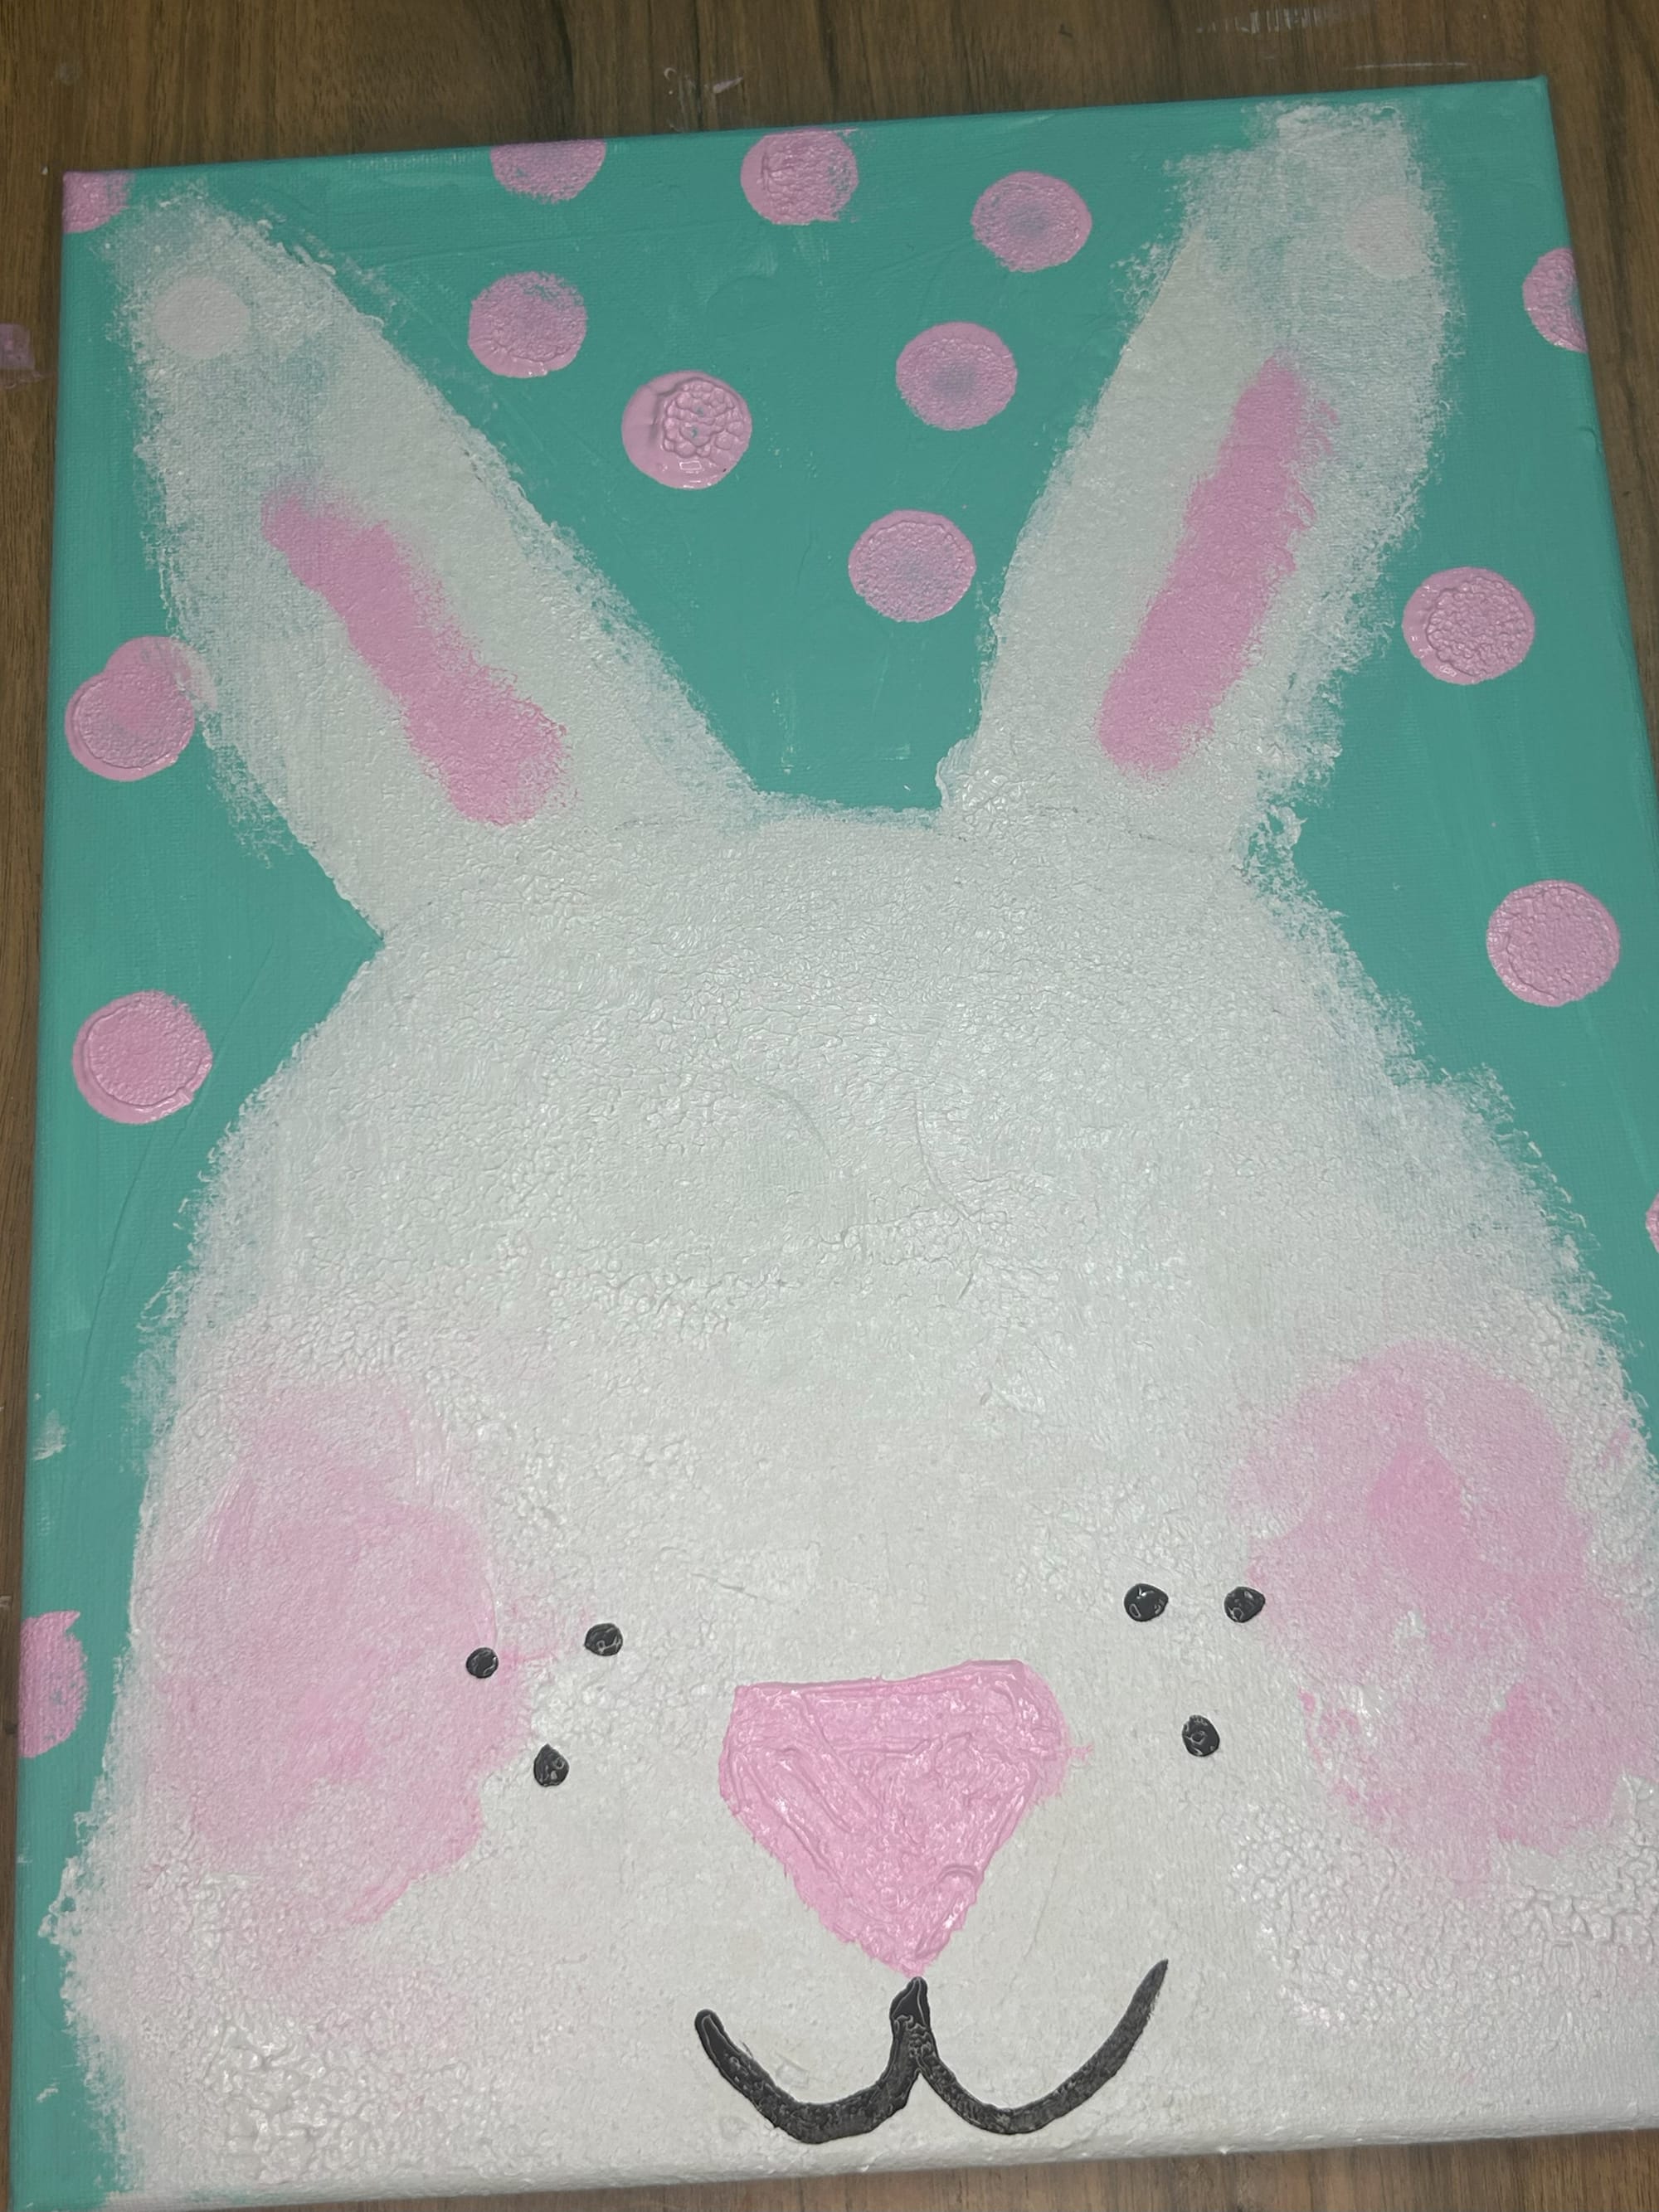

Much better result the second time.