Dollar Tree Bunny
Make a bunny for Easter using Dollar Tree materials
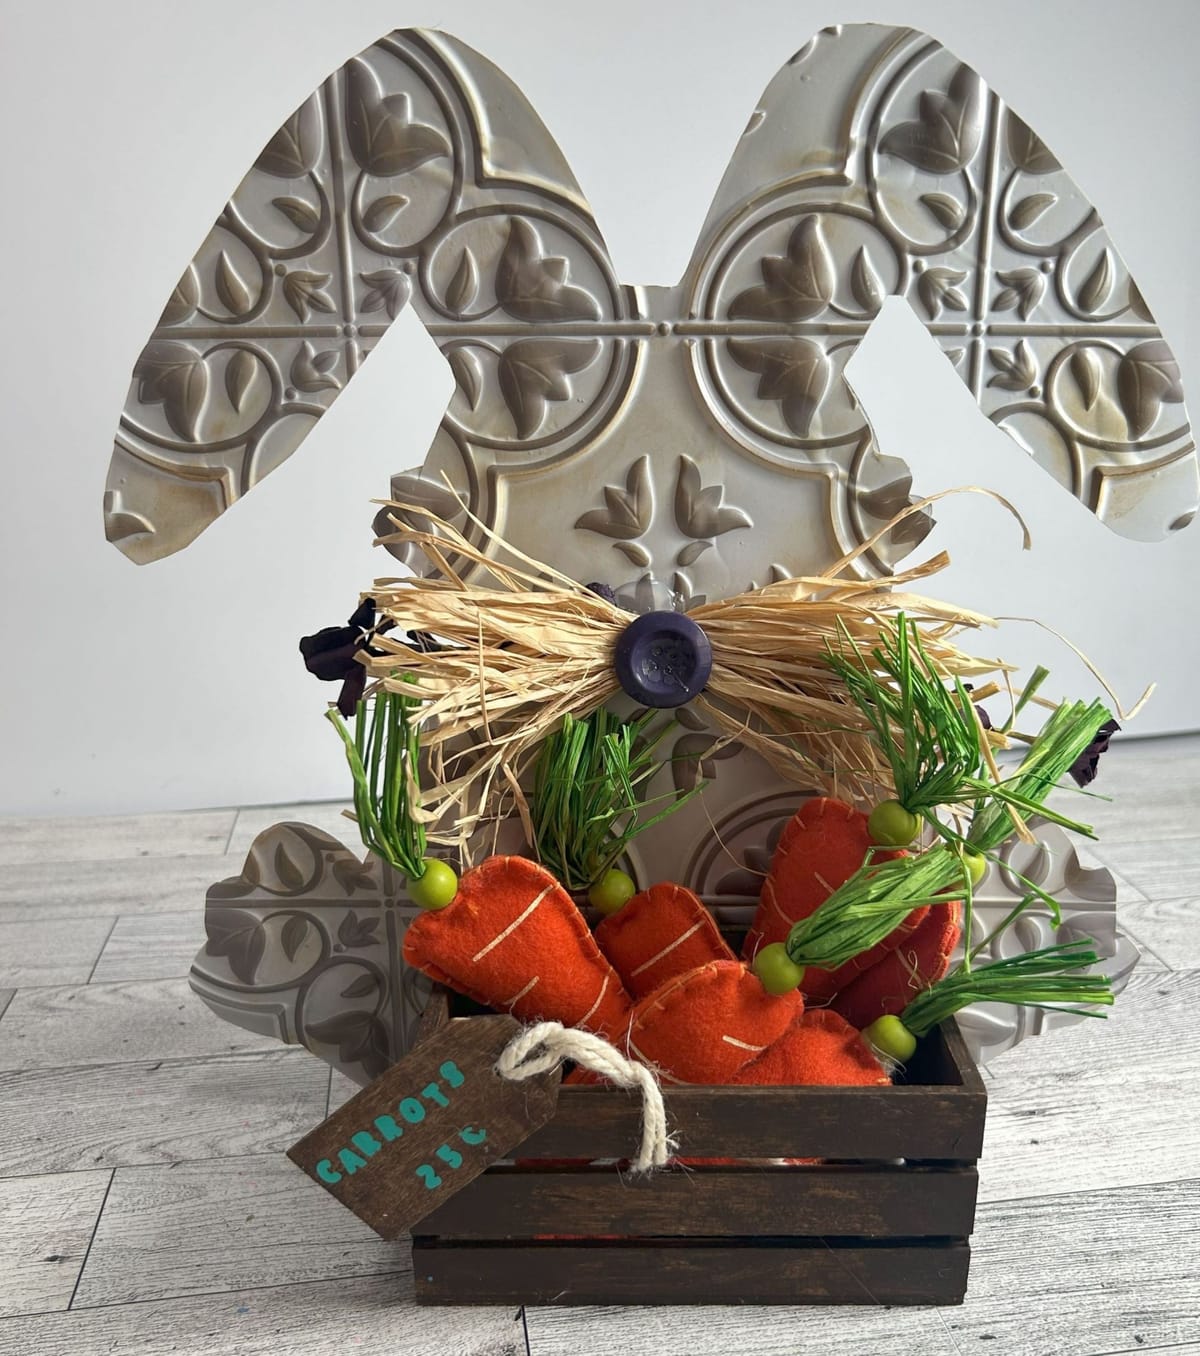
I love finding items at the Dollar Tree that I can craft with. It is fun to be creative and create new decorations for the holidays. I created this Easter bunny to put out for the Spring season. It was easy to make using a few items from the Dollar Tree and a few items I had at home.
Supplies:
- Bunny cutout ( Dollar Tree)
- Wooden crate ( Dollar Tree)
- Self adhesive wall tile ( Dollar Tree)
- Carrots ( Dollar tree sells, mine are from my stash)
- Button
- Raffia
- Flowers
- Wooden tag
- Vinyl for Silhouette
- Twine
You can find many of these supplies at the Dollar Tree. I had some already, so be creative to make your bunny with items you already have.
Instructions:
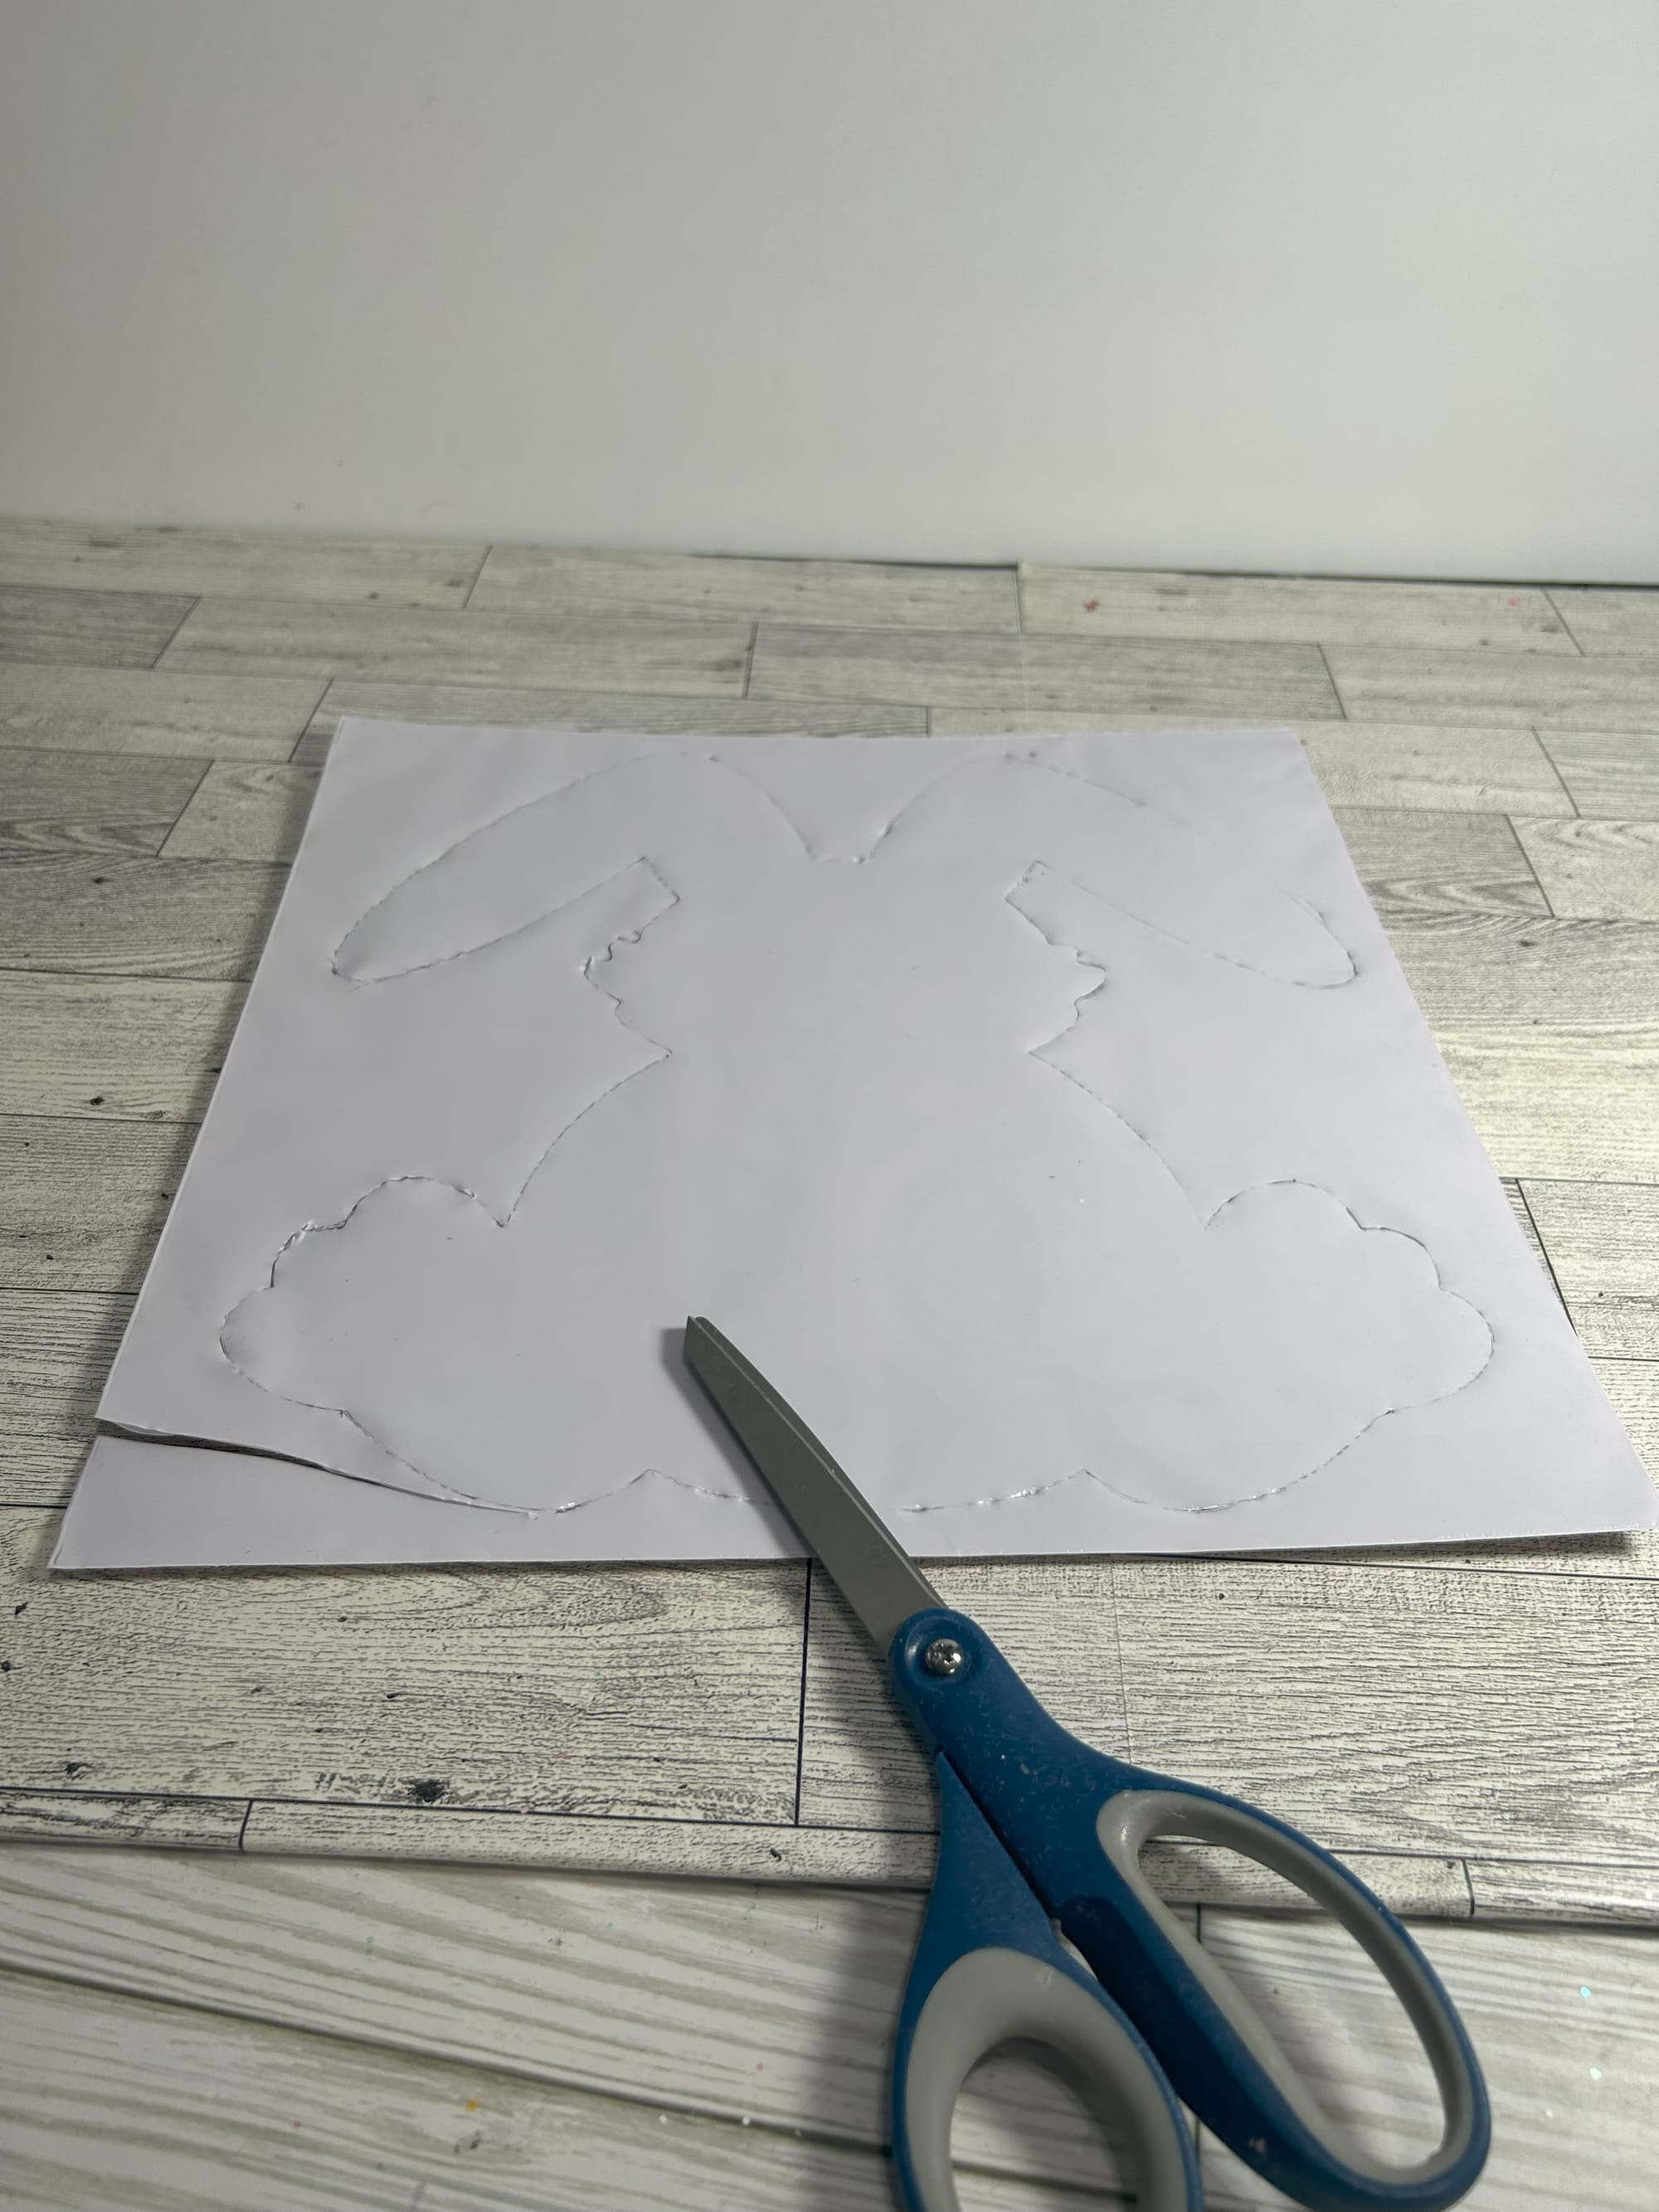
- Use your bunny to trace the the self adhesive vinyl. Trace on the back so you won't see your pen lines. When finished tracing cut out


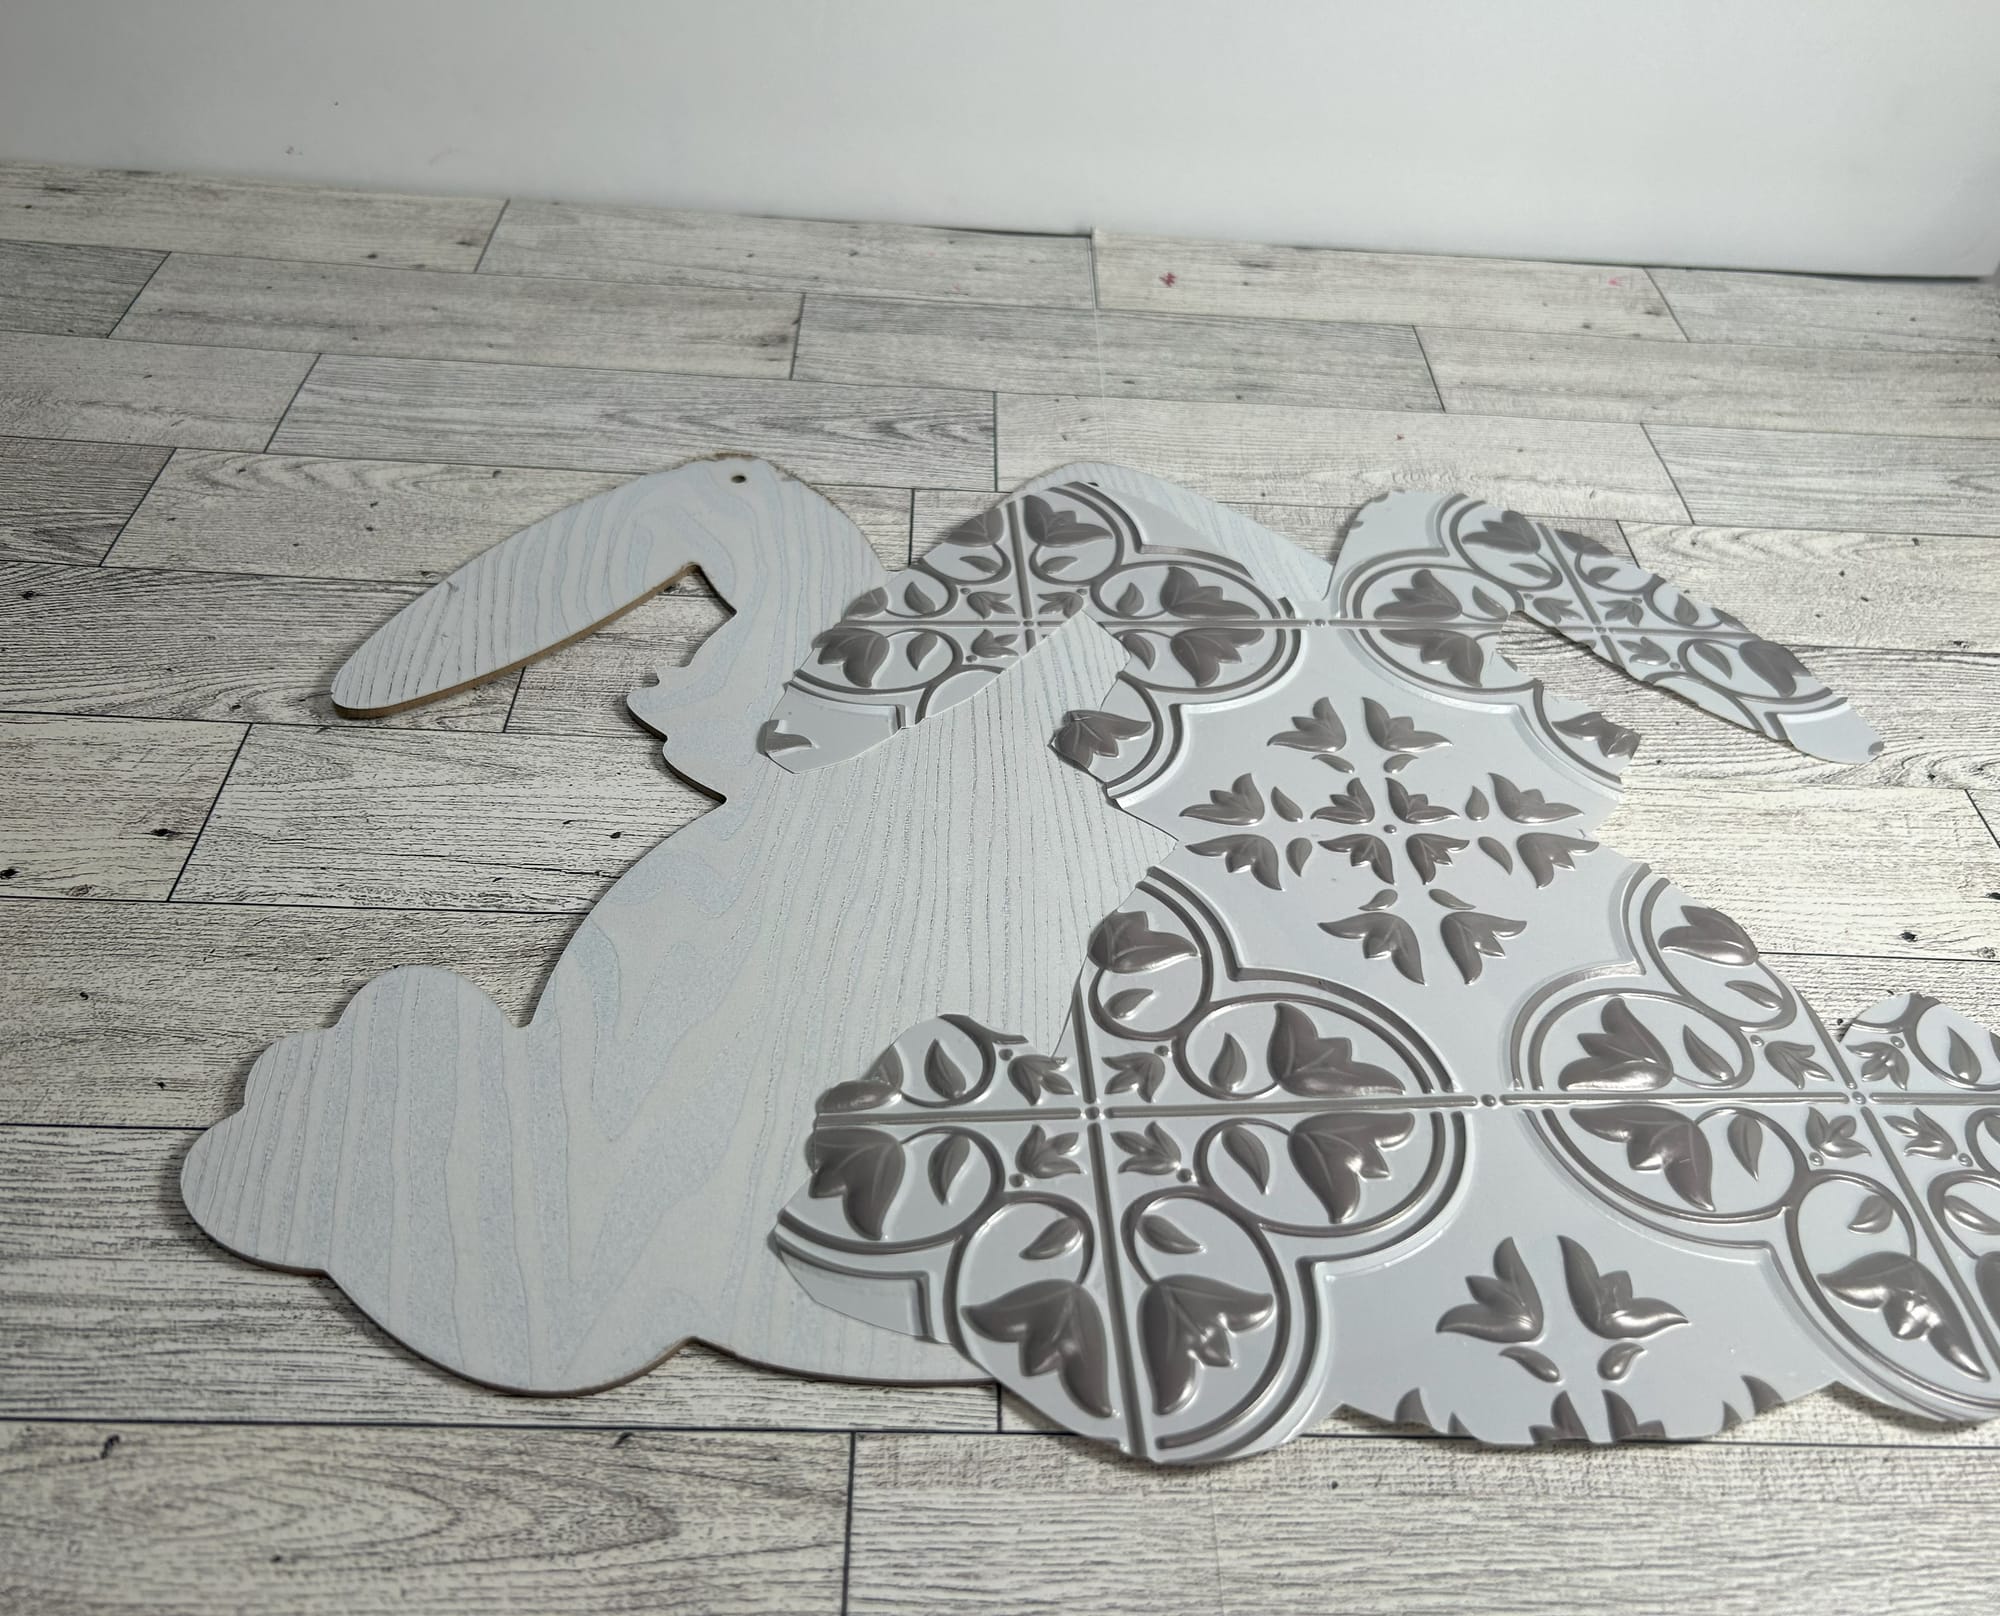
- I have found that the self adhesive backing does not stay on, so I used my hot glue gun to glue on the vinyl to the bunny cut out.
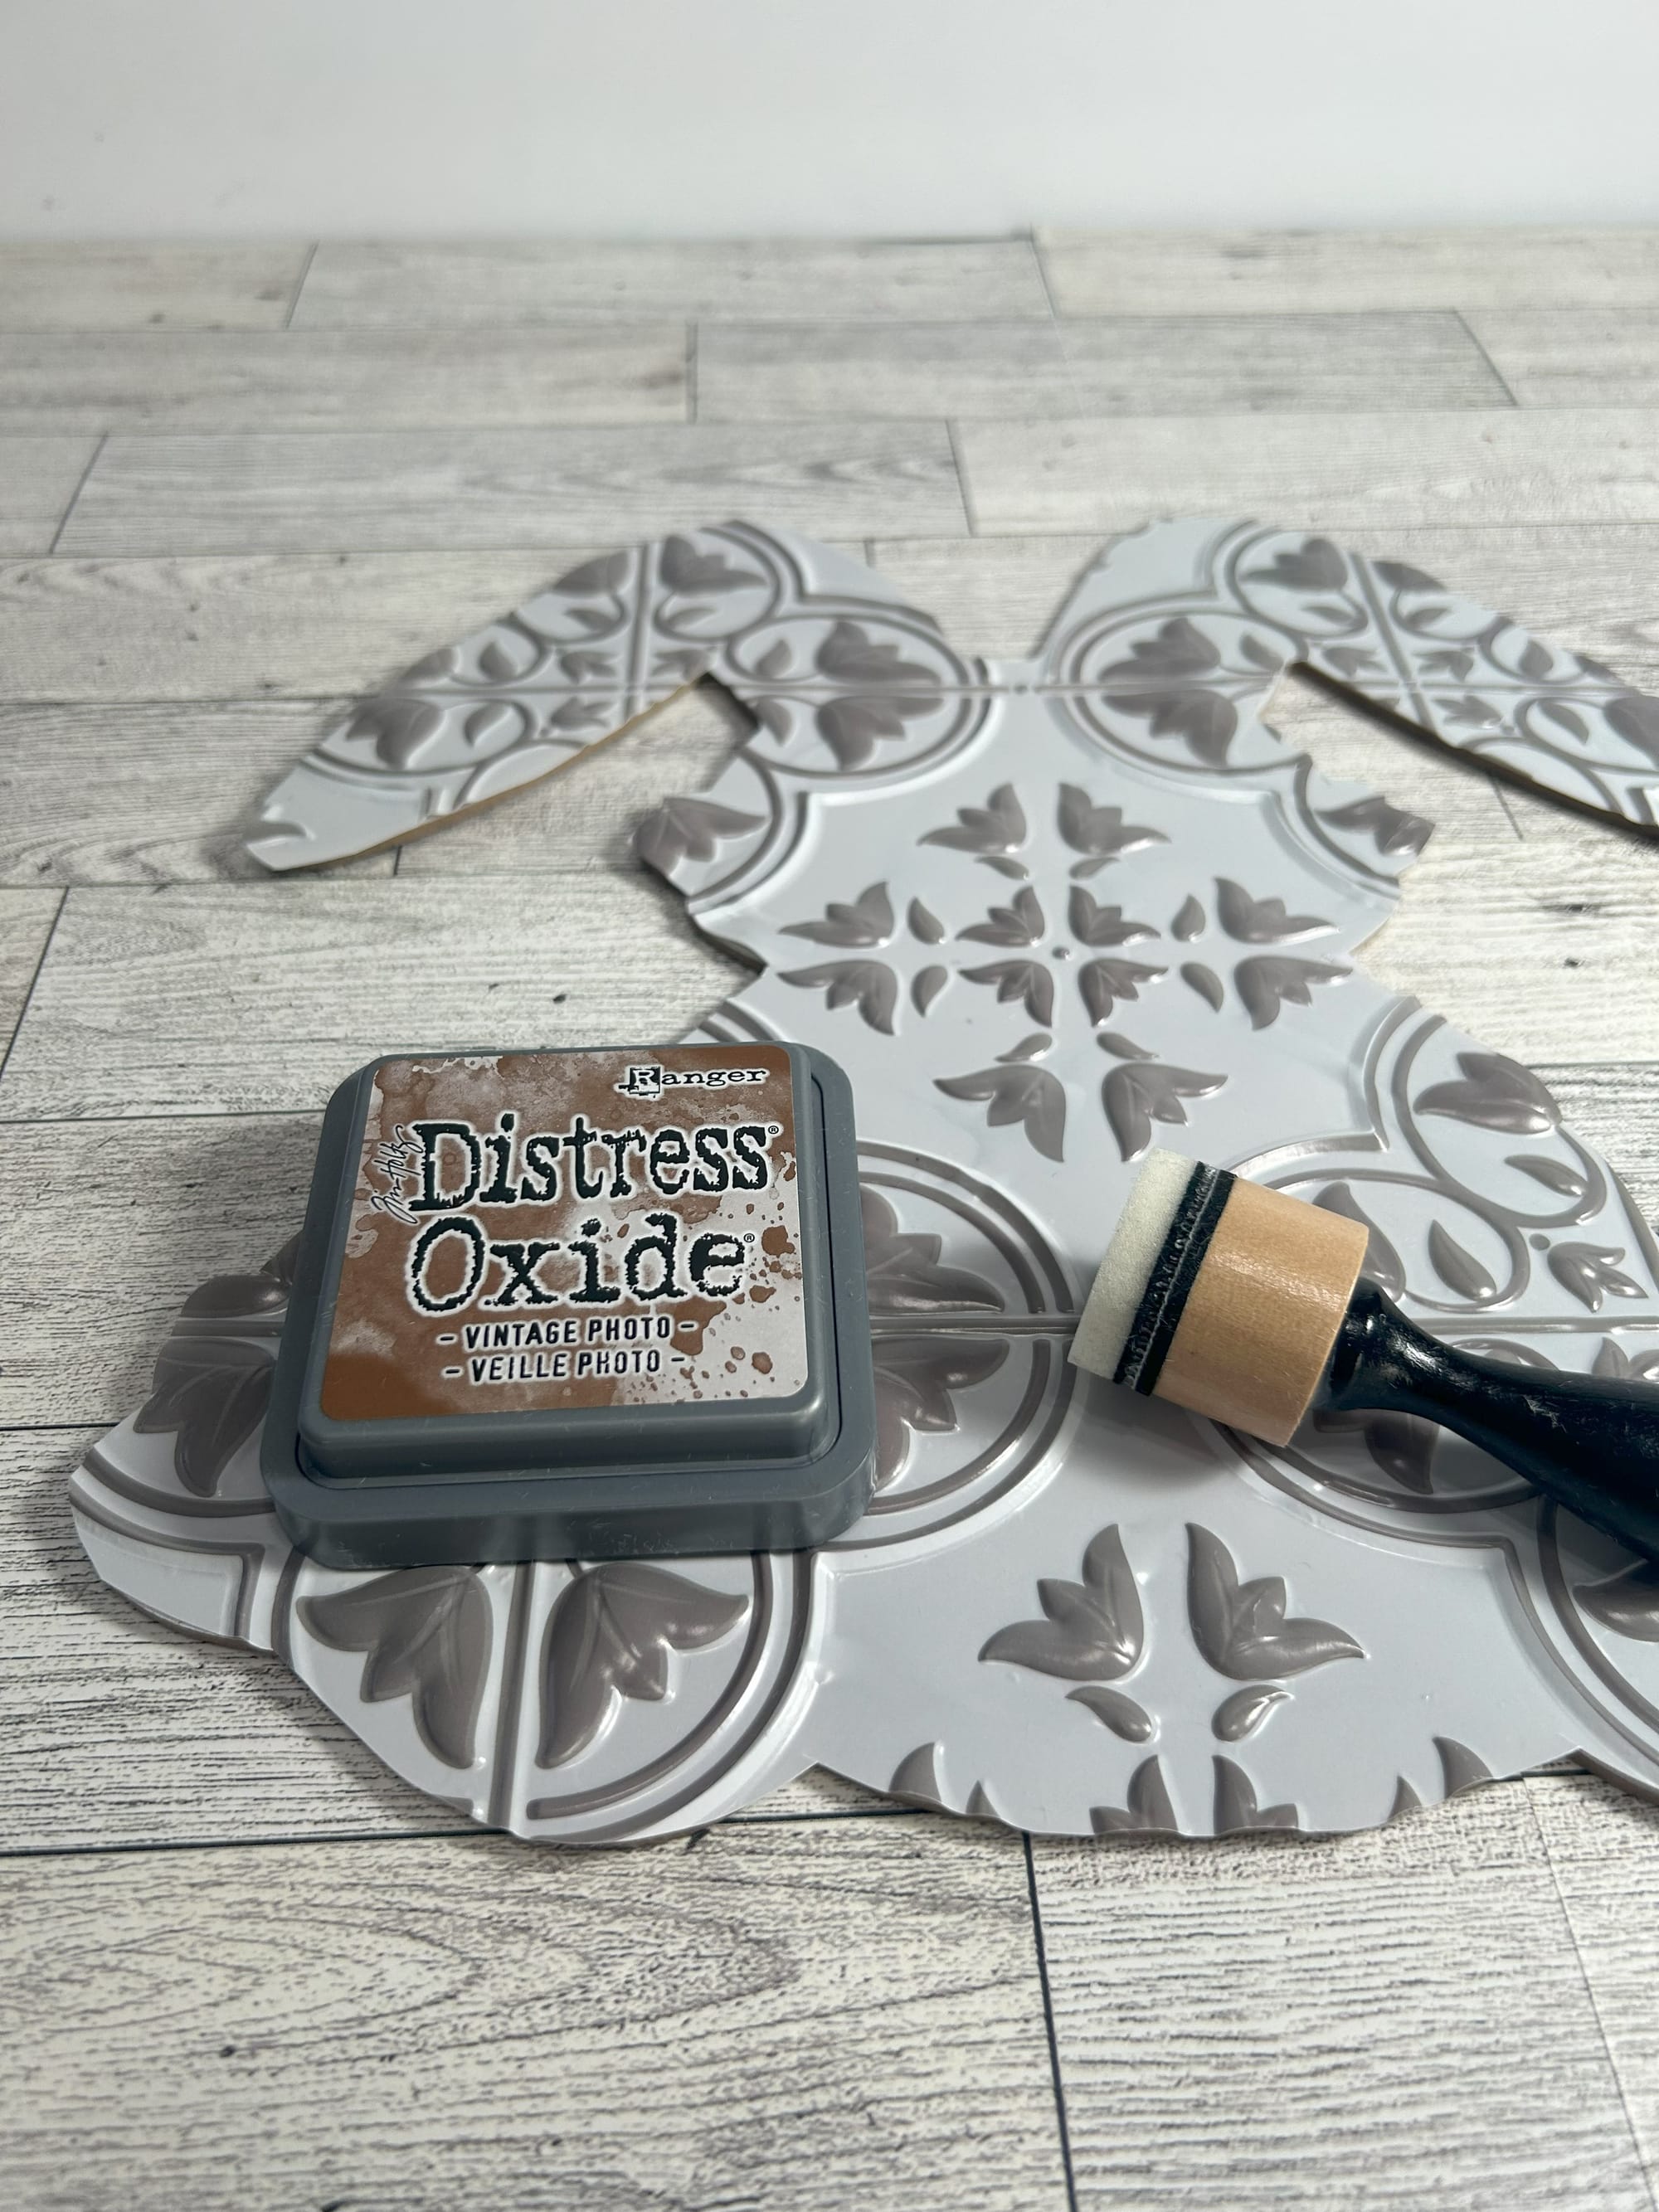
- Then use Distress Oxide ink to add some color. This part is optional, you can use any color of your choice.

- I decorated my bunny with flowers, a raffia bow and a button.
- Next, paint your wooden crate and tag. I used Waverly was antique. It makes the wood looked stained.
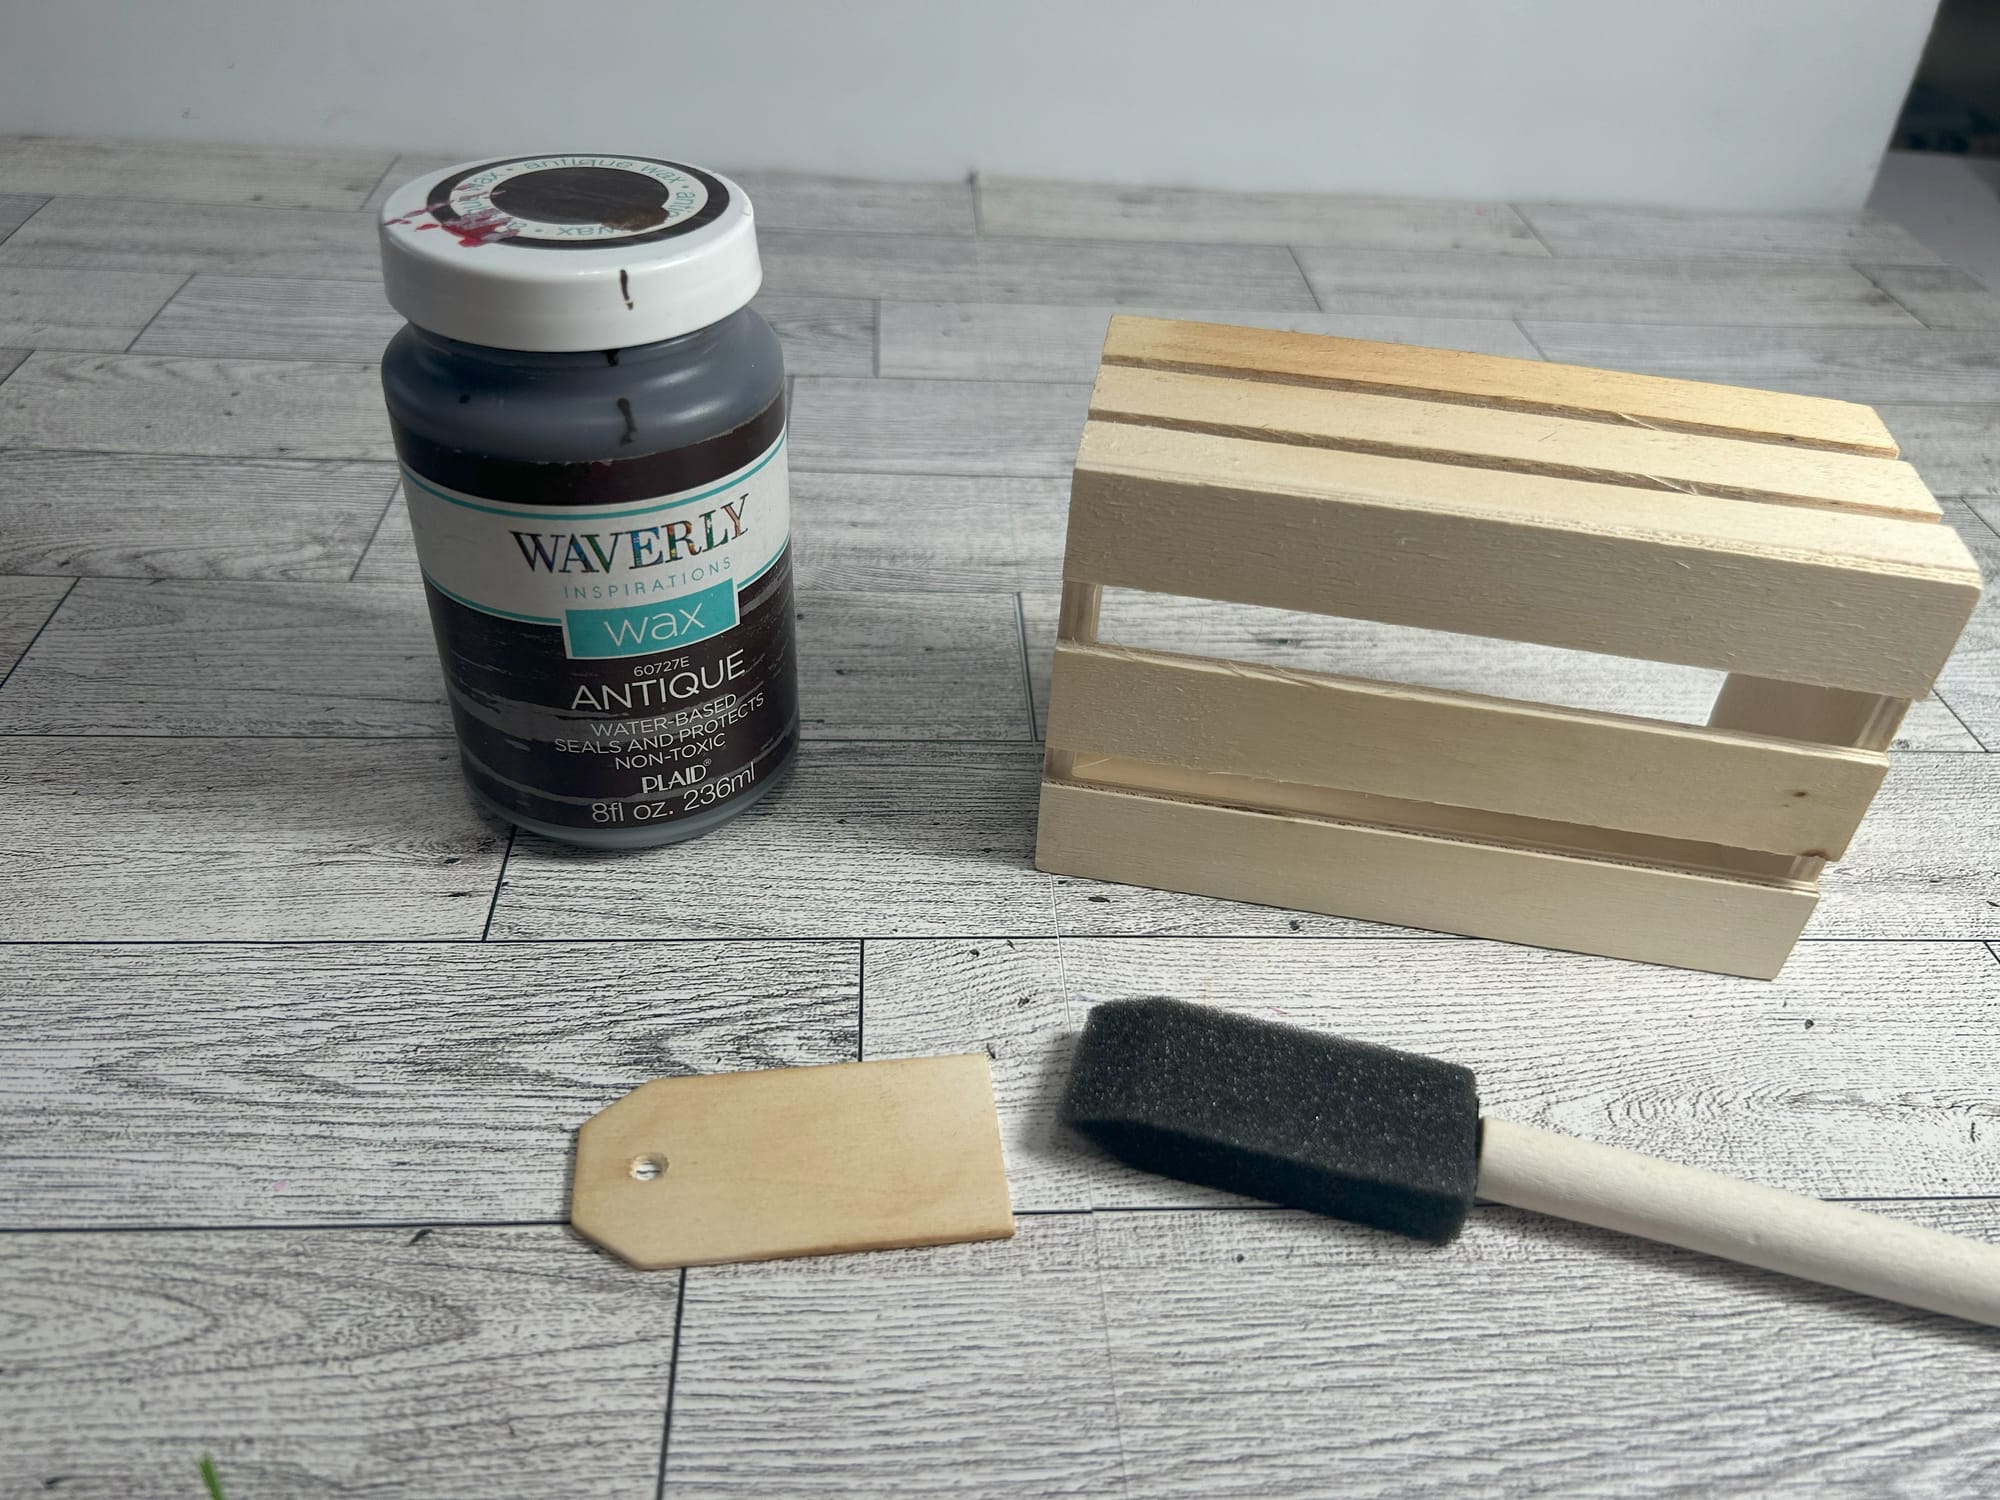
- Use your Silhouette or Cricut ( if you have one) to cut out vinyl letters to add to the tag.
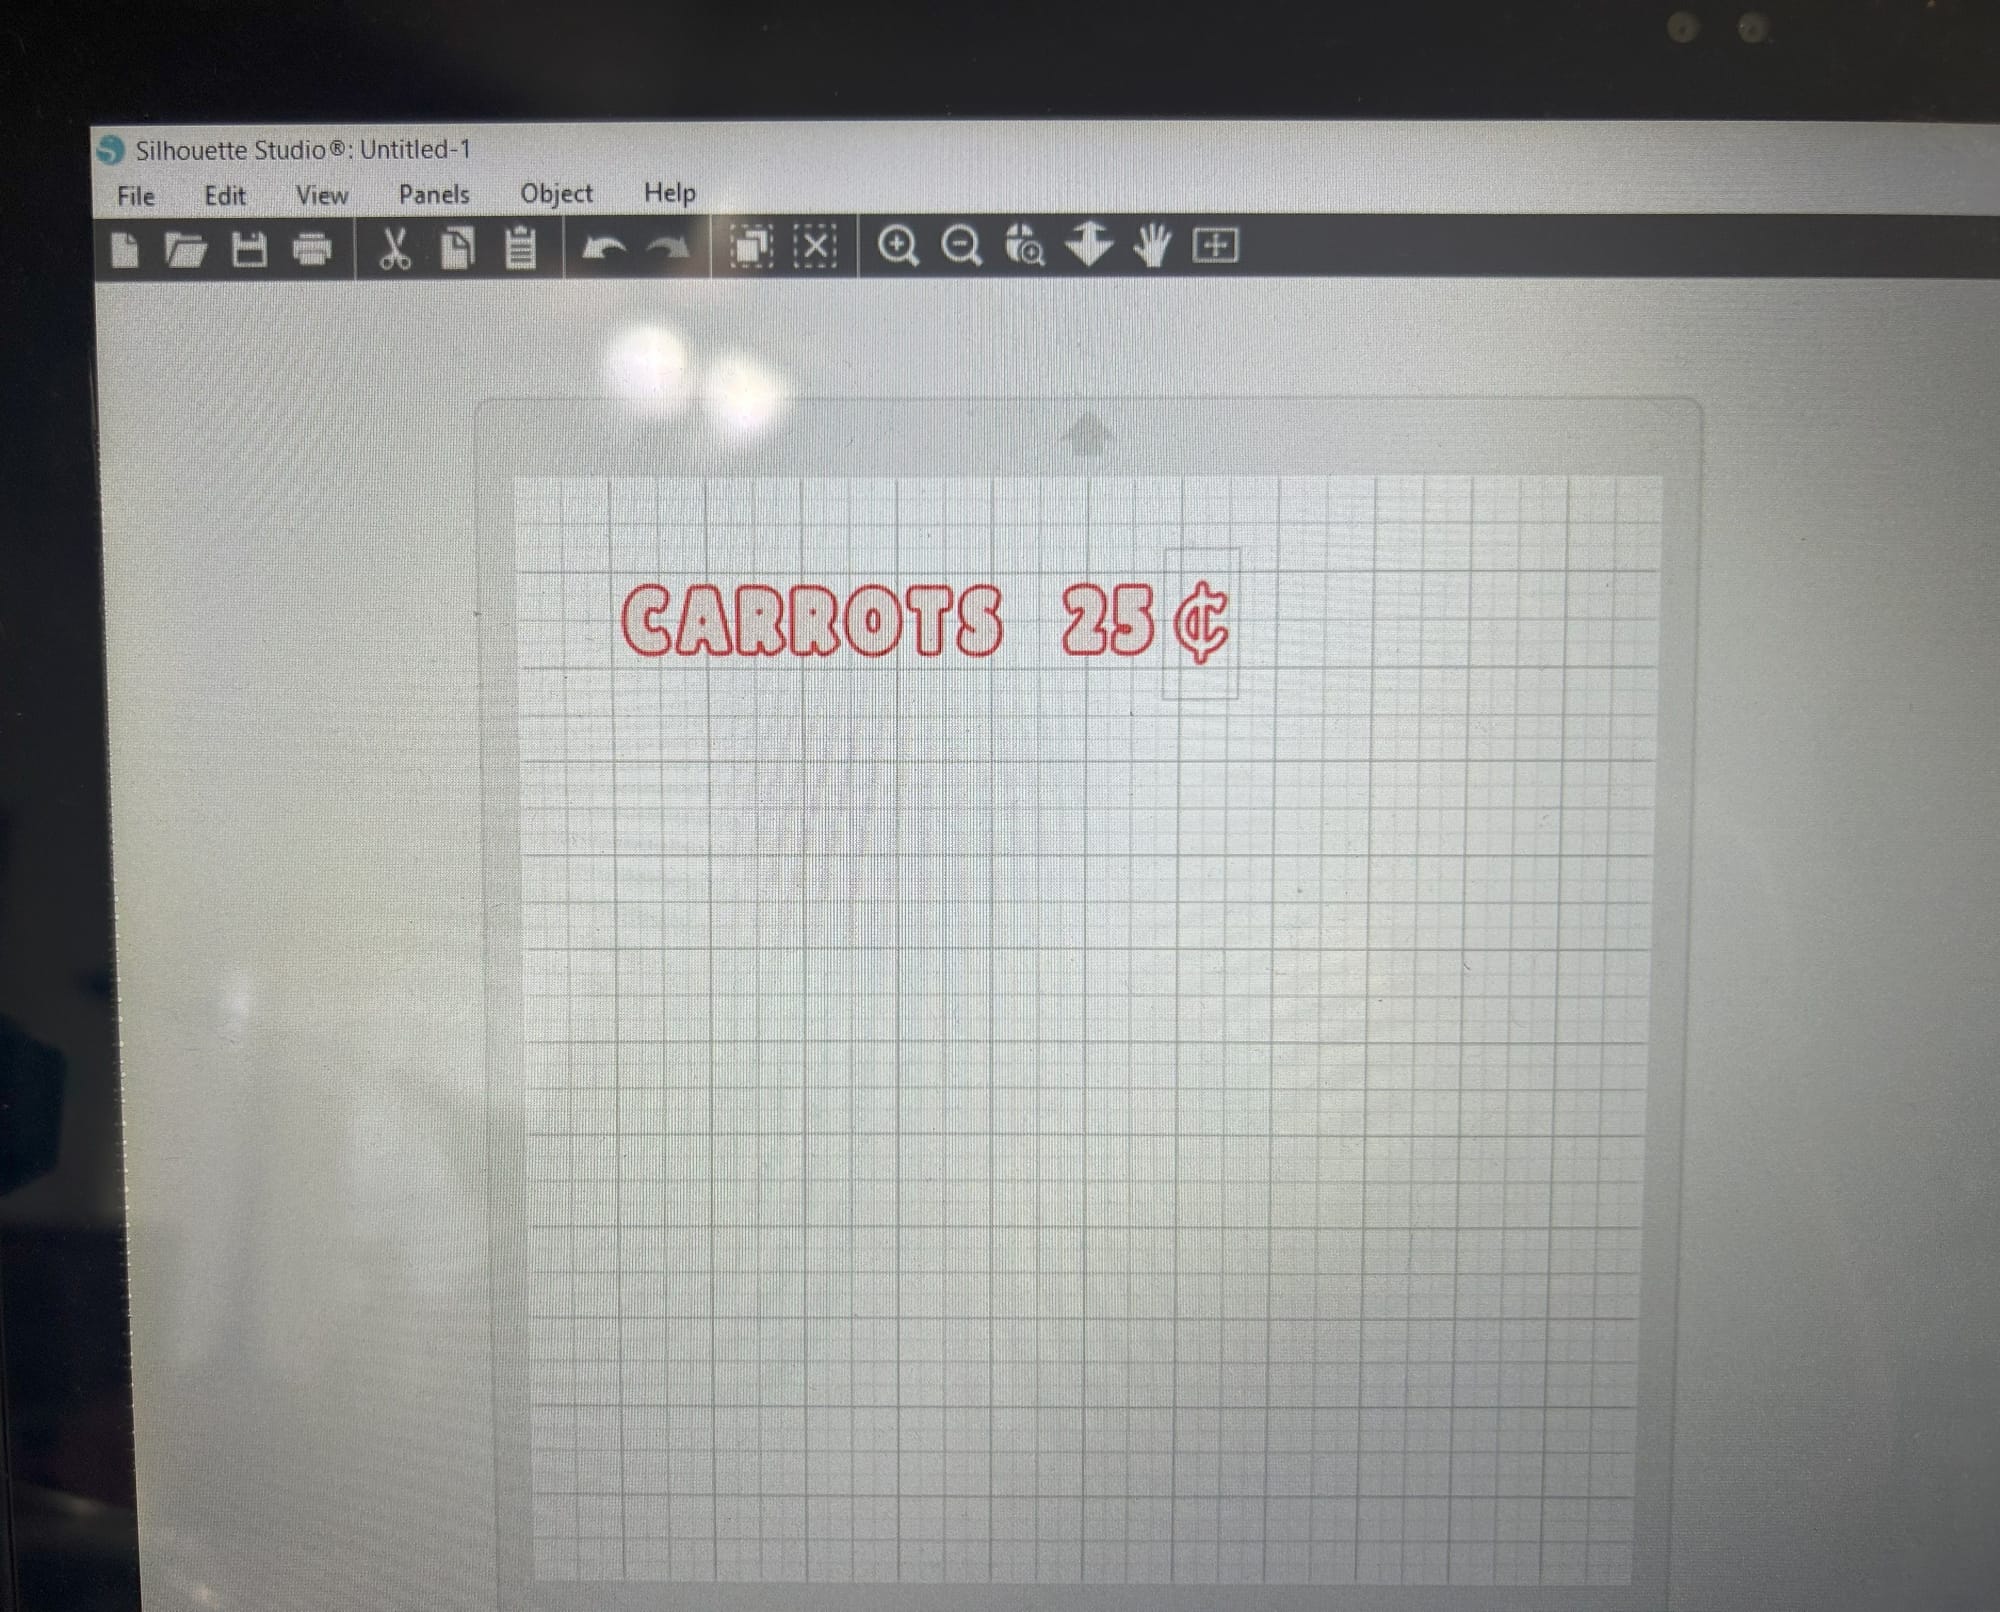
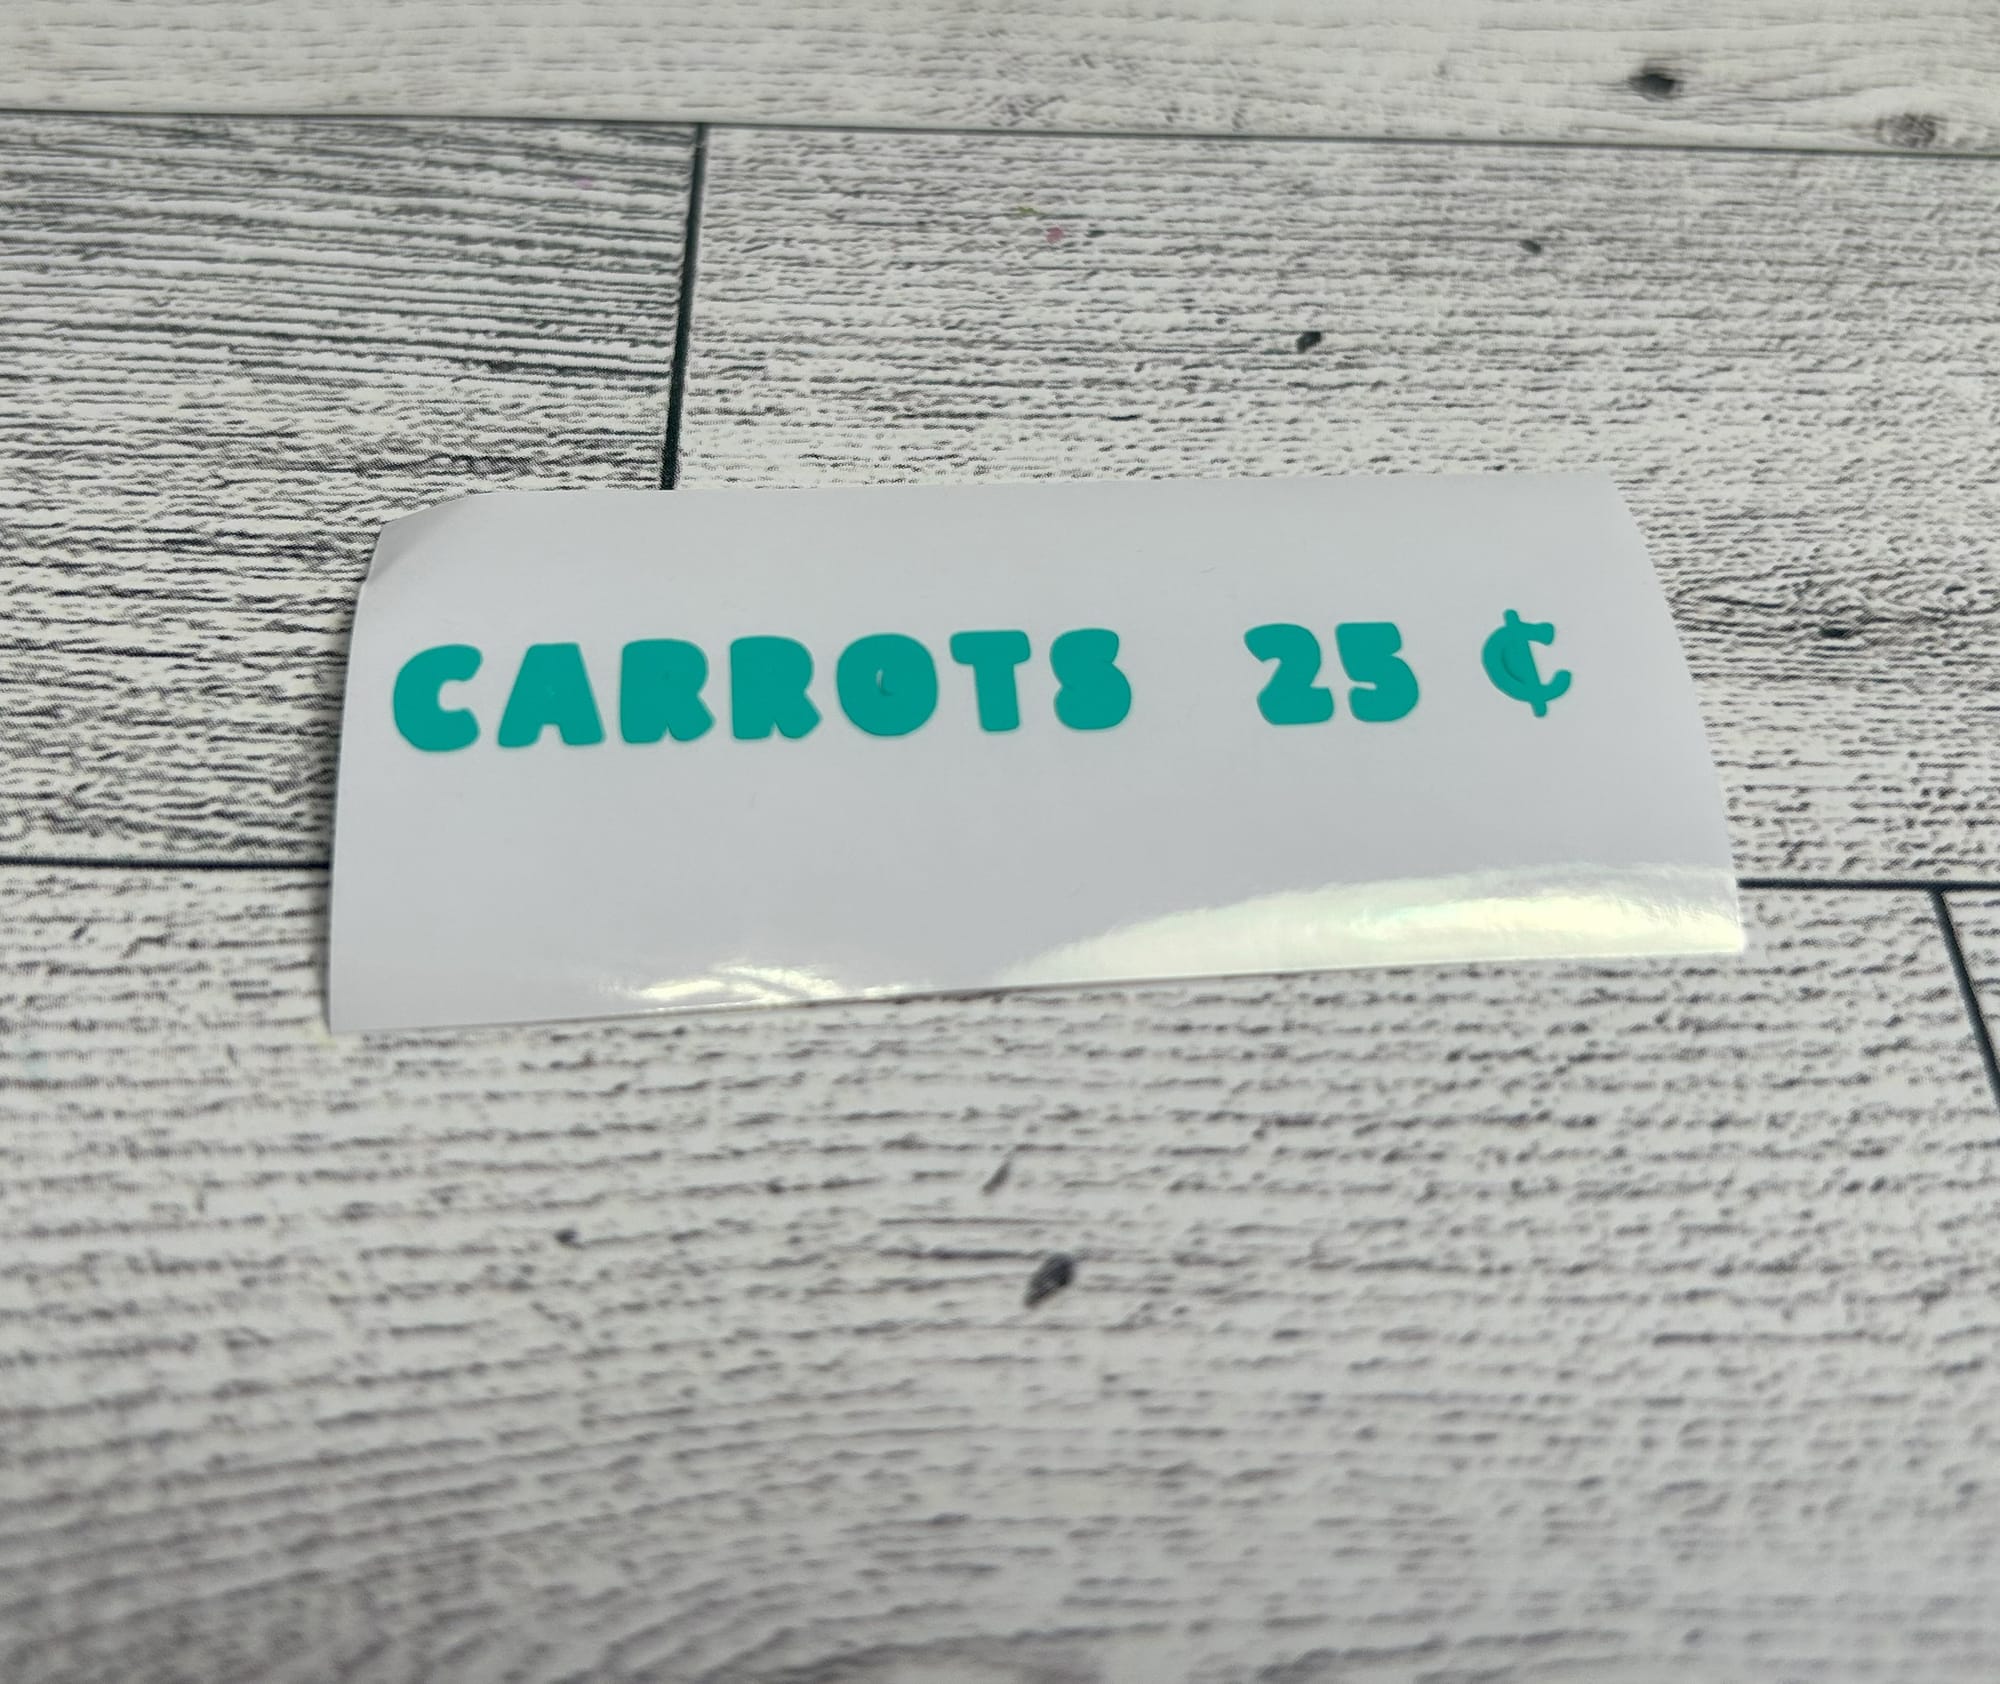
- Glue the tag to the crate after applying the vinyl. Then glue the bunny to the crate and add your carrots.
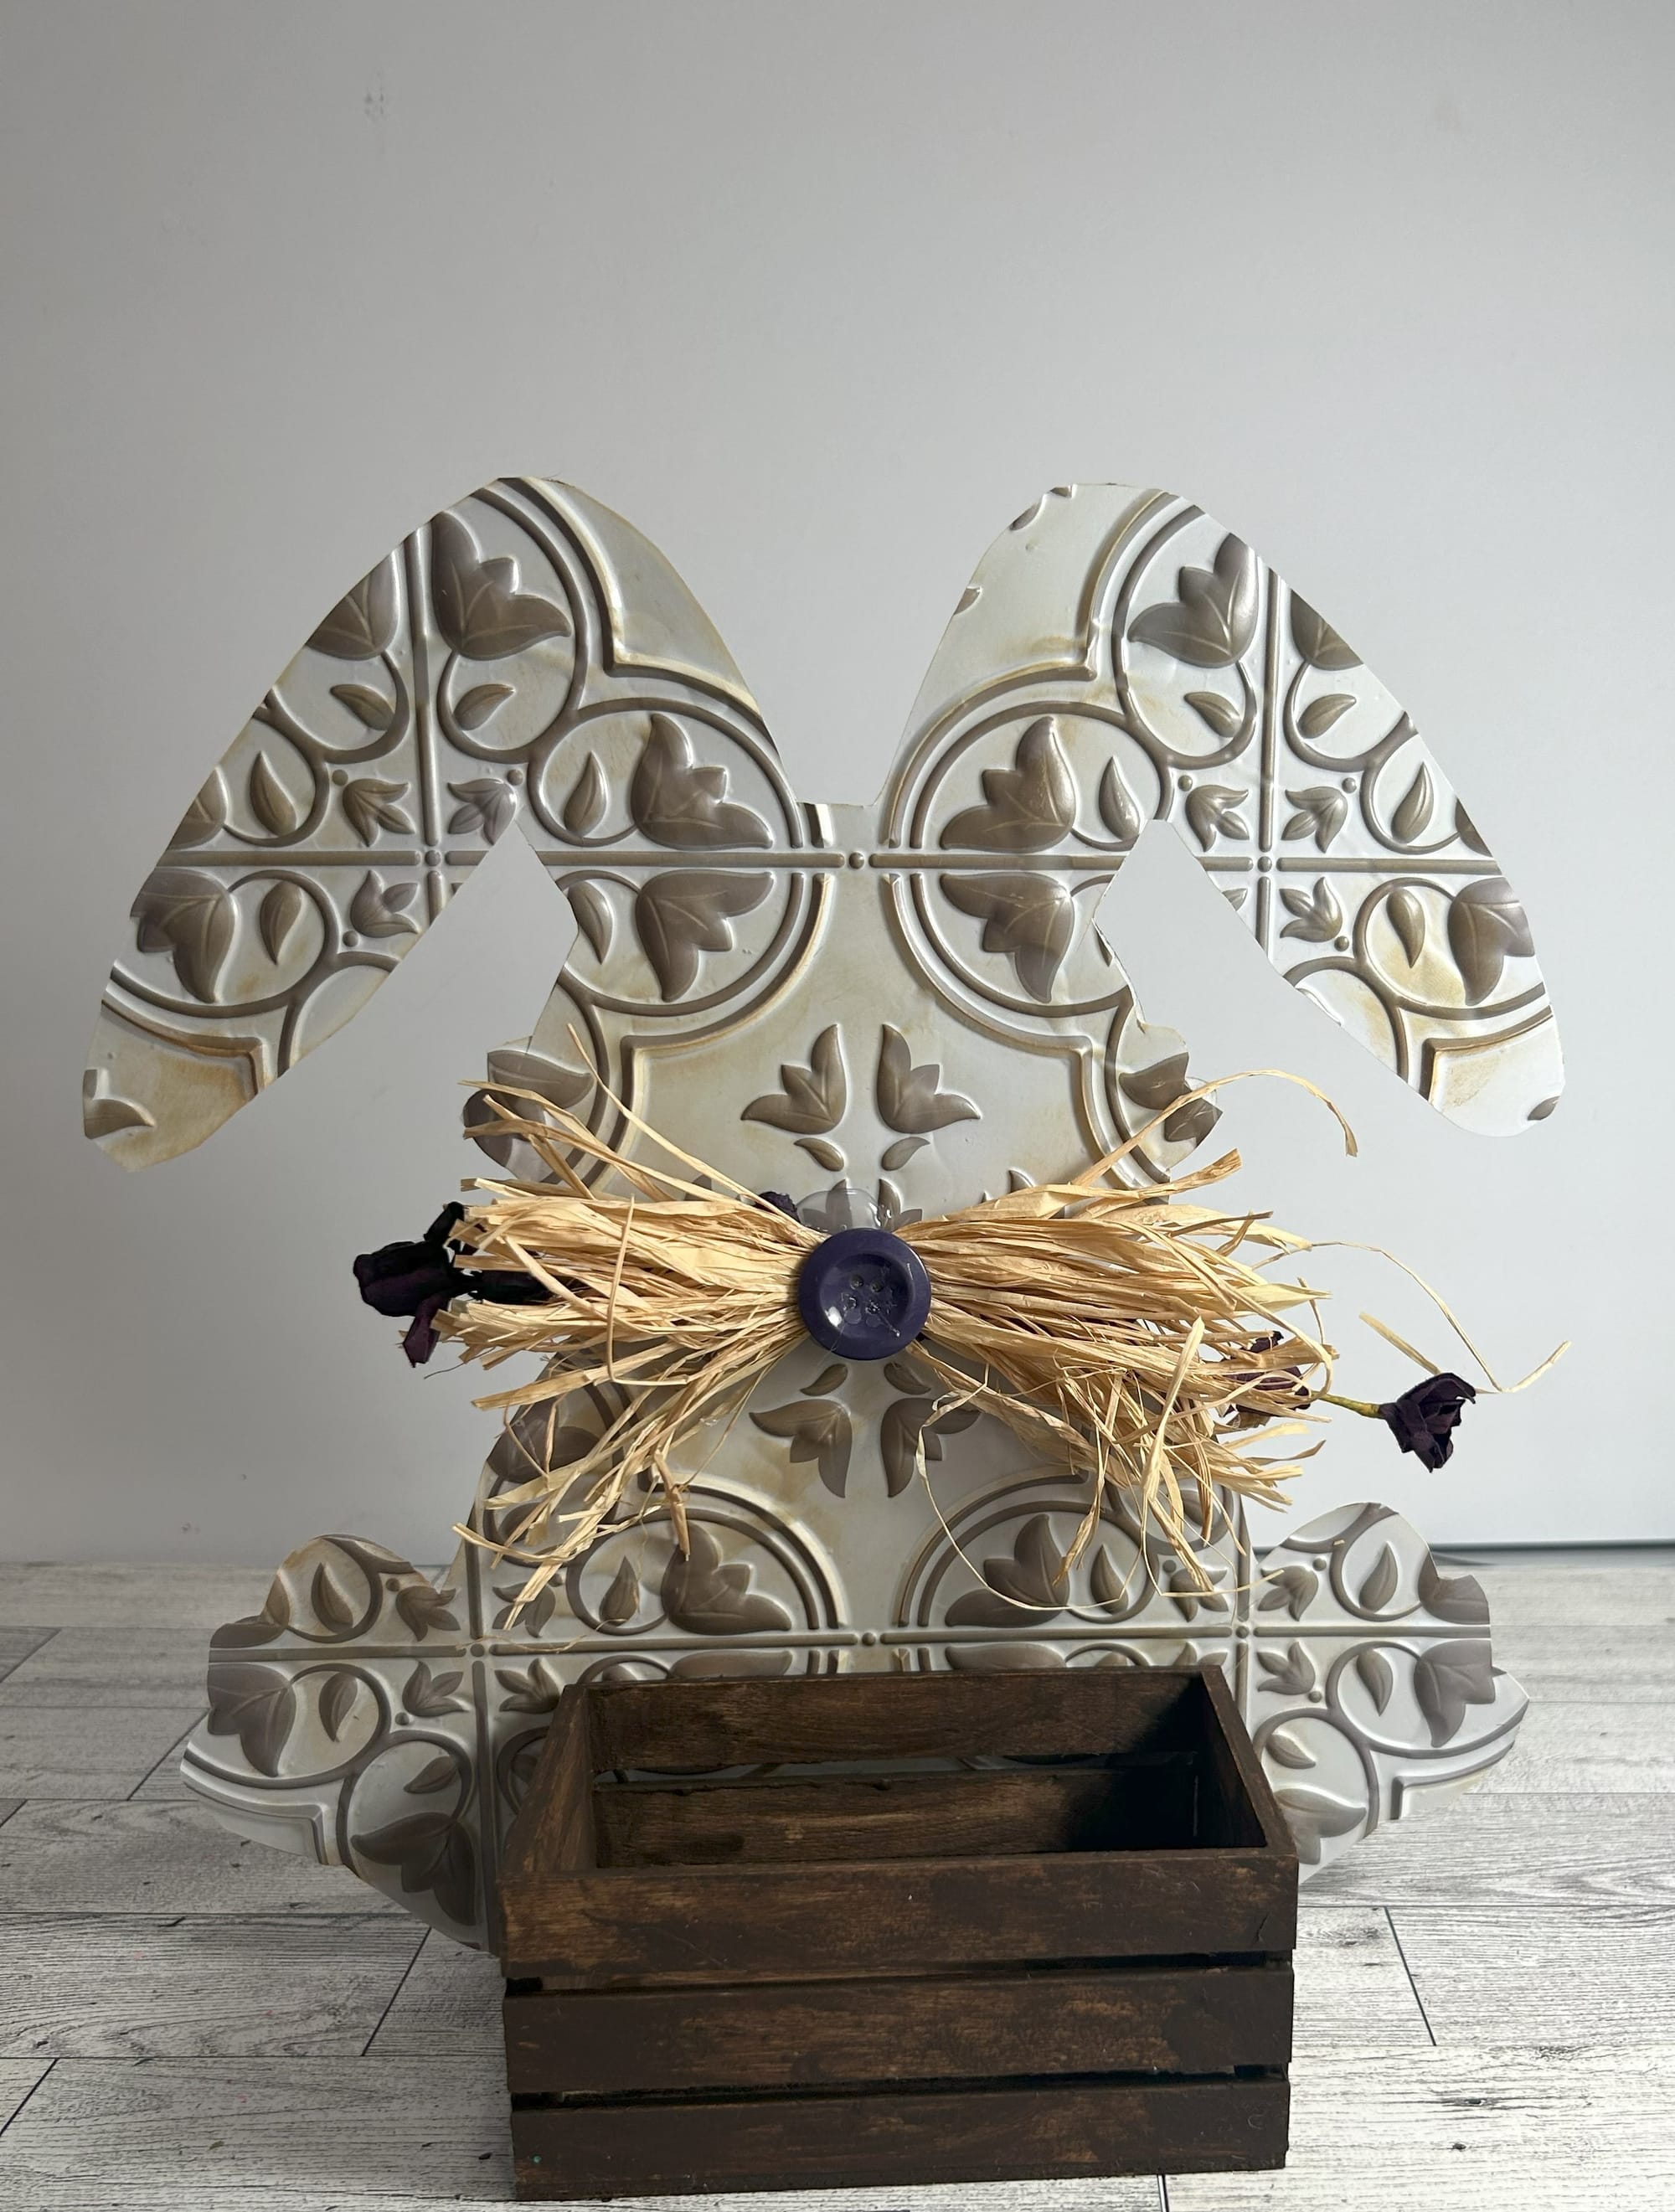
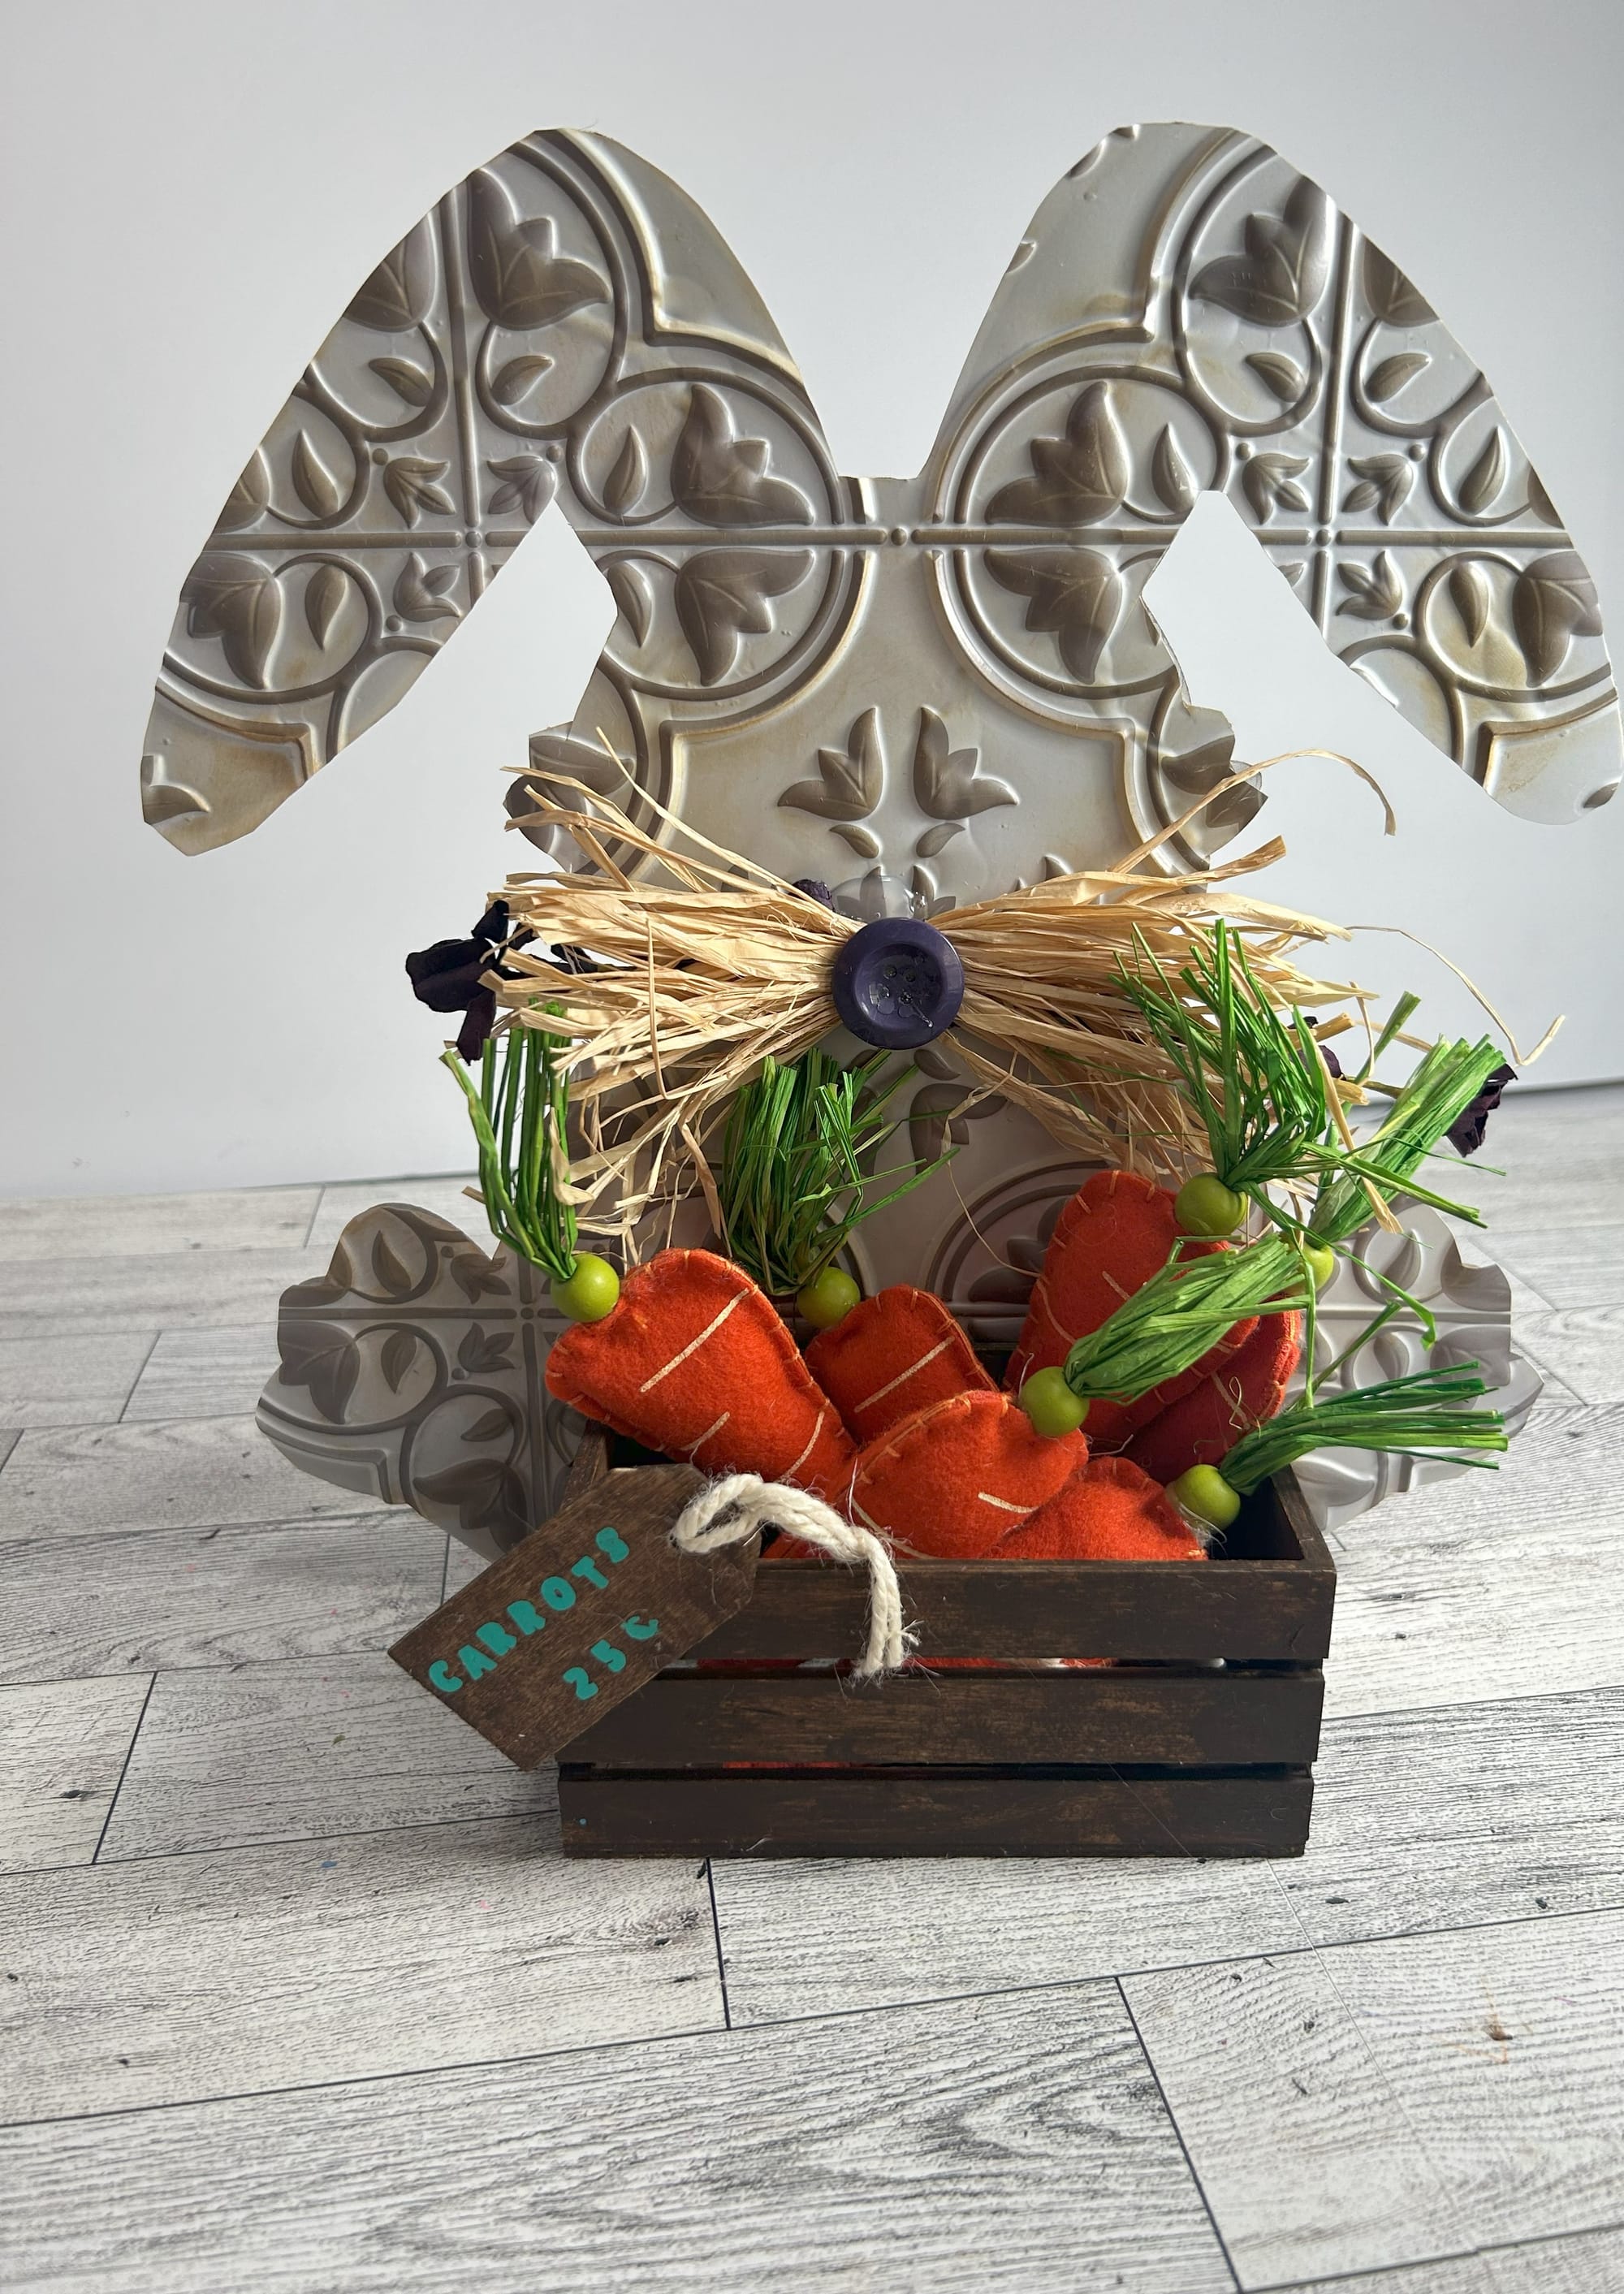
Such a FUN and EASY decoration to add to your home for Easter!


