DIY Torn Paper Winter Squirrel Art

Looking for a creative and fun craft to do with the kiddos? This Torn Paper Squirrel Art project is a fantastic way to explore textures, practice fine motor skills, and celebrate the beauty of nature. Plus, it’s easy to make and requires minimal materials!
Do you think you can draw a squirrel? Well, with my easy to follow instructions, you will create your very own unique squirrel drawing. The best part is, that it is okay if it is not perfect. Your squirrel will take shape when you add torn paper and will turn out amazing! Here’s how to make your very own Torn Paper Squirrel.
First, draw you squirrel on a piece of paper, I did mine on yellow, but I recommend choosing brown to make sure there are no colored pieces of paper poking through at the end. This is especially helpful if a child is competing this project.
When drawing these shapes be sure to draw the shapes a little bigger than you think they should be. Remember, you can always erase if needed.
I began by drawing a circle as the head of the squirrel. Next add two triangles for the ears.


Draw simple shapes of a circle and triangles to begin this squirrel.
Next, add a bigger oval shape as the body of the squirrel. This should be attached to the head,

Next, Add a bushy tail at the back of the body. Add two rounded oval shapes for the foot and hand of the squirrel.


Next, add the tail, foot and arm
Remember this does not need to look perfect. Once you add the torn paper you will see the squirrel take shape. It turns out amazing with this simplistic drawing.
Tear pieces of brown paper to add to the squirrel. You can choose to add different shades of brown, black and even some gray to make the fur look realistic and textured. Then begin gluing the pieces on top of the drawing you had completed.


Continue gluing pieces of paper onto the drawing you have done.
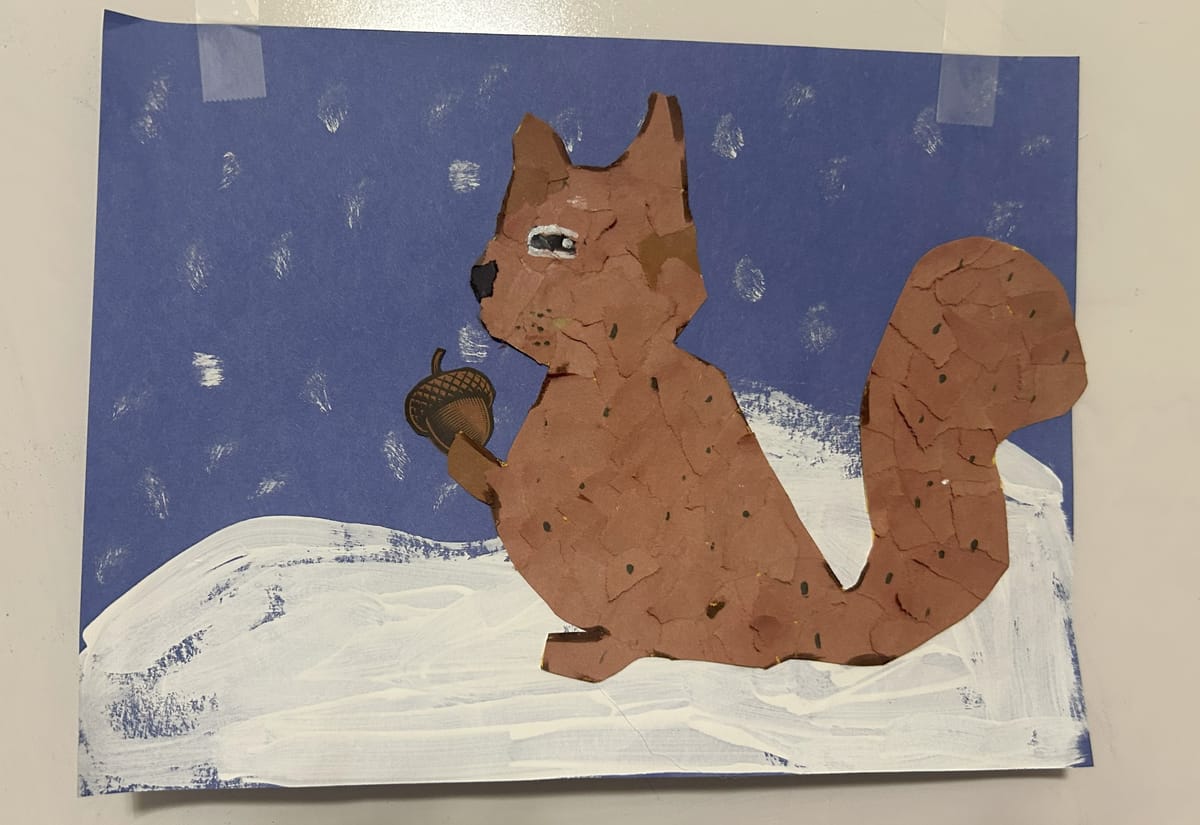
Use a small piece of black paper to create an eyes for your squirrel. After, cut out the squirrel around the outside. I used a marker to add a few details for texture on the squirrel's body. Print out an acorn on brown paper . Cut out an acorn to add to the squirrel's hand.


Continue adding torn paper to the squirrel. Cut it out once you are done.
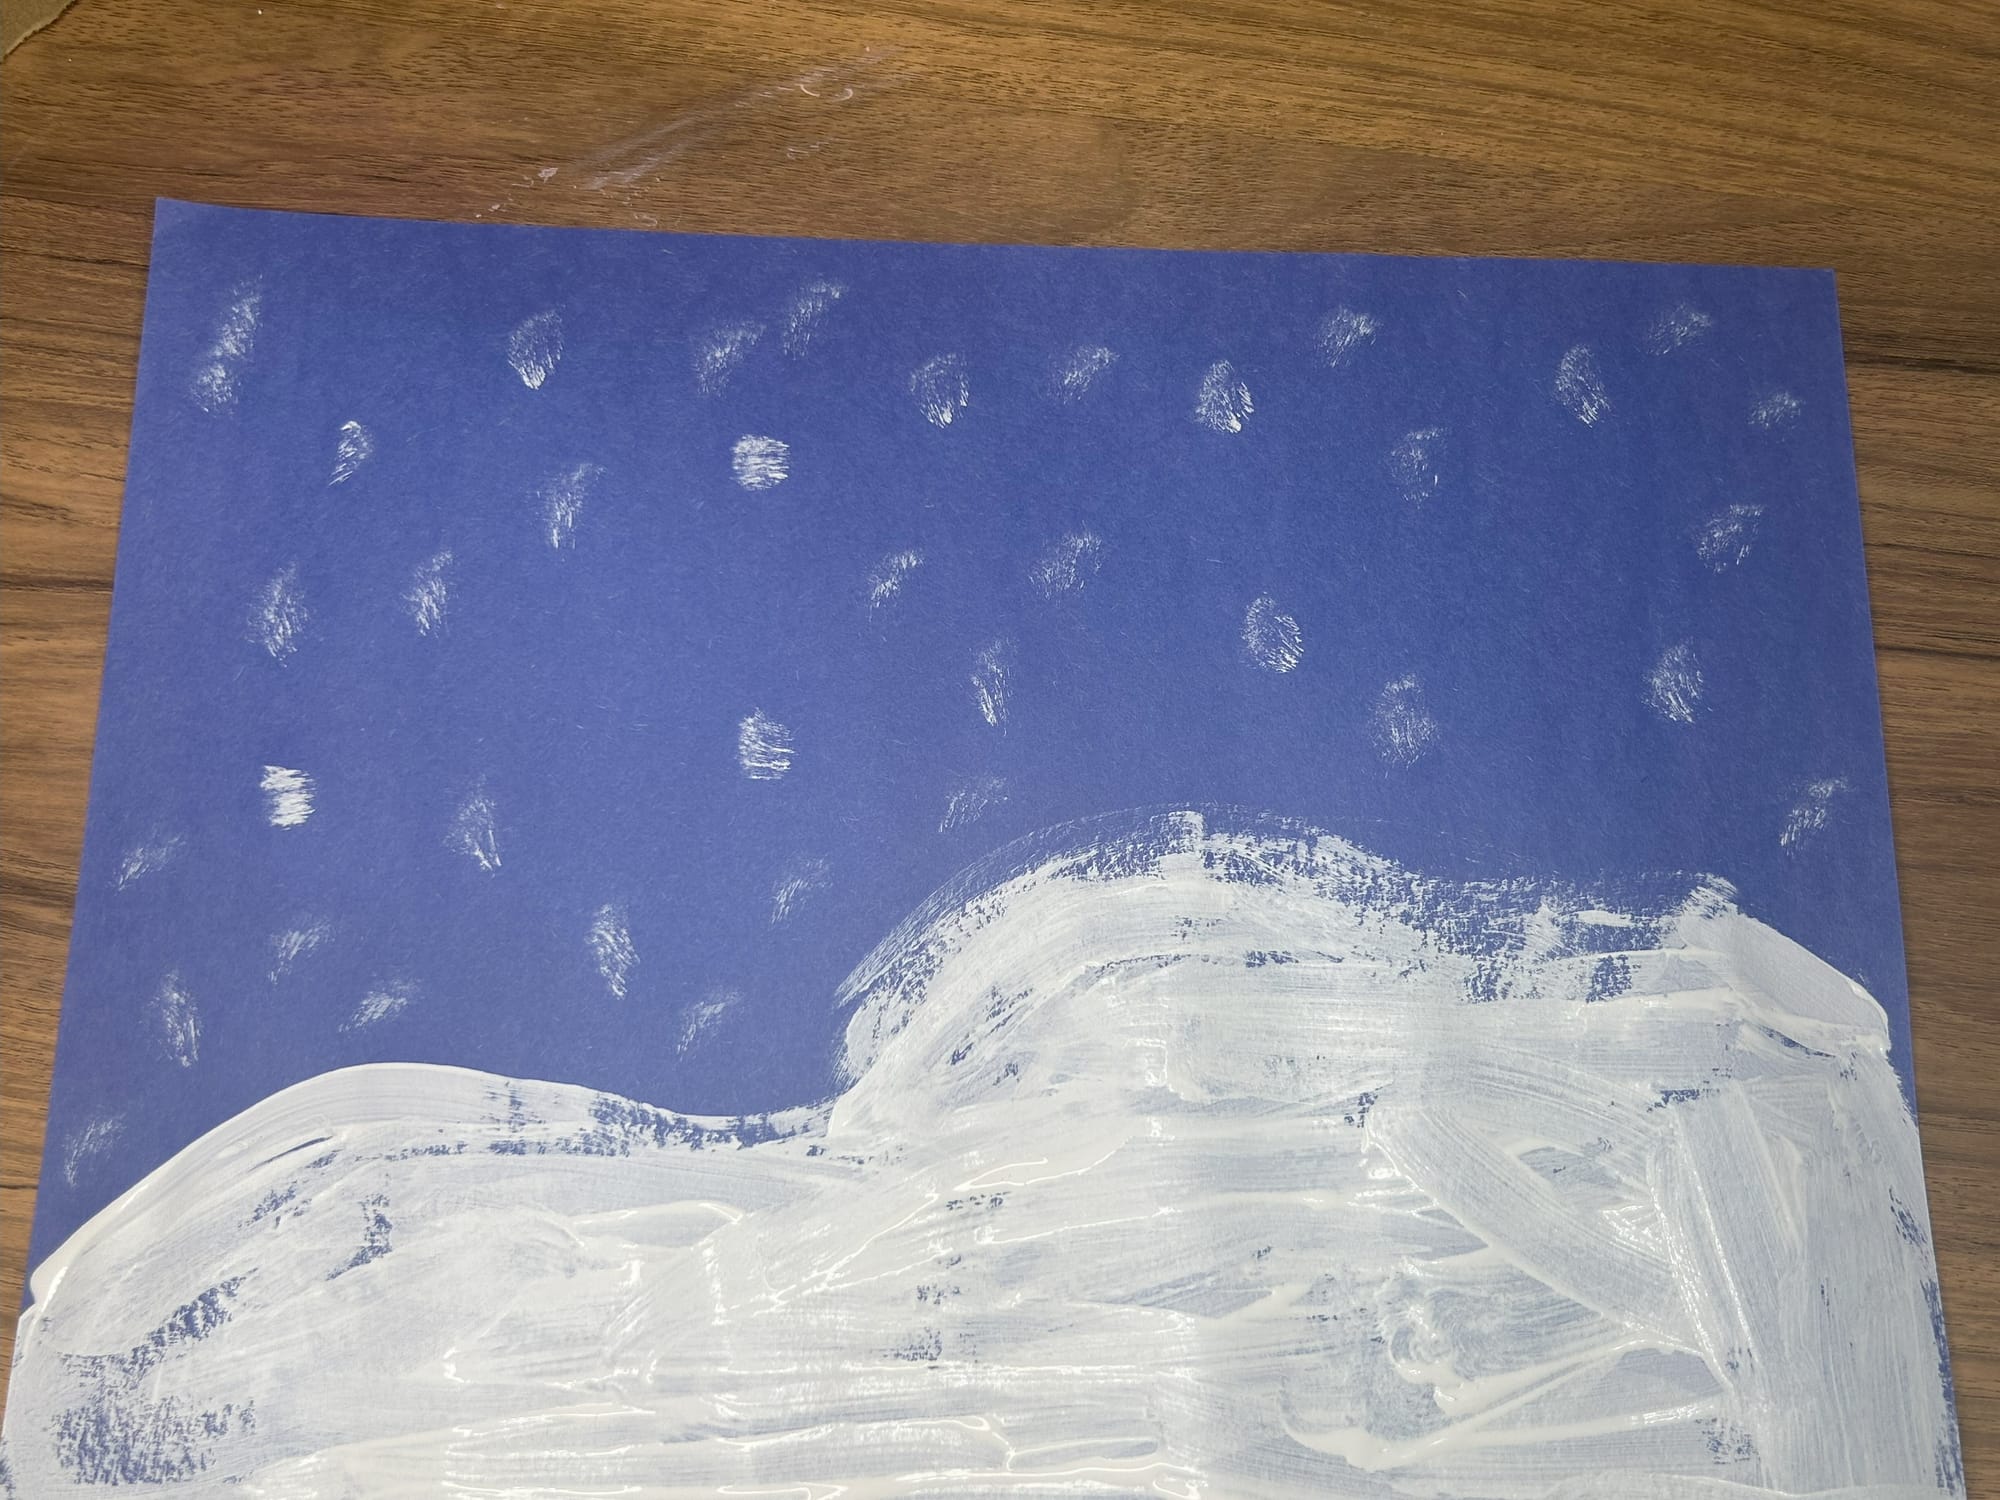
Next, create a winter scene for the squirrel to be placed in. I used white paint to add a pile of snow to the paper. After, I added dots to act as snow falling from the sky. Wait for the paint to dry before moving on to the next step.


Use paint to create a winter background for the squirrel.
Once the paint is dry, glue your squirrel onto the snow and add an acorn in it's hand. You can even add a few acorns on the floor too!
Why This Craft is So Fun:
- Tactile Fun: Tearing the paper is a great sensory activity that helps with fine motor skills!
- Creative Exploration: Kids can get as creative as they want with the colors and texture of the squirrel’s tail and body.
- Nature-Inspired: This craft is a wonderful way to connect with nature, especially if you're doing it in the fall or while learning about animals like squirrels.
- Easy to Adapt: You can make this project simpler or more complex depending on the age and skill level of the child.
This Torn Paper Squirrel Art project is a great way to spend a cozy afternoon creating something beautiful, and it’s sure to make an adorable addition to any art collection!


