
Cardinal Bird Craft
Summer is a great time to create this cardinal bird craft. Simply made with a sheet of paper, markers and yarn. This fun craft will also be a perfect opportunity to practice or learn to use a ruler to measure the paper strips for the bird. Change the colors and easily create a different kind of bird. How cute would these be on your porch or hanging in the window of your home. Imagine a flock of a variety of bird types hanging up.
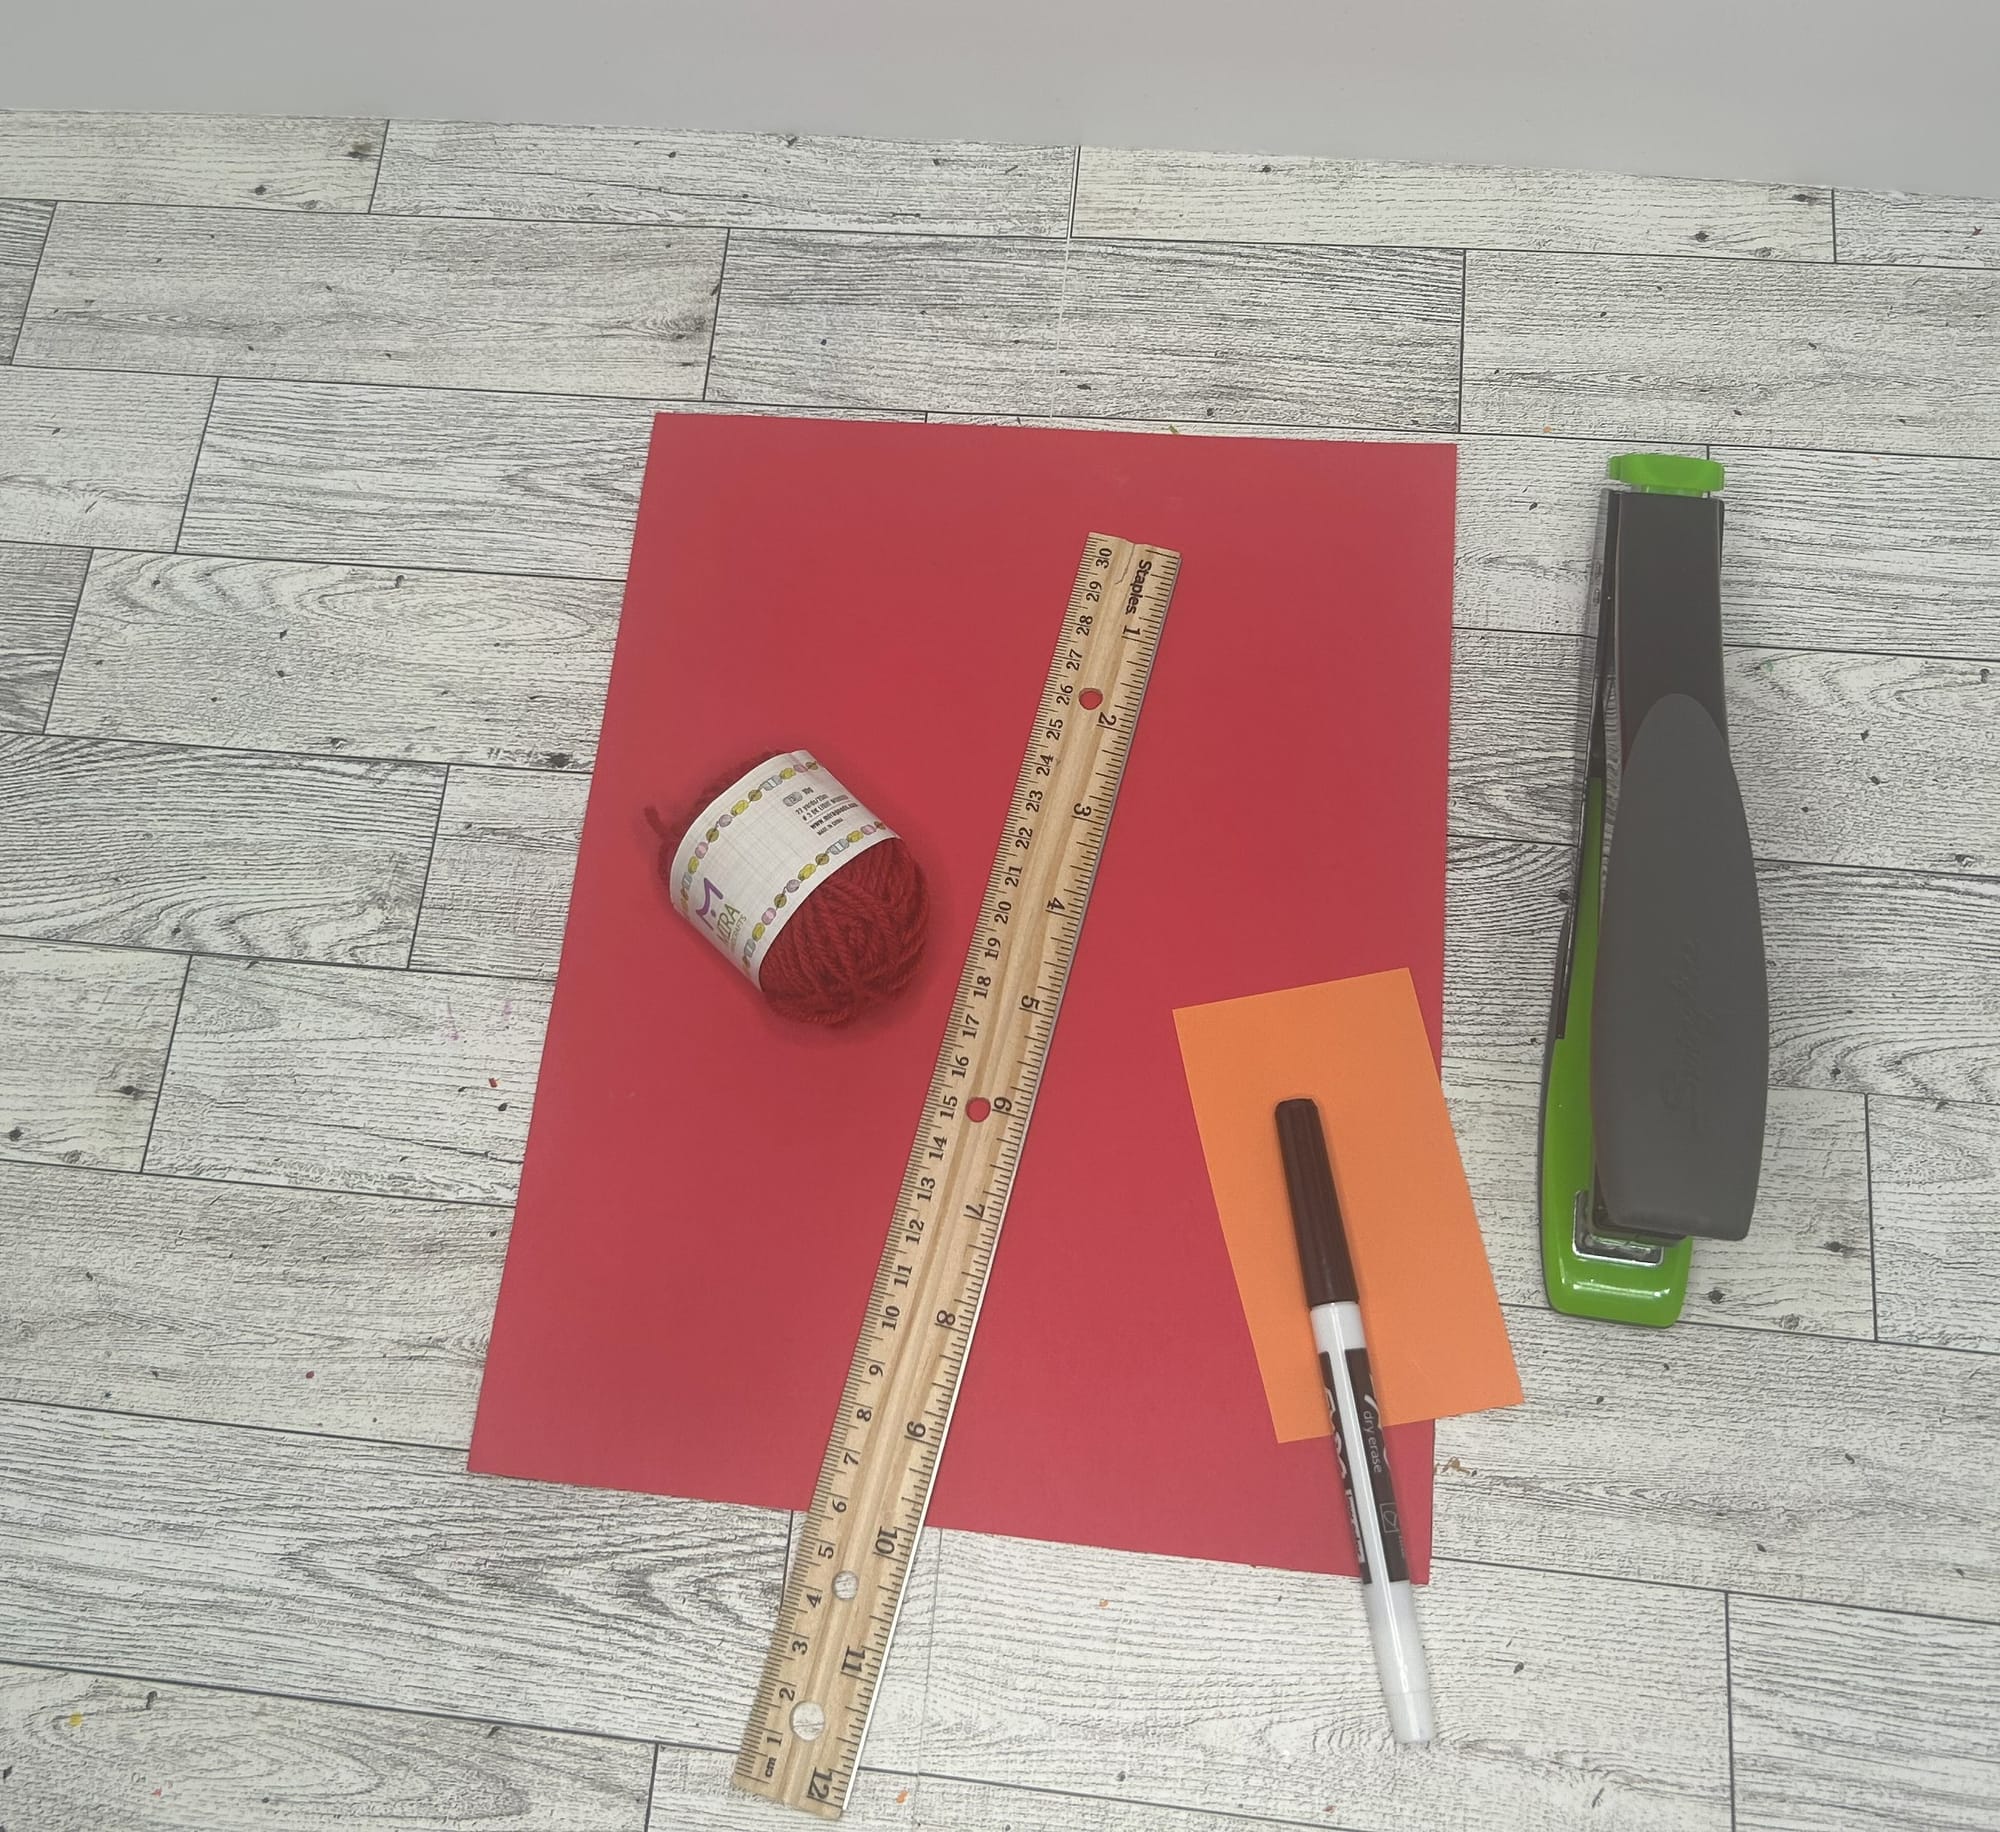
Supplies:
- red cardstock
- Scrap piece of orange paper
- red yarn
- Hole puncher
- Ruler
- Stapler or glue
- Markers
When I craft I always try to hold on to excess paper that I can use at a later time. This activity need a small piece of orange paper. You could also create the beak with marker as well.
Instructions:
- Start by measuring your paper for the strips of paper you will need. I first measured 2 inches across and marked them with a dot. I drew a straight line with the ruler and cut the paper into 4 strips.
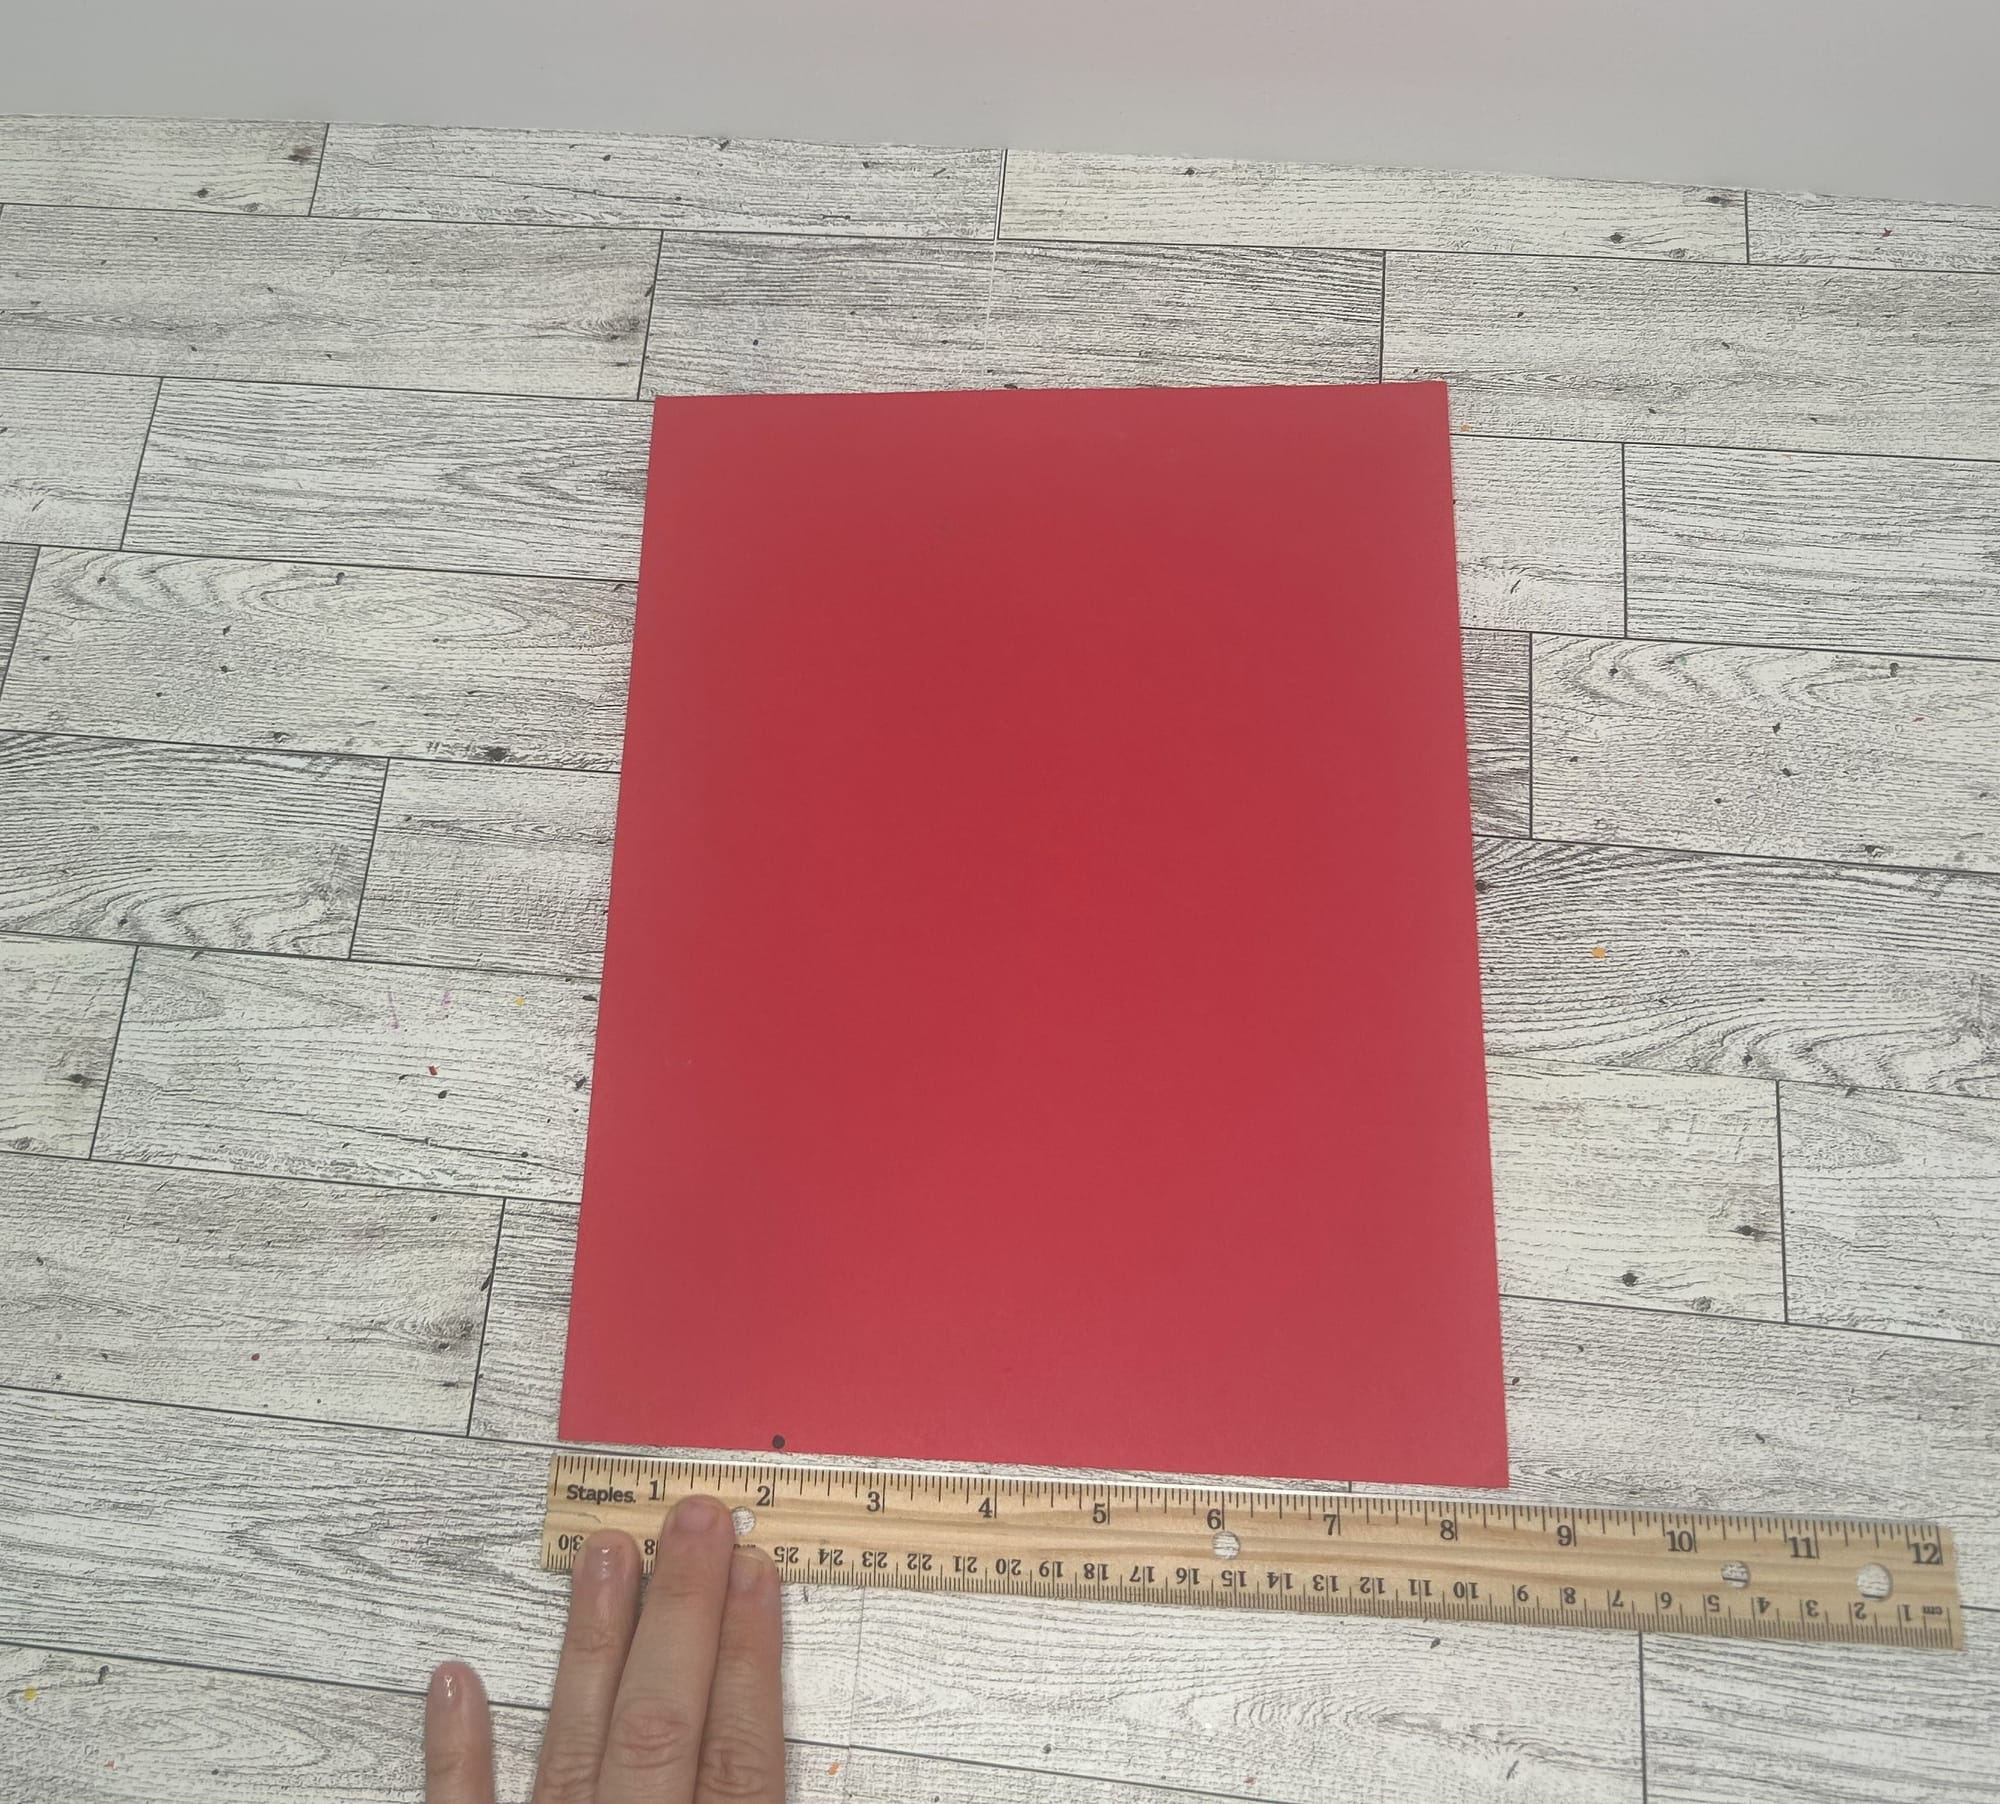
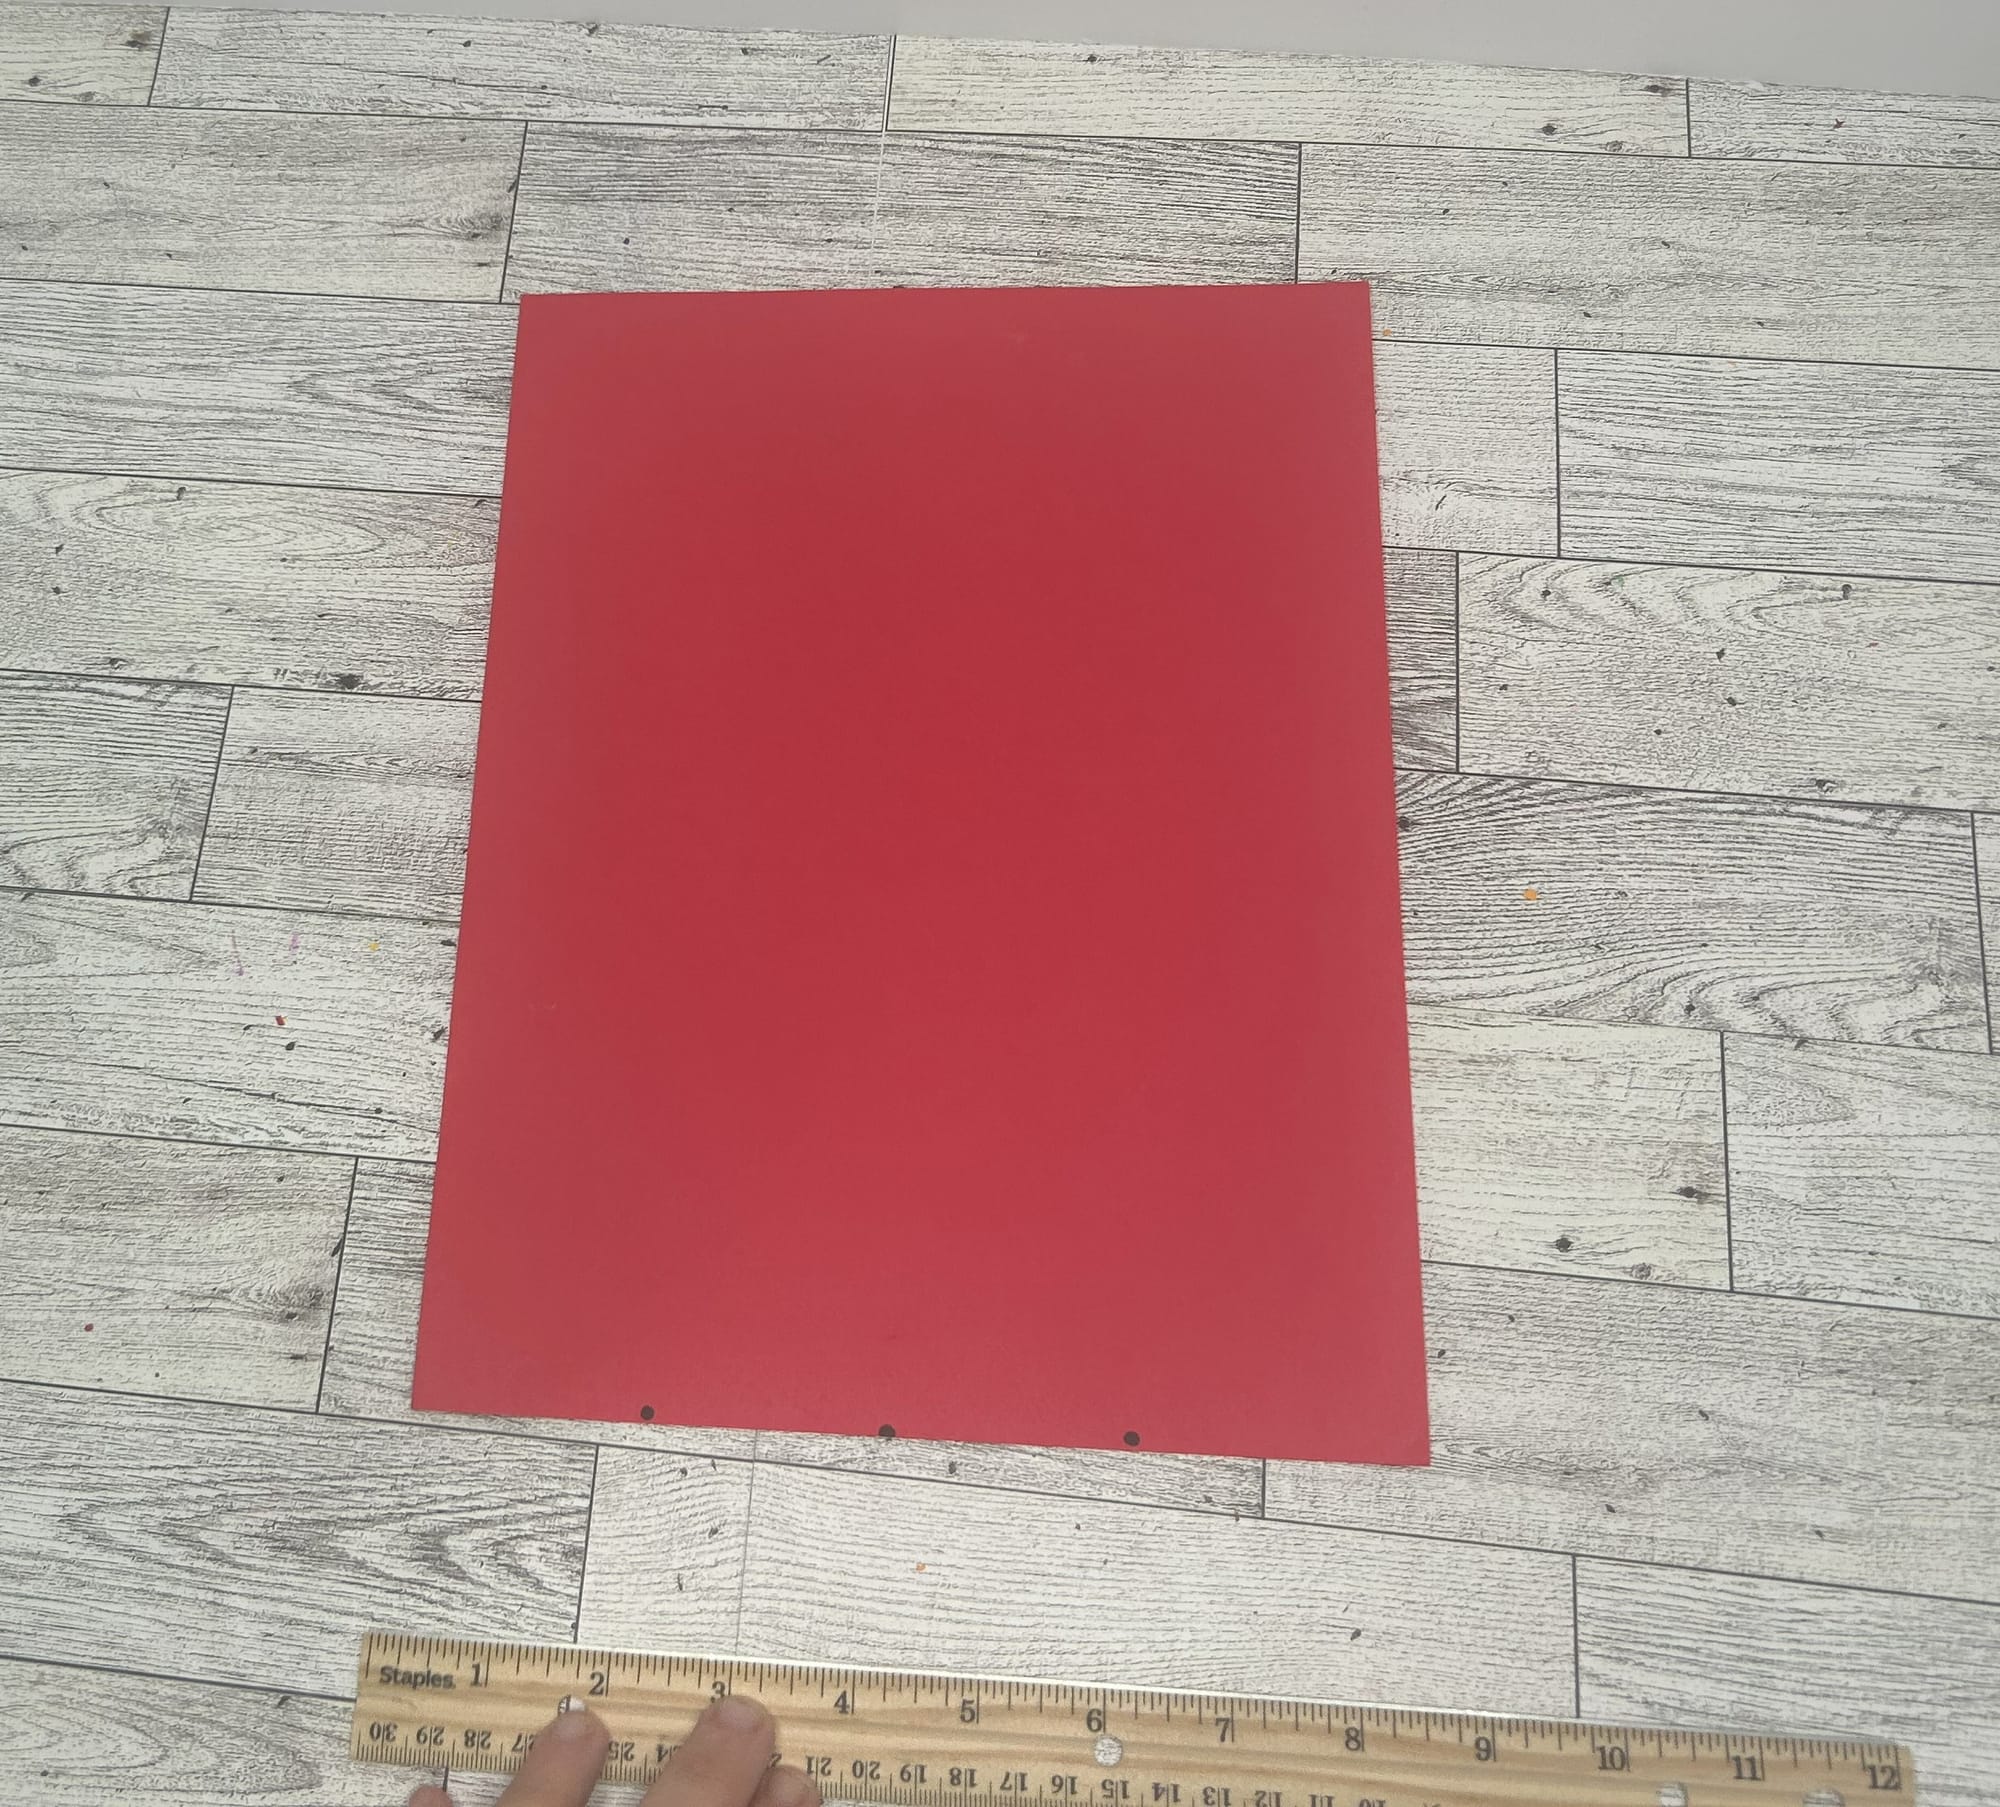
Practice or learn to use a ruler.
- Next, cut each of the 2 inch strips for the body of the bird.
Body: 2 inches x 11 inches
Head: 2 inches x 9 inches
Feathers: 2 inches x 8 inches
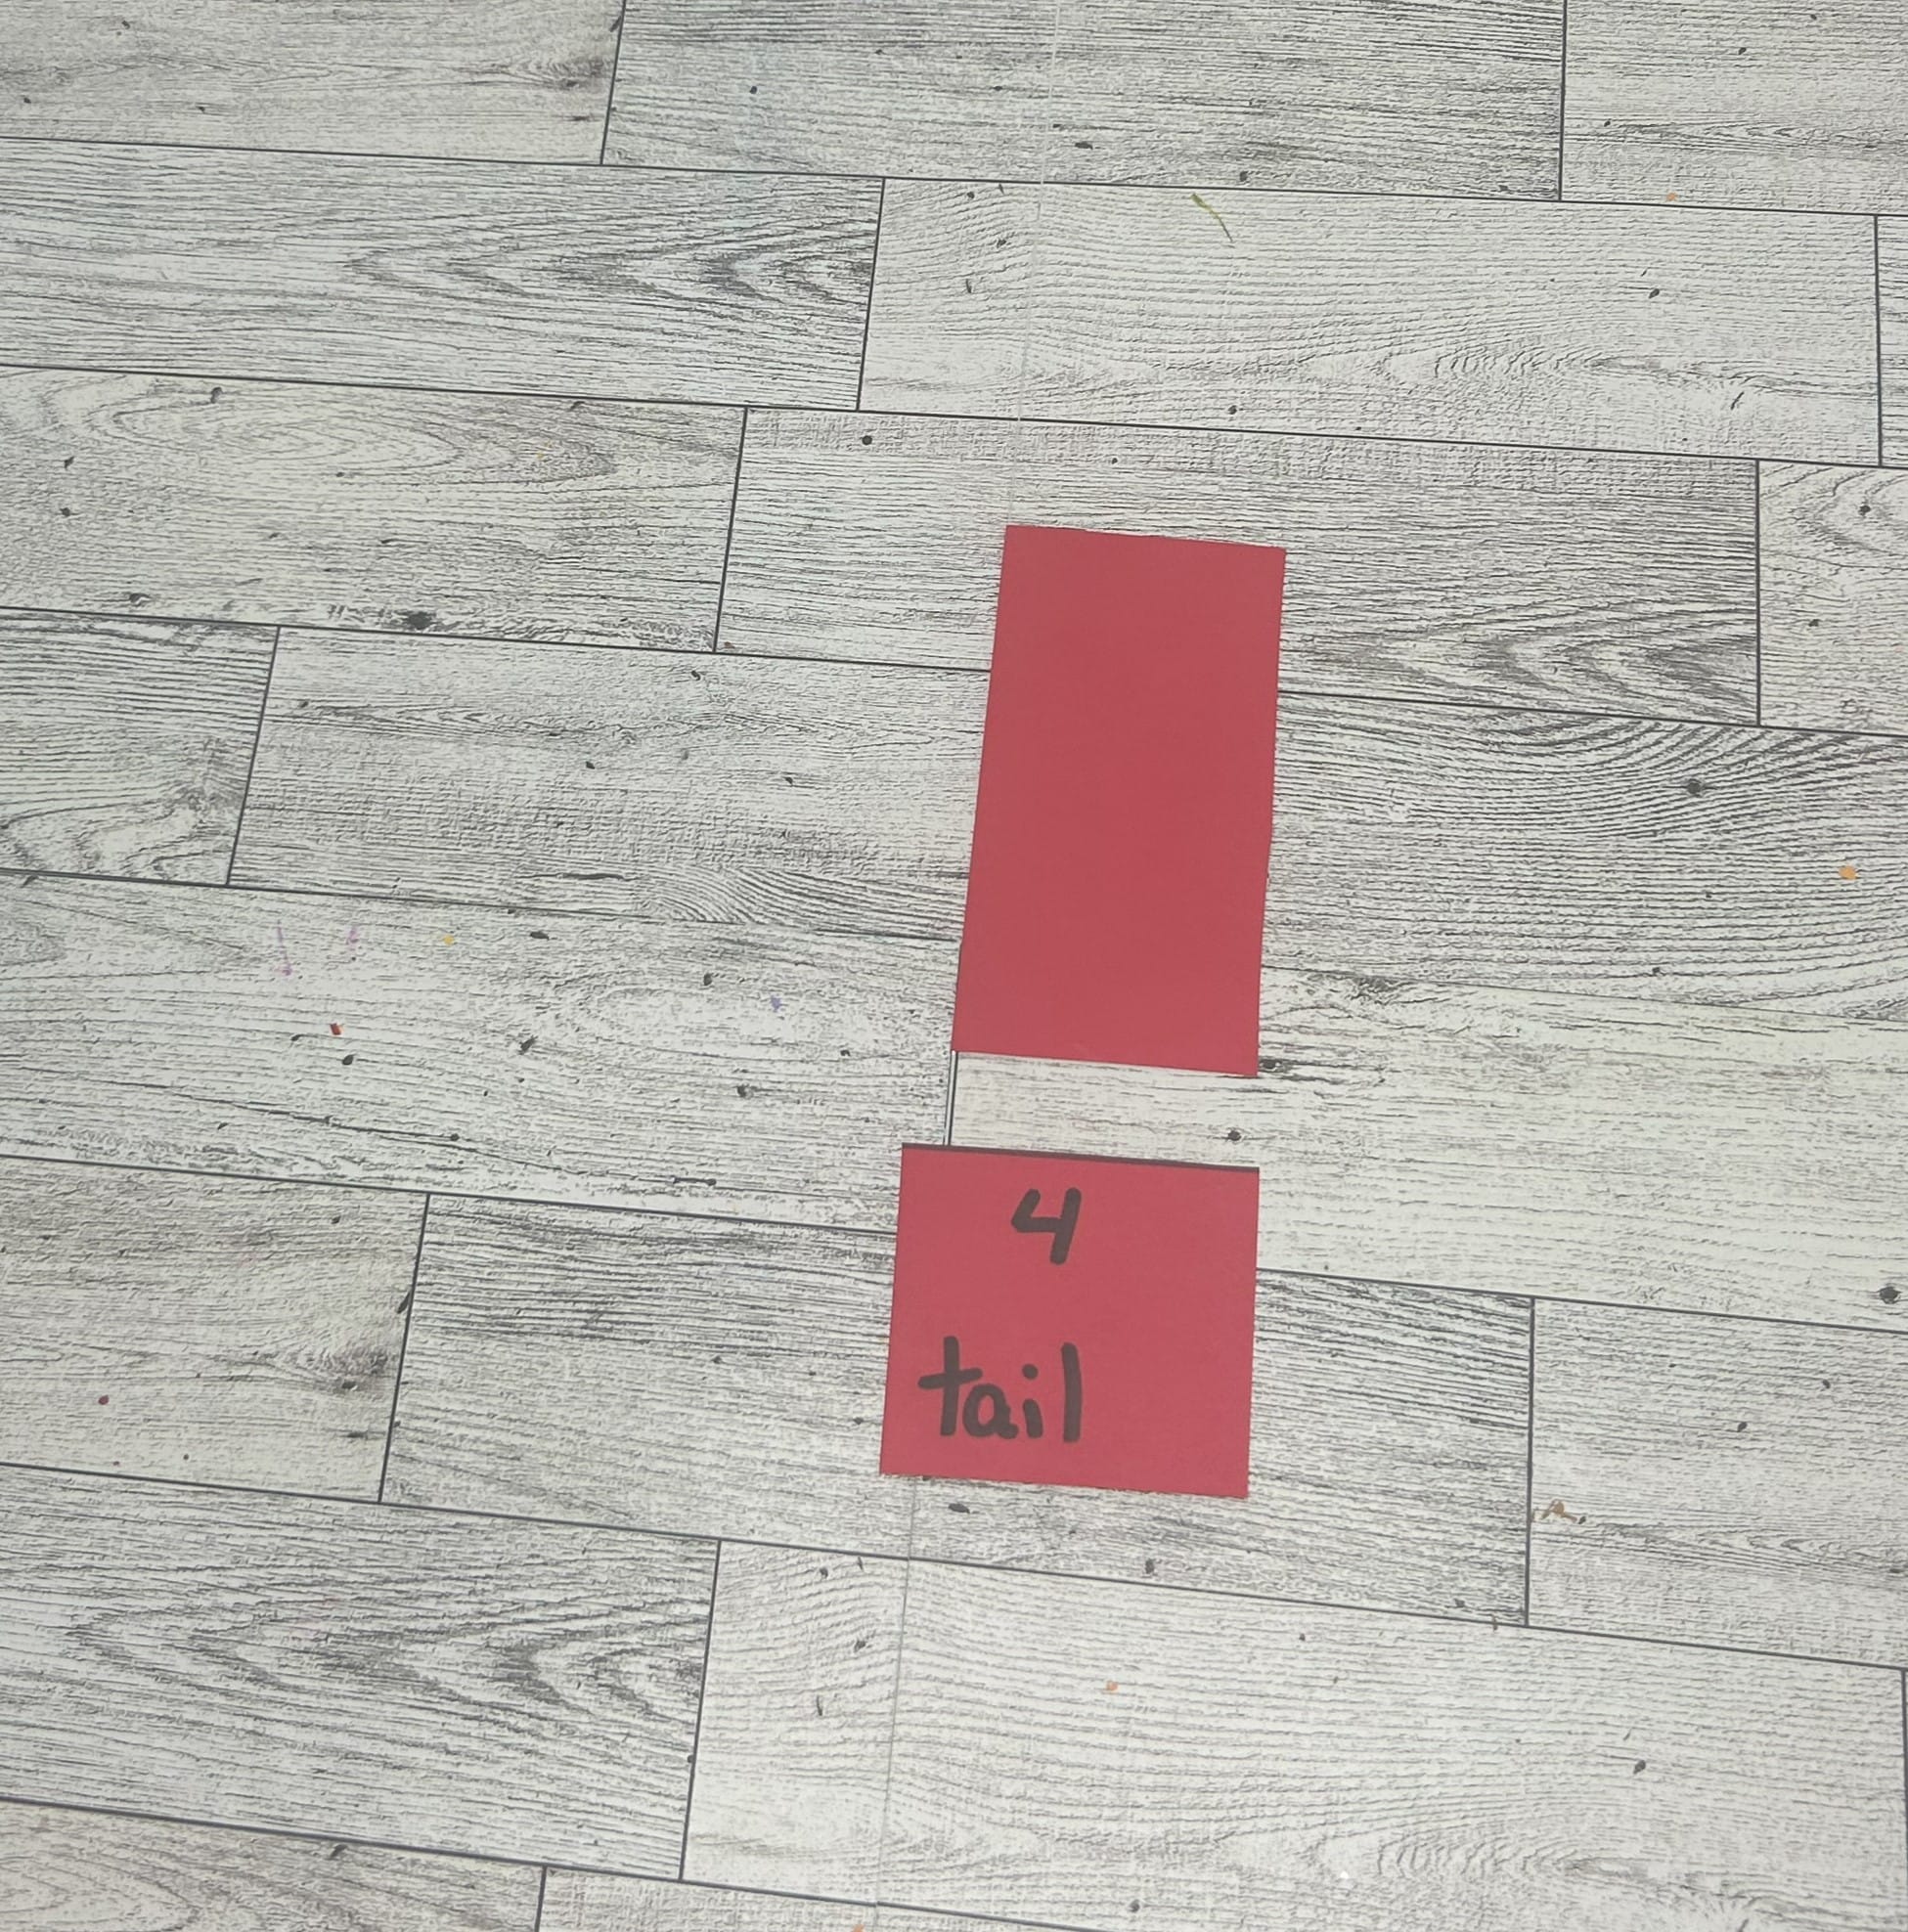
Tail: 2 inches x 4 inches
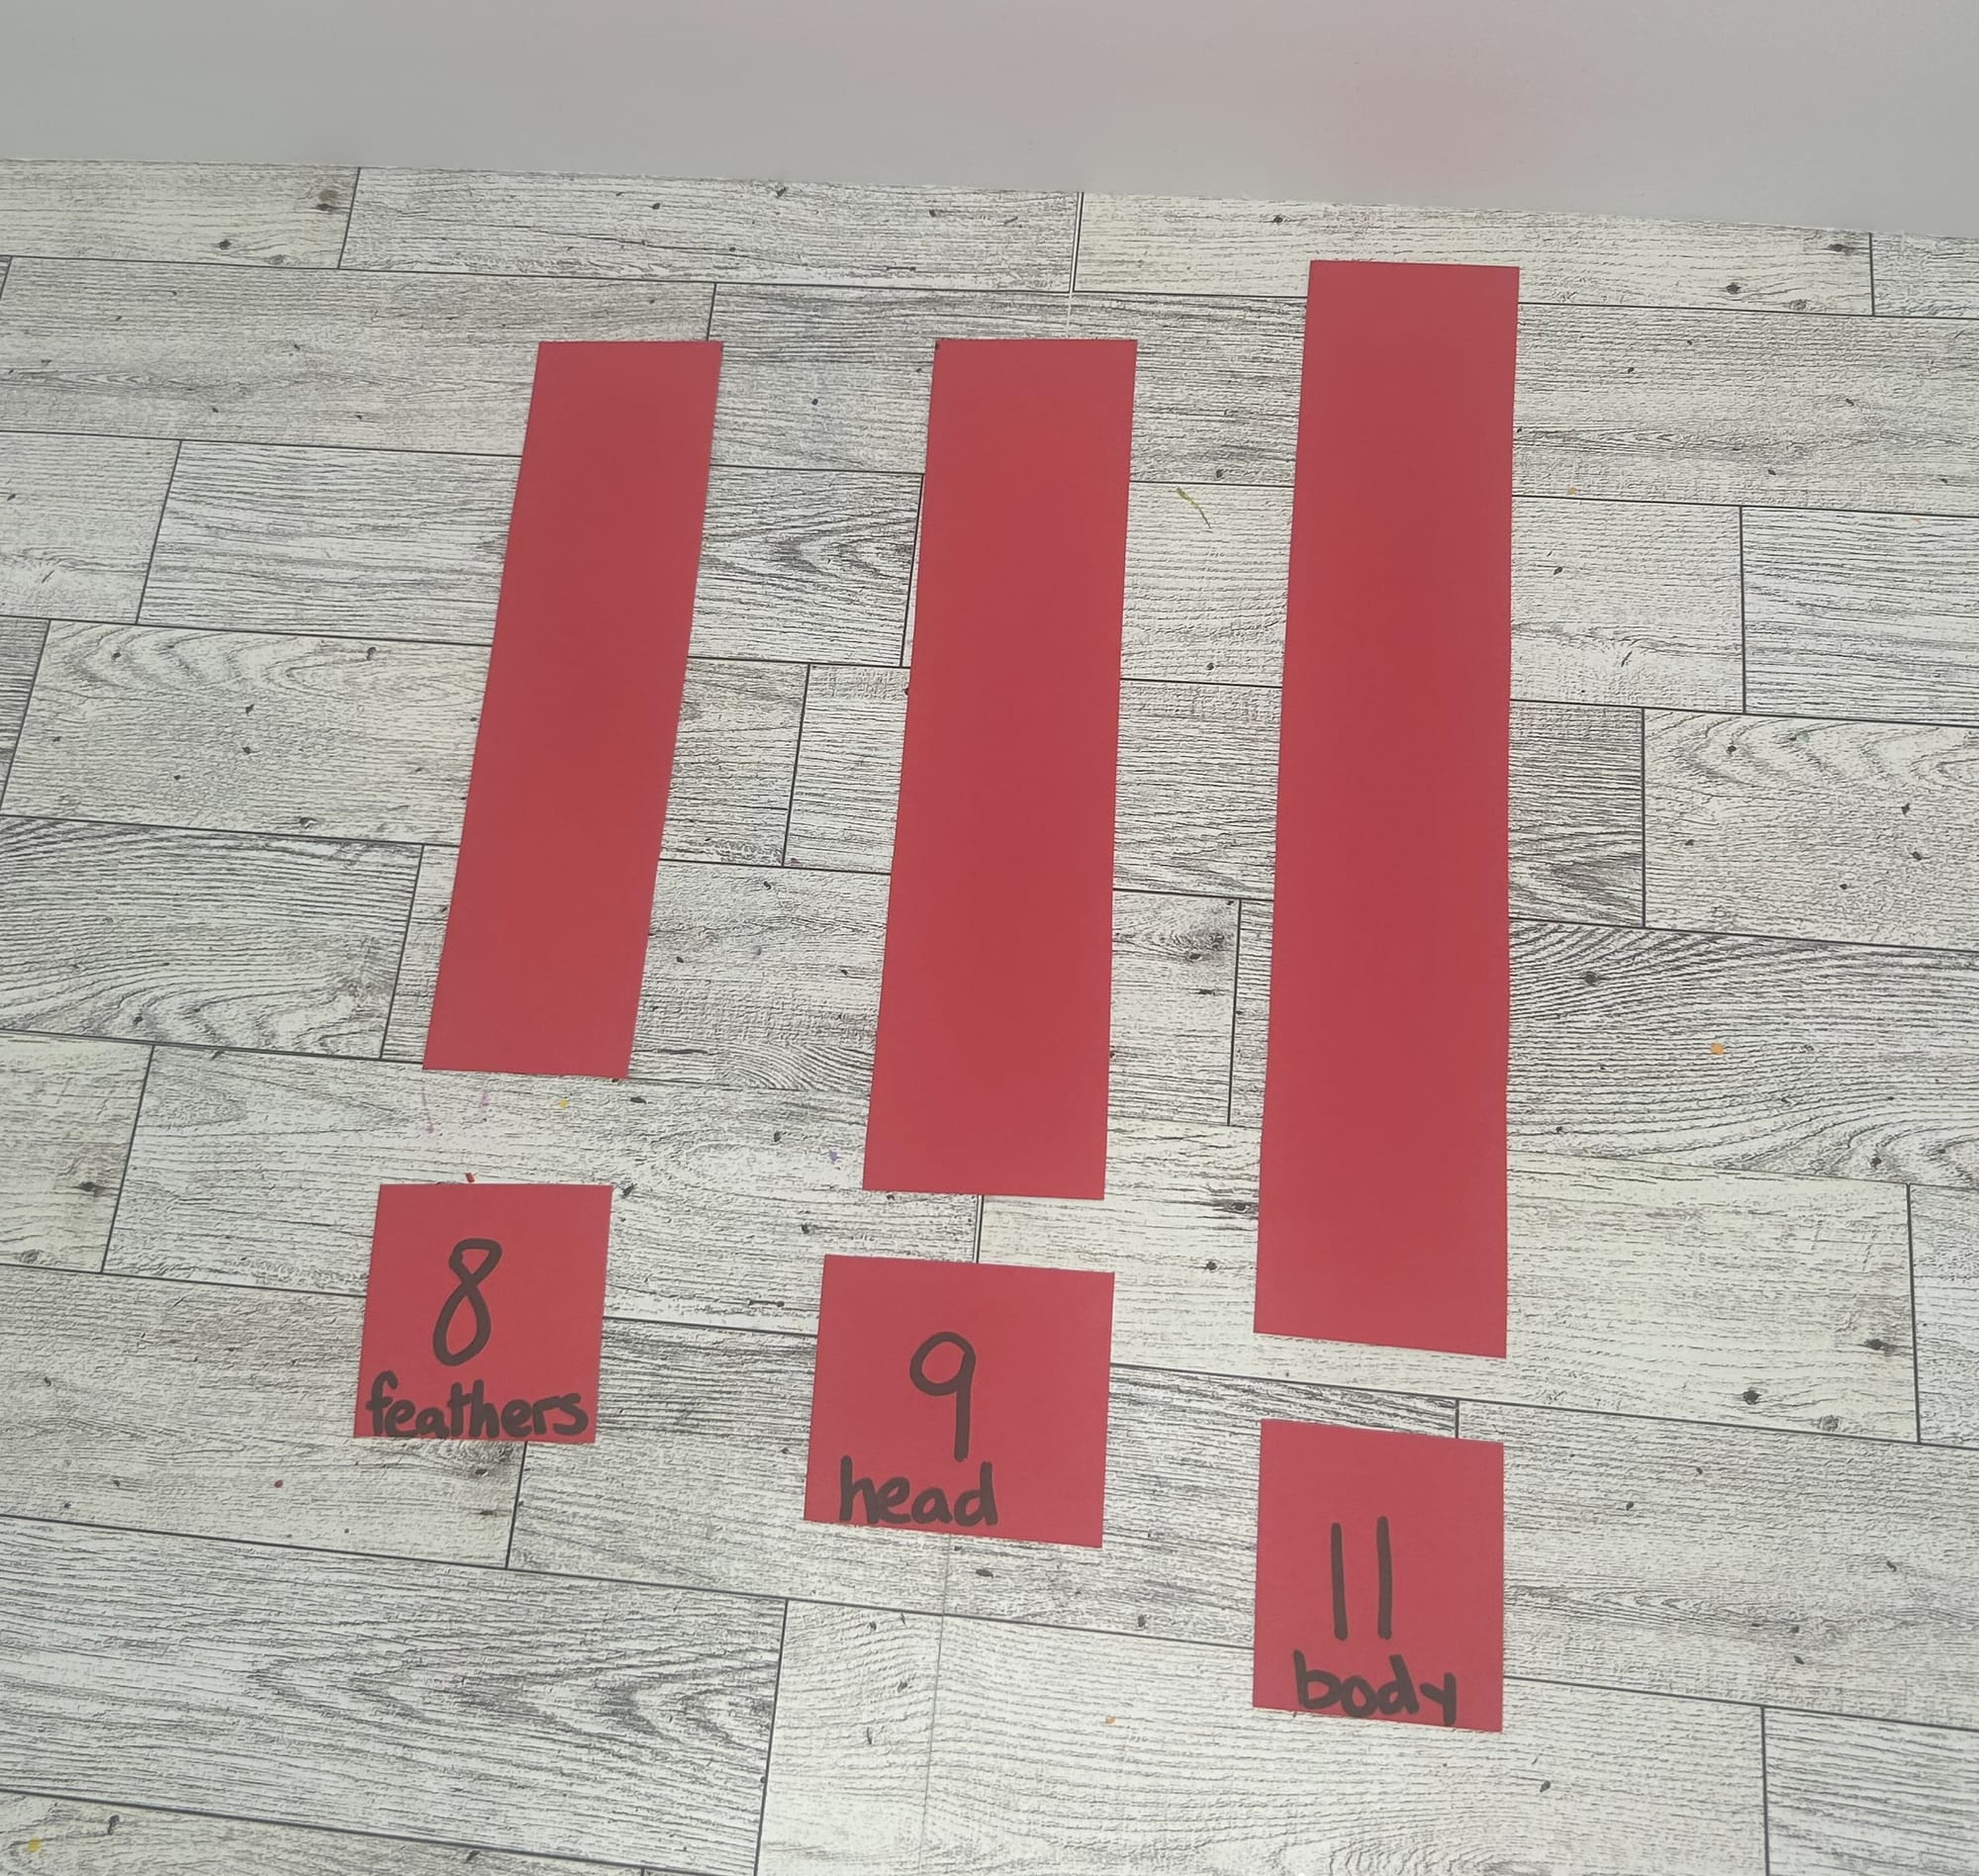
2 inch strips of paper cut at different lengths to create the bird's body.
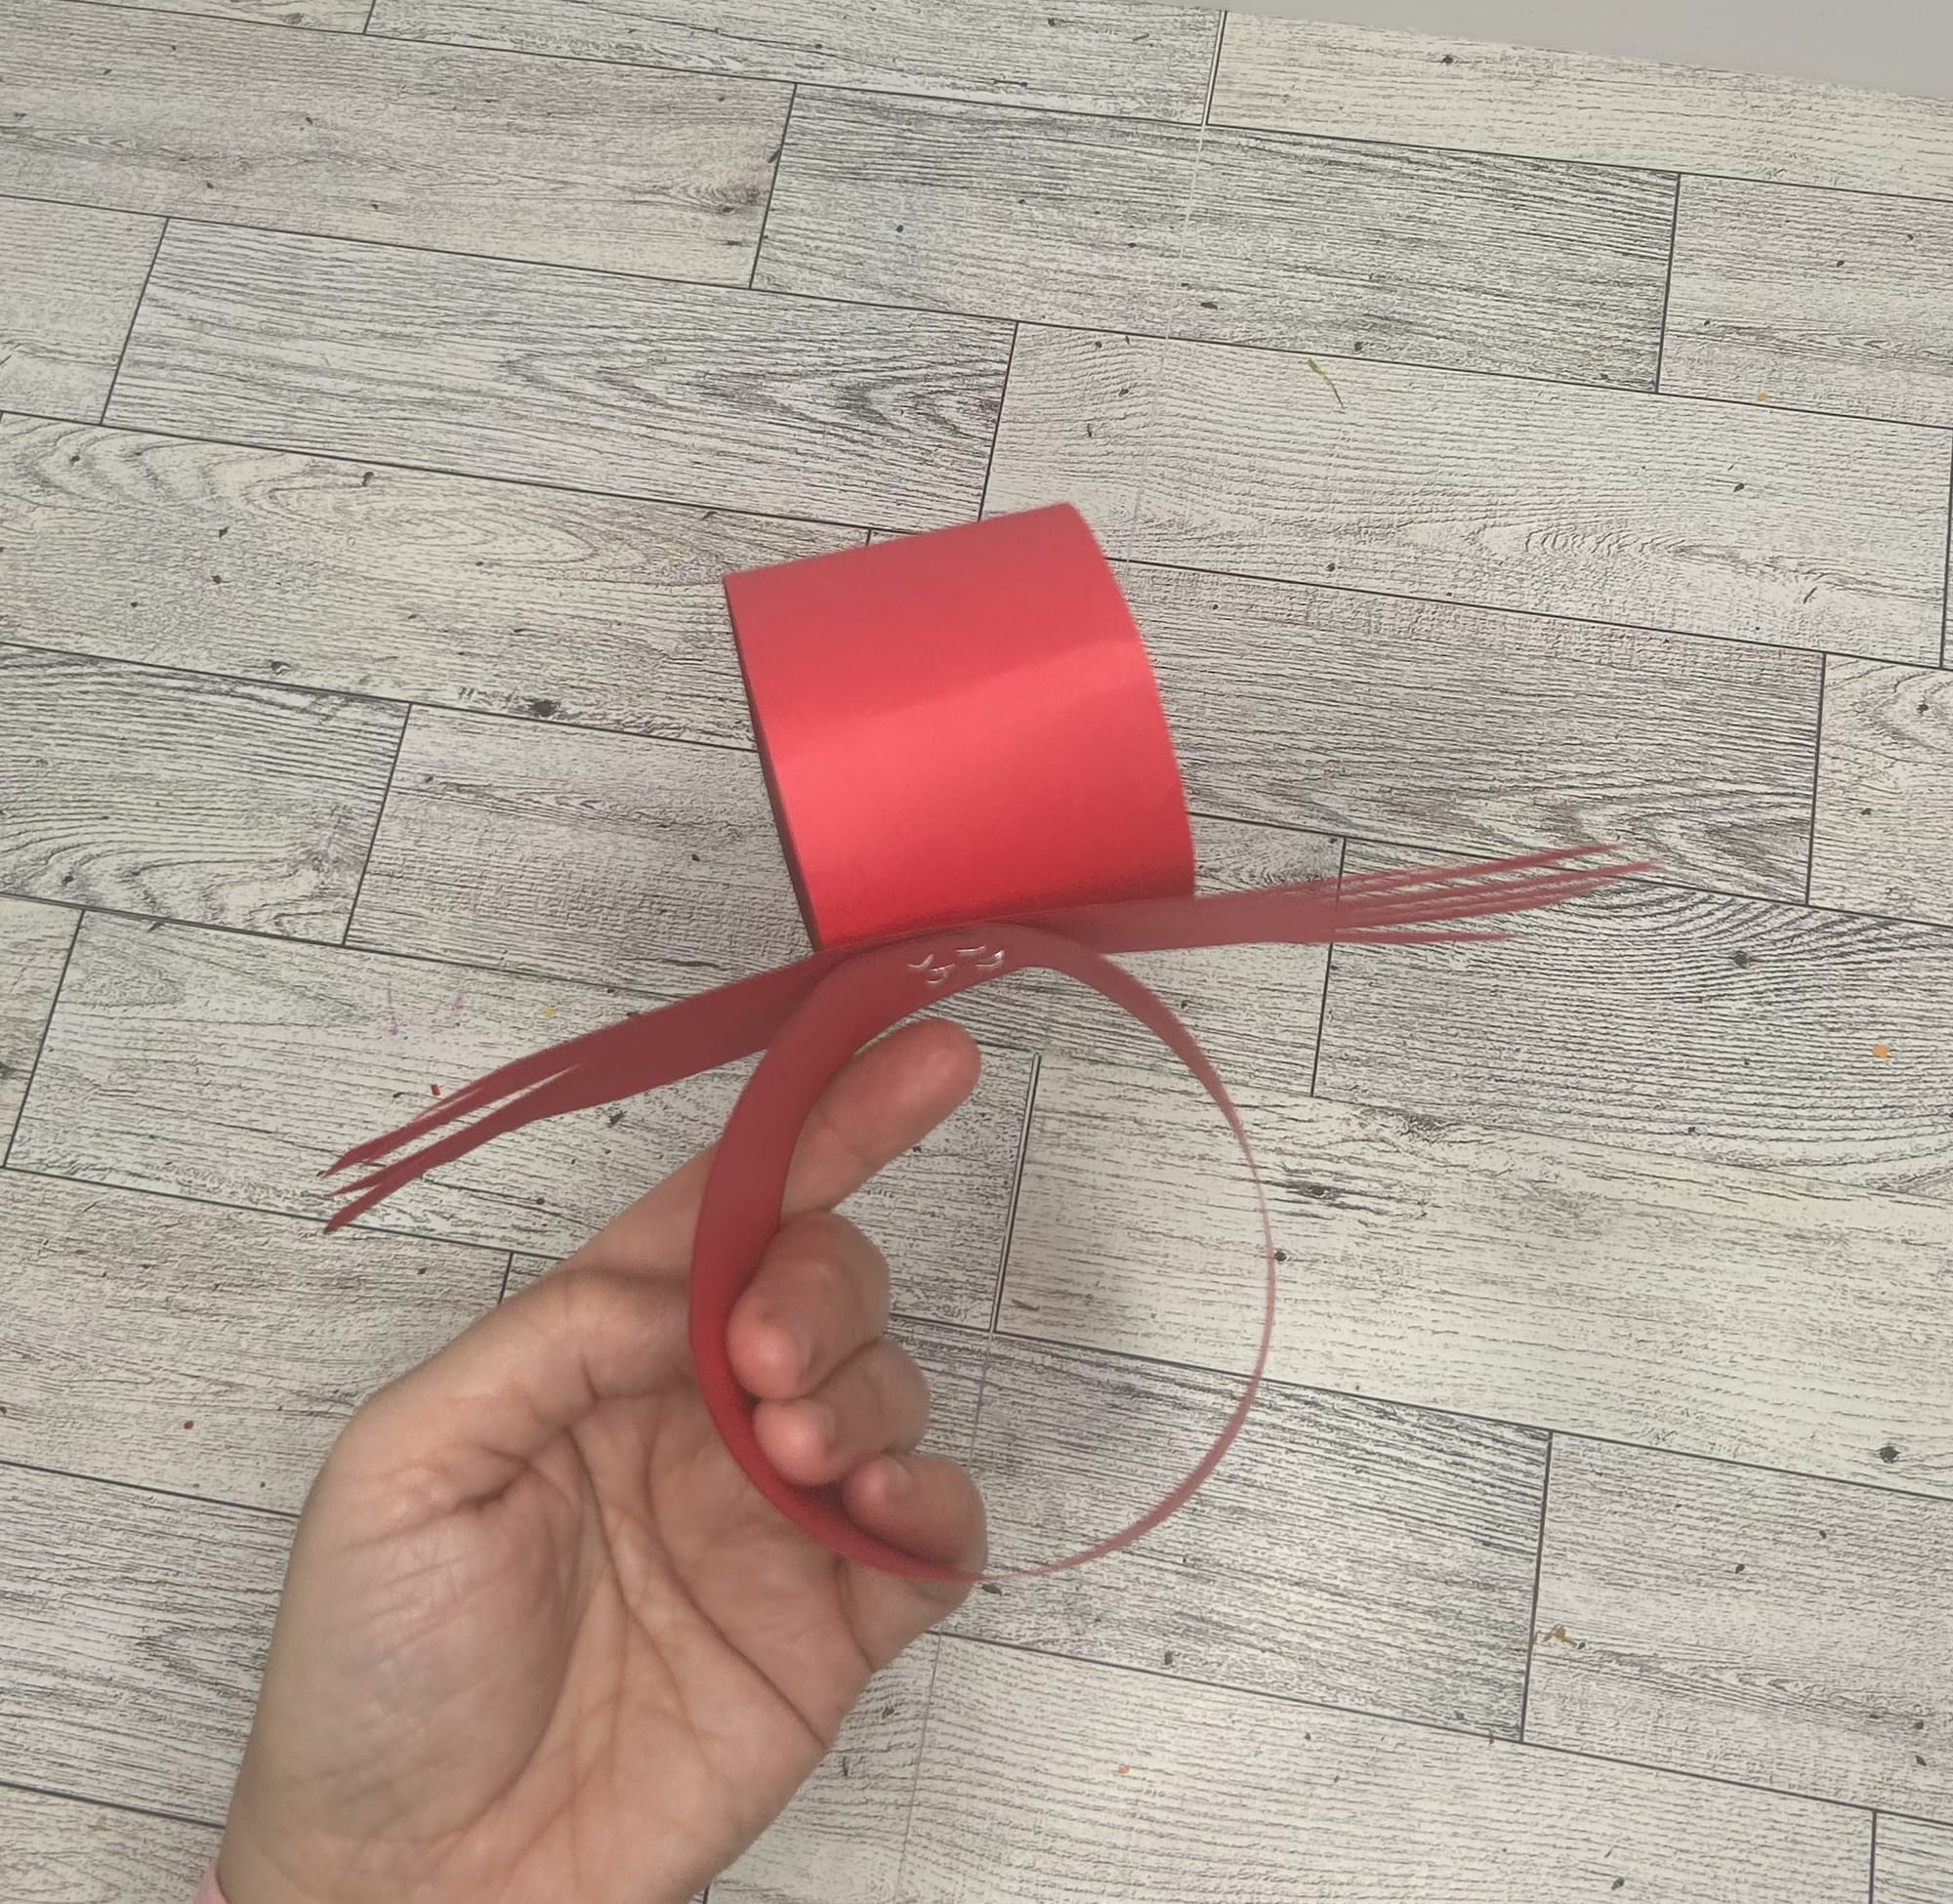
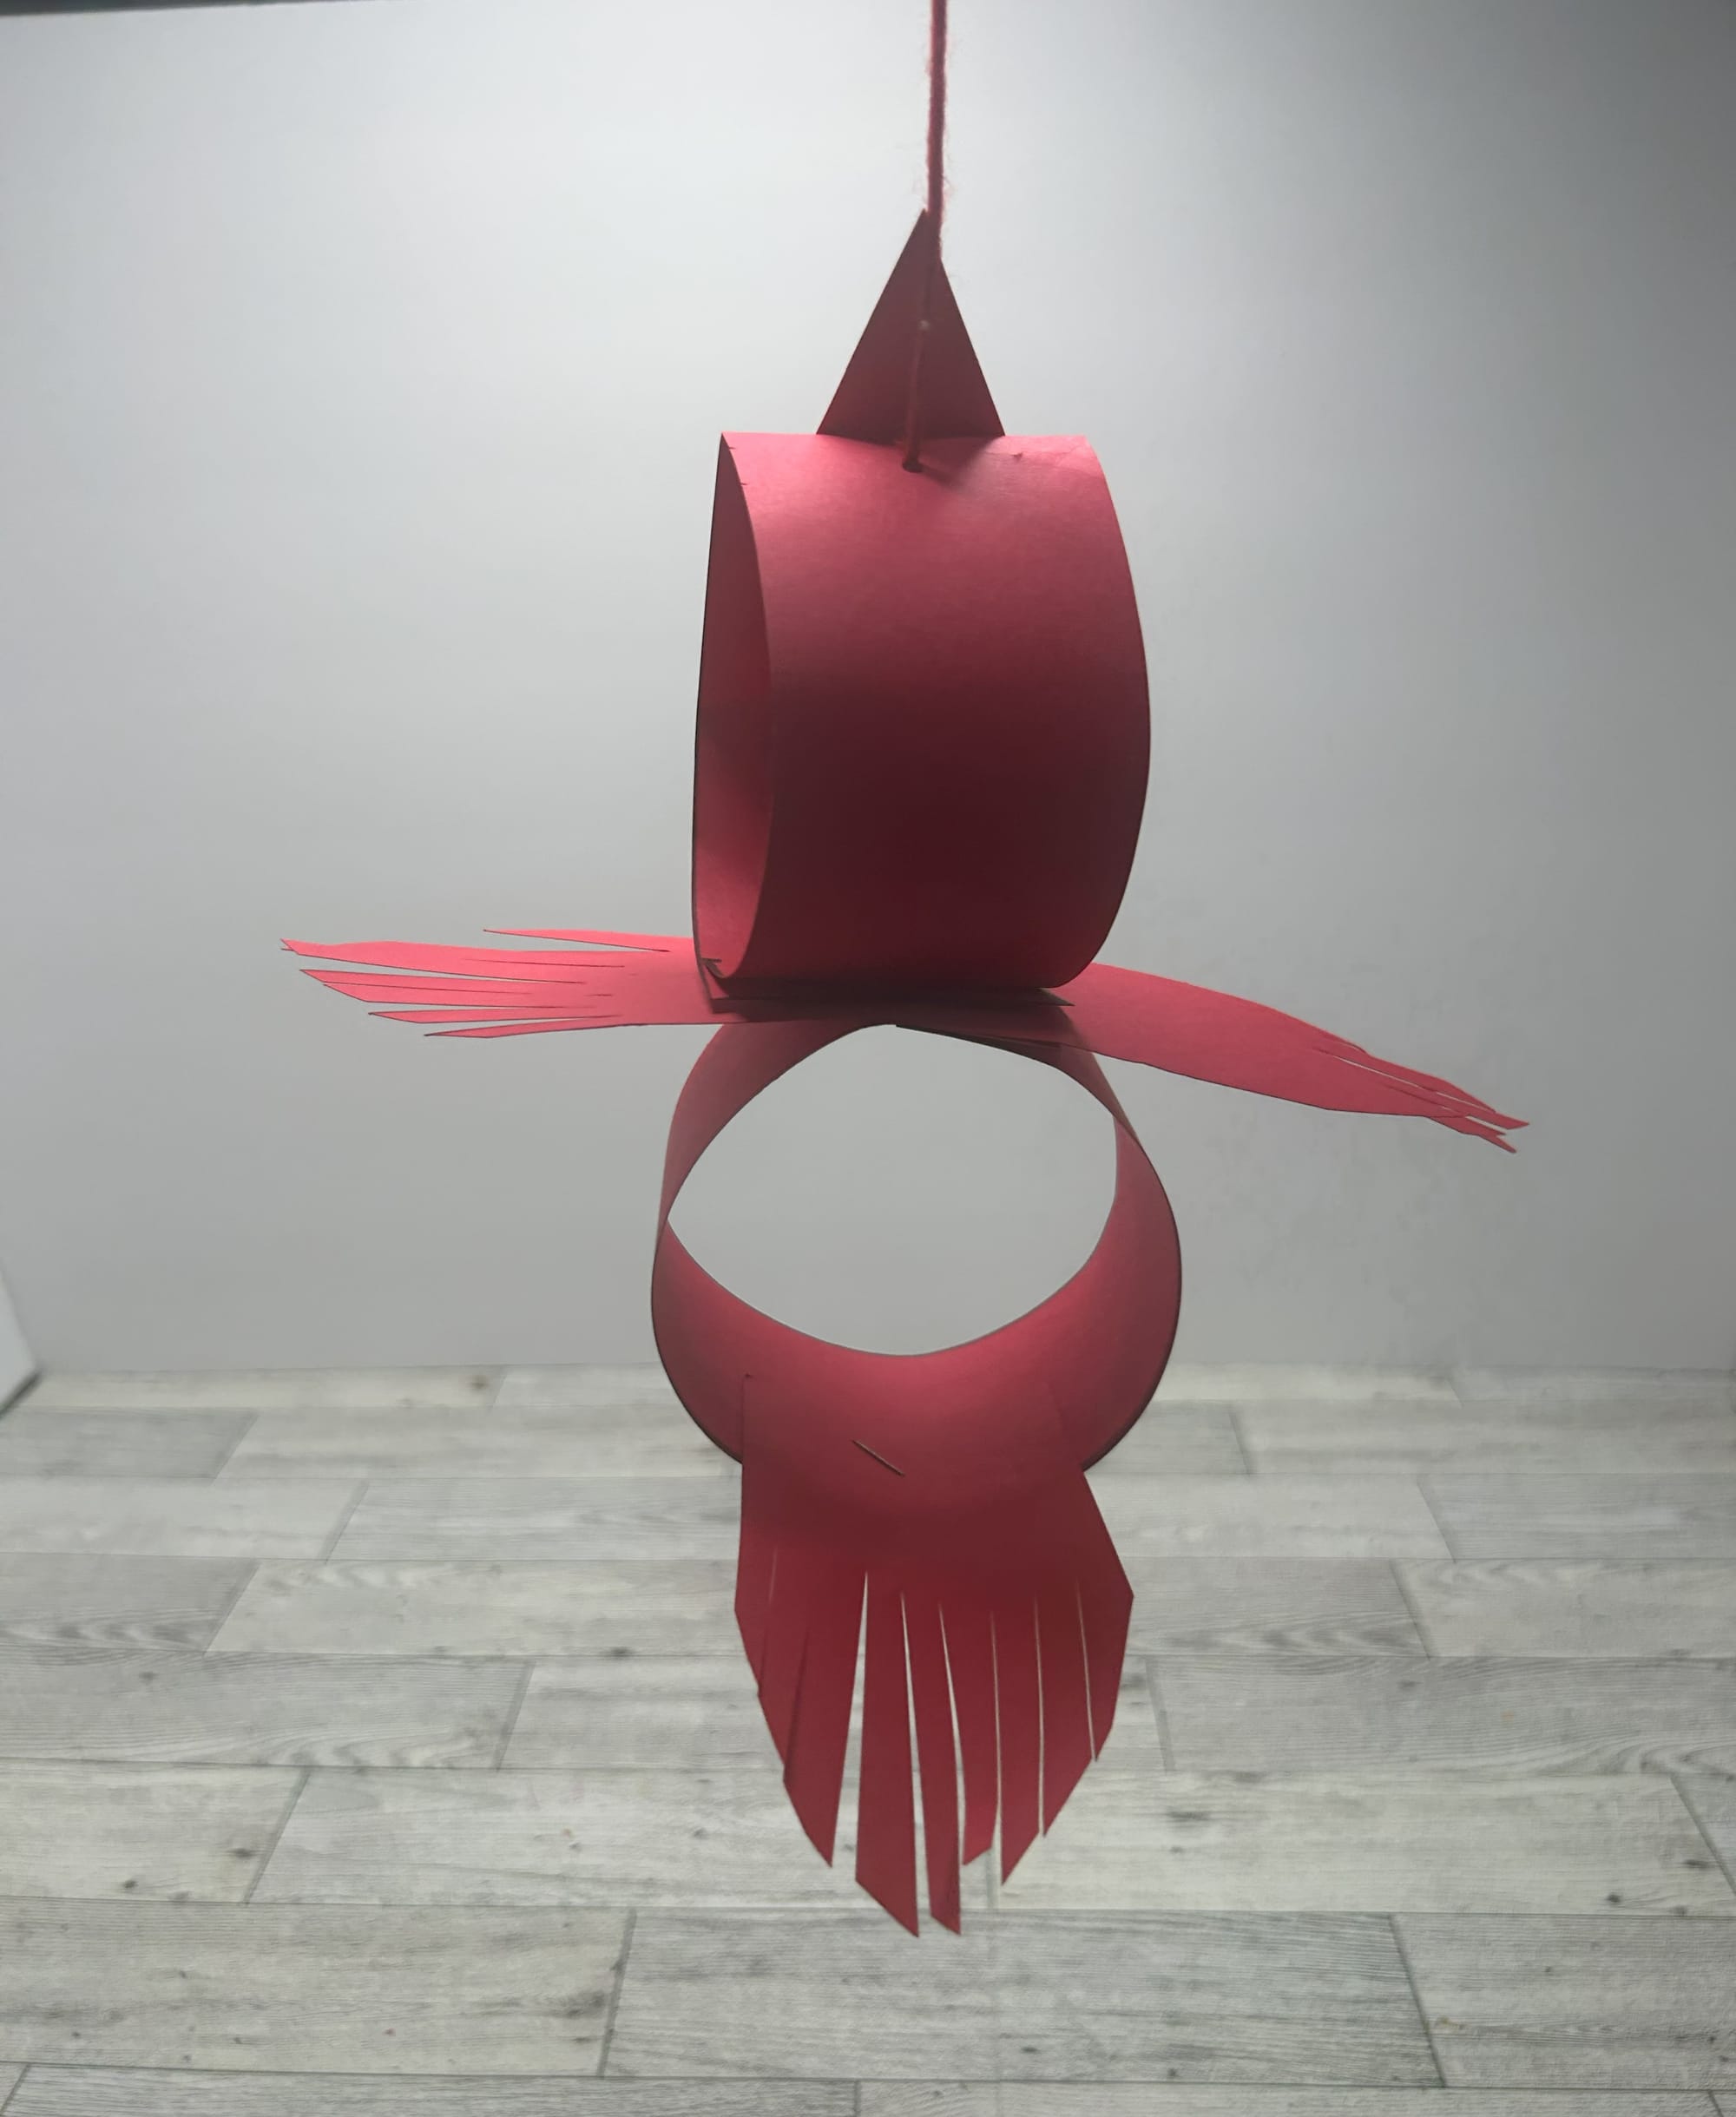
- Roll the 11 inch paper into a circle and staple together.
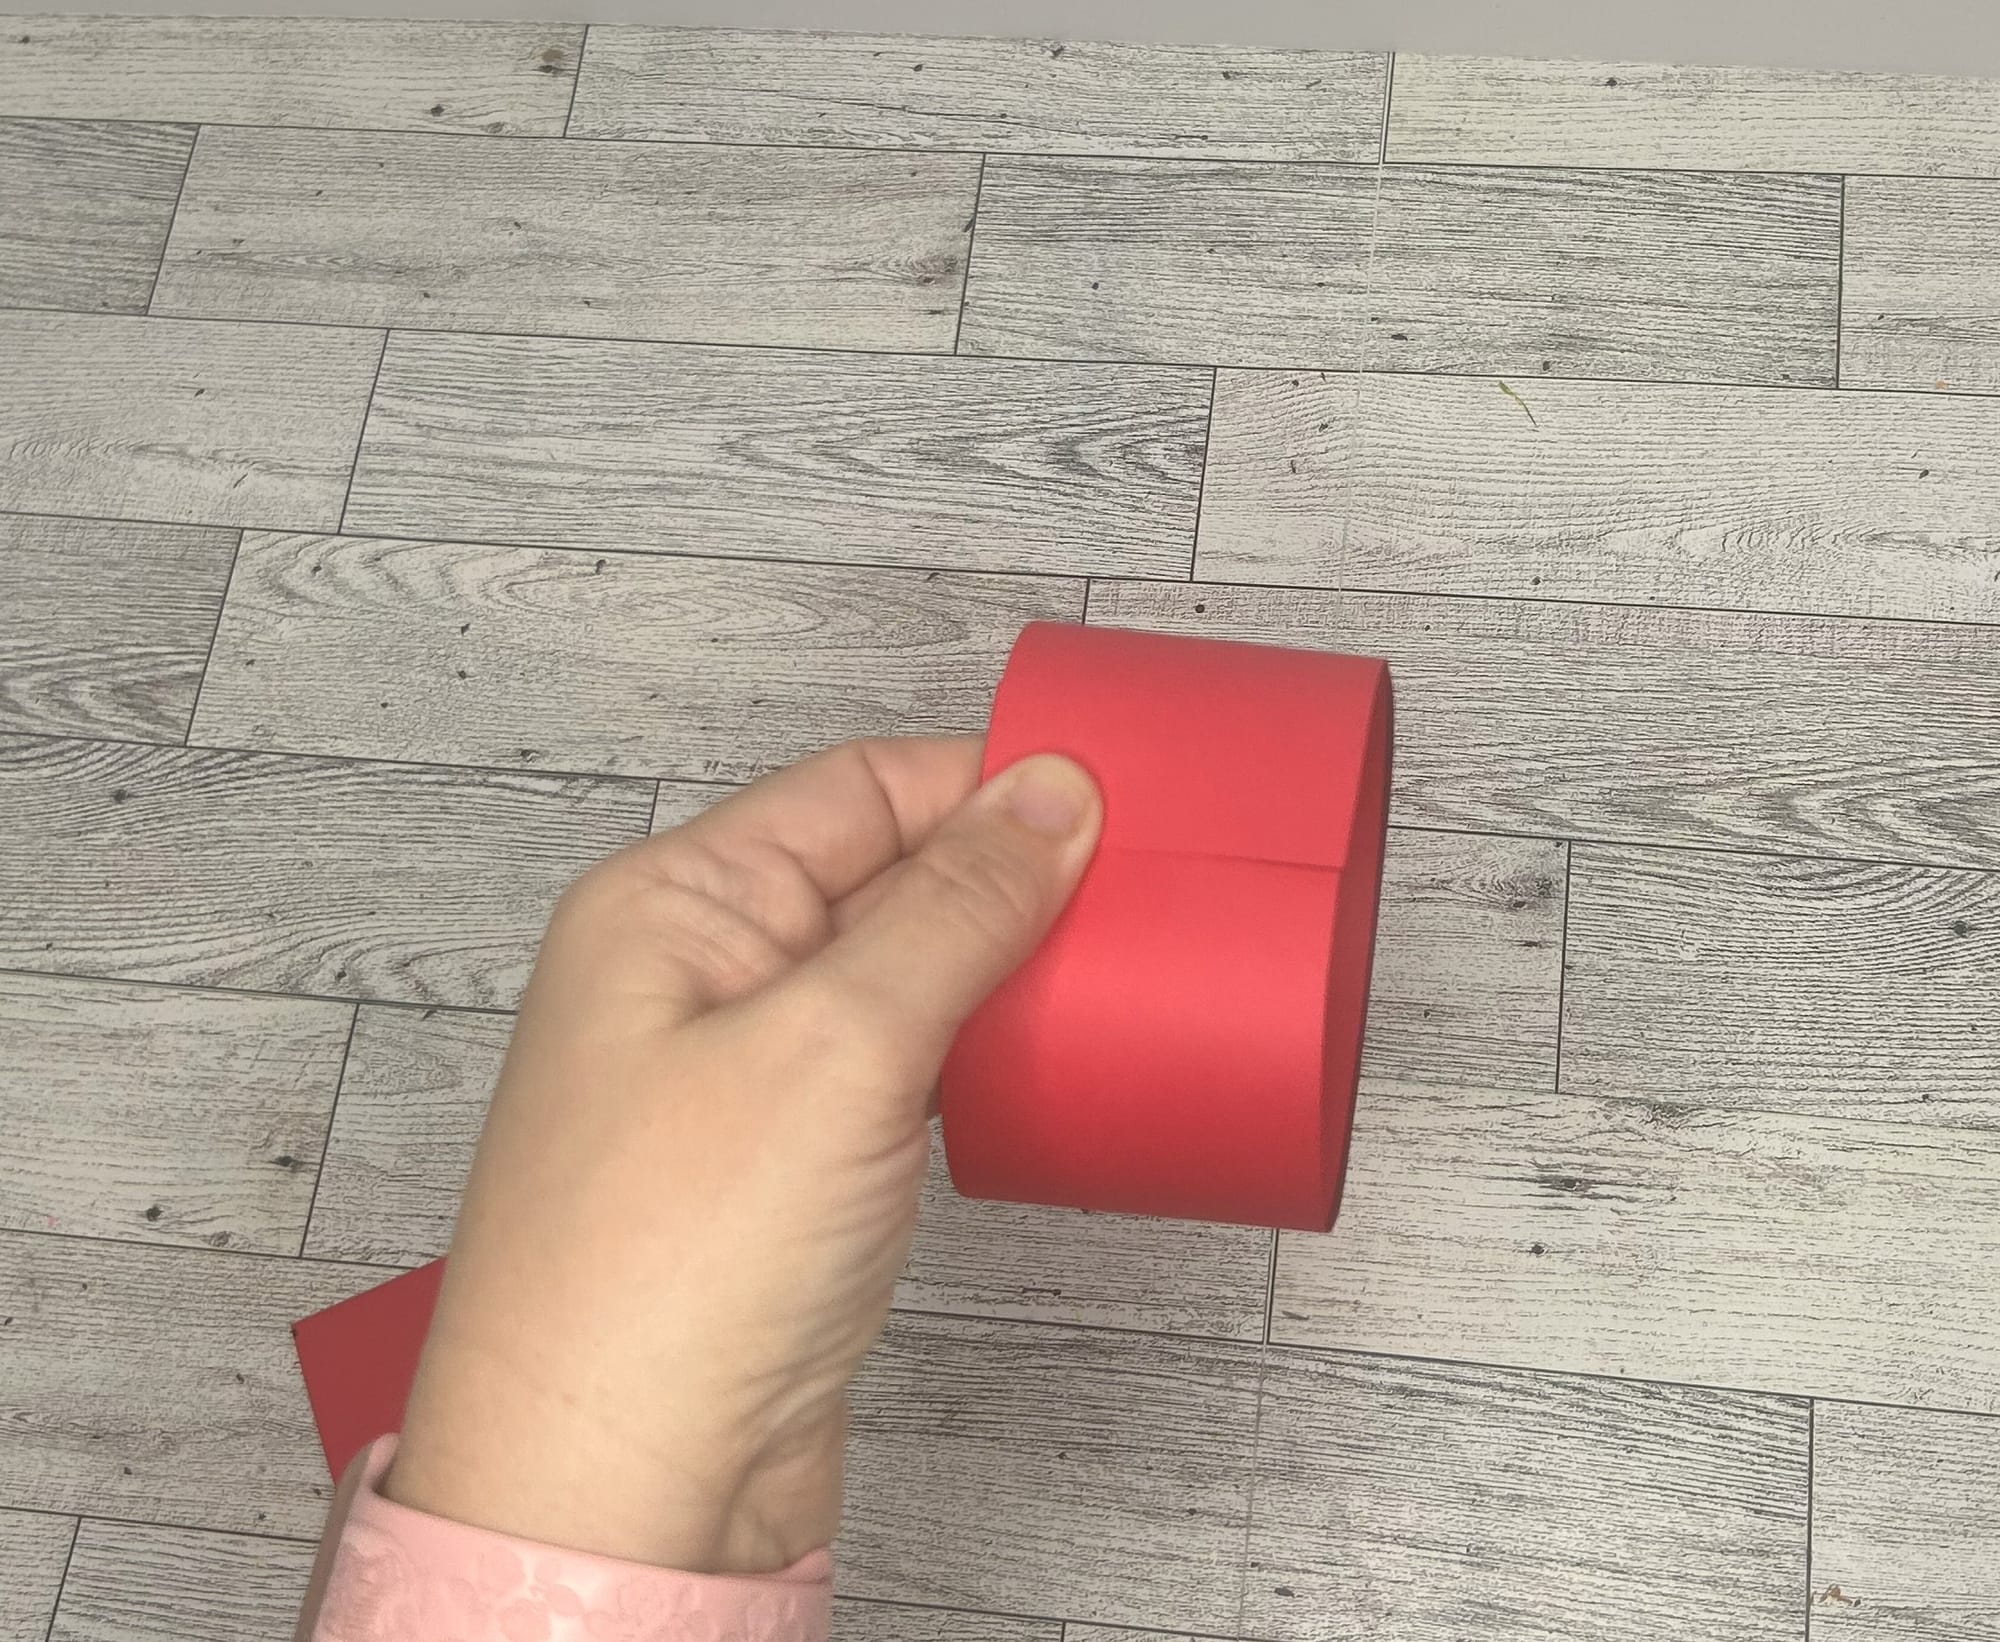
Roll and staple paper to create body.
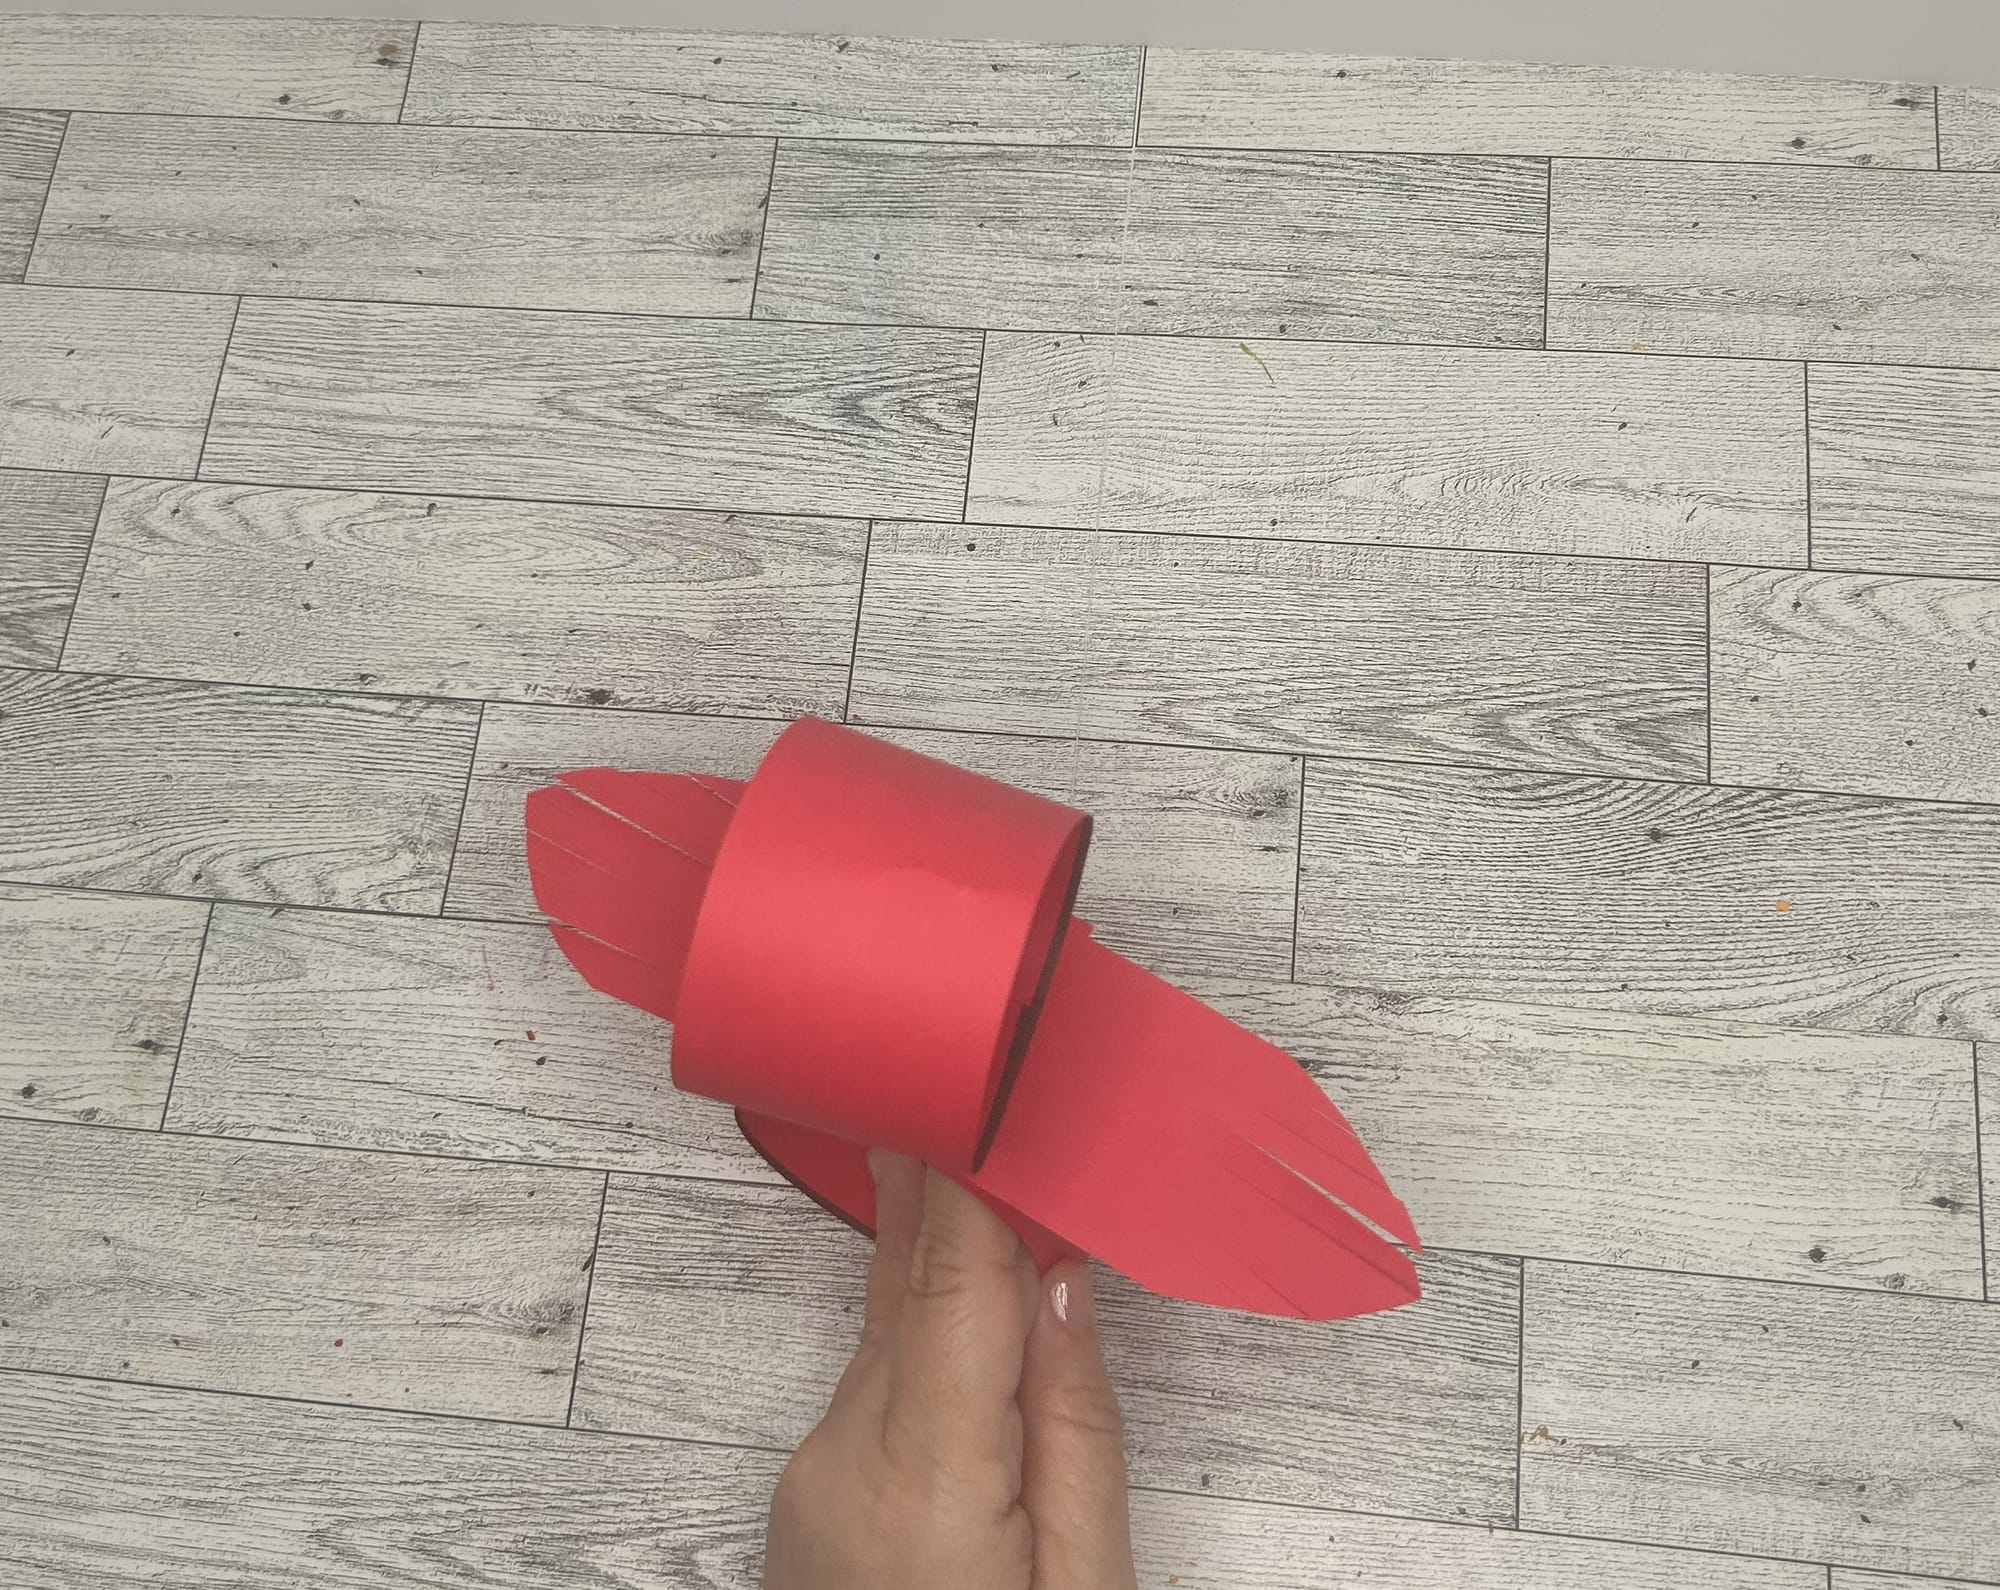
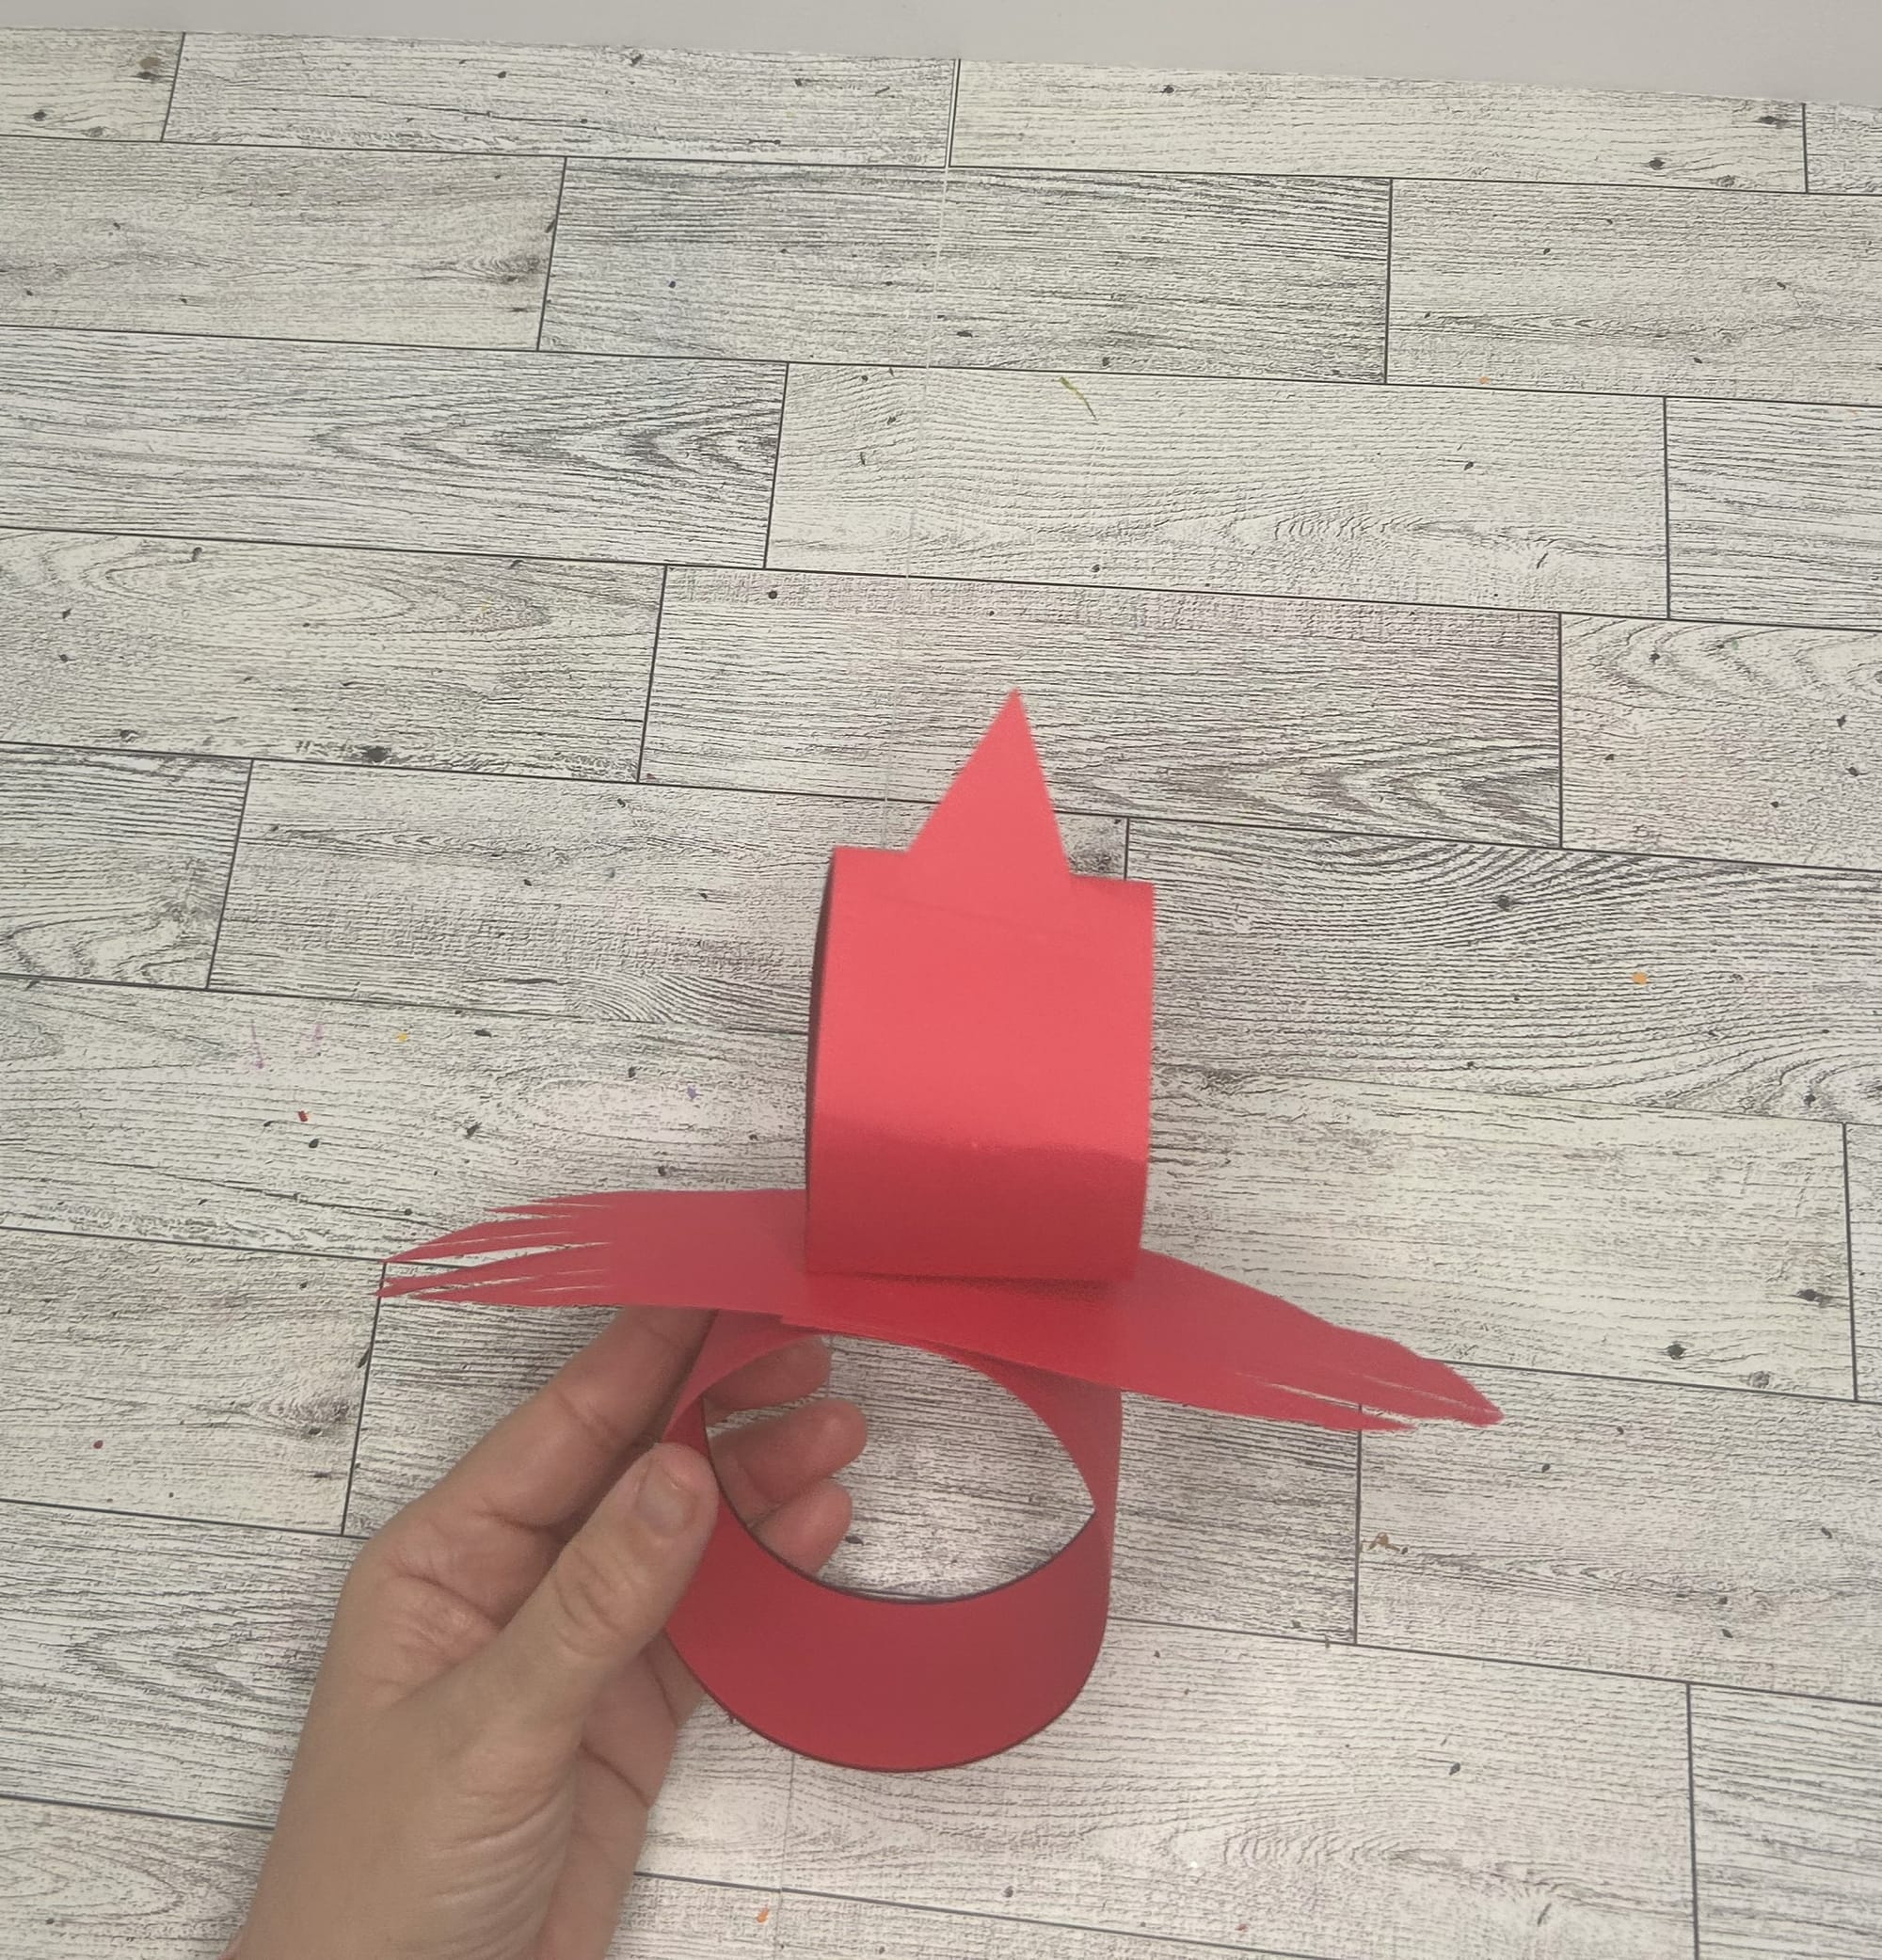
- Place the 8 inches strip in between the body and head and staple to the body. Round the ends of the paper and cut to create feathers.
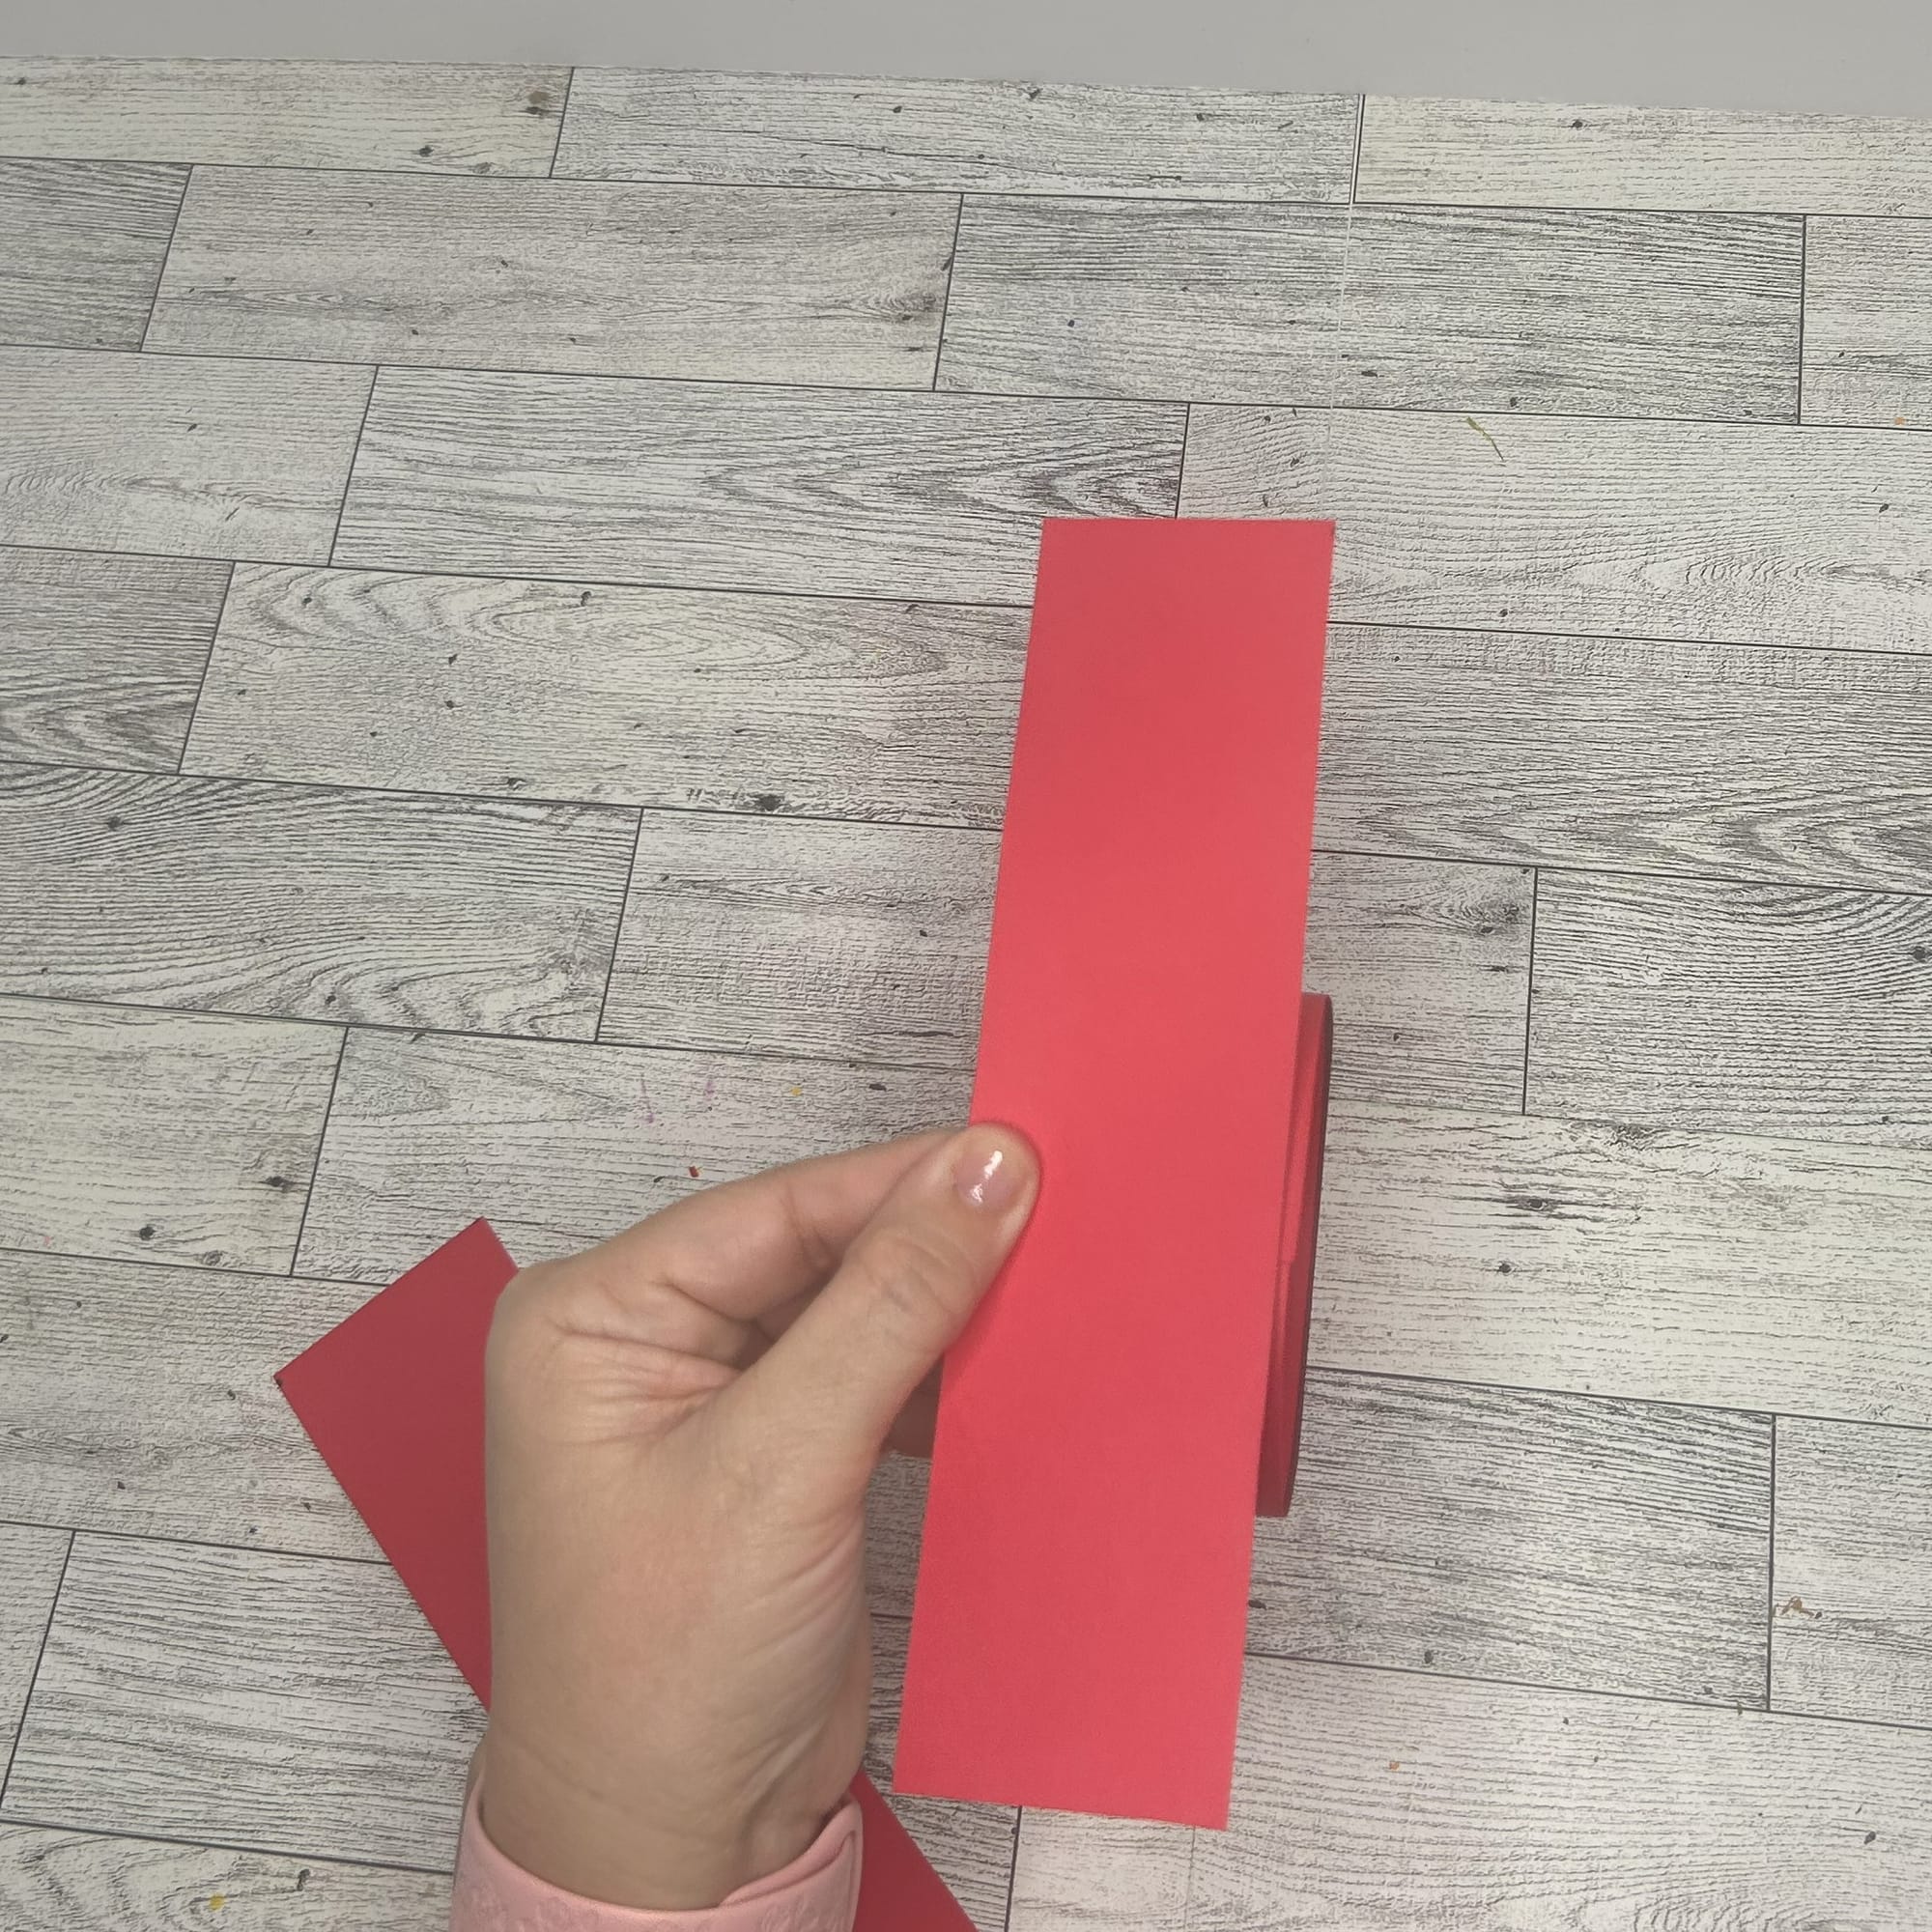
Attach the 8 inch strip to create the wings of the bird.
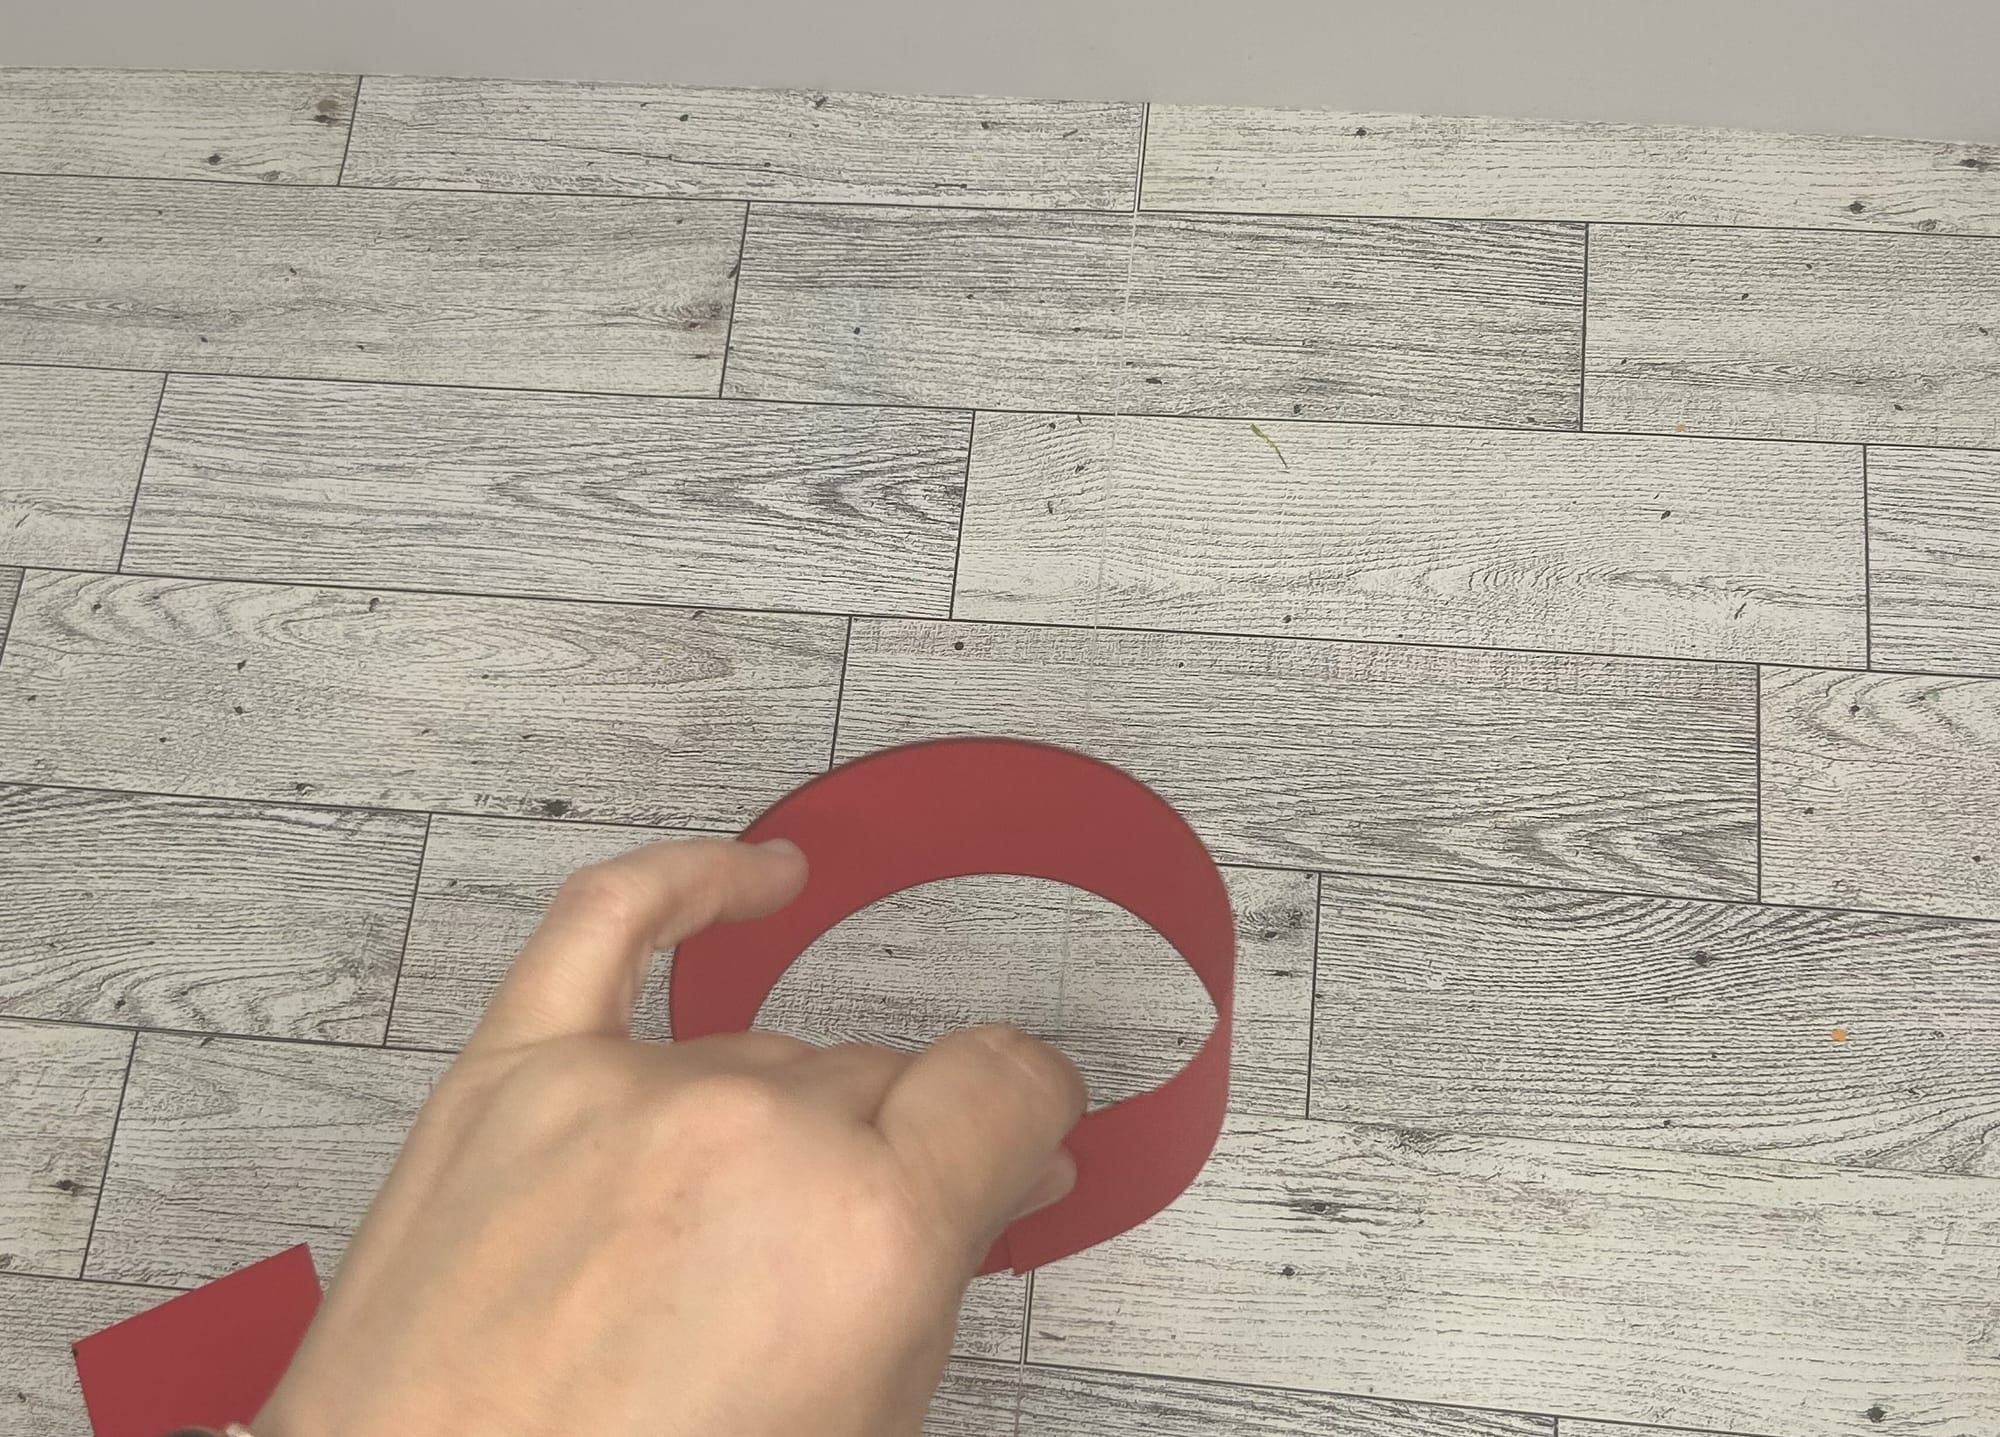
- Take the 9 inch strip and form it into a circle. Staple this together to create the head. Then, attach the head to the top of the other piece you have created.
Roll the 9 inch strip of paper to create the head of the bird.
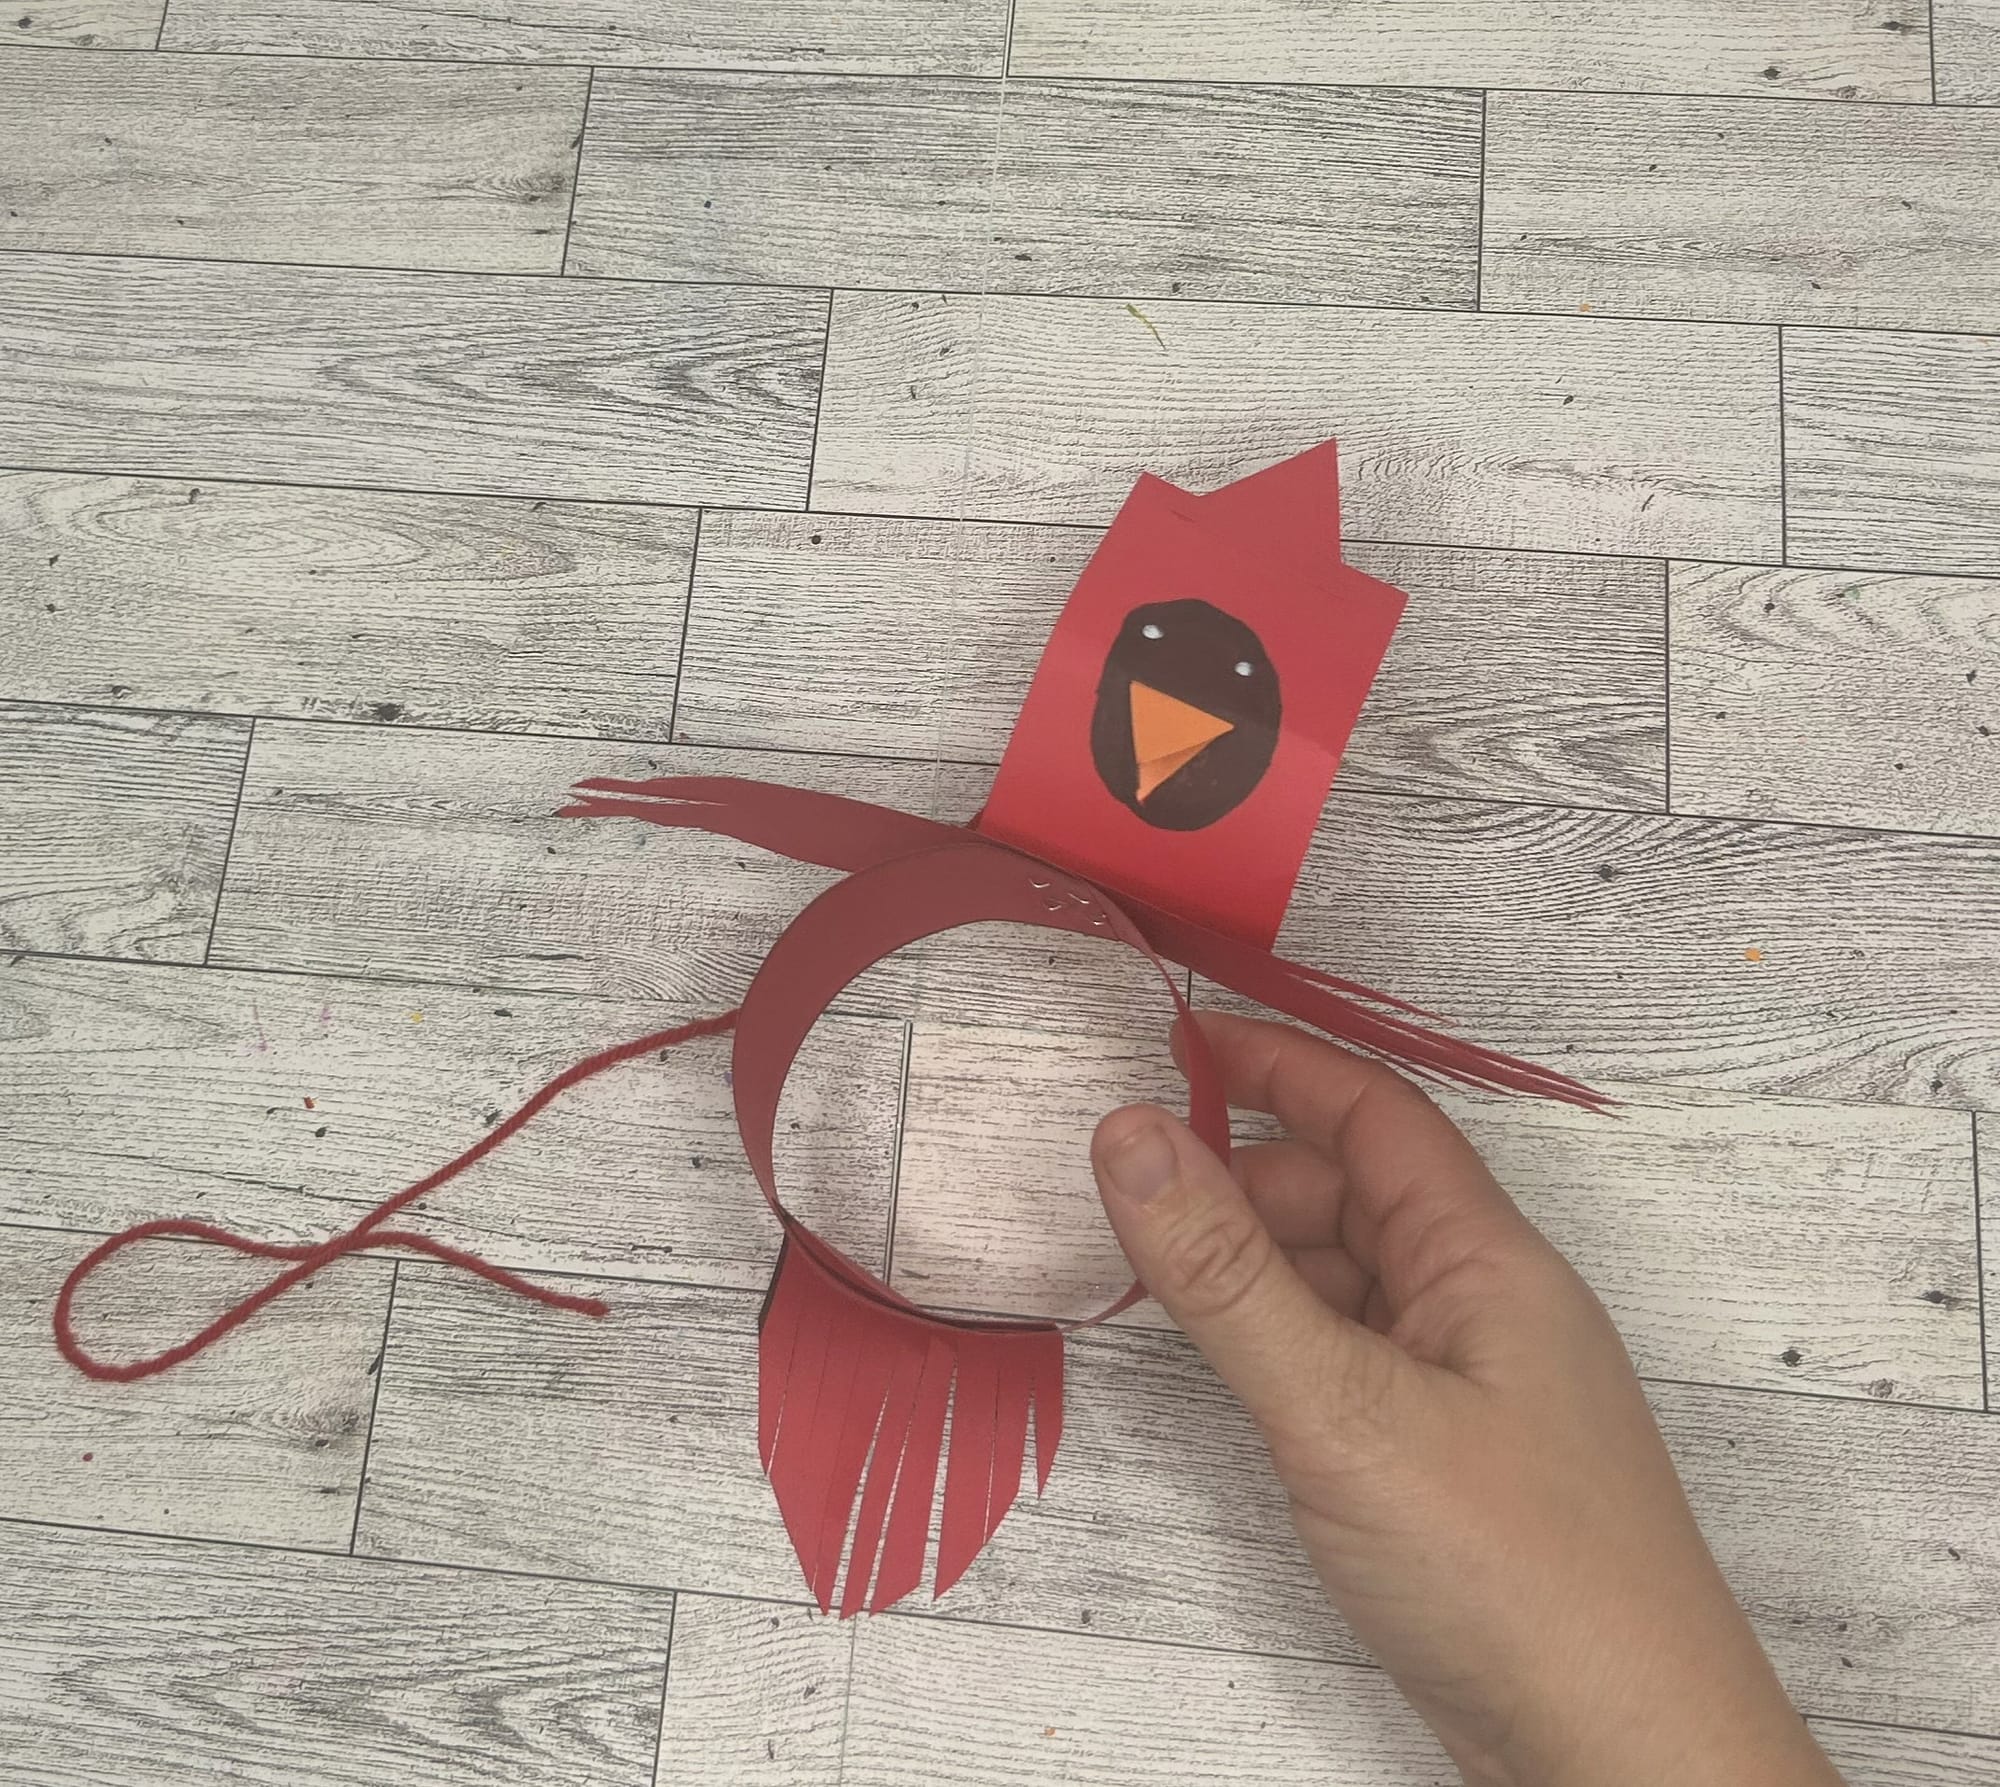
- Cut a red triangle and attach it to the top of the cardinal's head to make the crest of the bird.
- Create an orange beak by cutting a rhombus with a small piece of orange paper. Fold the rhombus in half to create a triangle. This will be glued in the face of the bird to create the beak.
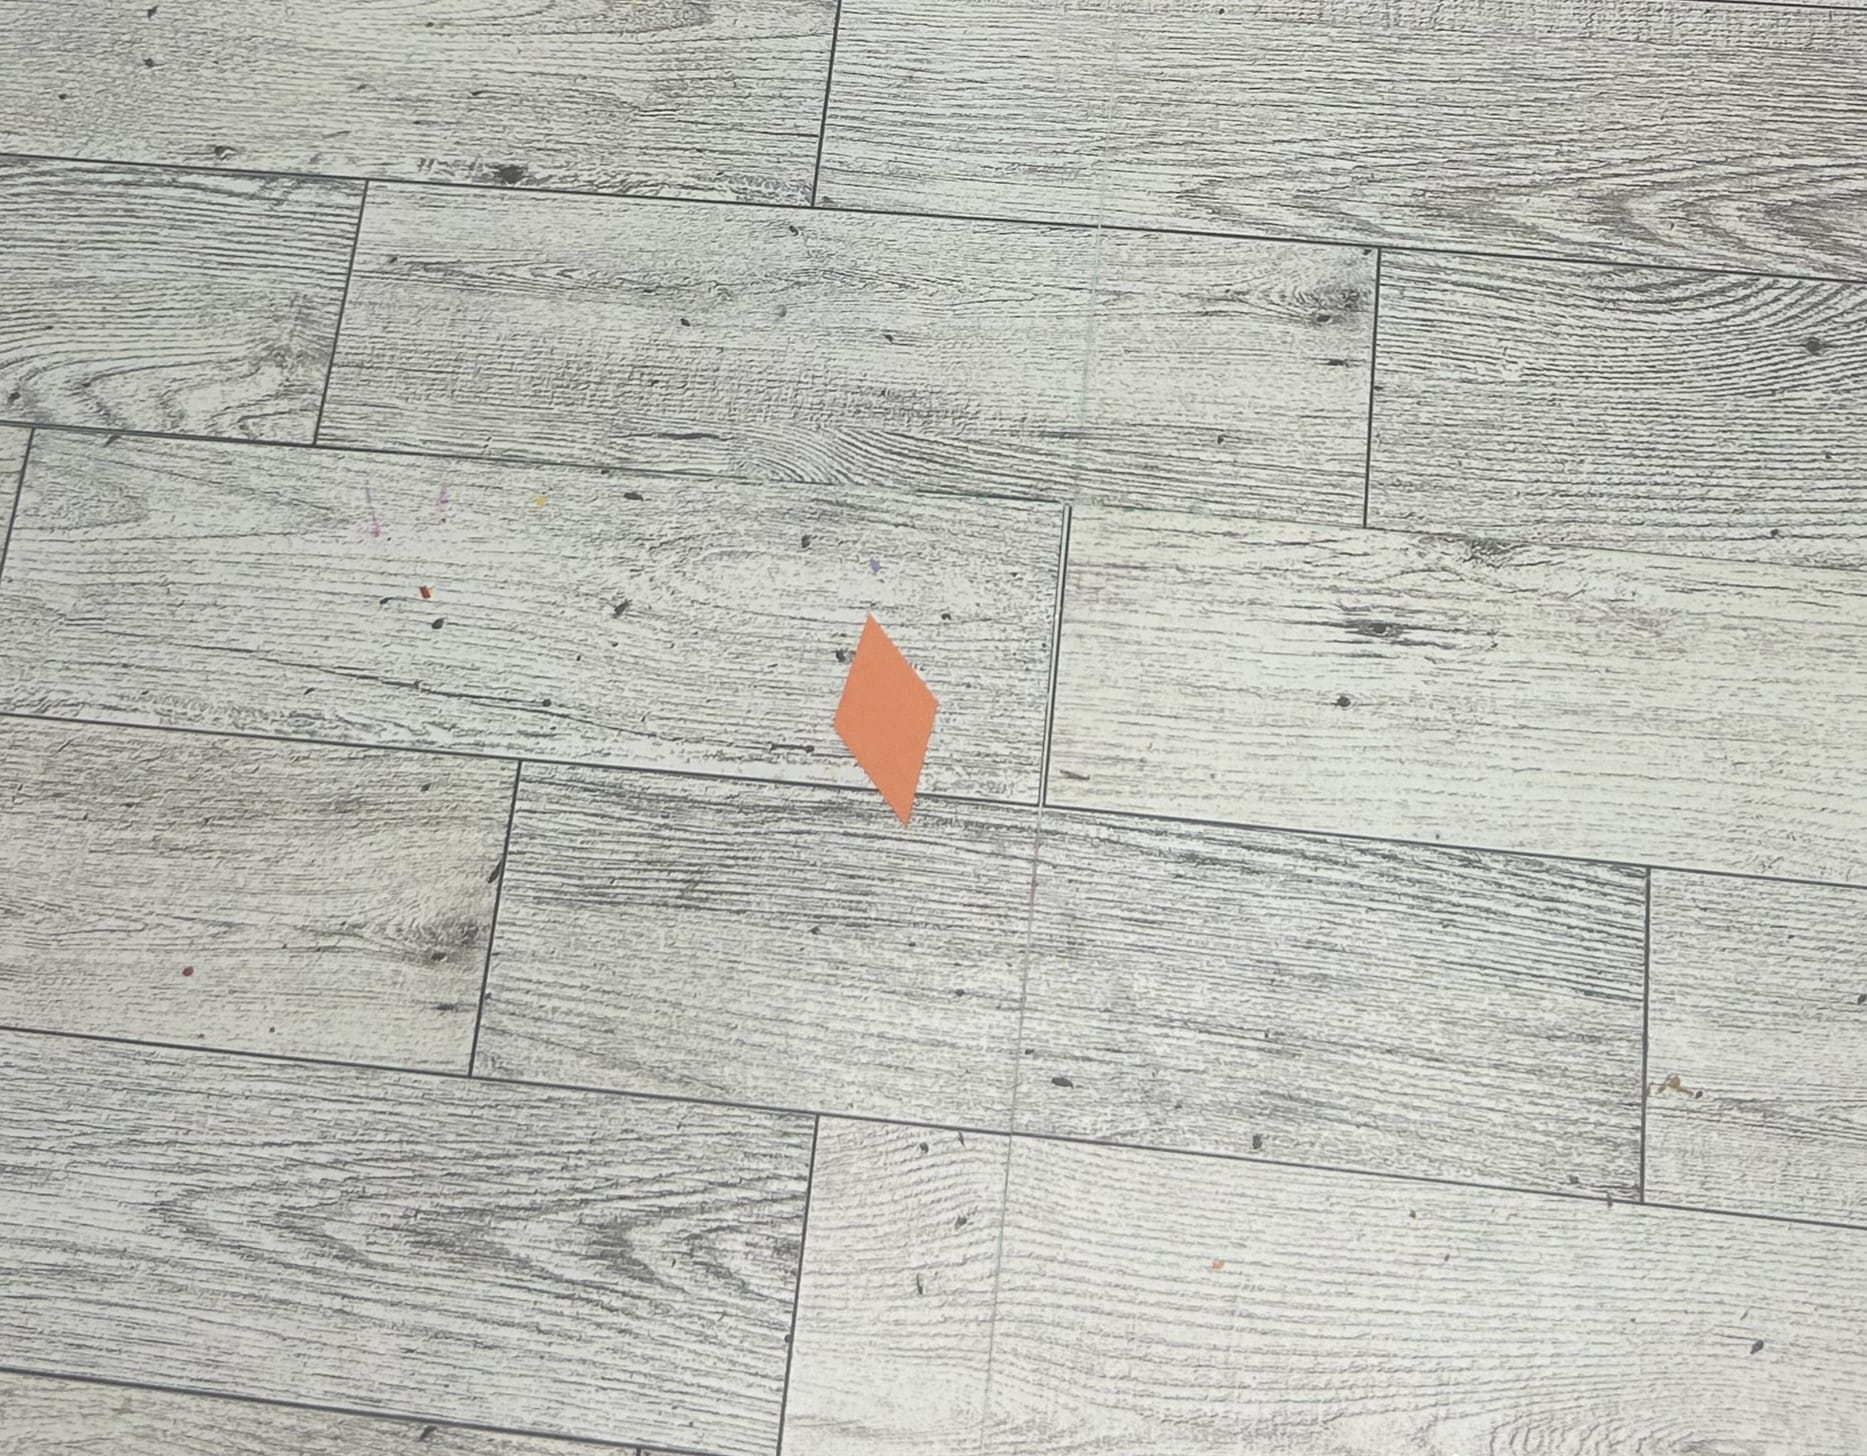
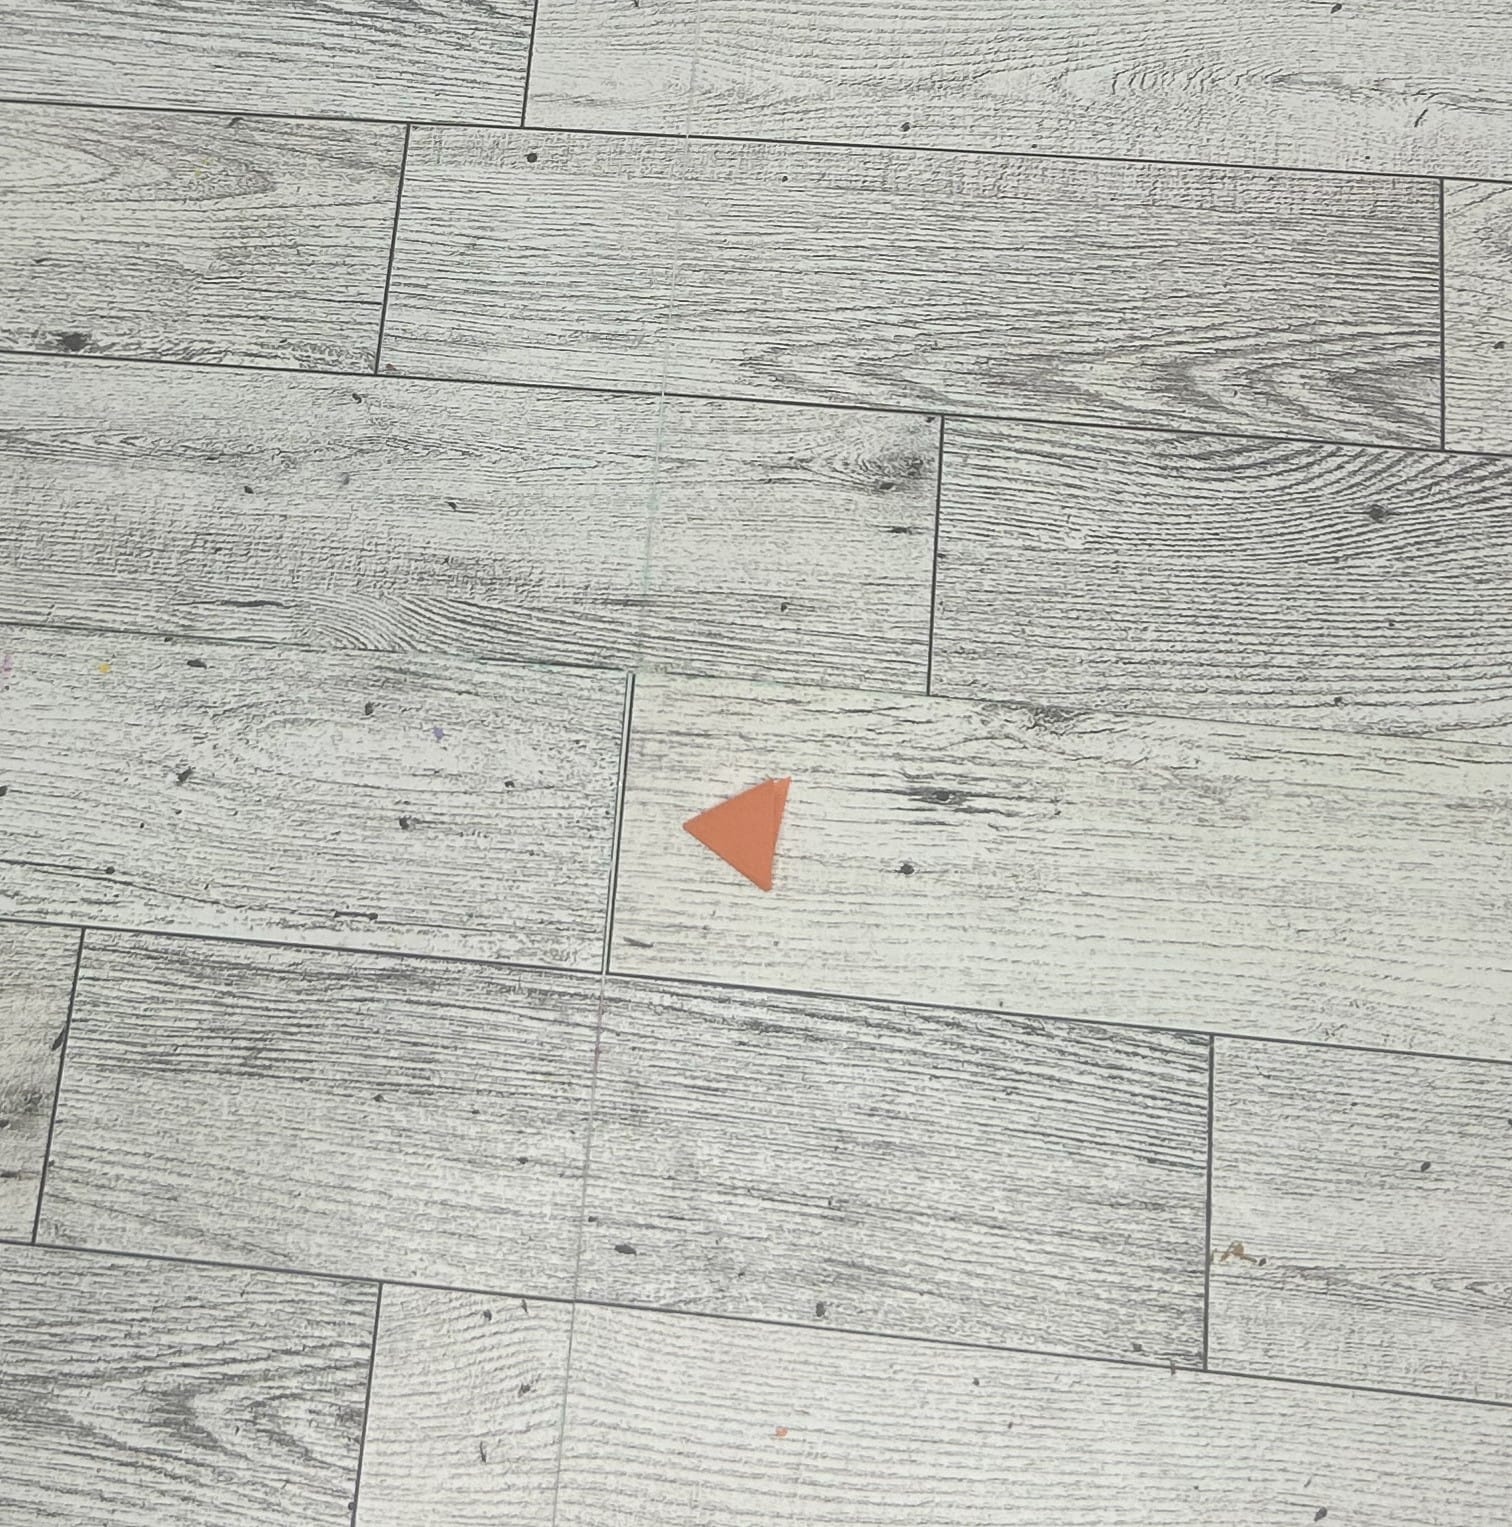
Create beak by cutting a rhombus shape. A rhombus is 2 triangles put together.
- Create the cardinal's face by drawing a black oval and gluing the beak in the middle. Then draw eyes with a white marker or pen.
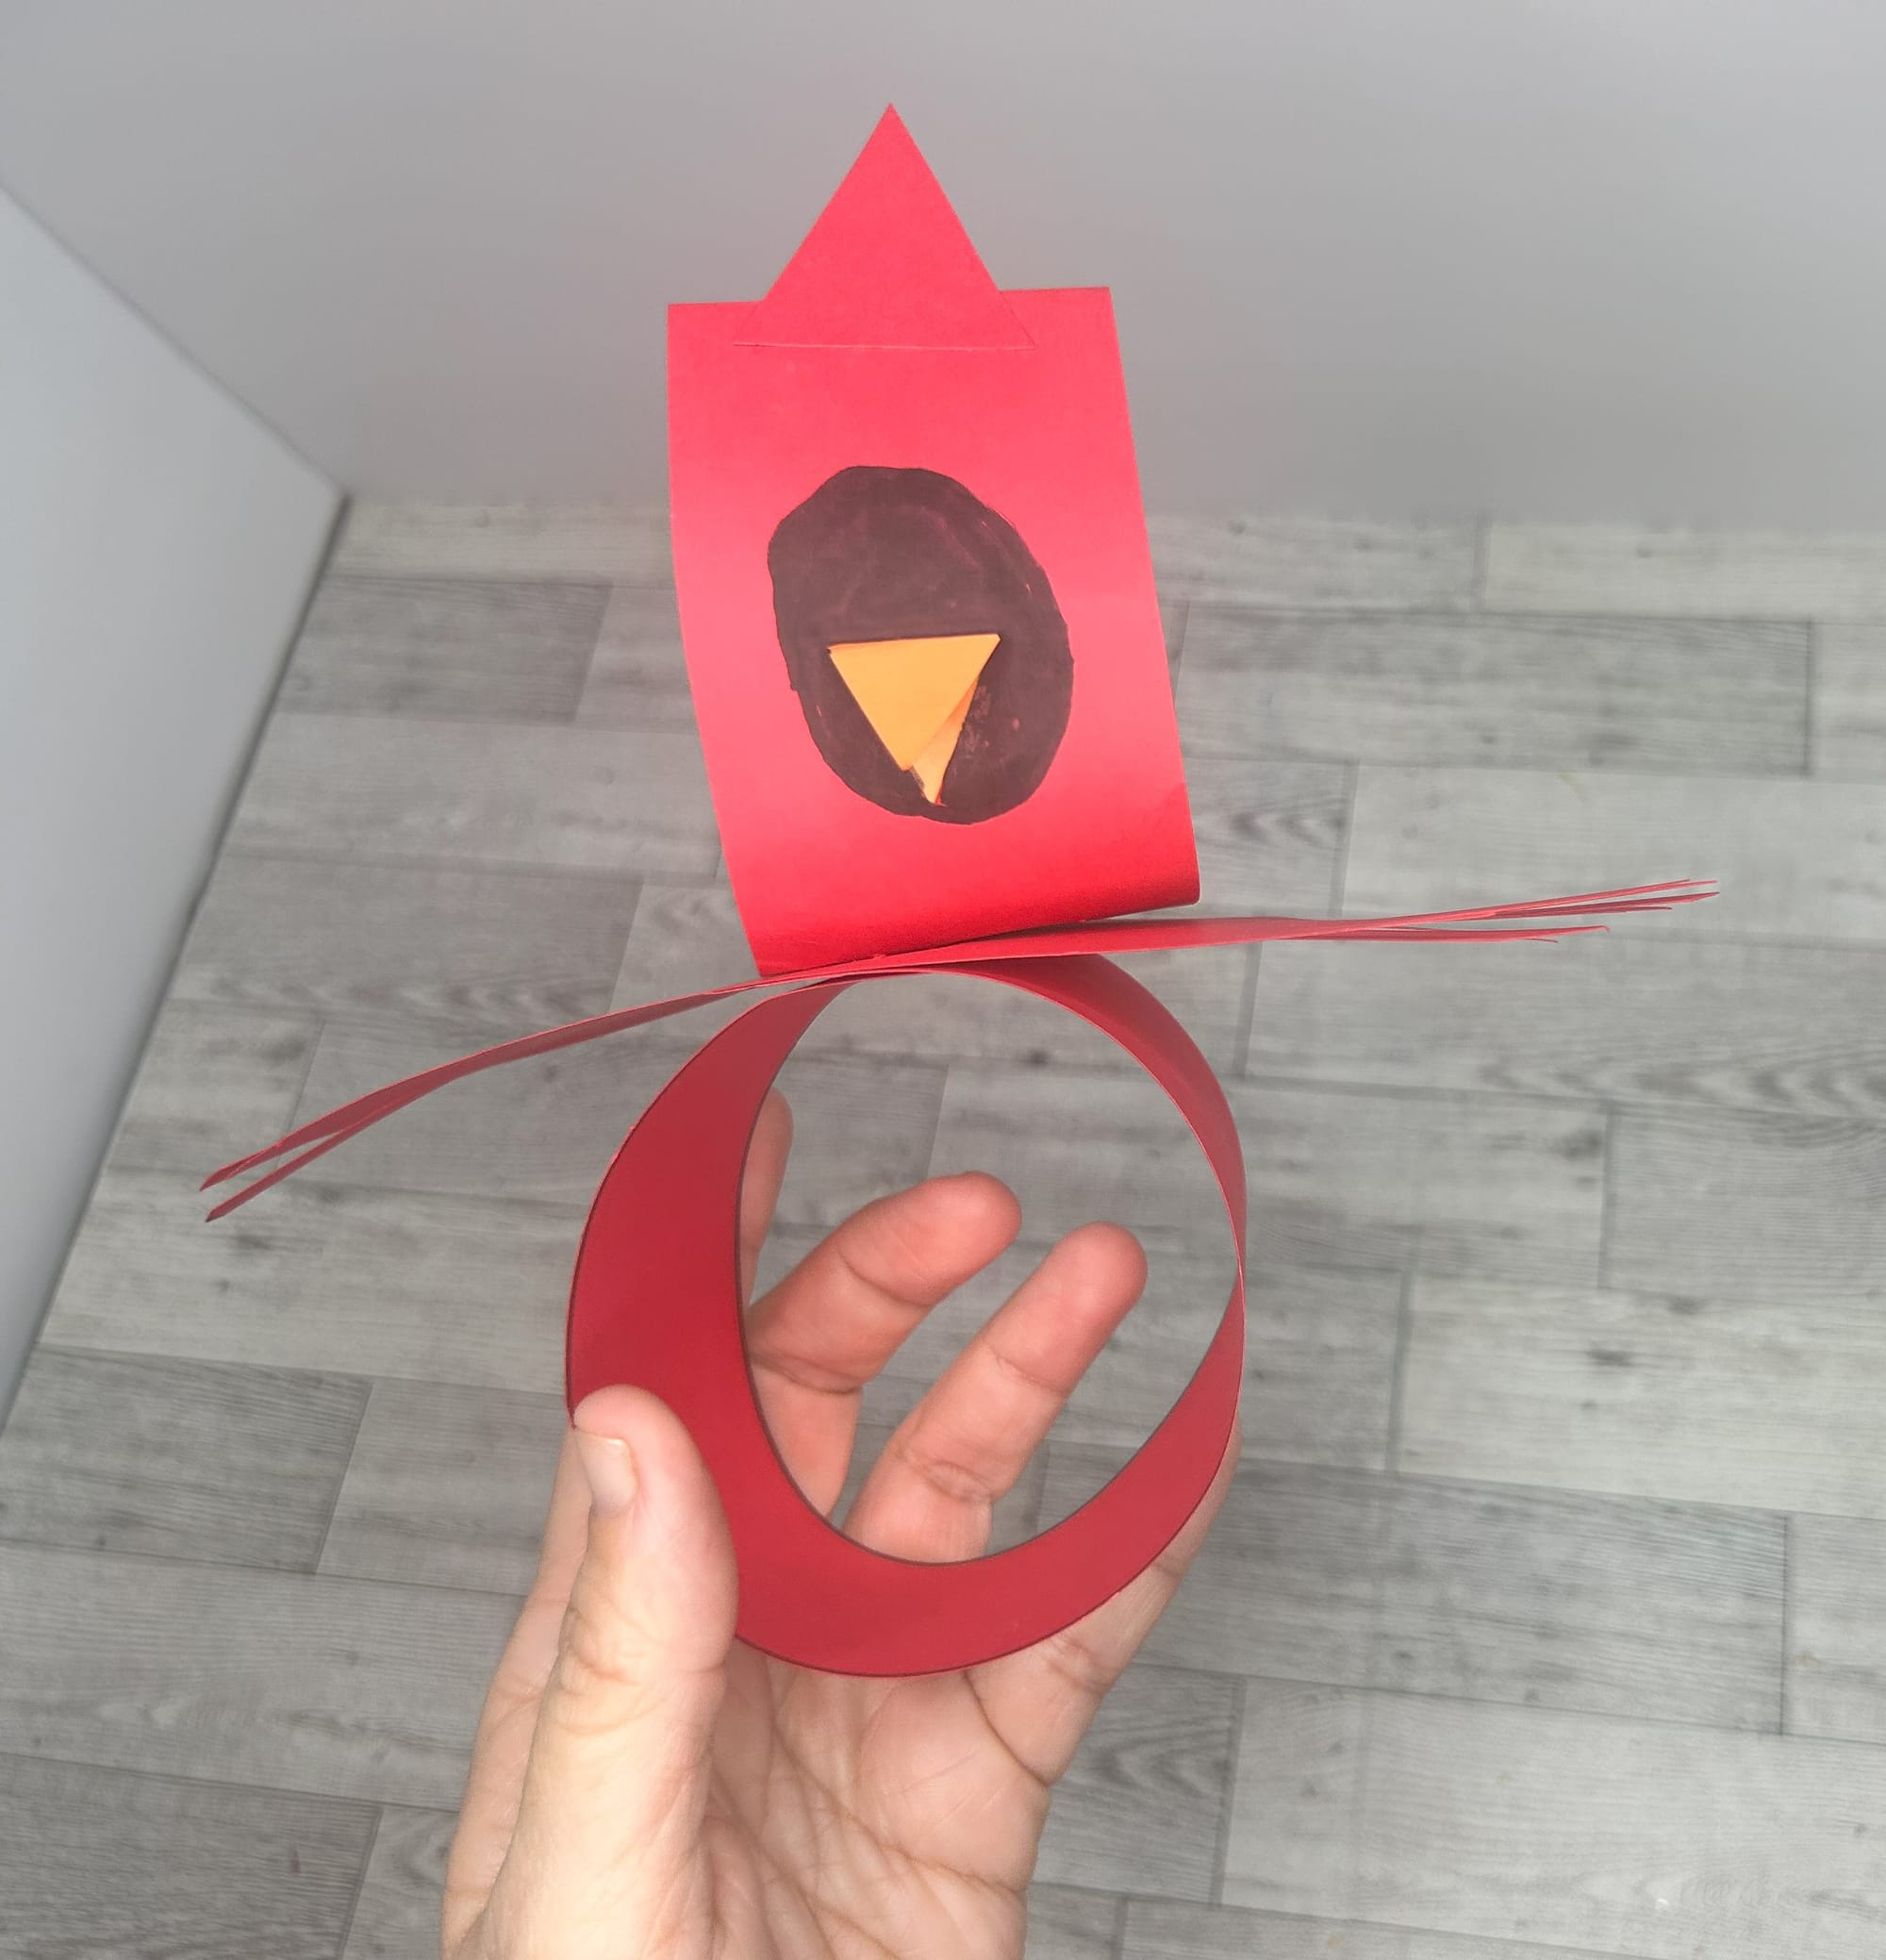
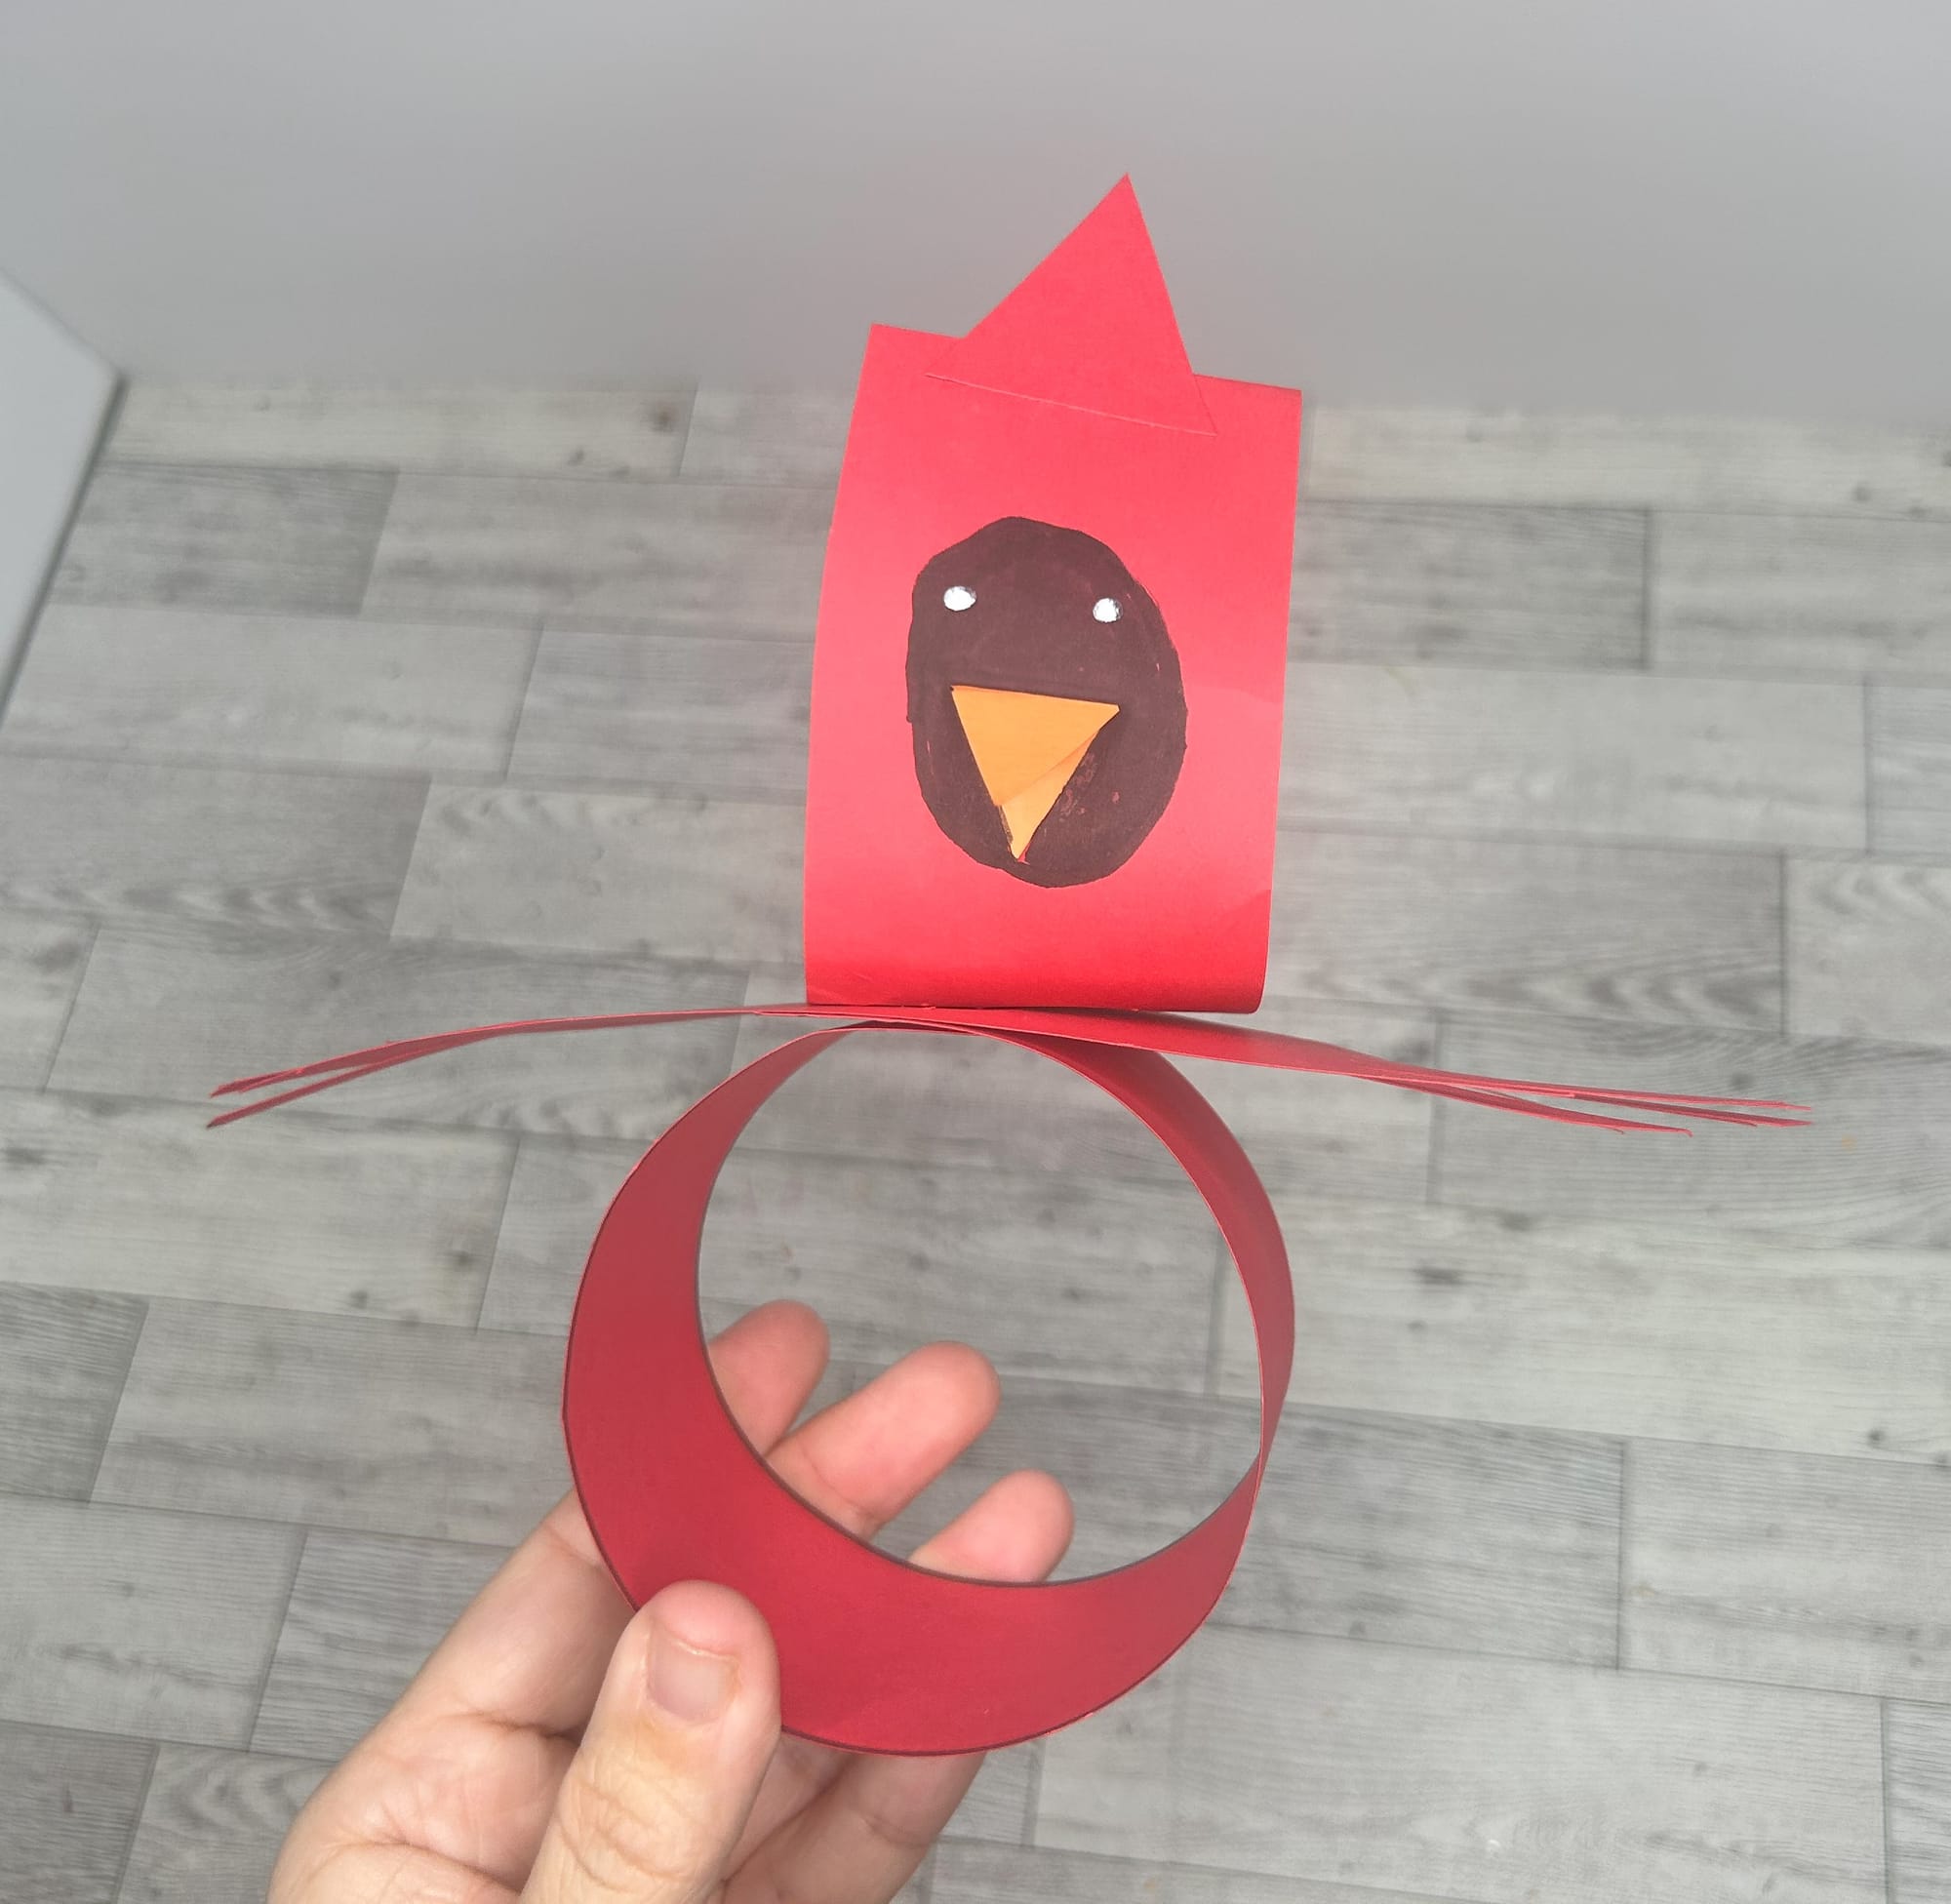
Use markers to create the details of the face.
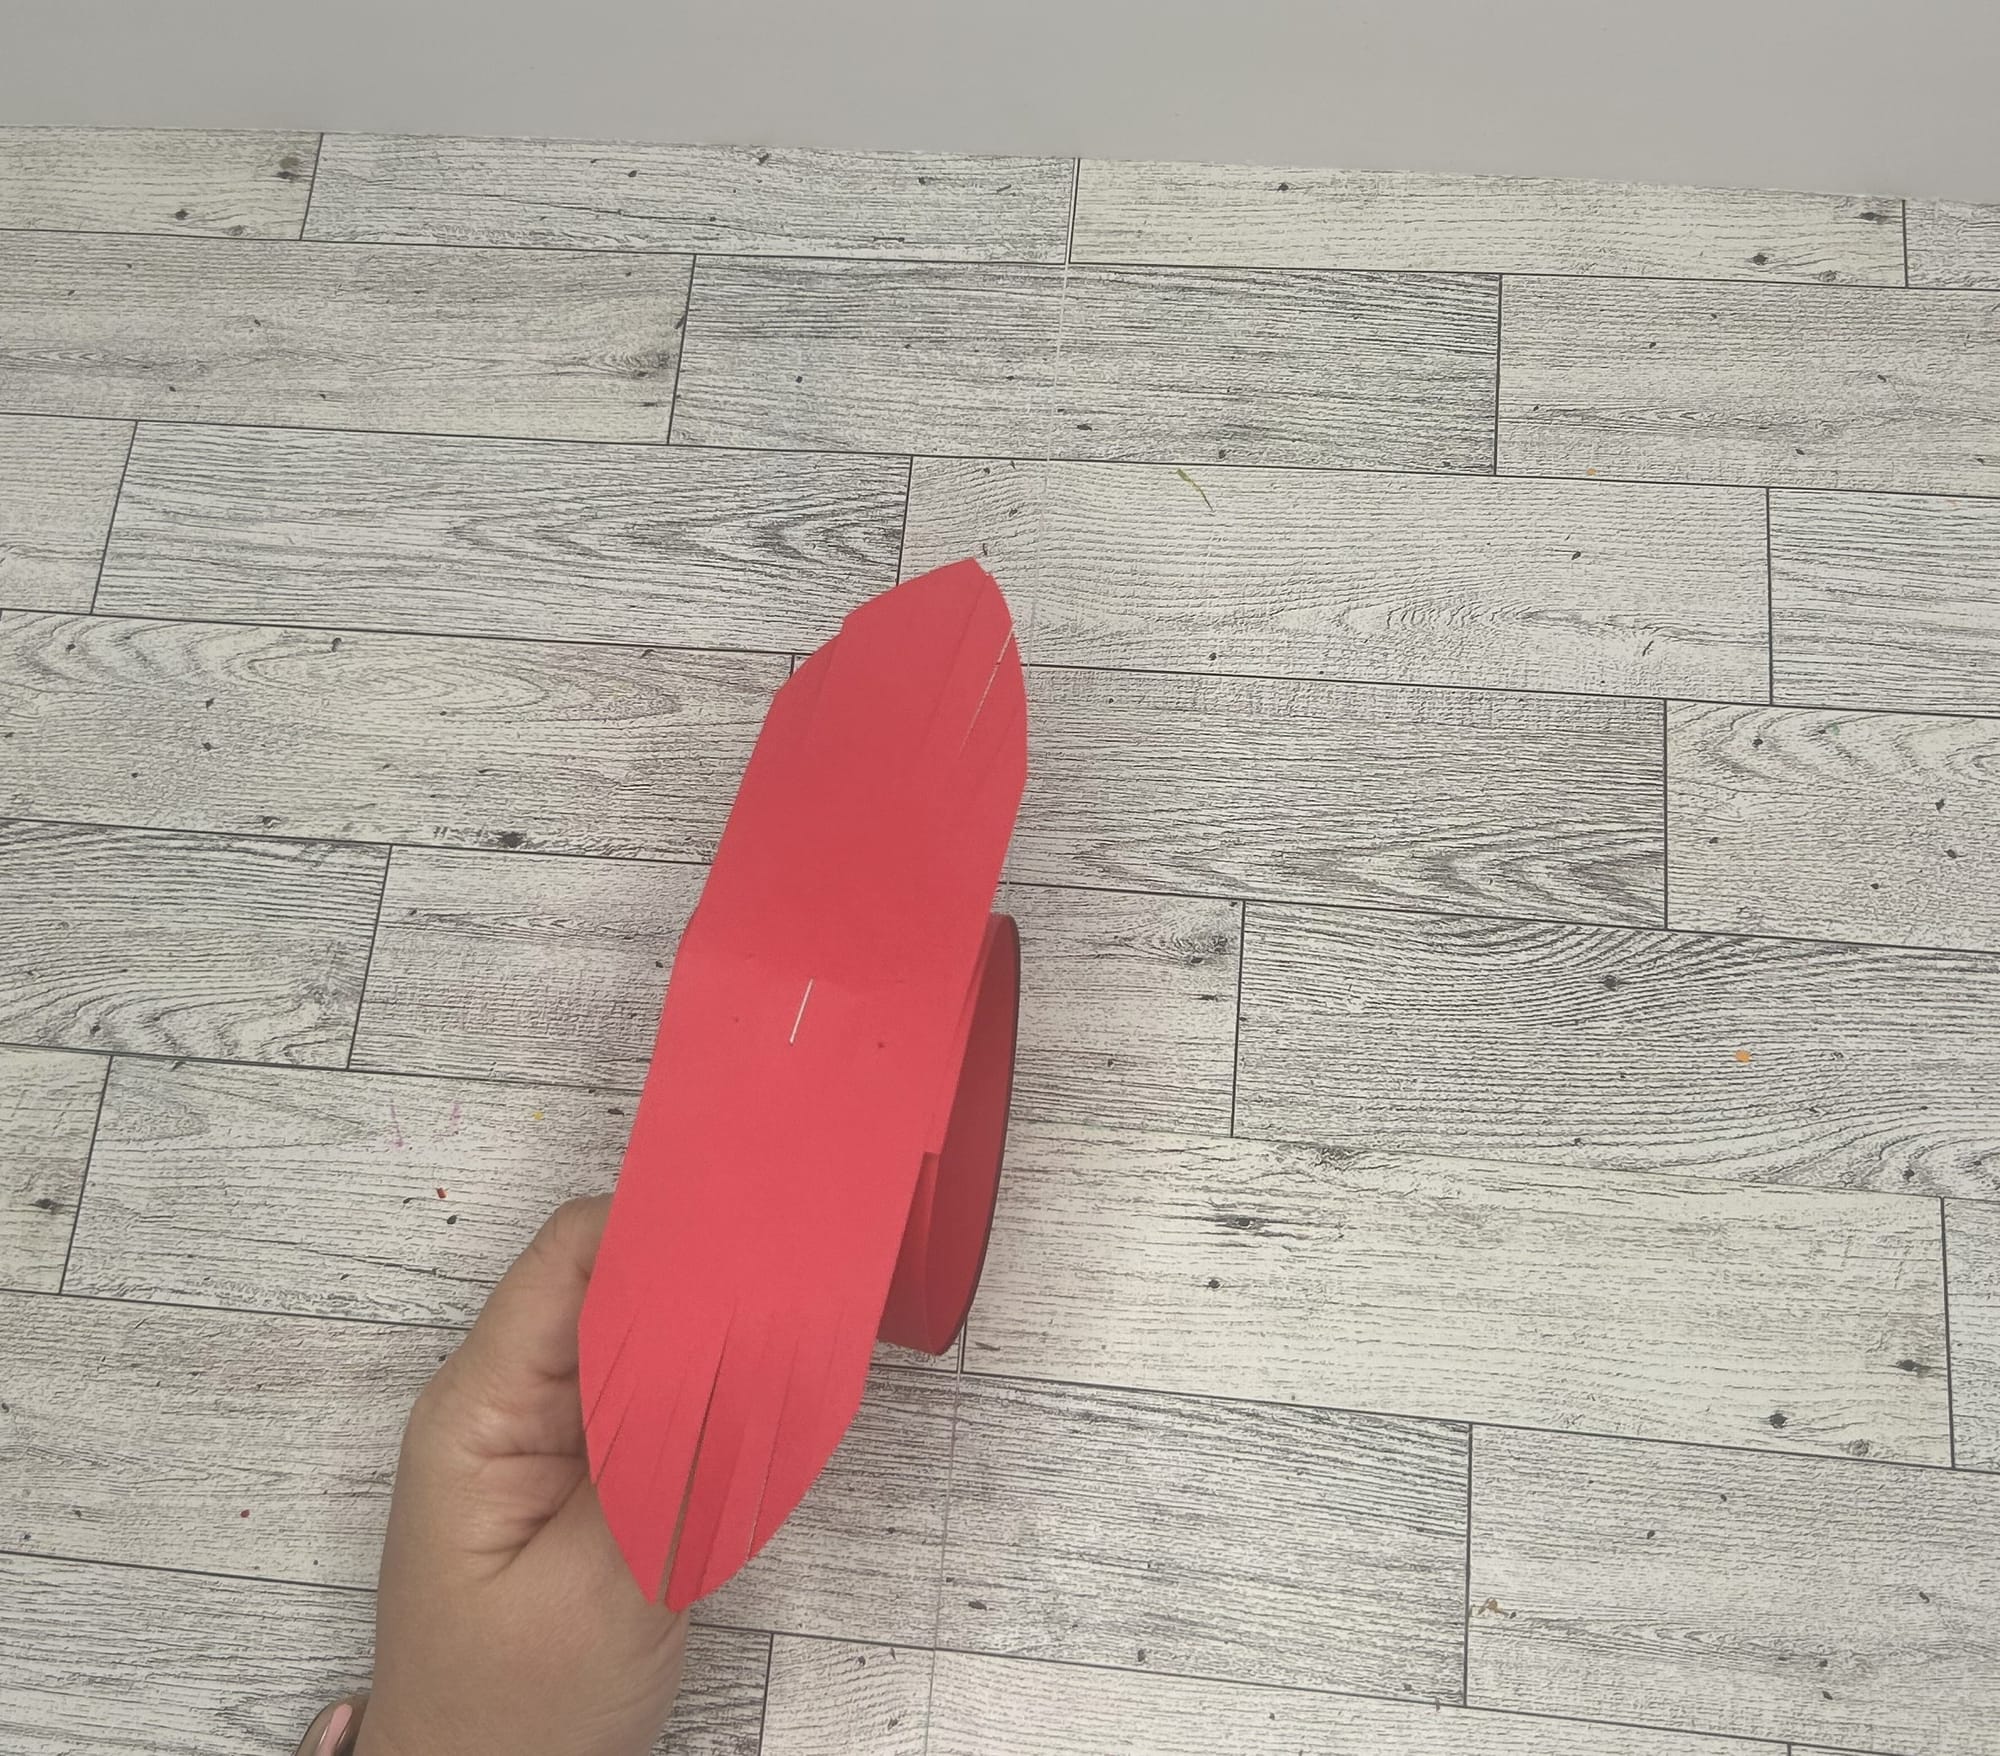
- Attach the 4 inch strip of paper to the back of the body. Round the ends of the paper and cut to create the tail feathers.
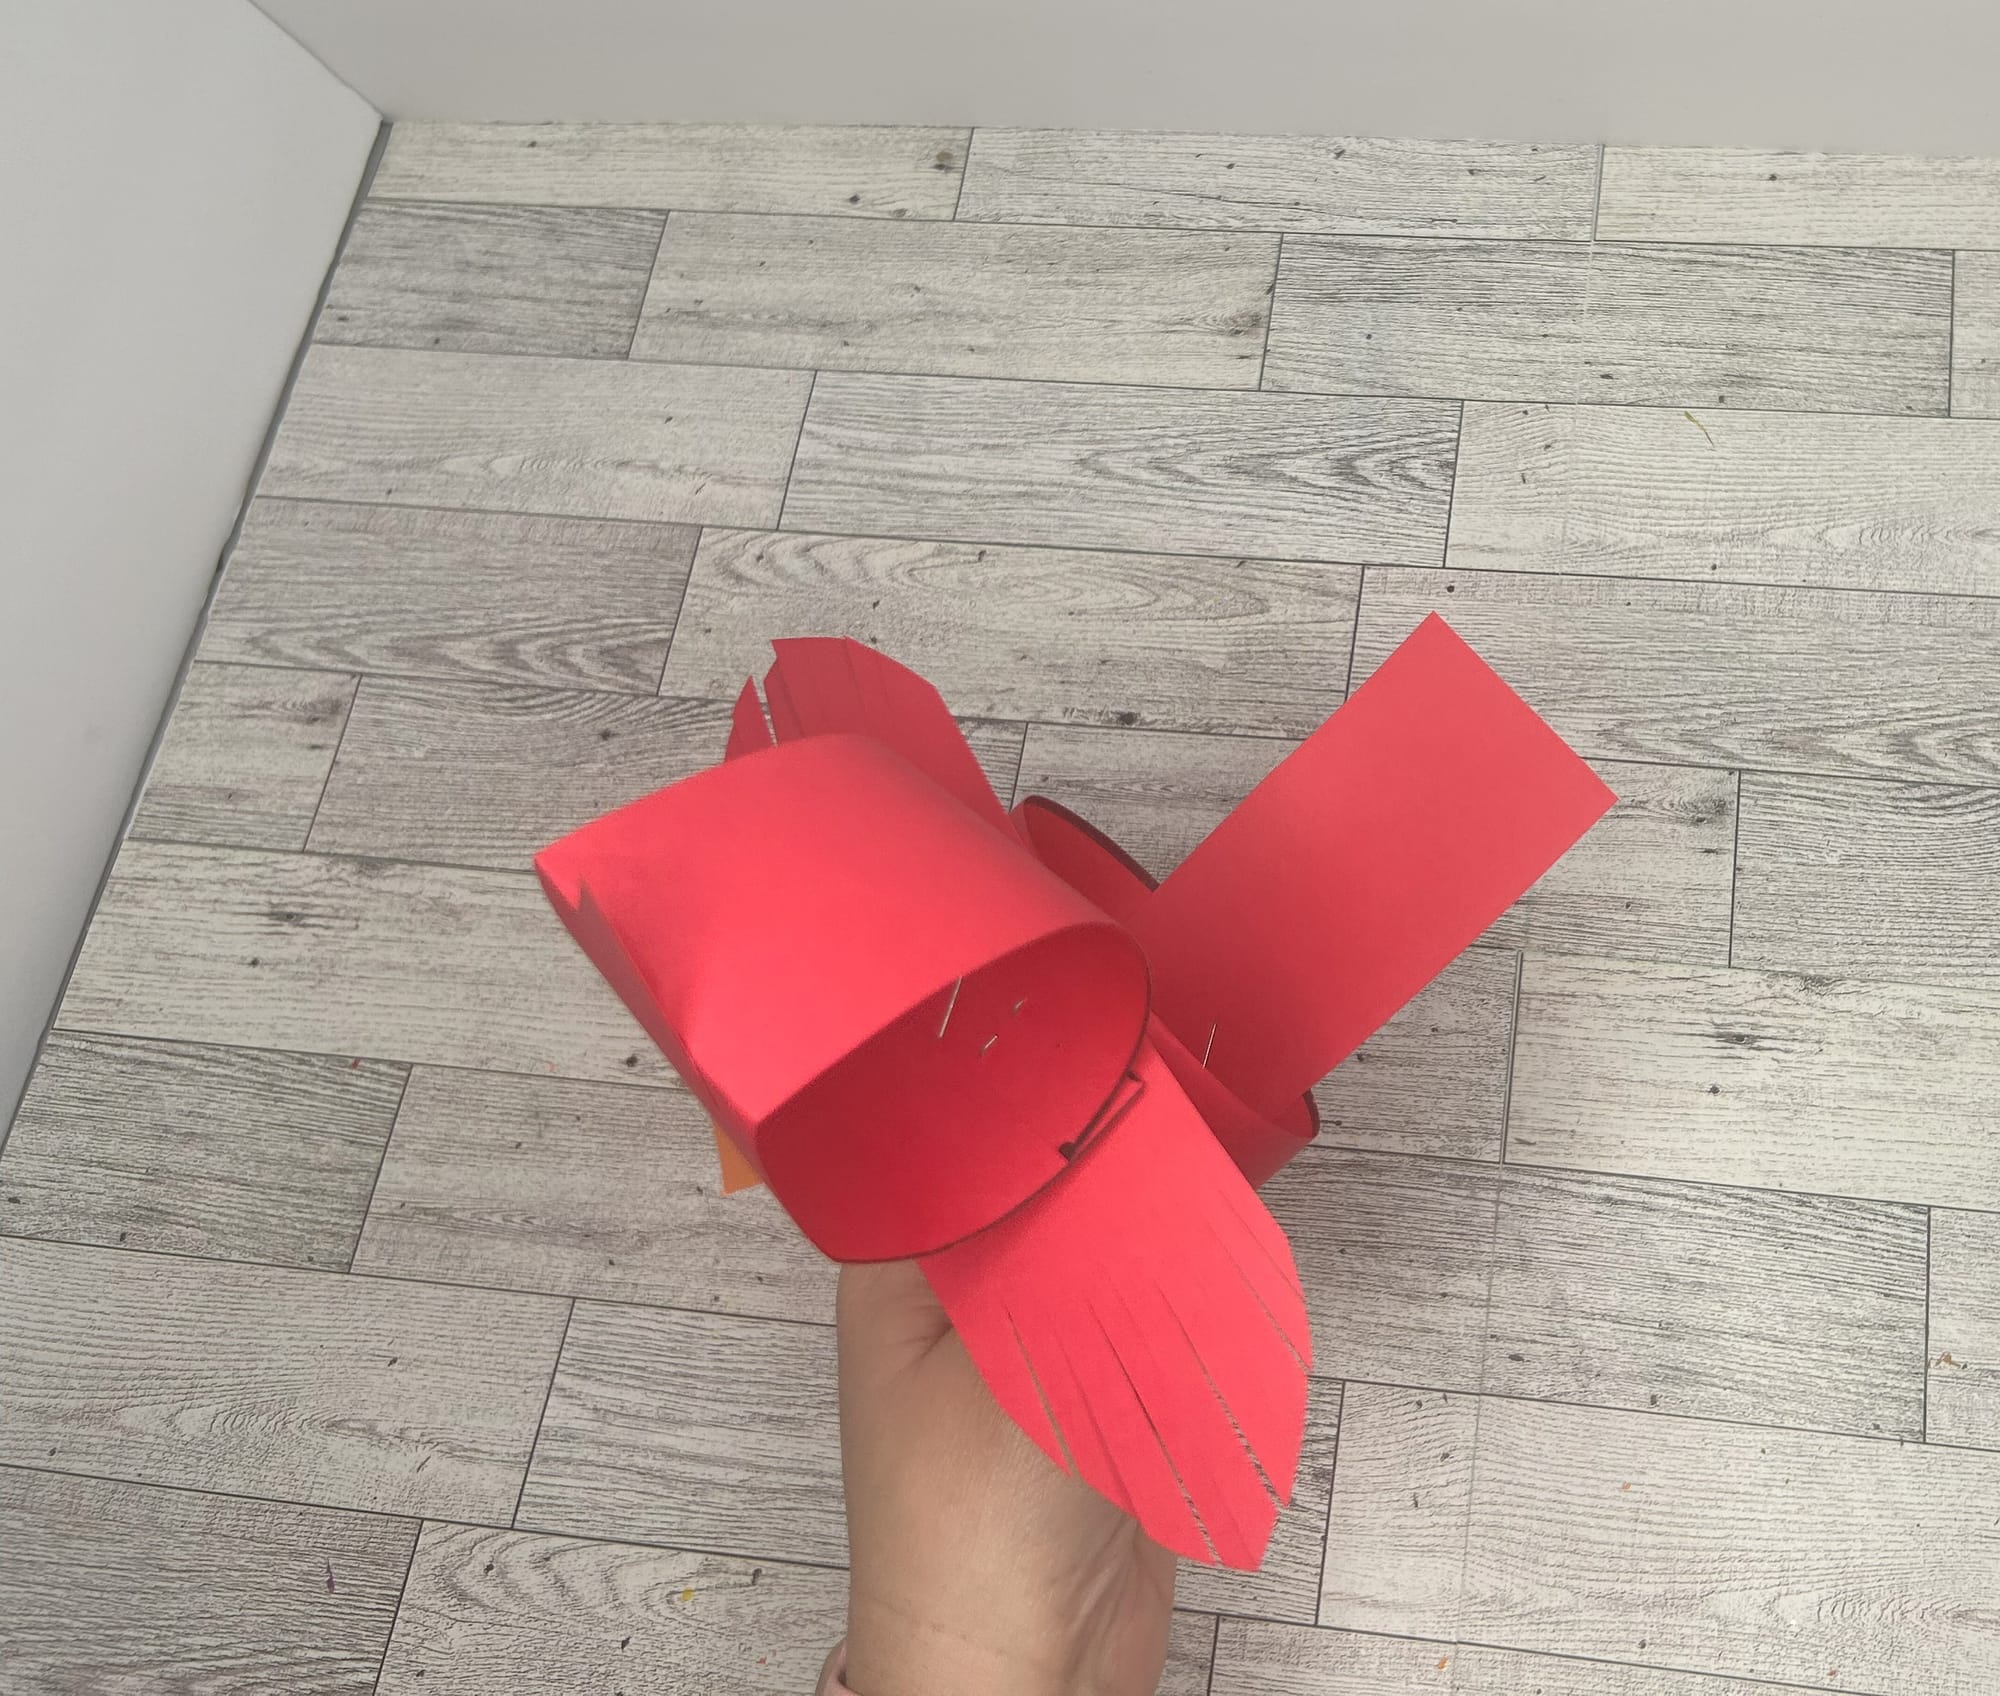
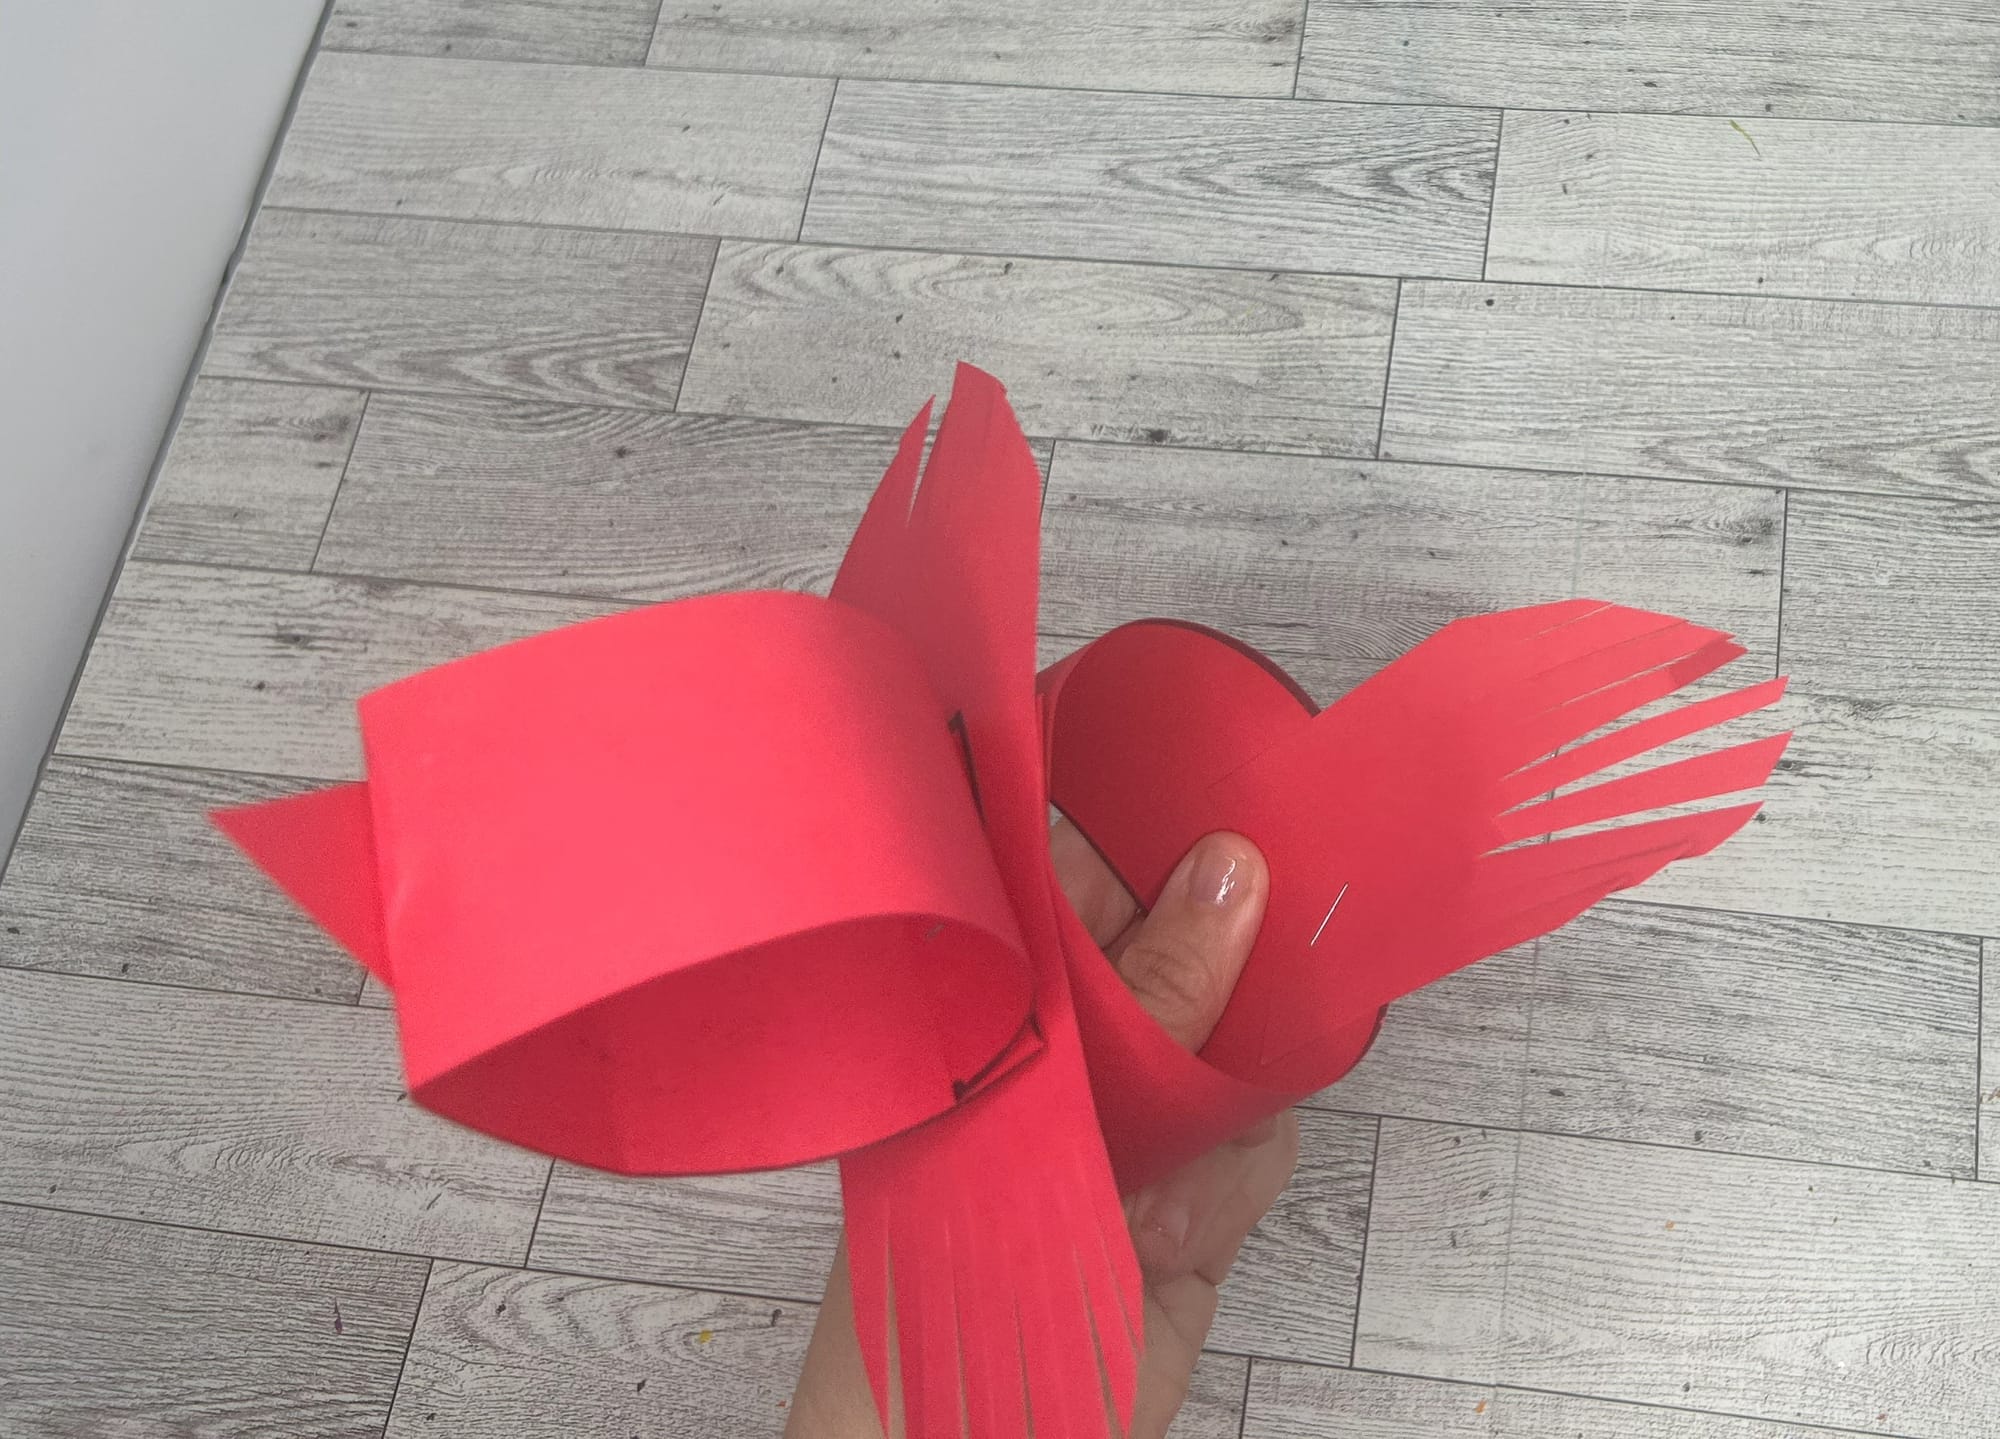
Add 4 inch strip of paper to create tail.
- Use a hole puncher to make a hole at the top. Attach a piece of yarn or string to be able to hang the bird.
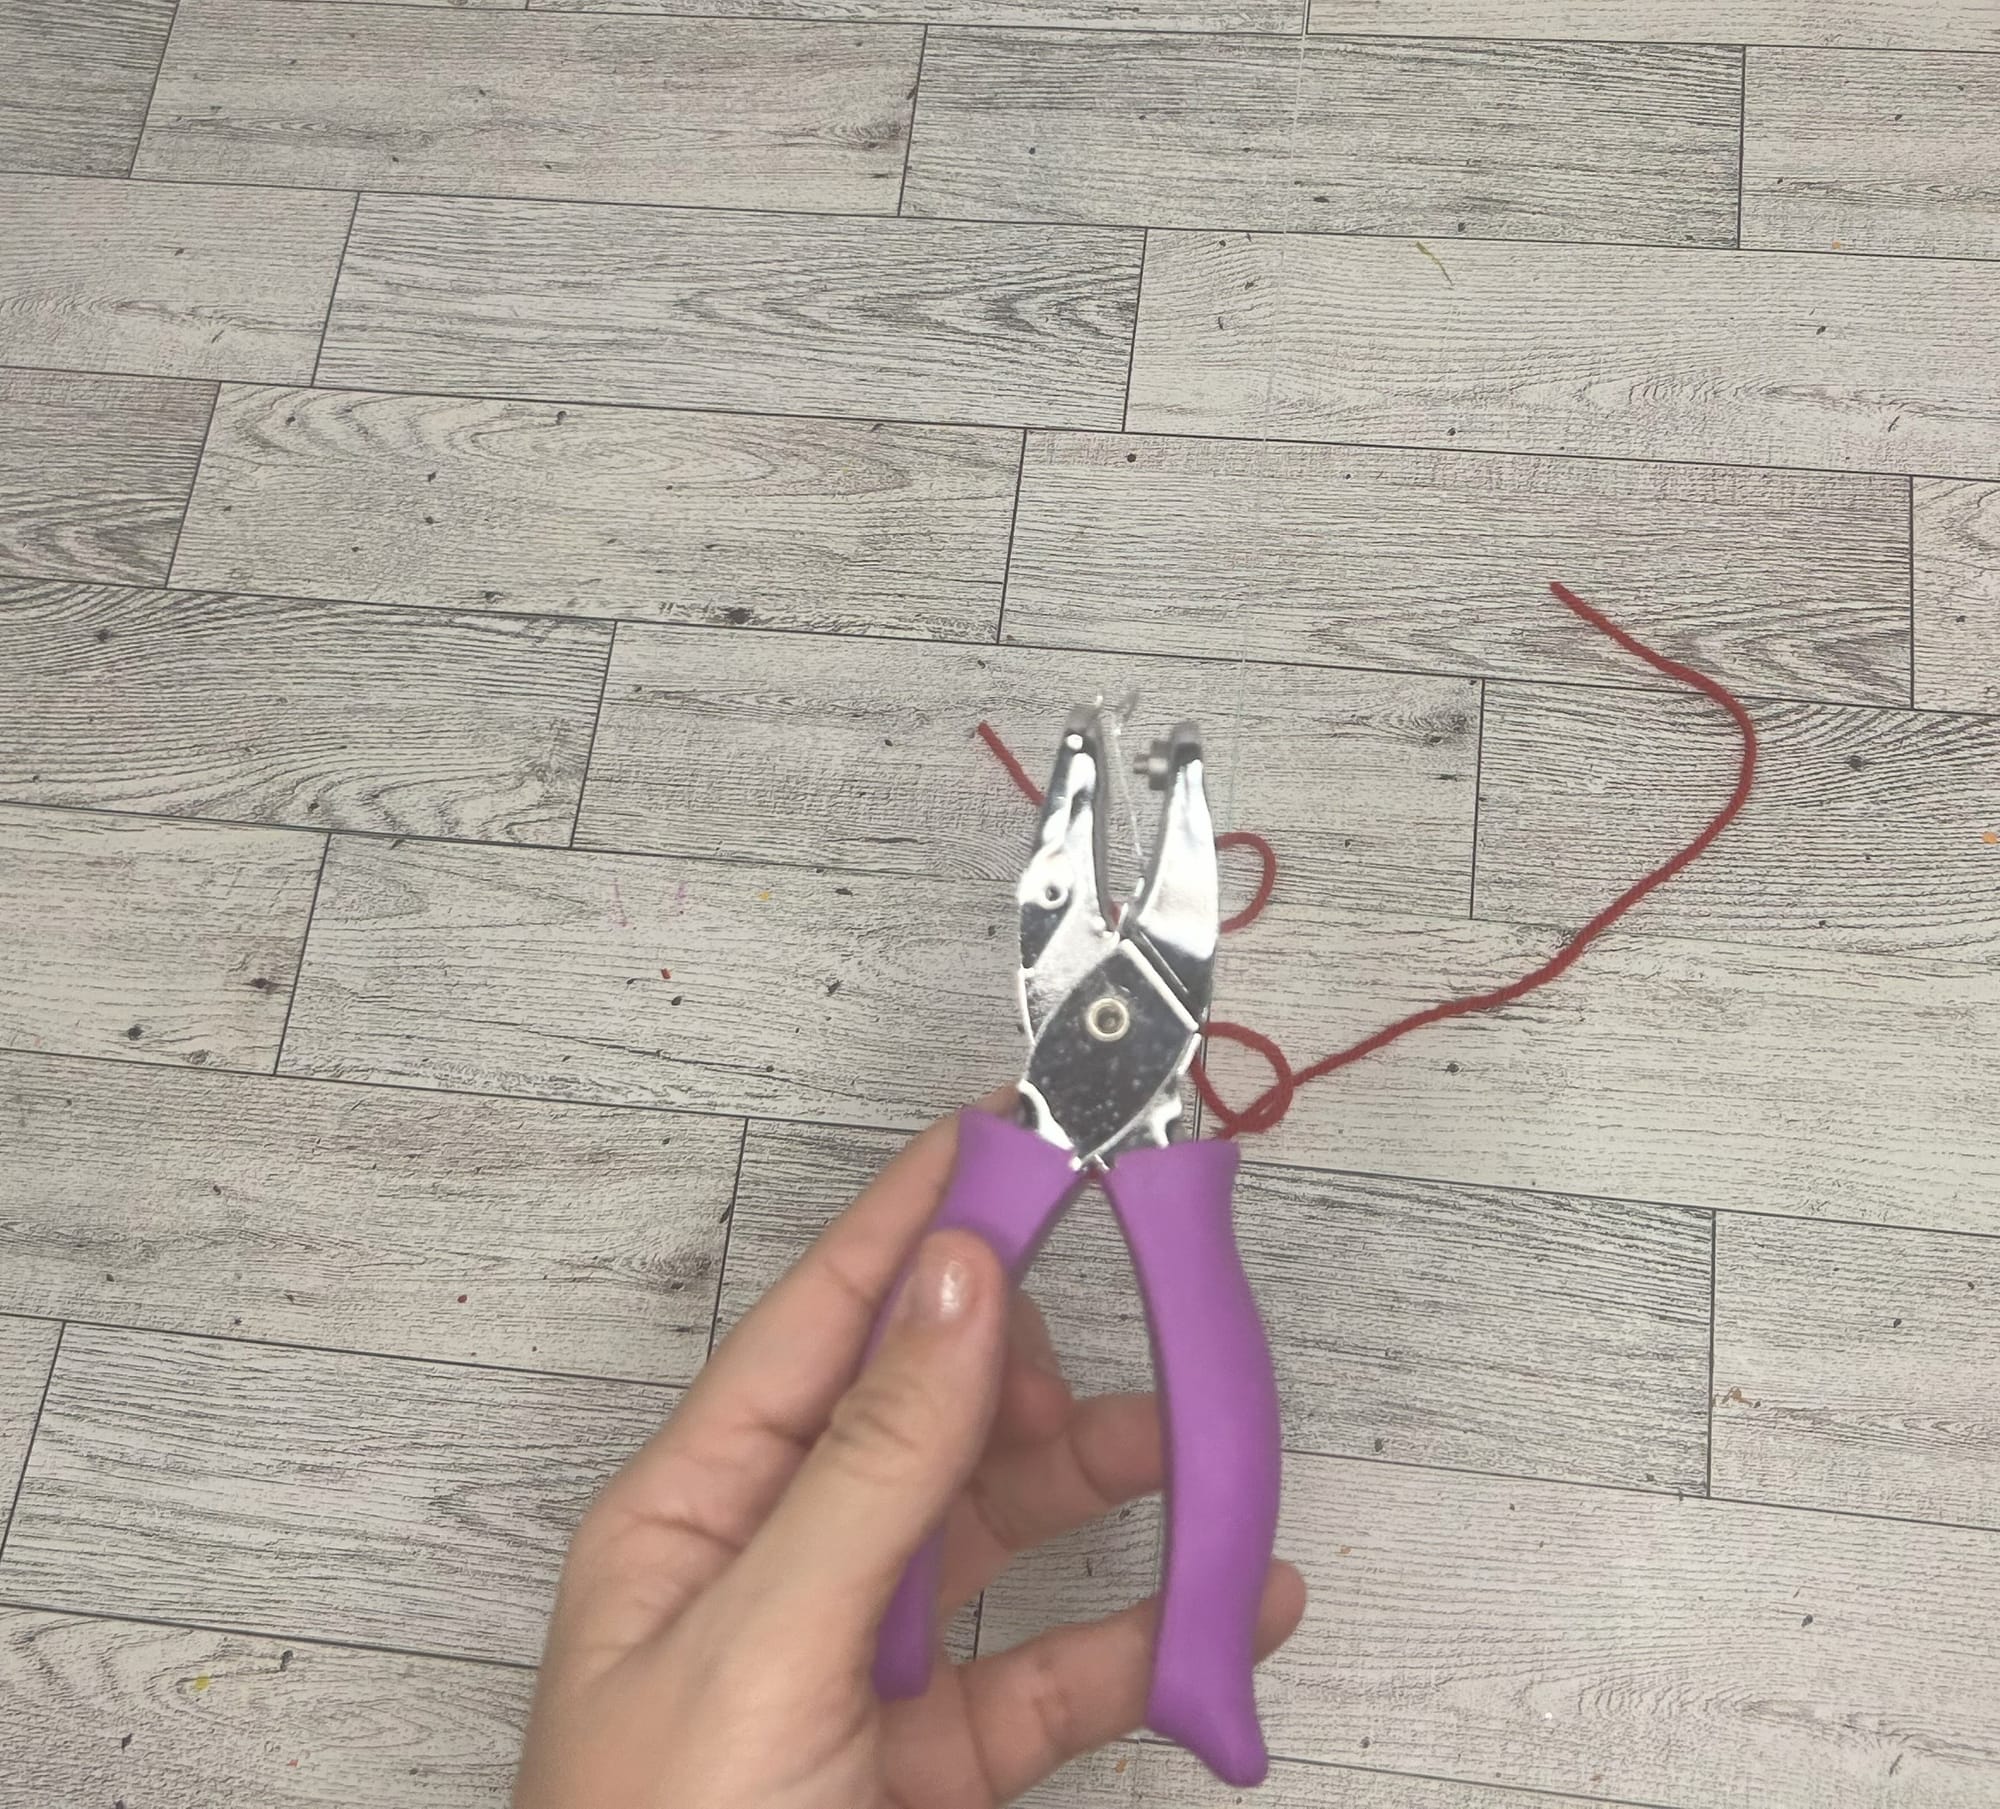
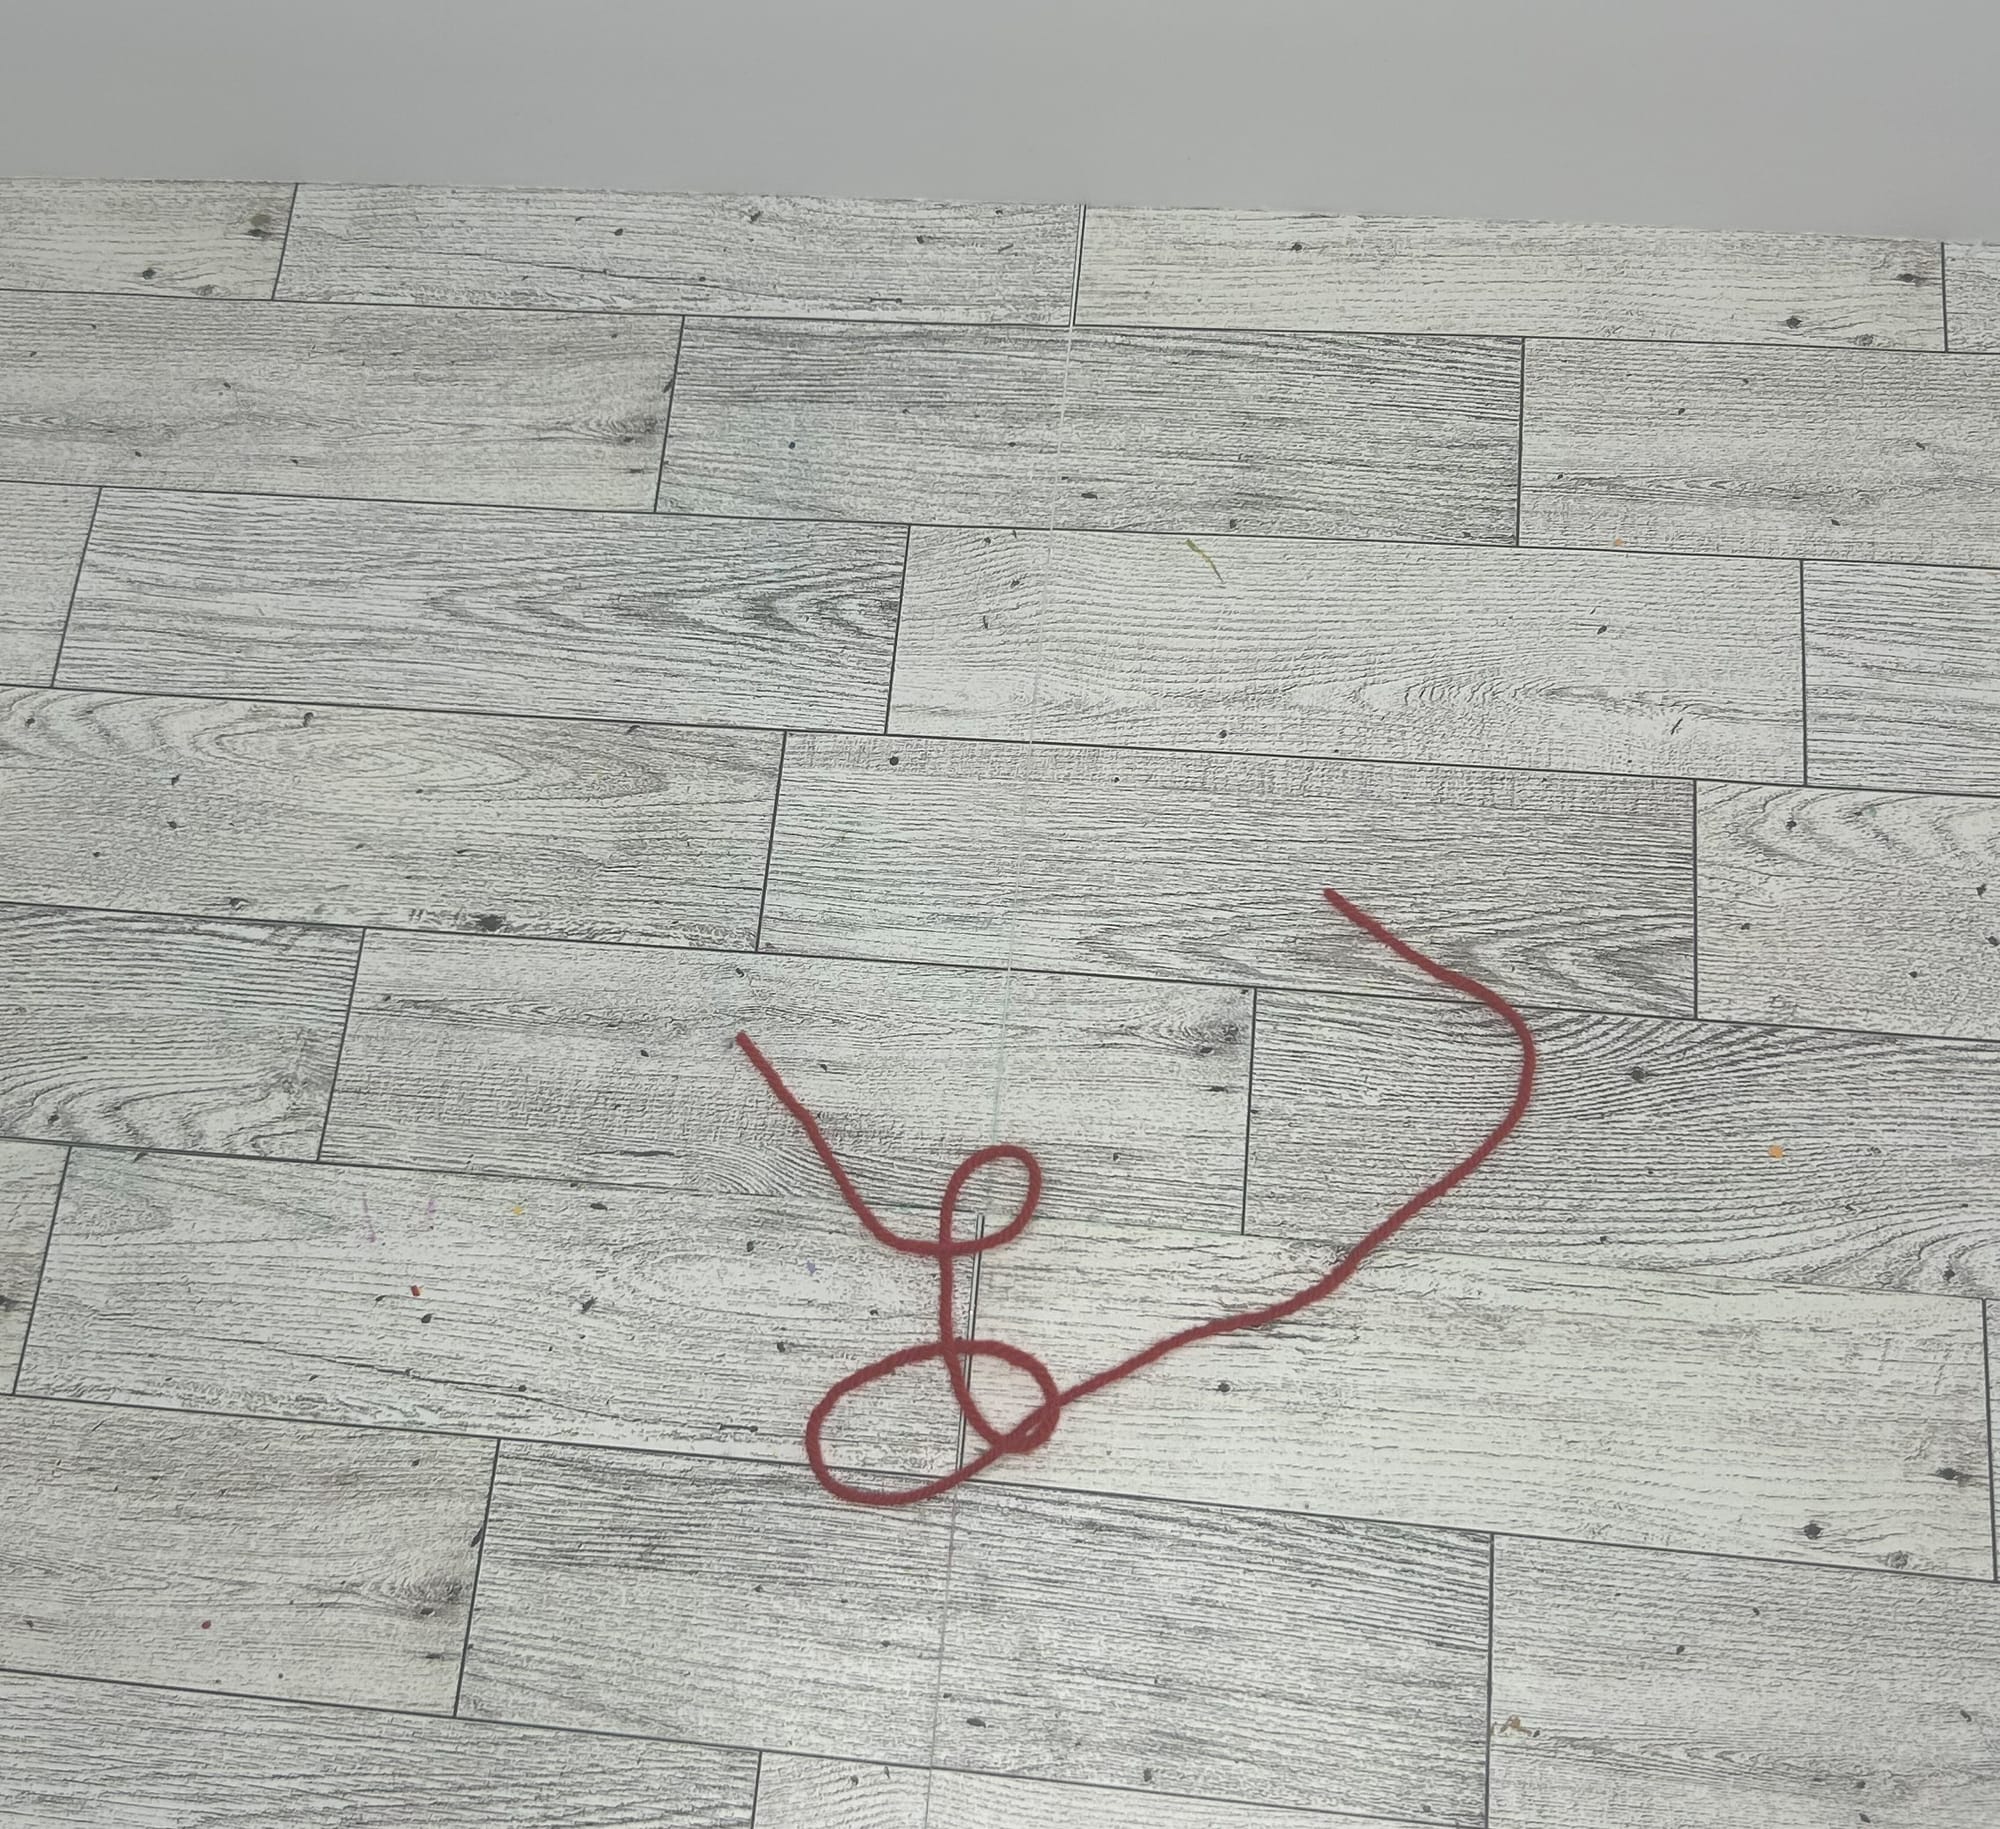

Create a hole with a hole punch to attach yarn.
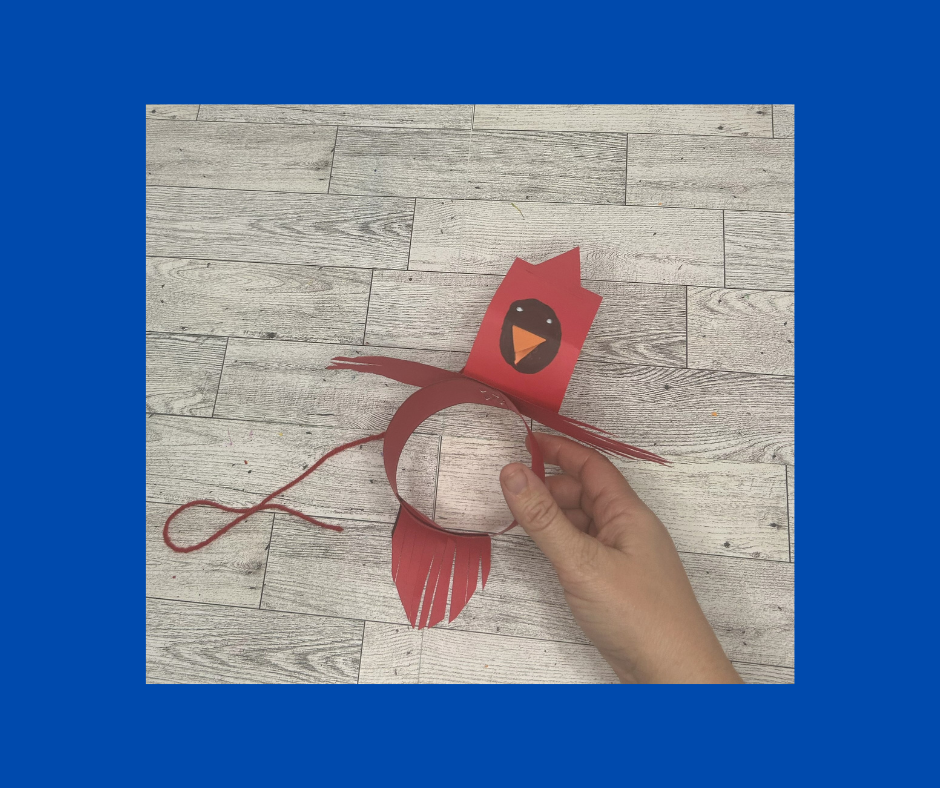
- The cardinal is now complete and can be hung in a window or a covered porch. Watch it twirl around in the wind all summer long.
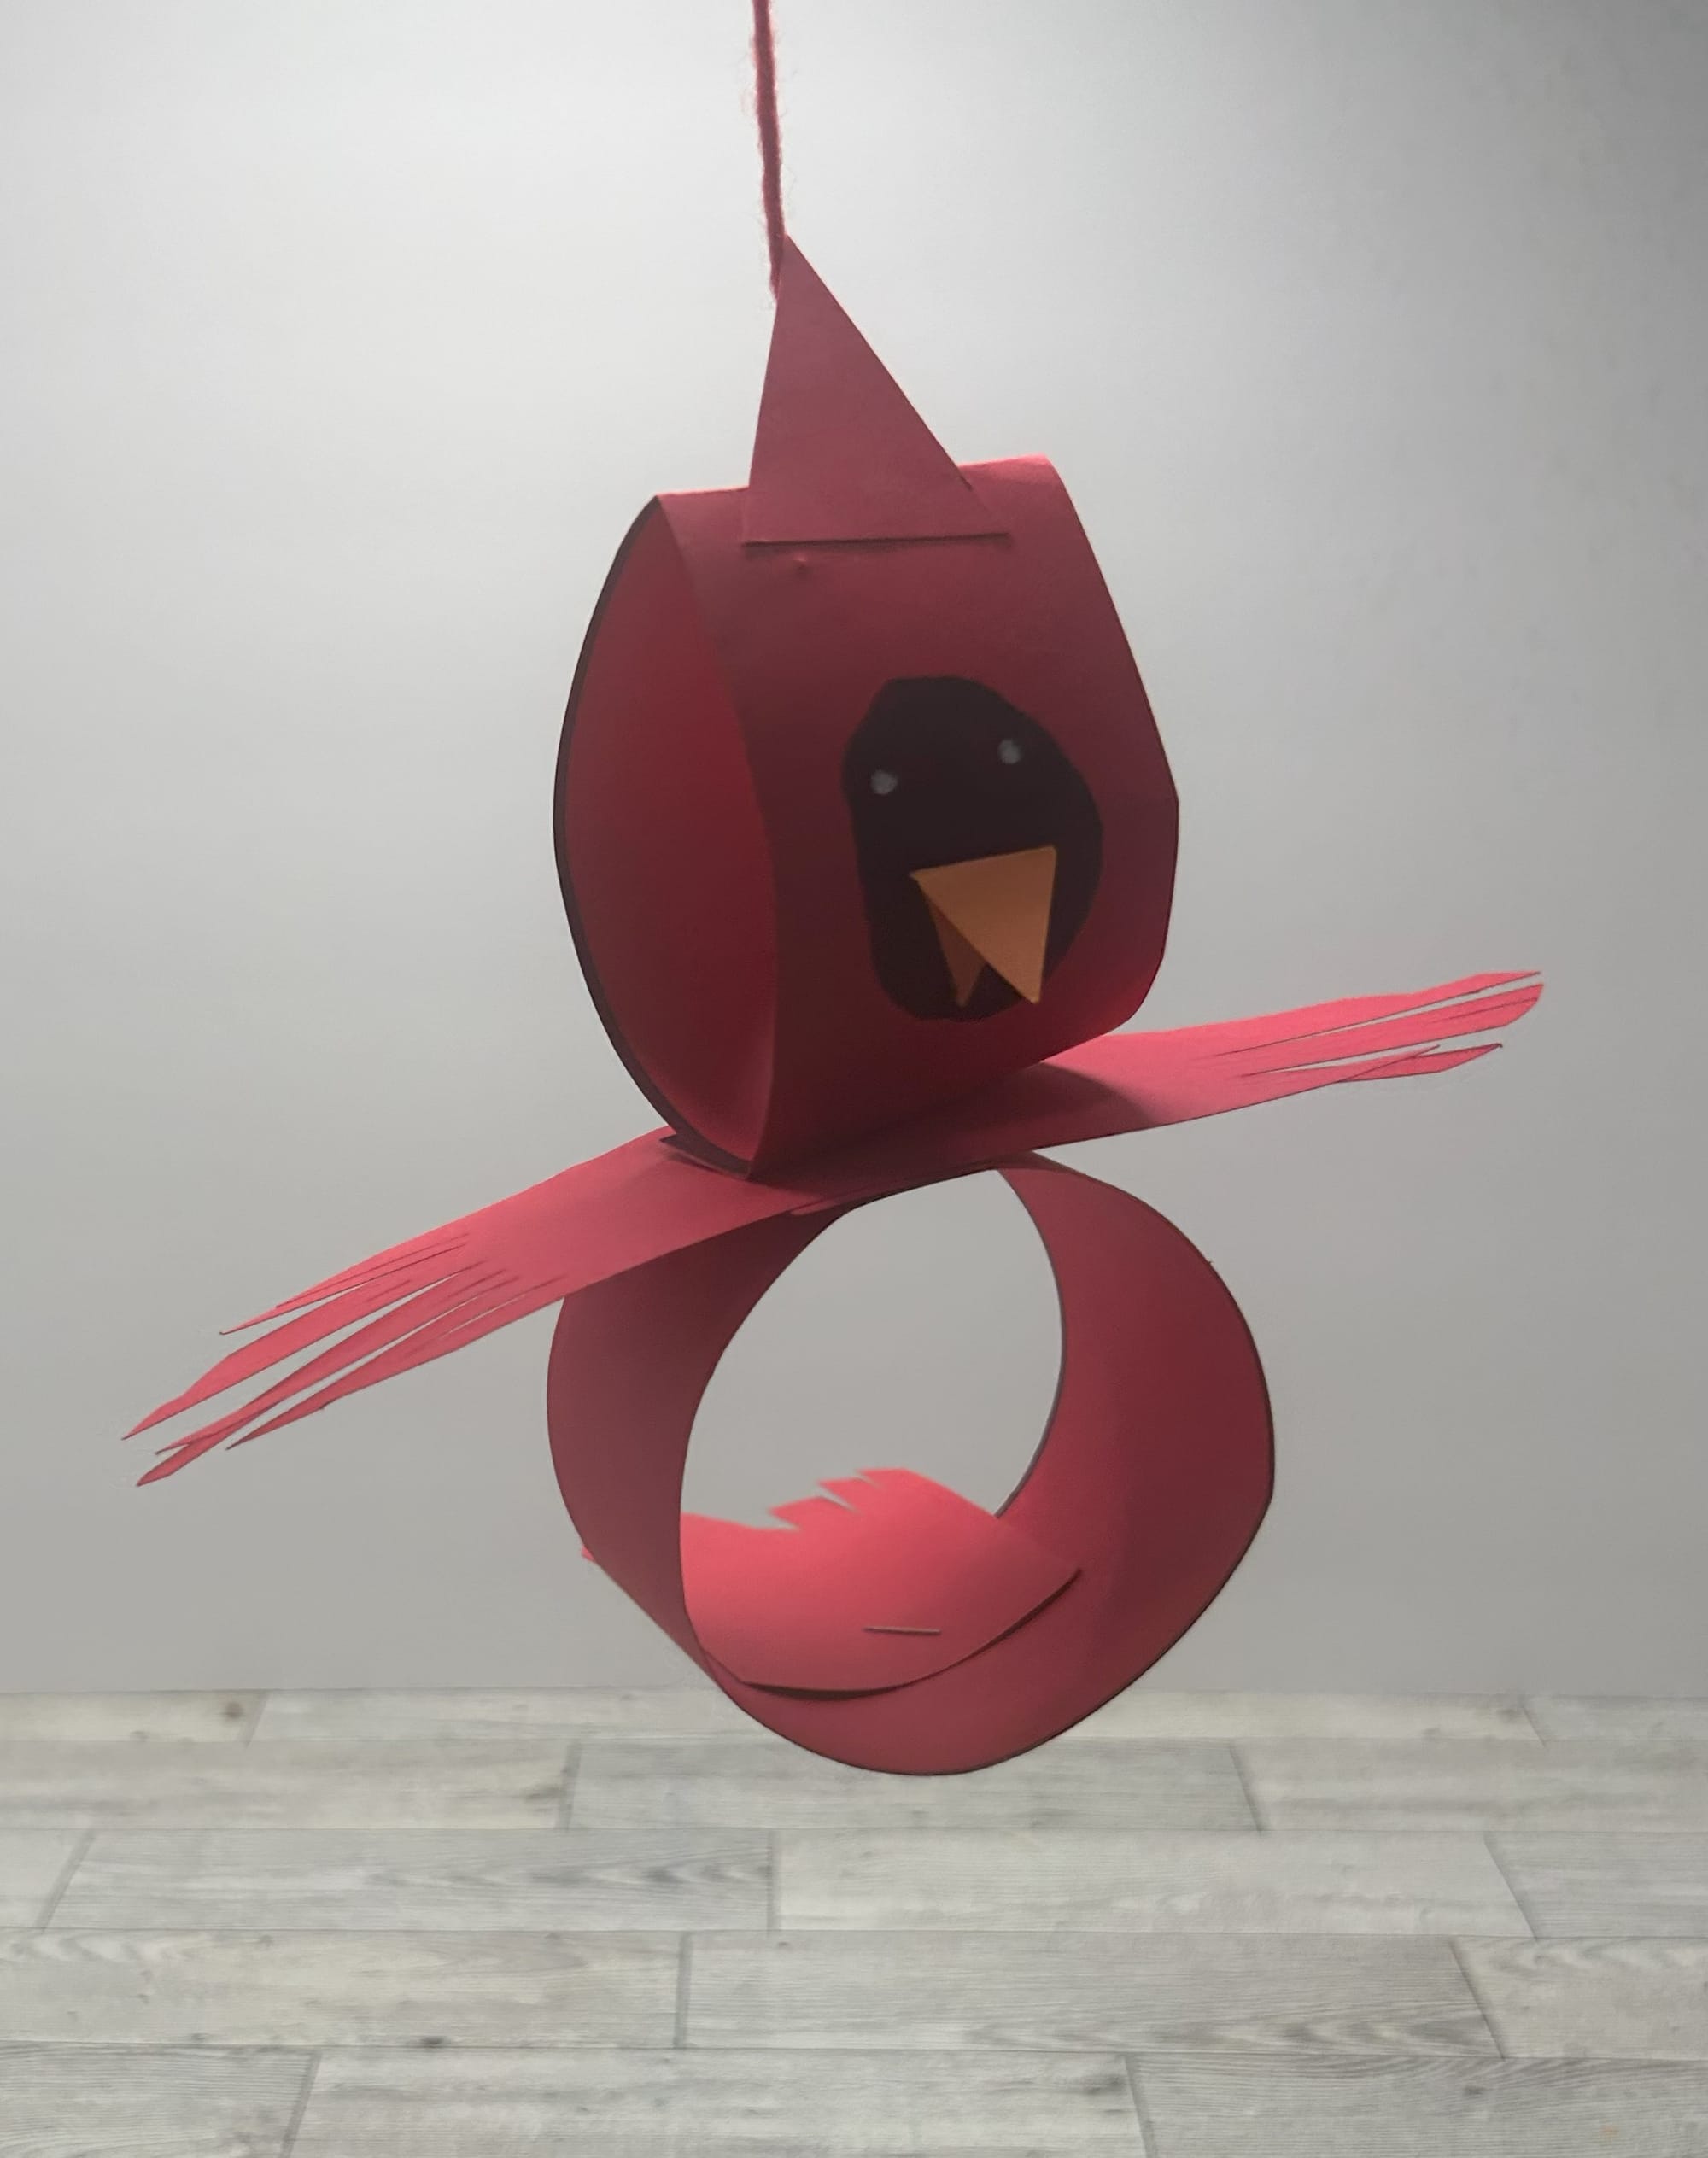
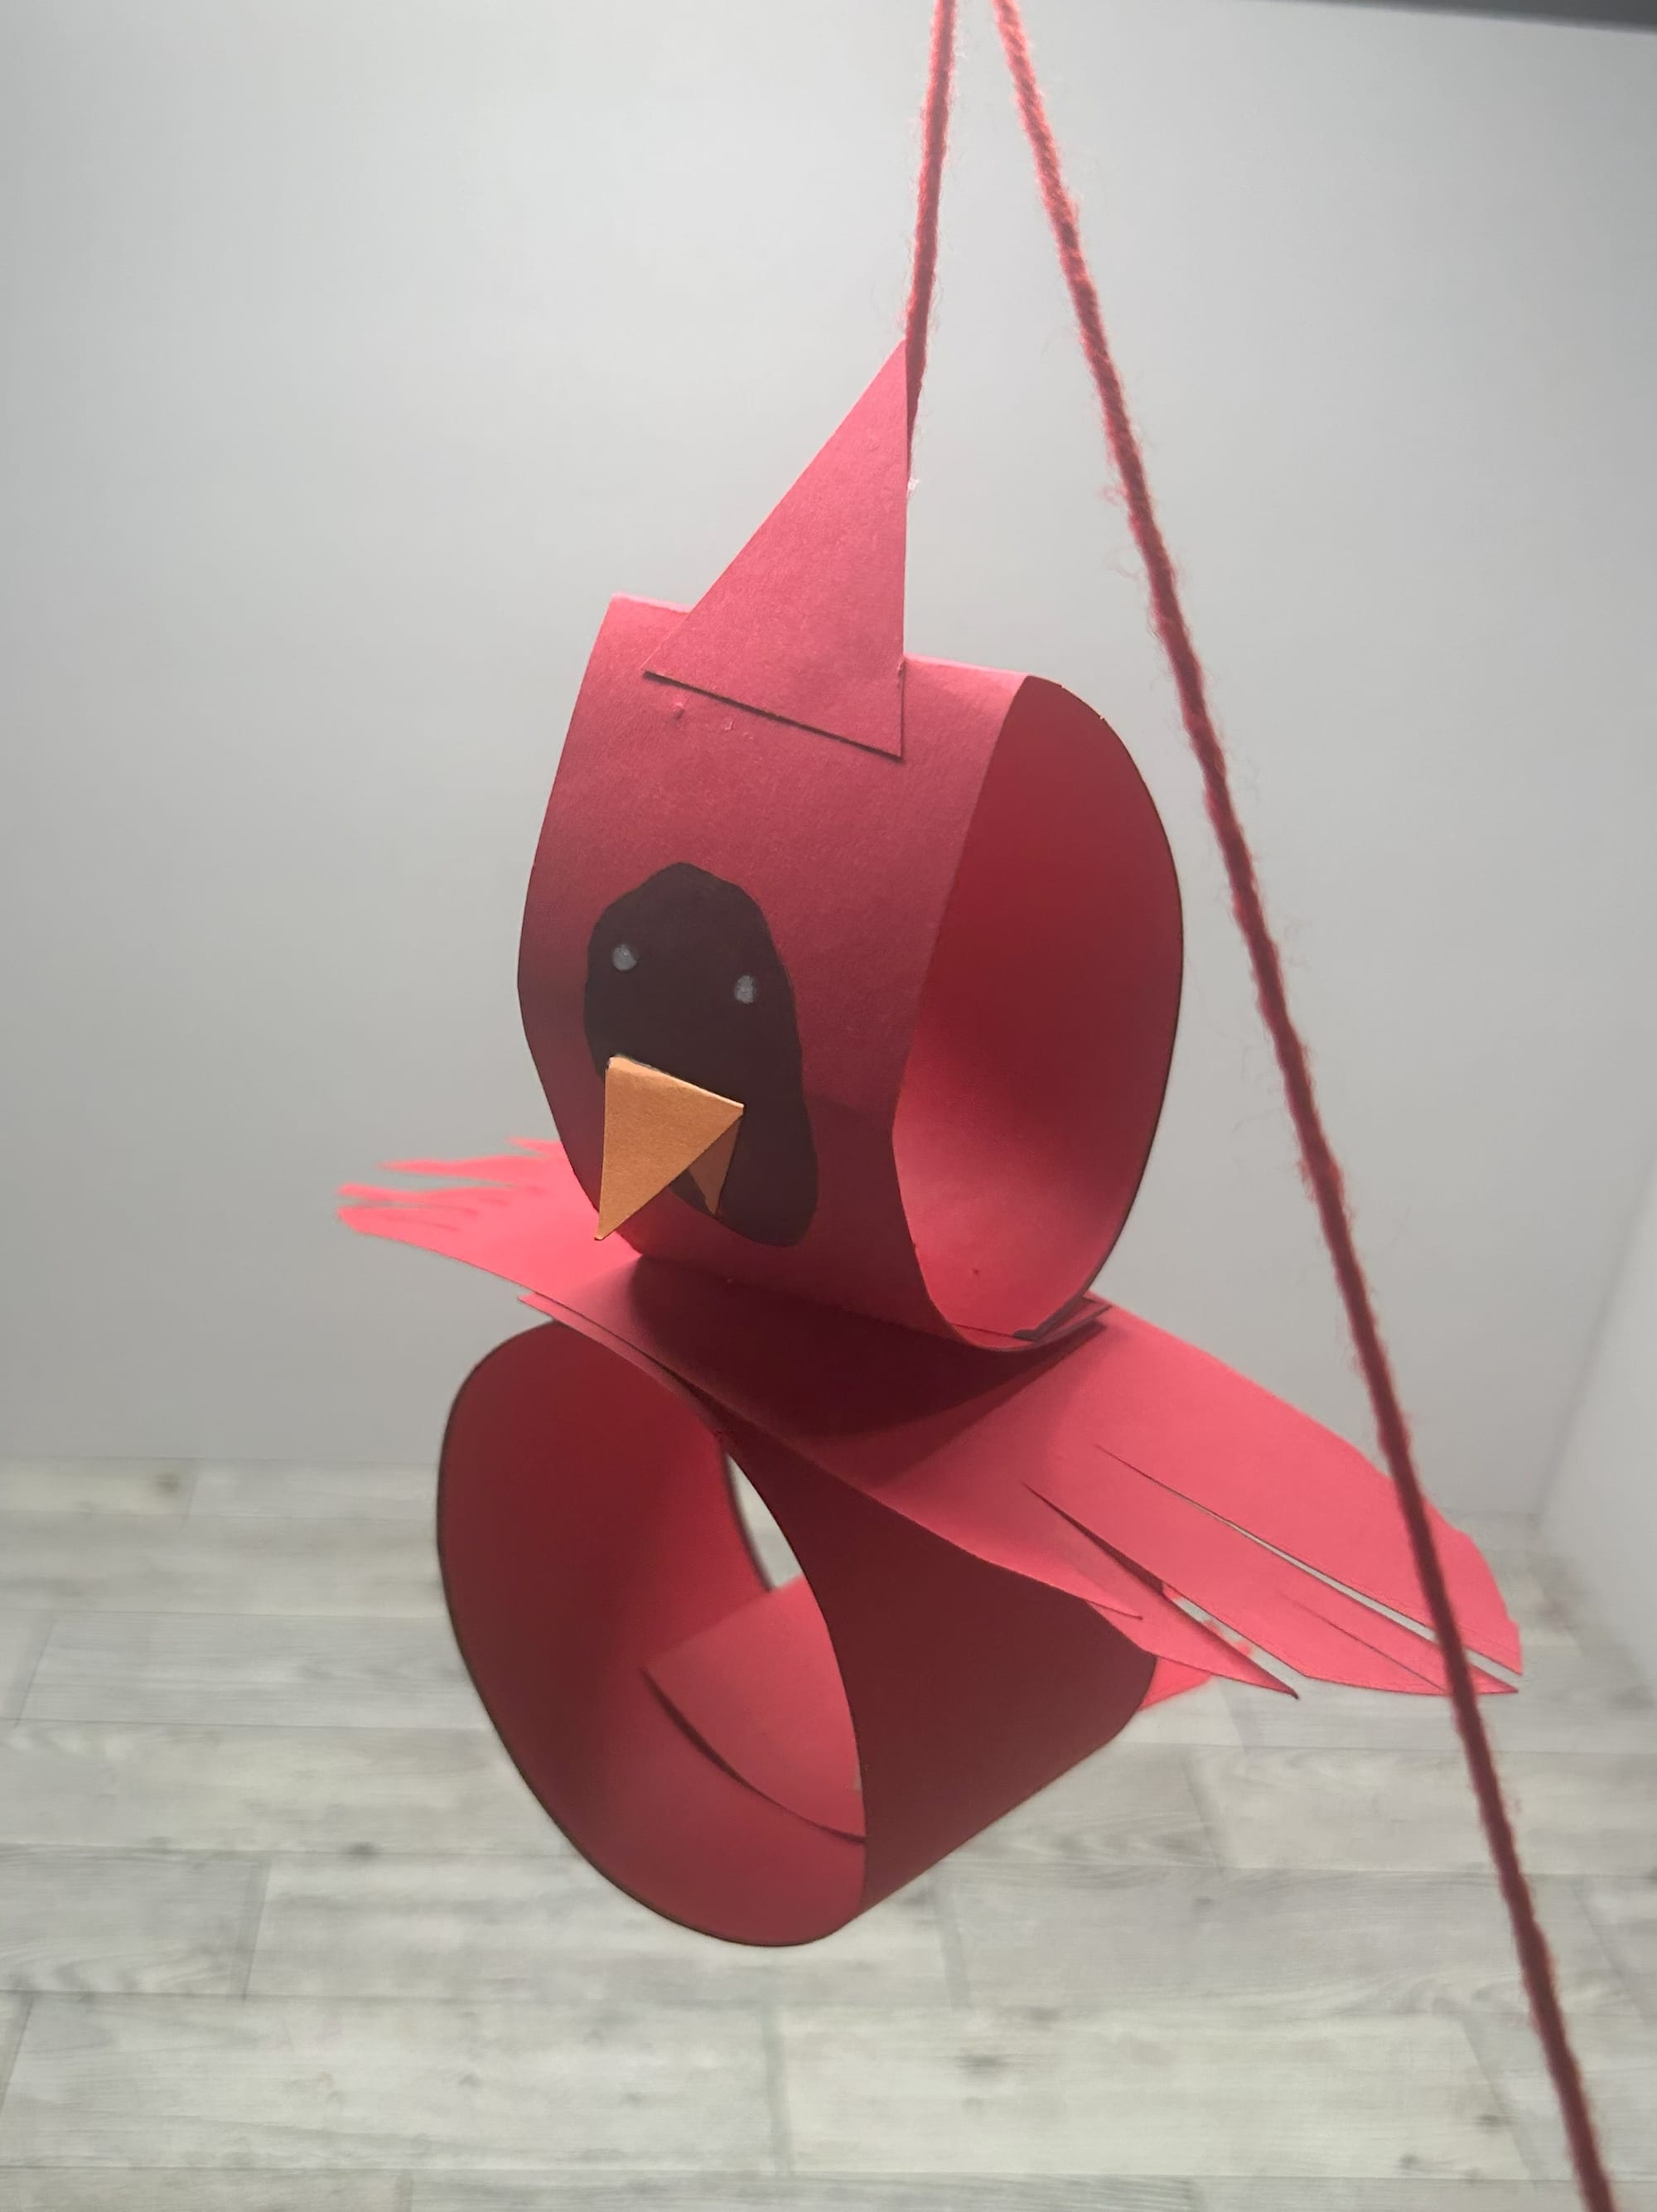
Hang in a window or on a covered porch for cute summer/seasonal decor for your home.